• TalkBass has been independent since 1998. Add your voice.
    Create a free account to reply to discussions, view embedded media, and browse with fewer display ads.
    Join freeLog in
    Want zero display ads or expanded classifieds tools? Compare plans.

So let’s build another bass.

Ok so a little more forward progress.

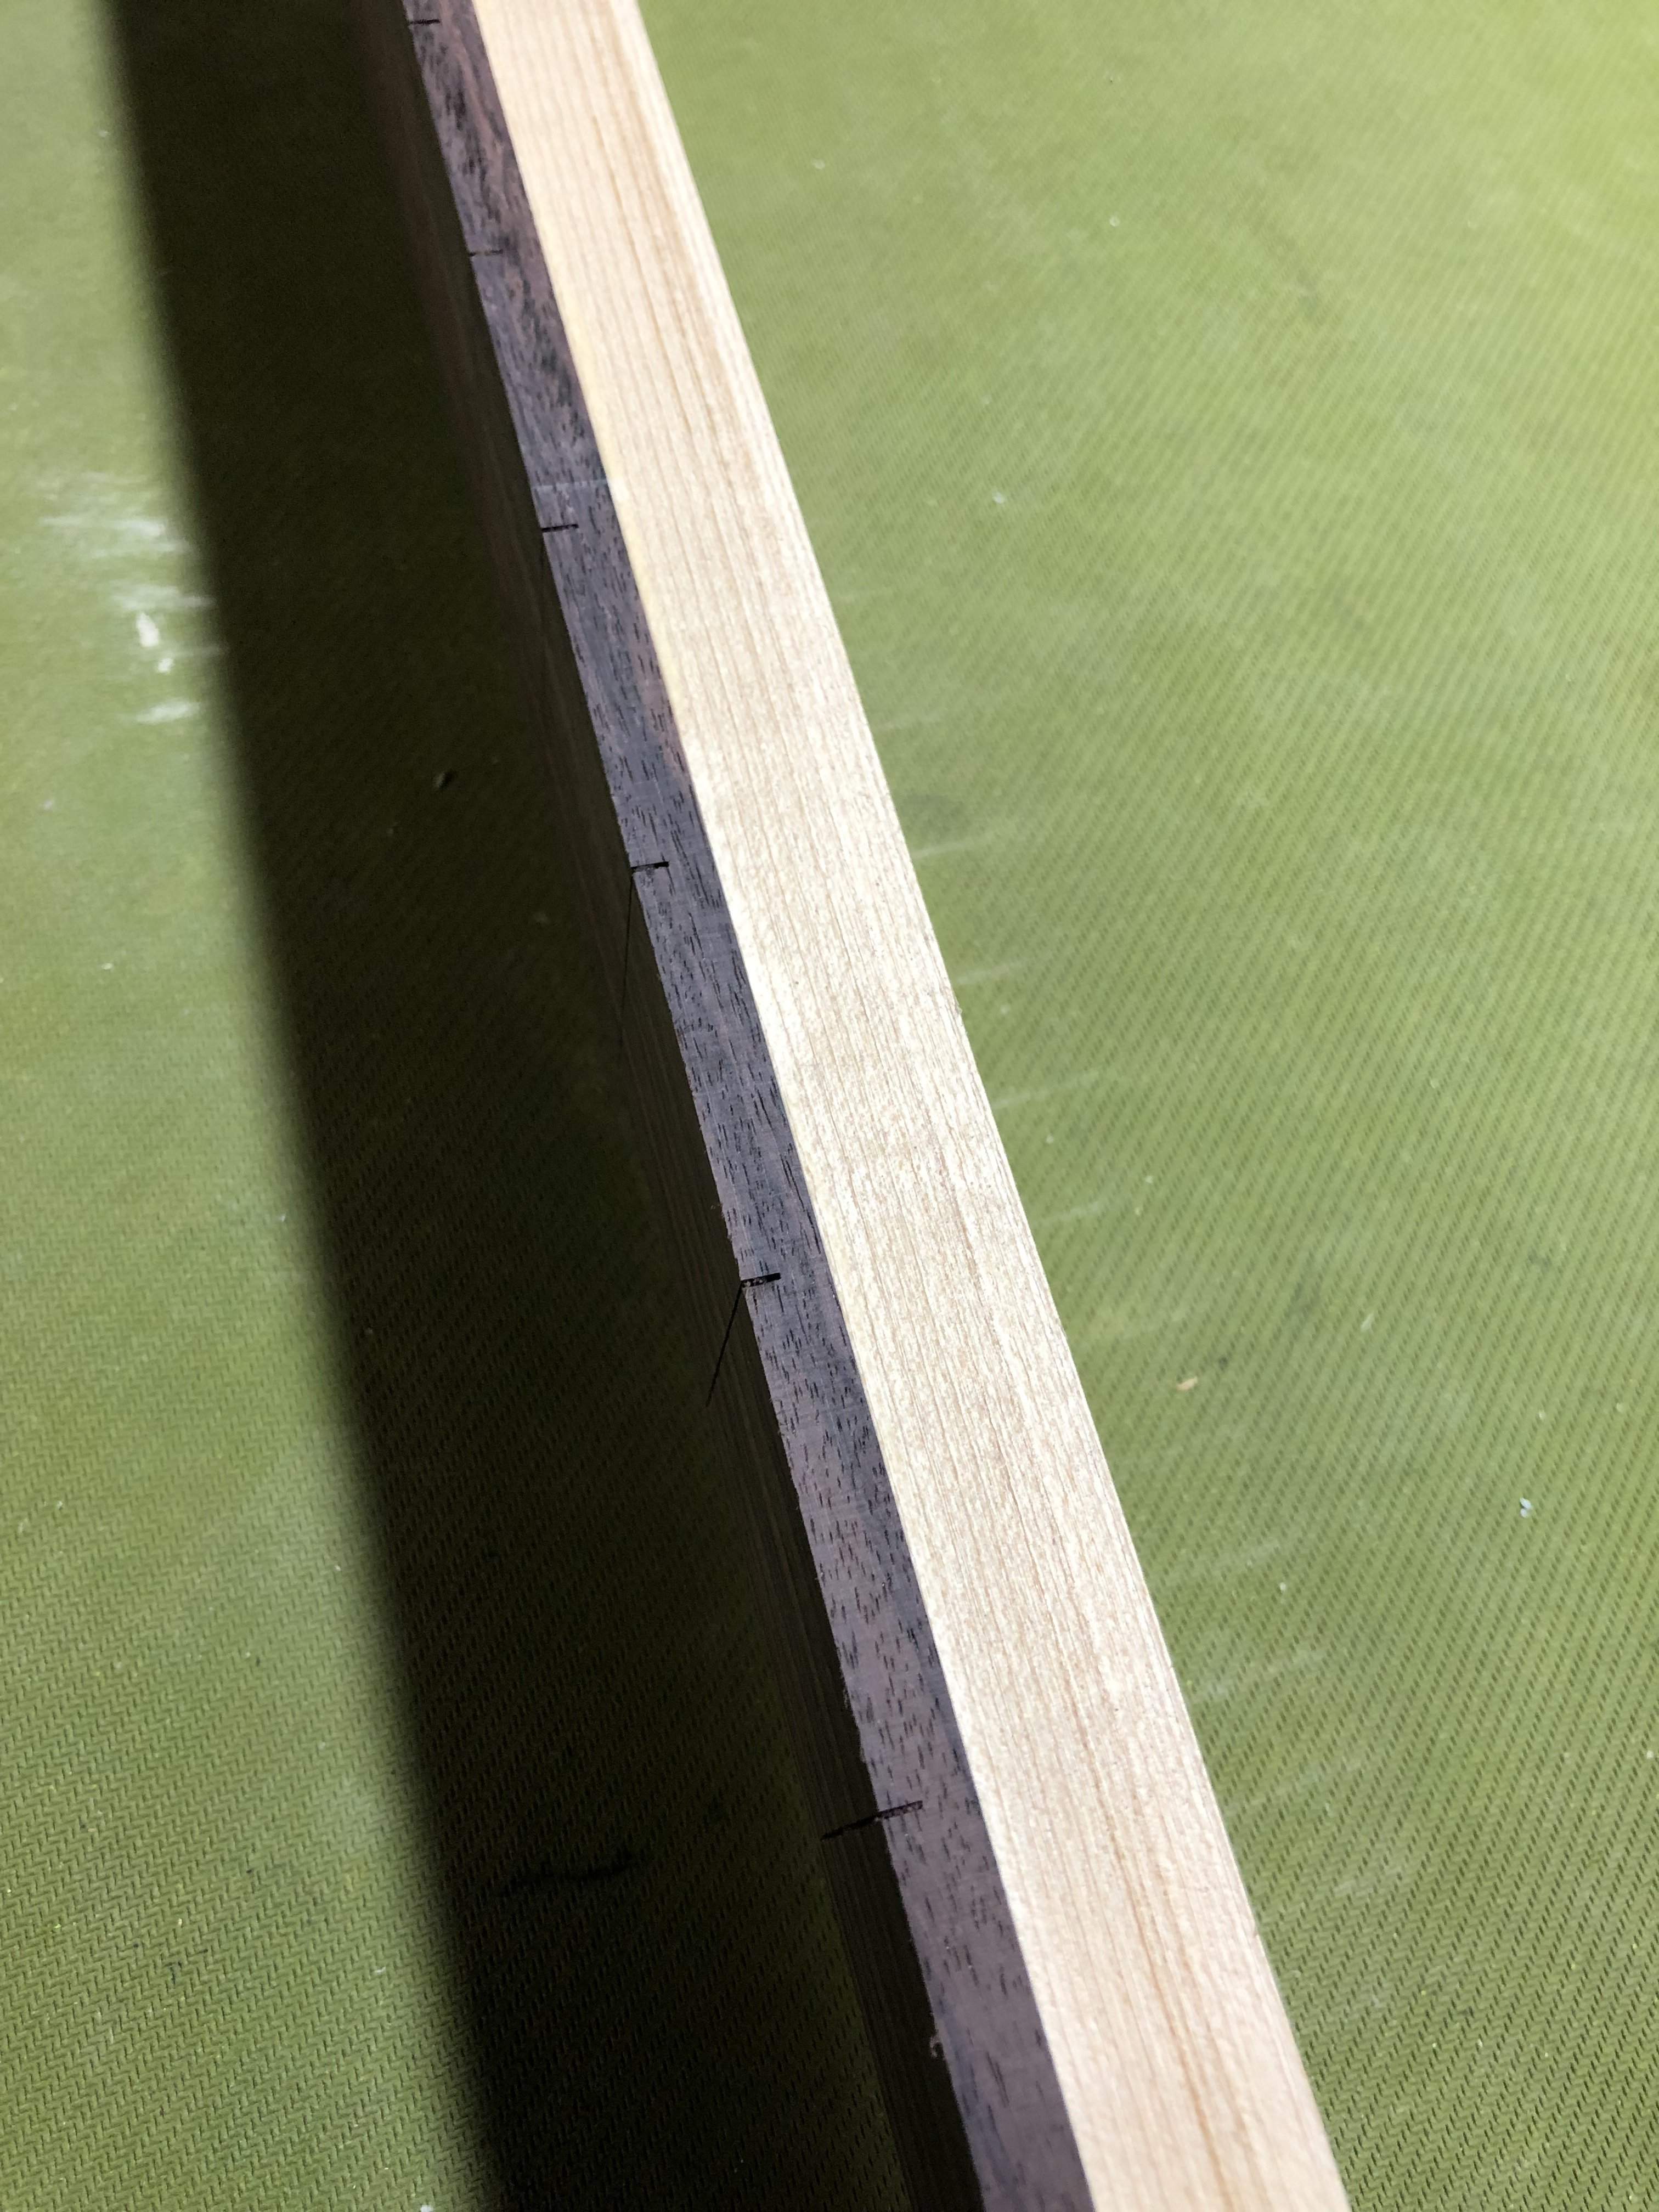
Neck is out of the clamps, fretboard rough sawn on the bandsaw. I waited 24 hours to get the neck out of the clamps but I see the Lmii glue says you can unclamped after 30 mins!

I actually have 4 more necks to glue up so anyone using this glue can attest to that? That would sure save time!

Anyway..
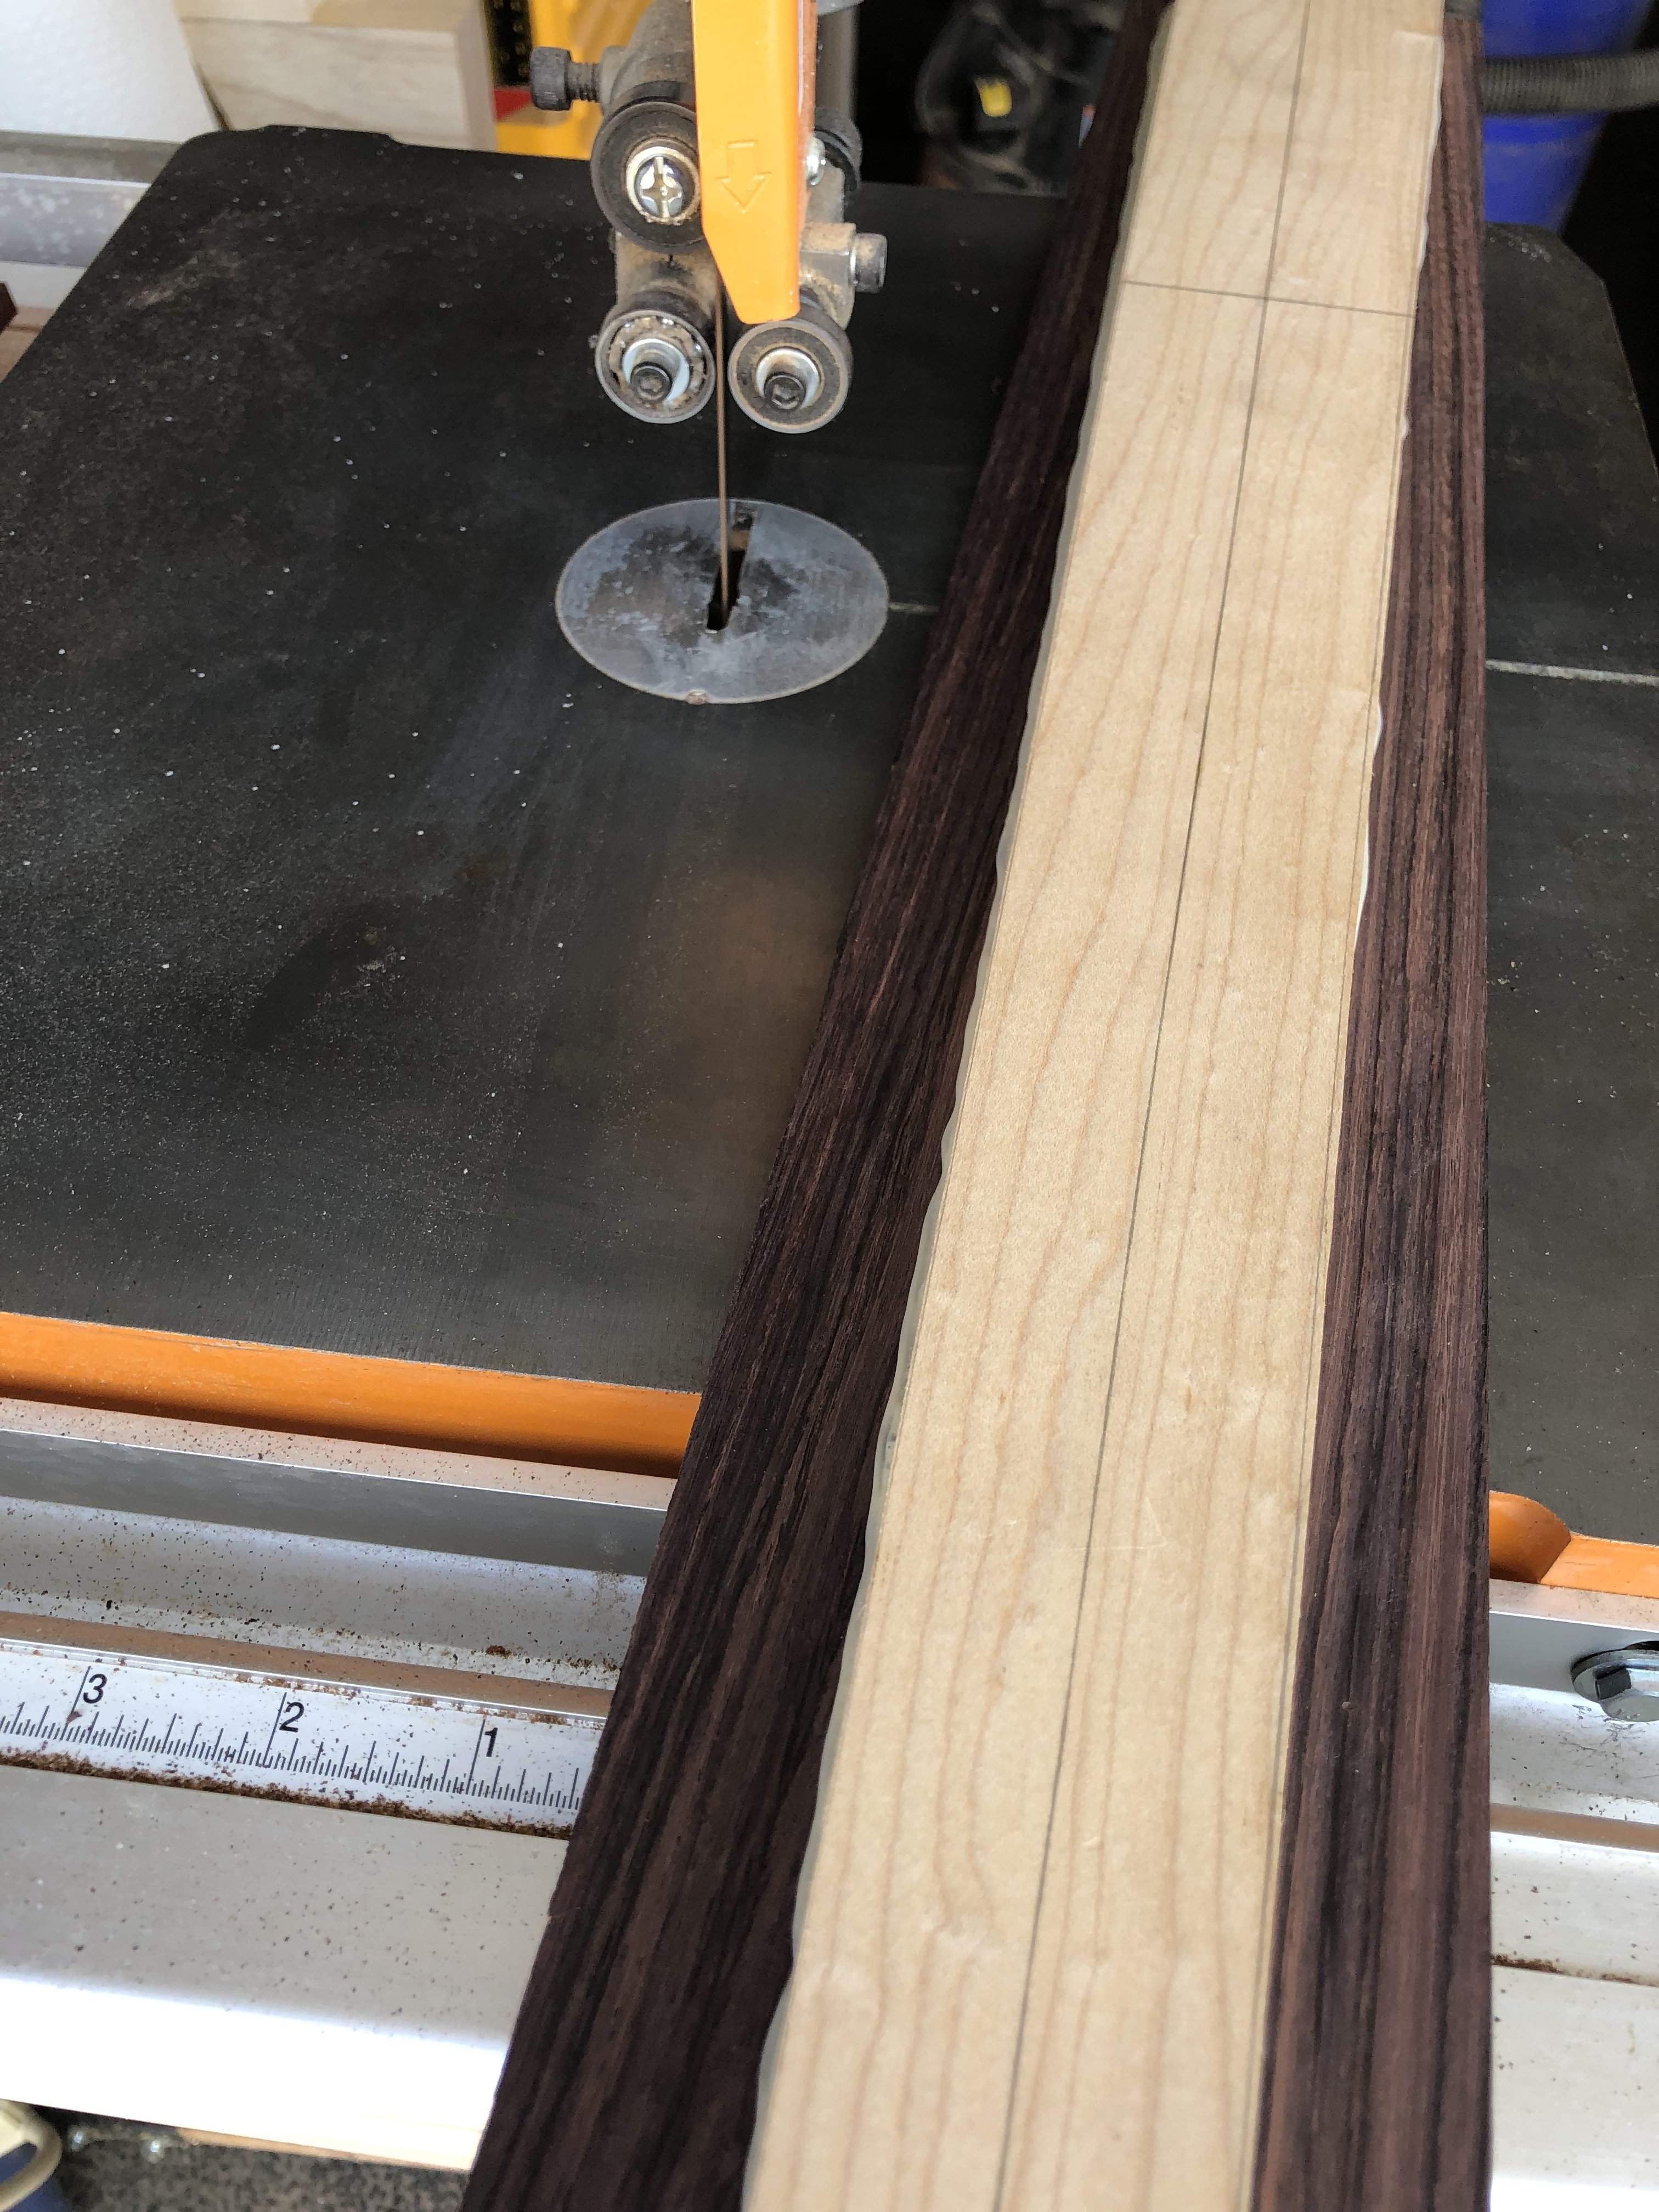
F6A0E78F-B396-4505-9BDD-1F0C870EC53A.jpeg


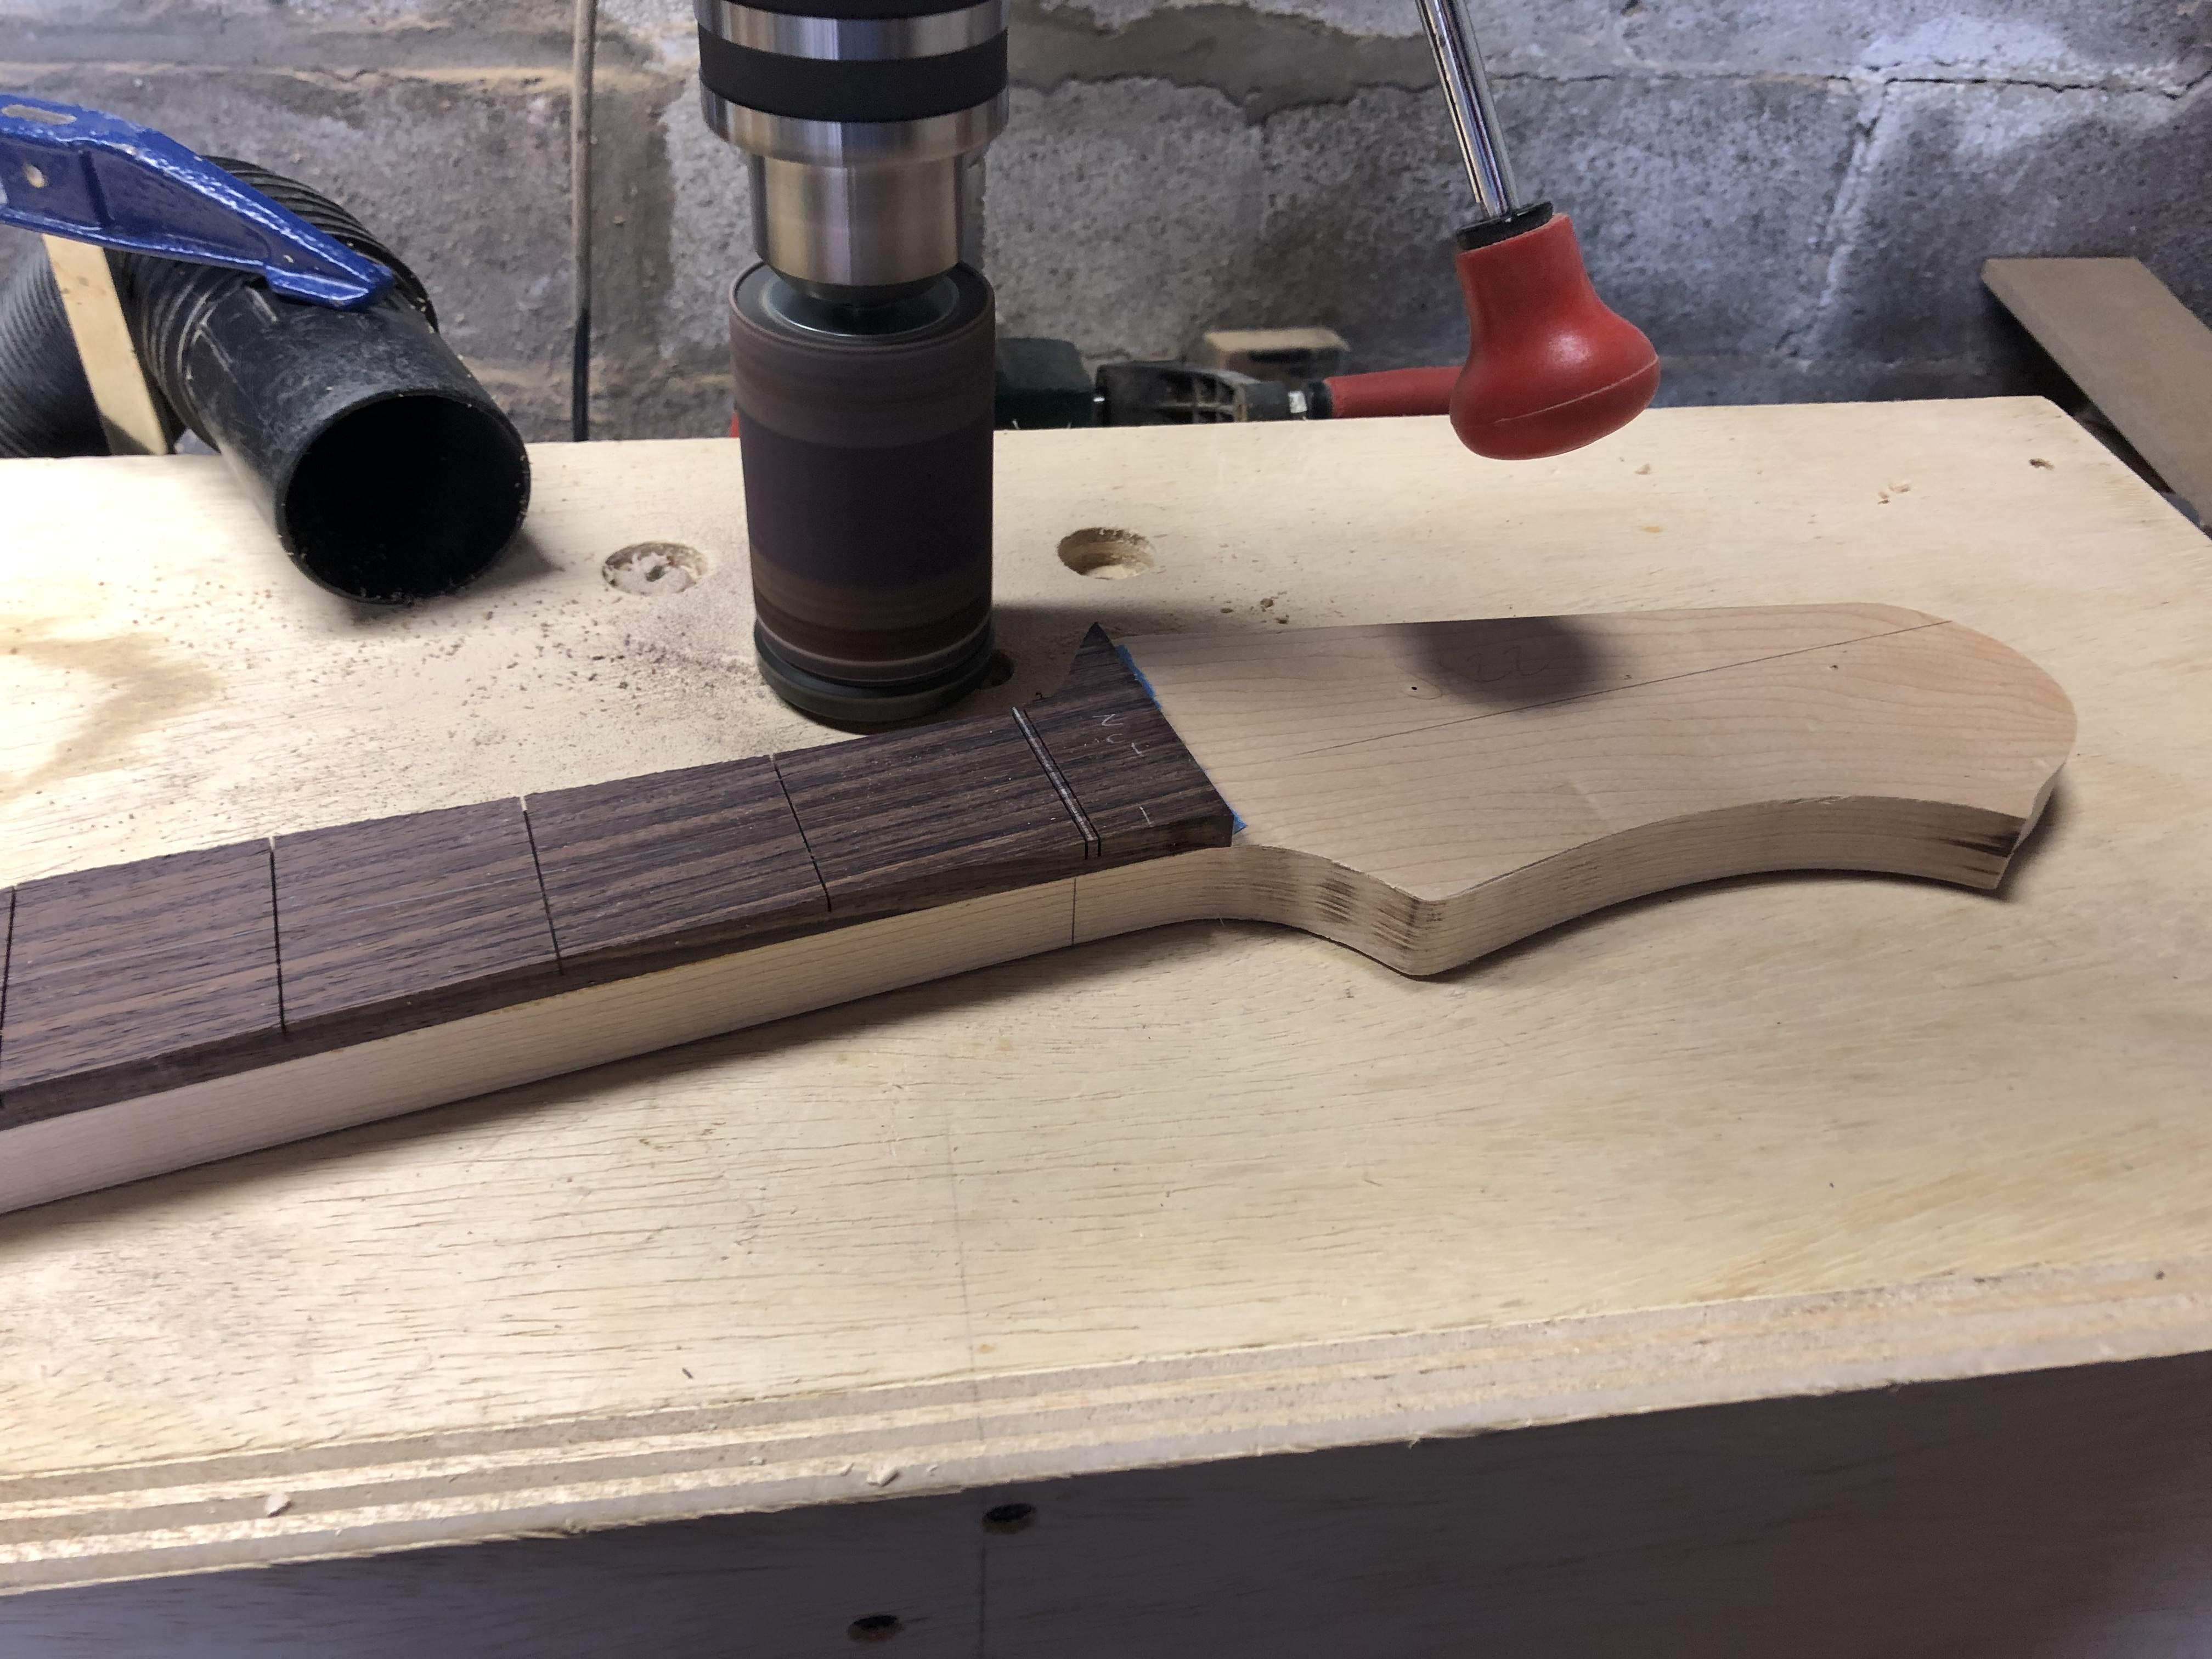
Then off to the robosander on the drill press.
E1867B54-48DF-422B-83E2-2FCB425DA3FB.jpeg


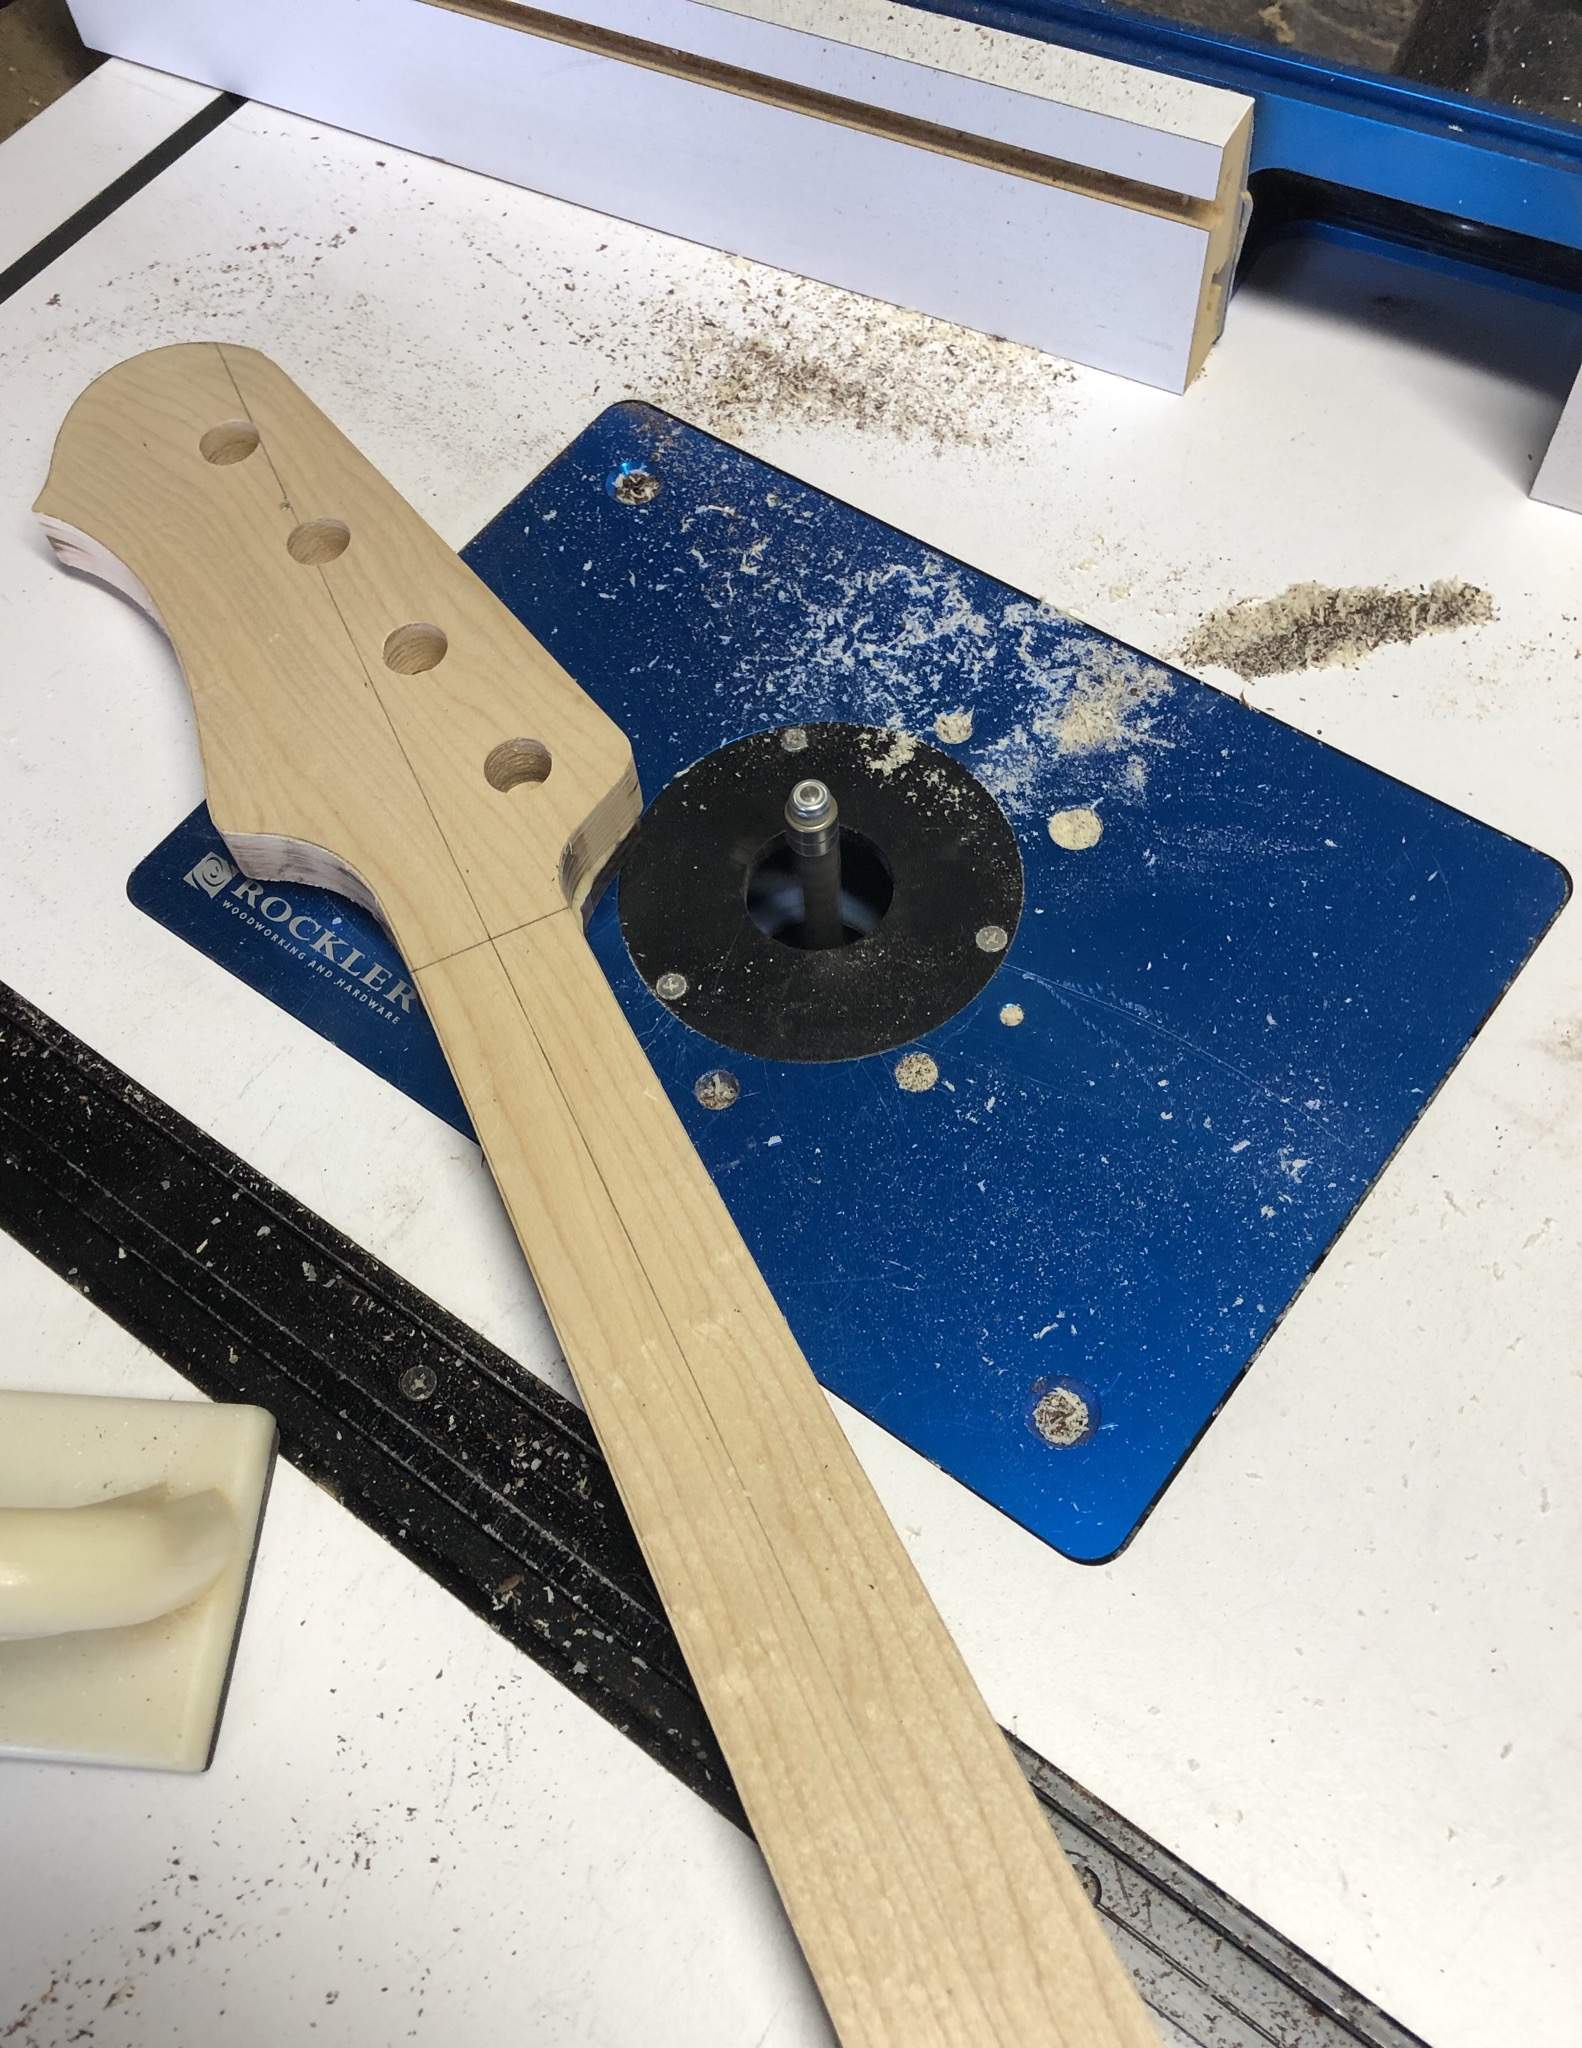
Then off to the router table to be flush trimmed with the rest of the neck.
98F445D2-FB79-448A-A6F0-A35BF16CAAEF.jpeg


Nice and smooth.

470B0A1C-2D1D-4076-BD9C-4B98ABC83FC2.jpeg


0844209F-2923-4A94-BFA2-C0AD9BF165EC.jpeg


We’re Getting some snow tonight into tomorrow over here, and the rest of the week is supposed to be pretty cold but I’ll have this ready for carving by the weekend.

Next up we’ll see some new jigs and new tools as I thin and transition the headstock, and get this sucker radiused.
 
So let’s thin the headstock.

I built a simple jig.

53A8FEAC-D2AD-4B58-B8DB-B8EC4C4F7DBF.jpeg


The neck is mainly held down with screws from the underside, but the clamp on top really locks it down.

16EA0232-B1EE-48C8-AC57-396FC98DDF02.jpeg


A simple plexiglass base on the router so I can see what I’m doing and a bottom clearing bit.

FA396153-EAD3-4662-B16F-2E0BF0409286.jpeg


9D6B0702-595C-4956-9352-C171F2A50F70.jpeg


Nothing a little sanding won’t clear up. I get my headstocks to 5/8” here. A little will get sanded away but it’s still right around .6”

BA2A0399-D193-4856-8FC8-9AEC835303A9.jpeg


This cliff won’t work.

F63EECAD-06B7-4802-977C-D54F02005886.jpeg


Onto the transition.

I mark my space behind the nut and rough lines of how the transition should go. The painters tape helps me not go into my headstock thickness.

A728D6A4-3D3E-4899-A3D9-EB393D86684D.jpeg


Into the jig. This keeps the nut slot at a right angle for the spindle sander. And that’s how I line it up. Stays in place with some smaller clamps at either end.

437269C3-32EA-4110-898E-943BD02FE493.jpeg


And sand away!

35120180-4634-4594-B03E-E70343C0B123.jpeg


Keeping the sanding sleeve clean is important with rosewoods otherwise you’ll eventually start to burn. Vacuum hook up would have helped if I remembered.

94AE115E-71AE-4345-921D-DB4C85540767.jpeg


I get close with 80grit and then switch to 150 for the last bit.

876CD1AD-C2BC-4153-A475-0DA508C362B5.jpeg


Go until I just nick the painters tape.

18501FC3-2218-410A-8F7A-A3D9F56CC860.jpeg


Done deal.

0DD2E9CE-D1F5-41D5-914D-3E1FD7D90684.jpeg


BD001B20-1FFF-4CAF-A3DD-D18175345673.jpeg


1F5D8CDB-ADB0-4496-B196-674112070732.jpeg


That’s a nice looking scoop.
 
Radius time.

I hated this part of building. But I sucked it up and bought one of these to make it more tolerable.

743635C9-B60D-4DC0-A1BC-87A2EAB8340F.jpeg


Works pretty good, takes a little bit to dial in, but gets you from flat to radiused in a few mins.

1D2930FC-944F-4411-9FB6-4FBA26DD2CAB.jpeg


Leaves a nice finish too.

7373704B-5ACA-4CDD-9874-592403063BB8.jpeg


12” radius here.

I hit it with my sanding beam after for good measure.

335EDE41-CE6E-46B3-8FE5-4461ACAB9161.jpeg


At 120 now, I’ll do final sanding and leveling once the neck is carved.

D0398A27-0402-4ED4-BCD6-901417548FA3.jpeg


May have to deepen my fret slots a hair first, then we’ll carve this thing up.
 
Last edited:
Ok, back at it.

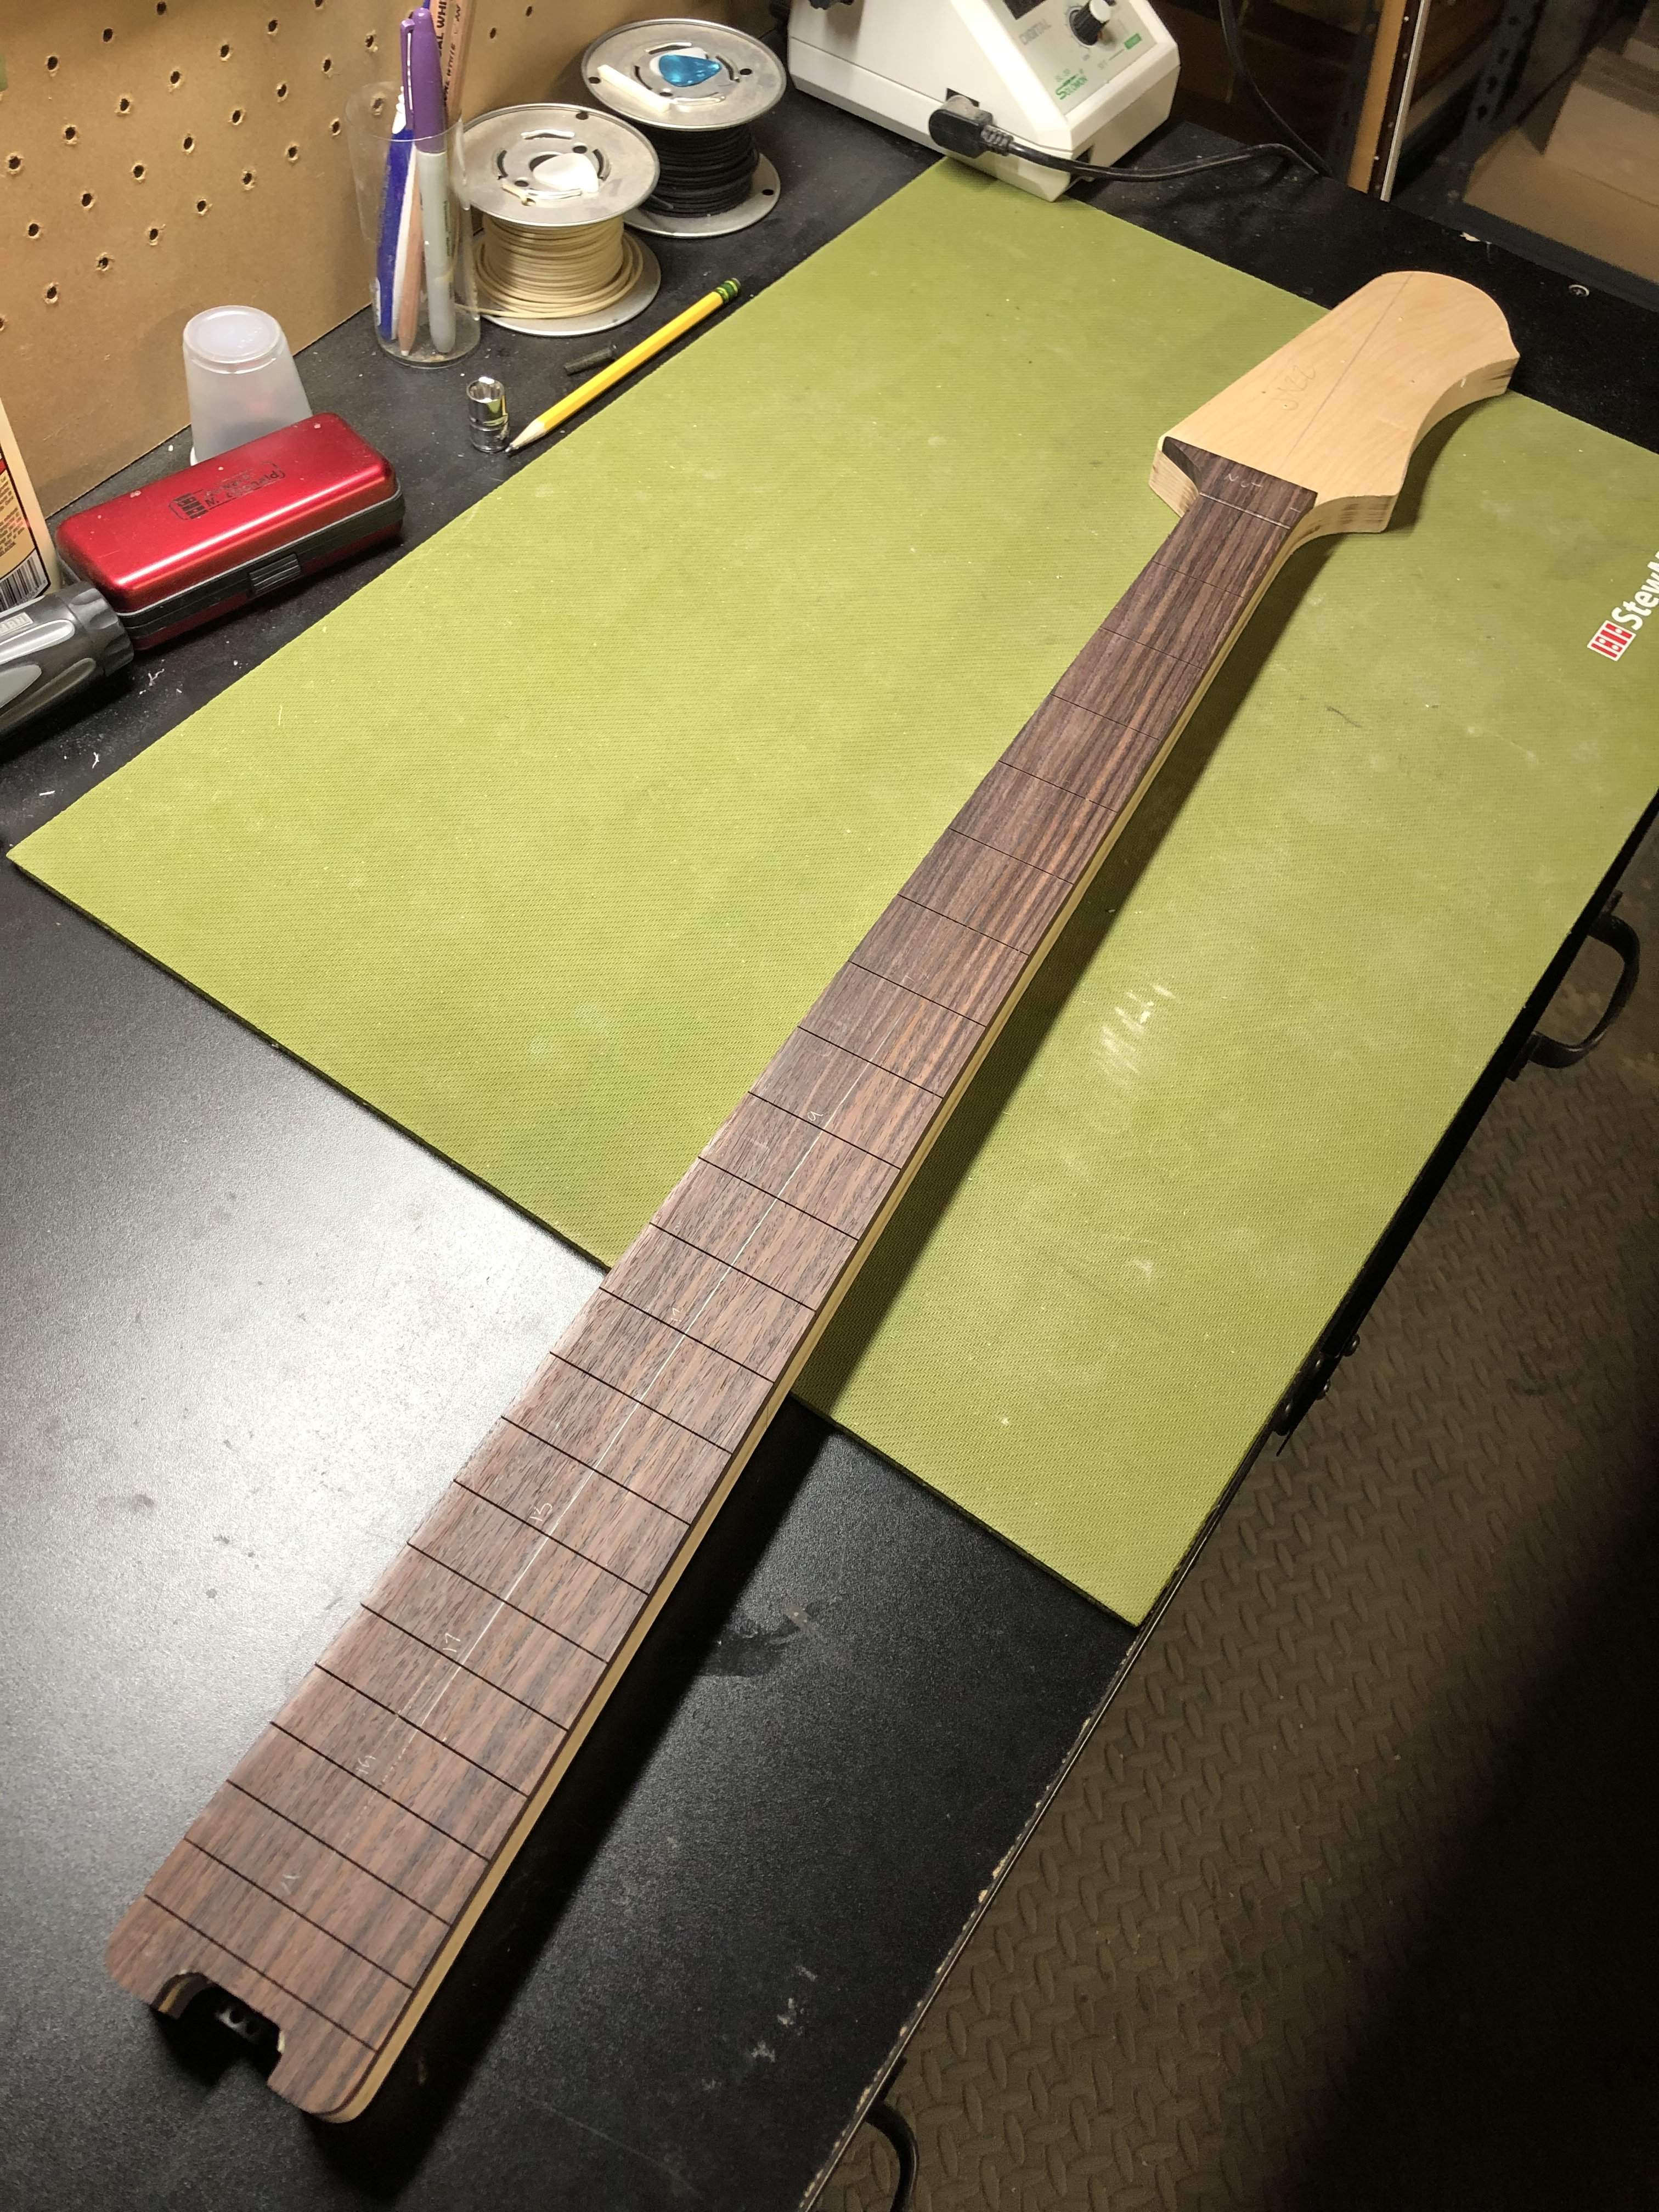
I had to deepen the fret slots a tiny bit. You can’t really fit a full neck in the stewmac miter box but take out a few screws and you can.

CC03F968-ADD4-451B-9340-AD29B0B73E71.jpeg


And at their depth.

4983A3C0-73F5-49AD-AB0B-63262ABFD4F8.jpeg


Mark a few lines and get out the wood carving tools.

E5DC9514-3D76-4BDF-8BEA-EE2290B5BF24.jpeg


Repurposed saw horse neck carving jig.

EC057D59-5588-487E-9CCC-09C85C958DDB.jpeg


Spokeshaves are my favorite.

8823466A-06DE-44DF-92F3-2CA4F156A42A.jpeg


3DEC1C15-9995-4D17-8E73-8C7A8CDAAD6F.jpeg

Shinto and dragon rasps are good too.

3BB65AE4-EDB2-4111-8BCA-B07CFEAA18A5.jpeg


268759E7-D599-4701-A74B-8E11B70A6E5F.jpeg


Various stages of progress.

71701E0F-284B-40C3-BF15-D3A2EB447380.jpeg
9F6E5753-E635-4A1B-A764-D7A178A02DEC.jpeg

8050B73F-A821-4938-9ABC-BA9D11980FE6.jpeg

40D1A2DC-FFFD-4D49-B321-C48188E492B4.jpeg


Once the neck is kind of round I thin it down with the spokeshave.

CD716A4D-4C3D-4CF9-975D-8AF4B4053904.jpeg


Check your progress and flatness

F4DCEB68-2AB0-4CDB-BCAB-A4A5931B6782.jpeg


Then finer files to blend and round everything back out.

5B6EE8AF-0CFD-4479-A63A-FF21DB7C6806.jpeg


And you have a successfully carved neck. I’ll still need to do some sanding and scraping but the profile is good.

It’s a little chunky just like I like them!

D32BA05B-3415-485F-A3D8-43B18A3B2E0D.jpeg


F2DE2D48-7A64-401F-8C2A-7595FD8ADD70.jpeg
 

Attachments

  • 54A8058A-7954-4383-8F1F-18A16392E4C0.jpeg
    54A8058A-7954-4383-8F1F-18A16392E4C0.jpeg
    675 KB · Views: 24
Any update? I would really like to know somthing about the 5 strings black P you spoilered.

I’m digging your body+pickguard shapes, especially the P

Ask and you shall receive!

So, I’m pretty indecisive when it comes to building stock instruments. I kinda regretted not using that wenge board so I built another neck:

E2AF2F4B-CF47-4B10-86DE-18DDBC2AC7AA.jpeg


E417EB4B-887A-41D7-AA0E-05EC2BF76369.jpeg


76E7260A-0F6F-4724-B73F-320D374C928E.jpeg


Roasted maple/Wenge Fretboard. I’ll have to decide which to use for this build. The other will just get used on the next one lol.

Cast your vote!

38BA4666-9A0D-40E3-83D0-6306881B1D4A.jpeg


8FFFA6C7-A757-43C9-92A1-ECF1F0CA3A8A.jpeg


I’ll get to inlay and frets soon enough. I think I have 10 builds in various stages so it’s all about finding bench space lol.

Ok so sidebar: The P5 (LP-3V) was the second 5er I built. The story goes; I sold a 4 string P to a customer (who’s now a good friend) at an expo and he asked me very nicely to build him a 5 string. It was on my to do list so I took the order and 4 months later he had his bass and I had this left as a backup in case the first one went wrong lol. Thankfully they both rock.

0F5D931C-BAE7-4EAA-B38A-7DF1EF0304FD.jpeg


He posted about his here. It’s a beauty.
NBD (from a few days ago) - the best P5 in the universe! (Grosbeak content)


On the topic of 5ers. Here’s the 5 string Neck for this new models 5 string version.

4AAABE75-D045-4C8E-A210-917D18EE1816.jpeg


929CA419-8750-4025-83BE-7AE238E7DE35.jpeg


Ok next I’ll cover frets and inlays and then everyone’s favorite topic; finishing.
 
Both those fretboards are pretty sweet, seems a shame to put dots or other inlay on the front... :rolleyes:

Yeah I occasionally get the dotless board request but I like to keep it old school.

I may or may not have taken an order for a 5 string one of these that features 24 frets and no dots on a Morado board. Hmm...

Yeah sure, I didn't like the previous completely flawless gorgeous matchless neck so like, hey, I'll just throw together another one! Sorry, I can't tell the difference. They're both just about perfect. I kind of prefer wenge though, but will it look good with the wood in the rest of the instrument?

Ha, first world problems. This is for all intents and purposes a “demo” bass I’ll take to some local guitar shows.

I can either roll with the rosewood board neck to keep it traditional or the Wenge to serve as a little more of an eye catcher.

I’m leaning towards the Wenge right now. We’ll see what looks best with the finished body.

Speaking of finishing. My process has changed quite a bit.

Body goes into a sophisticated sealed container:
CC278305-7B01-40D7-92B6-495095035C5A.jpeg


Dropped off at an undisclosed location:

D6A436C7-ECAF-4DD1-9139-3EF76C49BCE5.jpeg


Wait 4-6 weeks....
72F18DE4-3CE3-457E-8F03-D8A117F5E829.jpeg


Then the container gets dropped off at my house with a magical ring of my doorbell.

And out it comes all painted and ready to go.

This is the 5-string body, the 4 string should be in soon I hope.

8A5BB5D3-FC99-4D38-81EF-BAE8FAF38115.jpeg


Outsourcing can be a wonderful thing lol.
 
Last edited:
Finish work kinda sucks, I’m still on the low end of that giant learning curve. I wouldn’t mind the Super Secret process you got going.

Yeah, honestly for my shop space, finishing requires me to shut down and reconfigure everything for paint. Plus it’s in my house and I don’t want to subject my wife and 2 kids to any fumes.

I’ll still do oil finishes and I finish necks myself, but it just makes sense to outsource the body paint.
 
I'm new to finishing, with no previous investment in tools, so I went water-based only. It's a different process and evolving materials, but no stink and very little toxicity. The brand new Varathane Ultimate WB poly looks promising, gonna try that next. I built a cheap knockdown 1x3 strapping enclosure with HVAC filters on it and a fan for airflow, worked pretty well to isolate and keep the dust down. Trying Tru-Oil now, another set of skills to master, but much easier than sprayed finishes.
 
  • Like
Reactions: thisSNsucks
I'm new to finishing, with no previous investment in tools, so I went water-based only. It's a different process and evolving materials, but no stink and very little toxicity. The brand new Varathane Ultimate WB poly looks promising, gonna try that next. I built a cheap knockdown 1x3 strapping enclosure with HVAC filters on it and a fan for airflow, worked pretty well to isolate and keep the dust down. Trying Tru-Oil now, another set of skills to master, but much easier than sprayed finishes.

Yup, been there done that! Lol

Trying to combat dust and everything else means I have to shut down the woodwork and then all the builds get slowed down.

The waterbased stuff was OK, and if someone wants a satin finish, I’ll still use it.

Tru-oil is cool too. I’ve done a few with good results.

Still, there’s a reason most of the big boys go with poly or nitro.

For me, I get better results, a better product, and saves me time. Sure it costs way more, but I don’t have to have a fit if I get a burn through when buffing lol so it works for me.

WoW. Your process is so clean and precise, I love to see this kind of skilled craftsmanship!

Thanks! The work may be clean, but the process is far from it! Lol


Lovely work

Thank you sir!
 
  • Like
Reactions: Gilmourisgod
I got nice high gloss results with the older version of Varathane, but it lays on with a lot of orange peel, so it was a lot more elbow grease leveling and buffing, but dries hard in days instead of weeks. The new version supposedly lays on much smoother.... we’ll see!
 
  • Like
Reactions: thisSNsucks
Well I’m a little behind schedule but I think I still have a good shot of pulling this off in time for the end of the month. Lol!

I got word that the 4 string body is done and will be here Friday. Exciting!

I’ll have to do the final fit of the neck, then inlay, frets, nut, electronics, setup, walk the dog, feed the cat, etc., etc...

Oh and sticking with my Lake Placid film plot twist, I present to you:

LPB
86263519-3420-4775-A95A-985AA9B13F26.jpeg


04491000-B8F4-4BB7-8DCD-859C58636227.jpeg


I’ll keep this thread focused on the 4 string, but for those keeping track, the 5 string ain’t looking too shabby.

A27B9F12-143D-4AC9-B8AA-0BAA2BF21276.jpeg
 
Ok so I was back to work on this yesterday but didn’t post any updates because I have a local guitar expo this weekend and have been busy getting ready.

Anyway, Wenge board wins! I can do an oil finish on the roasted maple so it’s a time saving decision.

Inlay!

Measure it out:

59118809-FFAC-4392-A917-6C46FB2F98A1.jpeg


Marked

EB1F56E9-170A-4790-90A7-70D23BFB6053.jpeg


Drill. I gave up trying to set a depth stop for front dots. Just watch as I go.

10D151B7-11C8-4E1B-B1A6-7A3DBE8A513D.jpeg


Looks about right

54EED90F-C2E9-41BD-9C91-0D8932F5260C.jpeg


Side dots get done by hand, way quicker and more accurate than any jig I could come up with.

42A74DC3-1C40-4AC3-91A3-CABDED1CD1A3.jpeg


66999C8D-9F2F-44FC-851F-0EAA3AF707CC.jpeg


Glue em in. Using stewmac faux clay. They’re not really dark but not stark white.

3B3E8200-2057-41C8-825D-FAF7CDD01A30.jpeg


6F58DDFD-1D6E-41E9-9ADE-2BD9725BFC38.jpeg


I use epoxy for the front dots in case I drilled any too deep, I can just push them down so they’re almost flush with the fretboard and the epoxy will fill in any gap under the inlay.


They don’t always come out this good, but I was pretty perfect with my depth, so I didn’t really need to use the epoxy.

FA489425-36C5-4107-9755-7018A6811312.jpeg


Flush em.

0880F127-E2F9-4614-9DC5-5E946336F3A6.jpeg


EA8DC0DE-78D7-4F71-937F-8C5C0DFA52FE.jpeg


F7EB353B-B719-4D0B-806D-612E1A54F560.jpeg


Cool!

Now sand down the fretboard to even out the inlay, get rid of squeeze out, and get ready for frets.

3BAB6279-1A63-49A3-B9A1-BE6A862BF438.jpeg


1C627B0B-B8DF-4502-82CA-D087607EE7A1.jpeg


Worked through a bunch of grits and got this:

25E619A5-07B0-427D-8986-79B9495FC4D4.jpeg


Damn fine Wenge!