• TalkBass has been independent since 1998. Add your voice.
    Create a free account to reply to discussions, view embedded media, and browse with fewer display ads.
    Join freeLog in
    Want zero display ads or expanded classifieds tools? Compare plans.

So let’s build another bass.

Ok so mini update tonight.

My router left a beautiful finish but I always smooth down the sides of the body before doing my round overs. Any little inconsistencies on the sides will show up in the round over so it’s best to make sure you’re perfect before.
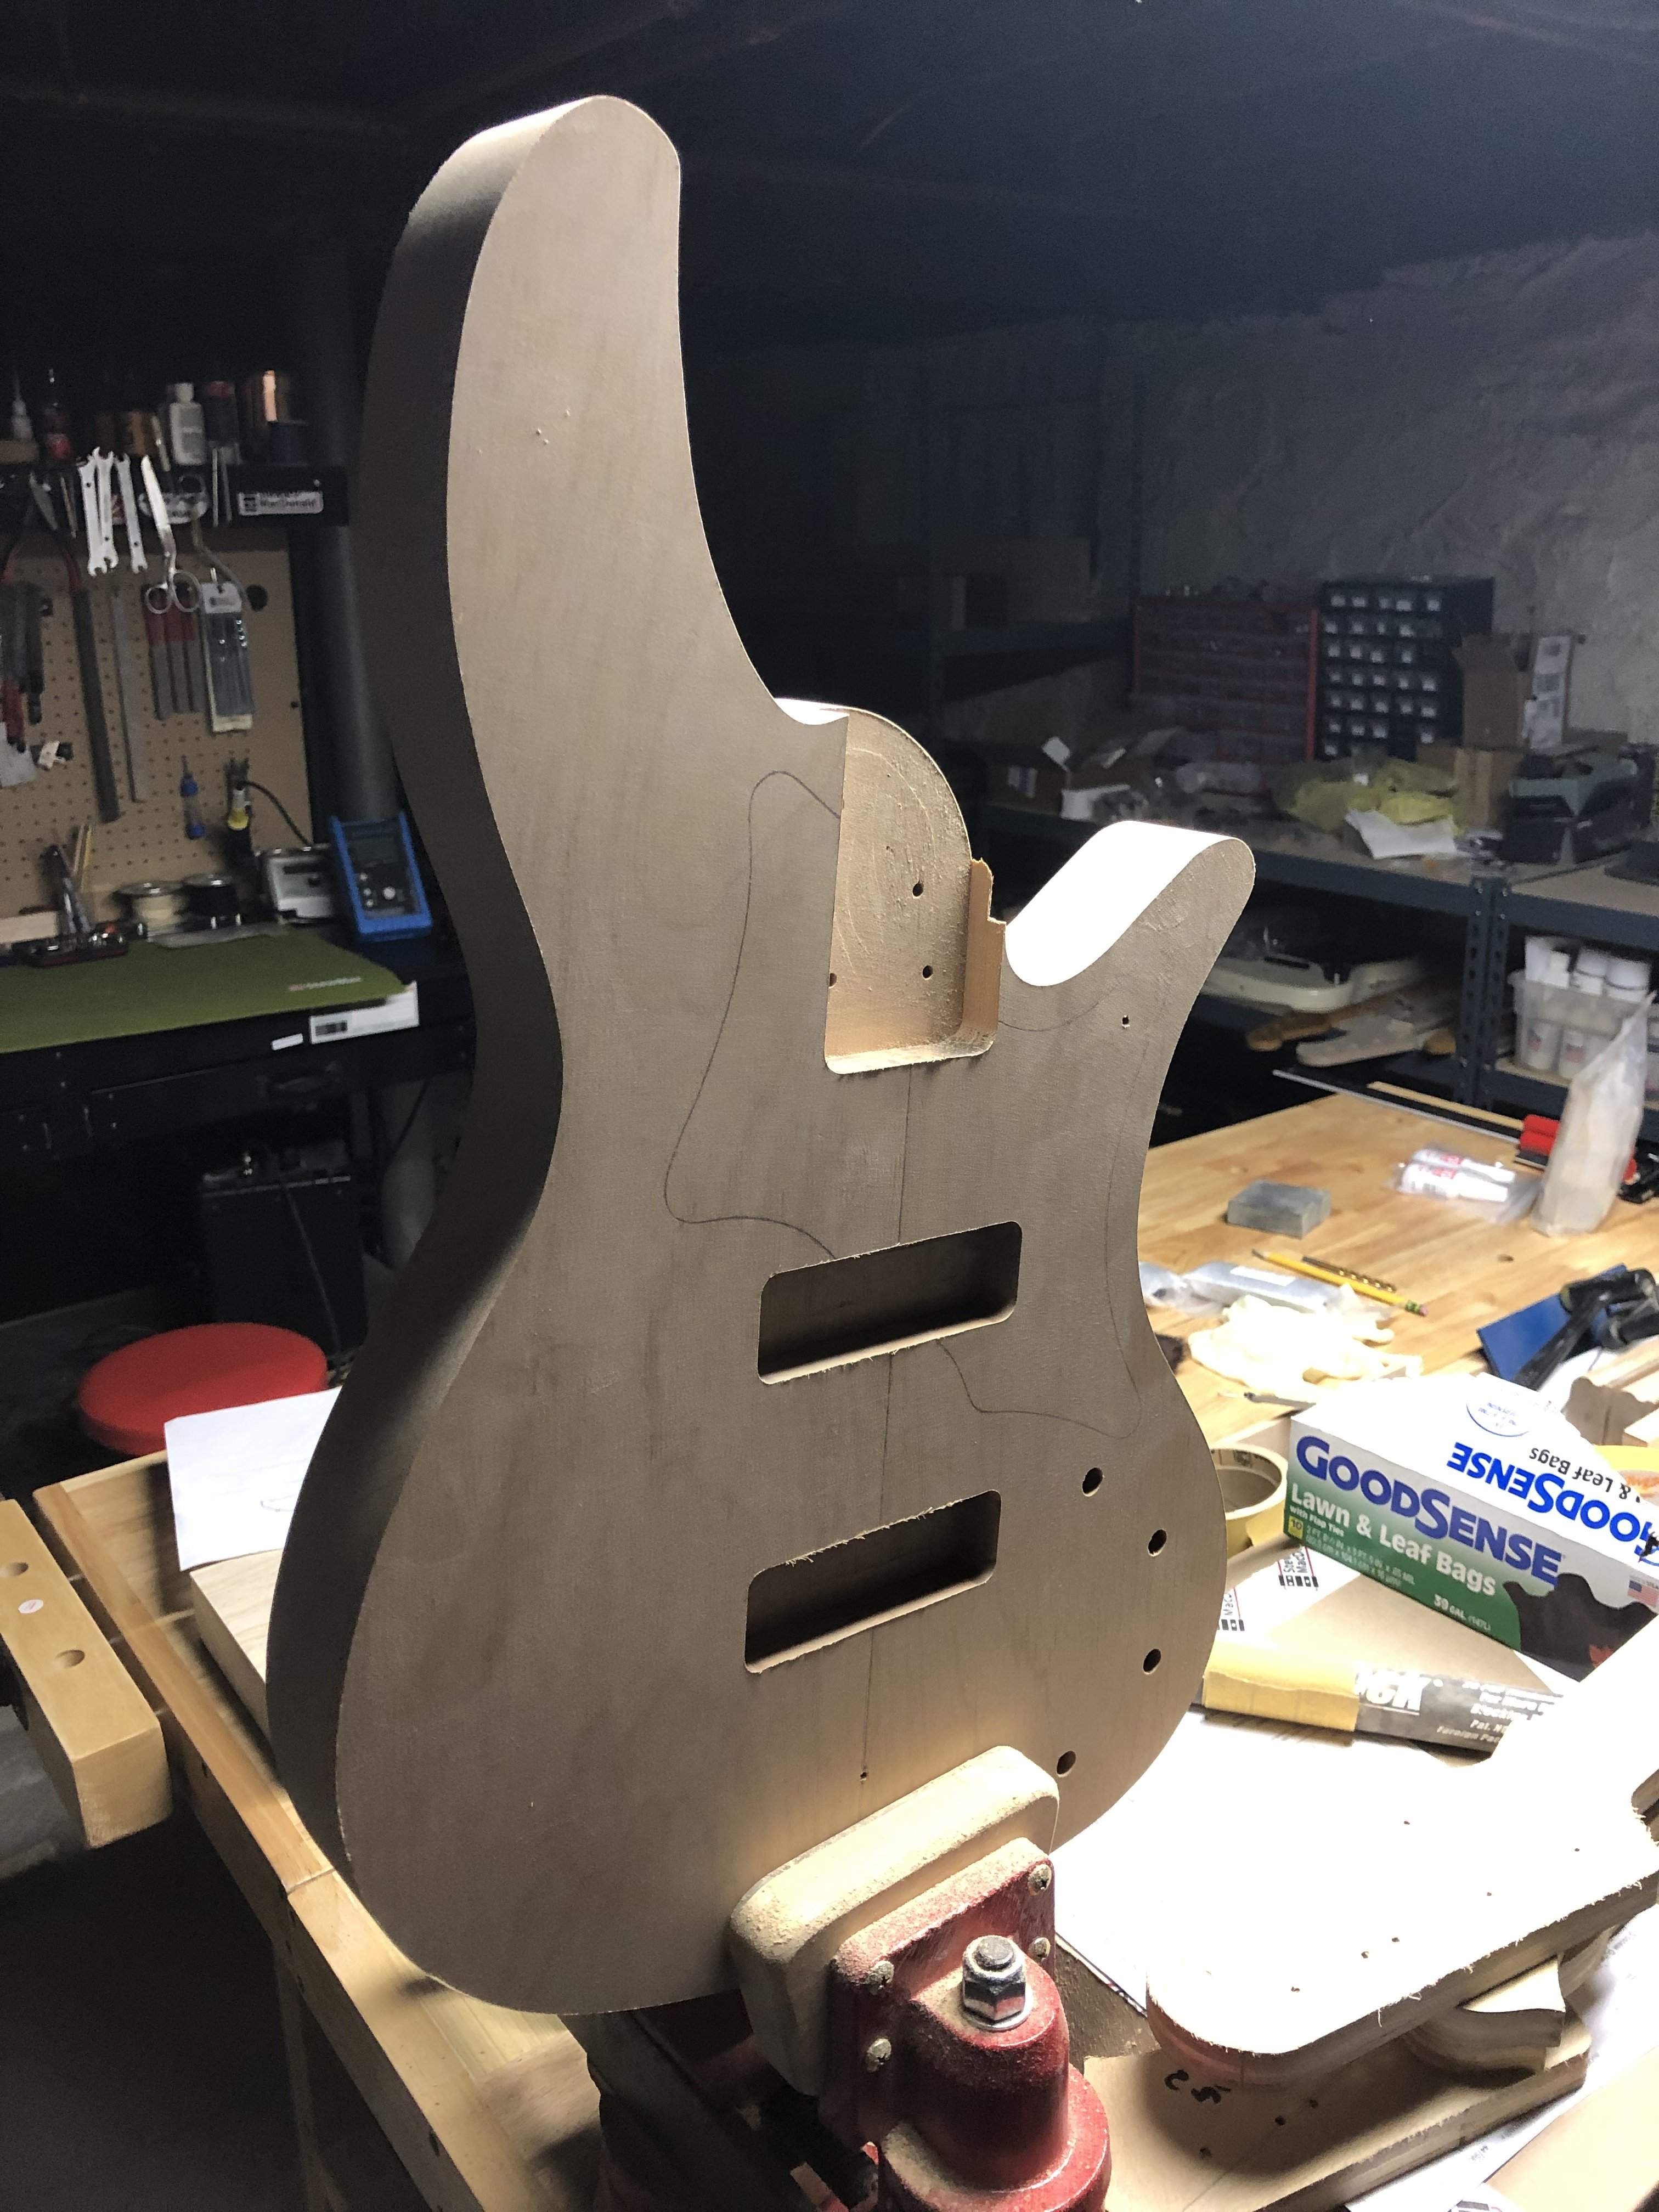
D2757B60-EE33-477B-A2CF-FA1B23B89222.jpeg


Sanded with 120 grit.

D8564136-C1A0-4FBB-B6C4-A32CF317635D.jpeg


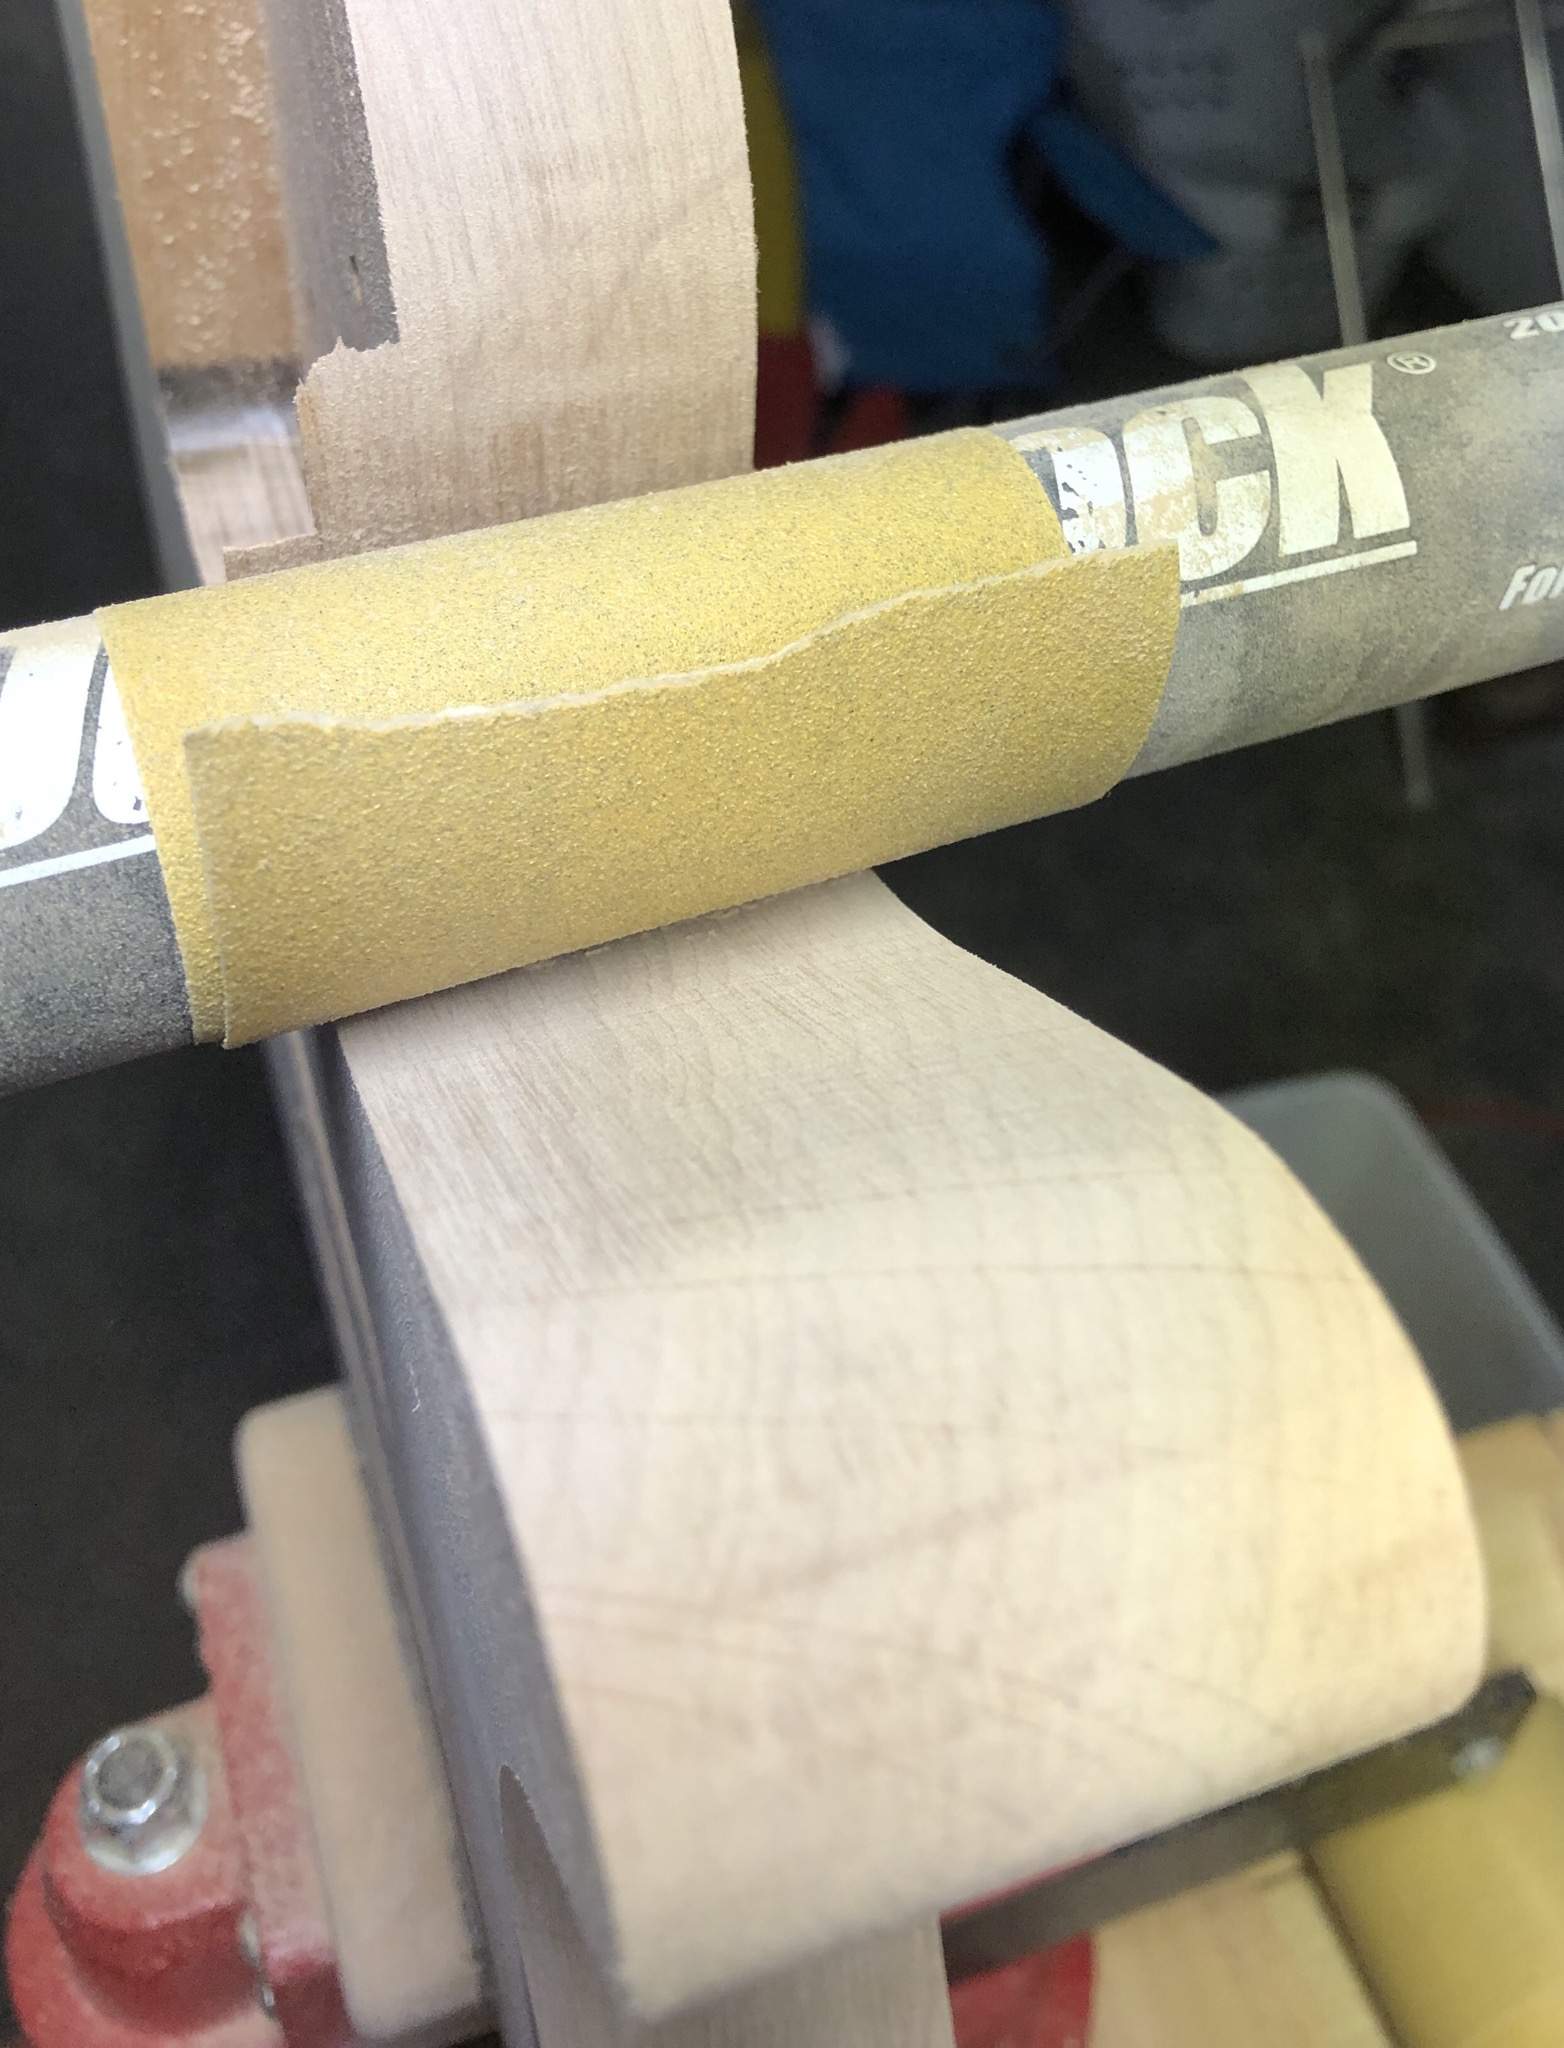
I bought a set of durablock sanding blocks a while back. Body shops use them, and they’re good for guitar sanding too.

That ash blank it’s sitting on will maybe be a future build thread...
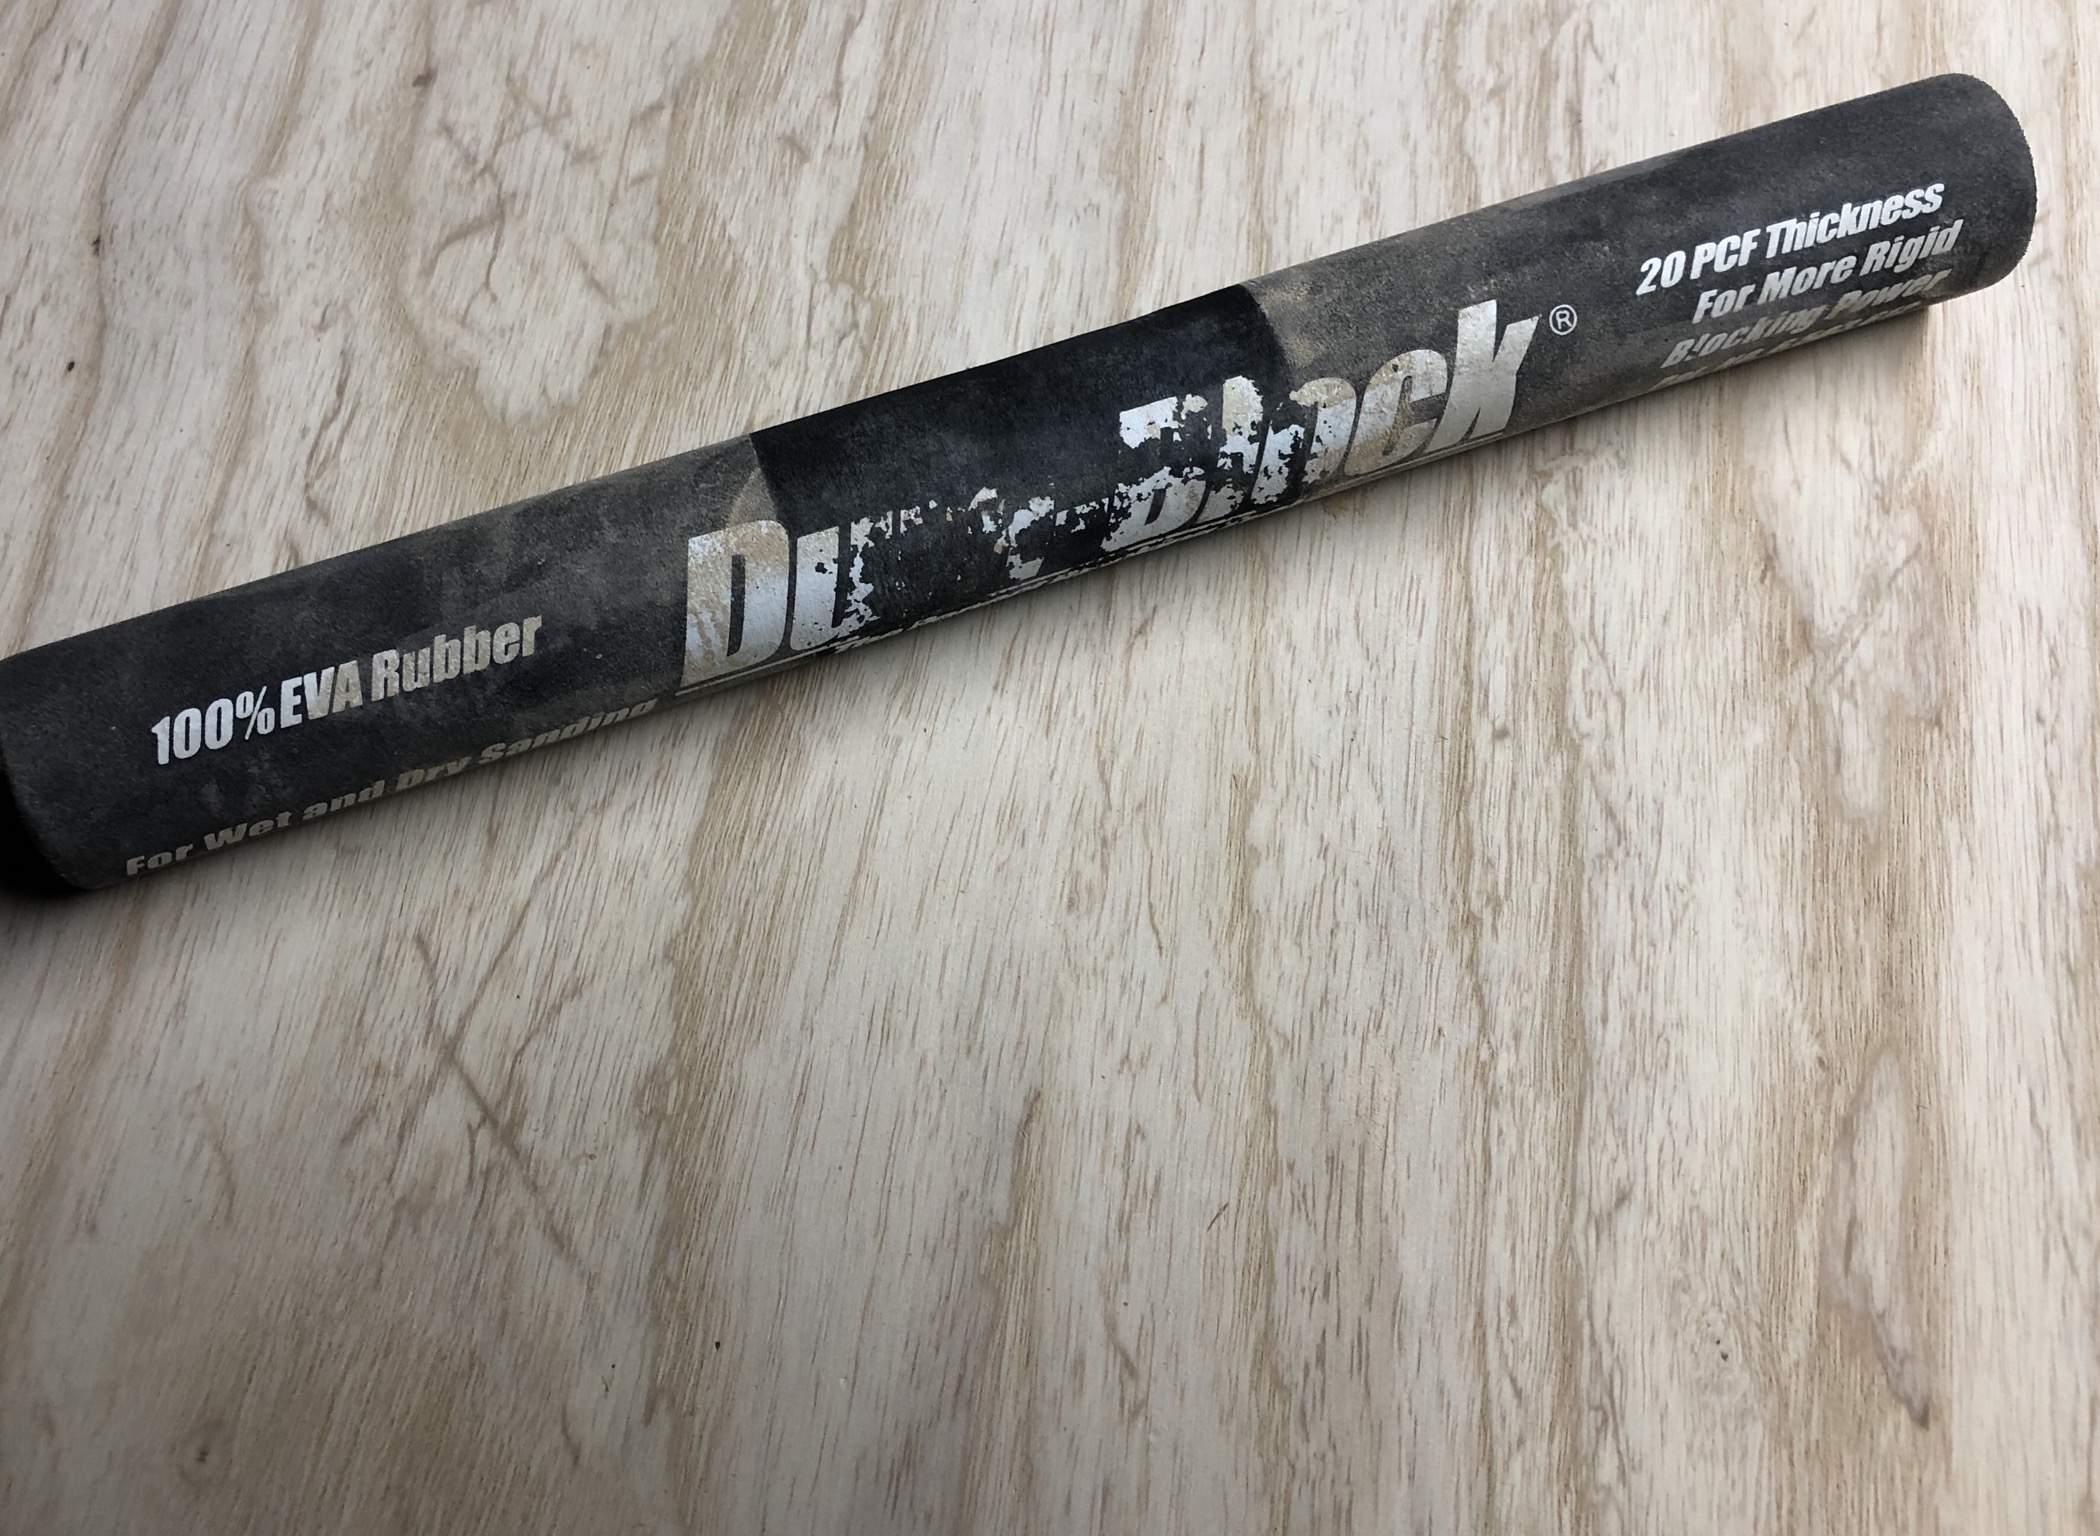
082043A1-4478-4274-9DB3-5894BDDD799D.jpeg


Off to the router table.

I go for a pretty tight radius on my P bass builds. Marked some cautionary areas lol.
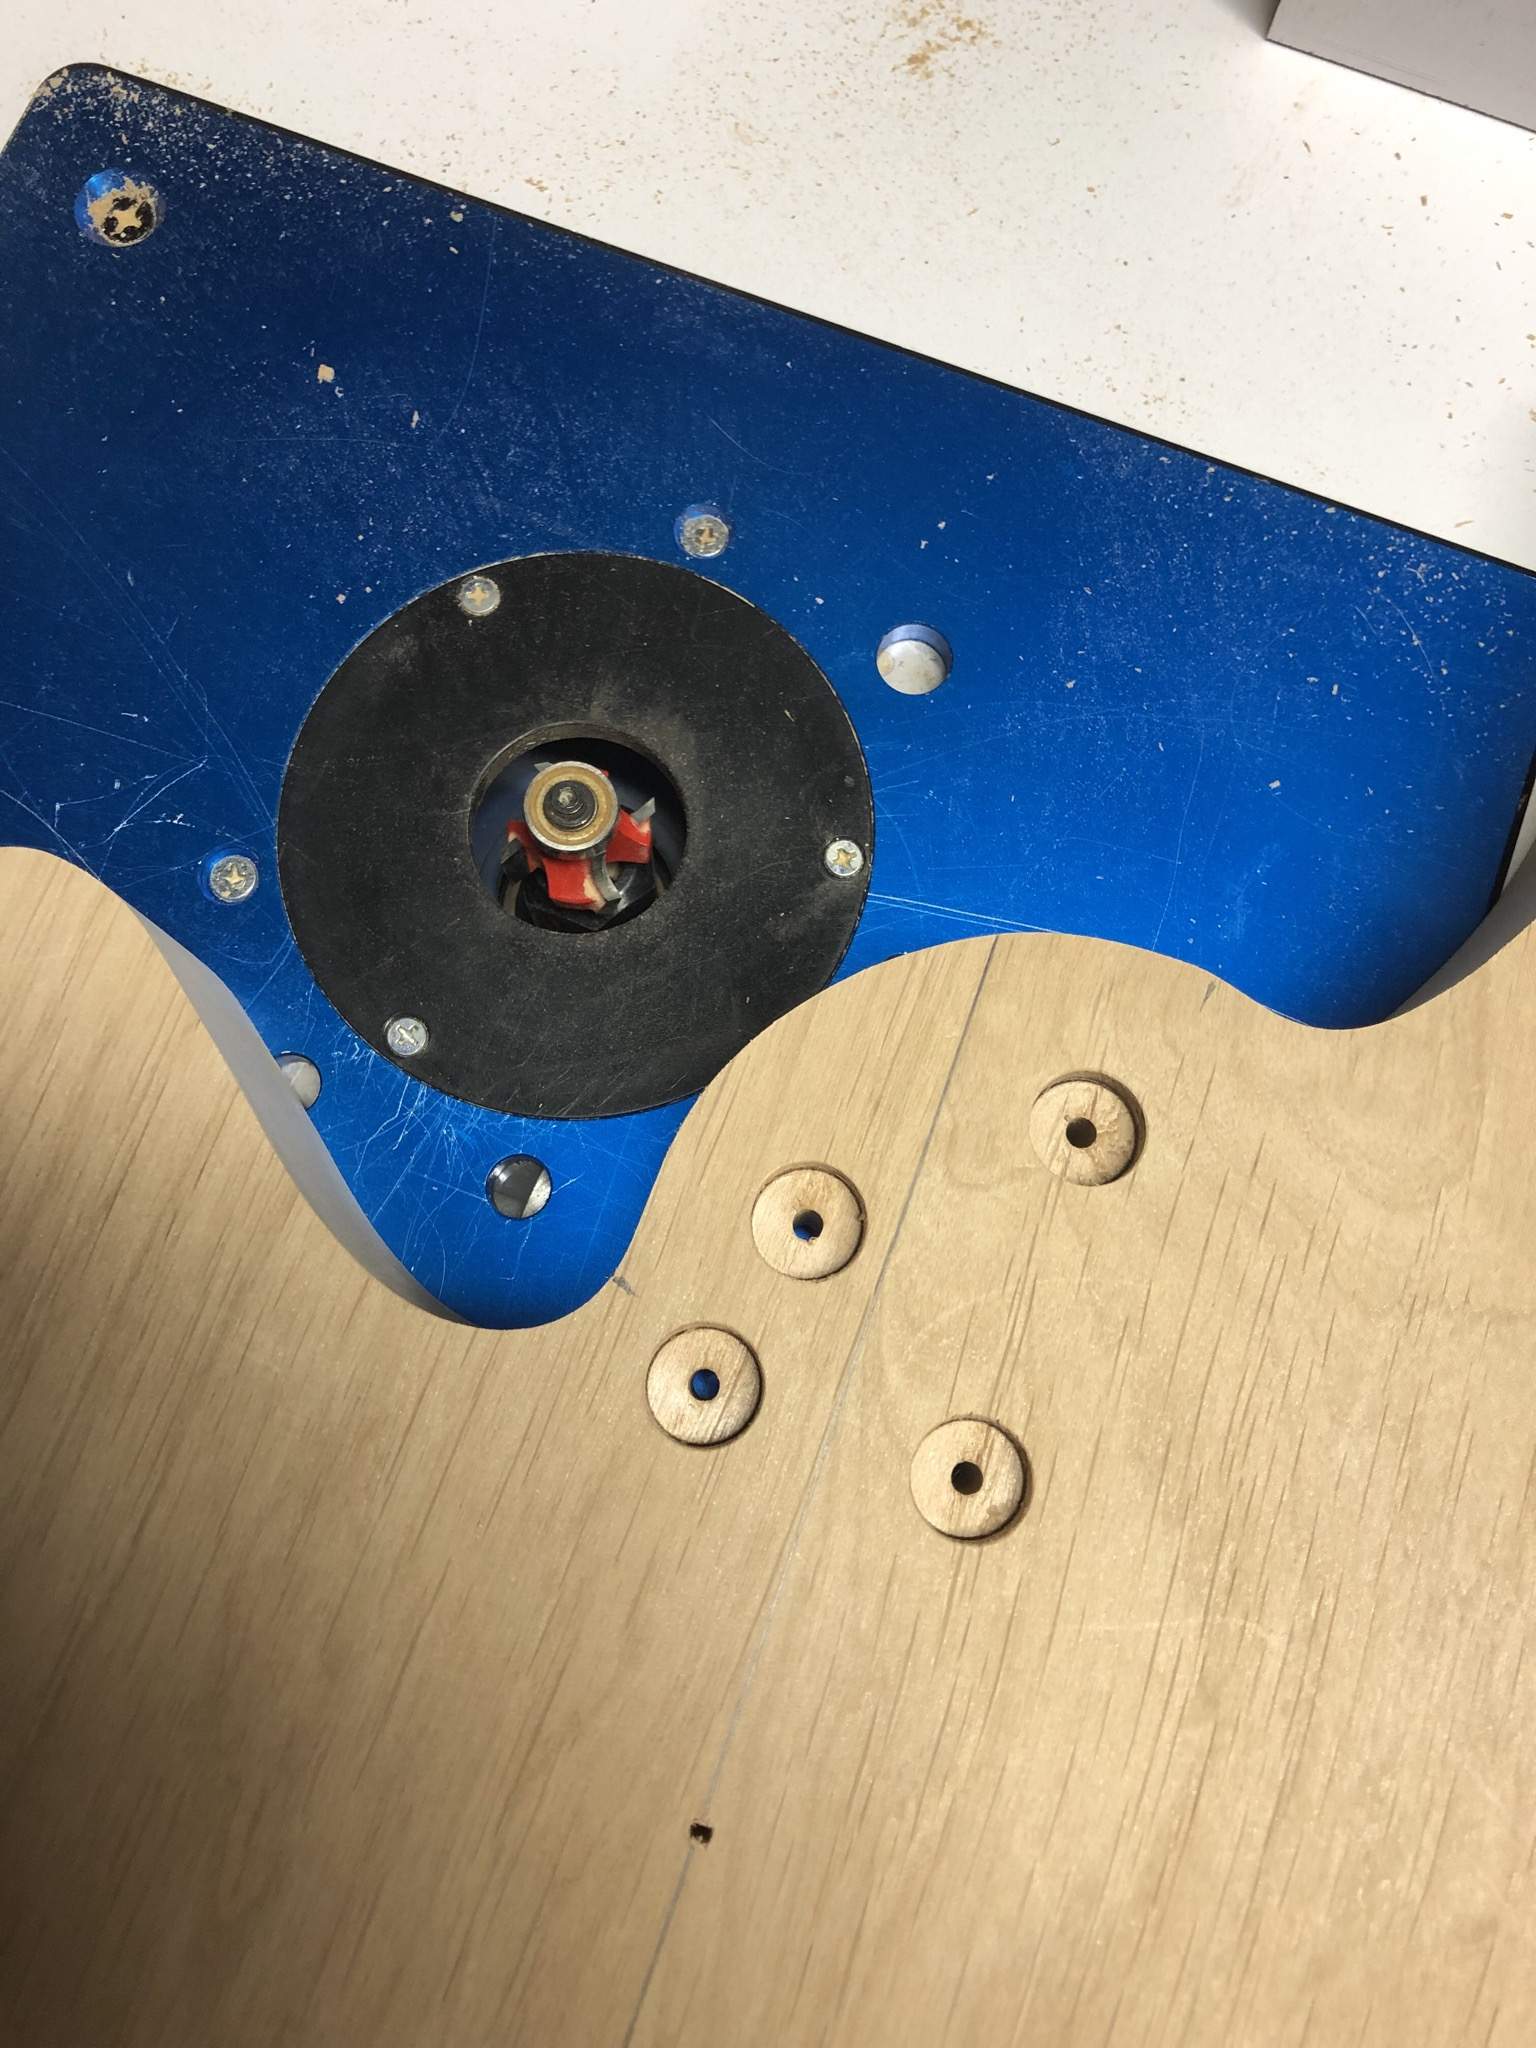
E968B3B4-7A6B-4AEF-AF77-1C1496B51033.jpeg

BAFD1B1D-B233-4380-8A5F-1CAA362D5239.jpeg


Looks good but I want this to be a little more flowy looking if that’s a word.

Go big or go home.
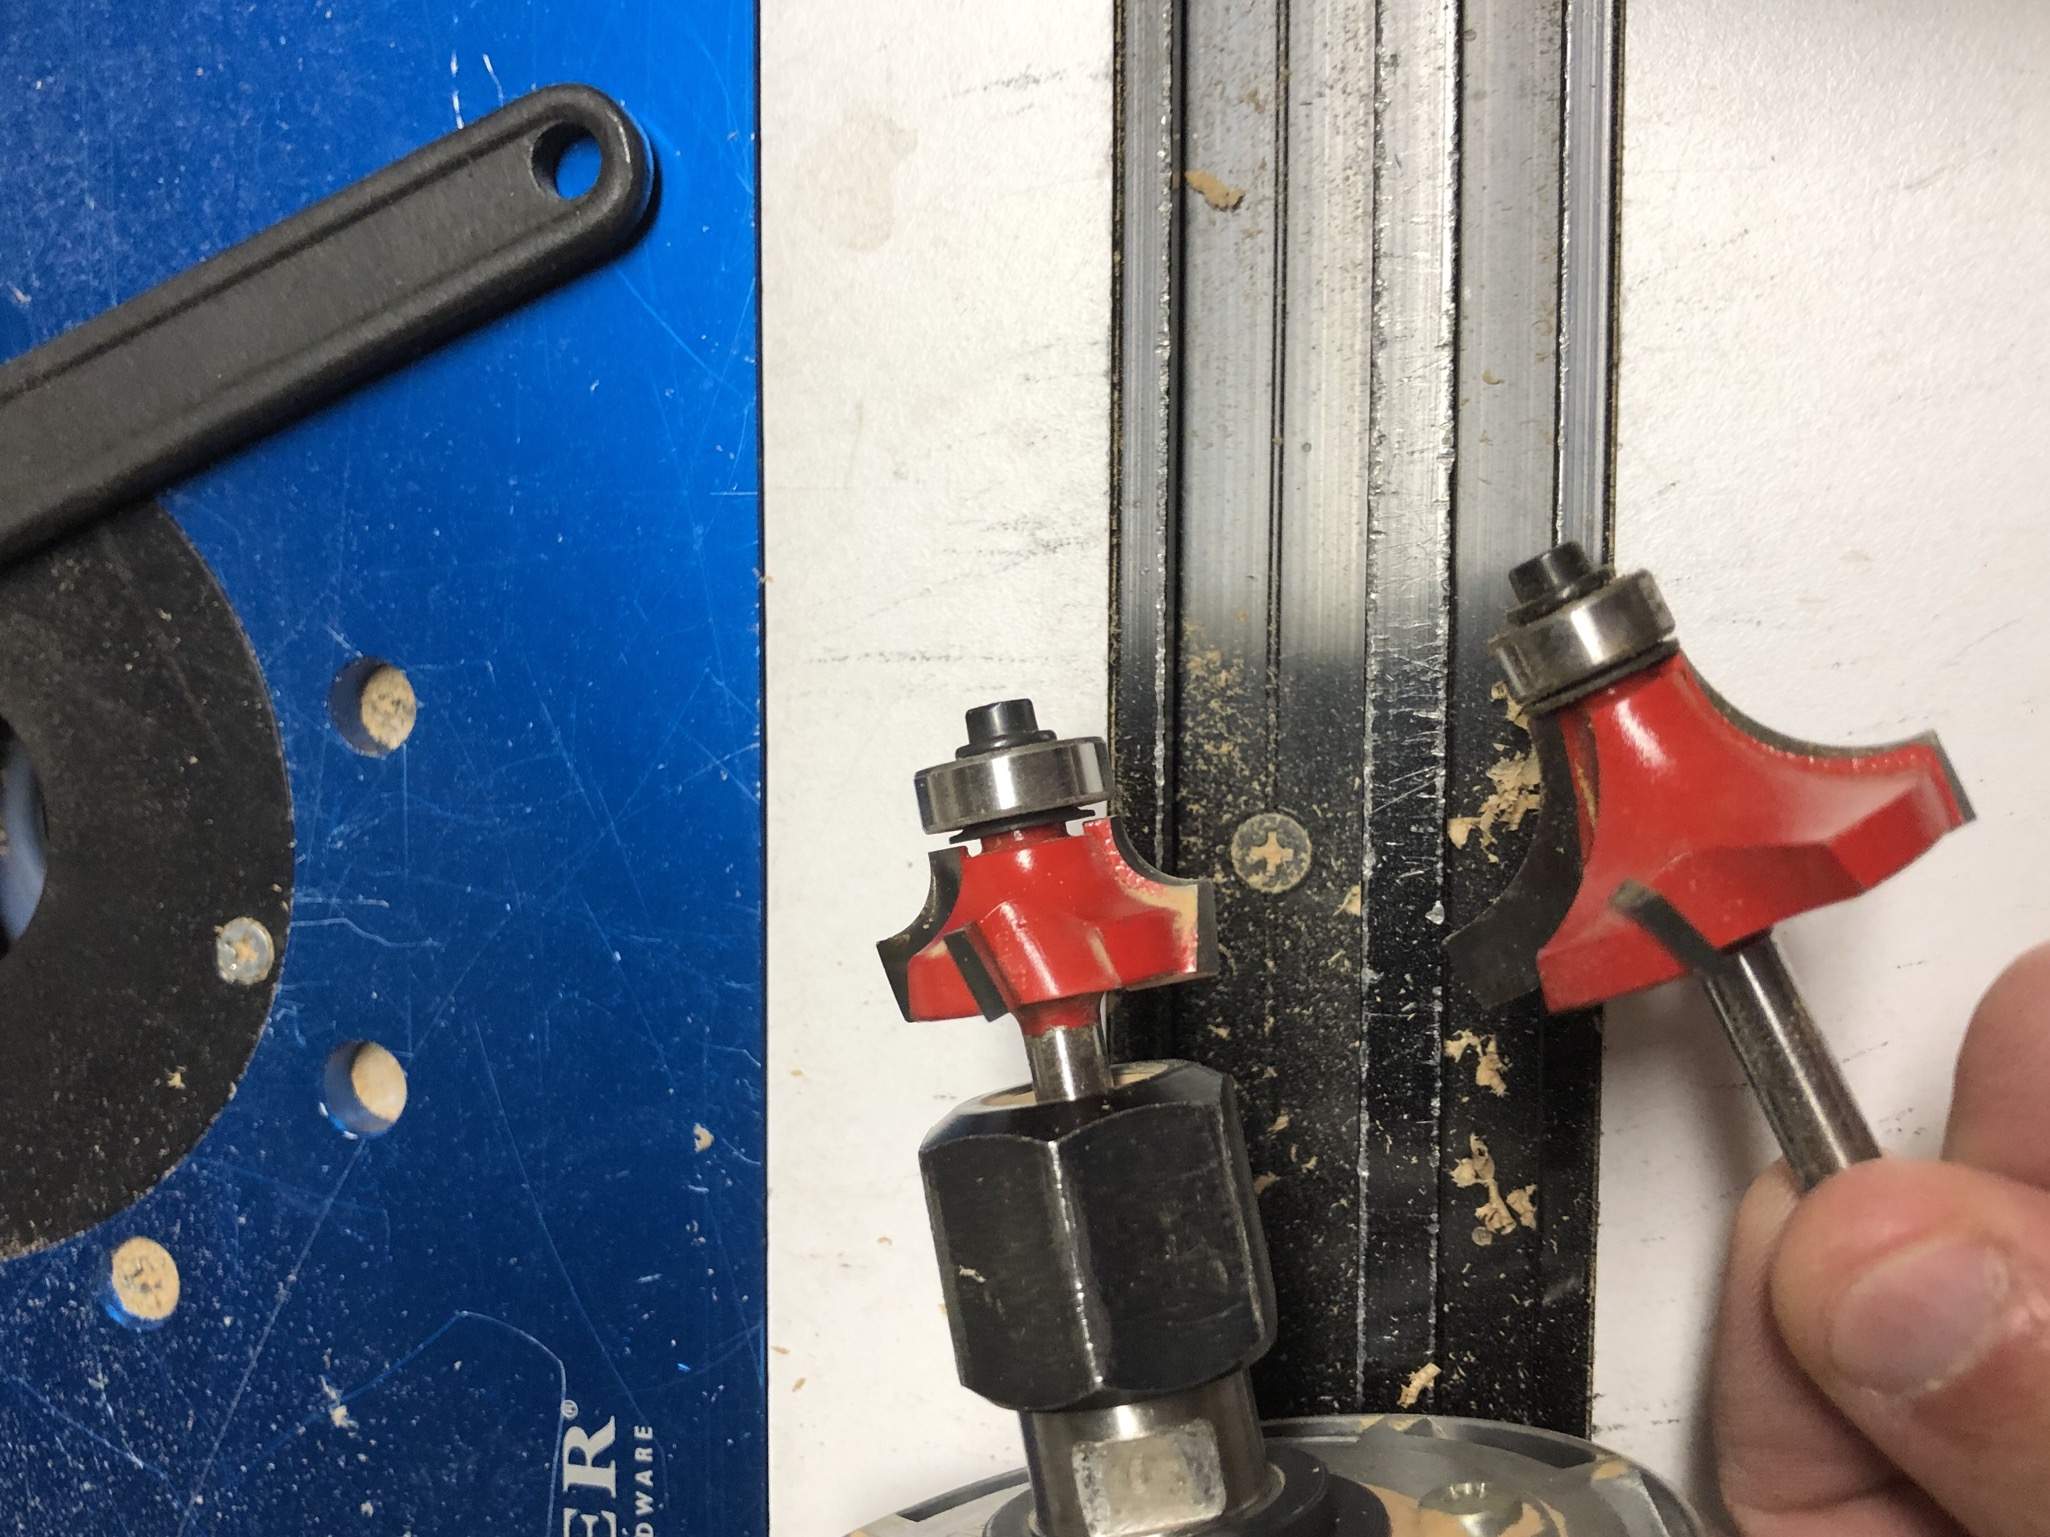
12AA4F03-C7E8-4131-9864-B9AC7F216274.jpeg


You can see the difference here.

Honestly it’s best to start with a smaller radius bit first anyway. It removes a bit of wood so when you go with your final radius, less opportunity for tear out or burns since you already removed a bit of material.

The more you know!
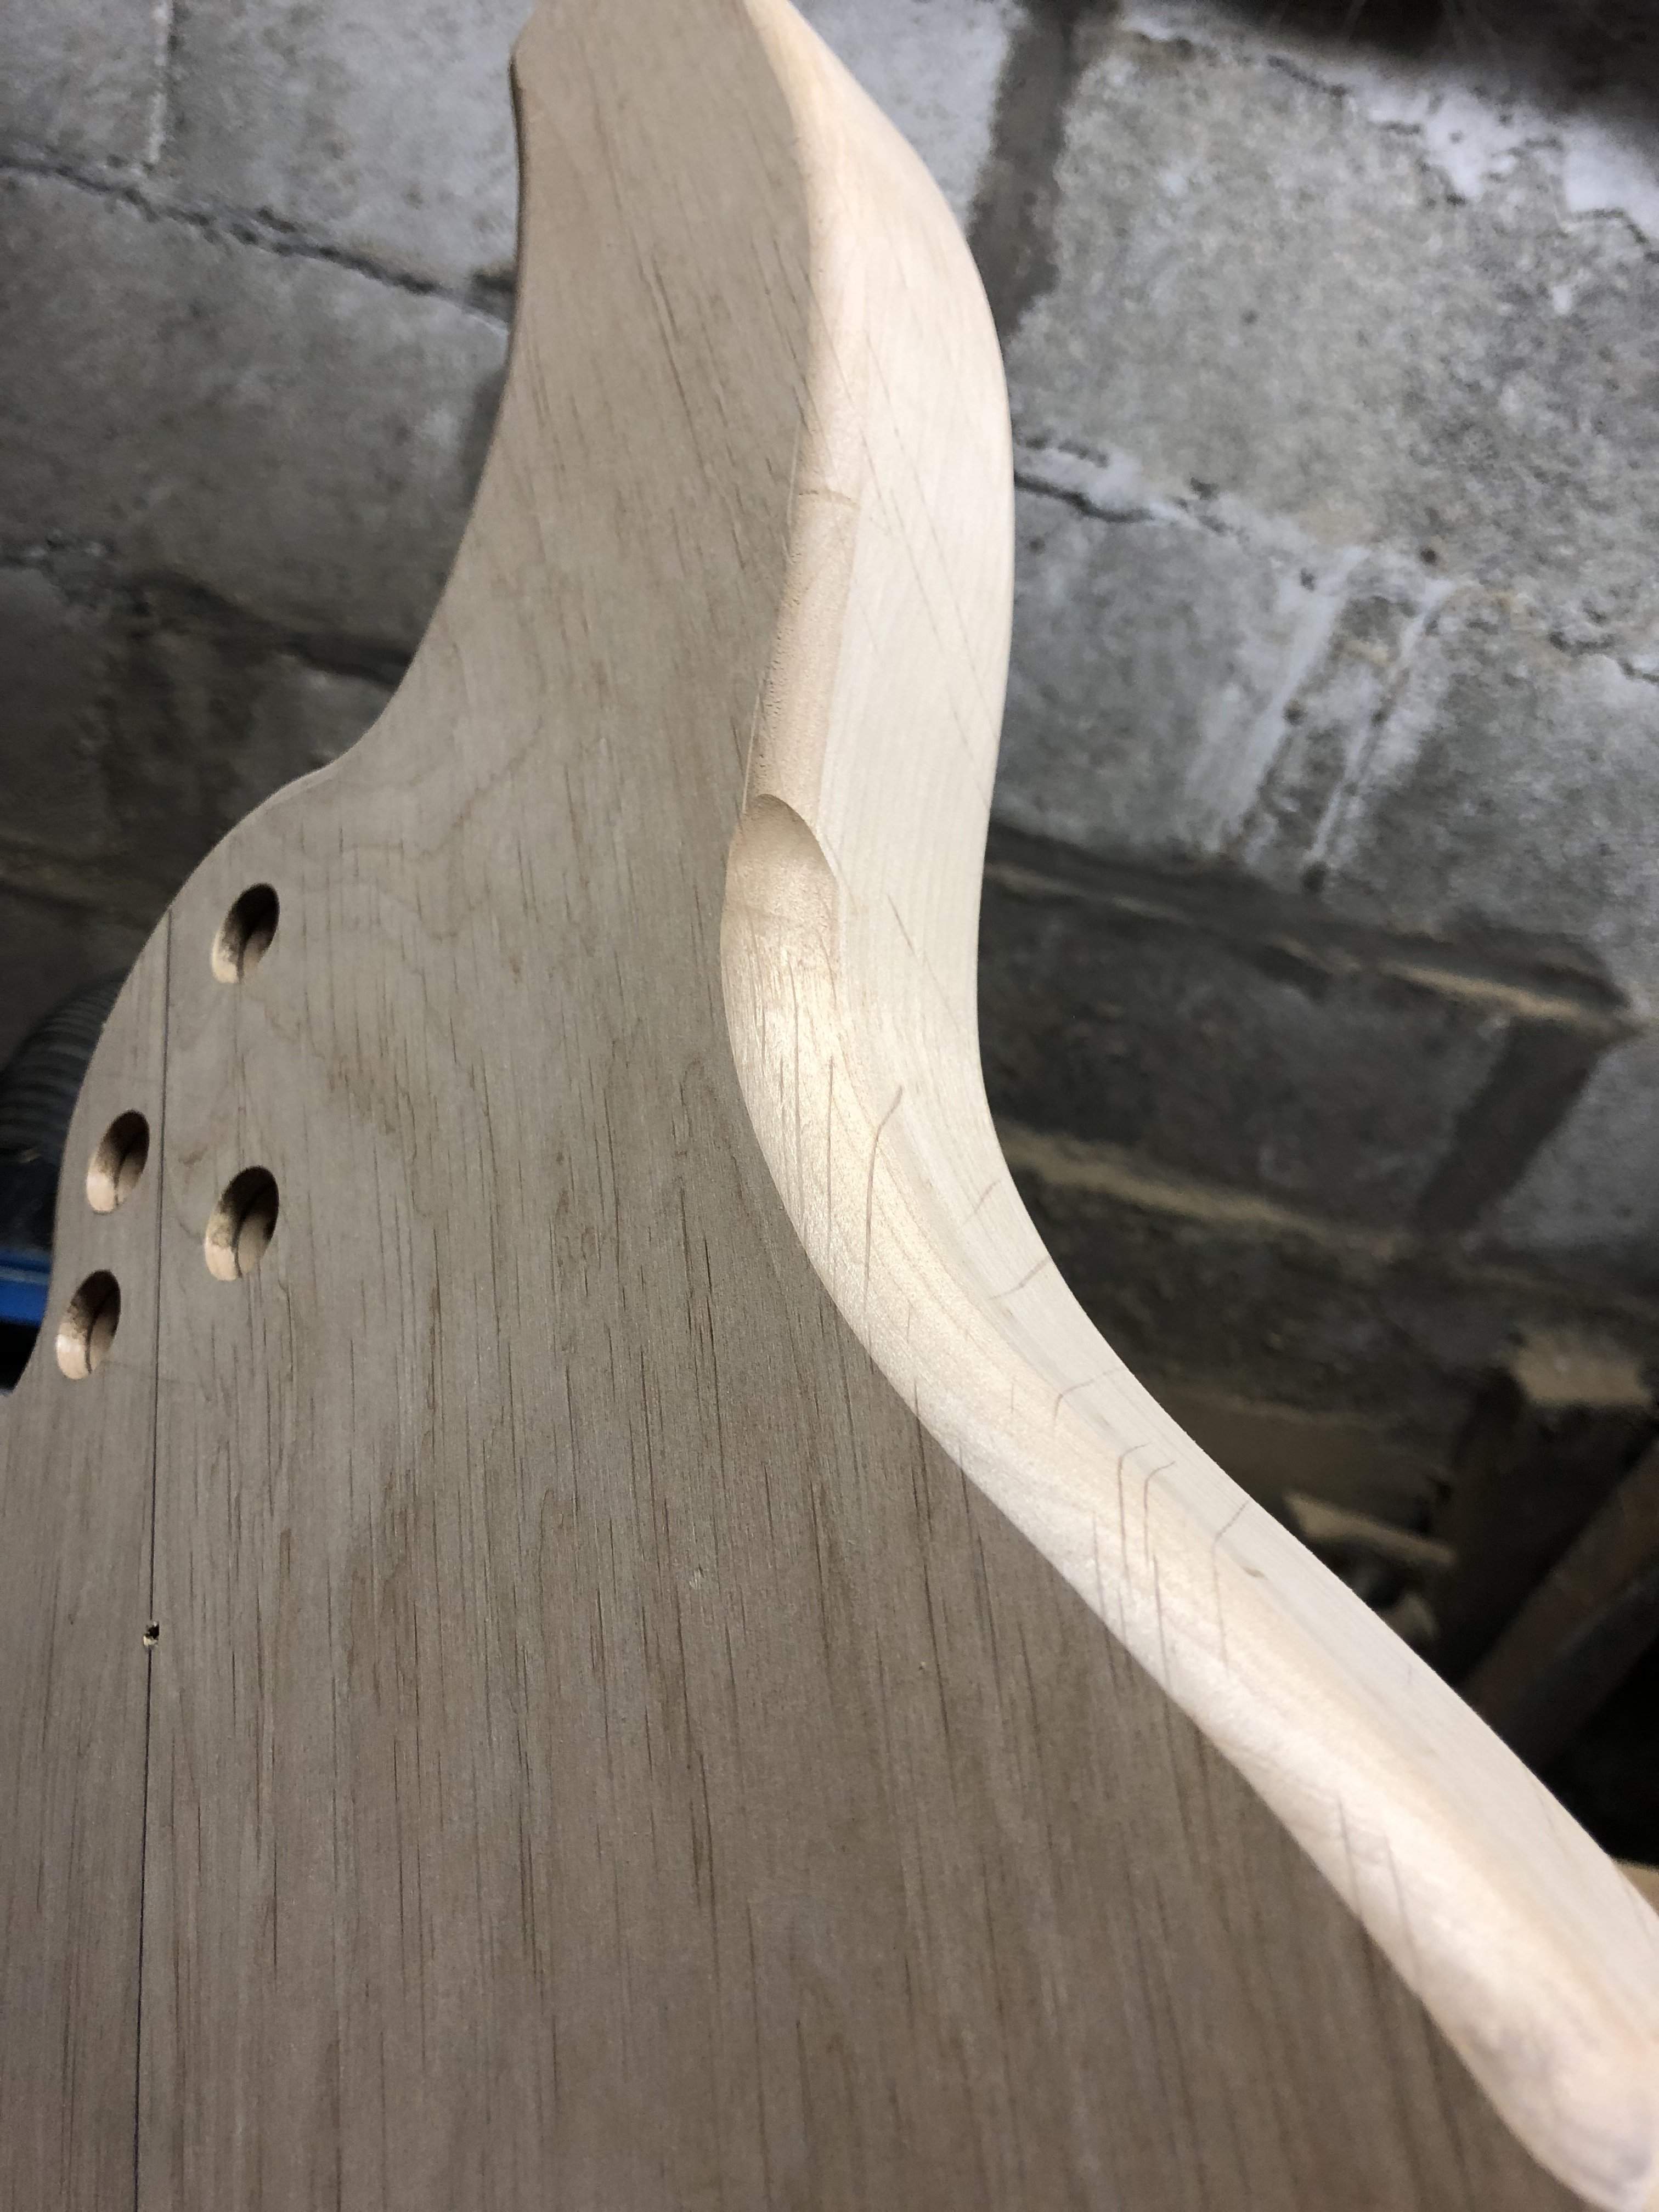
AA5FA8C8-FFE2-44A8-B198-7B491219C236.jpeg

That’s more like it!

A0373083-A296-462E-A3DE-94A9F2AB5402.jpeg


157626D3-1F64-4FCE-85F3-105E7A0787DB.jpeg


E8C46177-F68A-4C22-B1C0-FF6CFCC300ED.jpeg


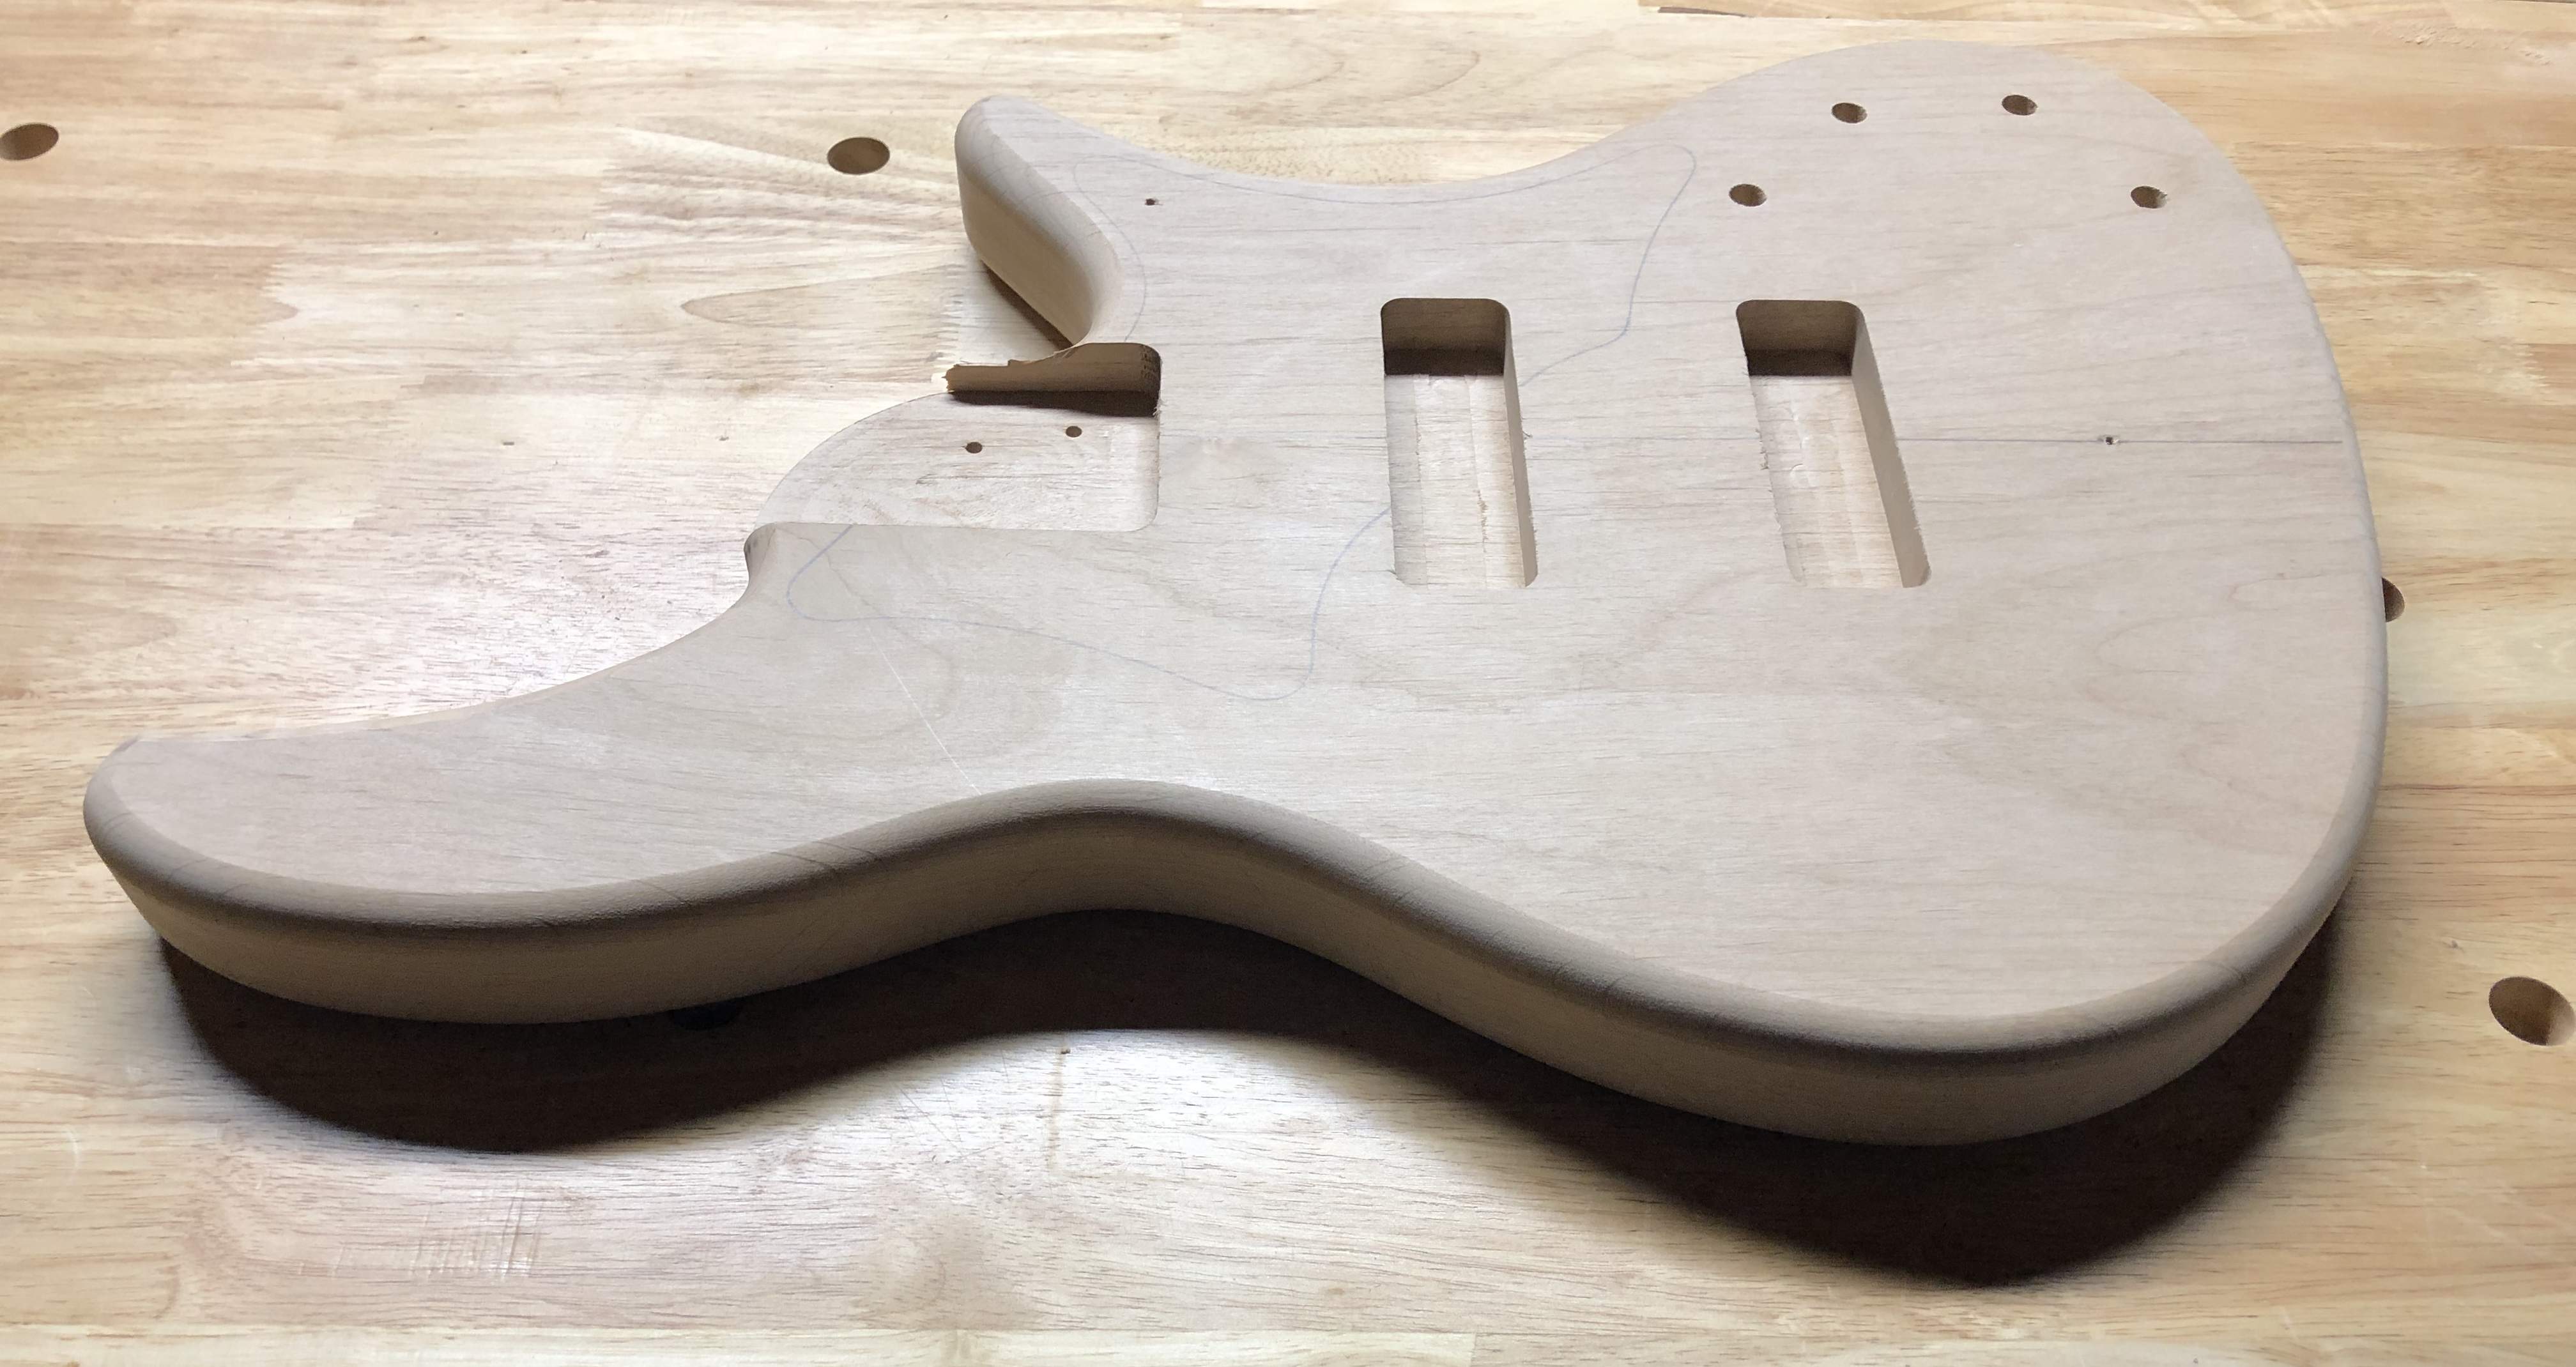
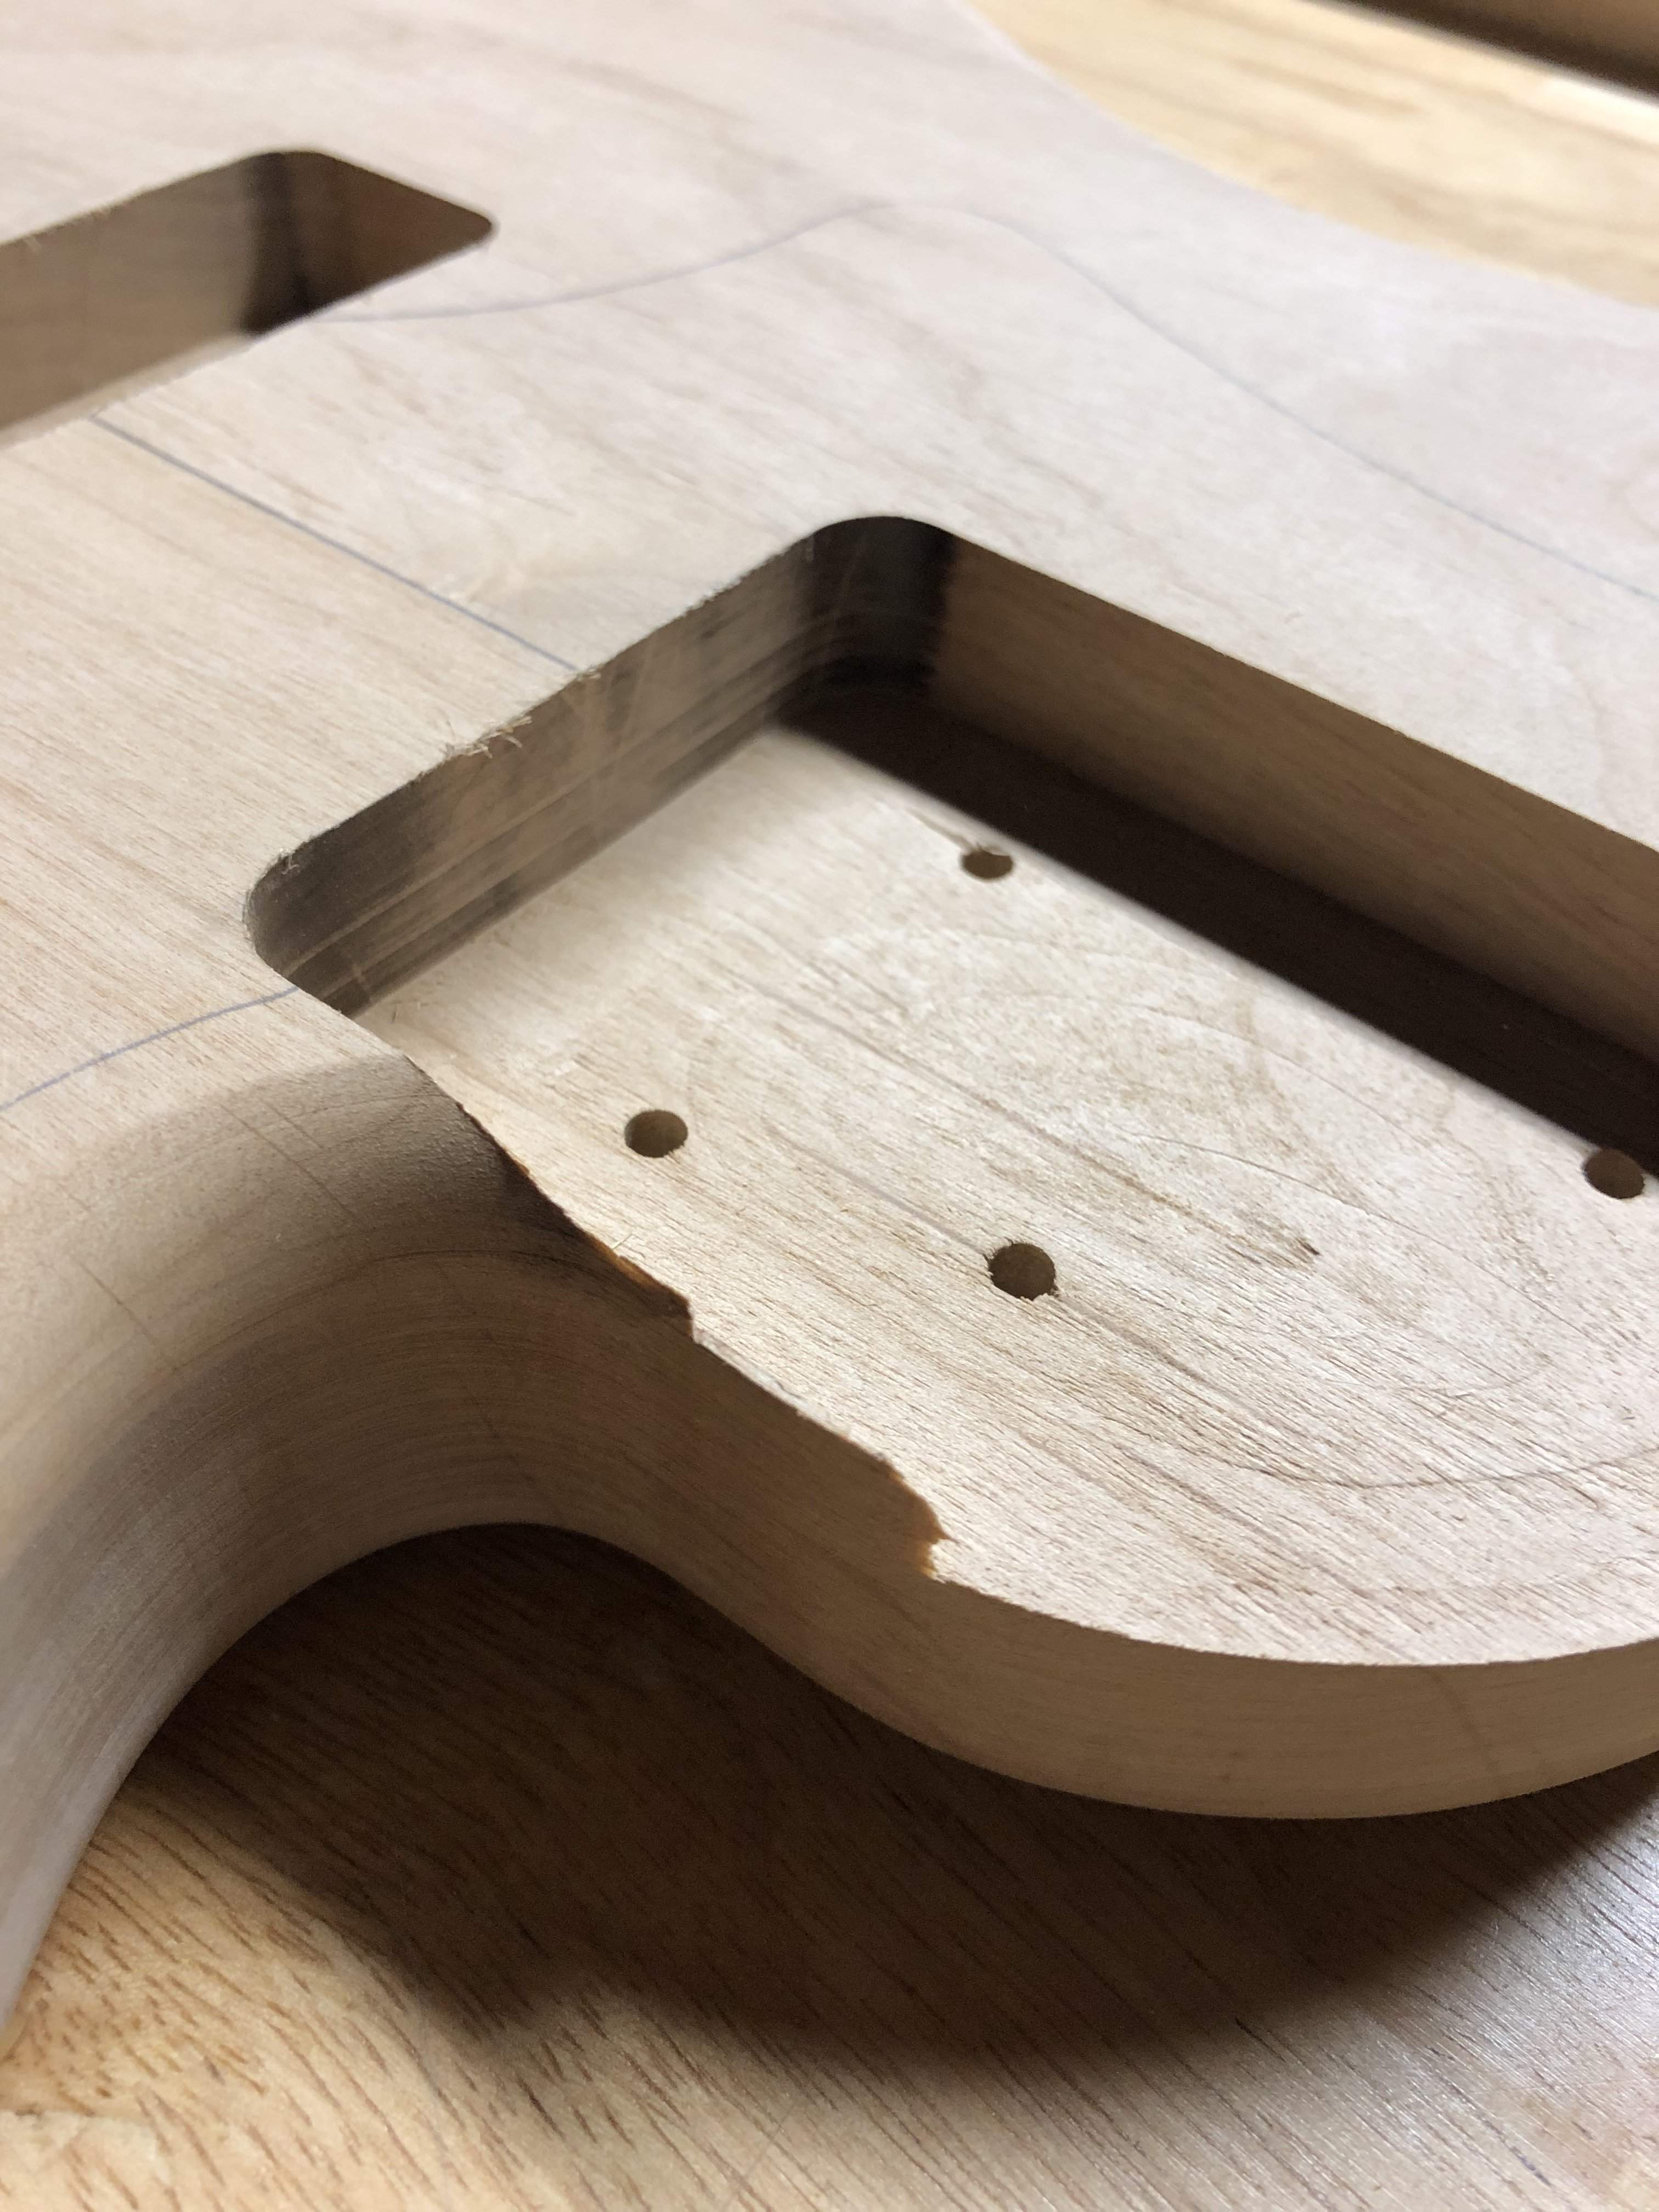
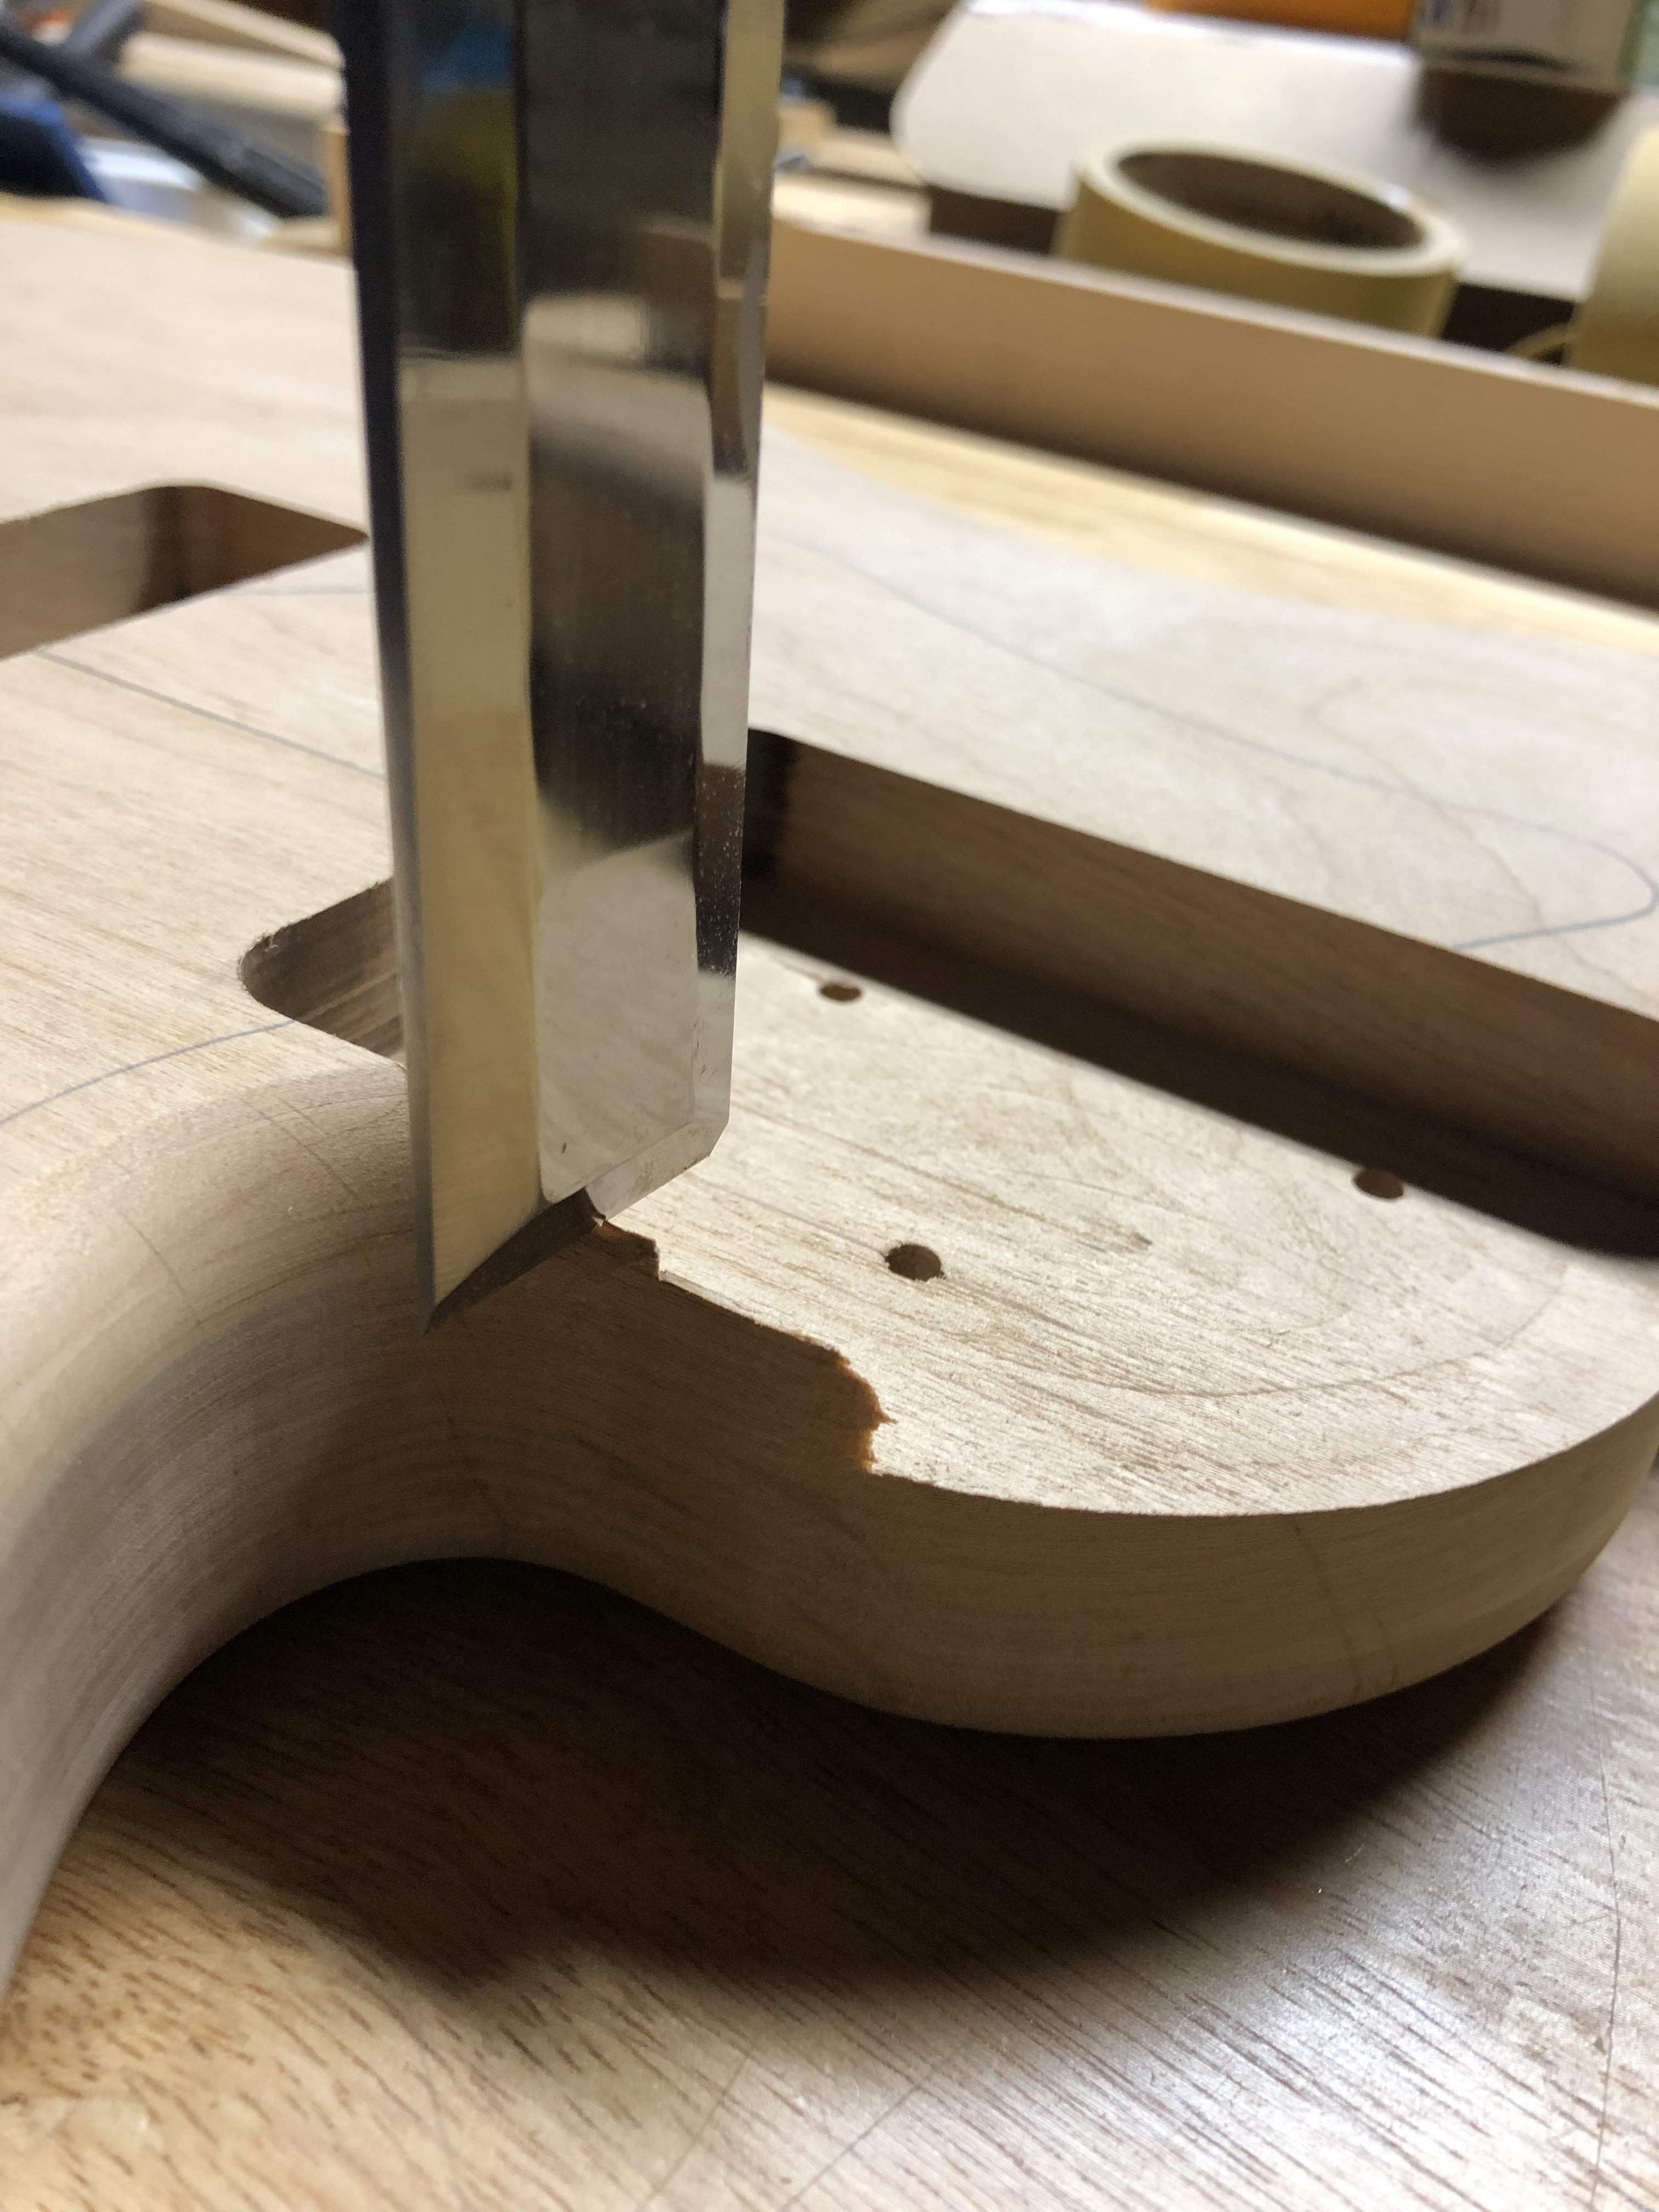
Now to clean this up.

162F3FA1-63DD-4045-9C44-42FE519A1F13.jpeg


Sharp chisel.

C2AFA08A-093B-47FD-A2C1-65F818F10FBD.jpeg


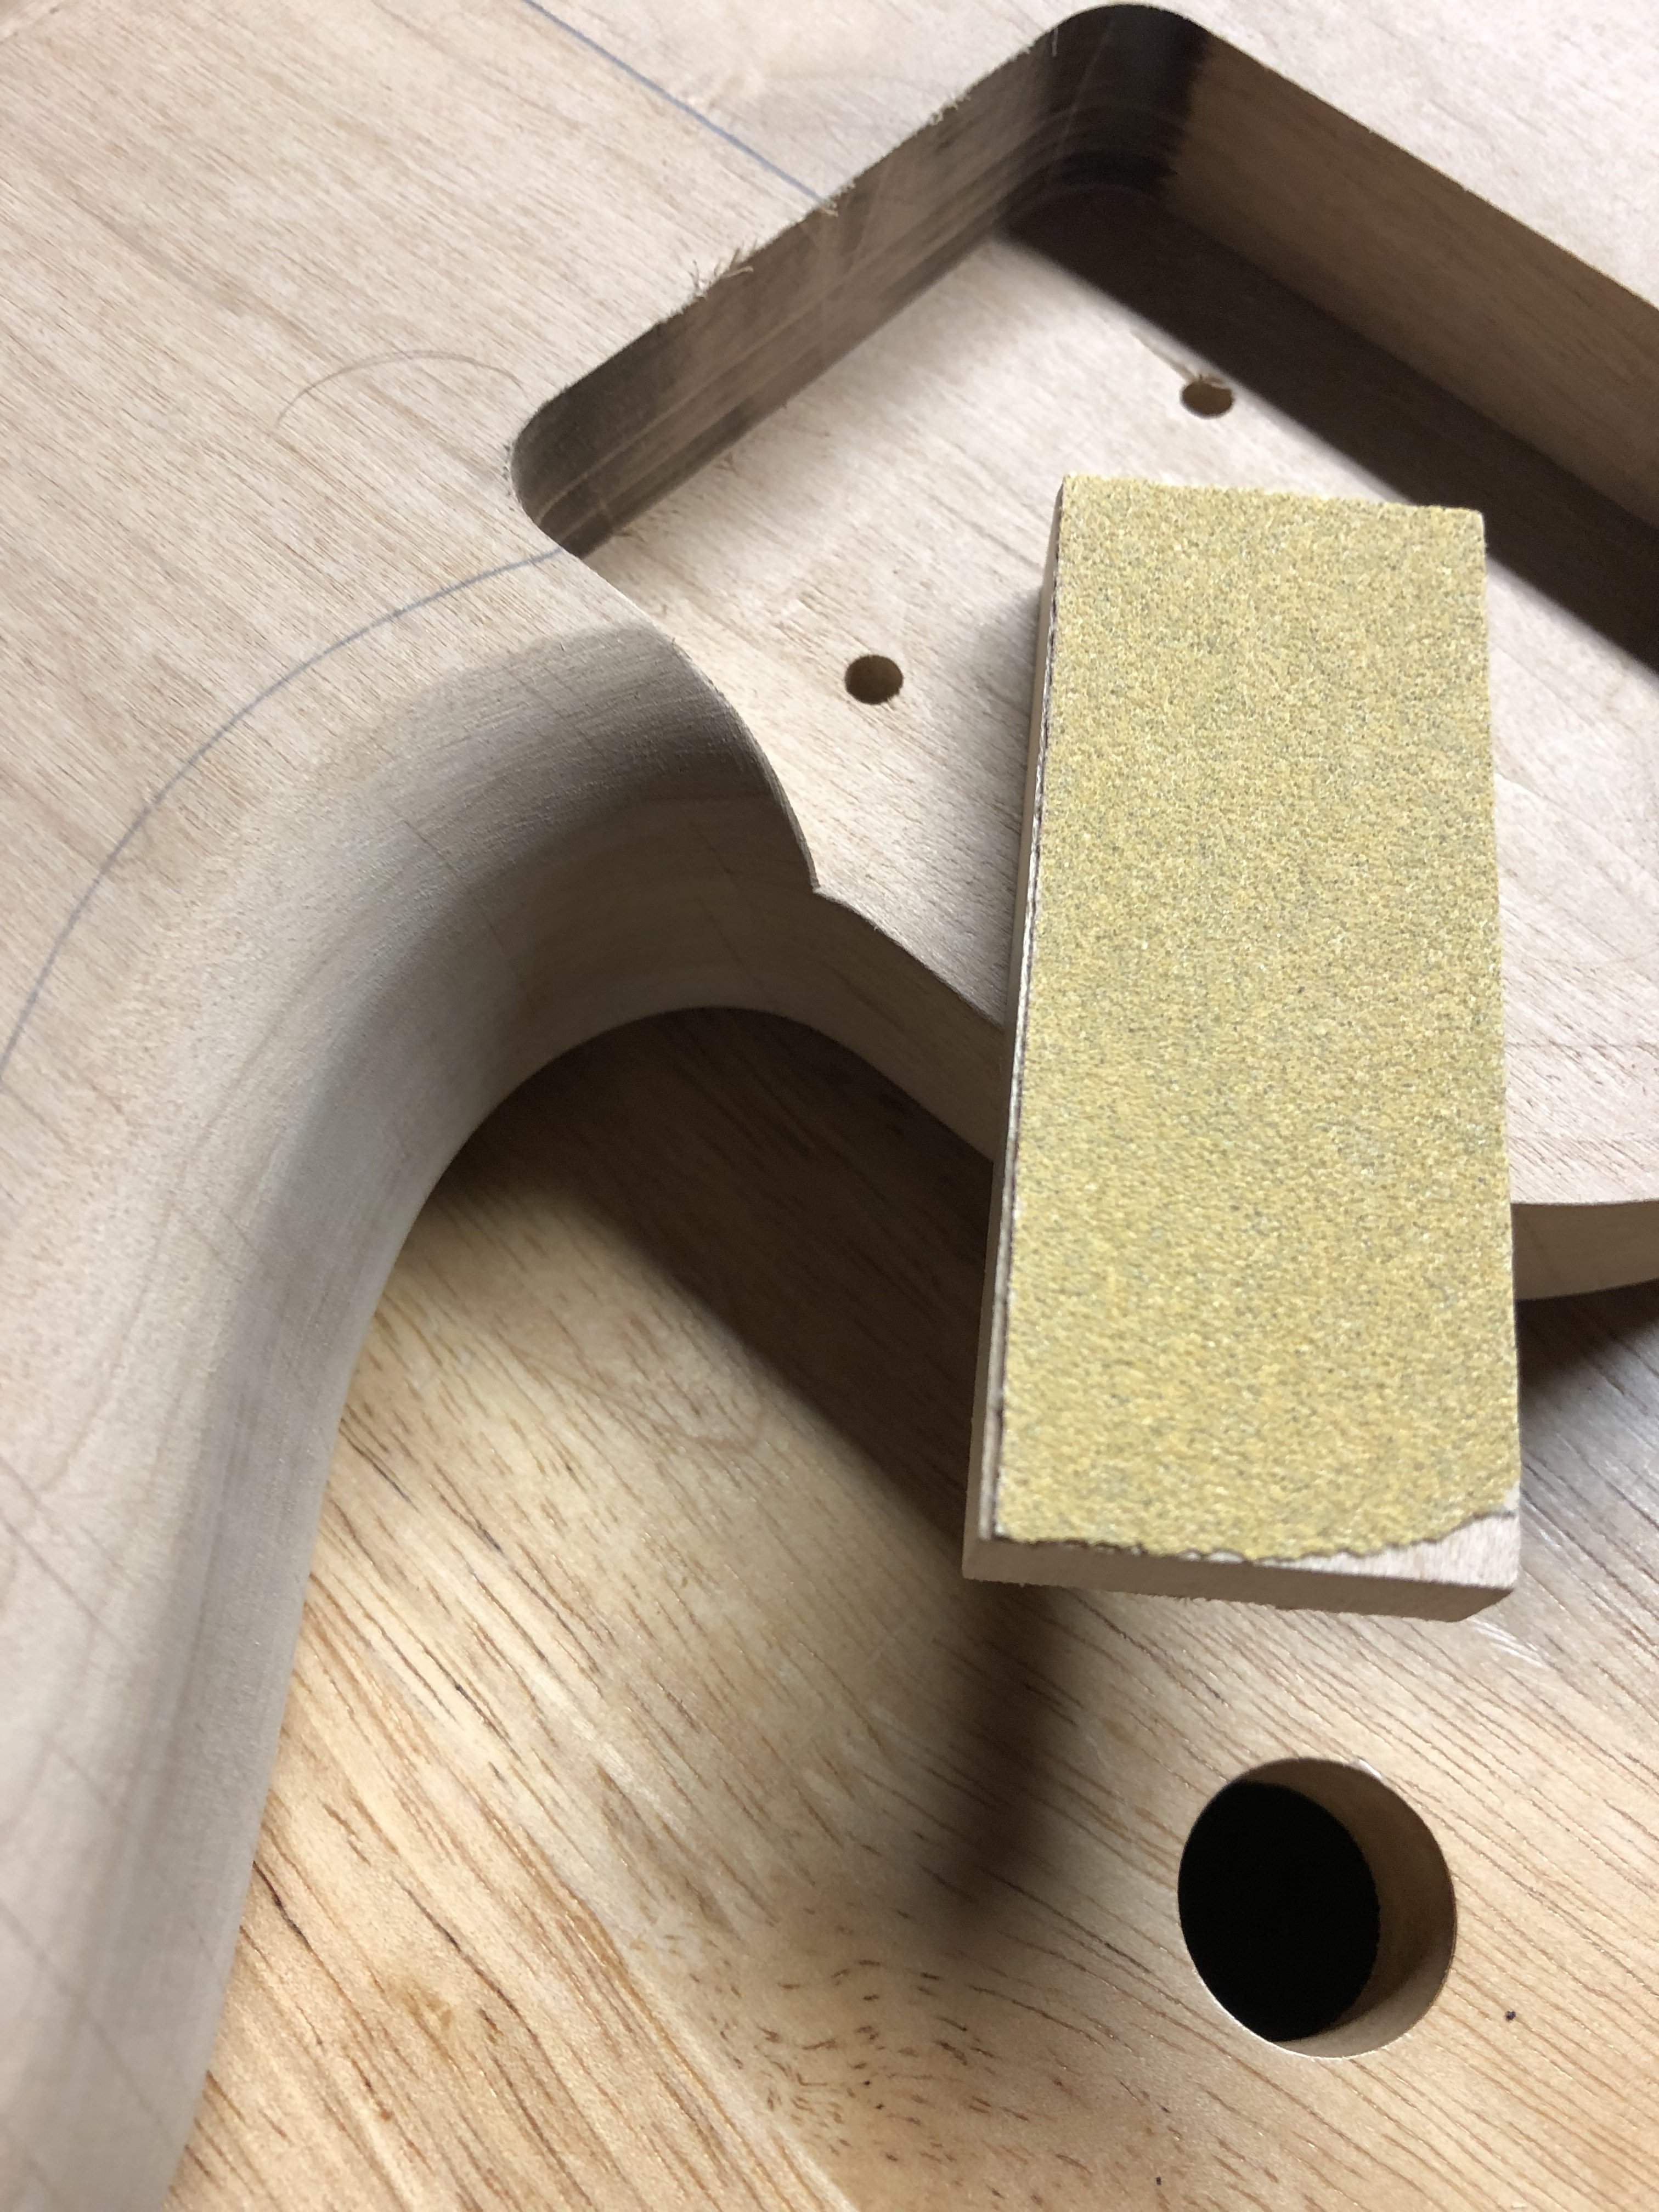
And a little sanding.

8AEC0F38-3BCA-47C6-A281-F5D428267D58.jpeg


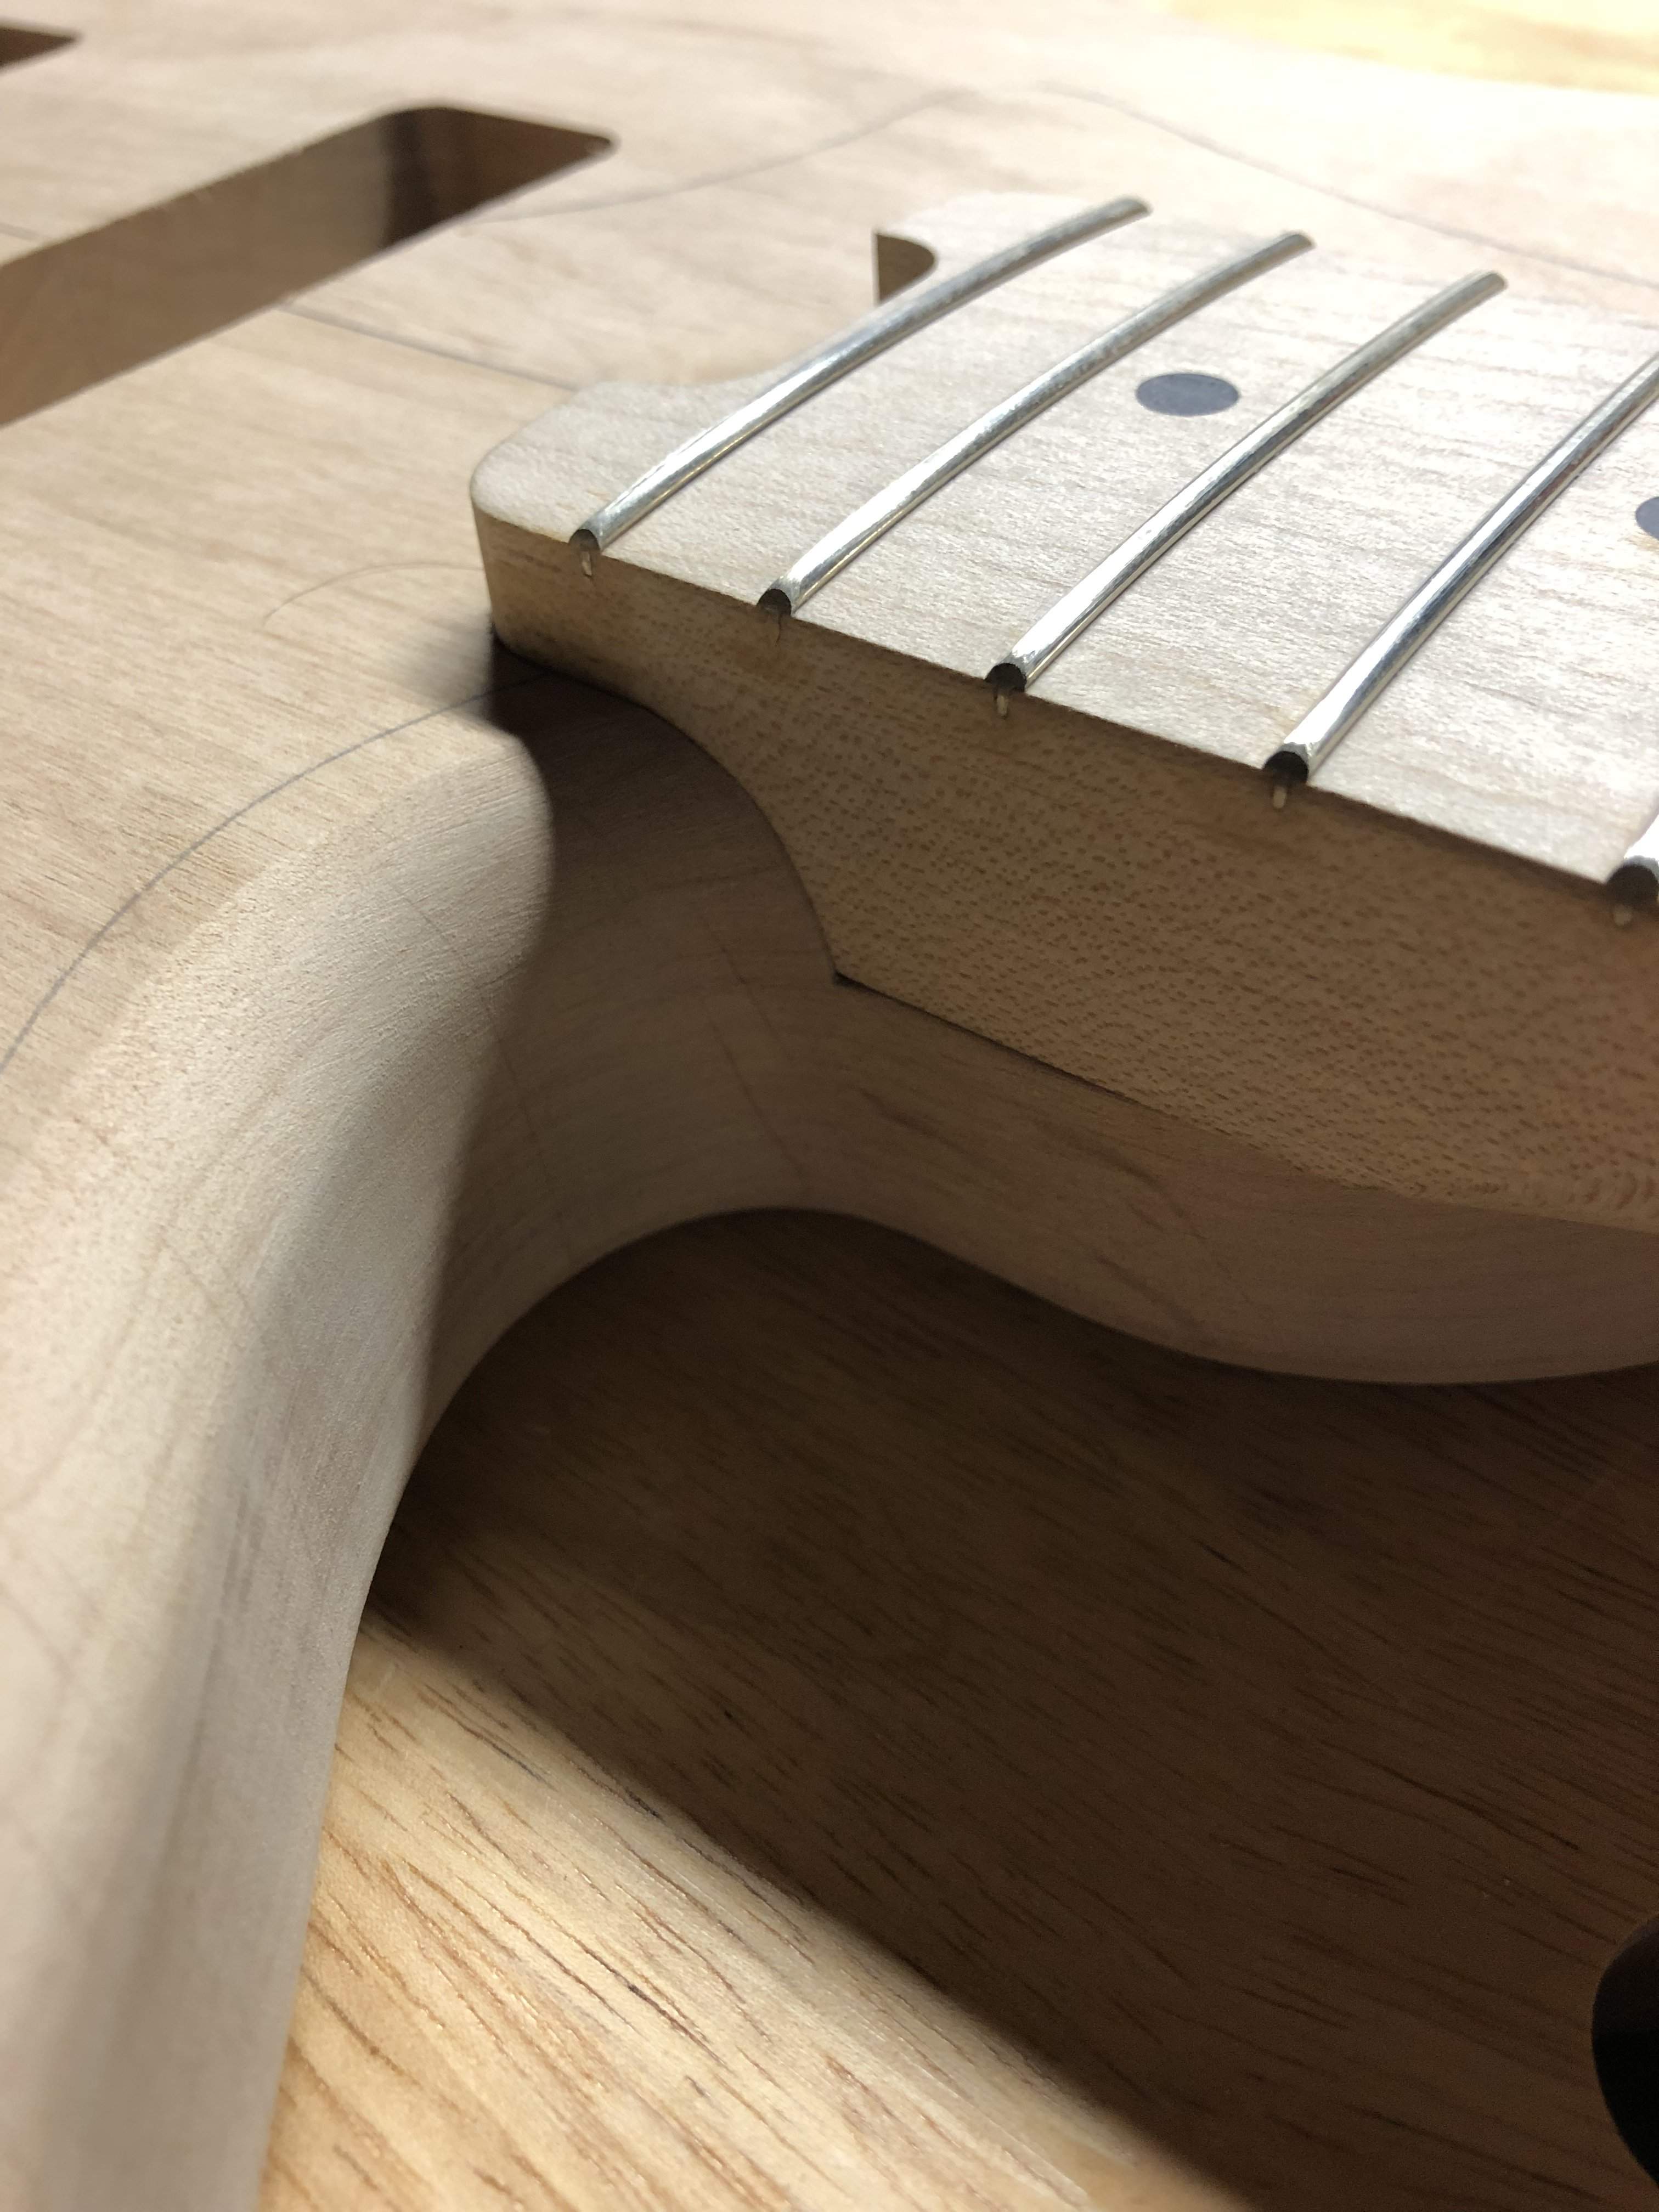
And we’re in business!

A04D6958-B617-4069-A678-6600671171FC.jpeg


That is not the neck for this build, just one I have laying around the shop. Still fits pretty good and the pocket is tight!

Everyone loves a mock up right?
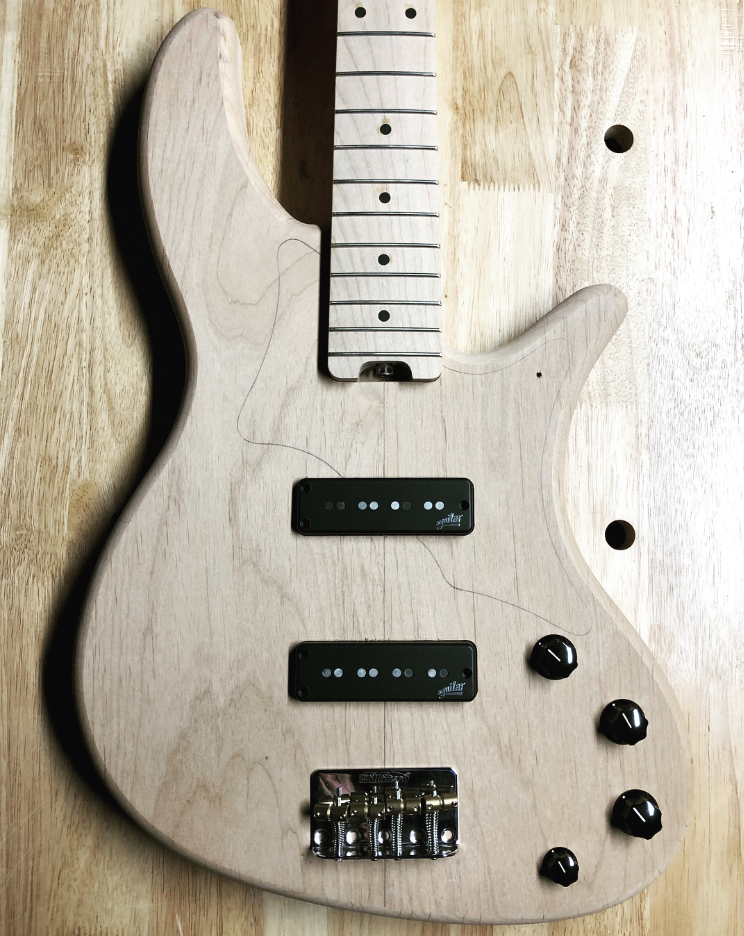
B30CE116-8B39-46EC-9863-6CDD742CFE87.jpeg


I’ll hopefully sort out the control cavity on the back tomorrow and then if all goes well I’ll have the contours carved by the end of the weekend.

Stay tuned, same time, same place!
 
Great job! Looking really good. I see you have 4 control knobs --- 3 larger; 1 smaller. What is your control scheme here? Volume, Tone, Neck/Bridge bias, active/passive?

Thanks!

The knobs and control layout aren’t finalized yet.

I’ll either just go passive, so the layout will be V/V/T with the output jack taking over the 4th spot.

Or I have an Aguilar and a Nordstrand preamp laying around. Both are 3 band, Volume/Blend/Tone/Stacked Bass/Treble.

The plan is that even if I decide on passive, it should be an easy retrofit if I change my mind and add a preamp later. Essentially I’d just have to add a side jack.
 
  • Like
Reactions: 83_Silberpfeil
Ok so I didn’t get as much done this weekend but some good progress was made.

I’ll be honest, I went a little overboard with figuring out my rear cavity but here it goes.

First since the round overs are done, I measured out how far into the body they go as not to clash with my cavity or cover.

5F4F8D76-6666-40FB-B473-A1BBAC29784B.jpeg


I made a duplicate of my top routing template too to make sure there was no interference and you’ll see why that was good in a moment.

Use my compass to set the amount in from the body edge I want to be at.

E75003A4-835A-4AE4-8C68-B1B2A8D807F5.jpeg

And marked on the template.

One of my pickguard screws needs to be avoided otherwise when I route the cavity, it might come through the top. You’d only see it in the cavity but we’re going for a quality product here lol.


4463362D-4CA4-4D82-8AA5-71D697FAC4CE.jpeg


Anyway I still out the control layout with a 1” bit too to see how the pots will sit.

2C746291-FA5E-4F13-B93E-6557228EE84F.jpeg


C284A1B6-44D8-4859-AD43-0EEAB483A22F.jpeg


It’s good clearance of the cavity walls.

Now I’ll cut that area out to make the cover template.

6264B694-B316-4BB4-BA50-476CD4A9E435.jpeg


Cool.

More templates to make templates...

1DC8E36A-602B-4AE4-BE0F-DEEB16914192.jpeg


You thought I was kidding when I said overboard.

Template gets marked again with needed reference points.

5051D24F-90A0-4666-B1A8-31524D1A2CFE.jpeg


042223A2-A6E7-4A99-8925-01422588A01F.jpeg


And sketched out.

35F332AB-A781-46C0-A5BB-01F65EC02ACC.jpeg


“No” hole avoided.

94AC503F-742E-477A-80D3-B123BF02025F.jpeg


That’s a cavity. Now I need a recess cavity for the cover.

I basically duplicated the cavity template above. Didn’t get a picture of it.

Then I put 2 layers of binding tape around my cavity cover template.

E337C0BC-604D-4D84-967A-5972E400502D.jpeg


Position the cover template on the 2nd template I made with the cavity cut out. And slap some scrap mdf on the flat sides.

D7C210B0-664F-4781-9C1F-860DFFCD6A11.jpeg


Trace the curved sides, then off to the router table to take care of the straight edges.

AA496280-4DAE-4325-BE36-13B391755DD4.jpeg


Then sand the rest right to the line on the ROSS.

The tape gives the cover a little play to account for paint build up later.

I may still have to sand the cover later but check out that nice consistent gap around the perimeter.

2E4115D1-EC67-40B3-9043-9F360855D94A.jpeg
 
And then I make a copy of the cavity cover just because! Lol

Actually I made it out of 3/4” mdf since it’s such a small piece to route. I figured the extra thickness would keep my fingers further from the bit later on.

Happy finding though. The holes I drilled out to locate the pots were a nice feature to help hold the template while routing so I included 2 of them on the new template. I’ll still use a block too though.

Drilled the mounting holes too. Used the compass to draw a consistent line around the edge and marked my holes evenly.


Sealed with superglue.

1BB7689D-EE75-48E8-9172-EEB6F7B775A1.jpeg


37FC827F-D322-41C5-B38A-B462ED13FFF6.jpeg


BE2C13C8-F1A7-431B-A877-43B147C6C3BE.jpeg


That will work.

Marked the body. Enough room for passive electronics that’s for sure!

E35F668D-1A49-4F32-8DE5-34B599F0CB3E.jpeg
 
I’m usually in bed by now, but I’m a man on a mission tonight.

Destruction.

1566EFC4-A294-4127-91B1-2AAB91A55929.jpeg


Routed!
FDCCBAB7-2C4B-4E02-A85D-3196D35013BE.jpeg


Recessed. I used a piece of the back cover material and then added the thickness of a razor blade to give a little extra depth.

288B5C61-4383-4D75-863E-288EDB5049ED.jpeg


Cover. I couldn’t take a phot while doing it but using a push block in one hand and holding the template by the furthest hole works great.

F7C36182-3CE2-43CE-84DB-B44055A9A15D.jpeg


Fit

EE3C3204-59FC-44F3-89A3-1C7D91E66603.jpeg


Just below the wood surface. Still have to countersink the cover holes.

6F9D760C-055F-4C13-BA80-26B6039D03DE.jpeg


Boom!

74789DE8-8475-4239-91B0-1DF43AEEAD81.jpeg


Contours tomorrow.
 
Last edited:
You, sir, are a template guru!

Thanks! I try to have certain parts of my builds very consistent with templates.

Other parts I pretty much eyeball for the most part. Like contours:


Draw some lines on the body till they look right to me.


9839E943-AEAC-4D67-8E65-0F5E96CA290E.jpeg


Hack away at it with some rasps and files.

7B29E9E0-B441-4482-A24B-298026E7A363.jpeg


73F20A27-1C0B-44F2-9E8D-4E3FC863F17C.jpeg


037B7501-2A47-43CC-B658-C7F6F2616B46.jpeg


Only got the forearm contour done. I’ll work on the belly and heel cuts tonight.
 
Thanks for the kind words guys!

Yeah I spend a good bit of time on the templates up front but it pays off in the long run.

Anyway, back contours are done with the exception of some final sanding and scraping.

I just used a rasp and files. I really dig these dragon files from stewmac. The curved side fits perfectly for my heel contour. I also got some of their small razor files which work great in this area too.


21ECF4EC-AAD3-4E59-9516-A543C380E689.jpeg


3F70CBB5-34C1-4D49-9BE4-35B906330E76.jpeg


4682D294-36F4-46F1-A105-AB99F38D5613.jpeg


4C602778-9CBB-498B-8161-F6C23B0029B3.jpeg


That looks comfy.

Belly cut handled the same way. I usually use a Shinto for that which is better, but it was in the garage so I went with the course dragon rasp for the rough work.

6046875F-59B6-4E06-A591-DB25B5F75ADA.jpeg


57E1A8CF-F885-4DF3-B0CD-65BA72C3EE6F.jpeg


C1D80237-CECA-4B2A-A97A-BFC7D2EAC396.jpeg


We’re hitting the home stretch on this body.

Gotta drill for the bridge and wiring channels. Plug my template holes and do all the final sanding.

My question is: What color should this thing be?

I’m thinking Olympic white would be cool as it’s based on my Oly white Jazz.

Then again I have a hankering for something metallic. Ice blue metallic maybe?

Oh and we have to start the neck soon!
 
My mild OCD really likes that the wood grain pattern is perfectly centered in the belly cut.

Ha! I didn’t even notice that, pretty cool.

We’ll say I planned that.

Now this isn’t a particularly stunning piece of alder but it is nice. Maybe Natural/tort could be the way to go?
 
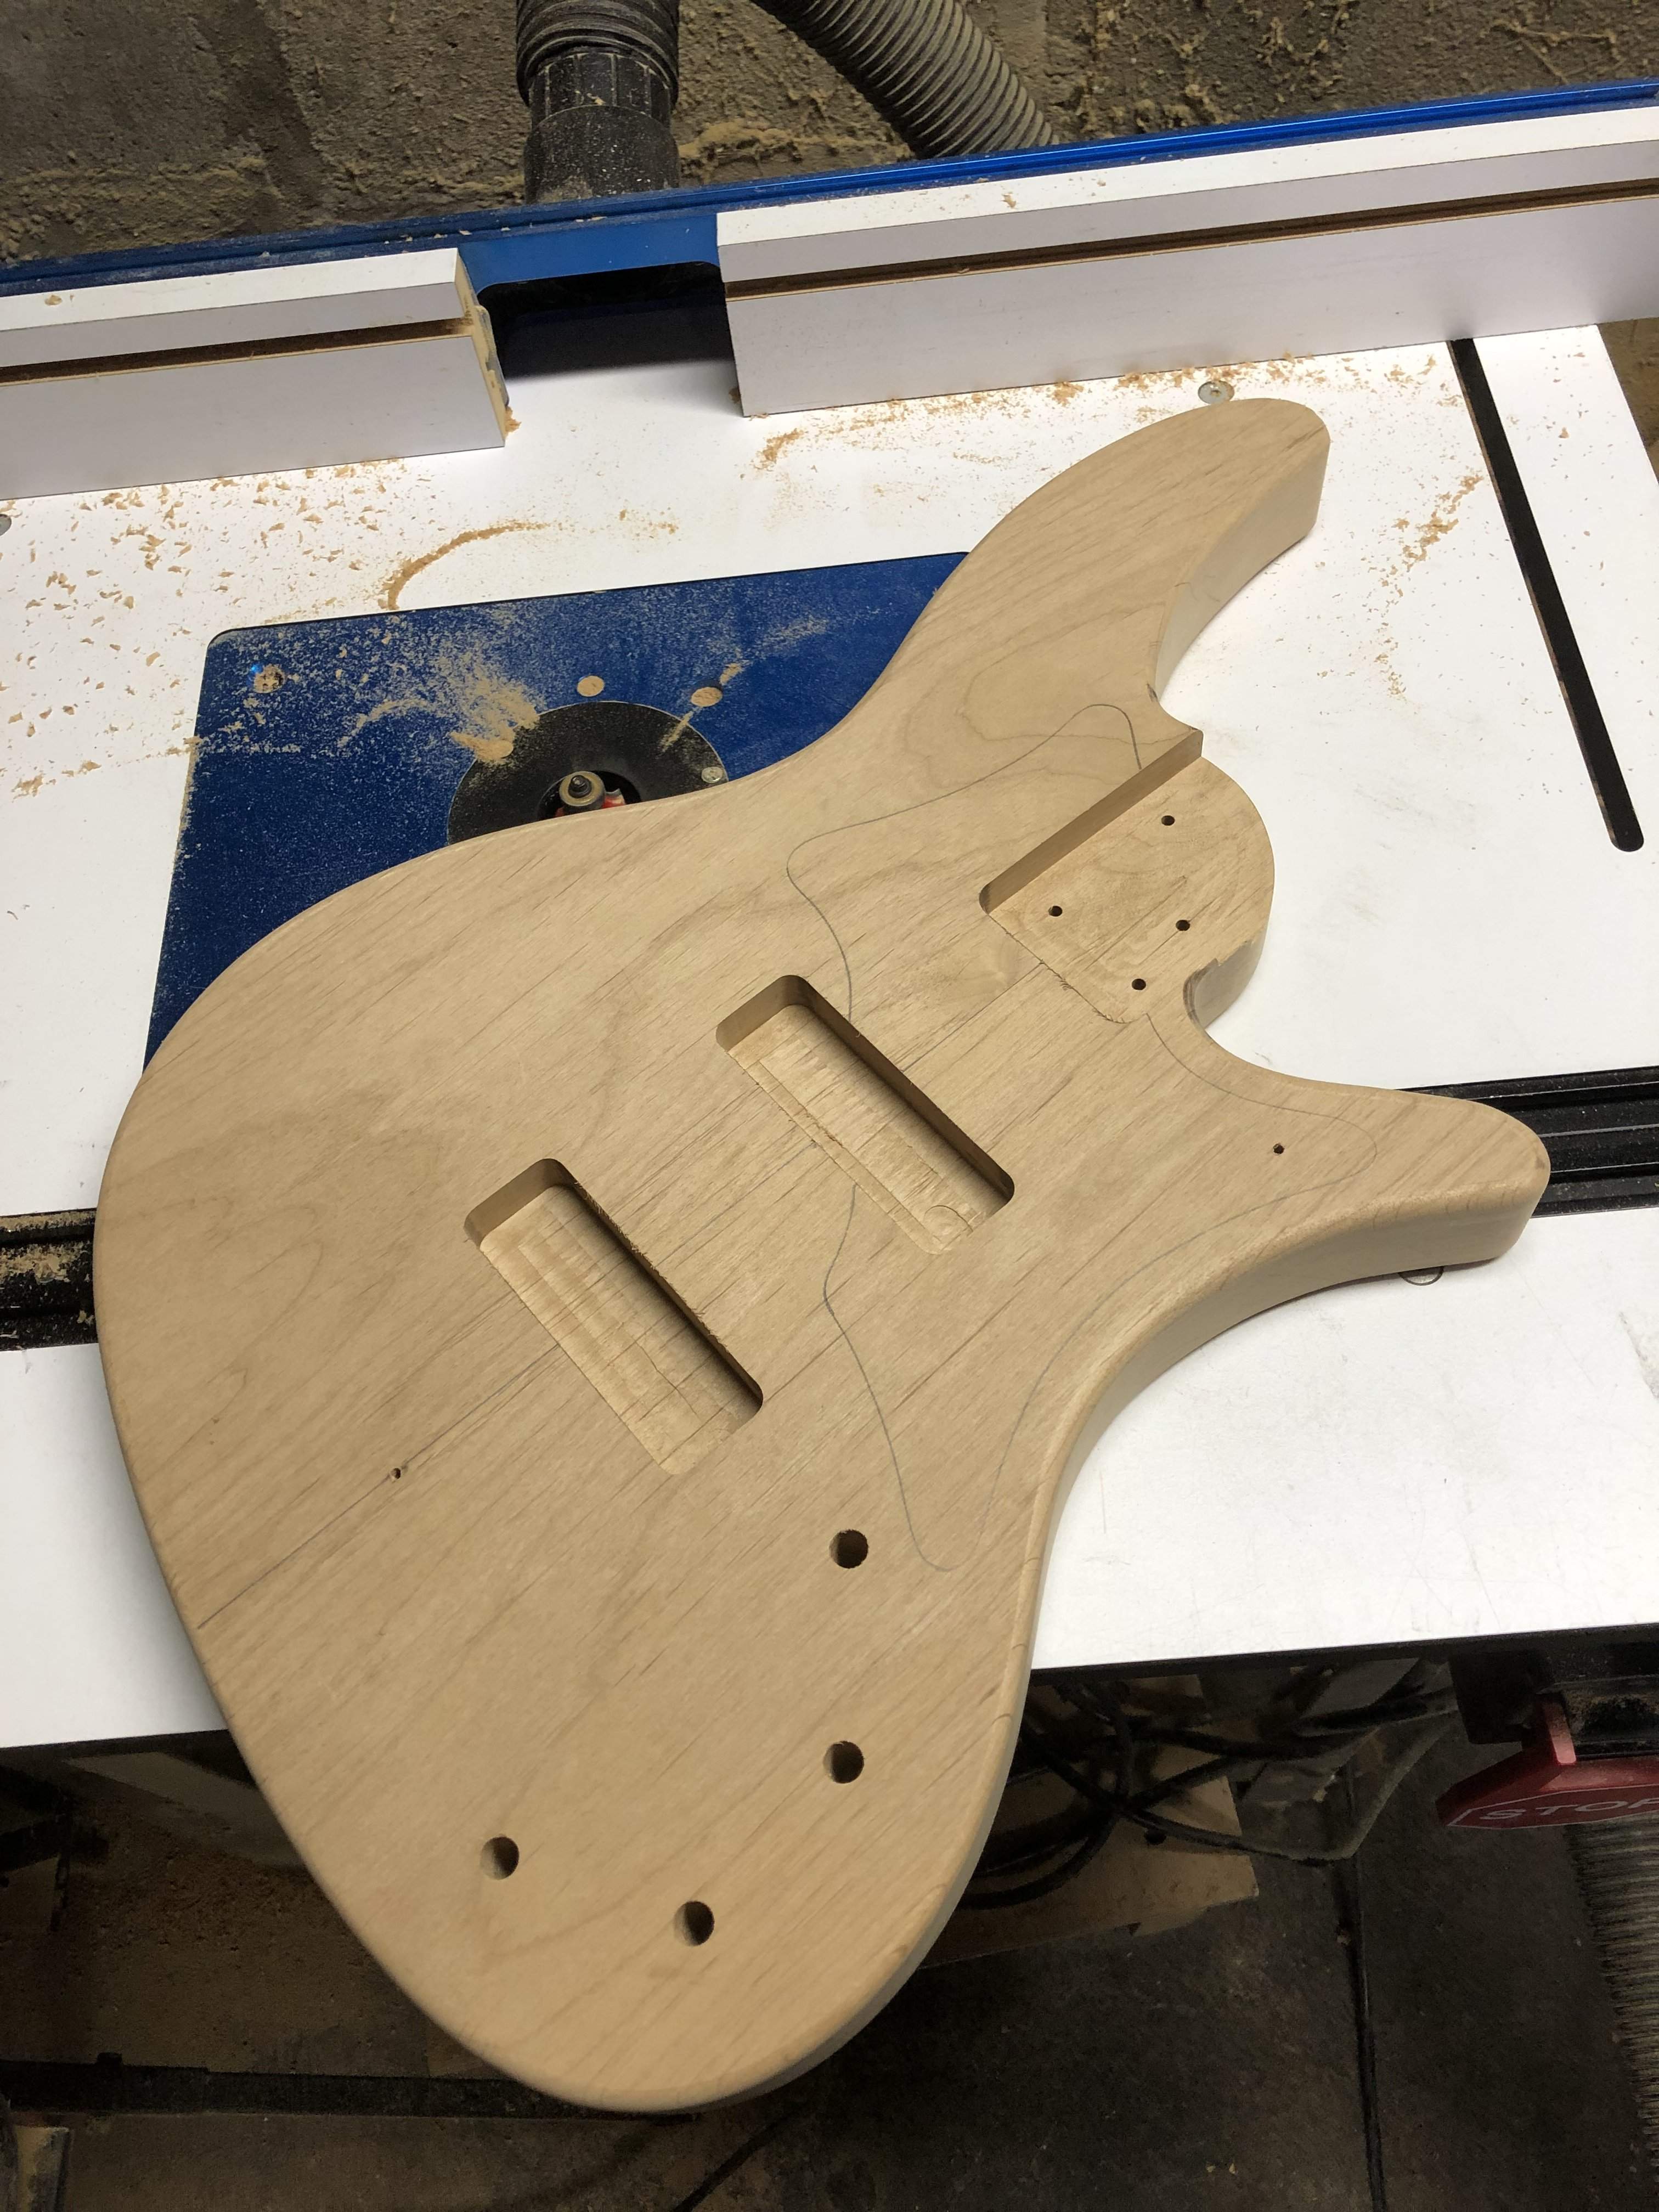
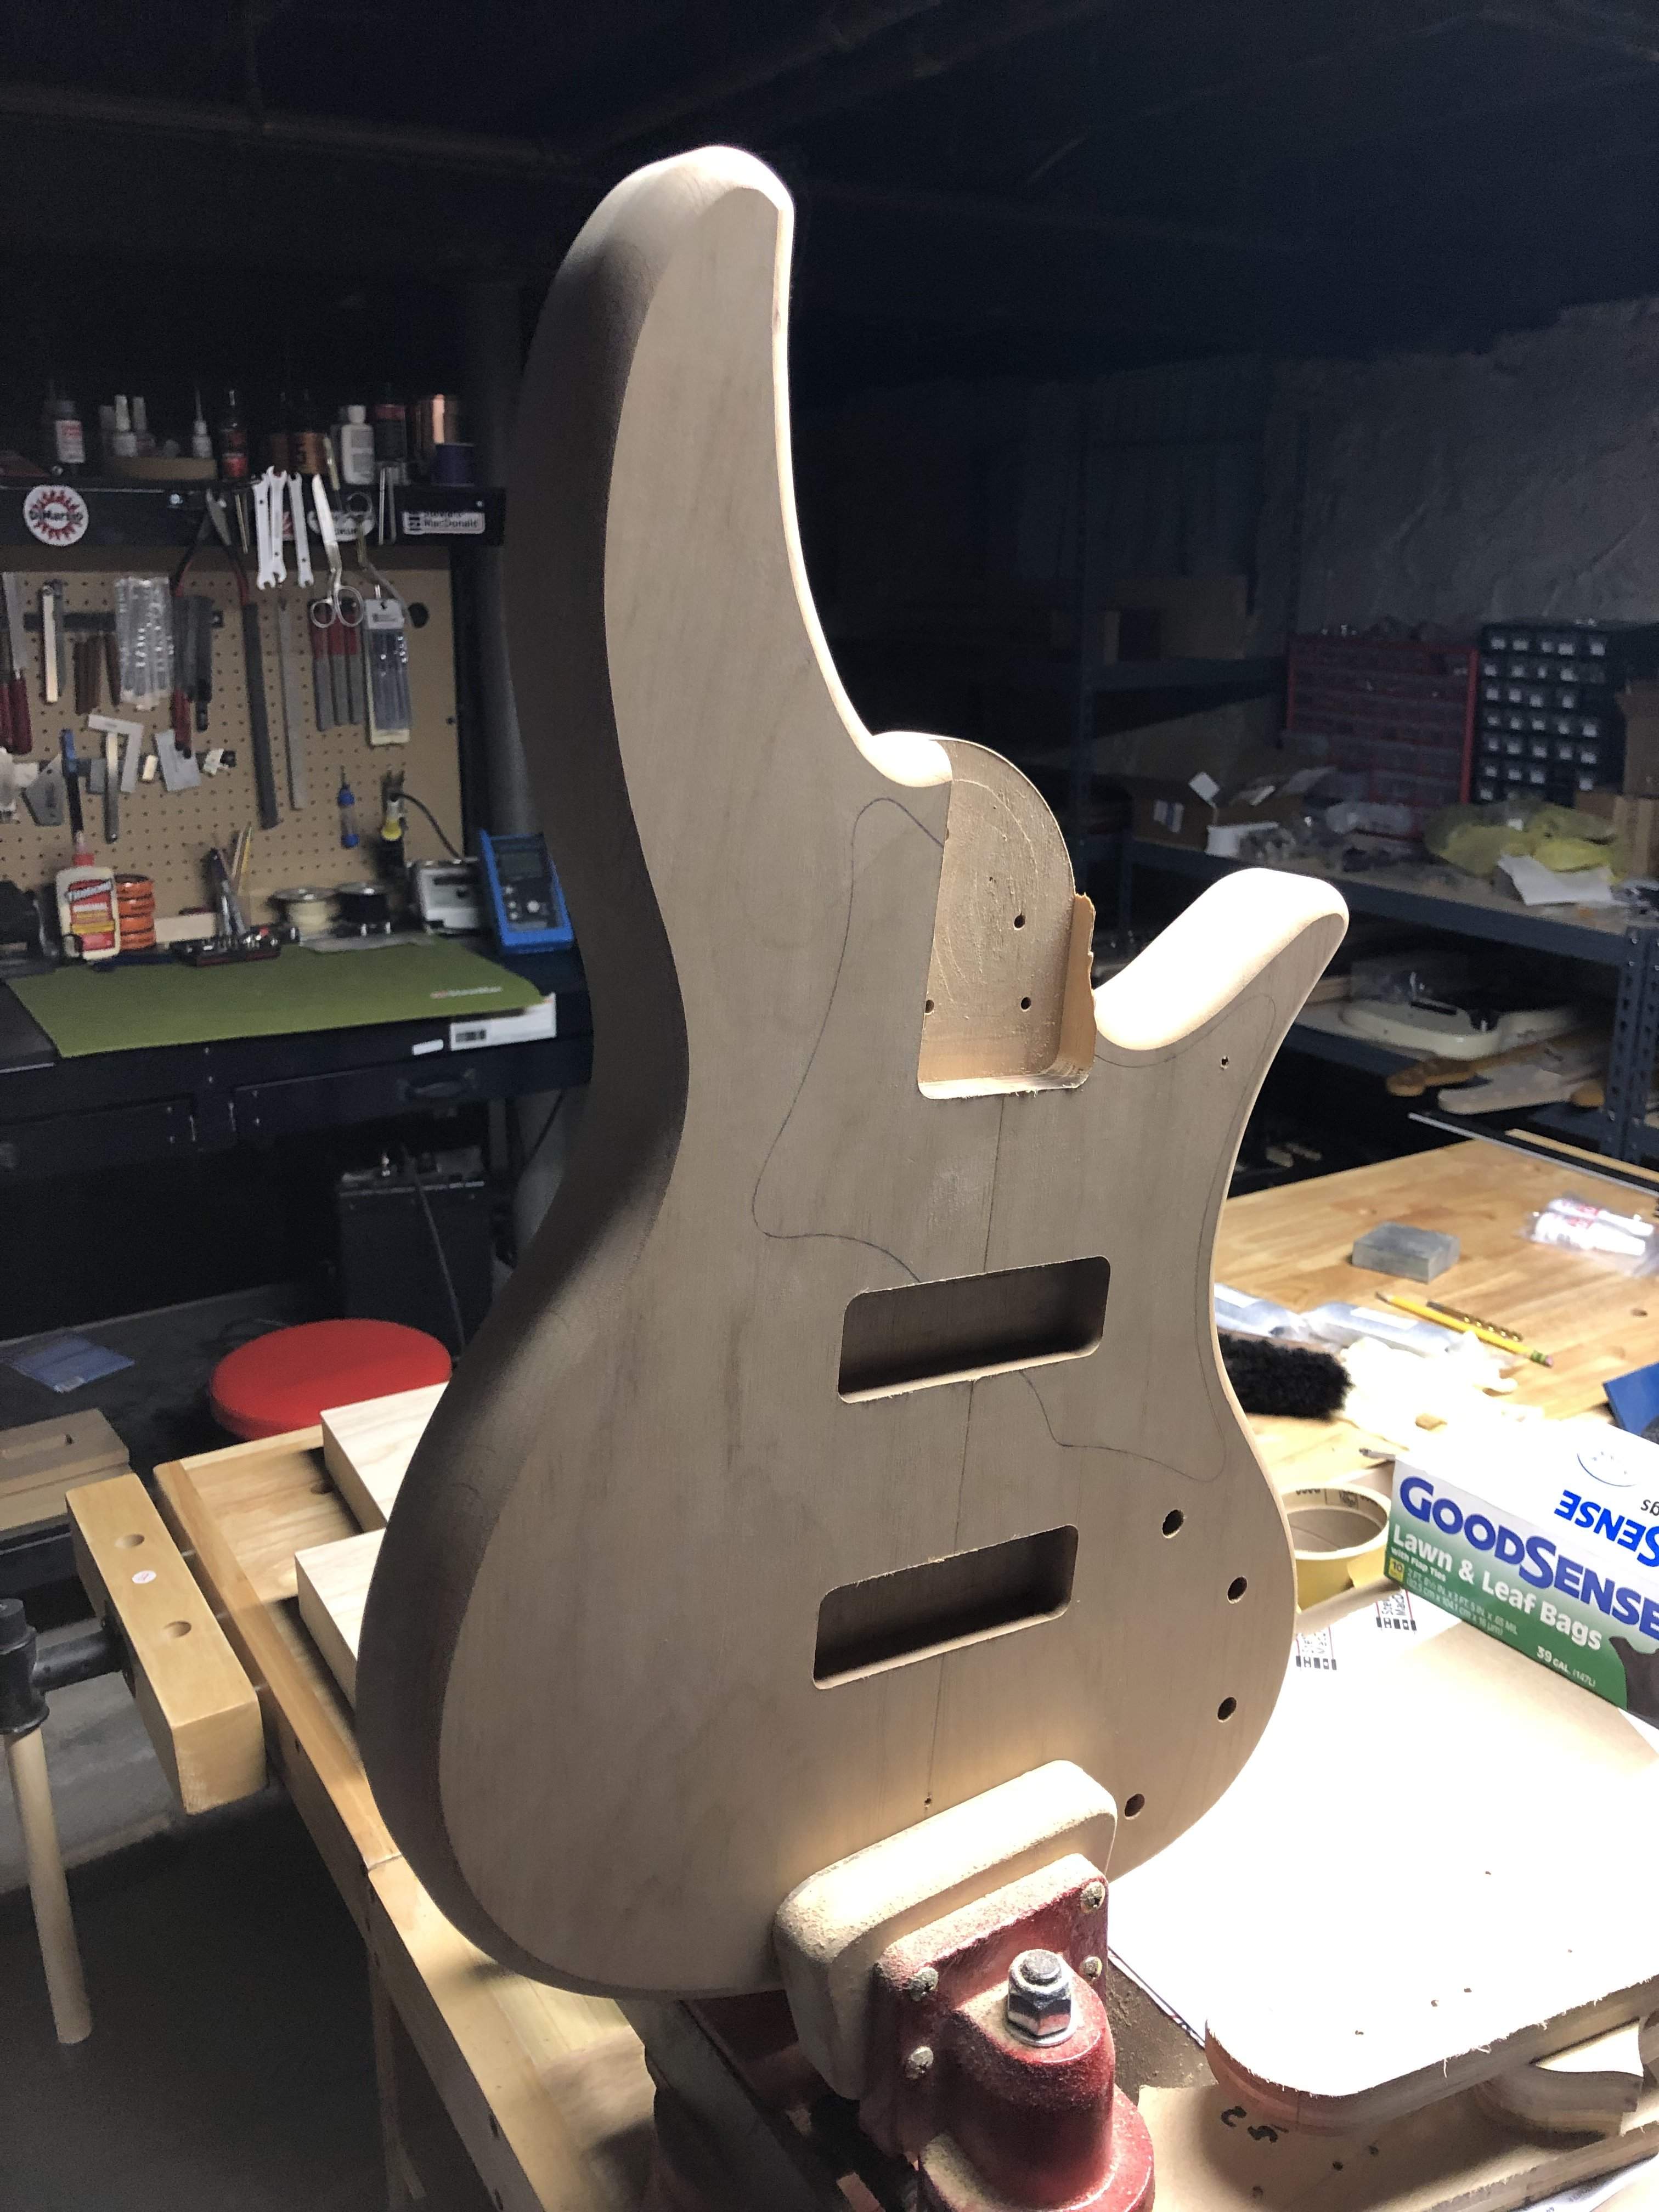
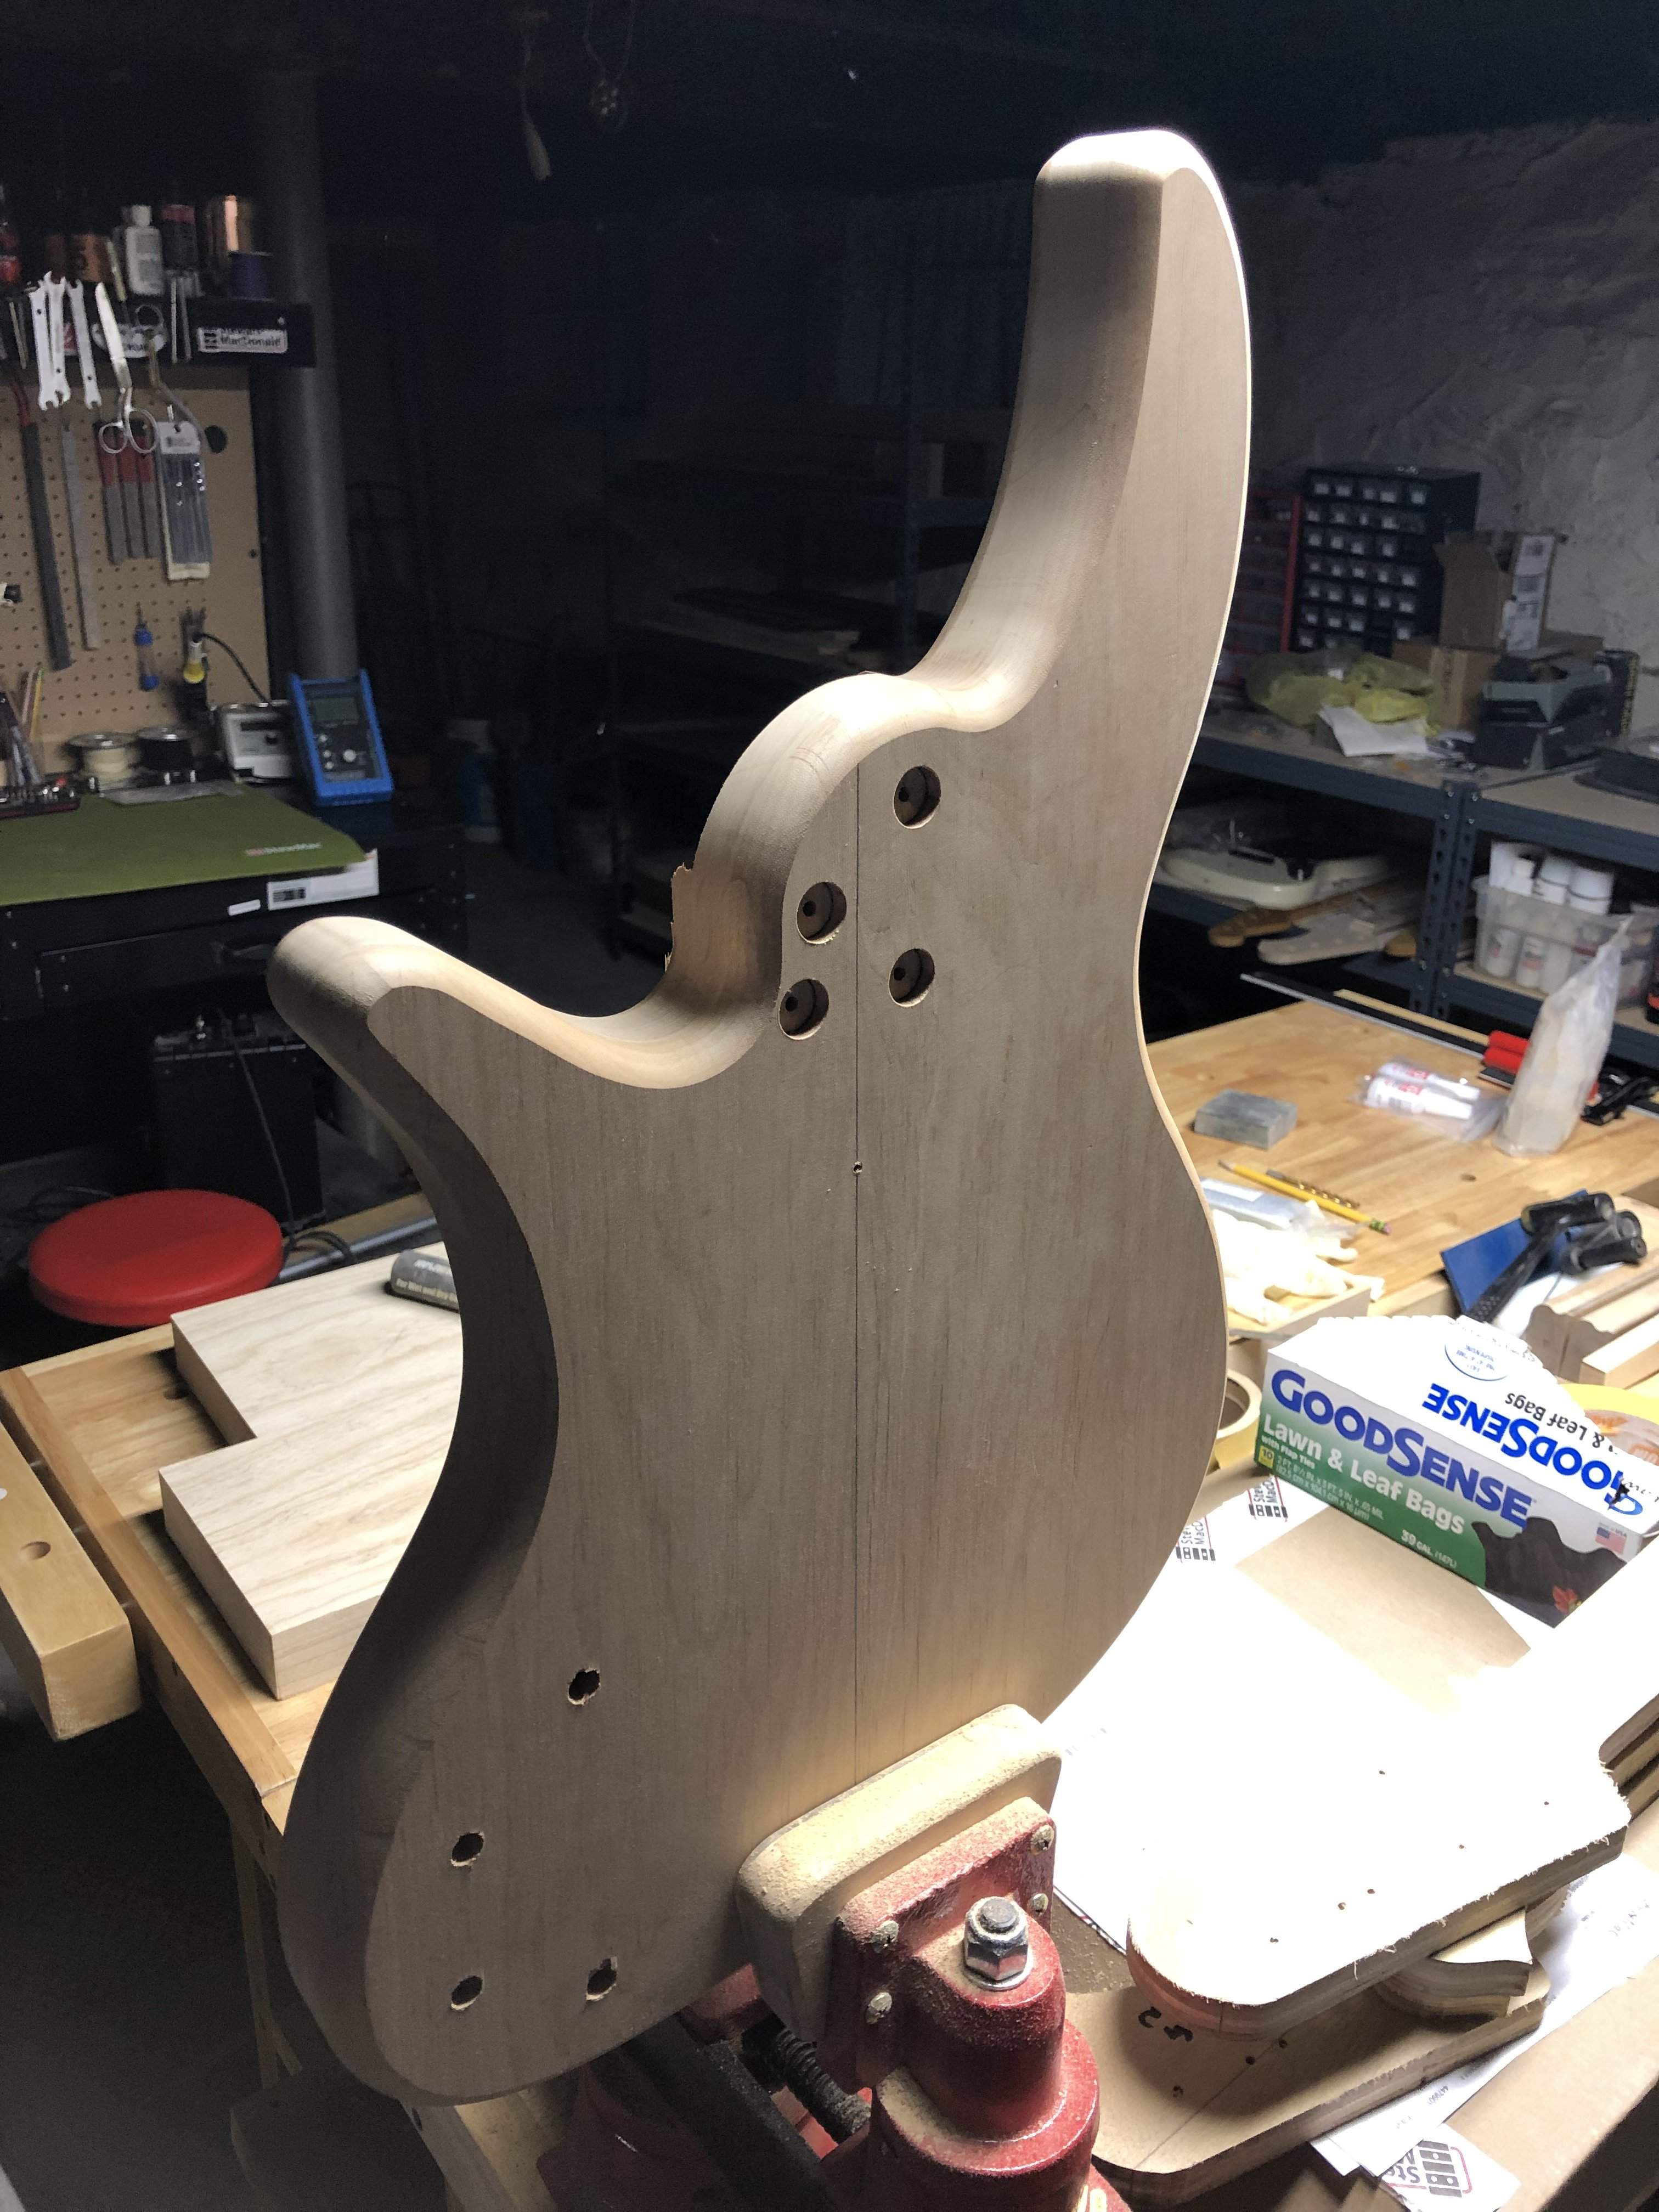
Just drilled some holes. Plugged some others, and sanded it to 220.

Wire channels done with some long bits and brass hobby tubing.

395A9FEA-264E-4AD9-BD8A-77140C1CA549.jpeg


7CCF54FA-A973-4BF0-8D58-61449DEA27B1.jpeg


The angle for the neck pickup was a little steep so I just taped a metal ruler down to protect the wood.

BC878FB1-BB18-4B99-8E87-1F9BAED699A8.jpeg


FFDCE7B3-3DD5-4FD7-9964-8F484E716444.jpeg


A little high in the cavity but it’ll work.

A696E1CA-7FB2-40B0-9E12-6F9EB74C519C.jpeg


CDD8EA3D-95F6-40A3-A8D6-0FEA103F1D80.jpeg


Cool.

Pickups. Here’s a silly tip. Post it notes are great for remembering things and great to use for little shims here and there.

36107A99-E7AB-47C6-B75D-1748DEE0BD1C.jpeg


A few around the edges of the pickup in the cavity so it’s snug and drill away.

I have some stacks of post it notes at specific thicknesses. My 1/8” stack is great when setting up a trem to float.

Sanded from 120-220 grit. I raised the grain in between.

B09935C6-8A1A-48D0-A2D4-B7FA0A18CE51.jpeg


Smooth...

F4783879-60A1-4C0D-B8D2-AB5571260427.jpeg


0669E831-1ABC-451F-921F-C1F4392CFDED.jpeg


This one will just be passive.
 
Just drilled some holes. Plugged some others, and sanded it to 220.

Wire channels done with some long bits and brass hobby tubing.

View attachment 3280391

View attachment 3280383

The angle for the neck pickup was a little steep so I just taped a metal ruler down to protect the wood.

View attachment 3280386

View attachment 3280396

A little high in the cavity but it’ll work.

View attachment 3280399

View attachment 3280401

Cool.

Pickups. Here’s a silly tip. Post it notes are great for remembering things and great to use for little shims here and there.

View attachment 3280392

A few around the edges of the pickup in the cavity so it’s snug and drill away.

I have some stacks of post it notes at specific thicknesses. My 1/8” stack is great when setting up a trem to float.

Sanded from 120-220 grit. I raised the grain in between.

View attachment 3280393

Smooth...

View attachment 3280394

View attachment 3280395

This one will just be passive.
Really enjoying this build, very cool design choices and building techniques :thumbsup:

Why not drill from the neck pocket between the pickups to route the neck pickup wire? You could plug the hole after if it bugs you cosmetically.