• TalkBass has been independent since 1998. Add your voice.
    Create a free account to reply to discussions, view embedded media, and browse with fewer display ads.
    Join freeLog in
    Want zero display ads or expanded classifieds tools? Compare plans.

Special Edition Build Off - SG Bass VI

My entry is the completion of the stalled 2019 Winter Build entry

Here is my starting point for this entry:
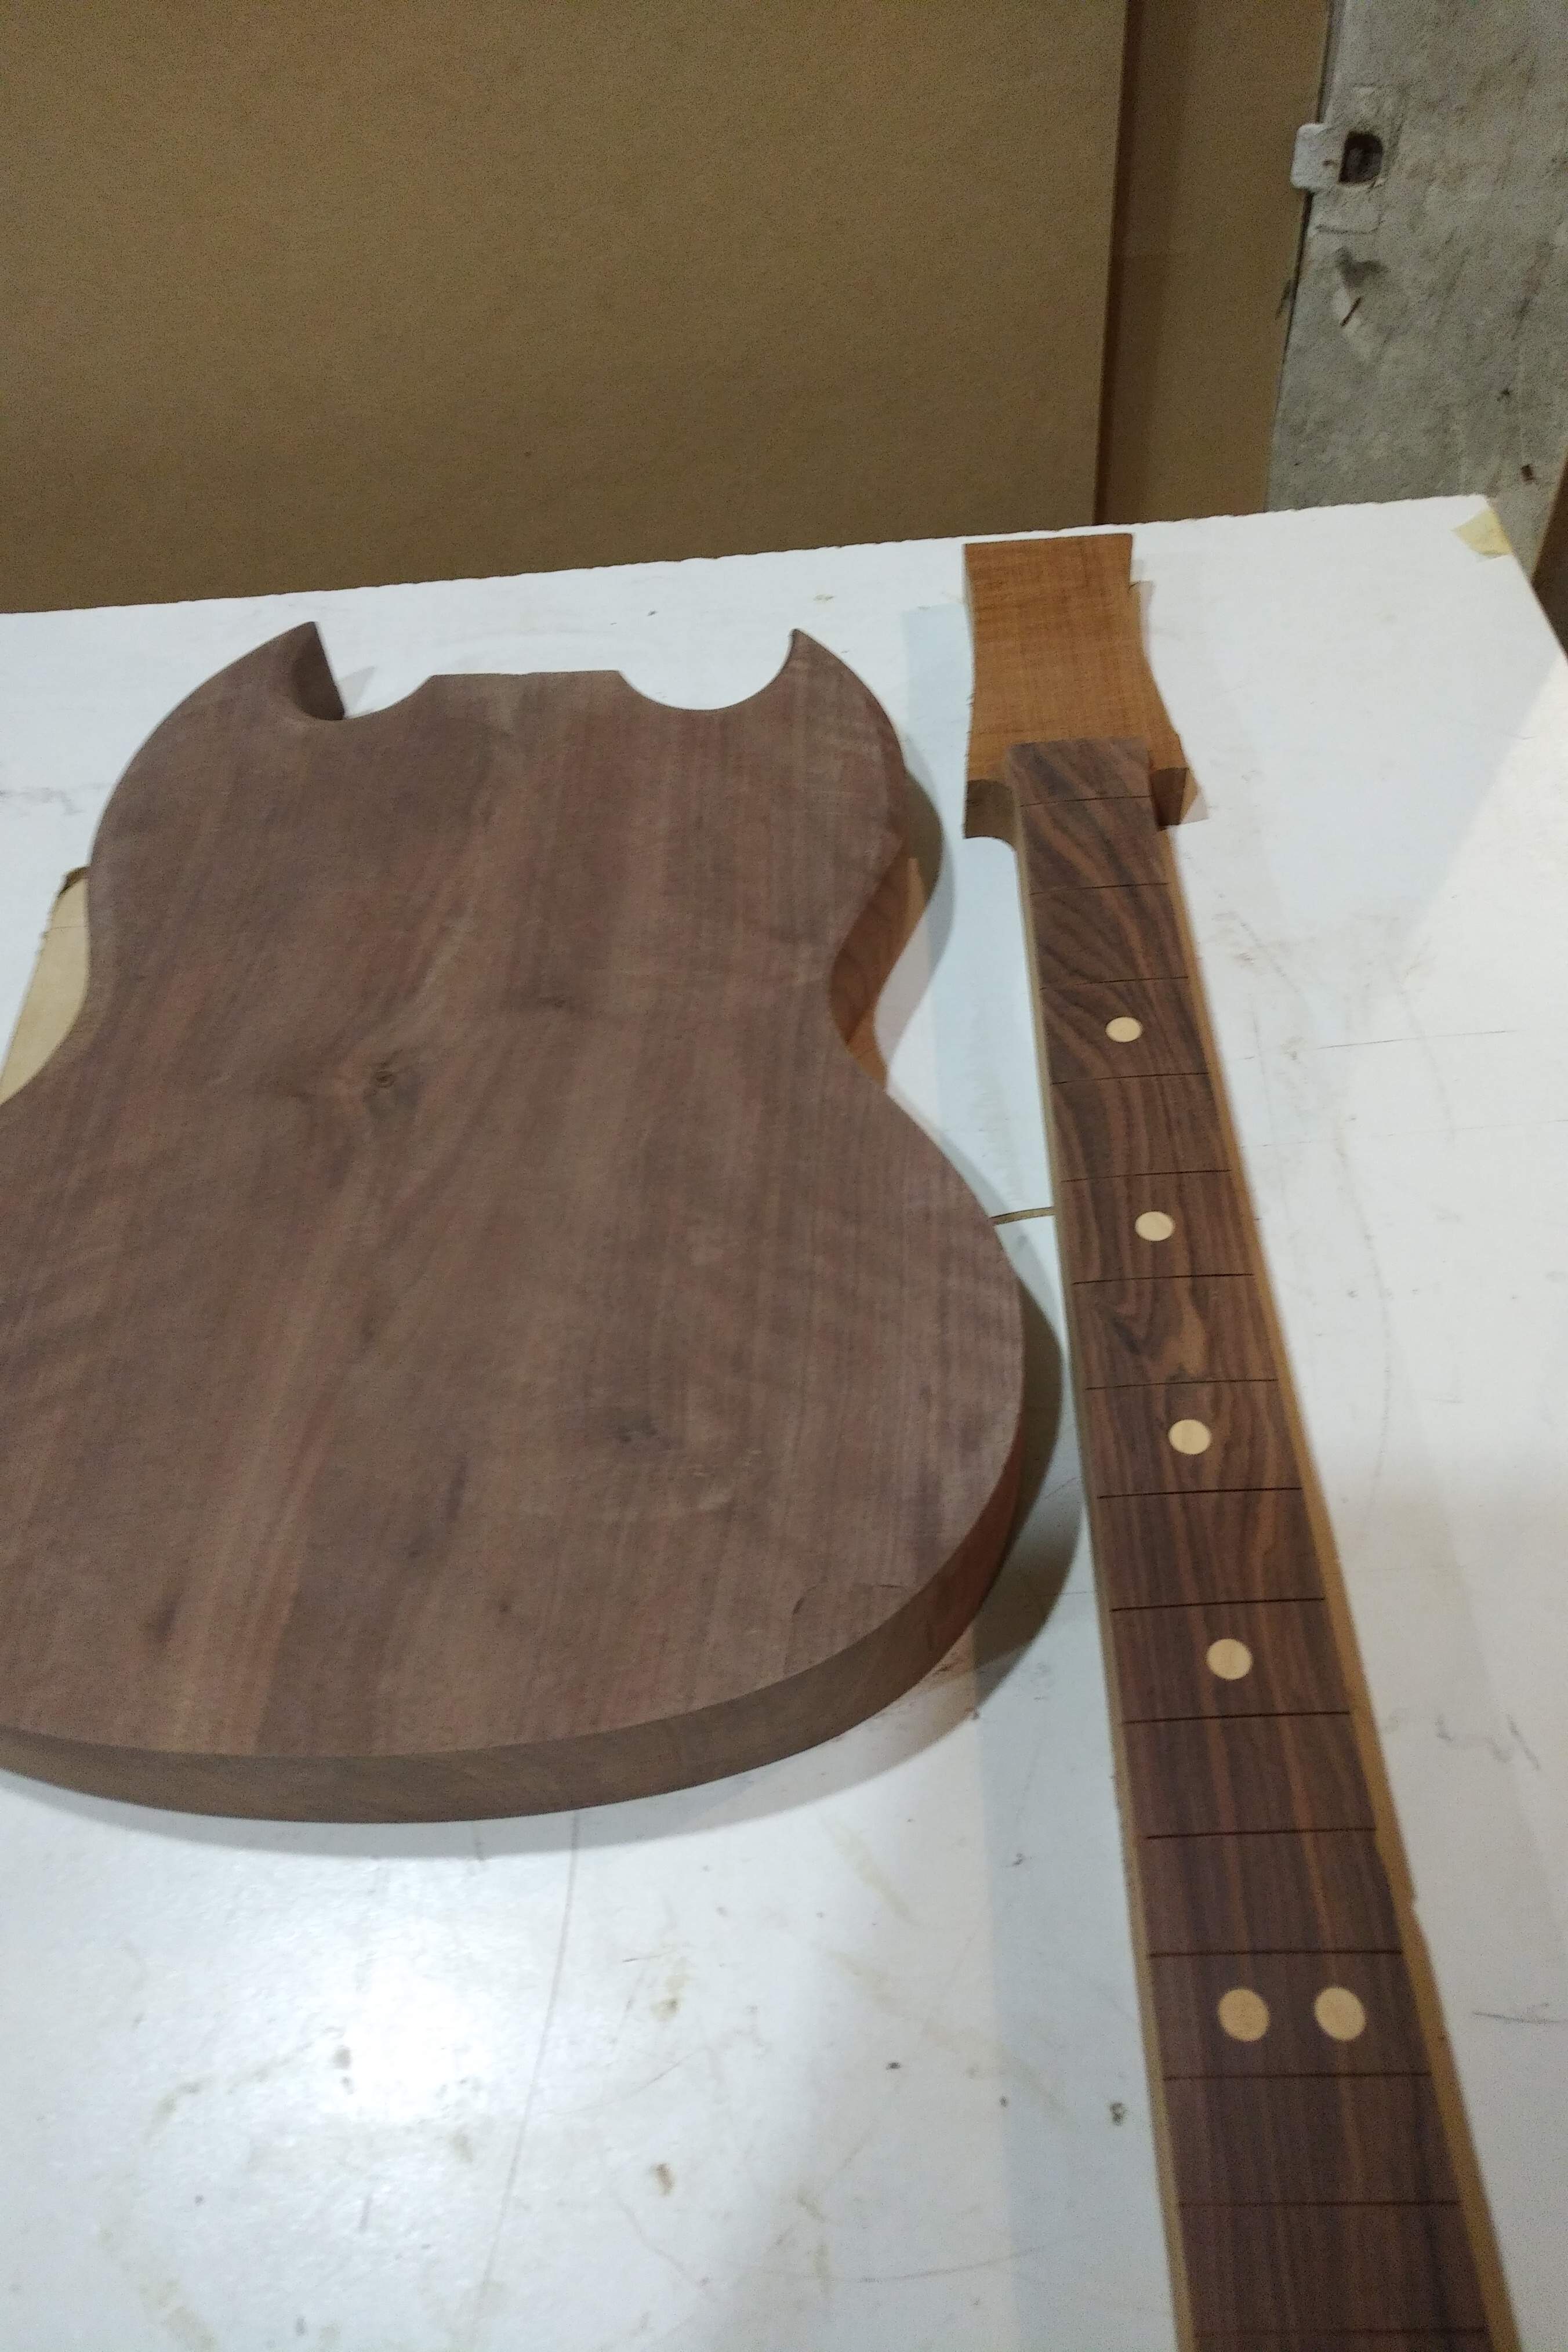
  • 2 piece chambered Walnut body cut to general shape, needing chamfers, cavities
  • figured maple neck blank
  • all required hardware (black)
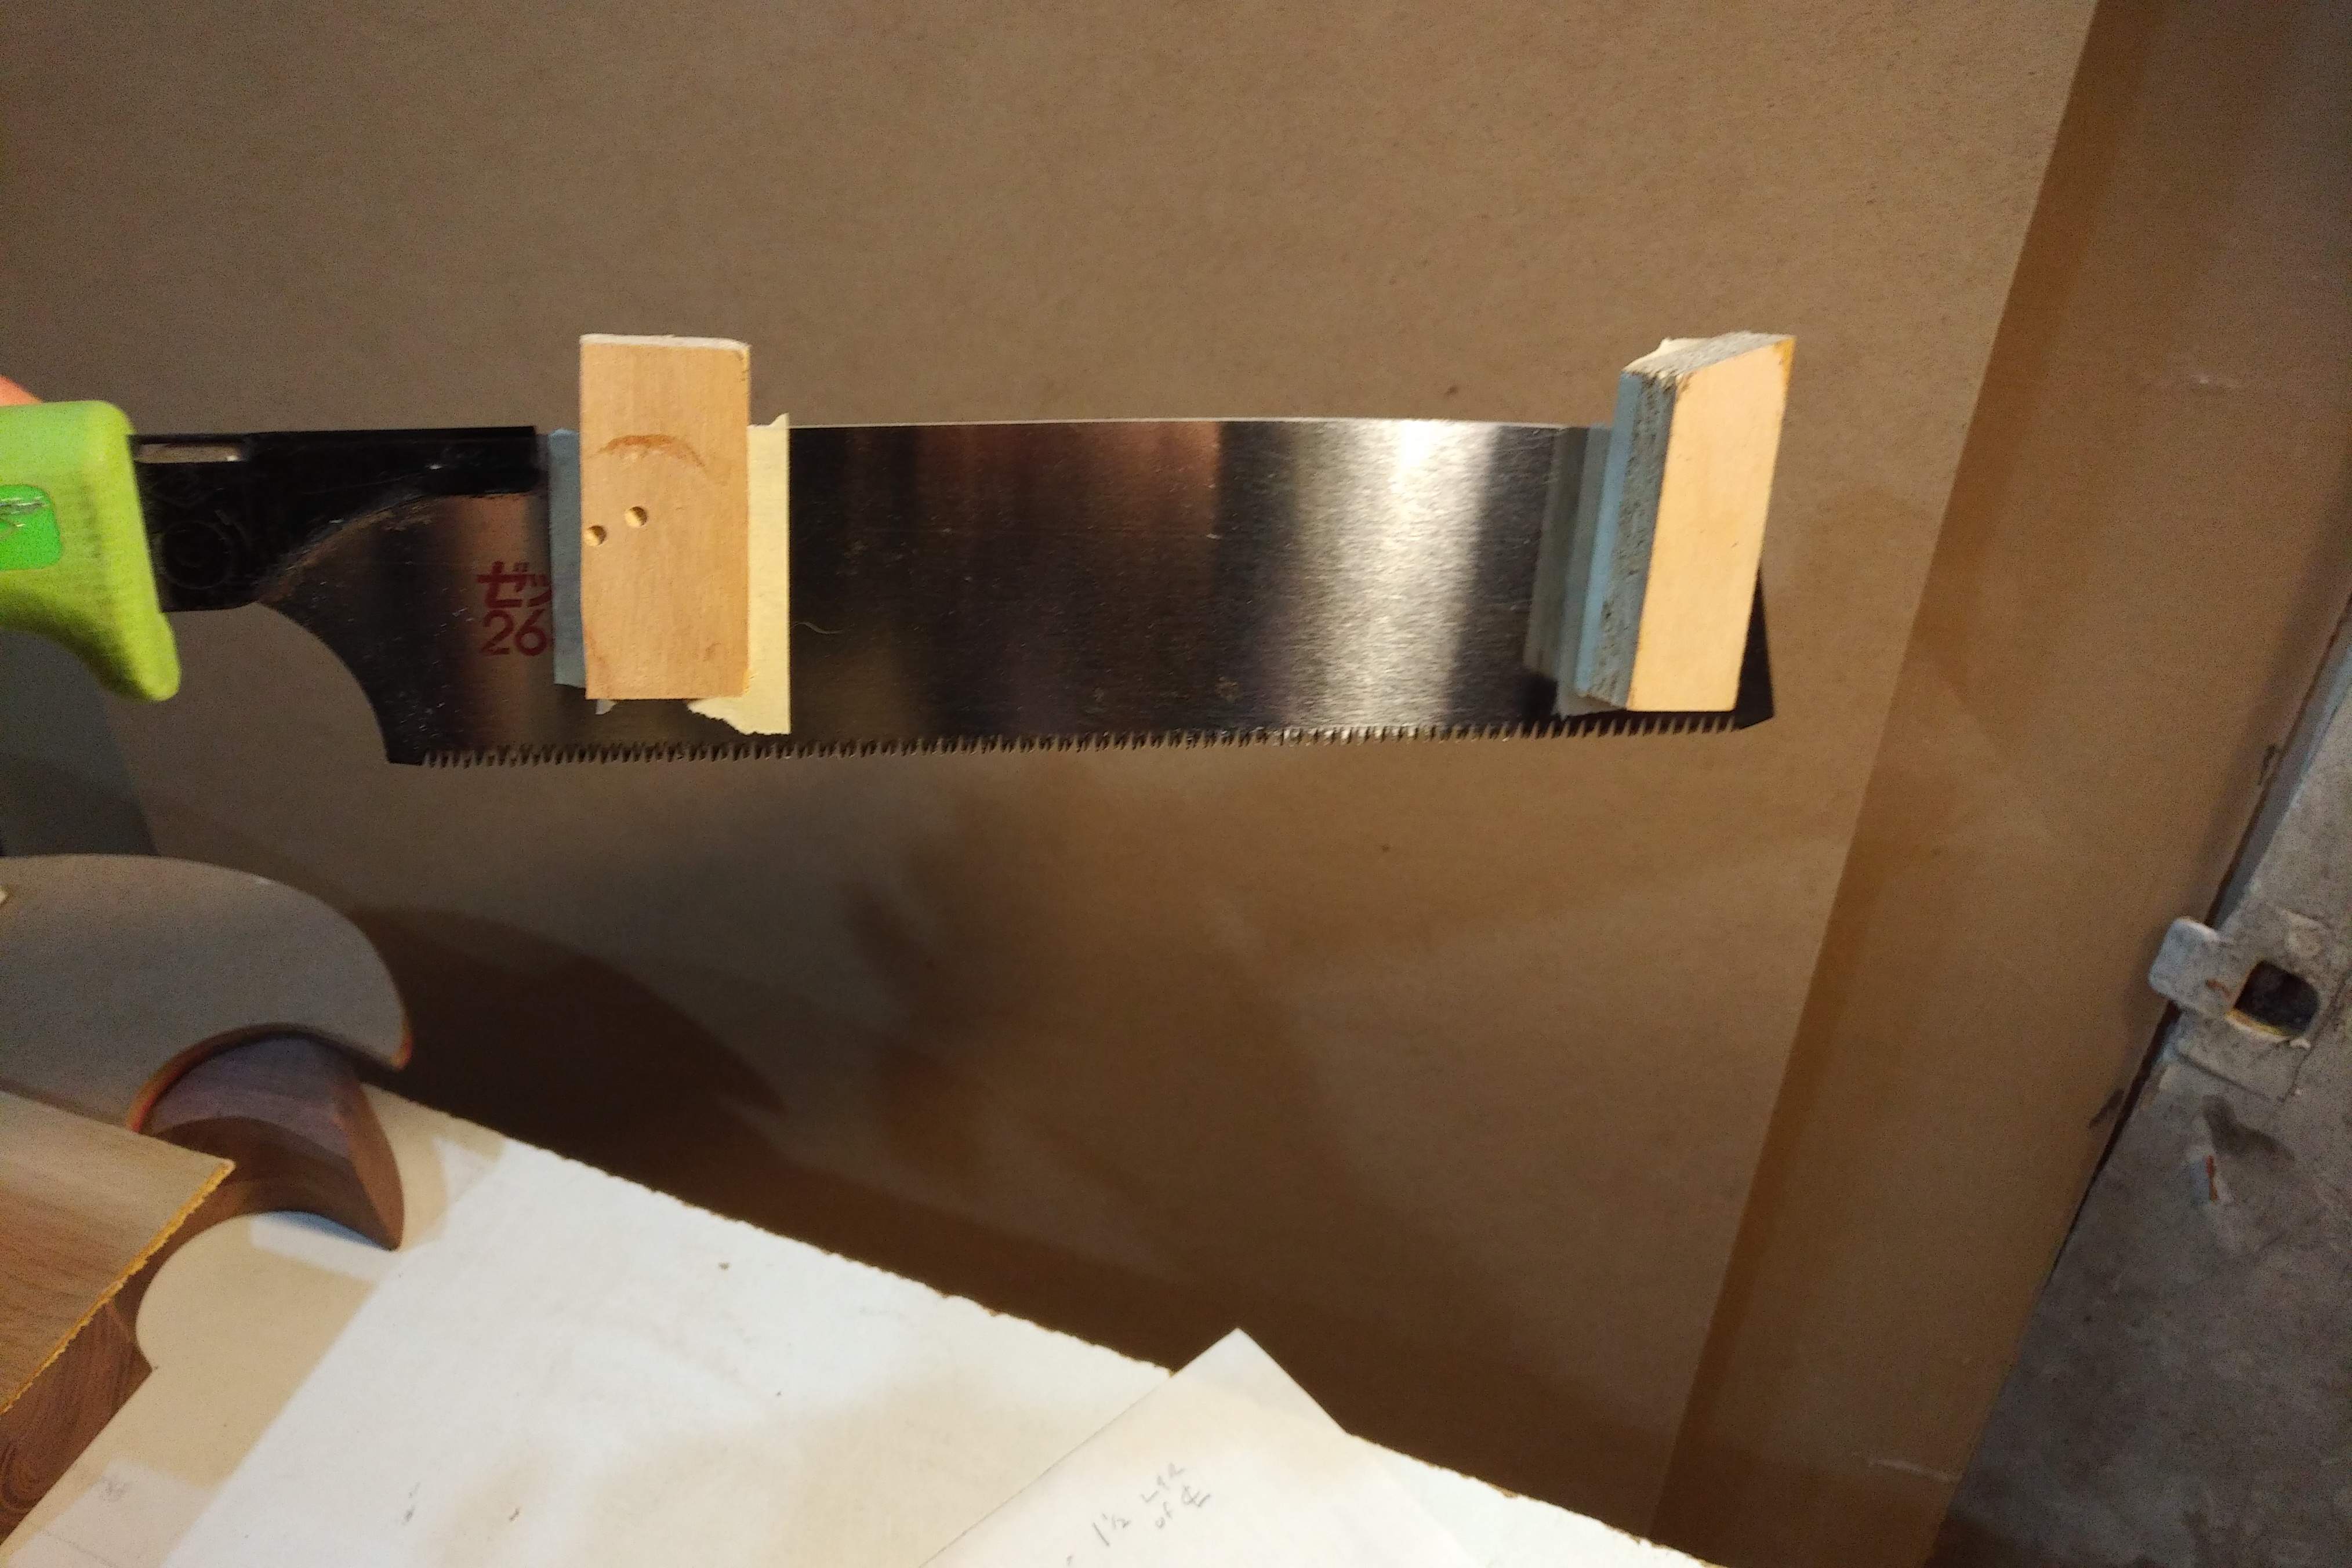
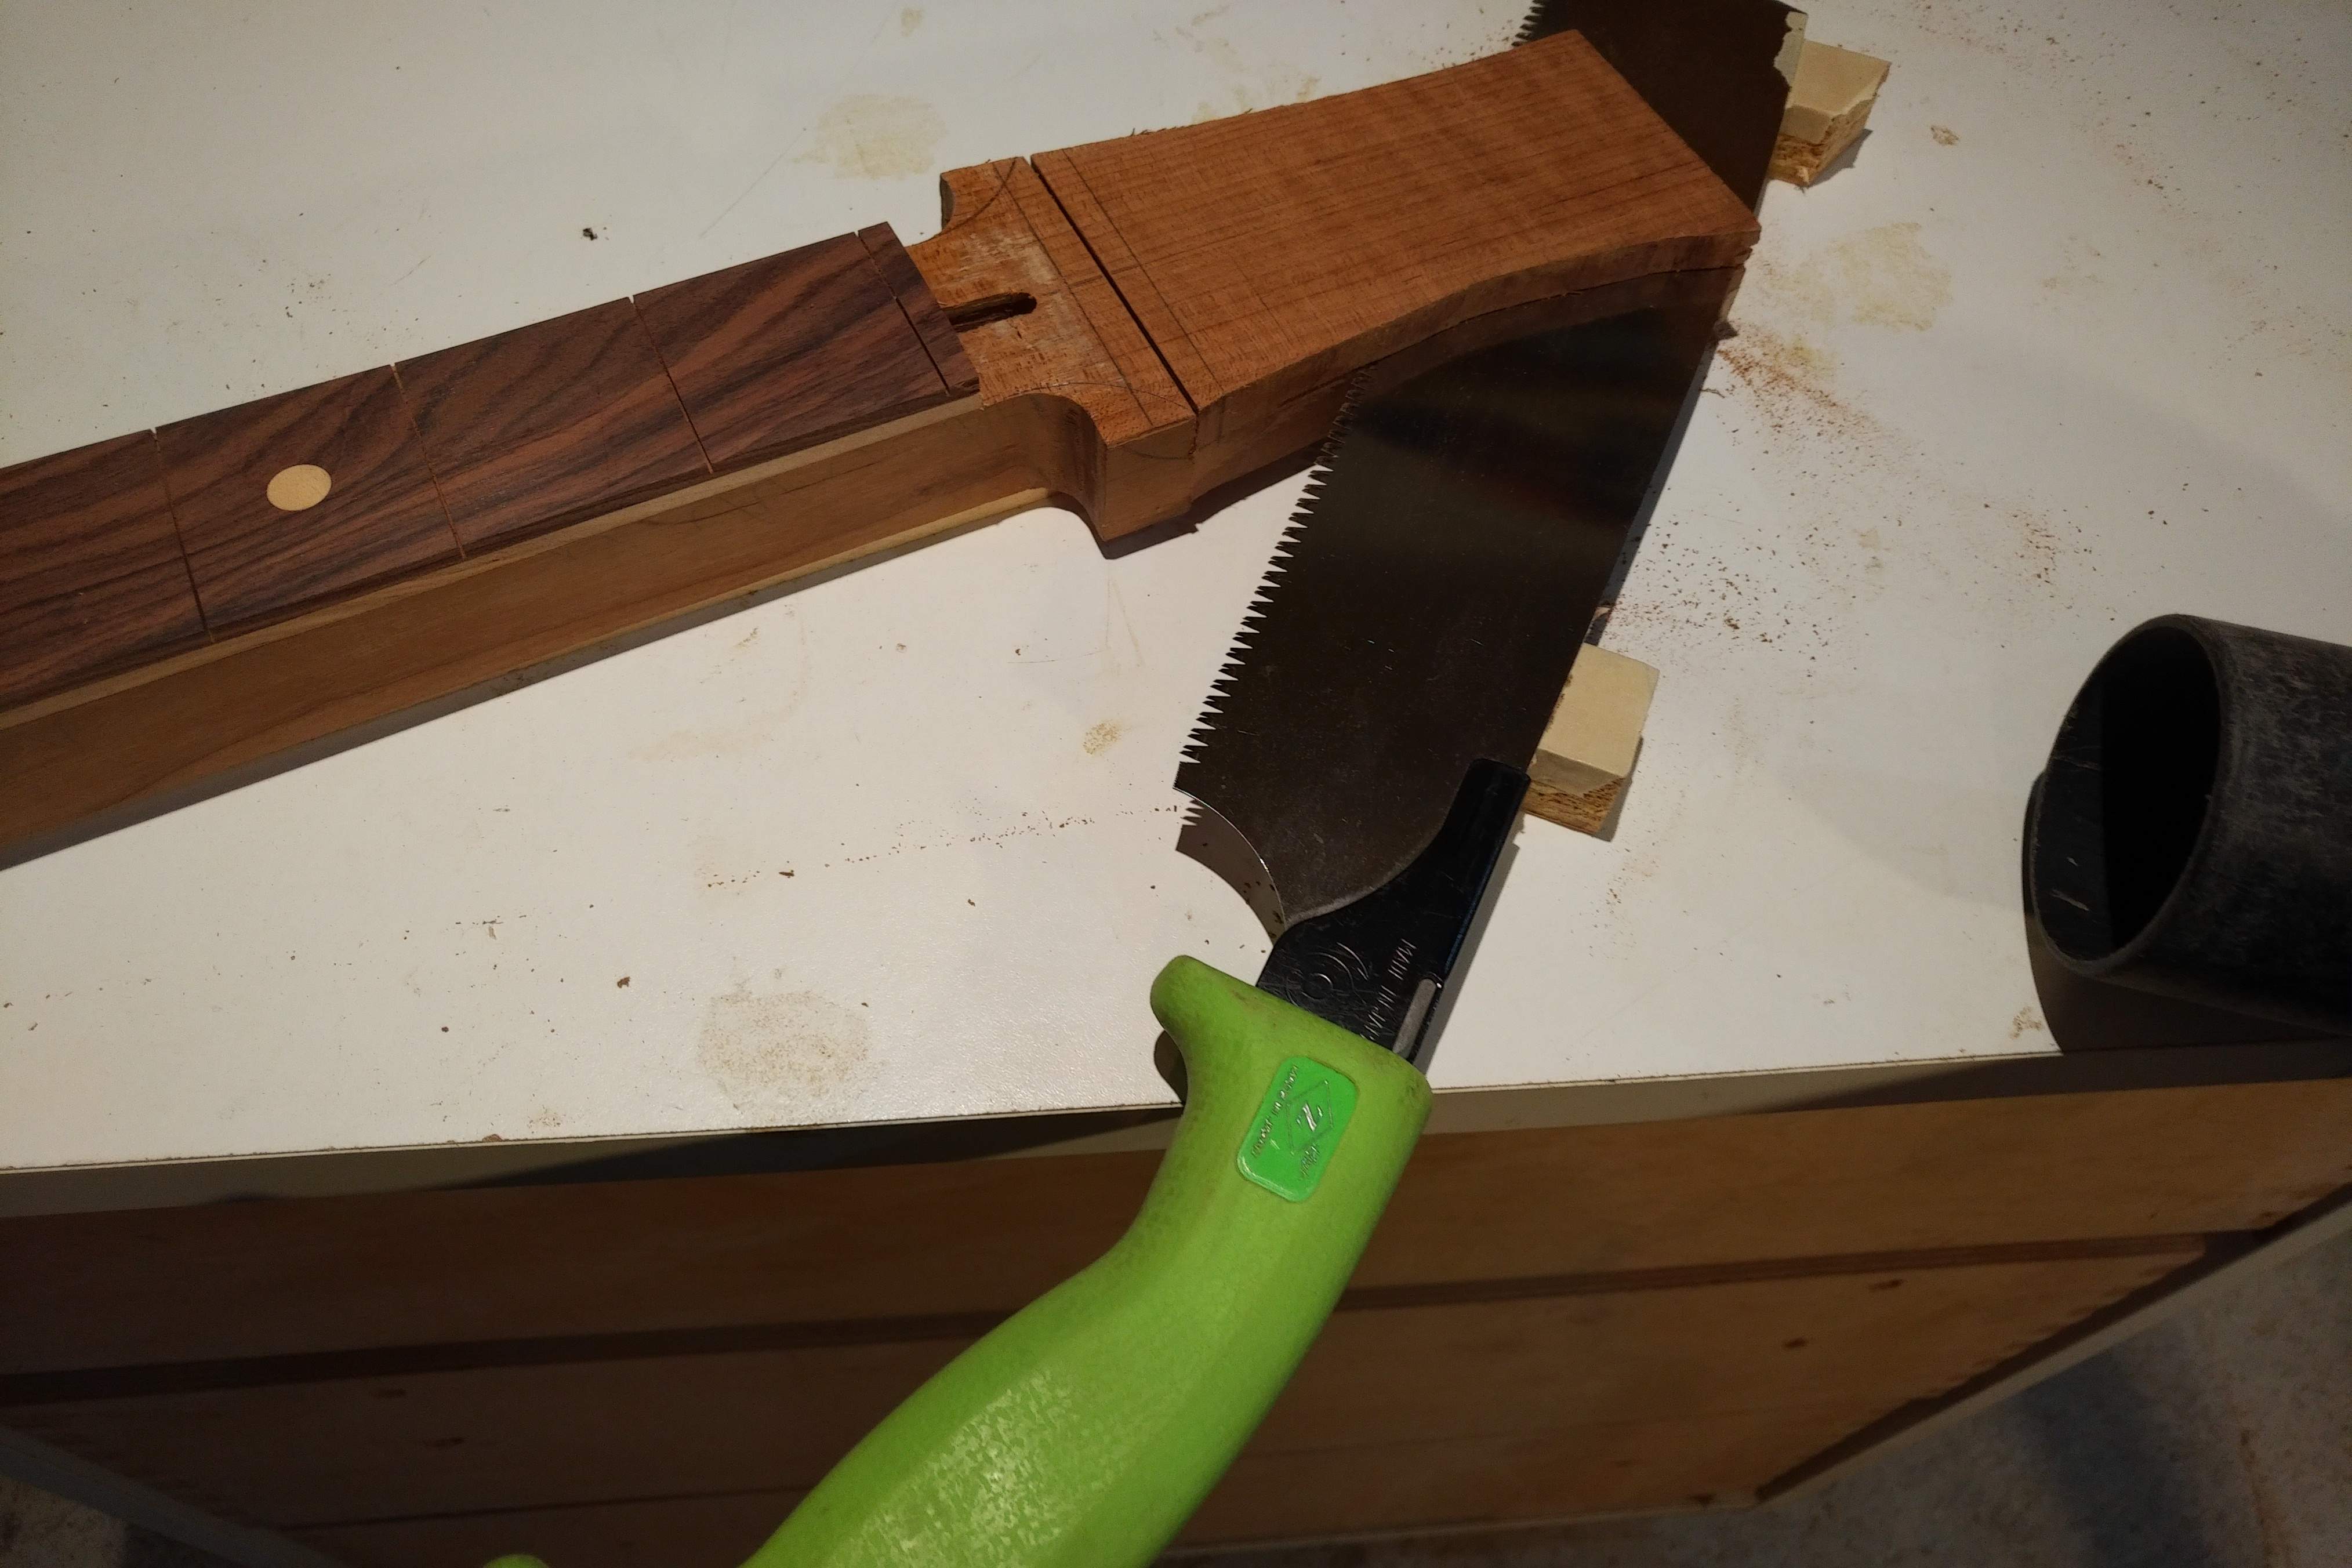
I still need to select the fingerboard and thickness it, so clearly, I have to start by building a vertical mount for my handheld bandsaw
 
Last edited:
I was negligent in the picture taking aspect of the build. Over the weekend I got some stuff done:
  • rough carved the body contours for the body and sanded the edges
  • repaired some router tear-out on the body with a plug
  • sawed and routed the neck width. The head stock is still rough
  • cut the fret slots in the finger board
  • routed the truss rod slot
  • glued the FB on the neck
  • took a grand total of one picture
 
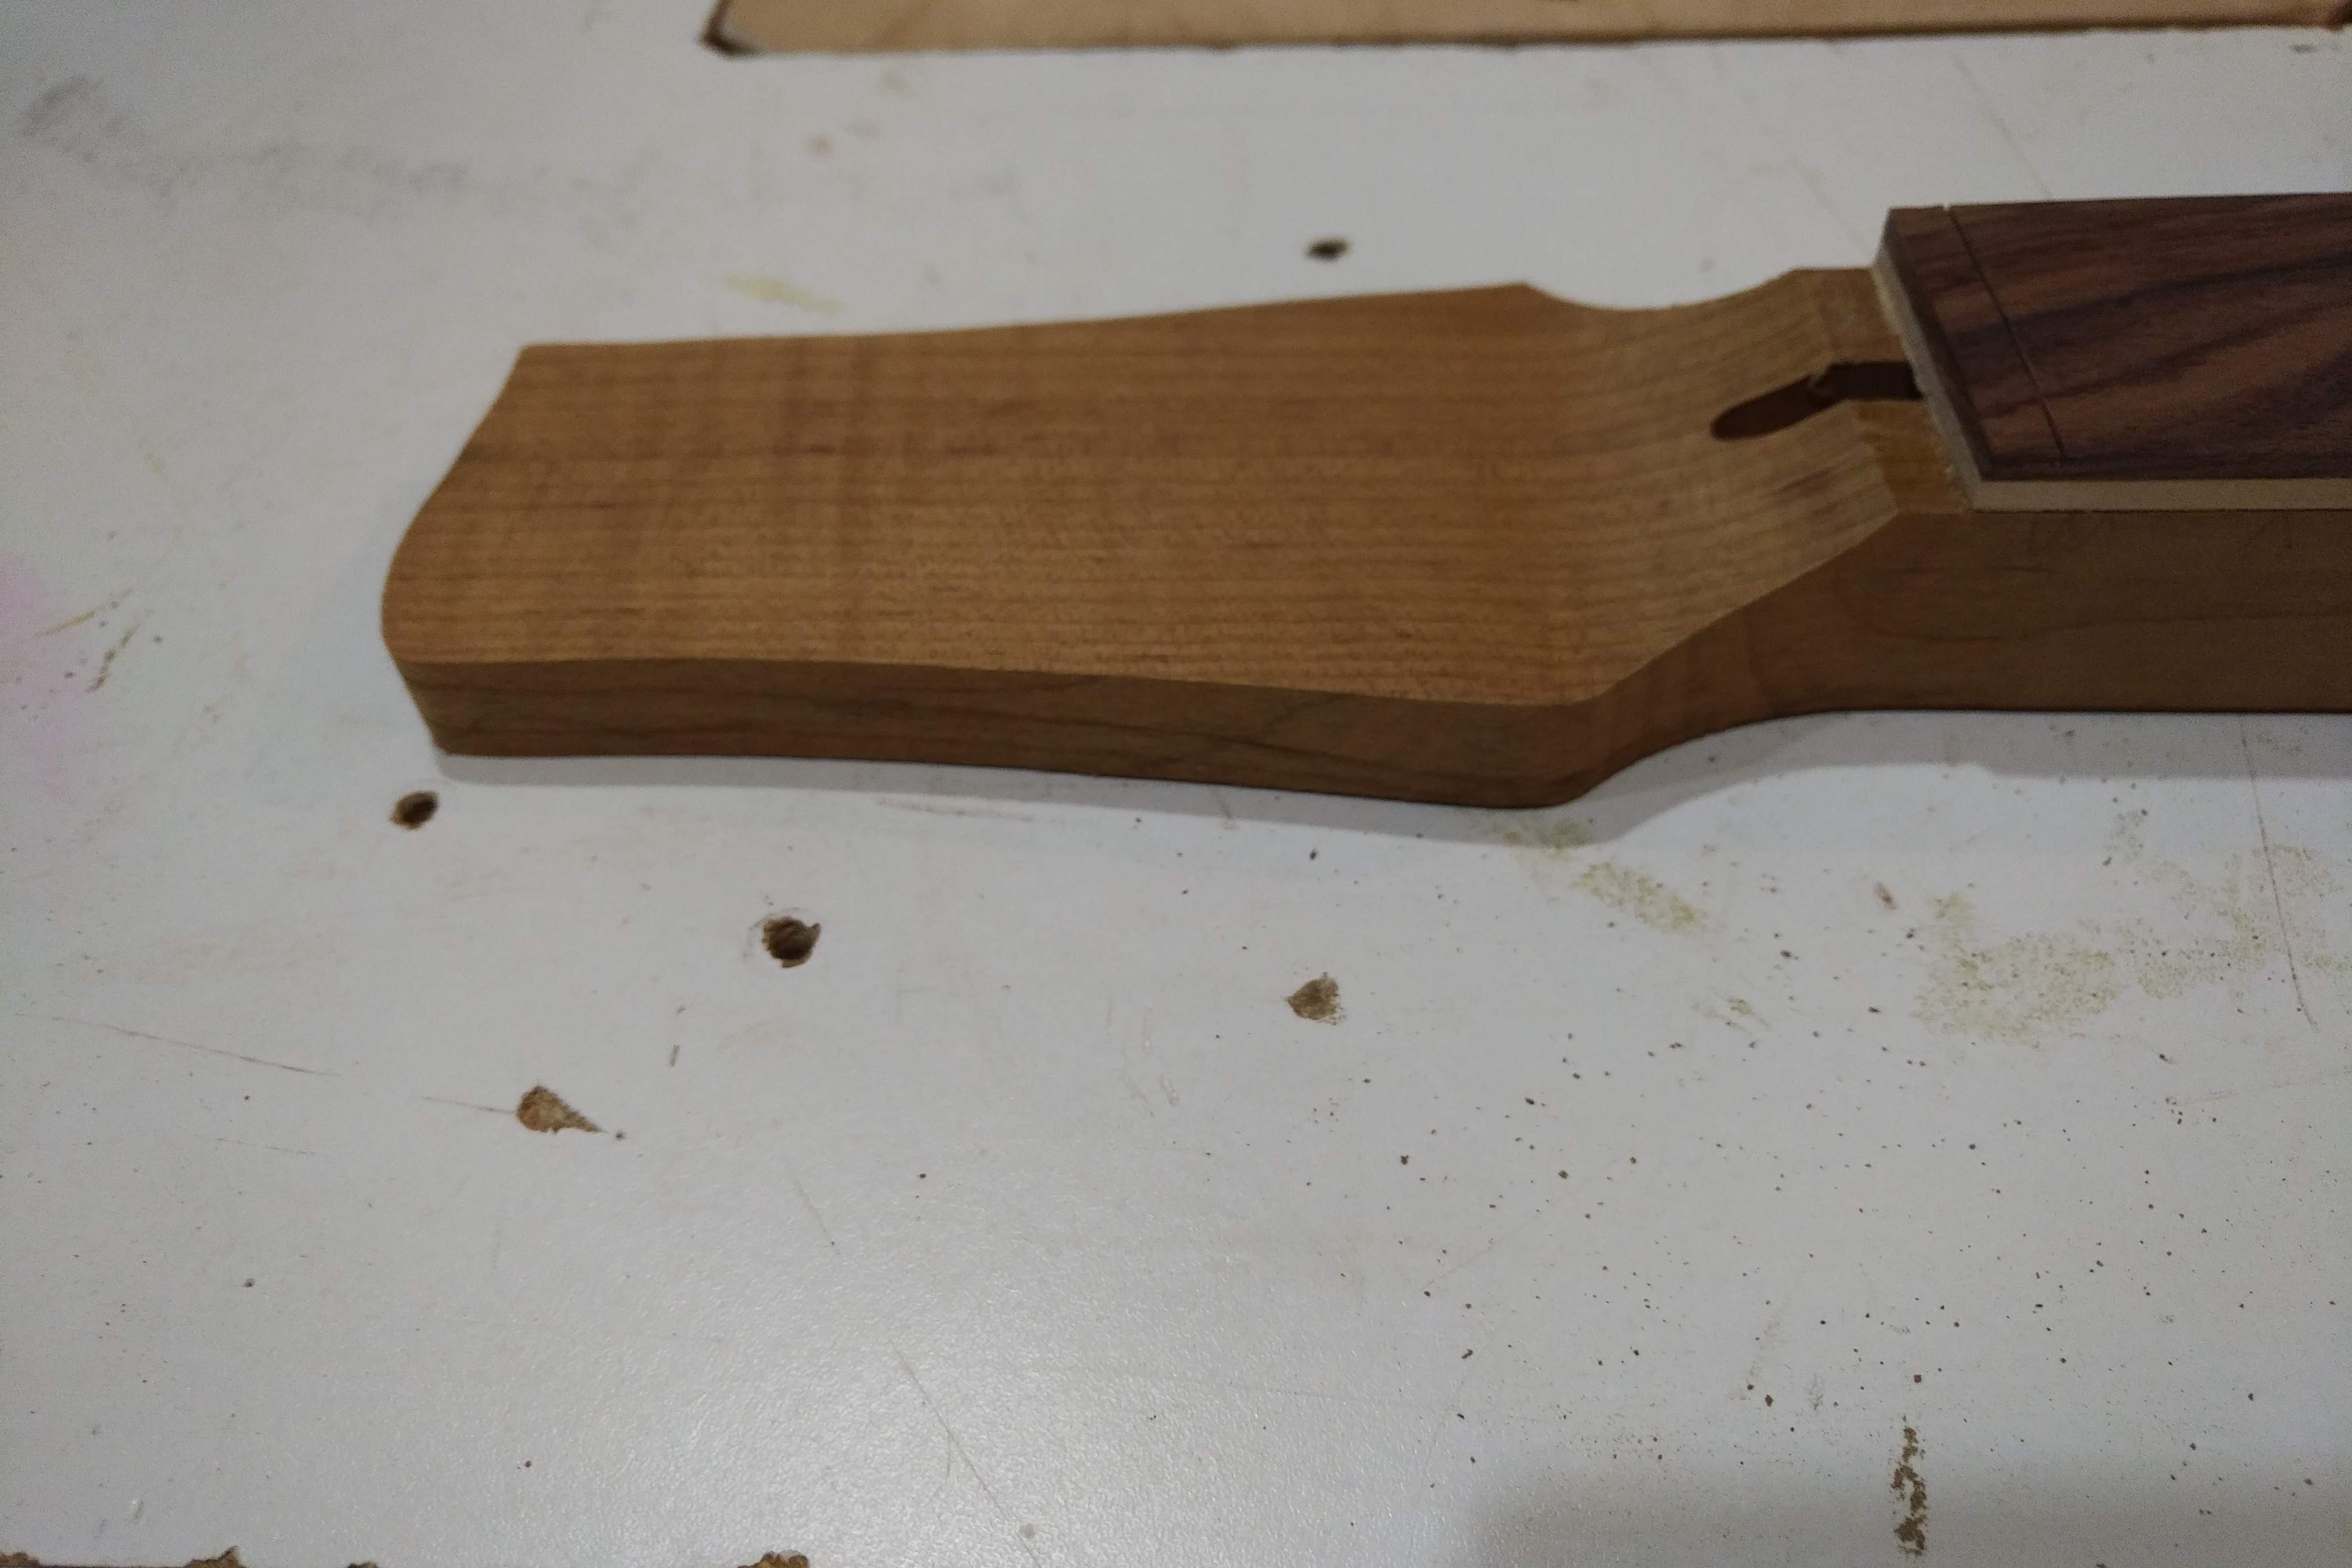
I got some work done on the neck. I raided my dad's old hobby supplies and found some walnut dowel to use as side dots. Then I thicknessed and shaped the head stock.

My high tech thicknessing machine...

... in action ...

... jumping ahead a few steps involving a bench top belt sander.
 
This will be the first time that I have had to angle the neck and have a couple of questions:
  1. Is it better to cut the angle into the bottom of the neck pocket or to put a taper on the neck heel?
  2. Does it matter whether I set the neck or bolt it on?
 
Today was drilling and routing day. I started with the control cavity and cover plate. I made the cover plate first, then made a template from it. I used different collars leaving a shallow ledge for the cover.

Then I went on to layout and cut the pick-up cavities. I did this by with fostner bits and chisels. I laid it our so I can decide later whether to mount the pick guard.
I also drilled a cavity for the pick-up selecter switch.

Once a year, I am glad that I spent the extra money on the floor mount drill press. I use it for the jack hole and wiring channels.

Tomorrow, I am taking @Beej 's perfectly accurate yet entirely useless advice in the previous post to set the neck angle.
 
While @Beej 's advice was intentionally unhelpful, one of his previous posts from the winter build-off was unintentionally helpful.
Okay...finally done the shakes... phew.
...

Cedar shims have a close enough taper angle to make a neck pocket jig to rout in a slanted bottom.
No pictures. Just take my word for it.
 
  • Like
Reactions: BishopJP and Beej
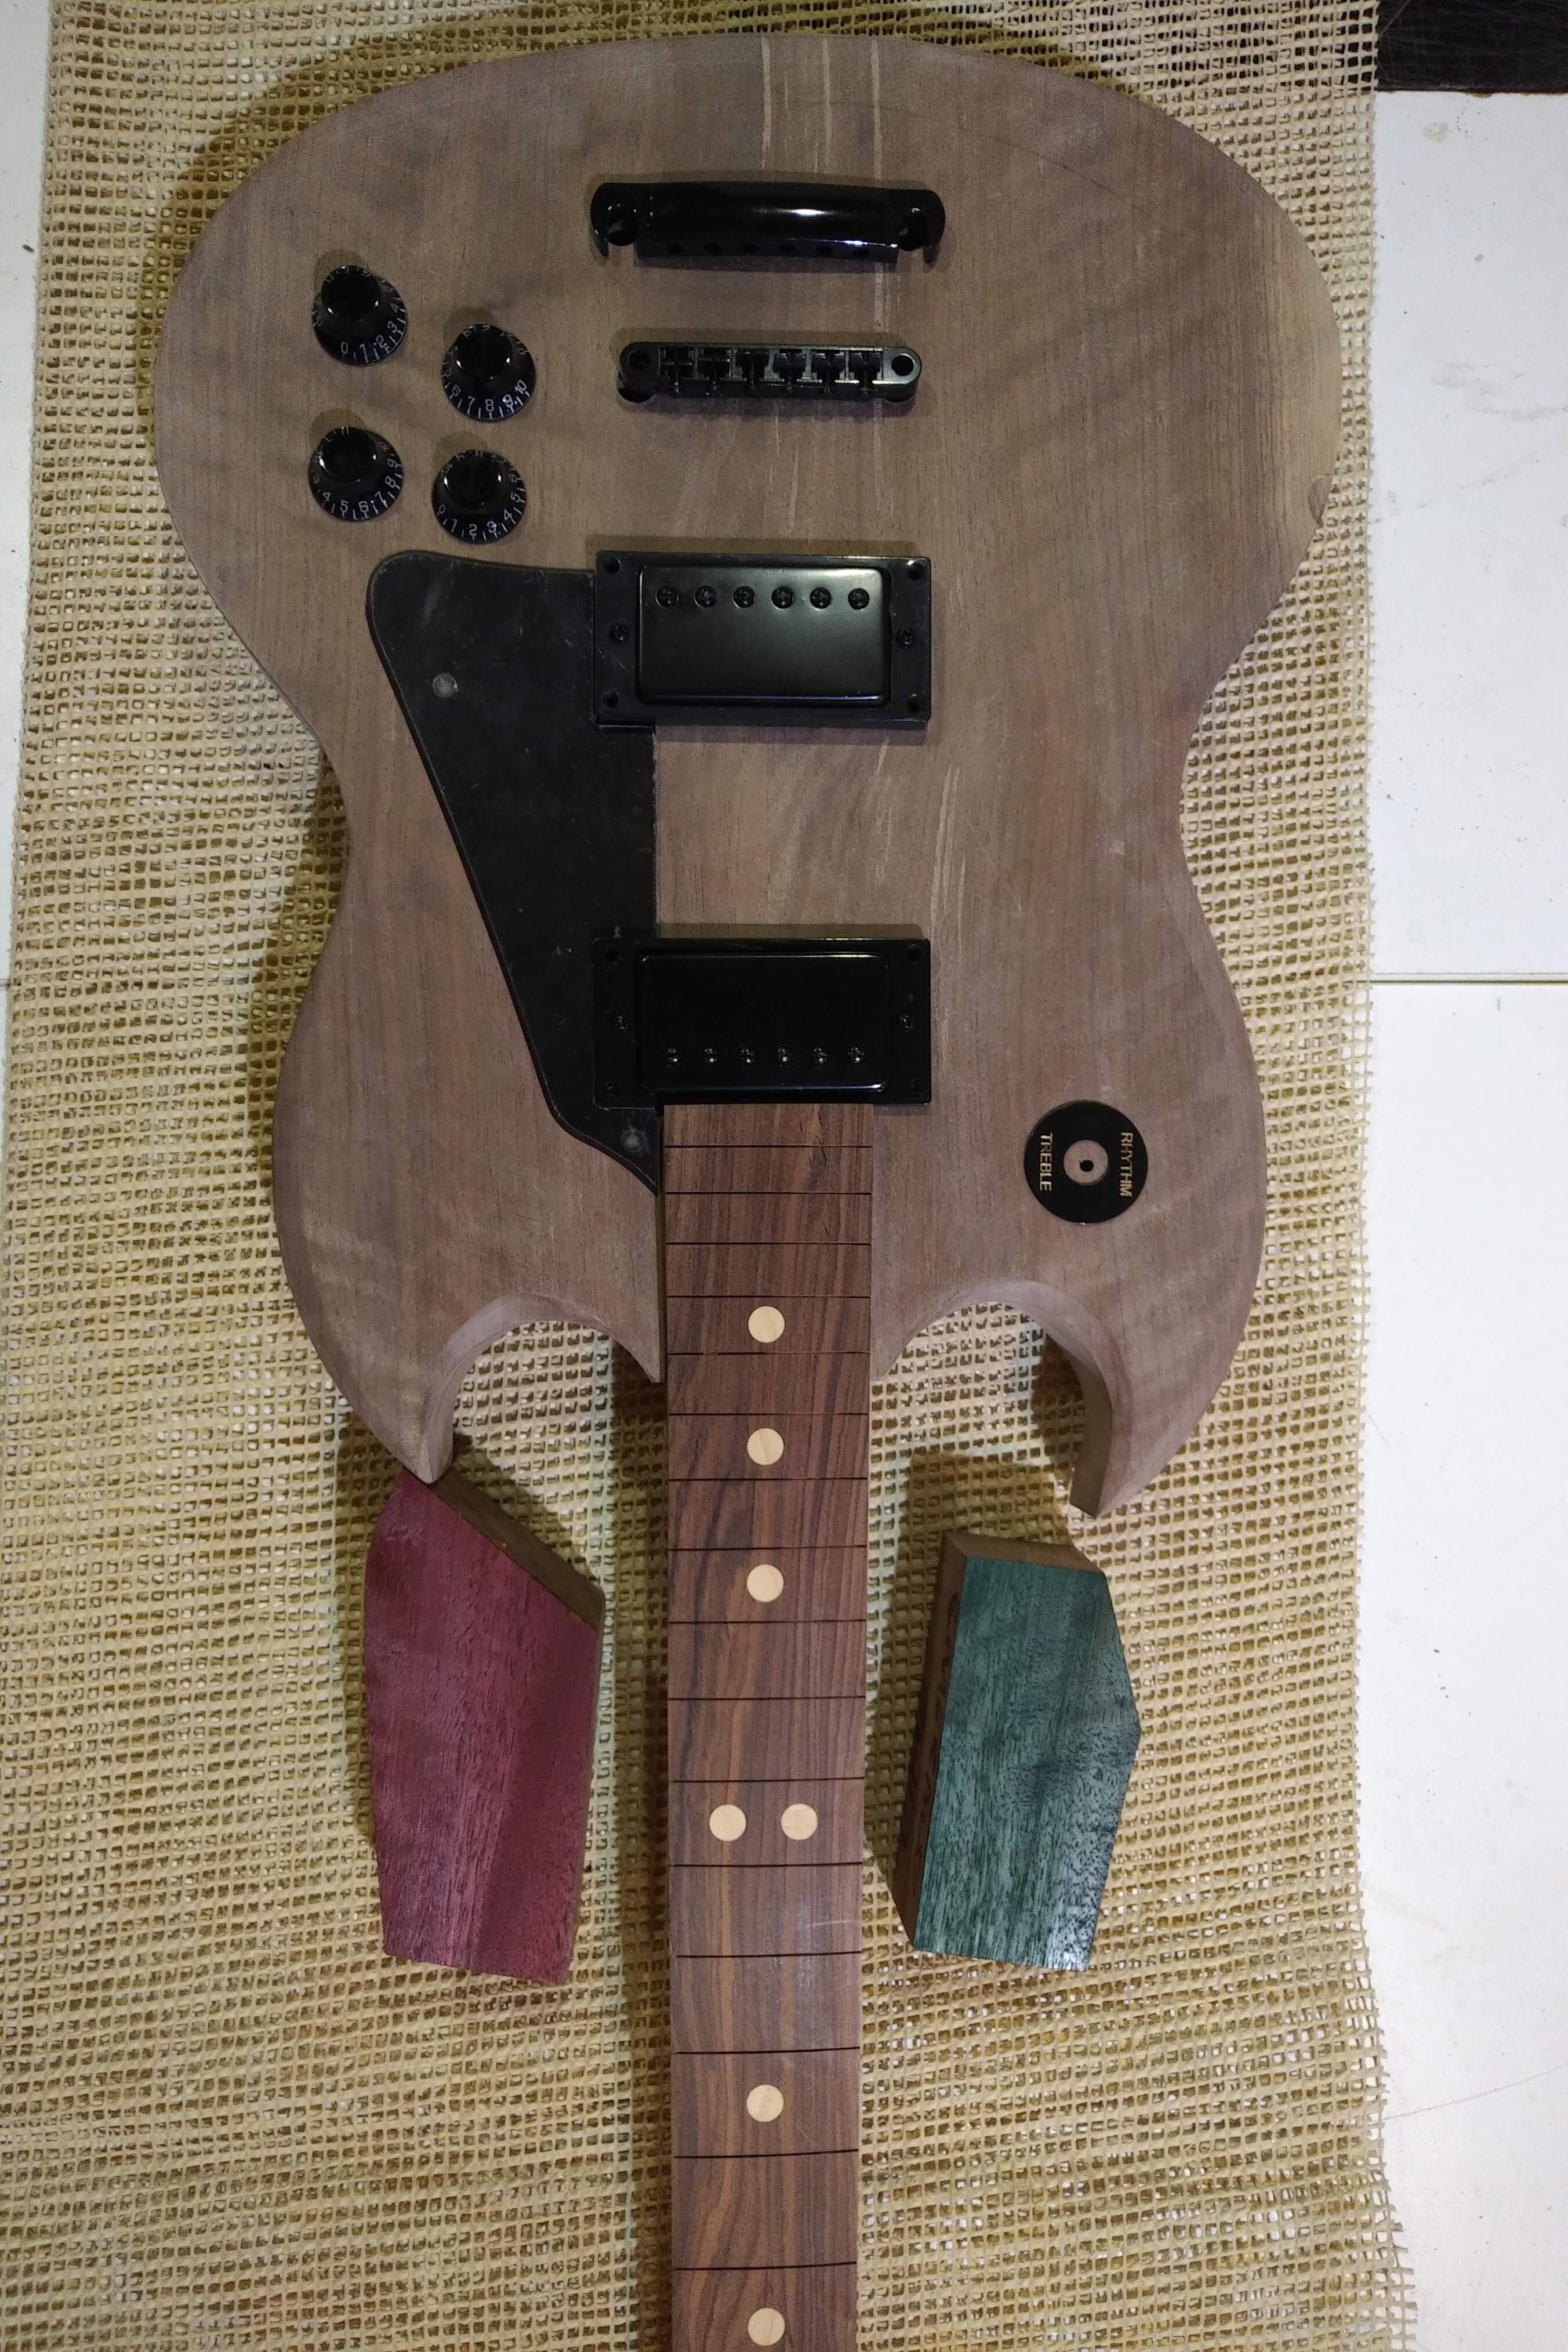
I know, but I don't have a cherry red stain handy. The raspberry certainly has more of a purple hue than a cherry red SG. There are black SGs too, but my navy and ebony stains are just covering too much grain. The rest of the stains disappear against the walnut.

I'm of the opinion that if you can't match something, then boldly contrast it. Close but not quite is just not right
 
  • Like
Reactions: dwizum
I’d vote green and no guard but I’m biased....:smug:

C5FEEF20-B7B8-4334-8C14-B63B9F23E1C9.jpeg