• TalkBass has been independent since 1998. Add your voice.
    Create a free account to reply to discussions, view embedded media, and browse with fewer display ads.
    Join freeLog in
    Want zero display ads or expanded classifieds tools? Compare plans.

Winter Build Off 2020 - Malefactor 5

Beej

Supporting Member
Feb 10, 2007
14,289
28,609
Vancouver Island
This is my build thread for this: Winter Build Off 2020 - Air Space

Specs:
Body: Chambered Walnut body with Plain Hard Maple top
Neck: Tapered Maple core with Walnut stringers and Burnt Walnut fretboard, 24 frets
Neck Type: Bolt-on
Scale Length: 32"
Strings: 5
Pickups: Soapbar Humbuckers, 4 conductor
Controls: SBK Preamp - V/B/b/m/t w/mid switch
Bridge: Ibanez F-Style
Tuners: Gotoh GB707s + Gotoh Knockoffs

Woodpile pic:

Parts box (from a while back) :

Here is the design:

The f-holes were put there before I made this thread:
Unusual / Alternative F-Holes?

I'm not going to get much opportunity to work on this over the next couple of weeks due to travel and this:
:wideyed: o_O :eek: :confused: :mad: :rage: :bawl: :banghead:
 
Well, I was able to get a little time in last night to glue up the slabs that will form the body blank. This is the top side of the piece visible from the back.

Then today, I tapered the maple neck core outside since it was nice and sunny with no breeze. :)

I'll probably get a handful of other operations done before I leave for holidays, but mostly I'll continue focusing on siding installation. :sour:
 
I planed down the glued-together body pieces today, and also got the neck into the clamps.
The neck has a tapered maple core with a double layer of walnut veneer on either side, then a mahogany veneer and flanked by walnut stringers.

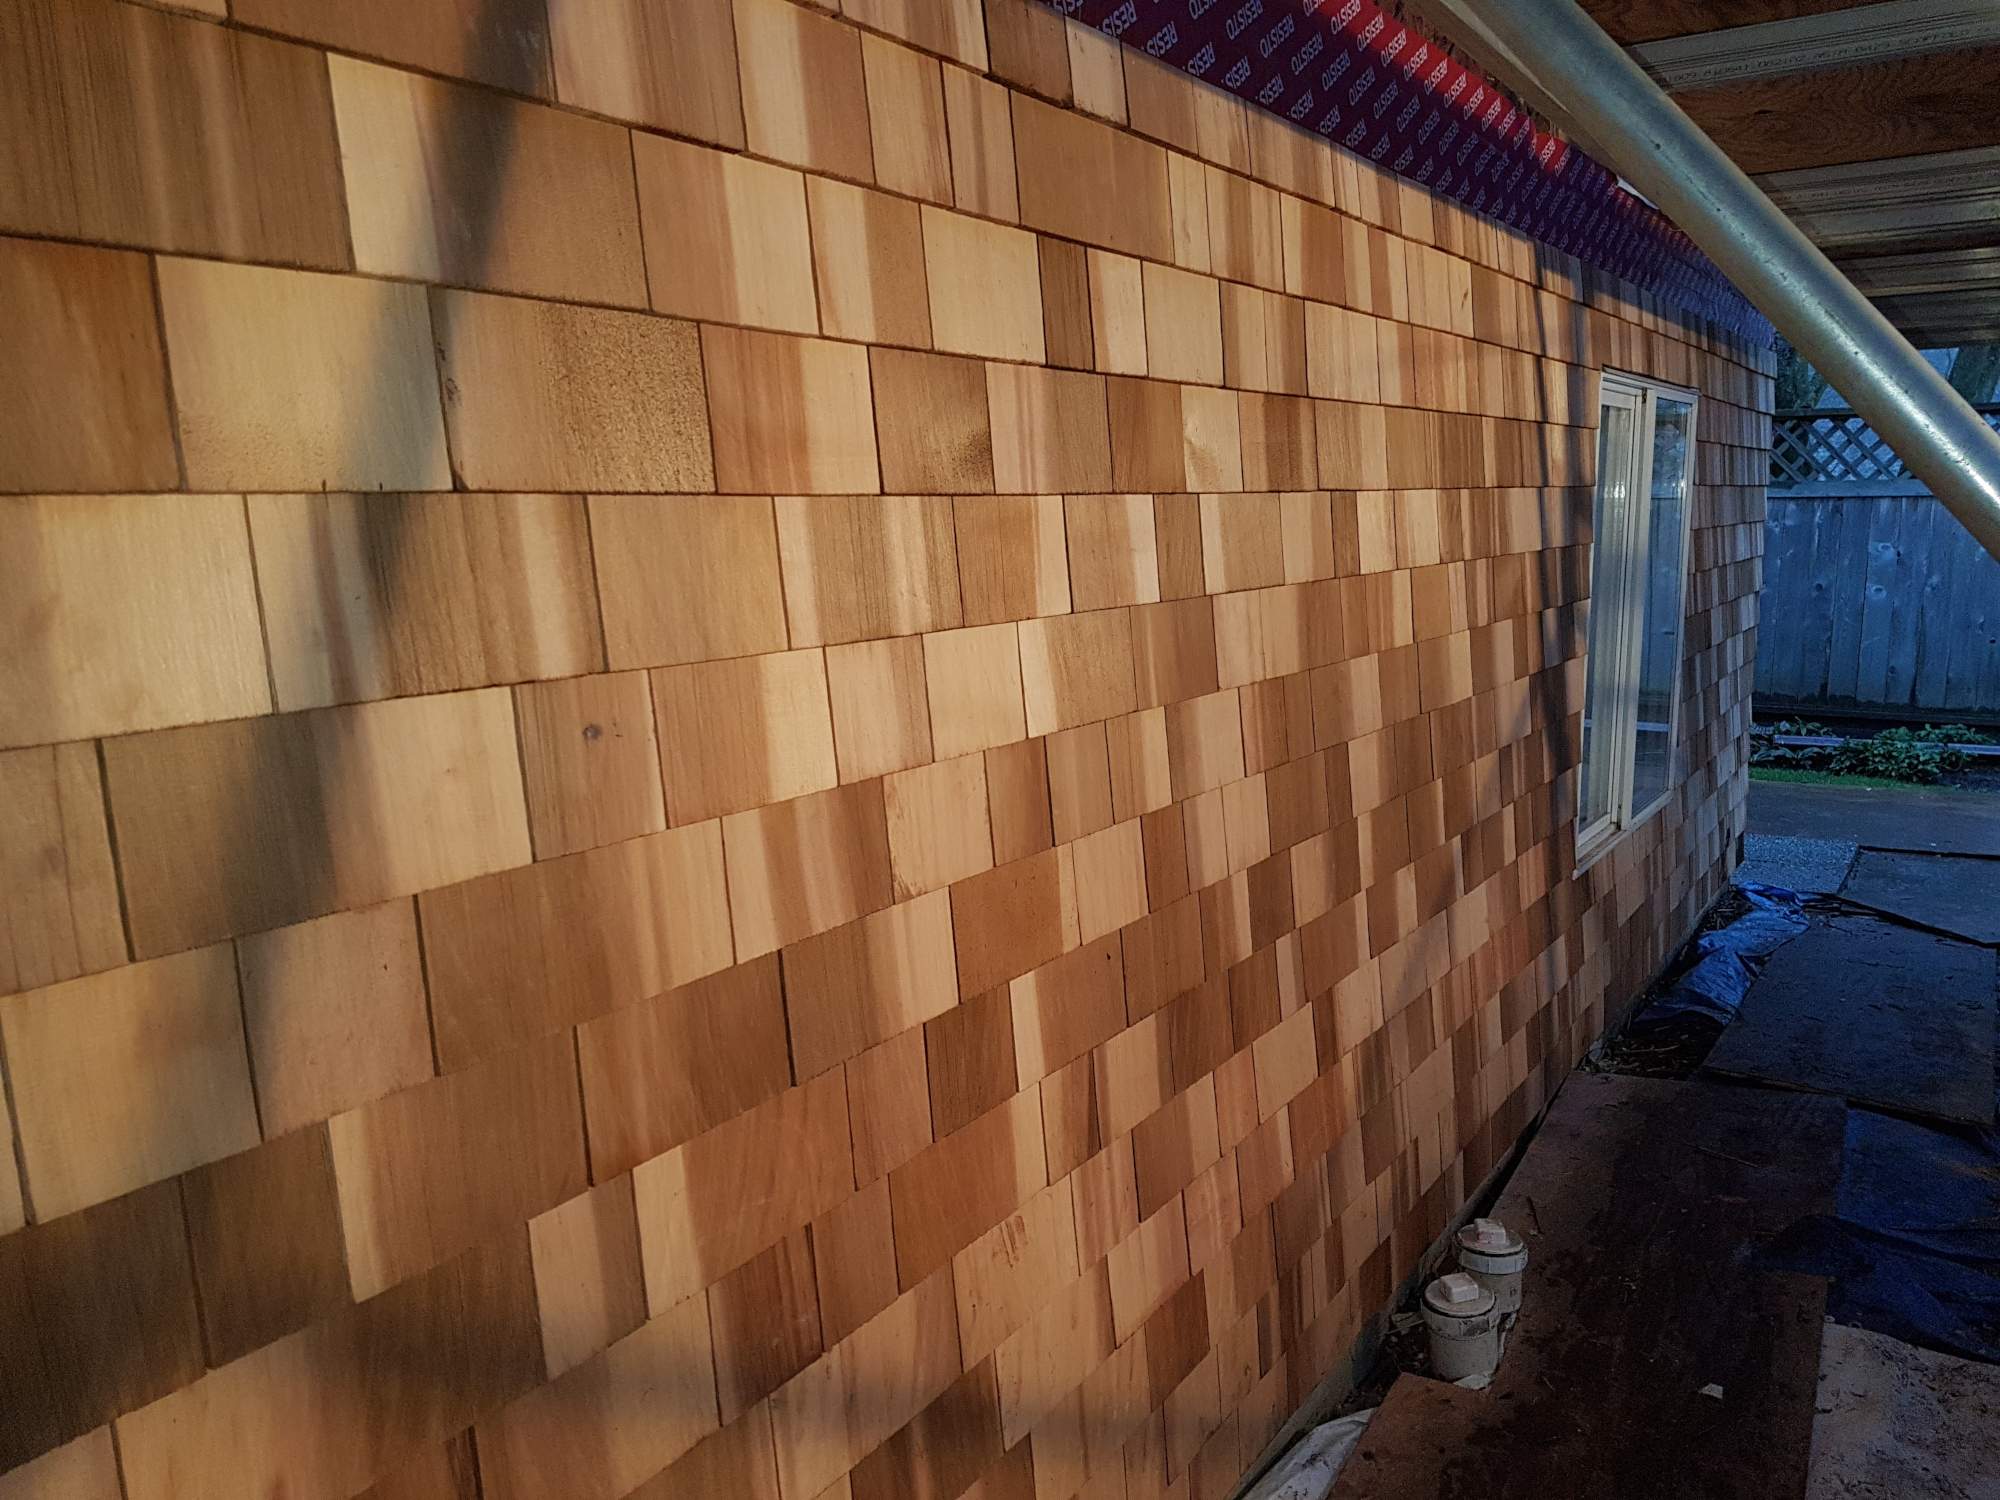
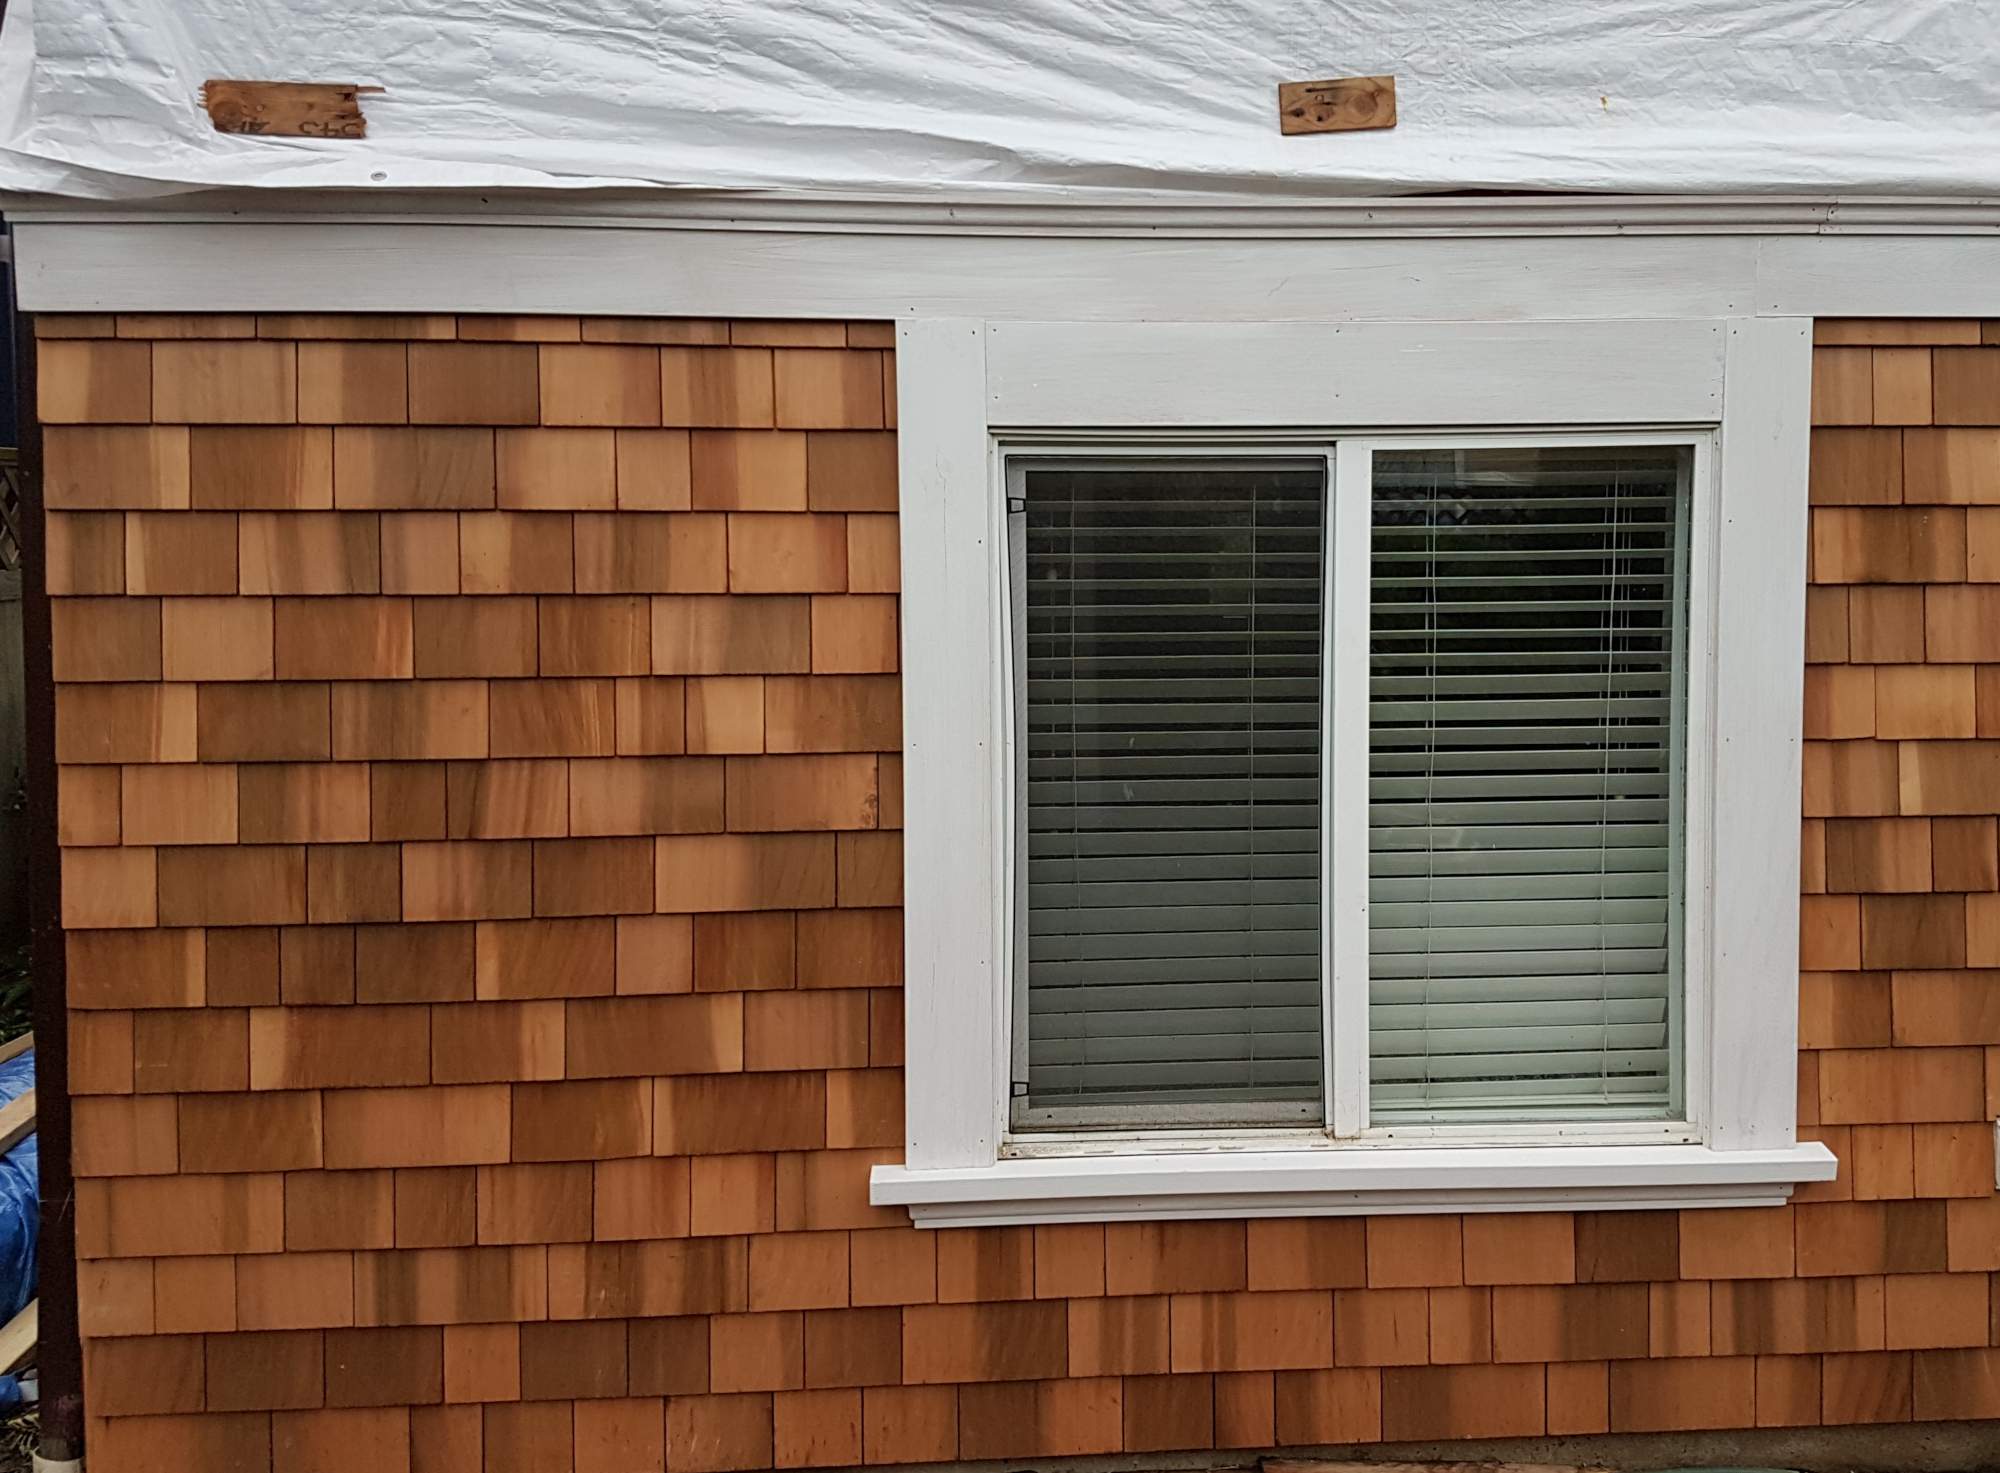
The house is a 1906 Arts & Crafts 1.5 story that was lifted and given a new foundation and ground floor suites with 8' ceilings in it's hundredth anniversary year. This made it a 2.5 story, so we bought it. The original siding was a combination of #1 cedar shakes across the attic, beveled lap siding on the midsection, and shakes on the lower portion (skirt). When they lifted it, they removed the skirt (36" tall section of shakes on the lowest part of the wall), and replaced it with Hardi-plank. They also made a new skirt section that was 5' tall with Hardi-plank. Hardi-plank is not bad, but it does not look anything like beveled lap or shakes. They also kept the shakes on the front of the house, so between the front, sides and back, the siding looks like a dog's breakfast. Several places were not flashed properly, and since I live in a very damp part of the world, some leakage prompted an urgent repair. An incompetent repair-person created a situation that then prompted a much larger repair. Then, since I had to pay $1800 for tooling to run new siding to replace what the incompetent repair-person destroyed, I decided to just run new siding for the upper Hardi-plank around the rest of the house, and ordered new shakes to redo the lower sections as well. I'll do the remaining sides in the spring, but I'm stuck with having to reassemble this mess right now. :banghead: At Christmas. :banghead::banghead::banghead:
 
Even though the neck came out of the clamps, in the time I had available, today I worked on the body.

First, I went back and forth a hundred times over which piece would be the "core" and which piece would be seen from the back. I'm done and it's glued up, but I'm still not entirely decided. :smug:

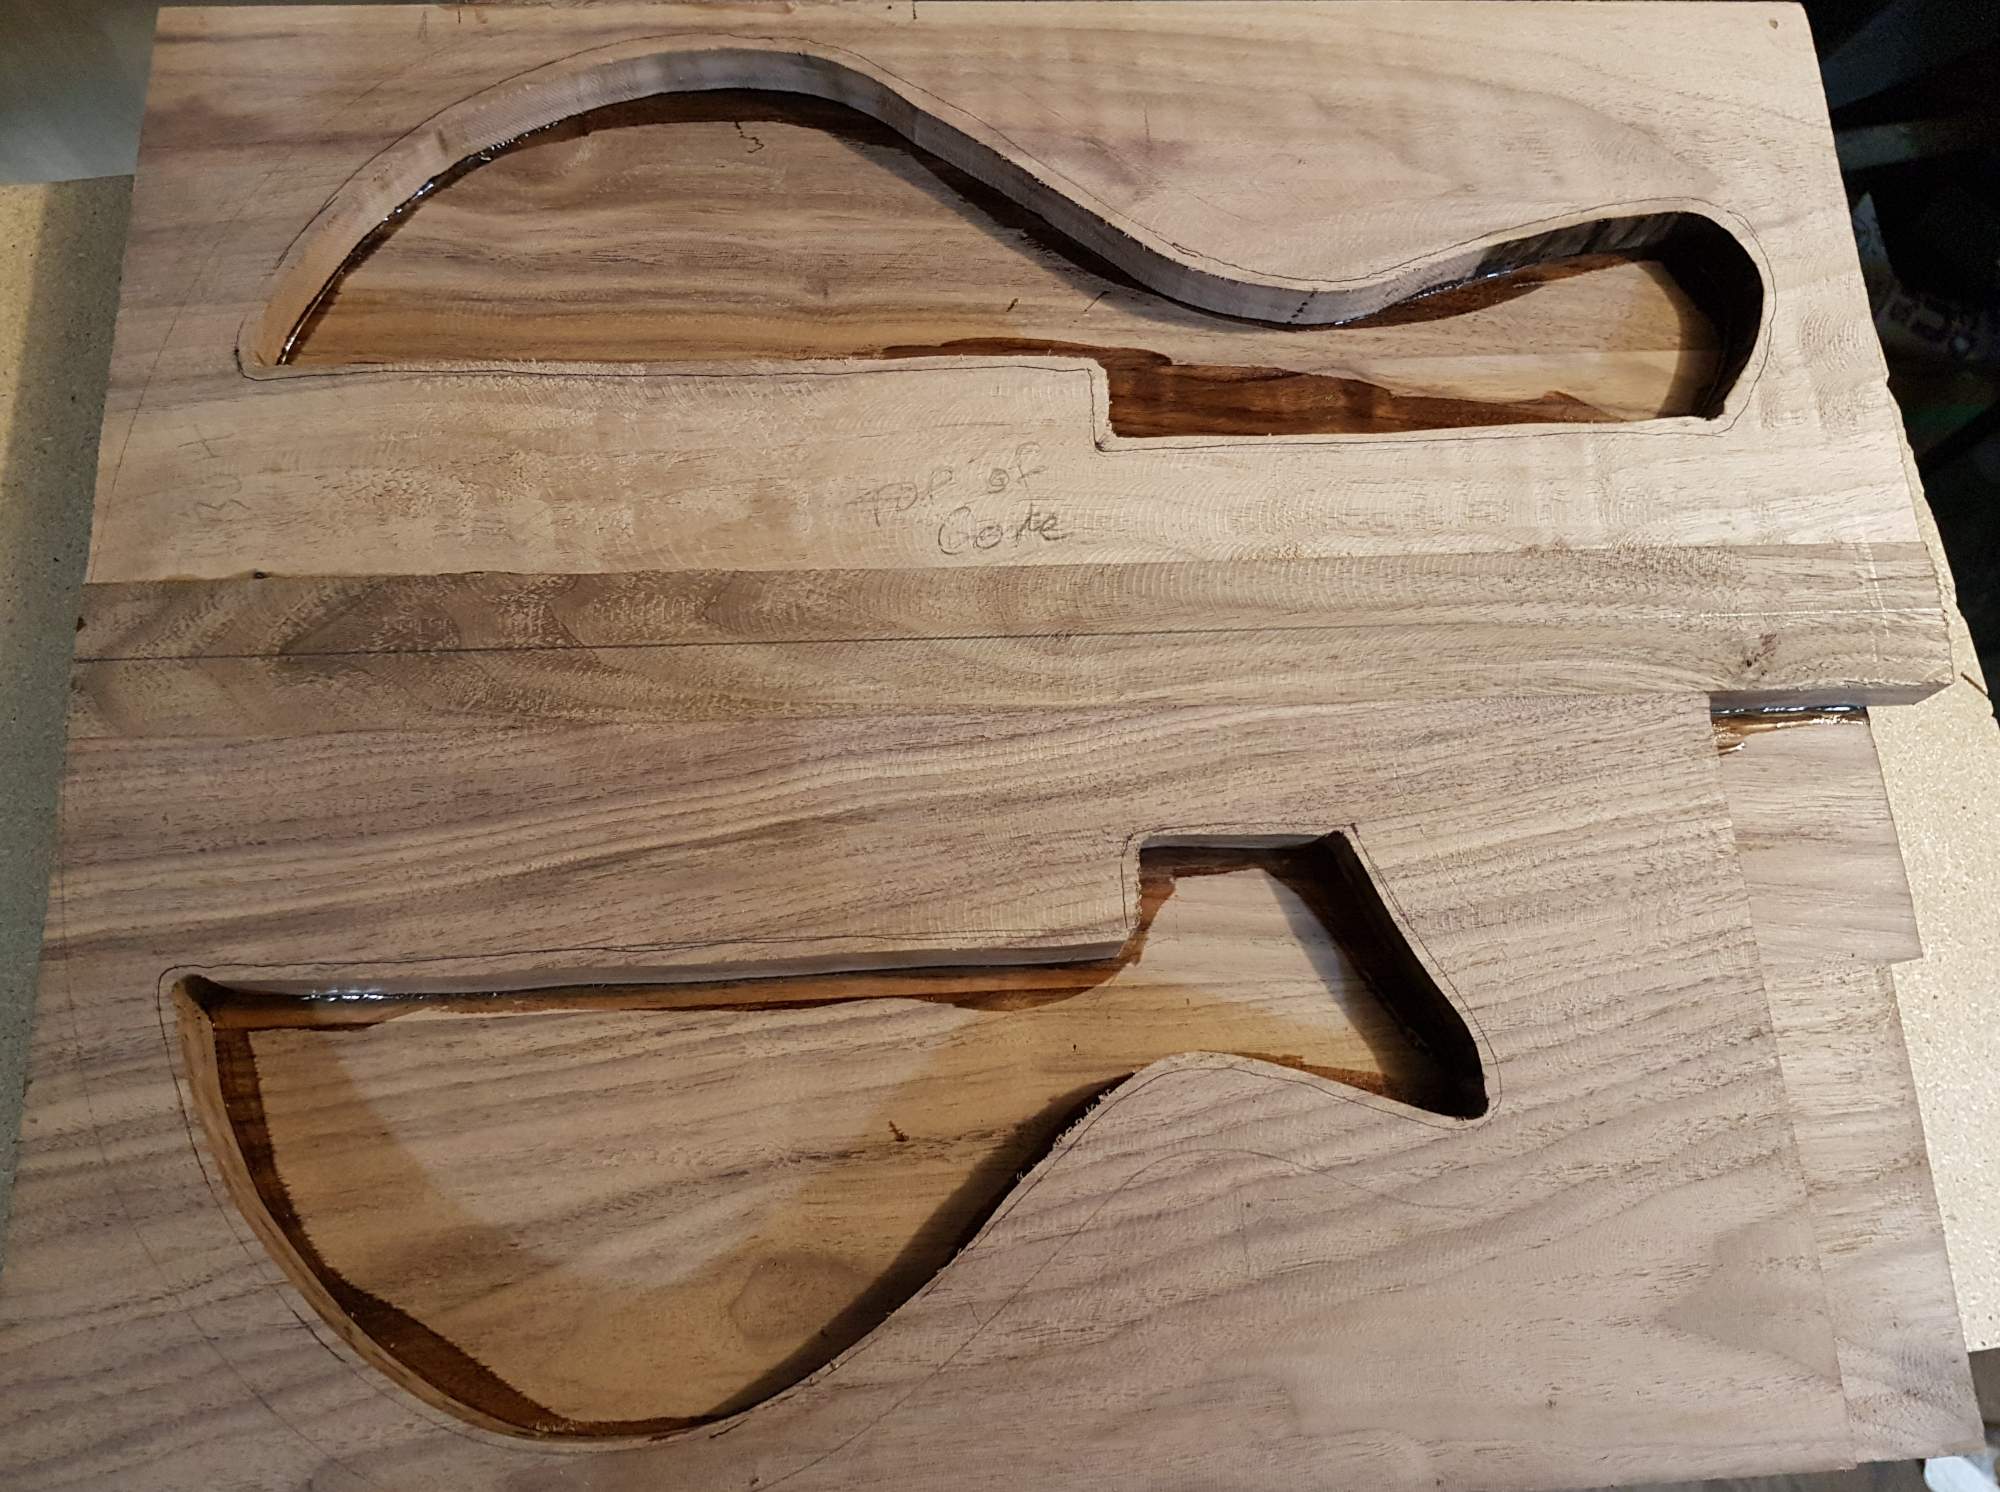
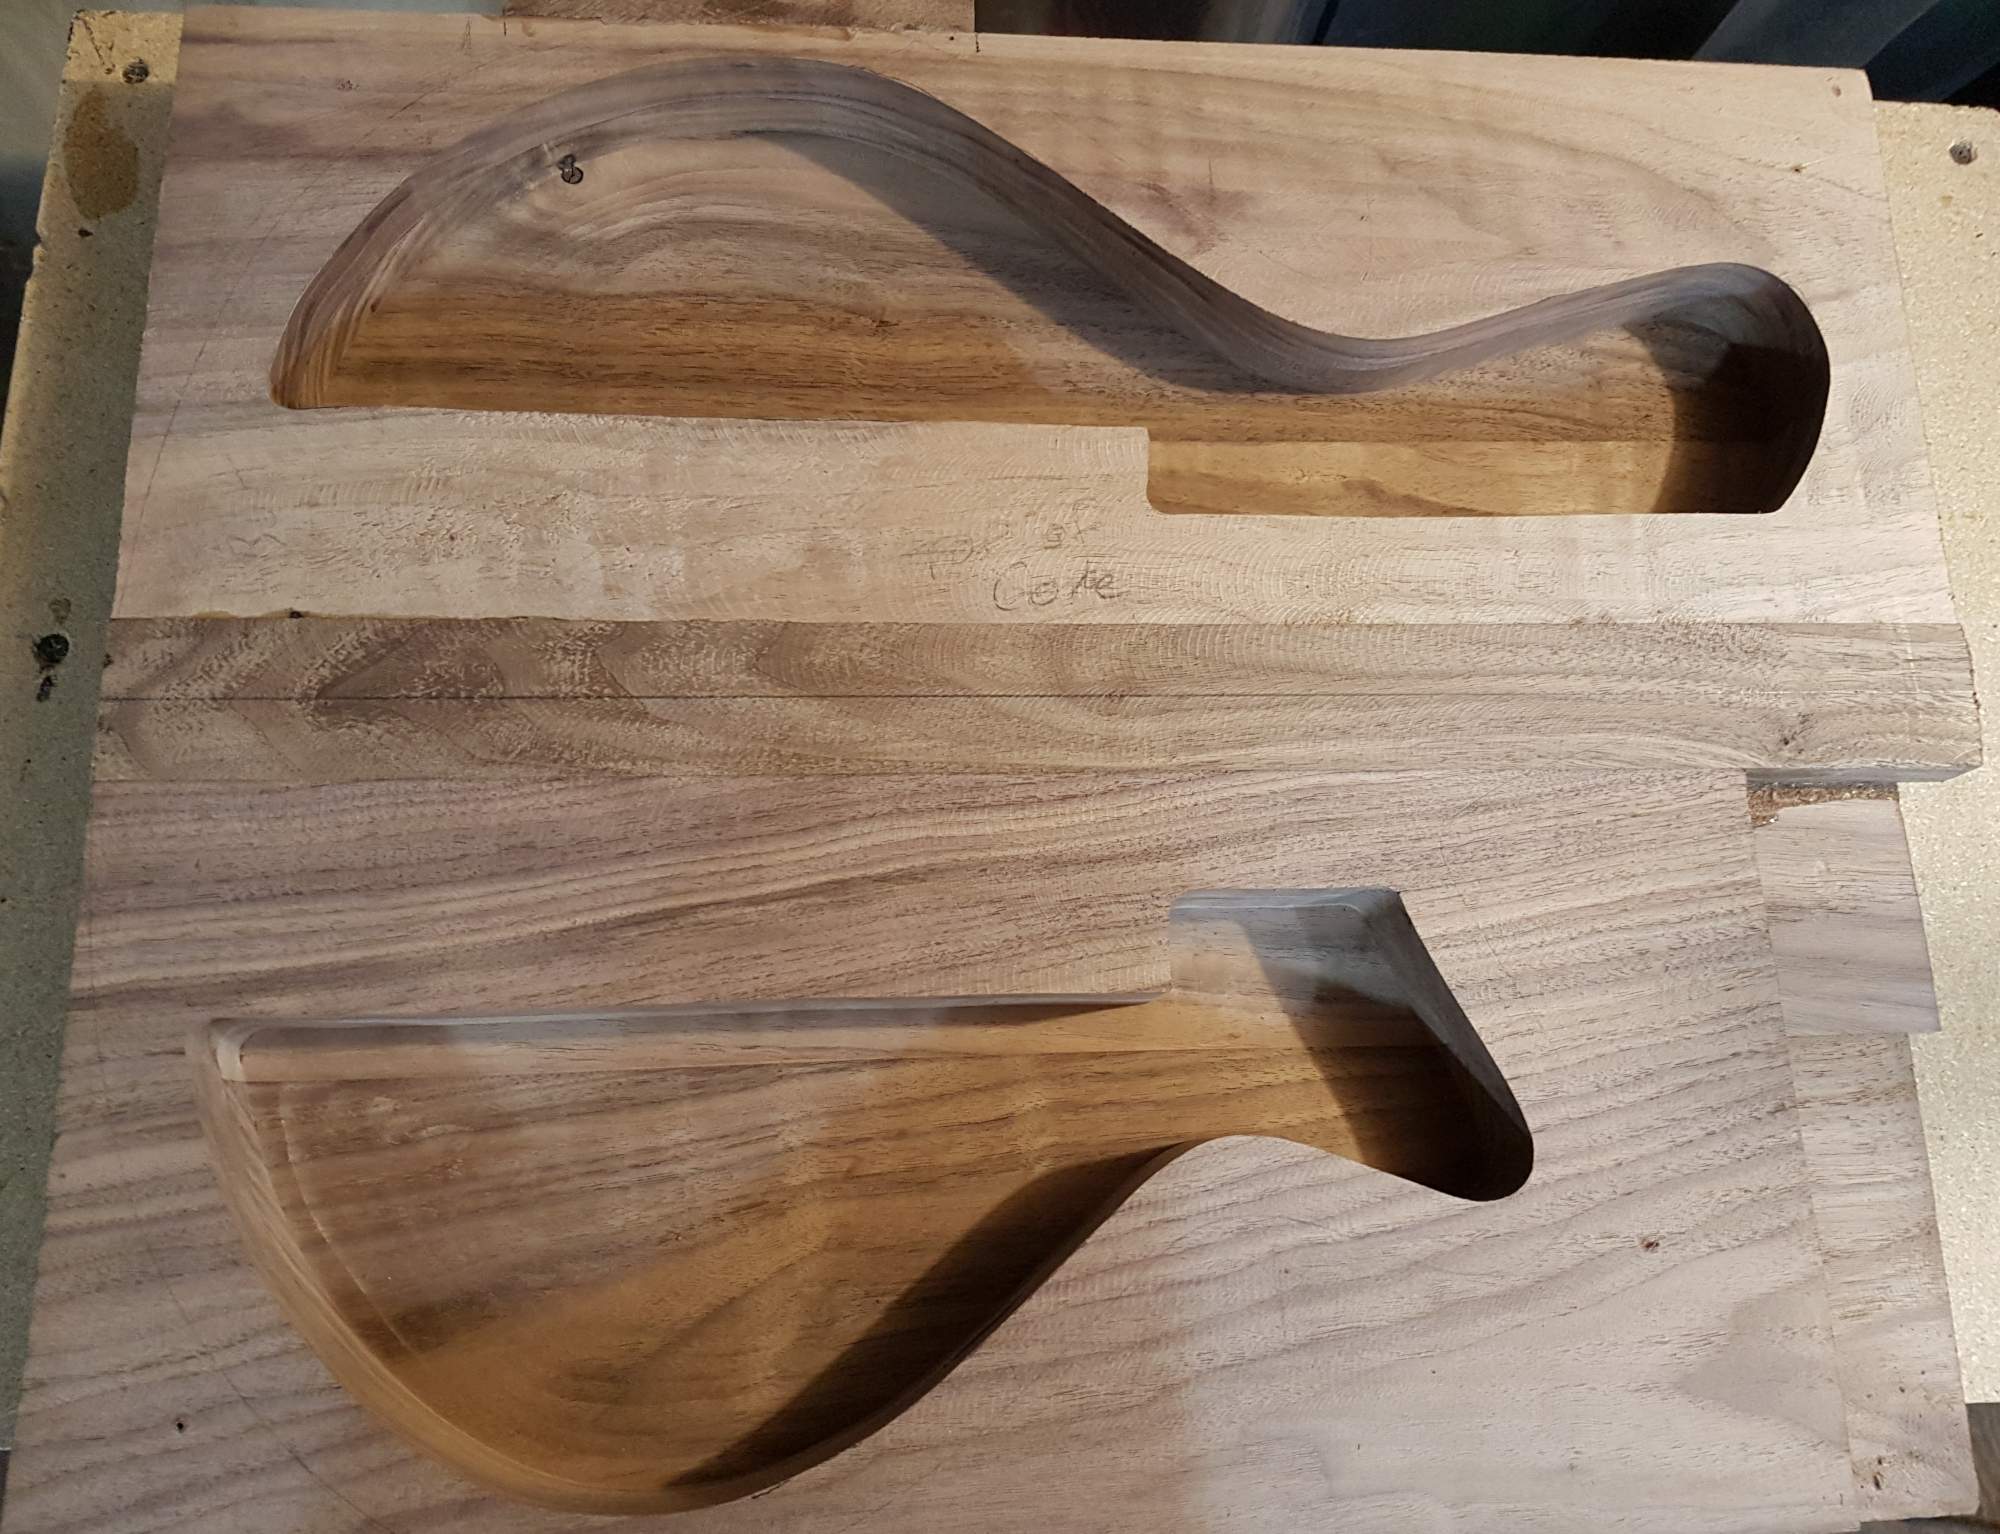
Once the core was identified, I put the chamber template on it to draw the pattern so I could cut it out on the jigsaw before glue-up and save hogging out time, chips and power after glue-up.

Here's it's laid over the "back". Once glued, I'll rout out the whole thing cleaner and much deeper.

A shot of the "back" with epoxy glue (System Three G2 for the nerds). Kind of a shame that all that lovely grain is being hidden inside the body... :(

And the backside of the "core" before being sandwiched.

And the obligatory clamp farm shot... :D

I may get a little time in before I fly out tomorrow, but not sure... :)
 
That looks like a project!
The house is definitely a work in progress... :D

For my submission in this year's Winter Home Reno Build Off, I'll be redoing the siding on the back of my house, while testing the limits of my marriage and heart condition.

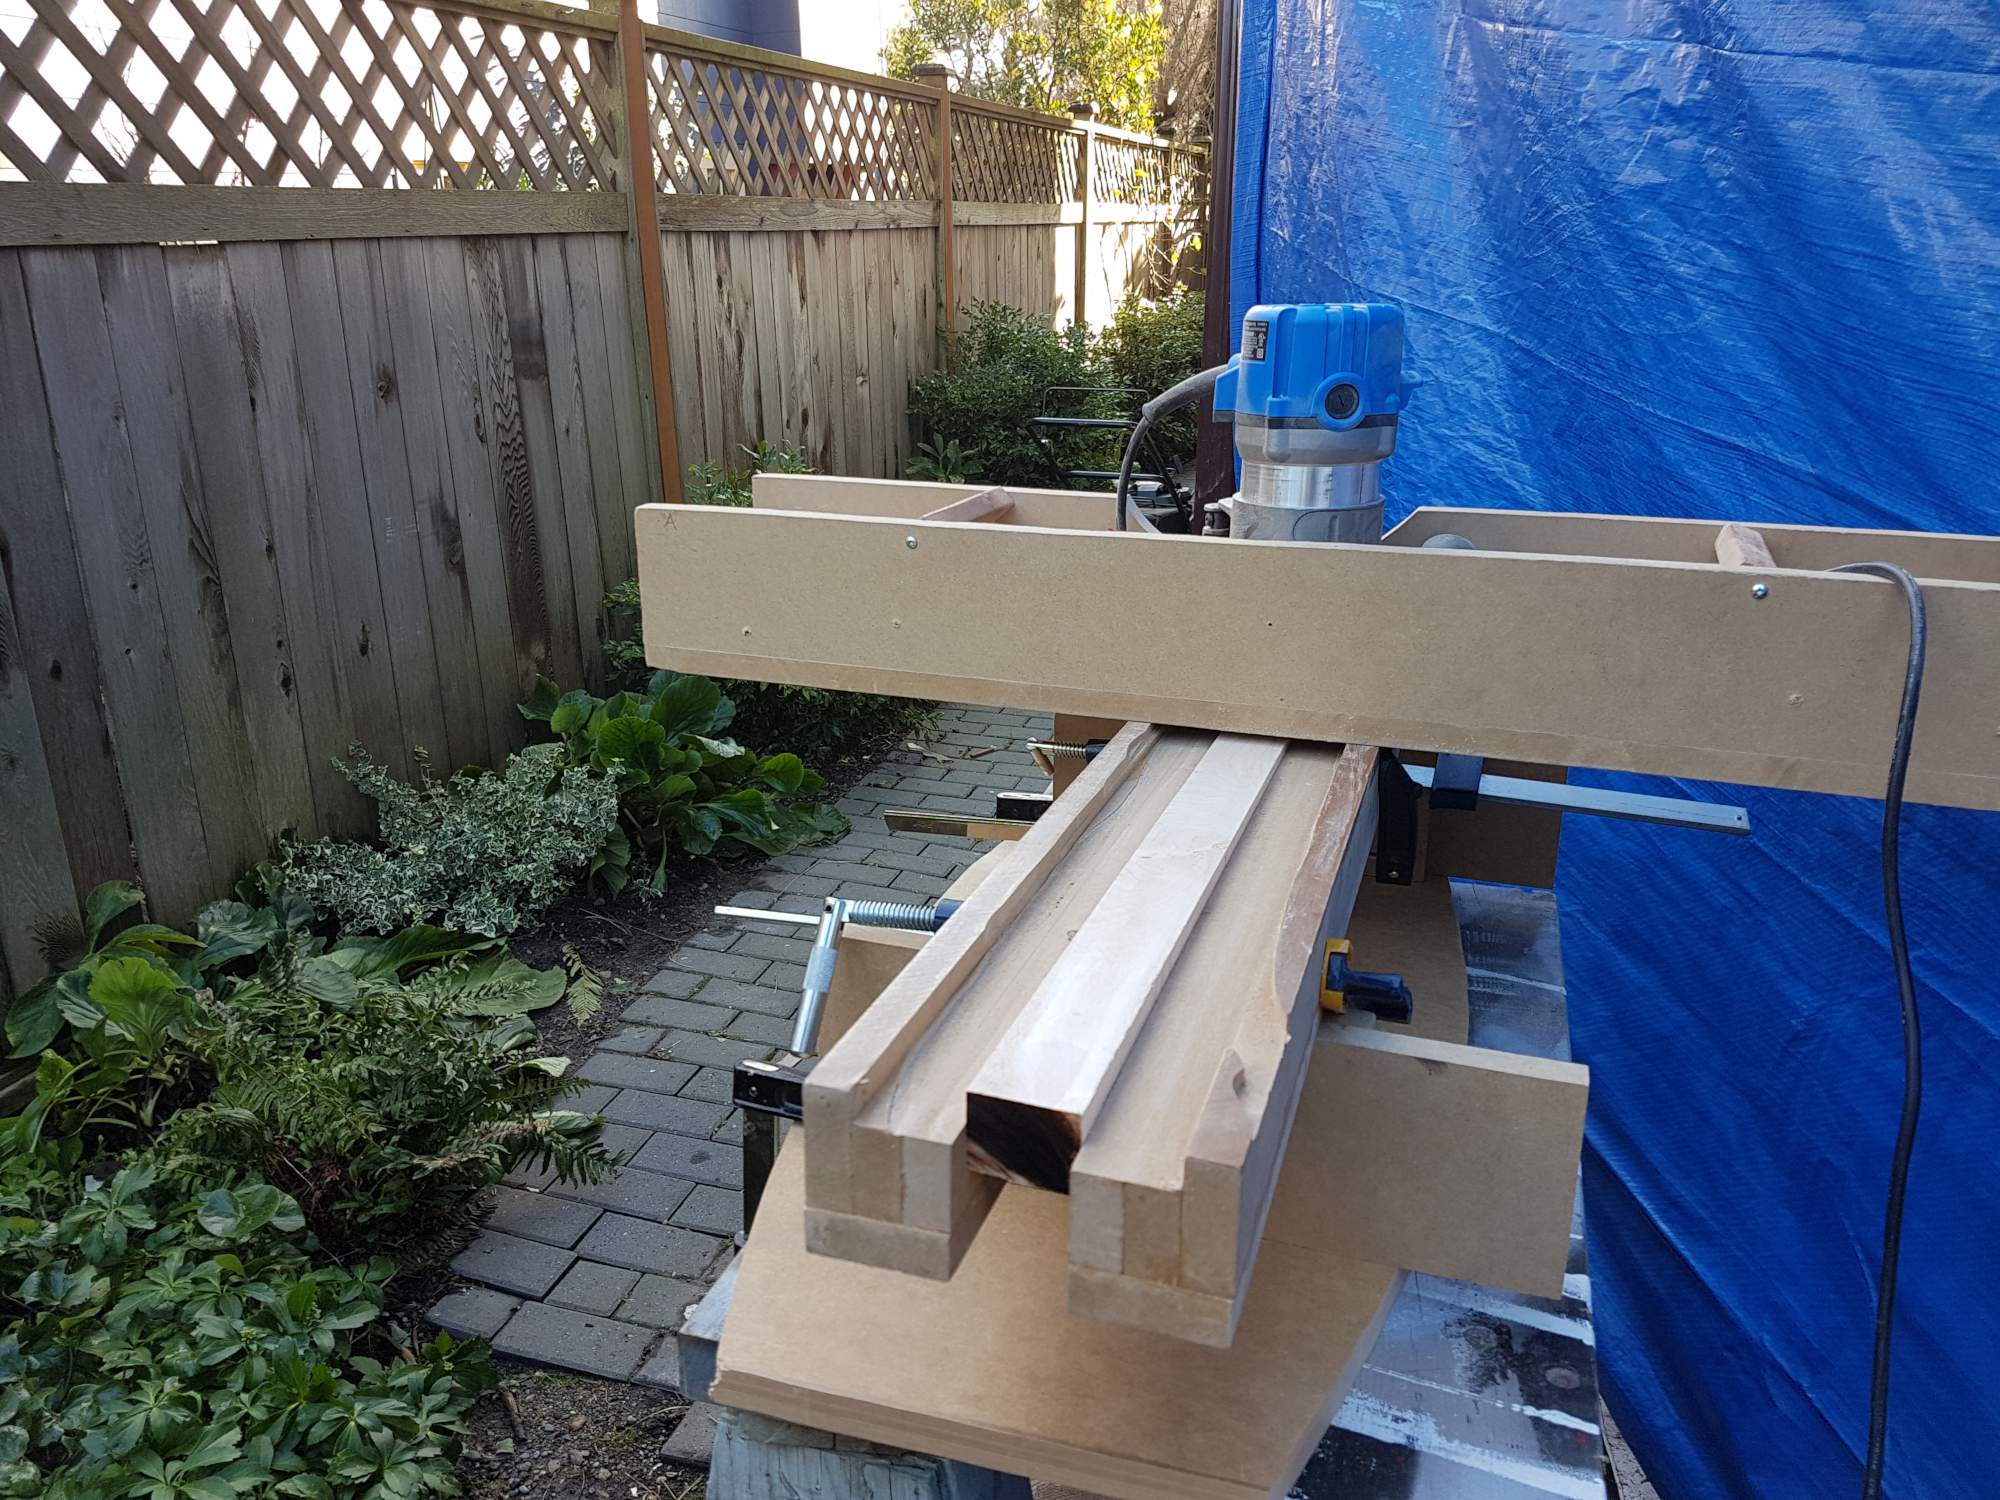
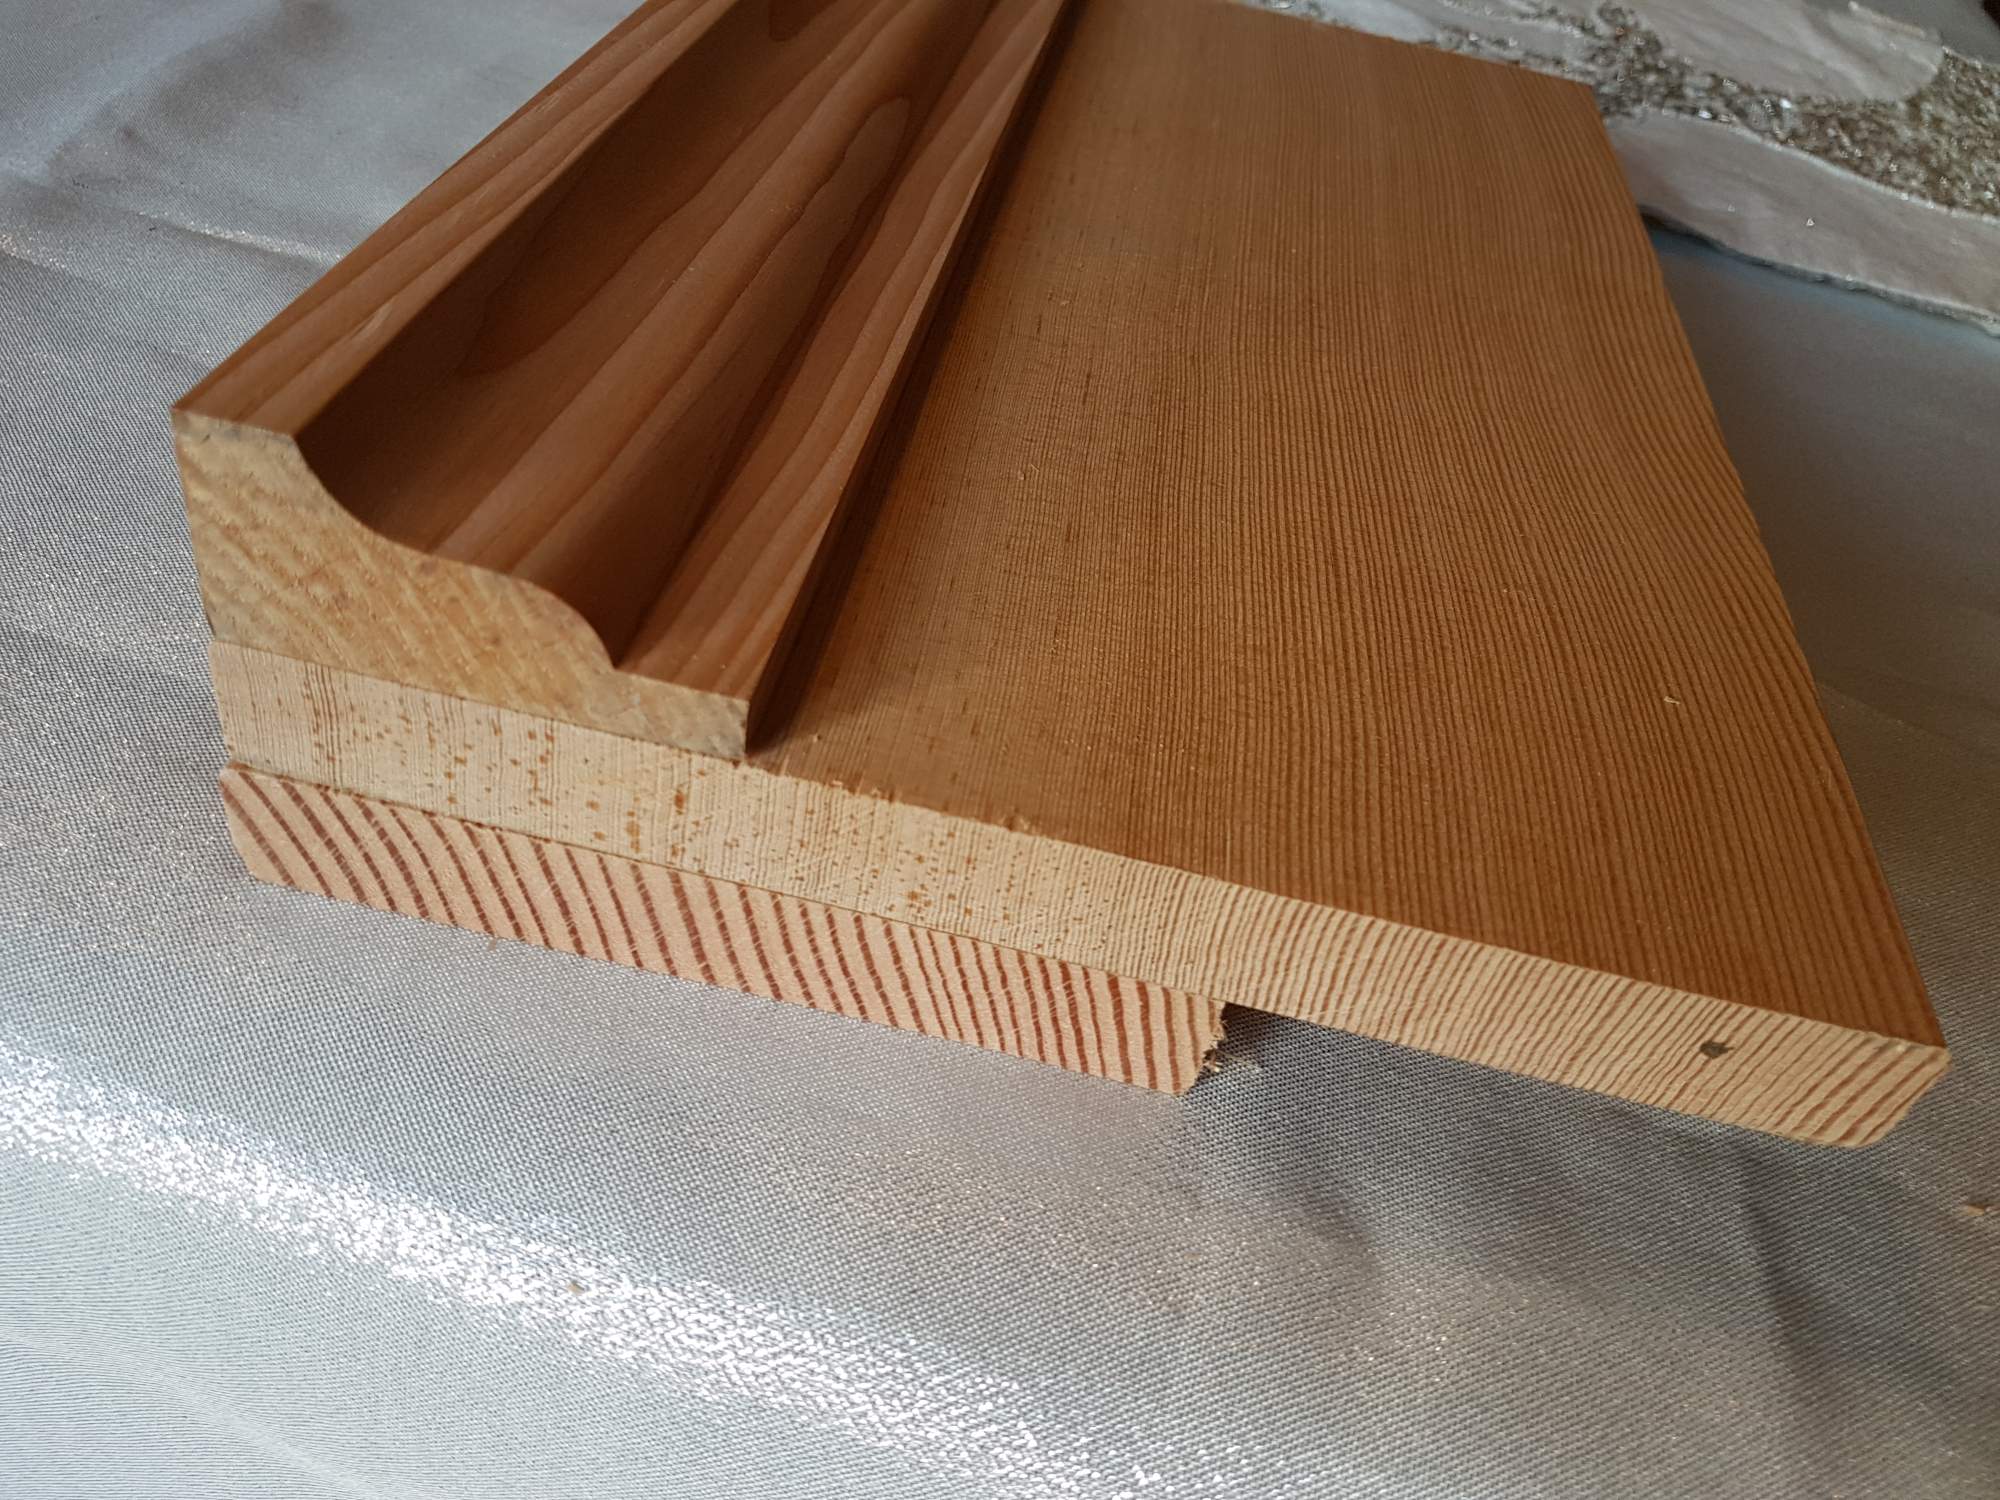
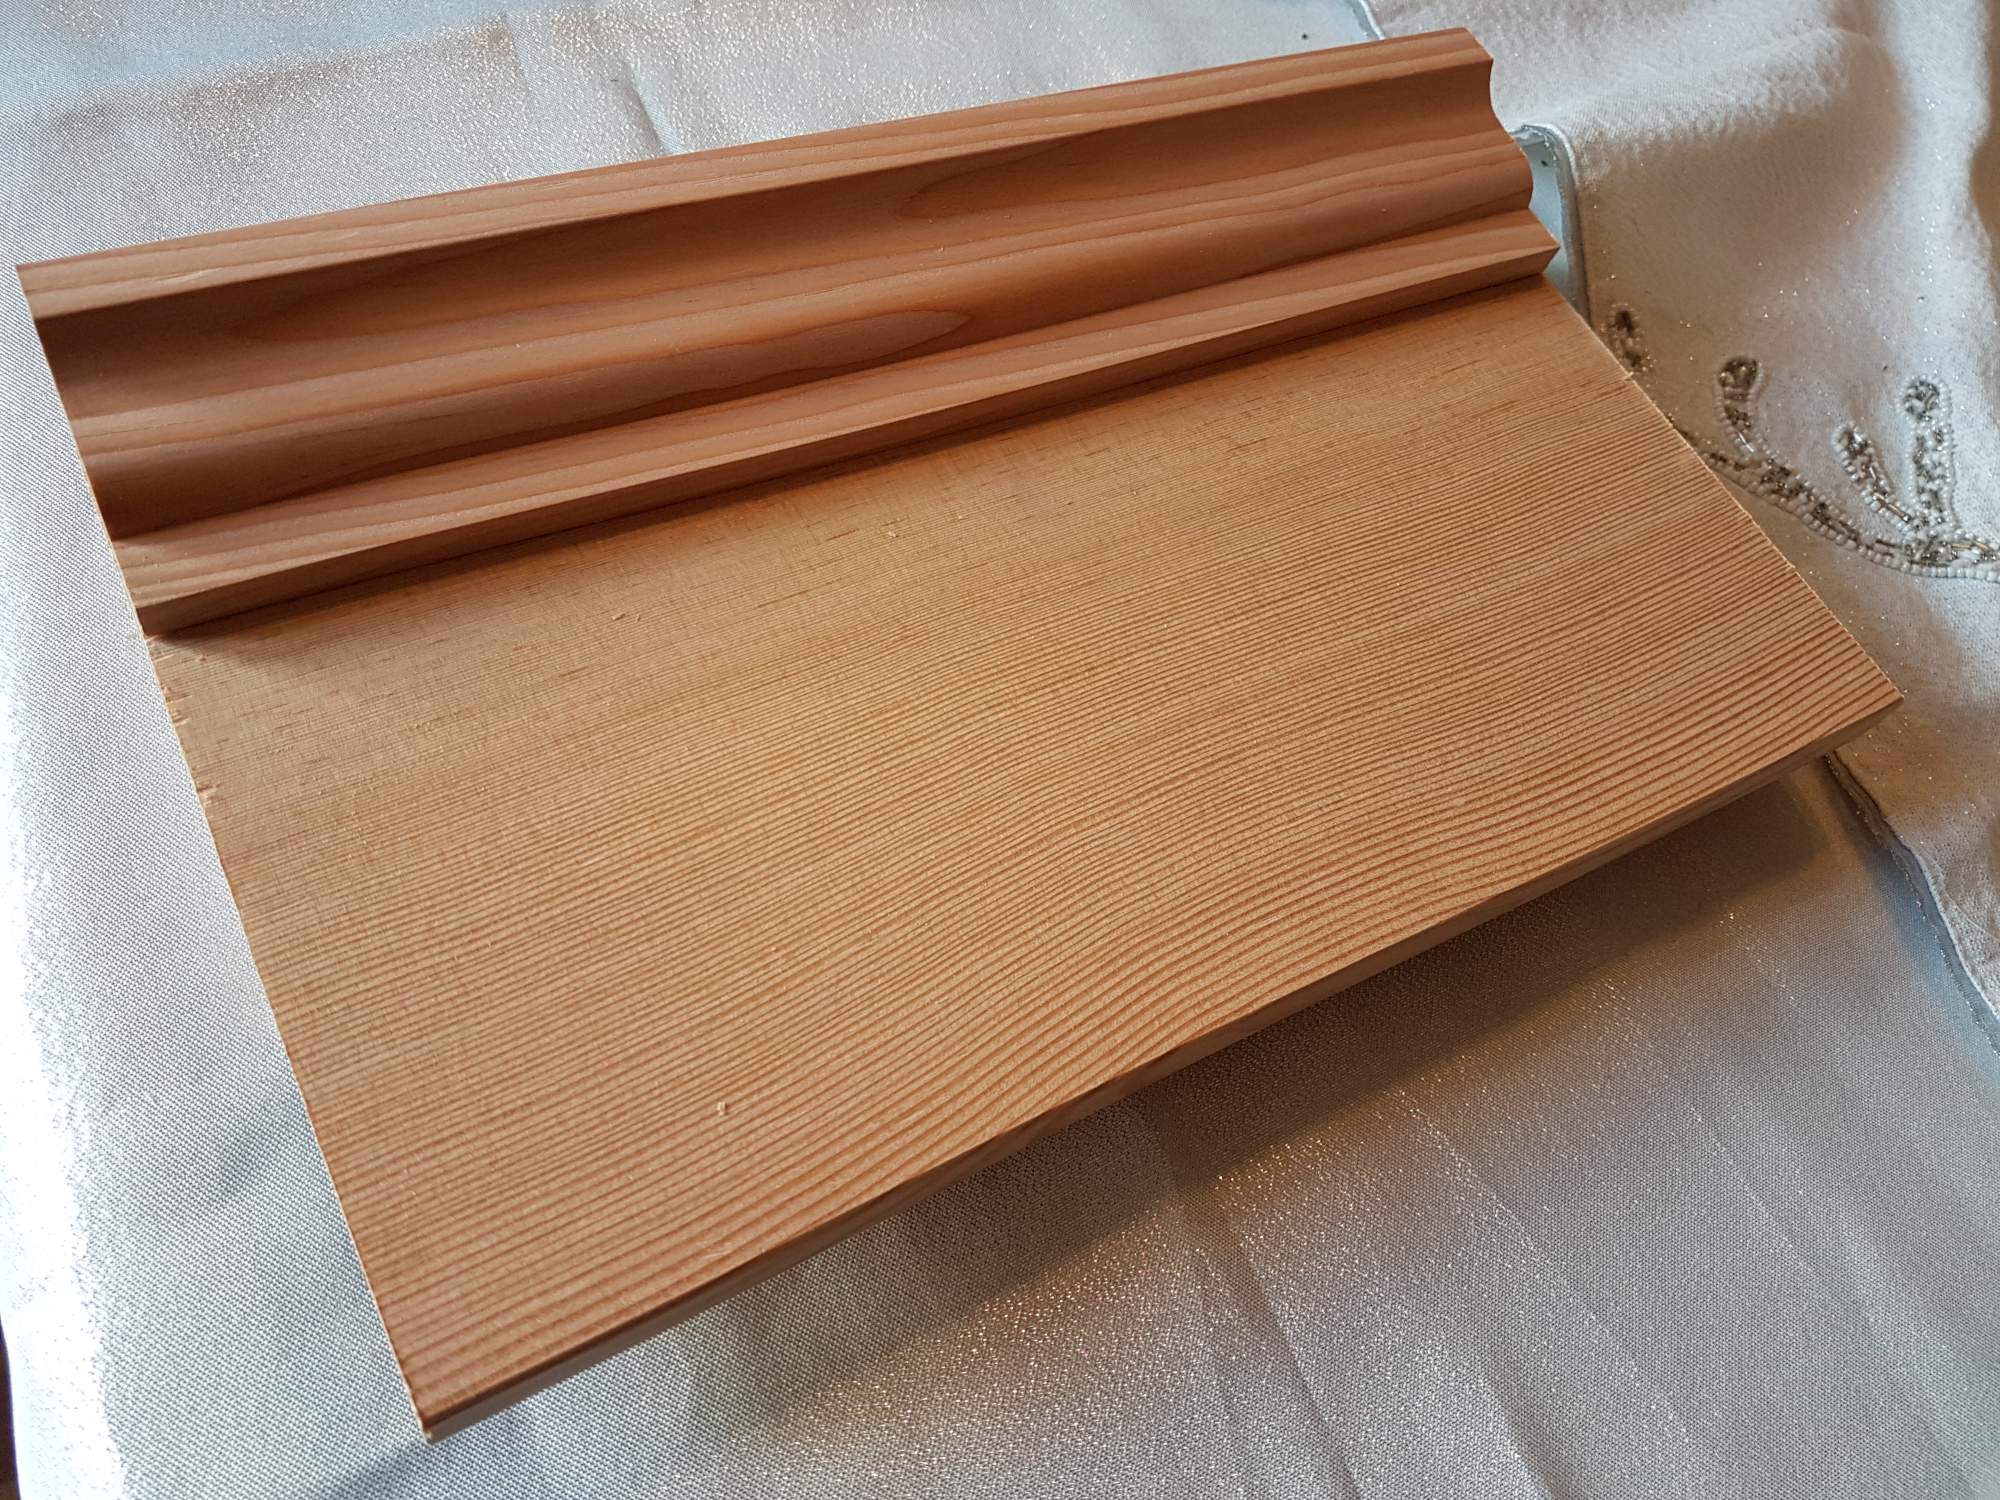
Here's a little mockup of what the new "belly board" separating the beveled lap up top from the cedar shake down below. For size reference, the larger piece is E4E 1x8. Beautiful, but this lovely little combo works out to about $18 a lineal foot... :banghead:

 
Last update for a week!

I pulled the body out of the clamps today and inspected the joins. All good - epoxy is work to keep it from getting messy, but it's pretty brainless. :D

I screwed down the chamber template from above and routed out the basins so that there will 4mm of thickness left on the back after sanding.

I also planed down my neck blank and inspected my subtle veneers.

Perhaps a bit too subtle? There are two walnuts and a mahogany...I have them contrasting in another neck, but I guess these are too thin to stand out due to the similar value colours...

That's it for me until 2020... so... happy holidays, seasons greetings and merry christmas! :)
 
Okay...finally done the shakes... phew.
To do them right takes time, no way around it. These should comfortably last at least another 100 years. :D

I've hired a guy (or rather my favorite contractor is now available) and I'm going to get him to install the beveled lap siding on the upper portion, so I can focus on guitars...like I'm supposed to do... :) He and I will also work together this spring to do the rest of the house as well.

I've done a little work on my WBO build since returning from holidays, but I'll share some pics when at least a full step in the build has been performed...maybe tomorrow afternoon. :smug:
 
My rough headstock shape didn't fit nicely into my TR routing jig, so I decided to shape the full thing with the template before routing for the TR and slots.

I'm using an approach I've seen out there, which is to keep the front of the headstock flat, flush with the neck and the strings will drop from the fretboard height into the pegs in the slots providing the needed breakover angle.

In other news, my siding guy will start on Monday, and I have a bunch of trim pieces yet to make up and install on the back before he starts above, so I'll again be focused on the house work here for another week. I'll sneak in what I can on the WBO. I'm still on track to complete in time. :thumbsup:
 
So I finished the house trim in preparation for my guy, but then we received over a foot of snow. That's a major deal here as we usually don't get snow for more than a day or two; it typically rains here in the PNW. As a result, everything house-wise is now behind, but it's also now much more in hand, so no worries. :)

What time I've been able to sneak in on the build was unfortunately sucked up by an error and then an extensive workaround. :banghead:

Savvy TBers will notice that the maple headstock cap in this photo below is not the same cap as in the photo above. No, this is a do-over.
When I was routing the original one for the slots, my template slipped due to a clamp vibrating off that I didn't notice while routing, and one of the slots ended up having a big blob at the end. It destroyed the previous cap, and so I had to rout it off. Because the error also went into the walnut below the cap, I had to rout off the entire headstock cap, plus 3.5mm of walnut. I didn't want to make the headstock cap that deep overall because I'm planning to bind it, so instead, I planed the cap off at an angle and introduced a 3 degree cant into the face of the headstock. This angle meant that my original slot routing template had to be modified and then held in place with a bit of "rigging". It worked though, and the slots were routed without incident. This is hot out of the clamps and ready to be sanded.

Here is the bottom of the headstock.

This one shows the slight angle to the headstock face - you can see it at the bottom of the pic.

Now for more routing... :D
 
That's actually an error I like.
The change I'm alright with, but a few things may have moved through the air in my workshop at high velocity right after the incident. :D

I mostly worked on trimming out the windows on the house this weekend, but I did get the truss rod and stiffener slots cut and the stiffeners glued in. Next will be filing the stiffeners flush with the surface. They are 12mm deep at the heel and 8mm deep at the head end.

I also started the process of lightening the maple top. My test pieces are nearly white and remained that way under finish. :) I'm doing them in advance because even though I carefully taped the edges of my test piece, some still made it's way to the walnut underneath and I'd like to avoid that on the bass. Some areas may re-darken after I sand back the top once it's glued, but I can do a final lightening coat without soaking the wood at that point, so the risk will be lower.
The board on the right in each pic is a slice from the board the top came from. The board on the left in each pic is an area from the top.
 
I finished trimming out the windows.

Which permitted me to spend some time planing the stiffening bars down flush. I suspect these are not the most effective stiffening rods, but so far the necks I've made have been as stable as those I've made with CF rods. That said, the necks I've made without stiffening rods at all have also been fine (with a few exceptions). :D

Next up will be installing the neck bolt inserts. :)
 
I've been on the fence about stiffening of any type. So far I haven't had any issues with necks but I do carefully select near perfect quarter sawn or when laminating use near perfect flat sawn on edge for necks. I also let blanks rest between operations to allow for any movement. I am going to have to try some stiffening at some point to see for myself what benefits exist. I had considered it on the two ebony necked basses but decided to leave as much ebony in the neck as I could. I have some 1/8" by 1/4" carbon fiber rods so maybe the next six or seven string I'll try it.
 
  • Like
Reactions: Beej
I've been on the fence about stiffening of any type. So far I haven't had any issues with necks but I do carefully select near perfect quarter sawn or when laminating use near perfect flat sawn on edge for necks. I also let blanks rest between operations to allow for any movement. I am going to have to try some stiffening at some point to see for myself what benefits exist. I had considered it on the two ebony necked basses but decided to leave as much ebony in the neck as I could. I have some 1/8" by 1/4" carbon fiber rods so maybe the next six or seven string I'll try it.

I built a guitar recently. My maple neck blank was a bit thinner (front to back) than I liked, so I backed it with a bit of Macassar ebony. It has a single truss rod.

The strings aren't strong enough to pull any relief into it. :(

Tele_0037.jpg


Ebony is plenty stiff on its own....