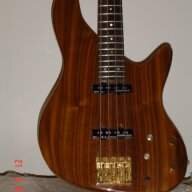
Hi there. This one is longer than usual, so grab a cup of coffee - or a beer, if you too are sitting on this side of the pool.
I haven't uploaded new pictures for almost a week now. This was due to some software problem between camera and my new laptop. Unfazed, the build has slowly crawled forward and I'm just a few days away from the final stage. My customer is returning from his holiday on Friday night, so...well... I want to make a good impression
Headstock.
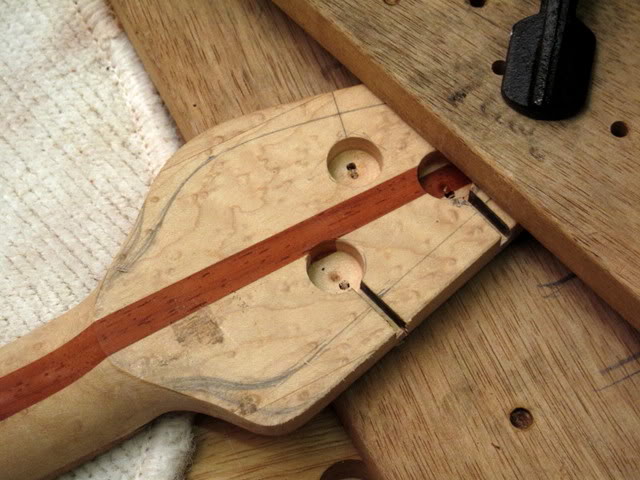
With a small bit and my proprietary high tech template, routing the channels for the Allen key is a breeze. A small rounded filer to shape the bottom of the otherwise flat channel, and voila'....er....some of the walls need ... more sanding...whatever....
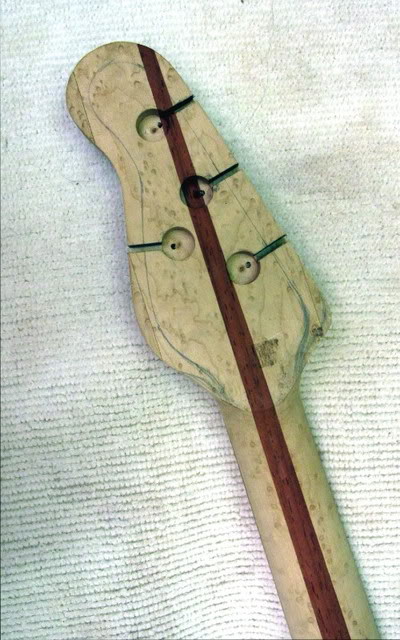
The pencil lines mark the area to be sanded down to a shape similar to that of the first Über-Jay. The picture below shows an early stage of the shaping. In fact it's now finished. But it's too dark for decent pictures. I'll take one tomorrow.
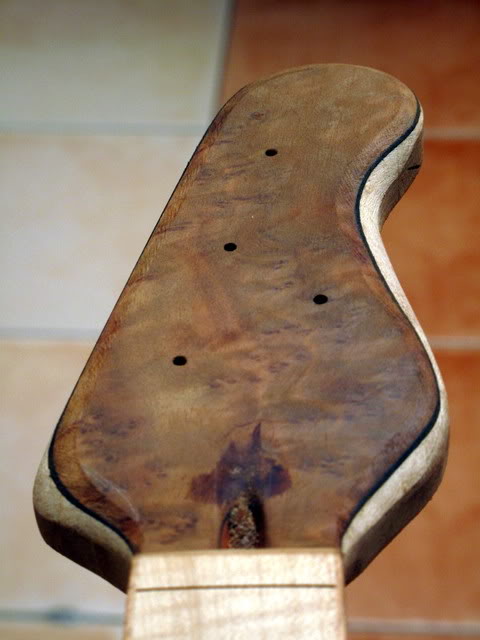
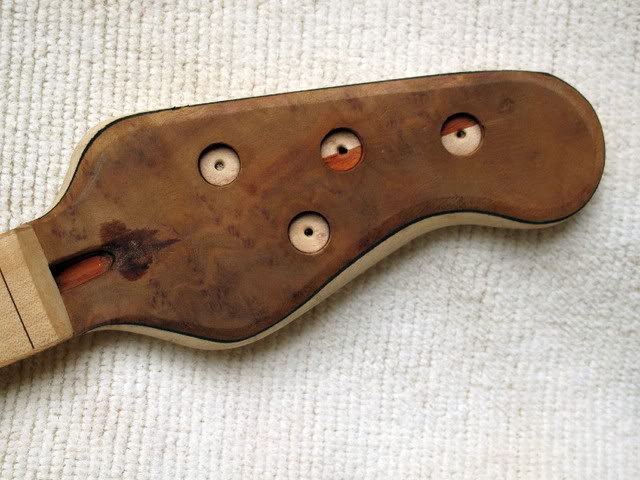
The picture below shows the headstock after drilling the recess for the strings ferrules. You might remember that earlier on I uploaded pictures of the various ferrules I had made and how I was contemplating using smaller ones for this build.
In the end I opted for the same ones I mounted on the first build. They are just a better fit for this bass. On a different headstock I'd probably choose the smaller ones. I forgot to take a picture with the ferrules inserted... :scowl: it looks pretty neat. I'll oblige tomorrow
Bridge
After checking the bridge/tuner and pondering over a few aesthetic considerations that bugged the heck out of me for a few days, I decided to change the shape of the bridge/T recess.
For one, this type of bridges seem to work better if the tuners are mounted at an angle while the bridge and saddles stay flat.
Thus, the recess under the tuners needed to be reshaped too.
The aesthetic reason is that, compared to the first one this build sports sharper lines all around its profile. Therefore, I felt was necessary to reshape this area accordingly.
This is somewhere during the process.
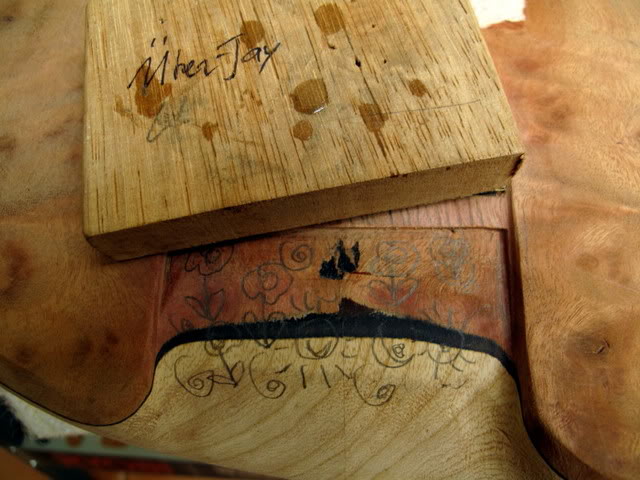
I hope you have noticed the proprietary Ü-J sand block and the even more proprietary SMOGS (Sand Monitoring Graphite System). At the Ü-J, we invest copious amount of cash in R&D.
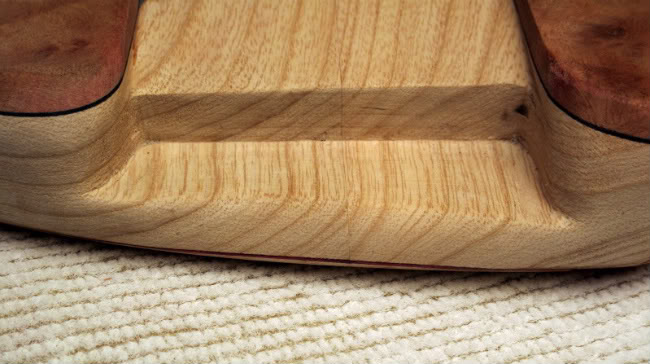
After the usual eons of sanding and routing, here it goes. More sanding needed (you don't say!) But it's almost there
Neck screws.
Since the previous build, I've been thinking of ways to do this a little different. Doing things differently for the sake of being different is of little interest to me. To copy - or take 'inspiration' from others' creative work - interests me even less. I wanted a solution which could contributes to the overall style of this specific build.
Eventually I landed on this solution, which satisfies me helluvalot in more than one aspect.
It's not far from the traditional way and yet it represents quite a departure from it. Classic with a twist - true to the Ü-J's mission.
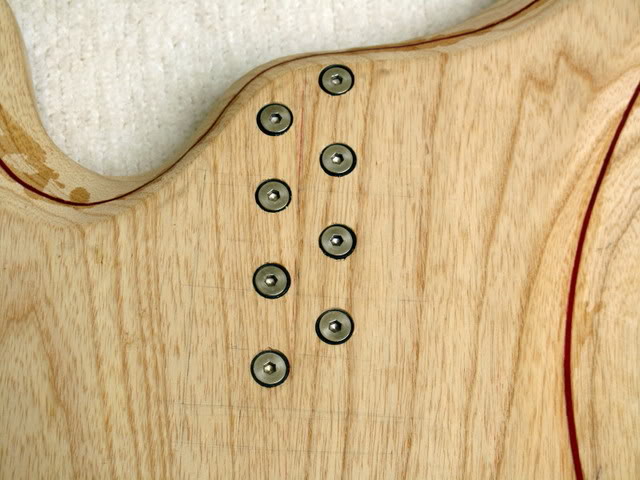
I had made a few alternative ferrules to go with Allen screws - different sizes and plating for both. This is the chosen combo - small, black ferrules with stainless steel screws.
The surprise element pops up when the neck is unscrewed.
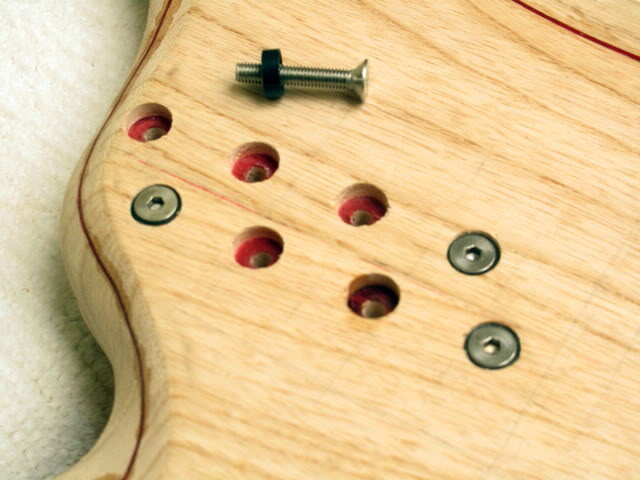
This is soooo Ü-J
Lastly....
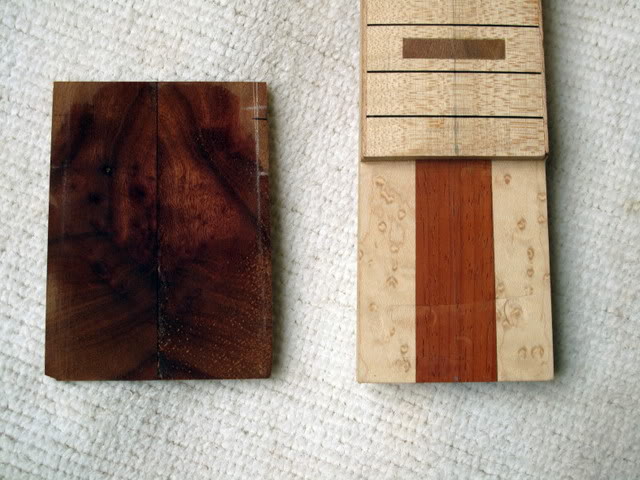
After agonizing a few weeks I finally chose, glued, trimmed and sanded the veneer for the fingerboard's end.
Hope you enjoyed your Wednesday issue.
I haven't uploaded new pictures for almost a week now. This was due to some software problem between camera and my new laptop. Unfazed, the build has slowly crawled forward and I'm just a few days away from the final stage. My customer is returning from his holiday on Friday night, so...well... I want to make a good impression
Headstock.
With a small bit and my proprietary high tech template, routing the channels for the Allen key is a breeze. A small rounded filer to shape the bottom of the otherwise flat channel, and voila'....er....some of the walls need ... more sanding...whatever....
The pencil lines mark the area to be sanded down to a shape similar to that of the first Über-Jay. The picture below shows an early stage of the shaping. In fact it's now finished. But it's too dark for decent pictures. I'll take one tomorrow.
The picture below shows the headstock after drilling the recess for the strings ferrules. You might remember that earlier on I uploaded pictures of the various ferrules I had made and how I was contemplating using smaller ones for this build.
In the end I opted for the same ones I mounted on the first build. They are just a better fit for this bass. On a different headstock I'd probably choose the smaller ones. I forgot to take a picture with the ferrules inserted... :scowl: it looks pretty neat. I'll oblige tomorrow
Bridge
After checking the bridge/tuner and pondering over a few aesthetic considerations that bugged the heck out of me for a few days, I decided to change the shape of the bridge/T recess.
For one, this type of bridges seem to work better if the tuners are mounted at an angle while the bridge and saddles stay flat.
Thus, the recess under the tuners needed to be reshaped too.
The aesthetic reason is that, compared to the first one this build sports sharper lines all around its profile. Therefore, I felt was necessary to reshape this area accordingly.
This is somewhere during the process.
I hope you have noticed the proprietary Ü-J sand block and the even more proprietary SMOGS (Sand Monitoring Graphite System). At the Ü-J, we invest copious amount of cash in R&D.
After the usual eons of sanding and routing, here it goes. More sanding needed (you don't say!) But it's almost there
Neck screws.
Since the previous build, I've been thinking of ways to do this a little different. Doing things differently for the sake of being different is of little interest to me. To copy - or take 'inspiration' from others' creative work - interests me even less. I wanted a solution which could contributes to the overall style of this specific build.
Eventually I landed on this solution, which satisfies me helluvalot in more than one aspect.
It's not far from the traditional way and yet it represents quite a departure from it. Classic with a twist - true to the Ü-J's mission.
I had made a few alternative ferrules to go with Allen screws - different sizes and plating for both. This is the chosen combo - small, black ferrules with stainless steel screws.
The surprise element pops up when the neck is unscrewed.
This is soooo Ü-J
Lastly....
After agonizing a few weeks I finally chose, glued, trimmed and sanded the veneer for the fingerboard's end.
Hope you enjoyed your Wednesday issue.


 The bridge p-ups is in an even better position, just 3 mm away from the el cavity itself.