After months of Sloth and Procrastination, we have arrived at... Progress.
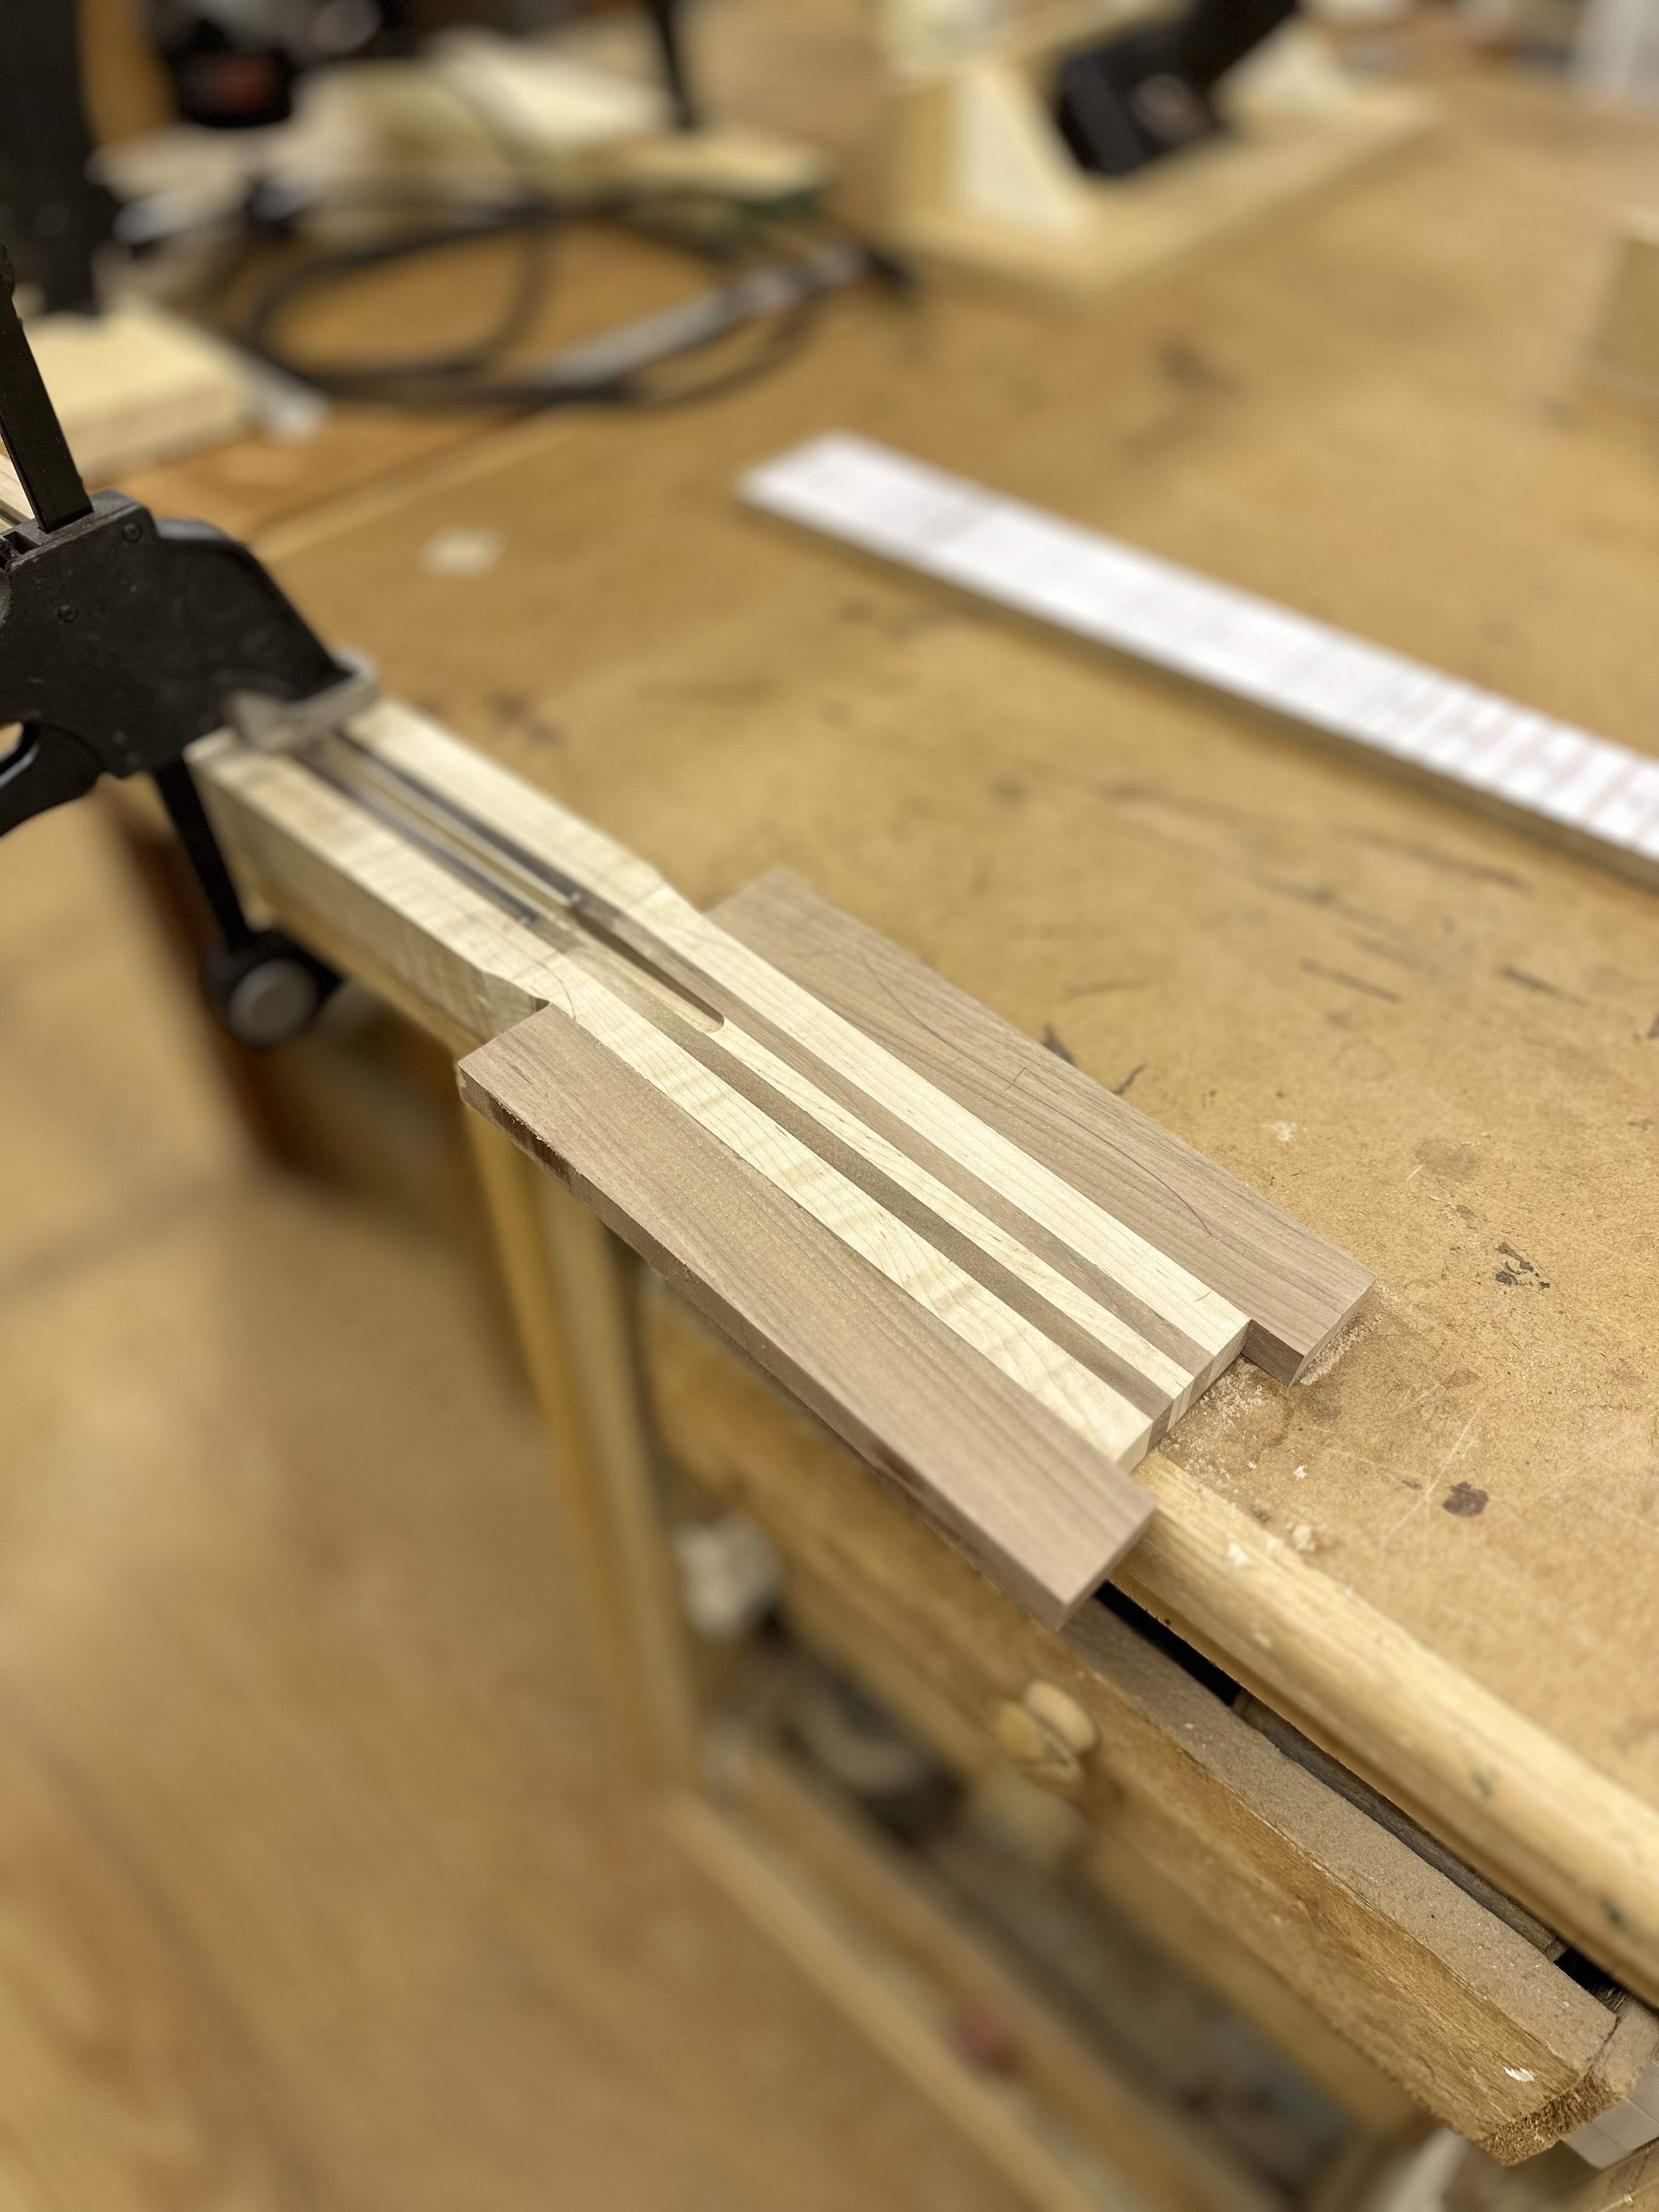
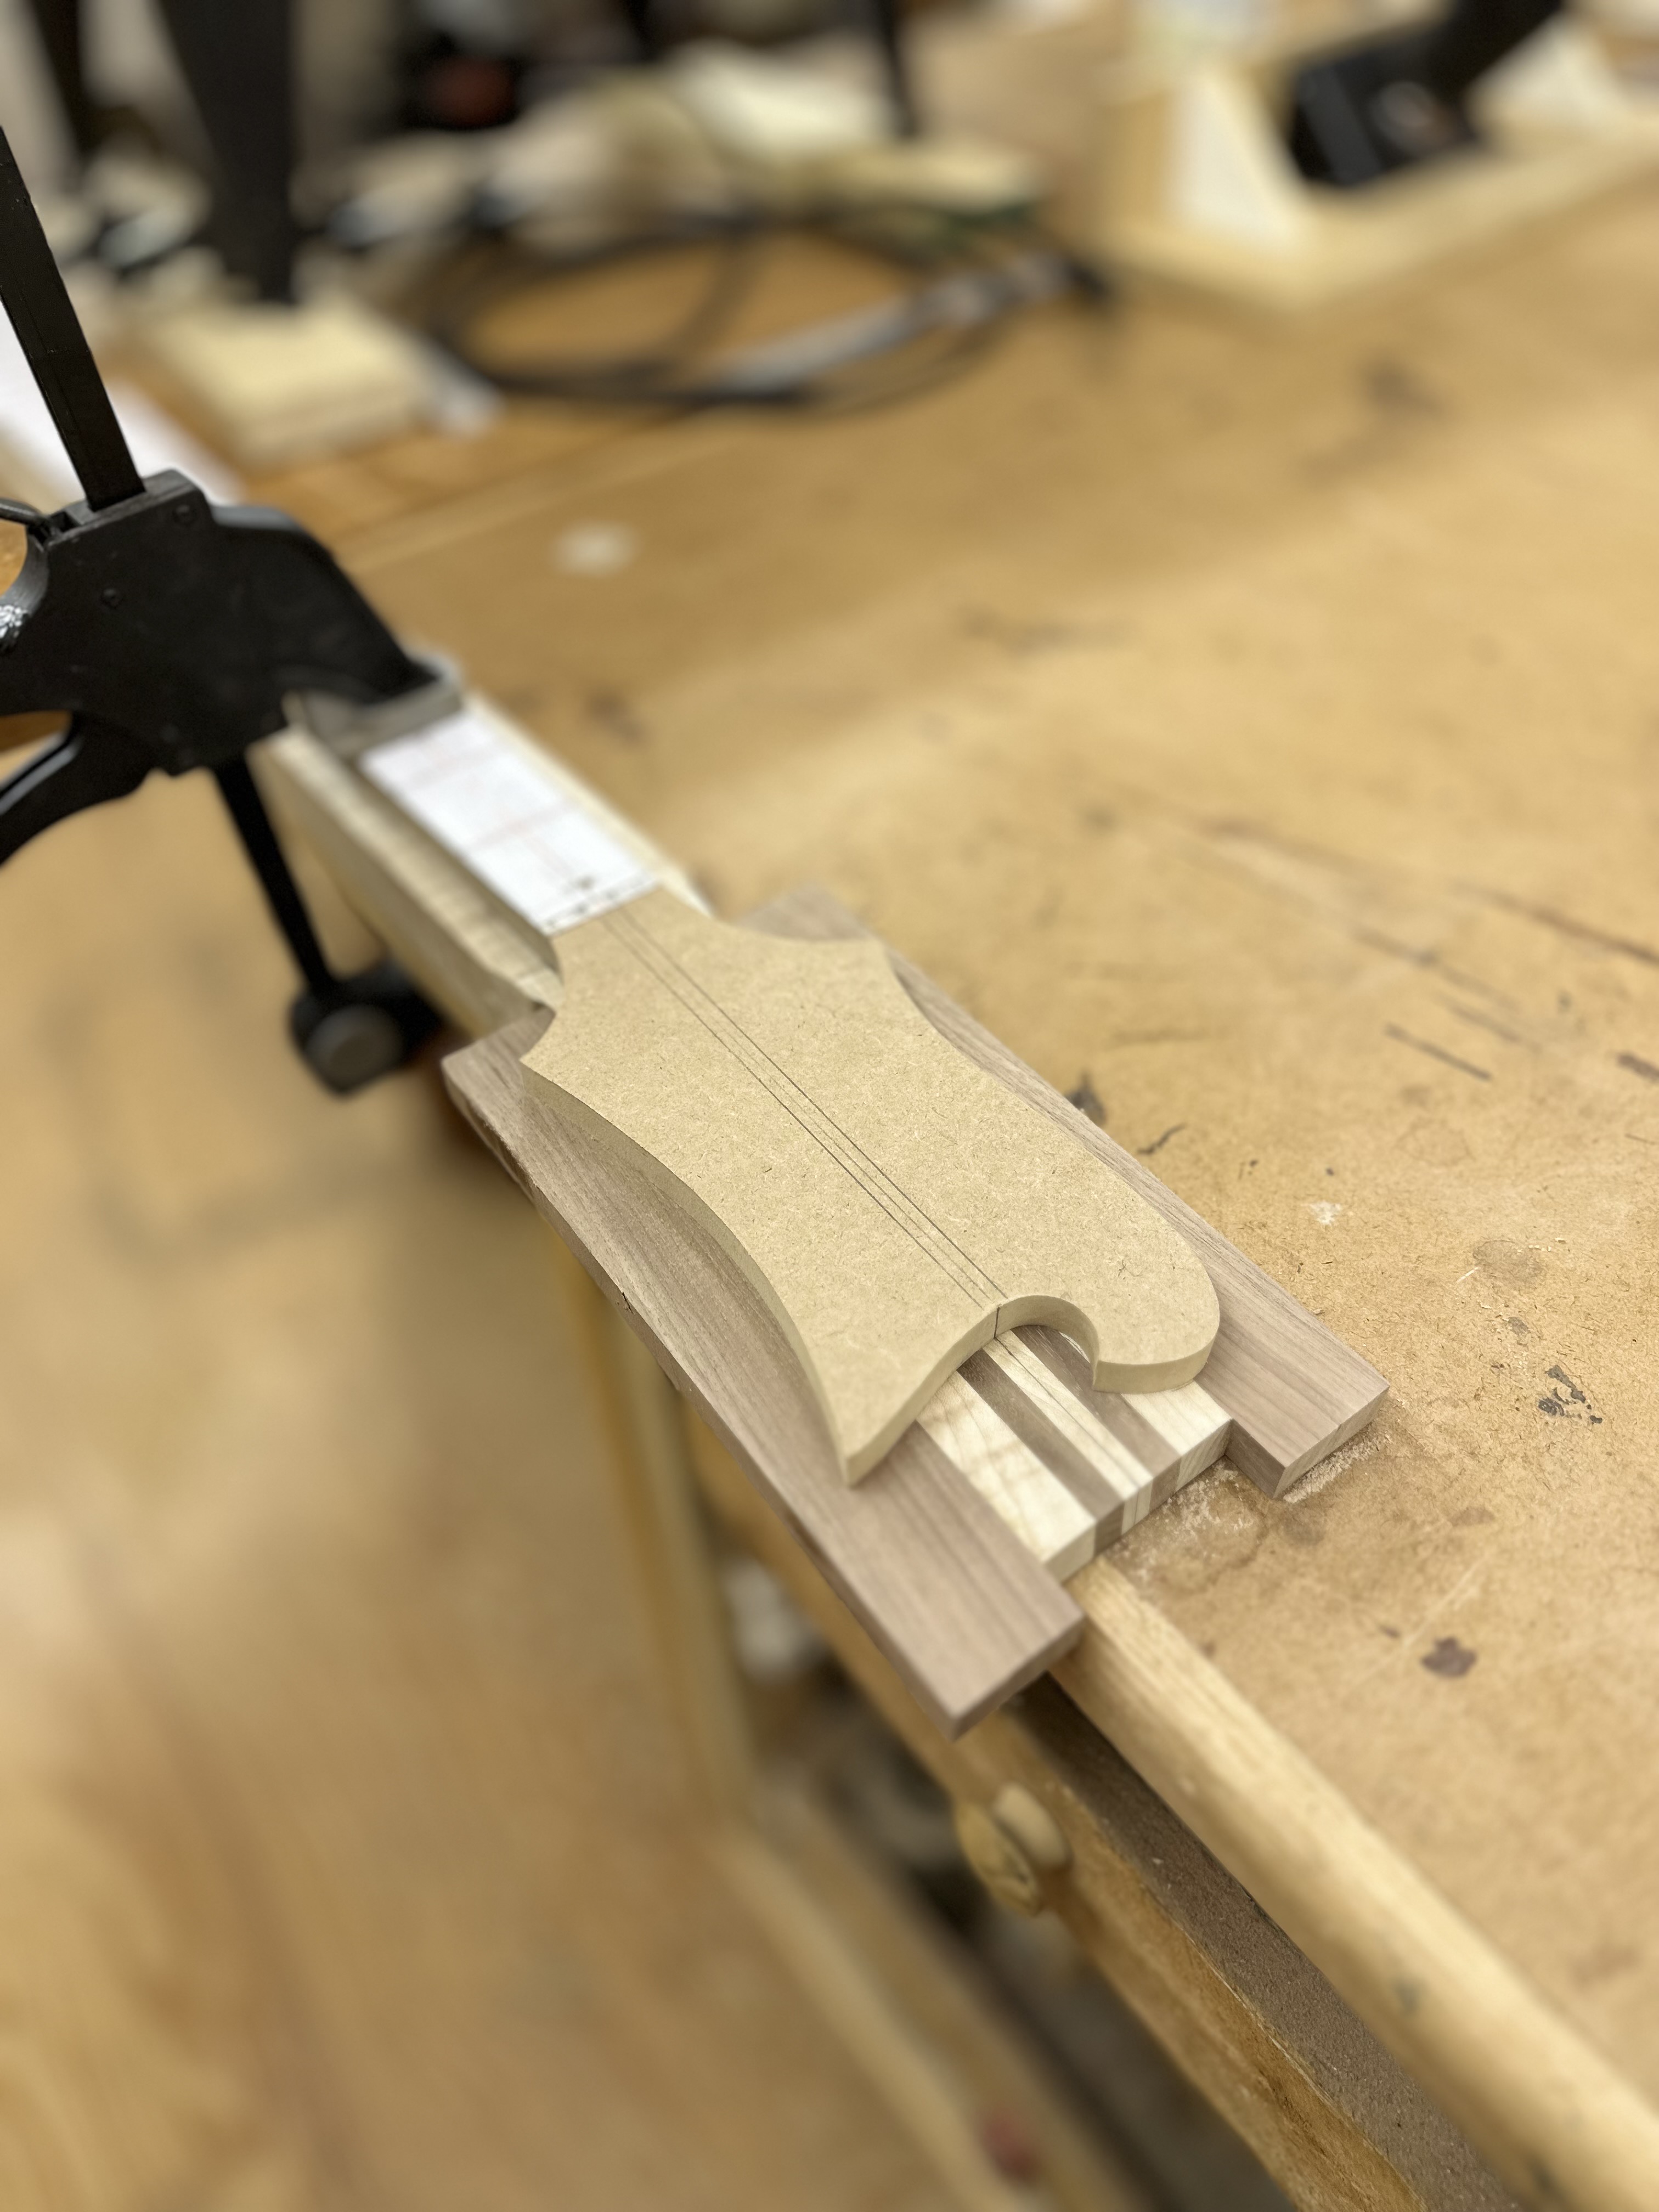
I pasted my oak leaf and acorn pattern to the body wings and then Dremel routed the negative space out so it's all the same depth. I coerced my Brother into carving this for me. He's a Freakishly talented guy, this is literally his FIRST relief carving, ever. He teaches set building and design in NYC, so he's pretty much good at everything, but... damn!
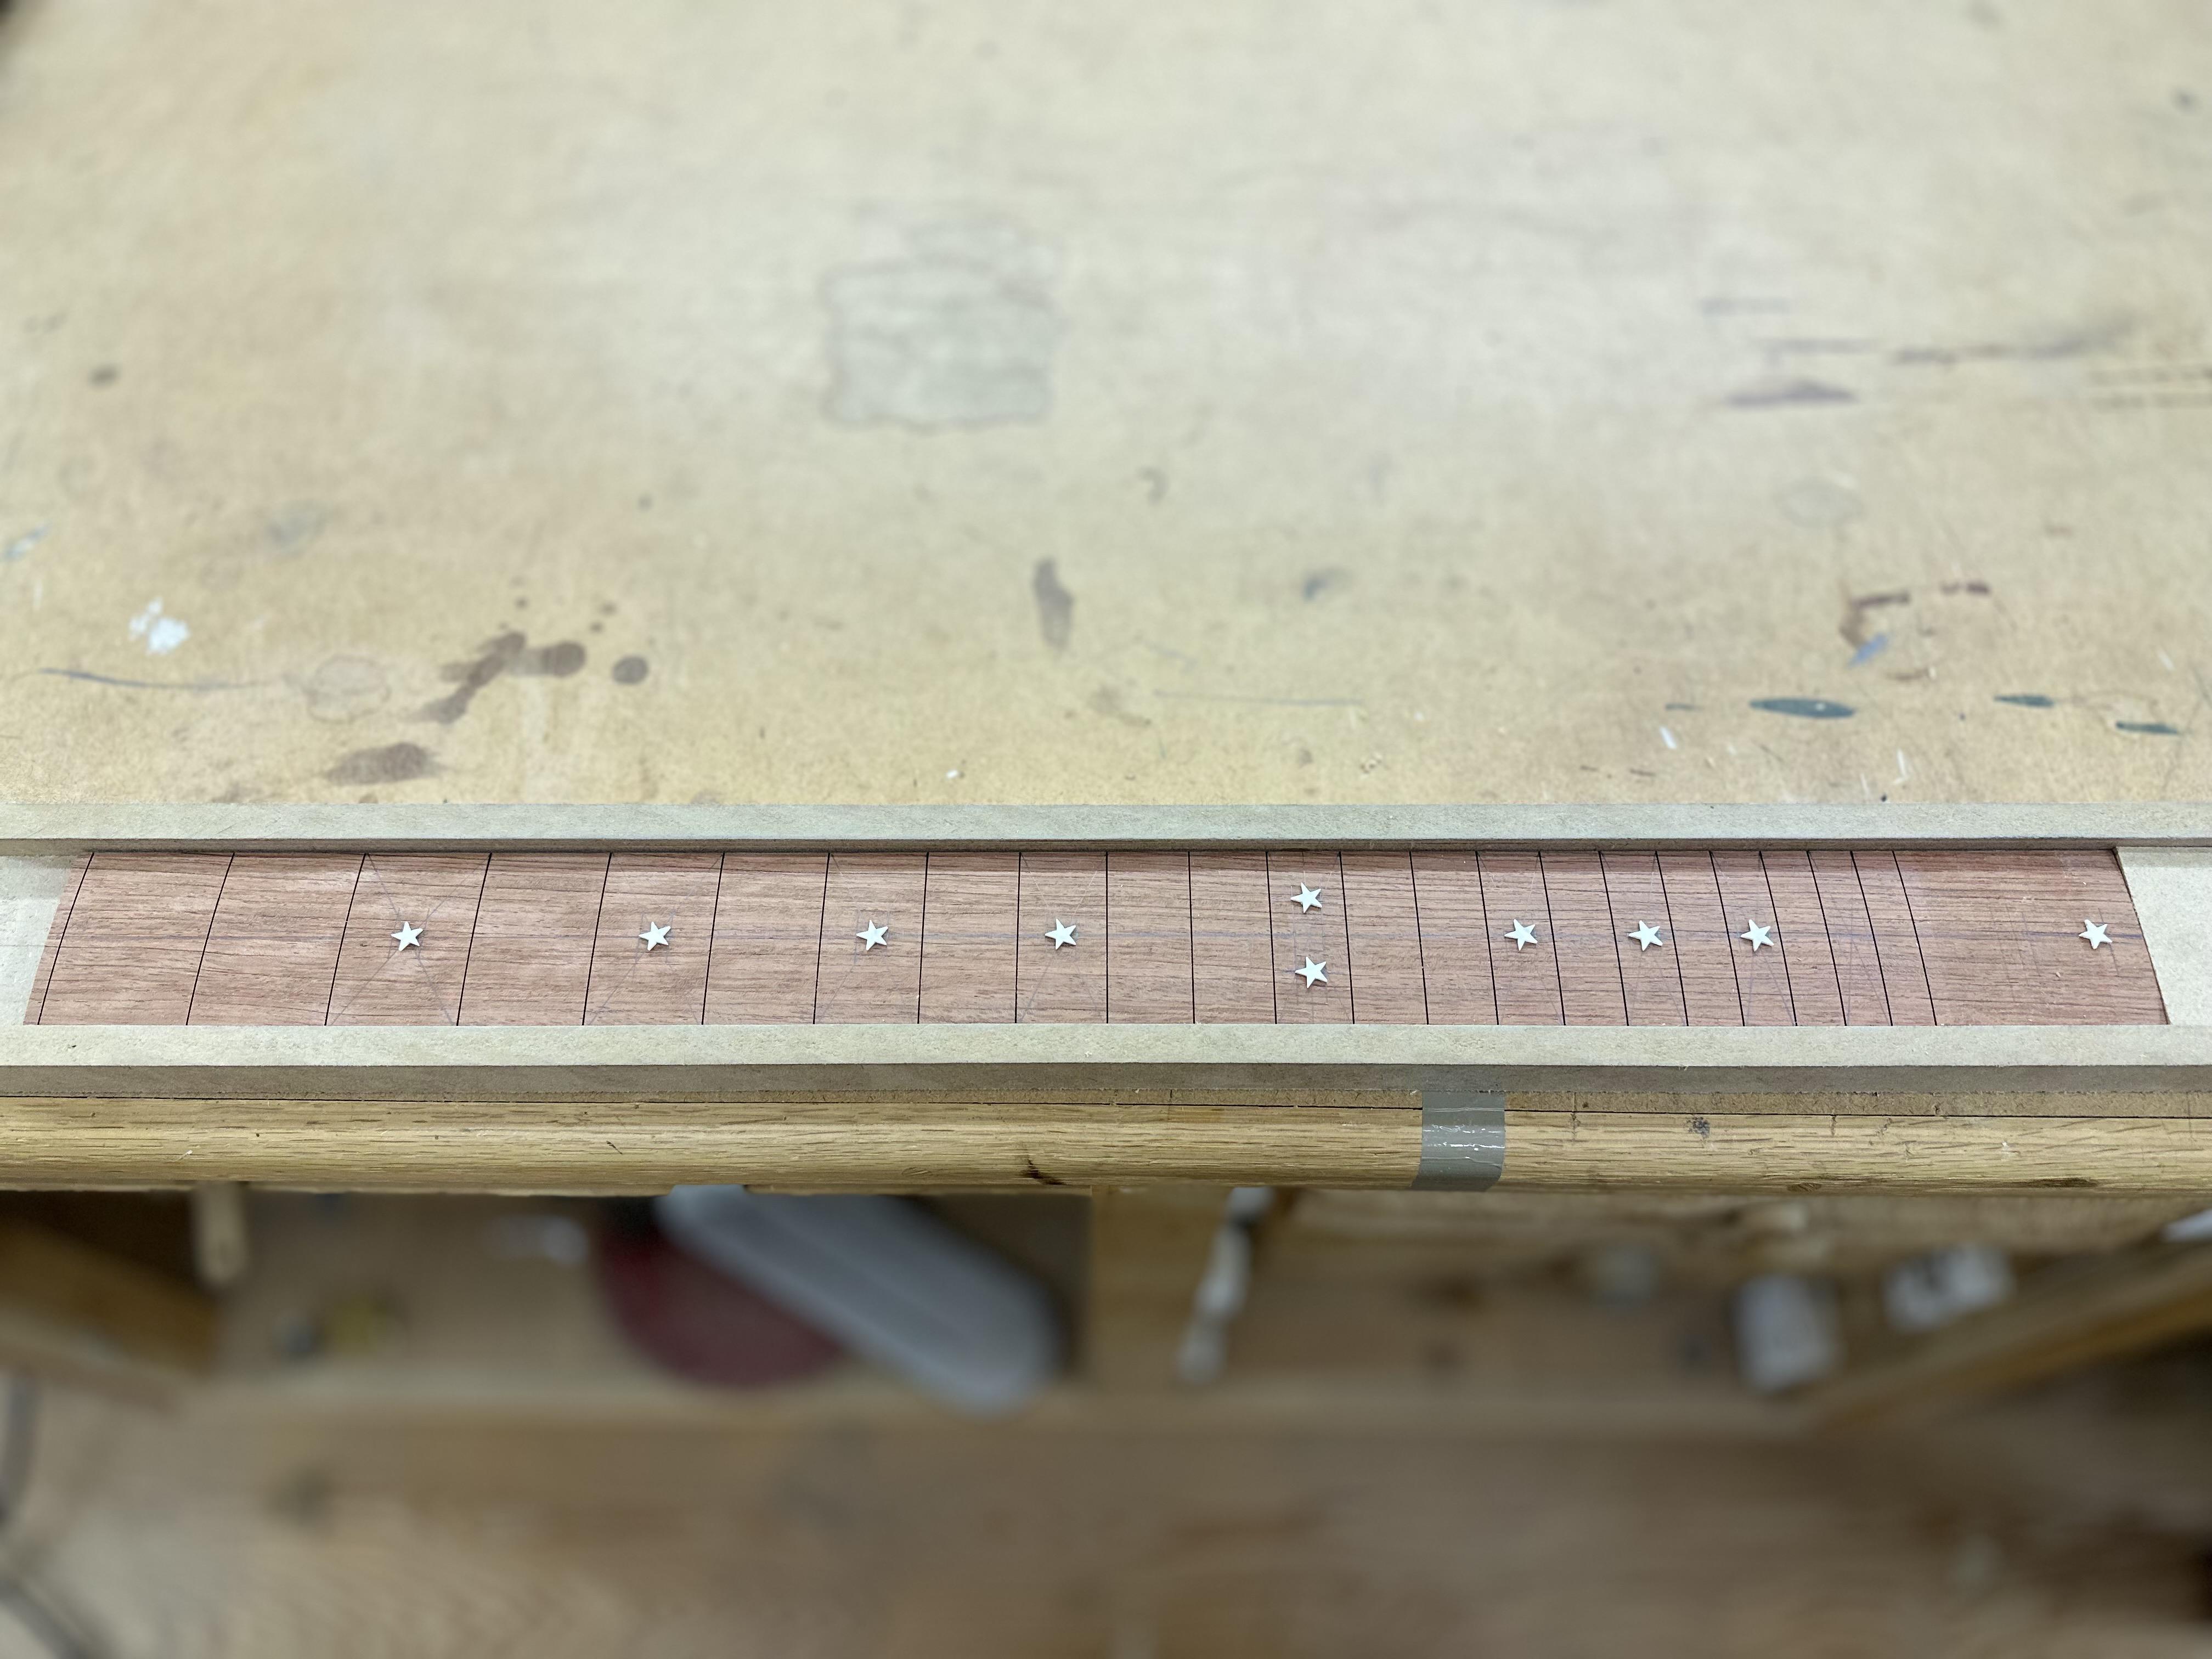
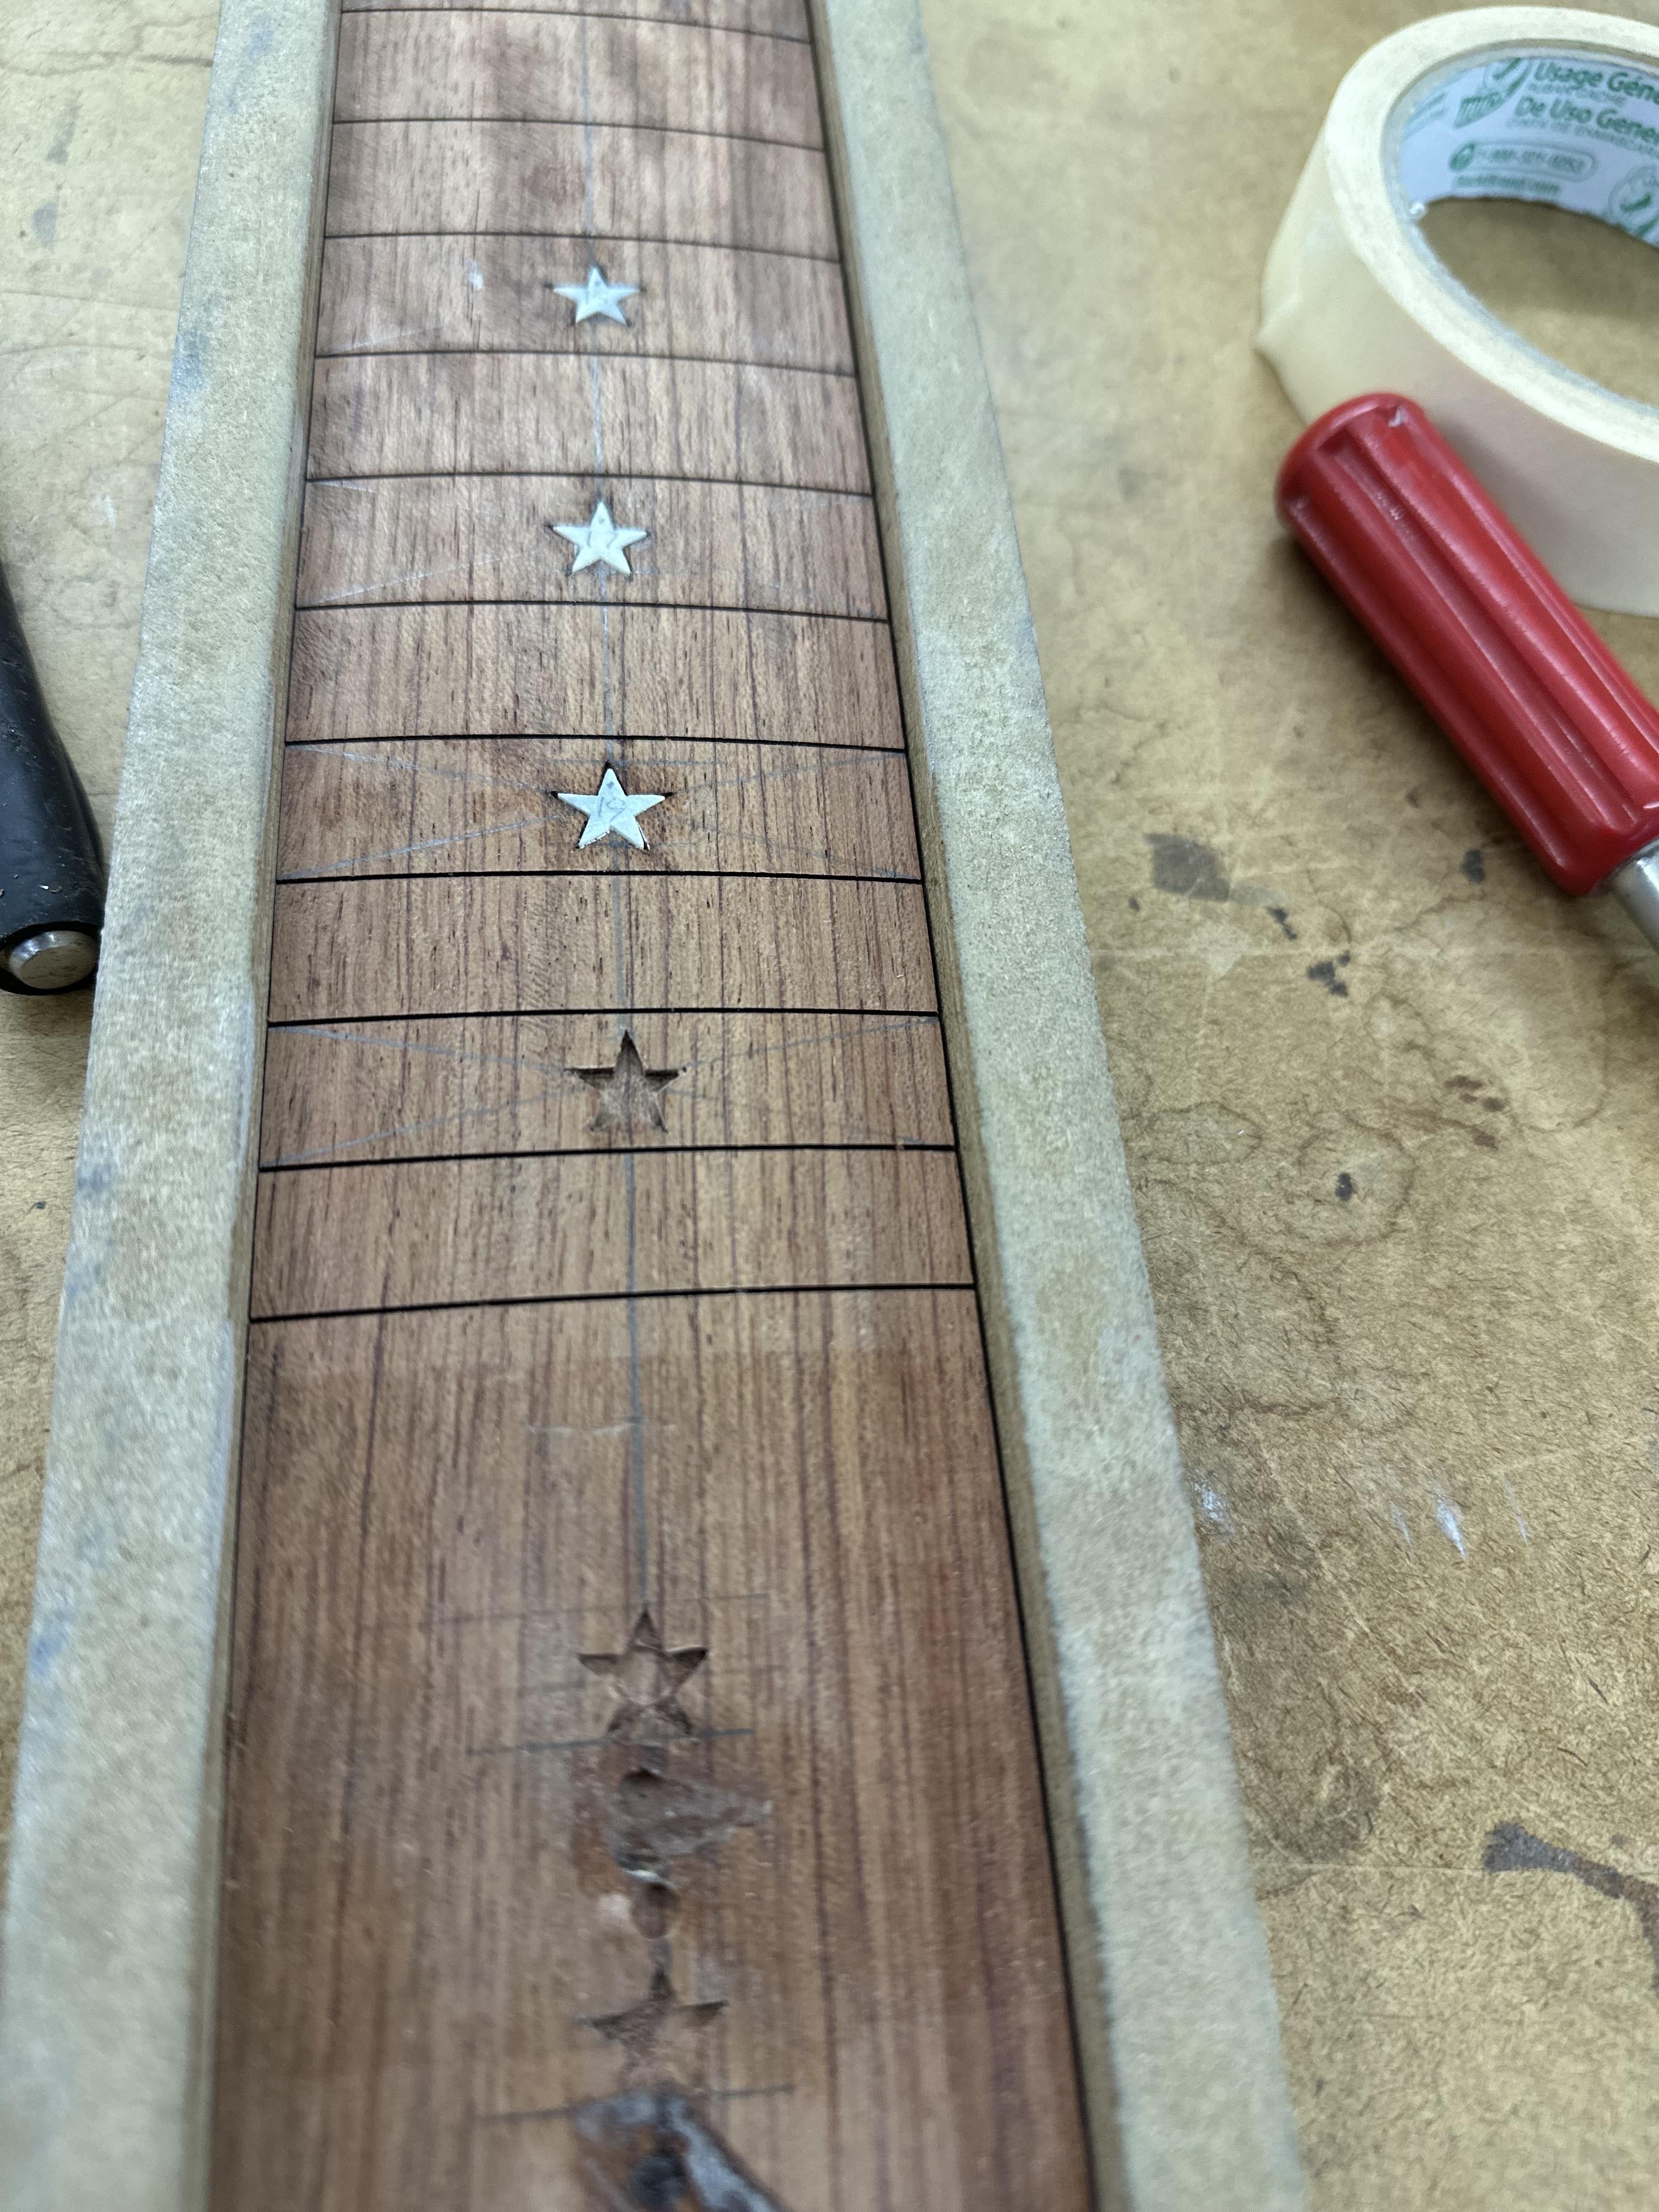
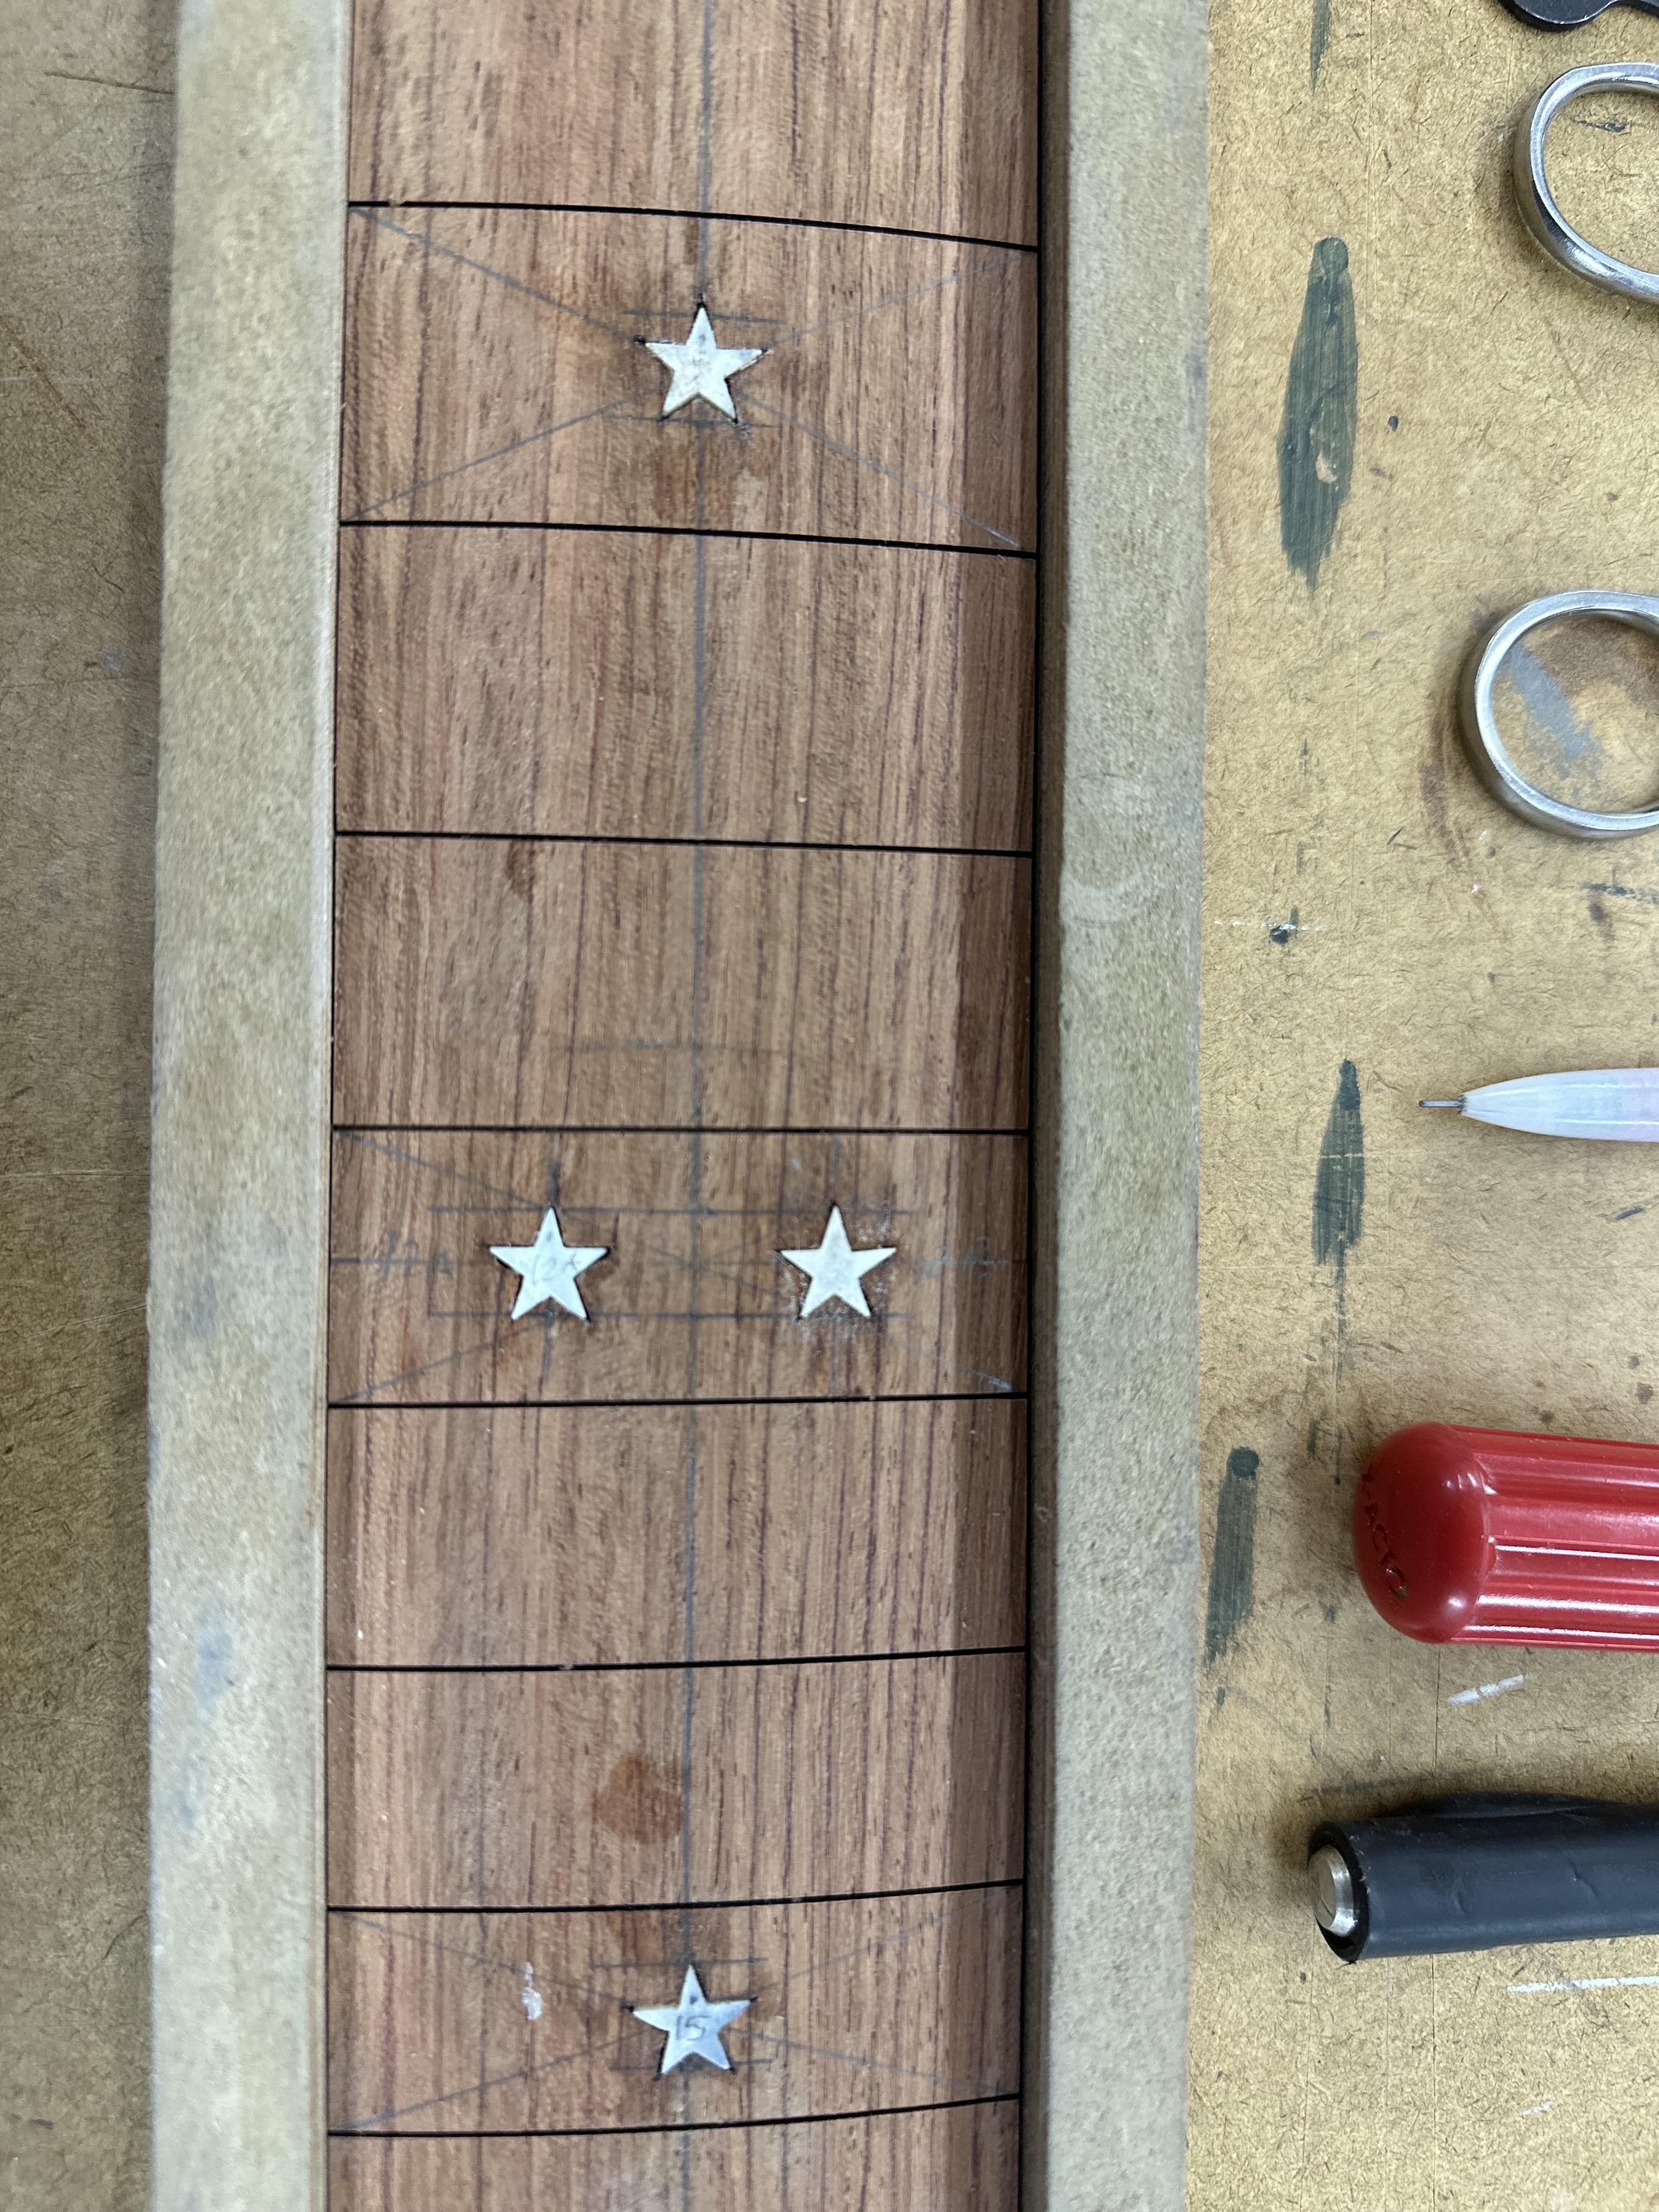
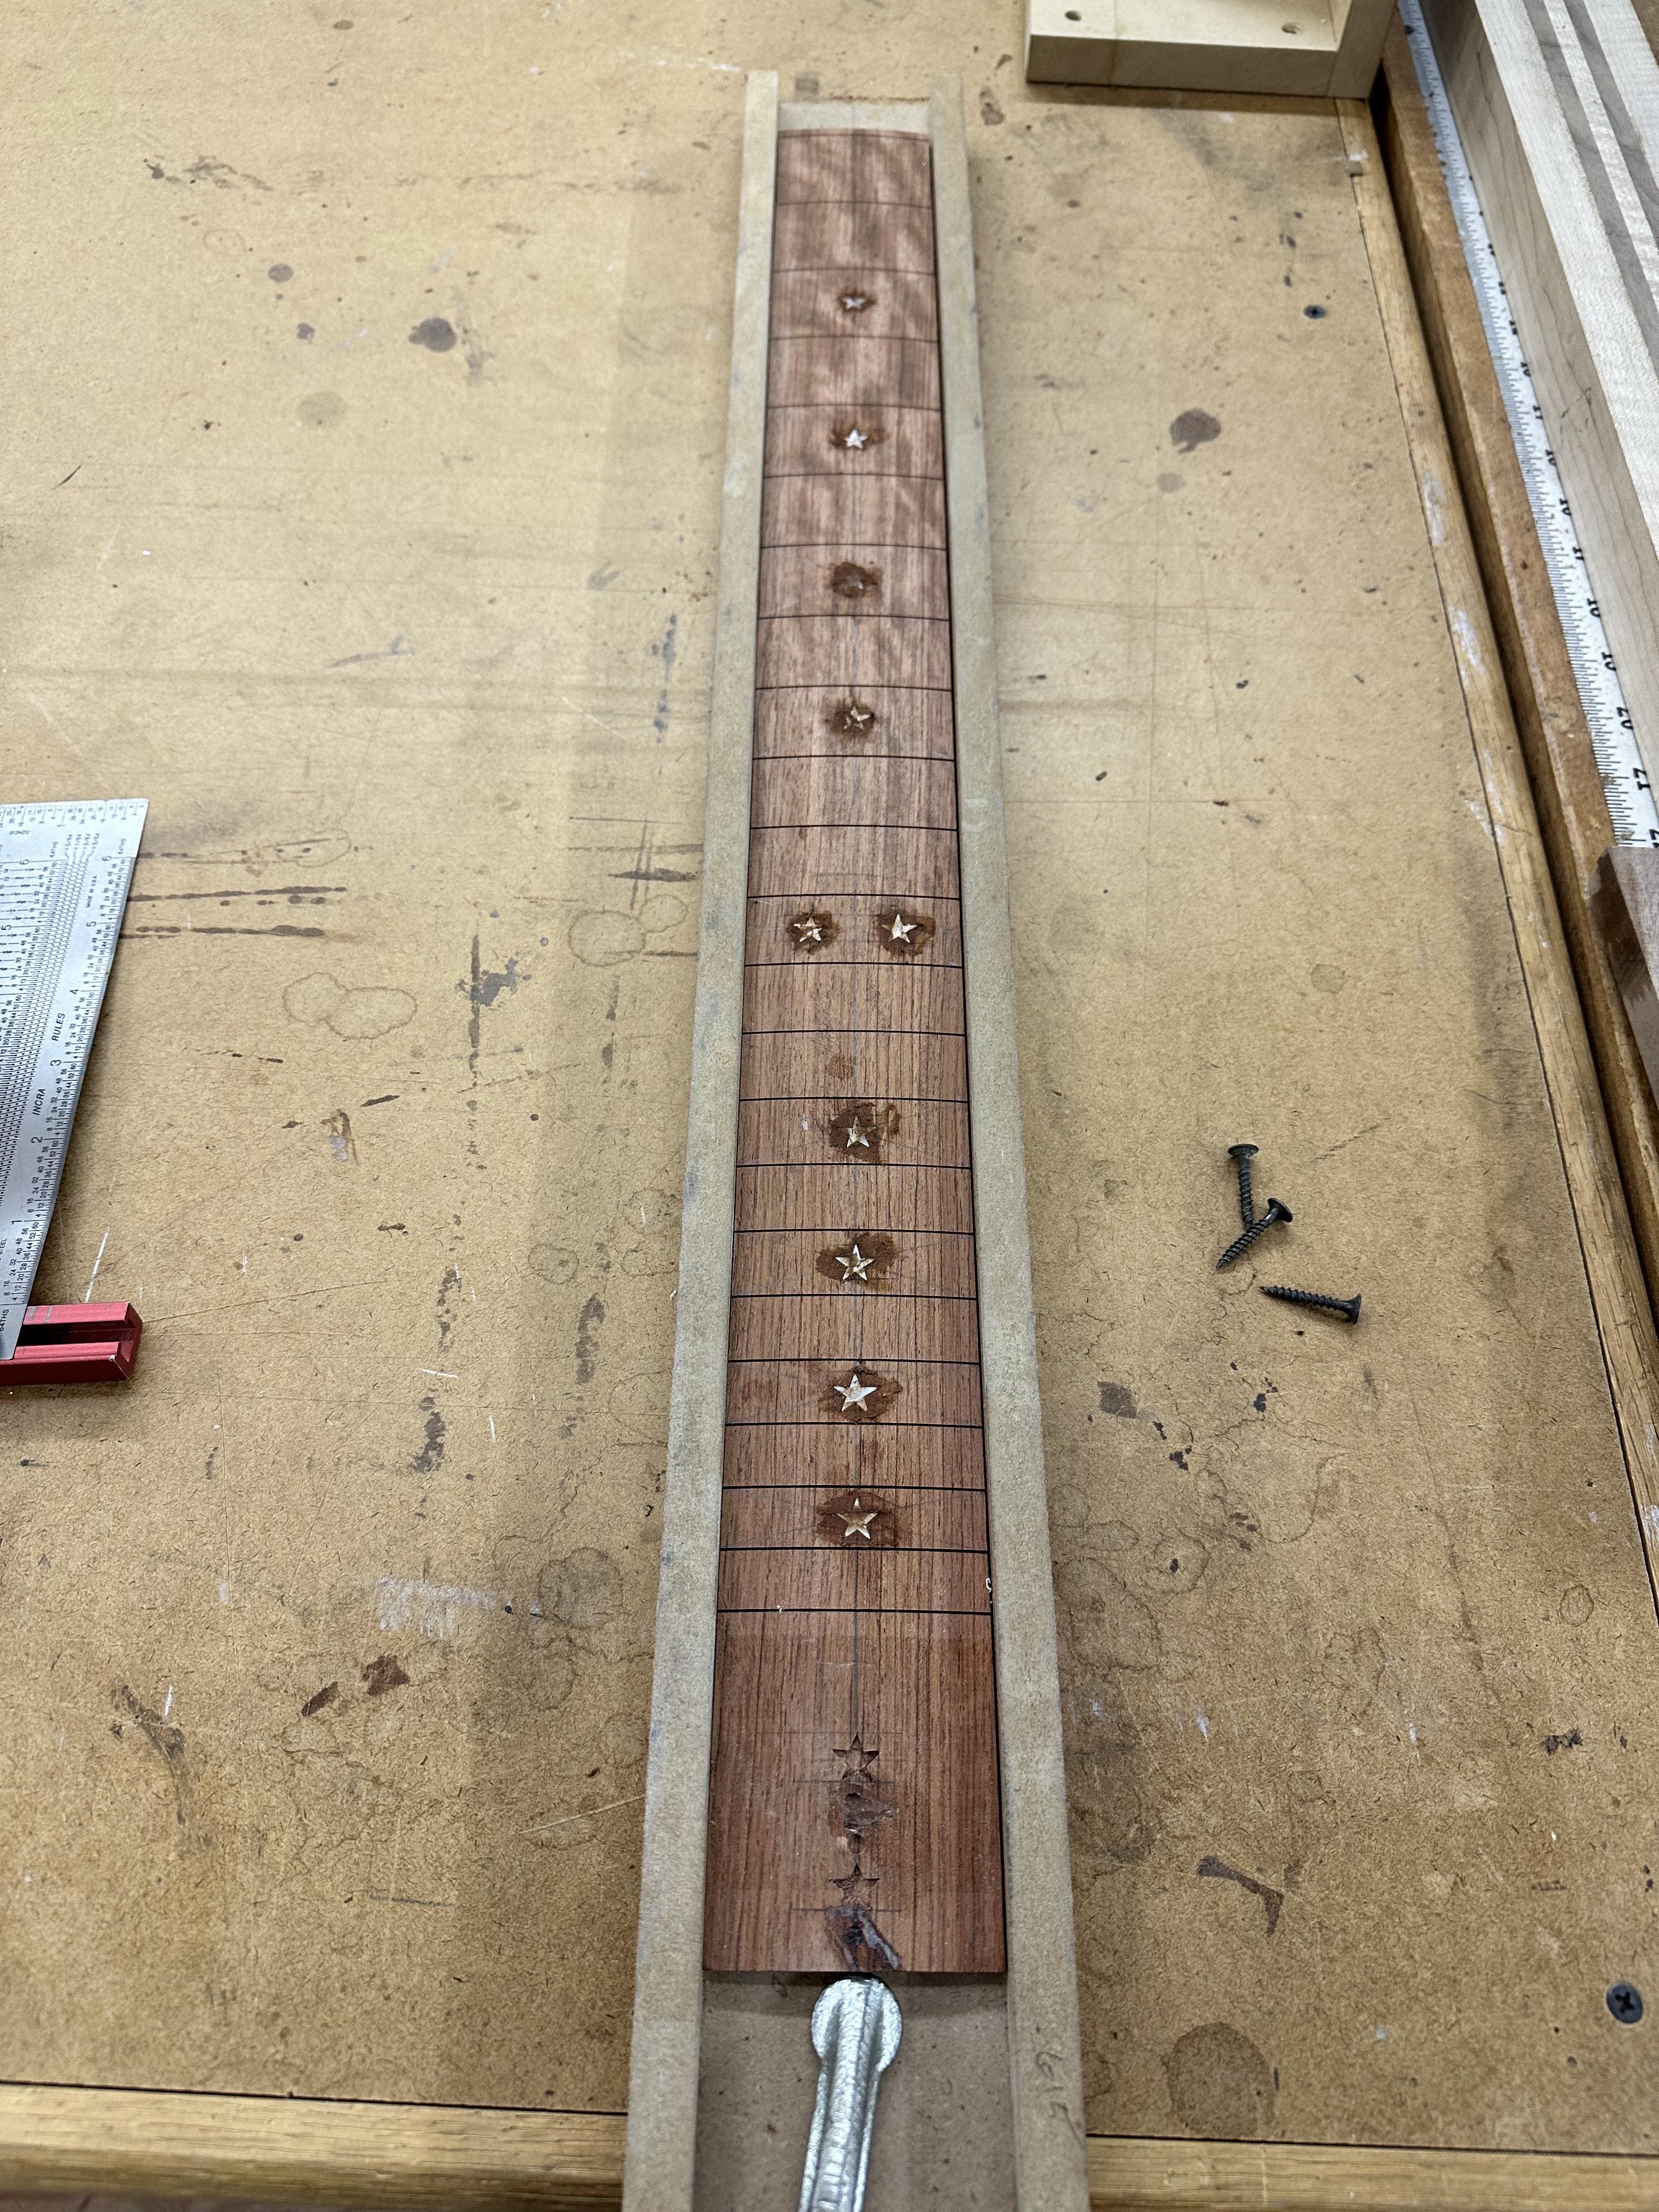
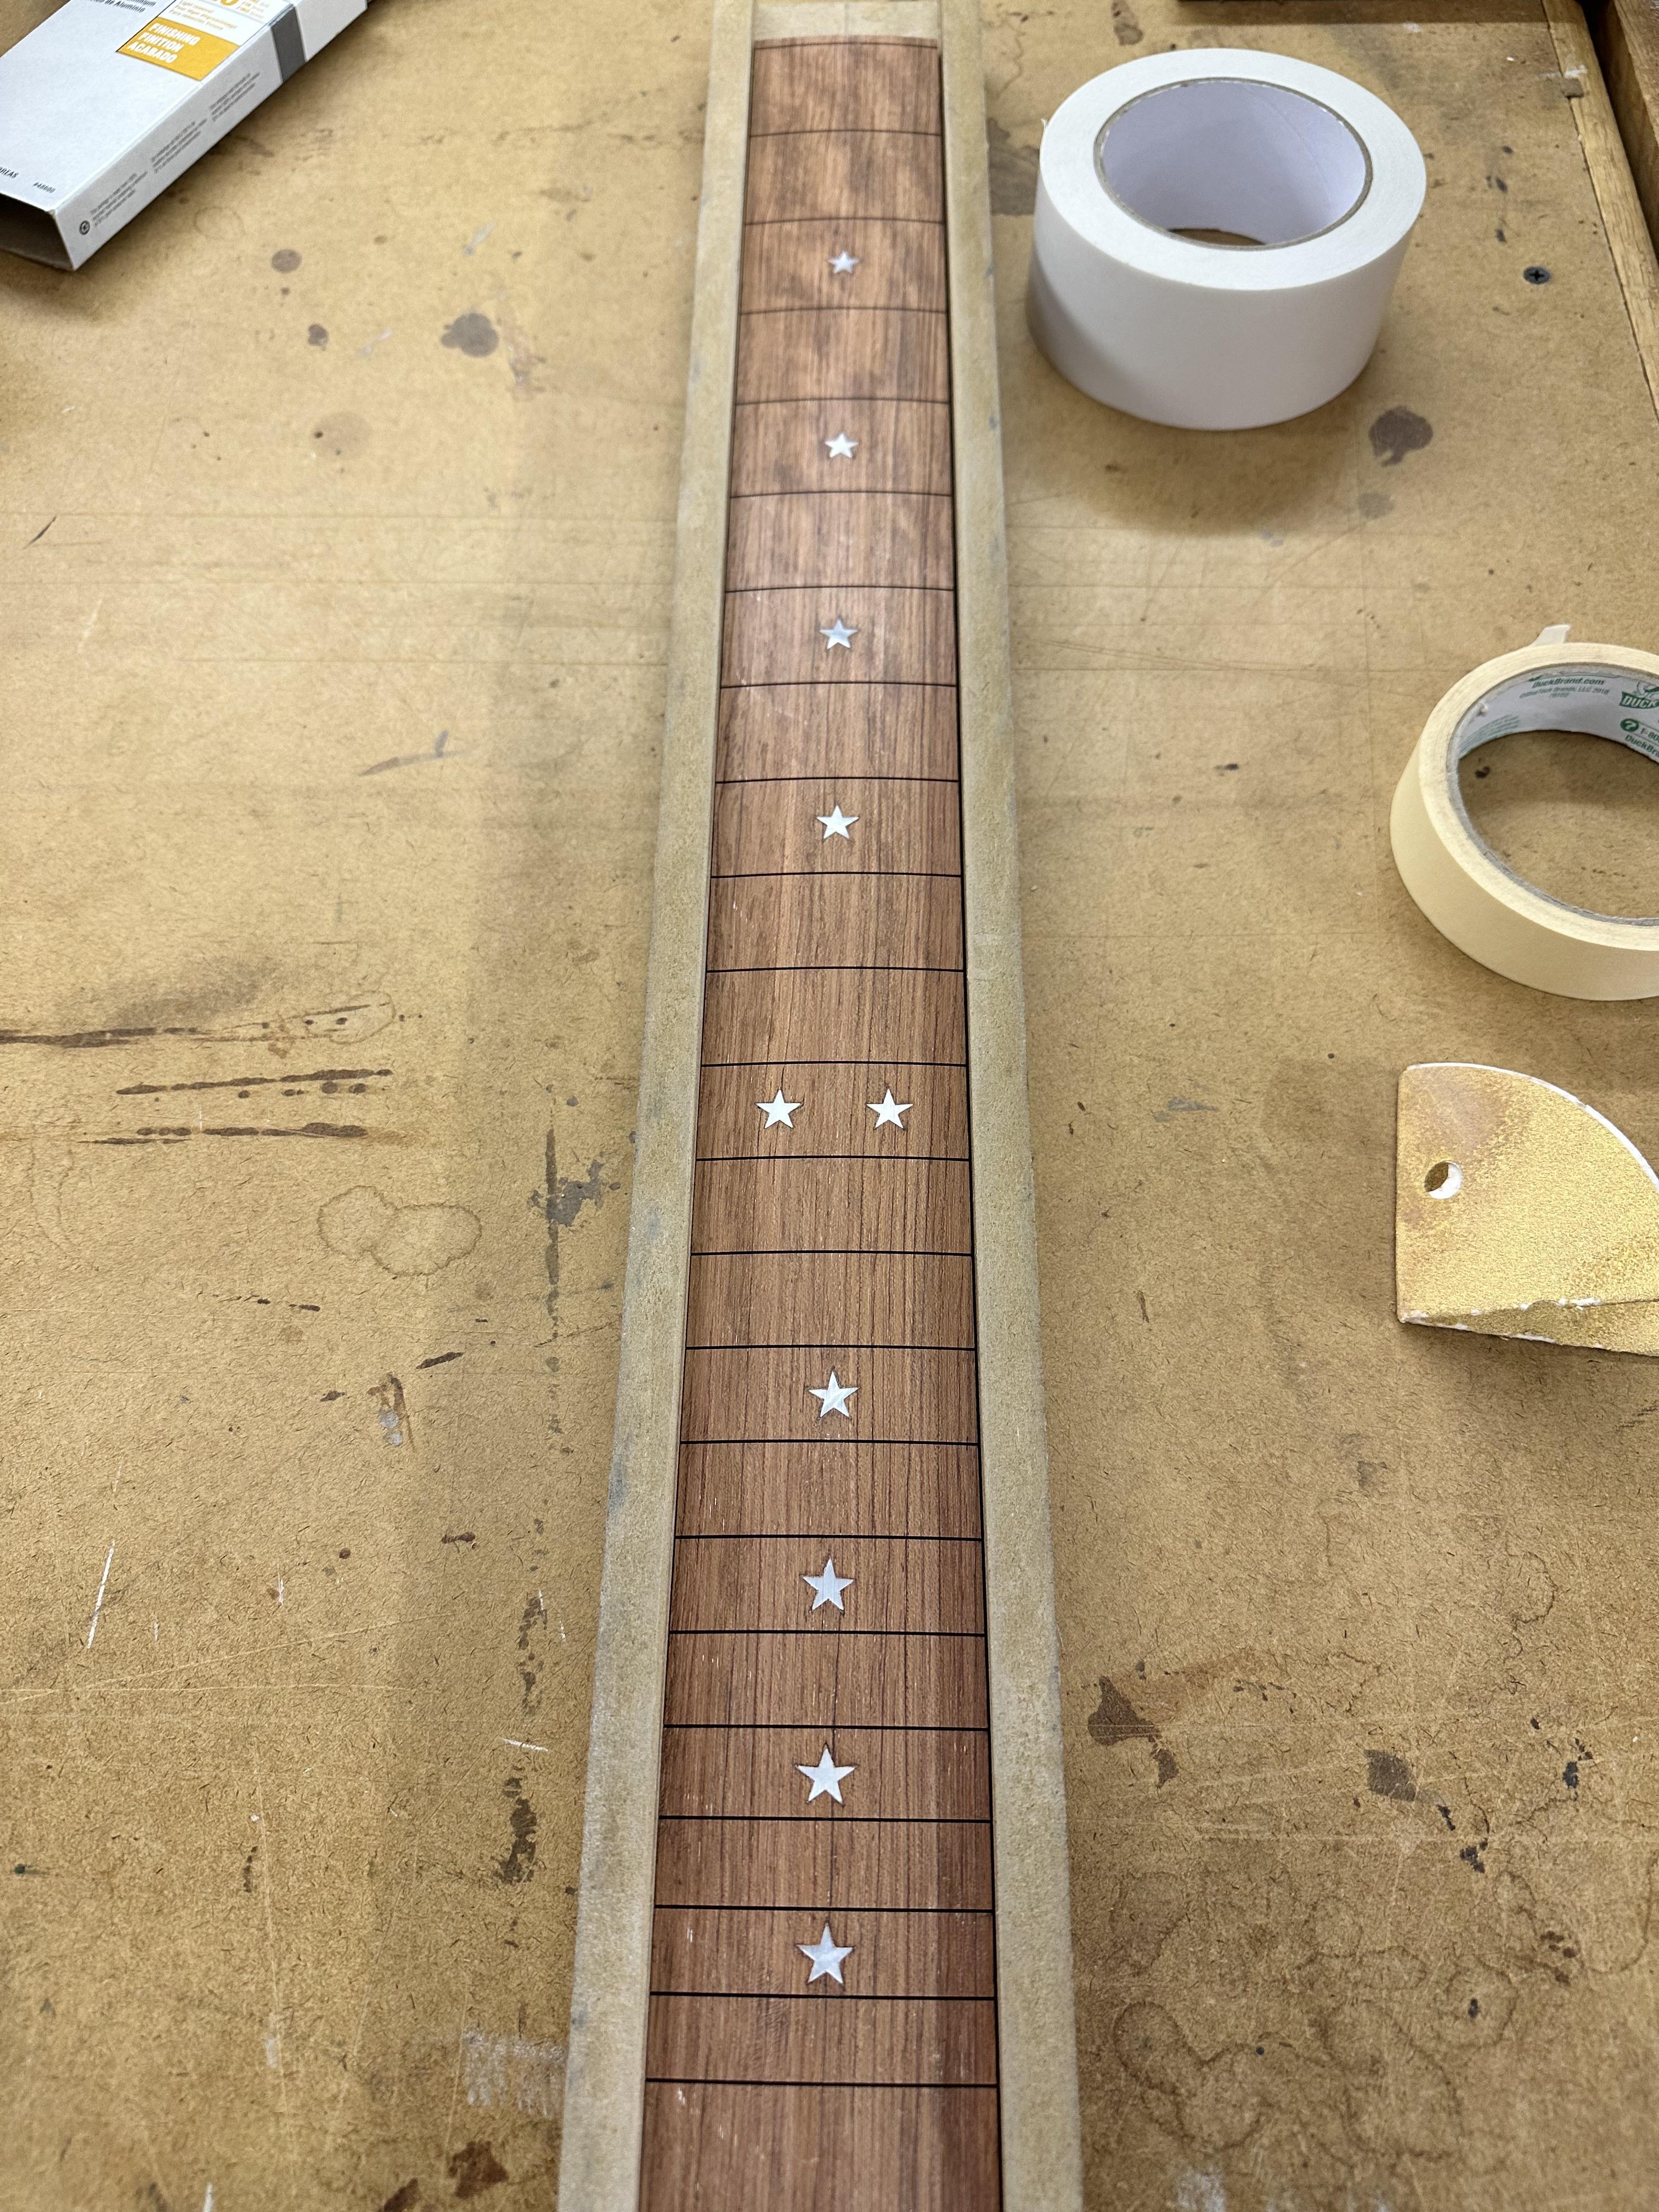
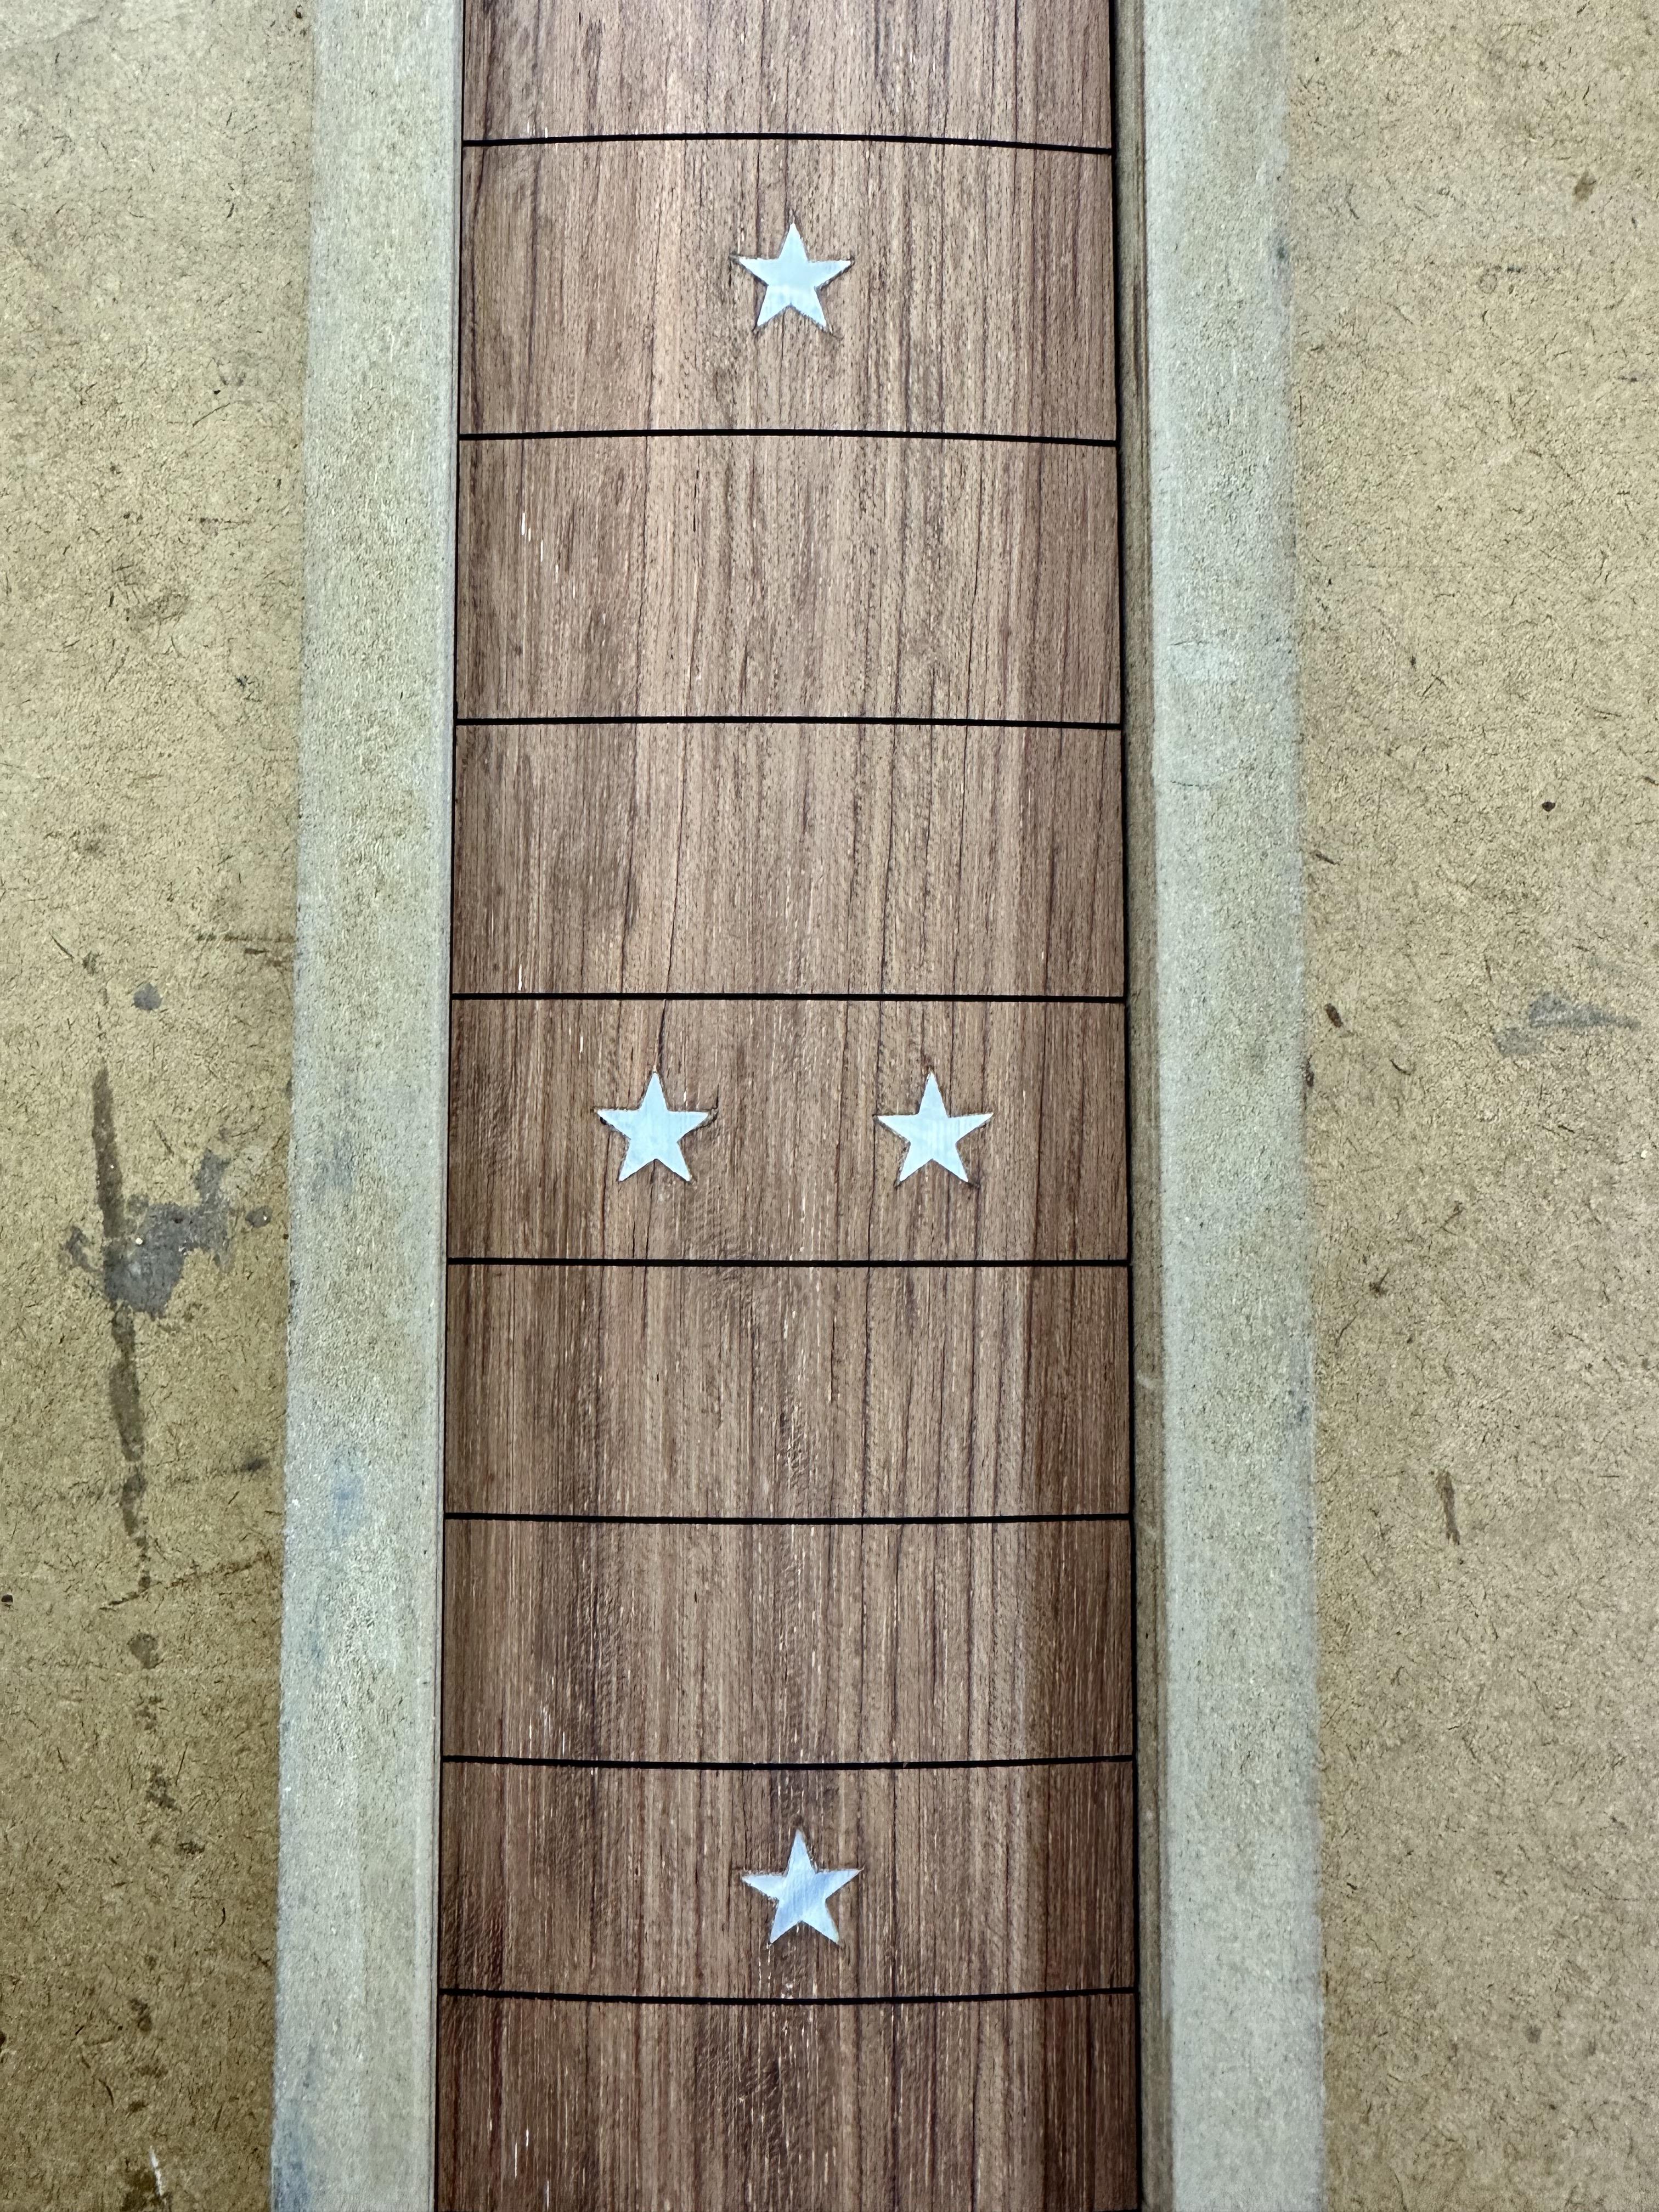
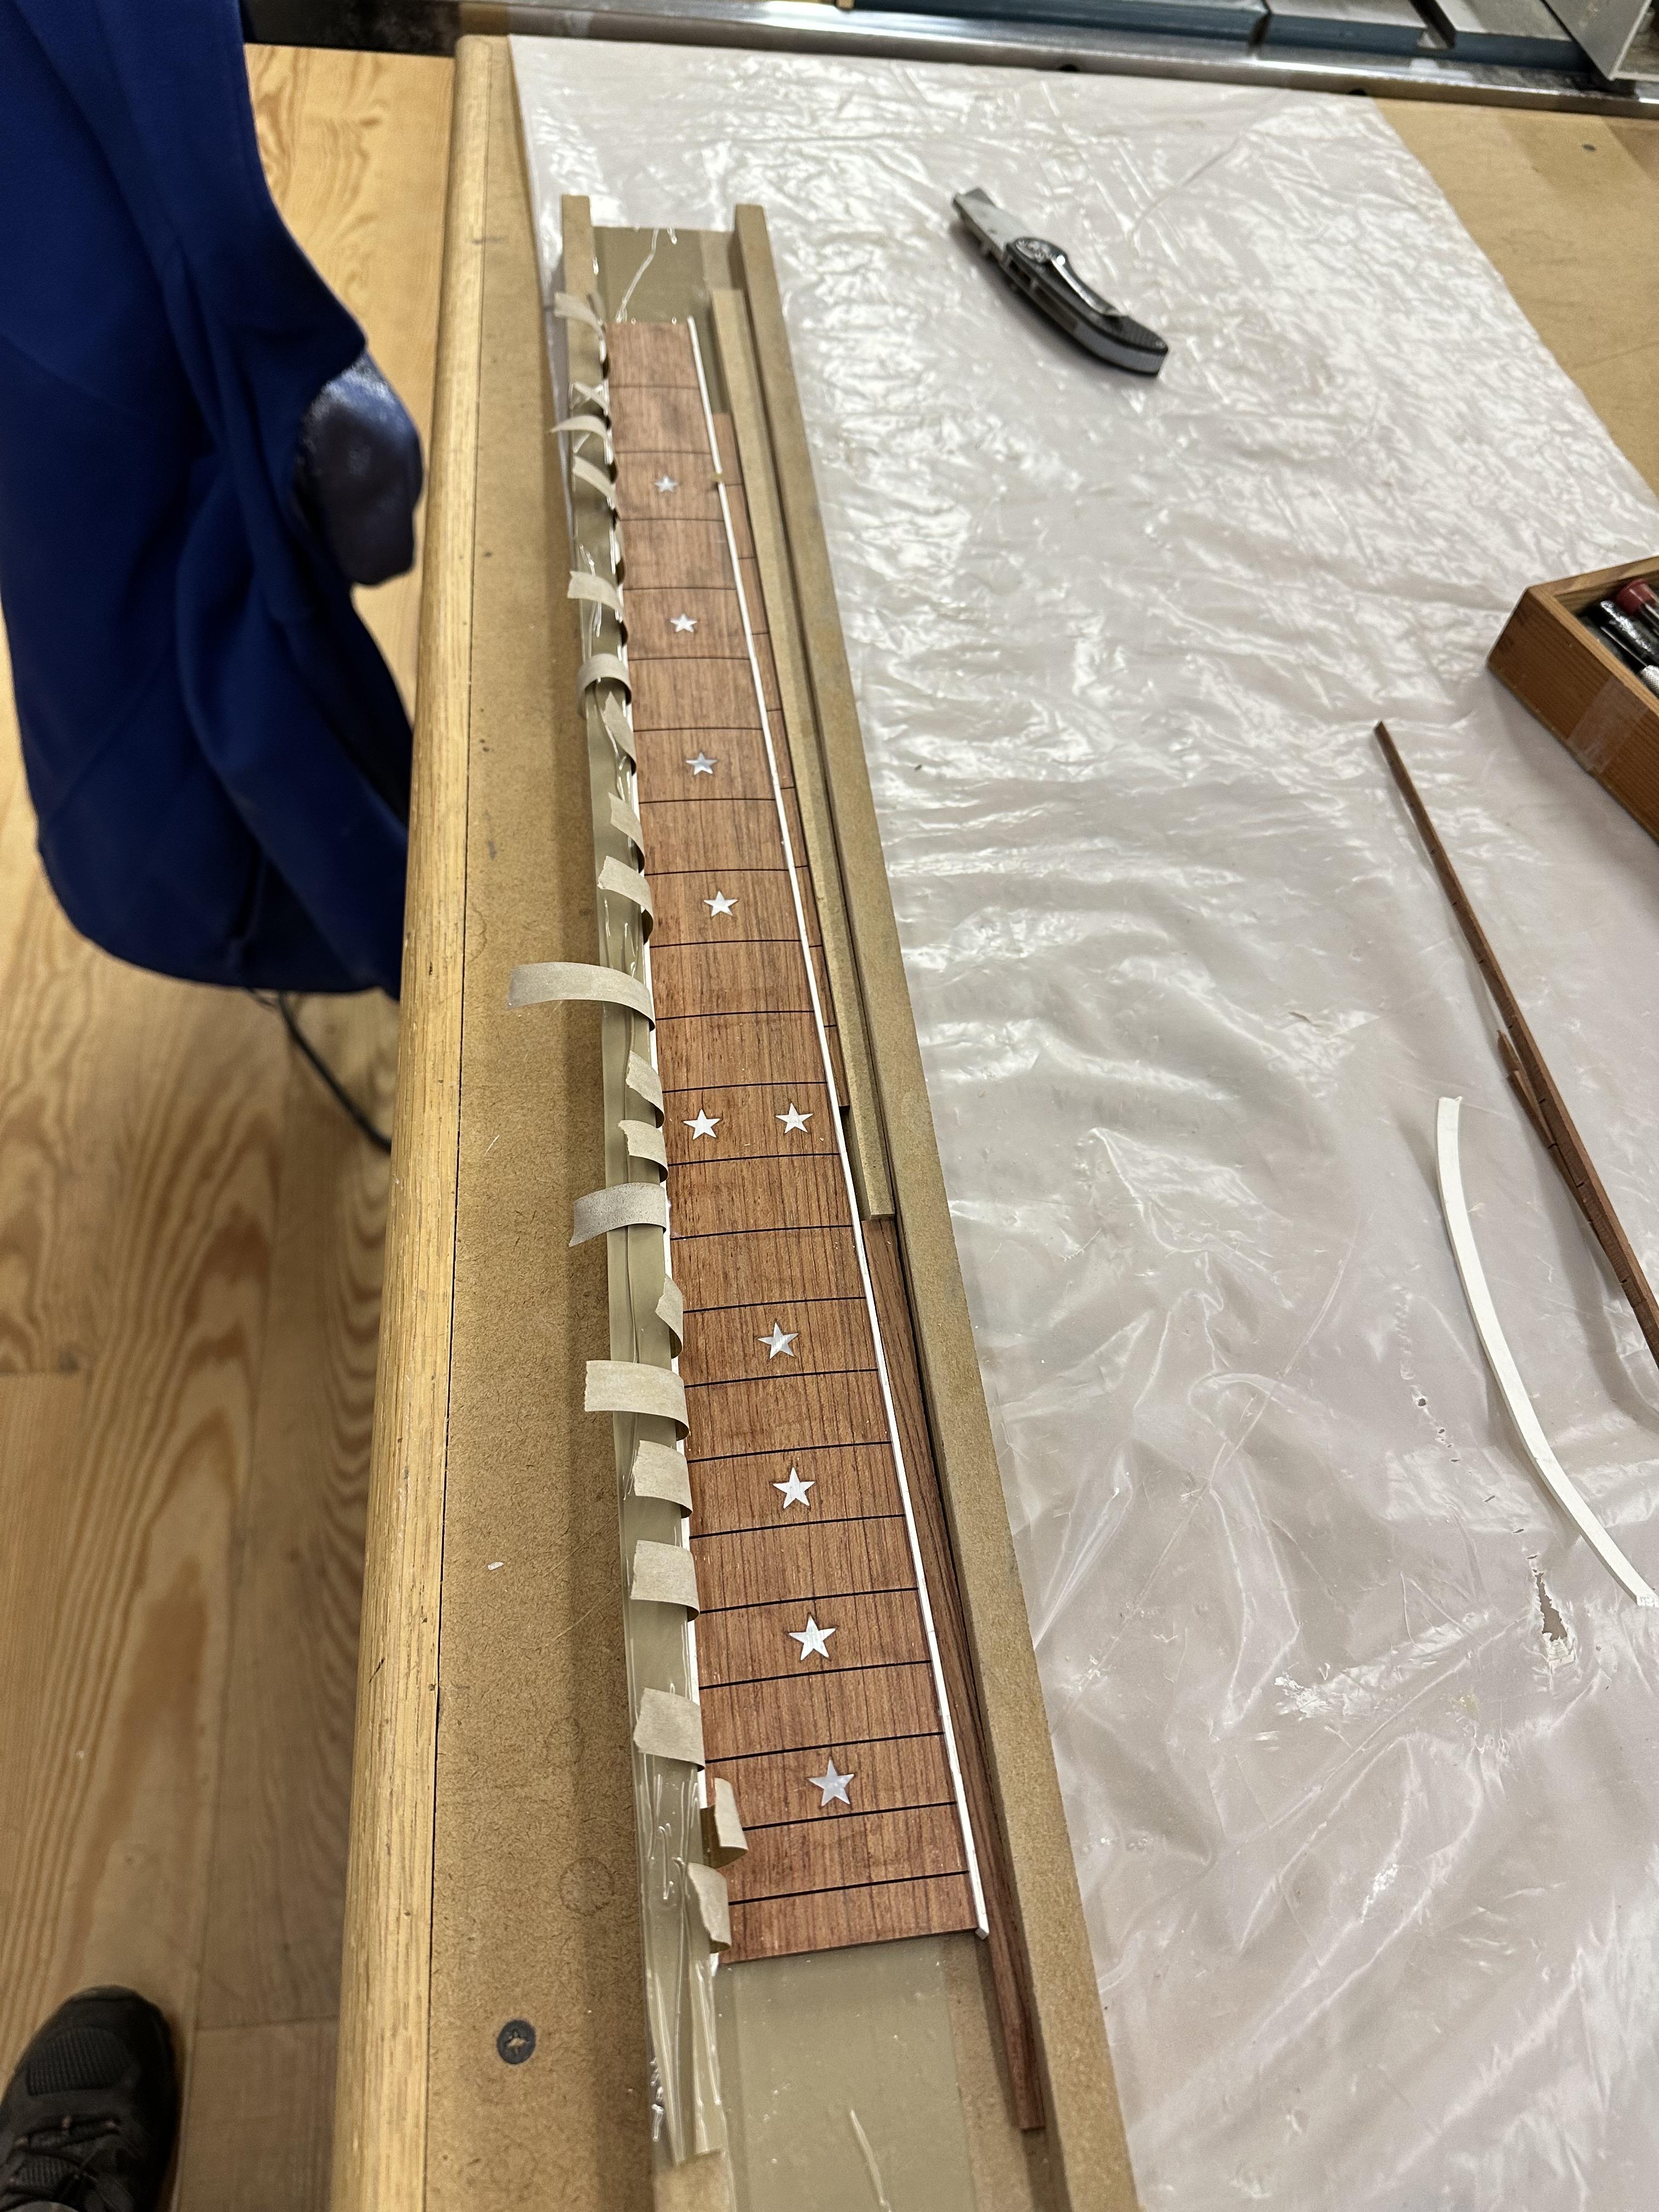
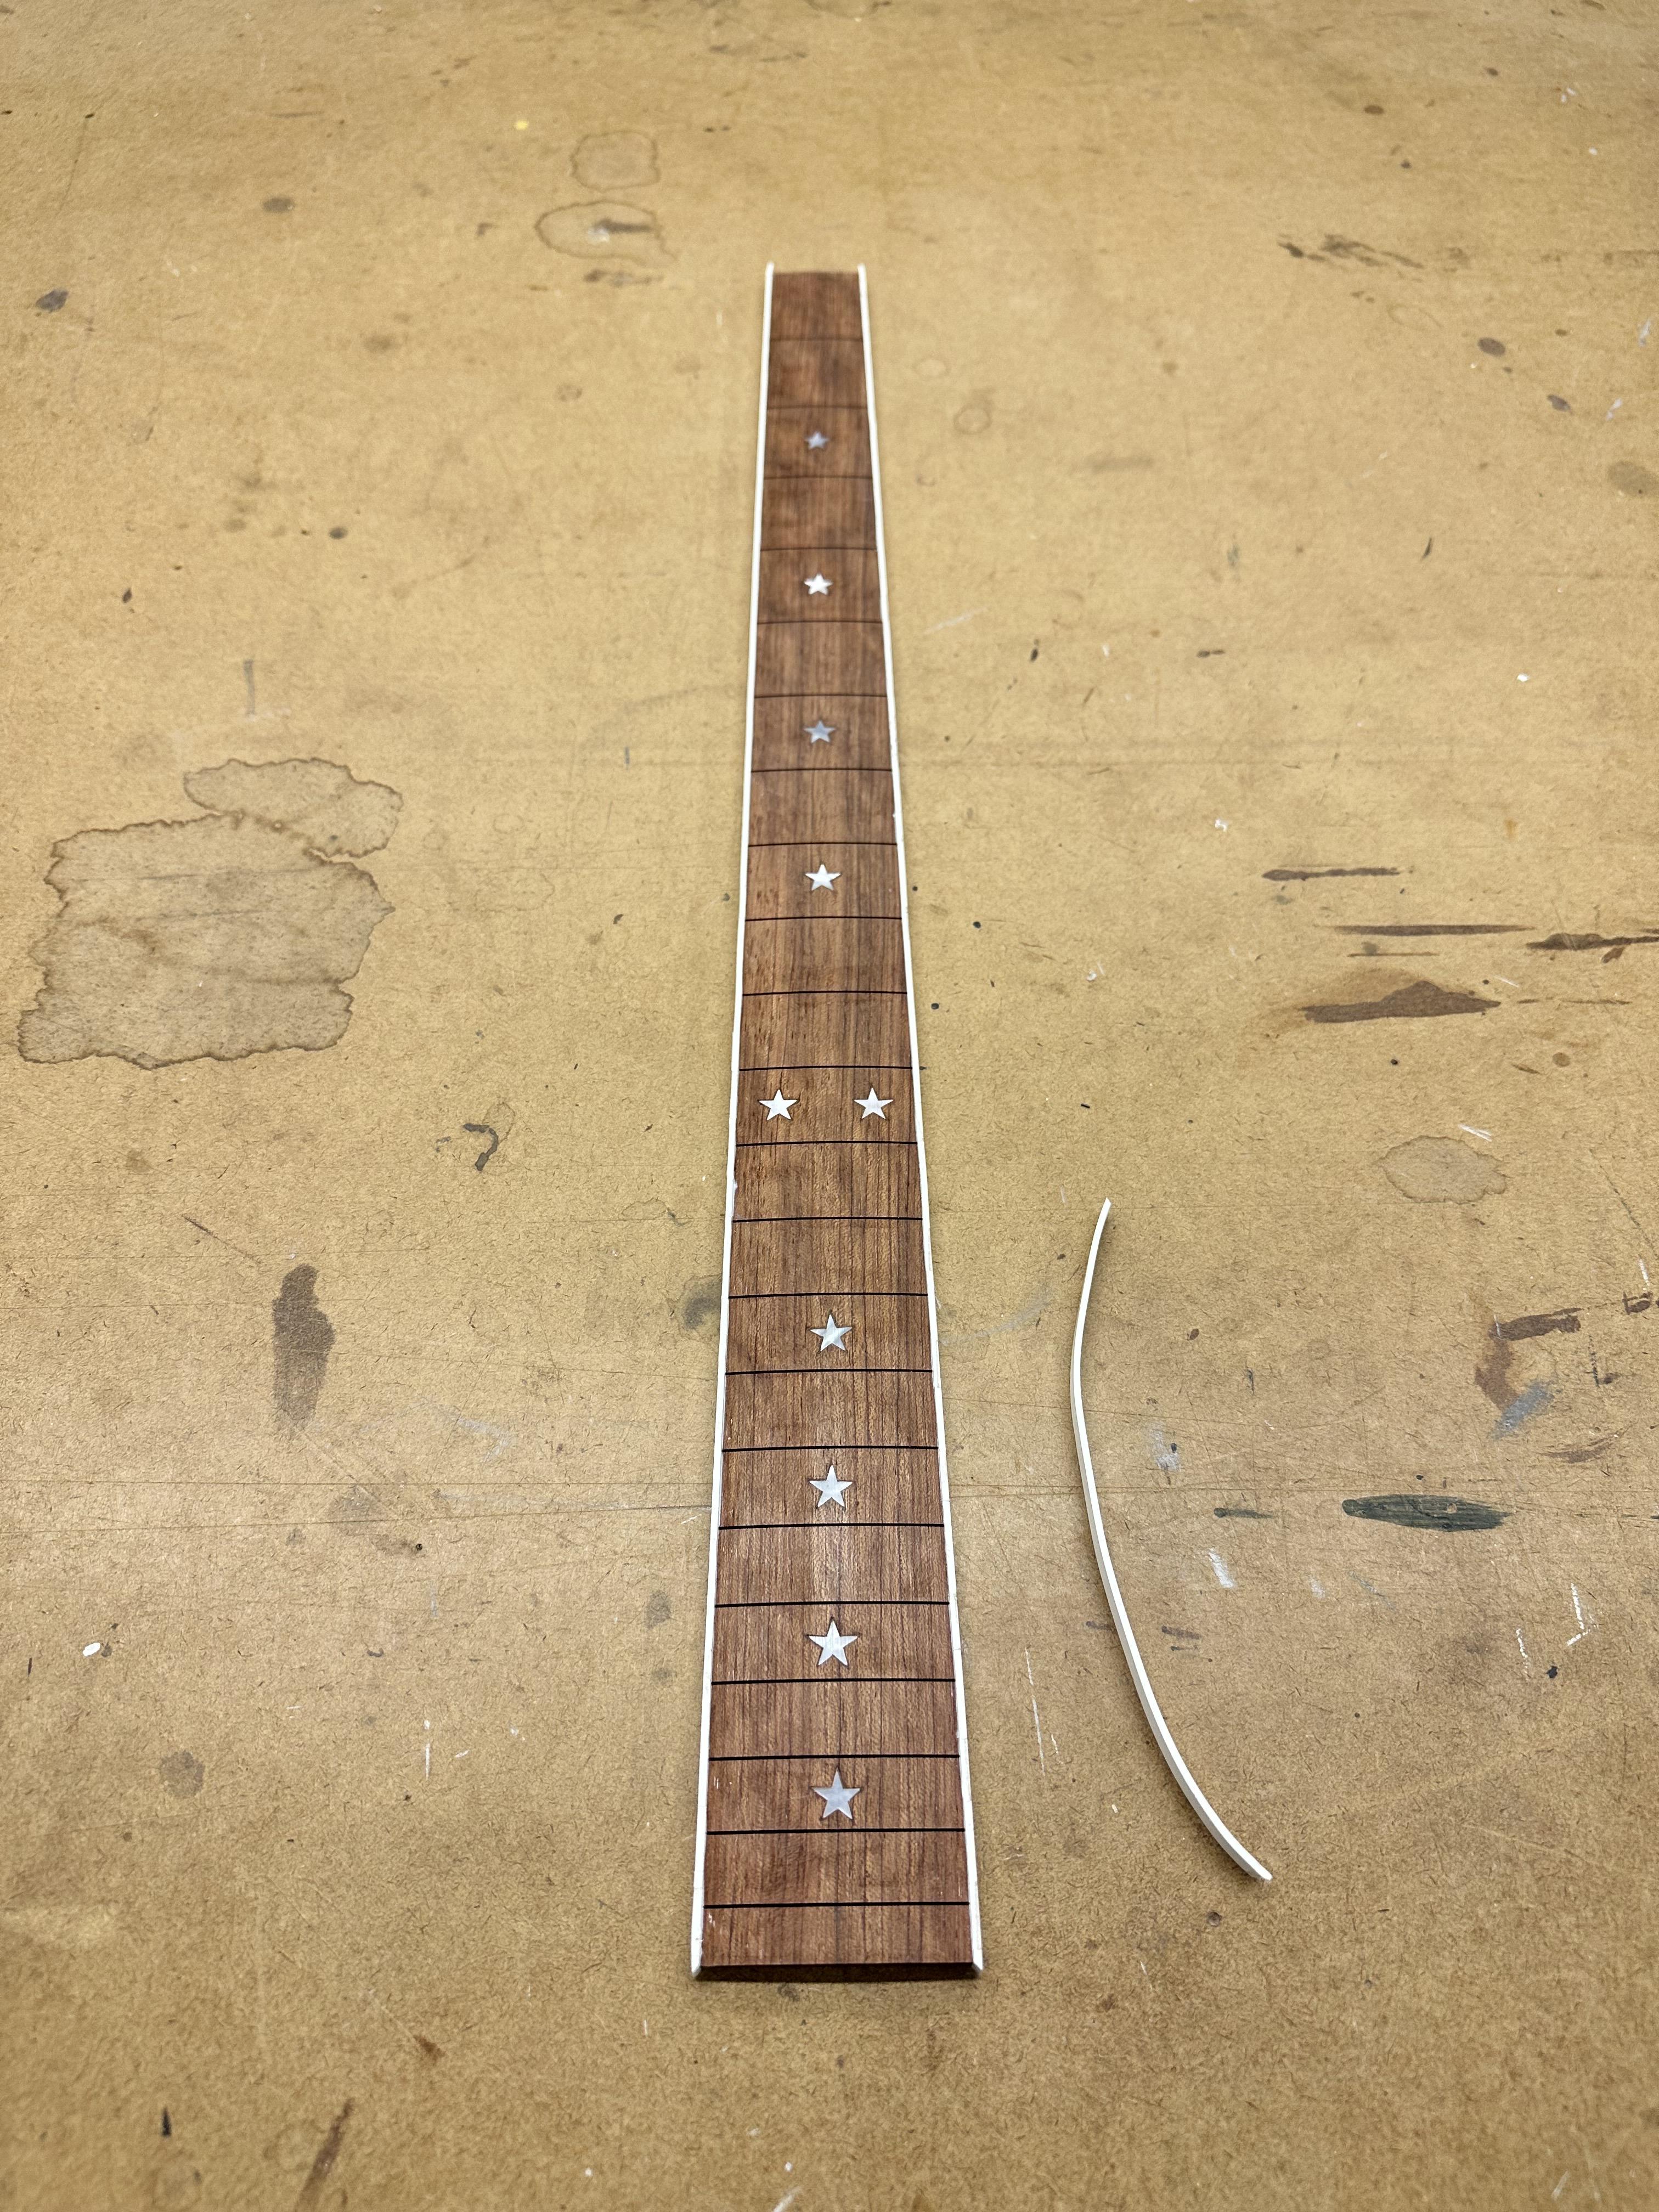
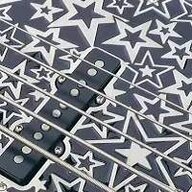
Because I love suffering and self-abuse, I simply HAD to have the classic Lemmy star inlays. Having never done anything like it, of course. These are 3/8" diameter, which is about the limit of my effective vision (with glasses). These are hand-made in Vietnam, so each one is slightly unique. The board is nice piece of figured bubinga I had slotted by LMI (now sadly gone under).
SURGERY
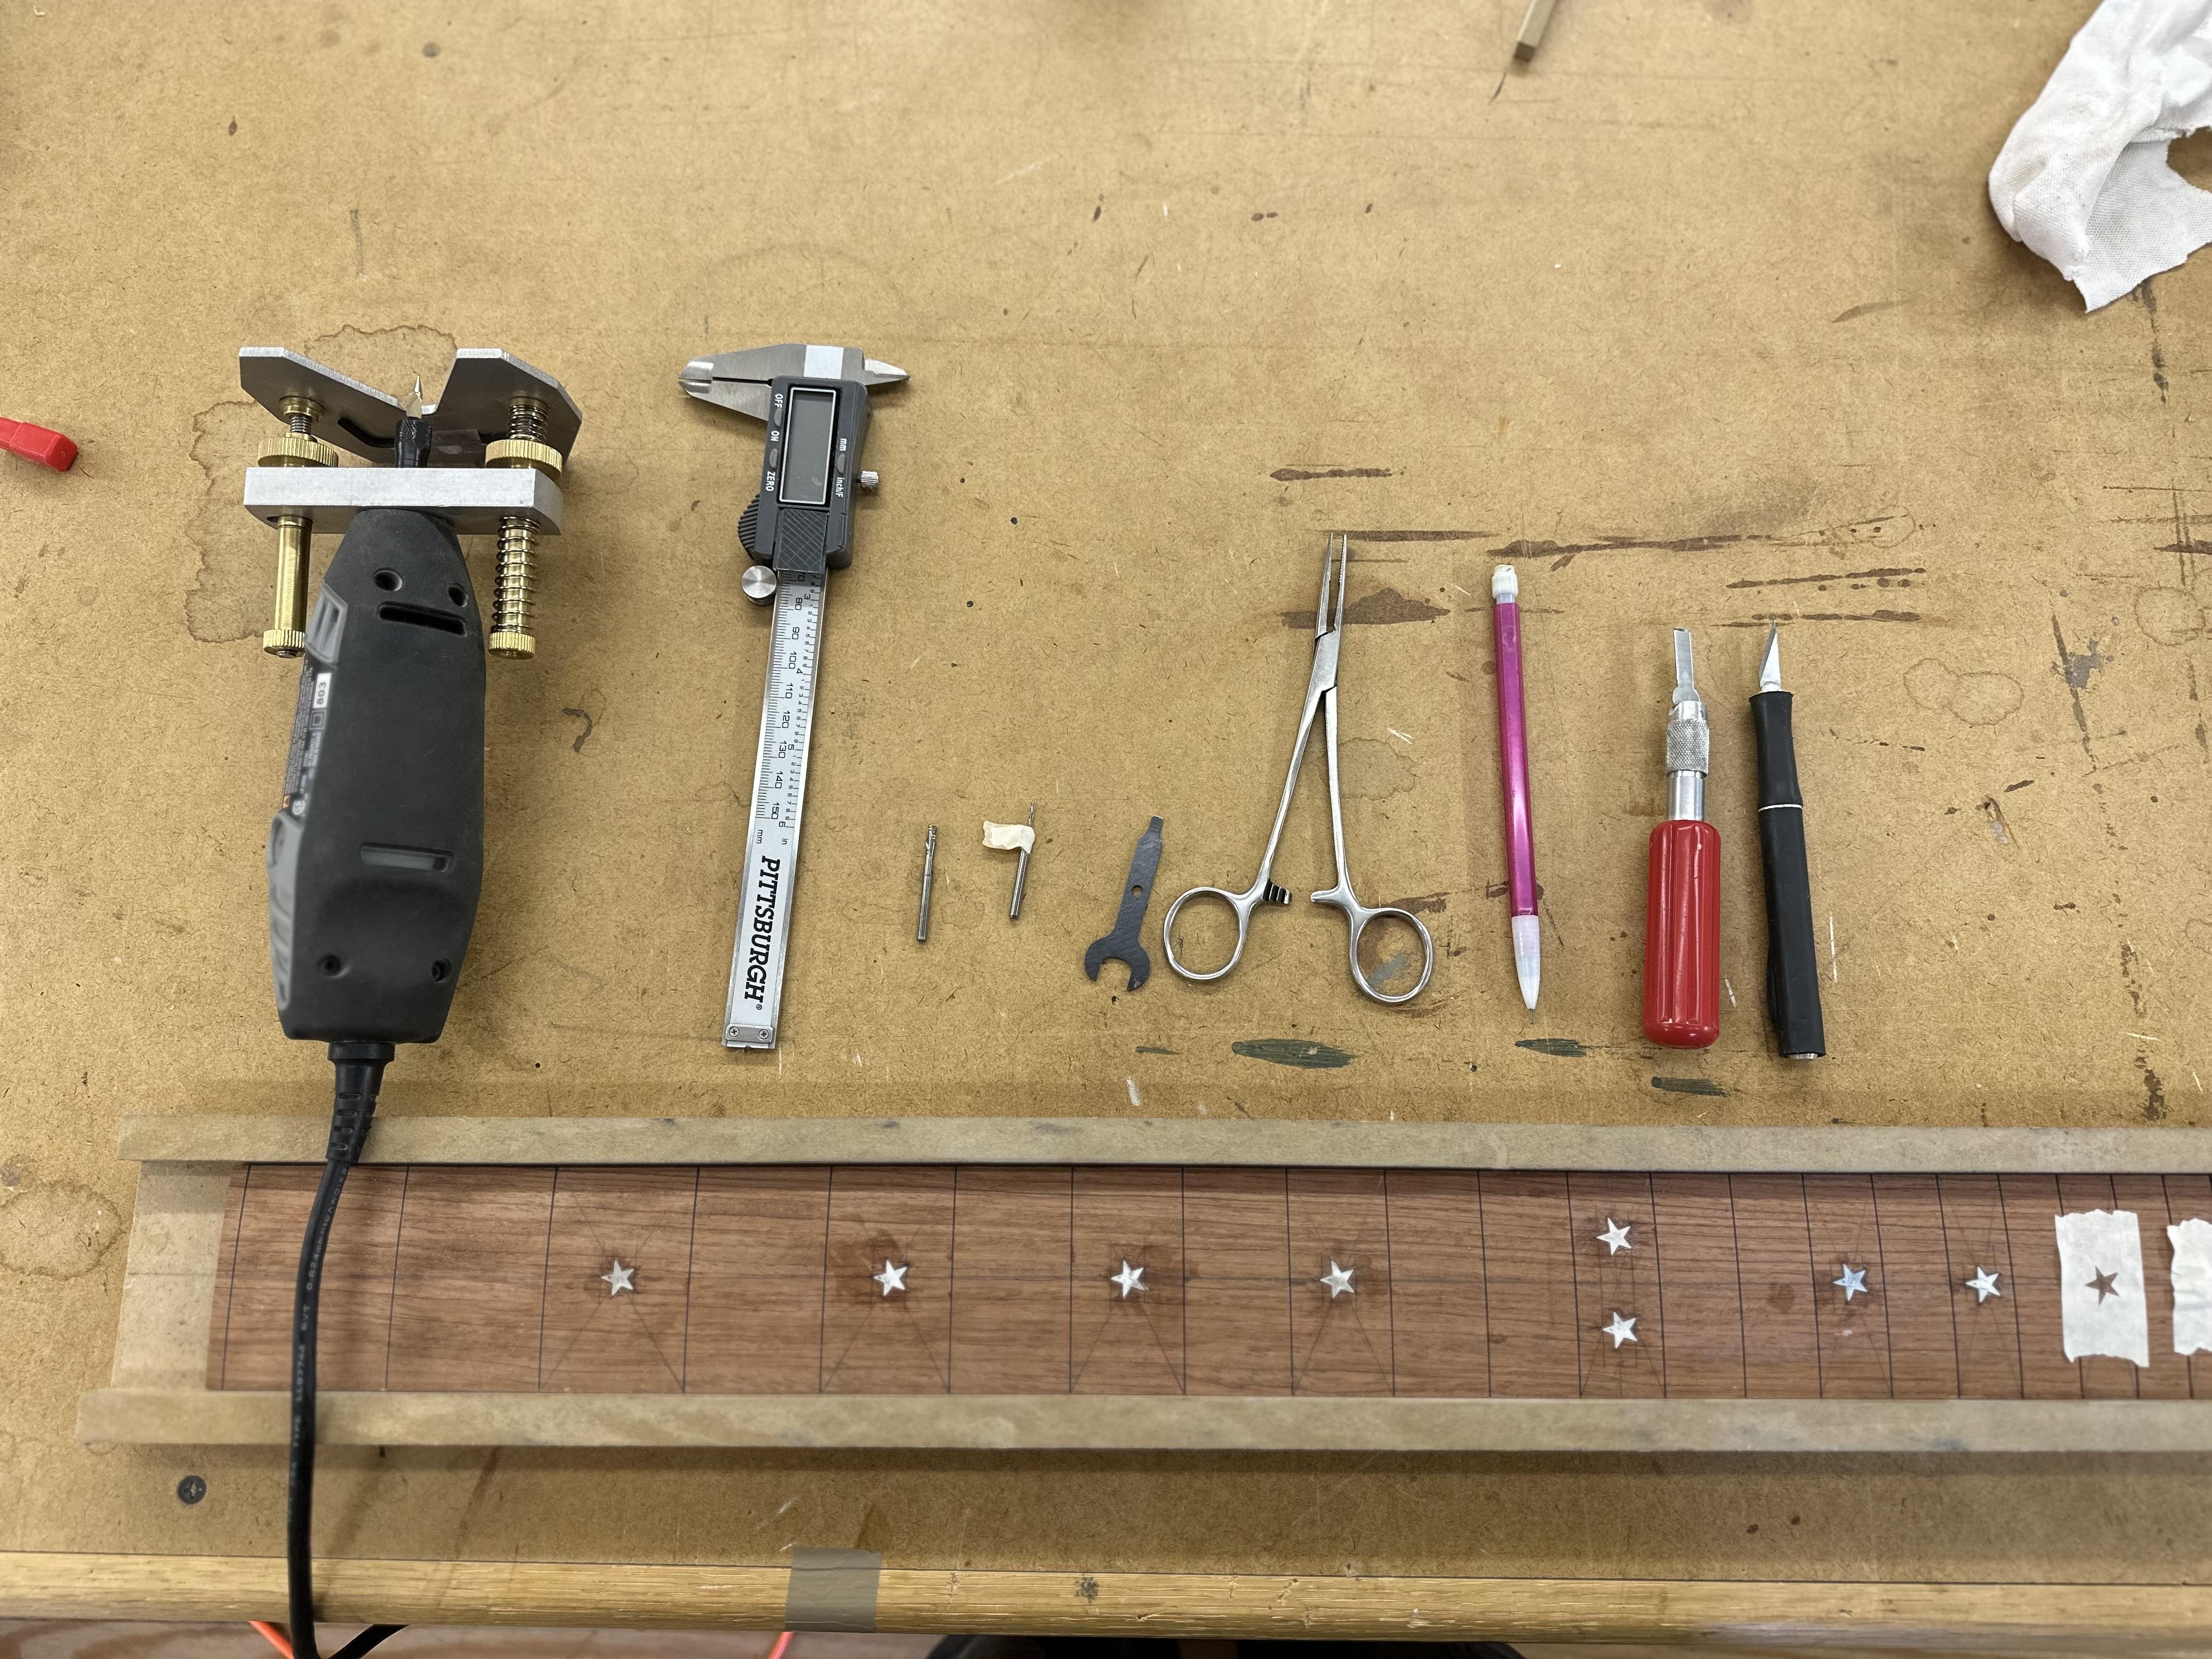
After a bit of trail and error in the extra board length, I arrived at the following process. It's probably not how a Pro does it, but it worked for me.
1. Glue stars down with a drop of Titebond
2. Scribe around star with Xacto #11 blade.
3. Pop star off and cut exact star-sized opening in a piece of masking tape.
4. Apply taped outline of star to board, using scribed lines to place accurately.
5. Mask off neck and shoot a dust coat of white paint over the cutout. This gives me a white star on a bubinga background. I can SEE a white star using my El Cheapo LED Lit Techno Specs.
6. Rout a hole in the middle of each star to just less than inlay thickness with 1/8" downcut spiral Dremel bit.
7. Enlarge hole into star points with 1/32" spiral downcut Dremel bit.
8. Hand-chisel out remaining waste with an Xacto #17 1/4" square edge blade (lots of them). Note to self: get a 1/8" chisel next time.
9. Clean up the recess with 1/64" spiral engraving bit. This worked really well, the tapered shaft of the bit rides around the "shoulders" of the recess without enlarging it, it just removed any extra waste.
9. Glue in with thin CA. use Debonder to un-glue fingertips from board. (Yes, that's a bit of my FLESH on there.)
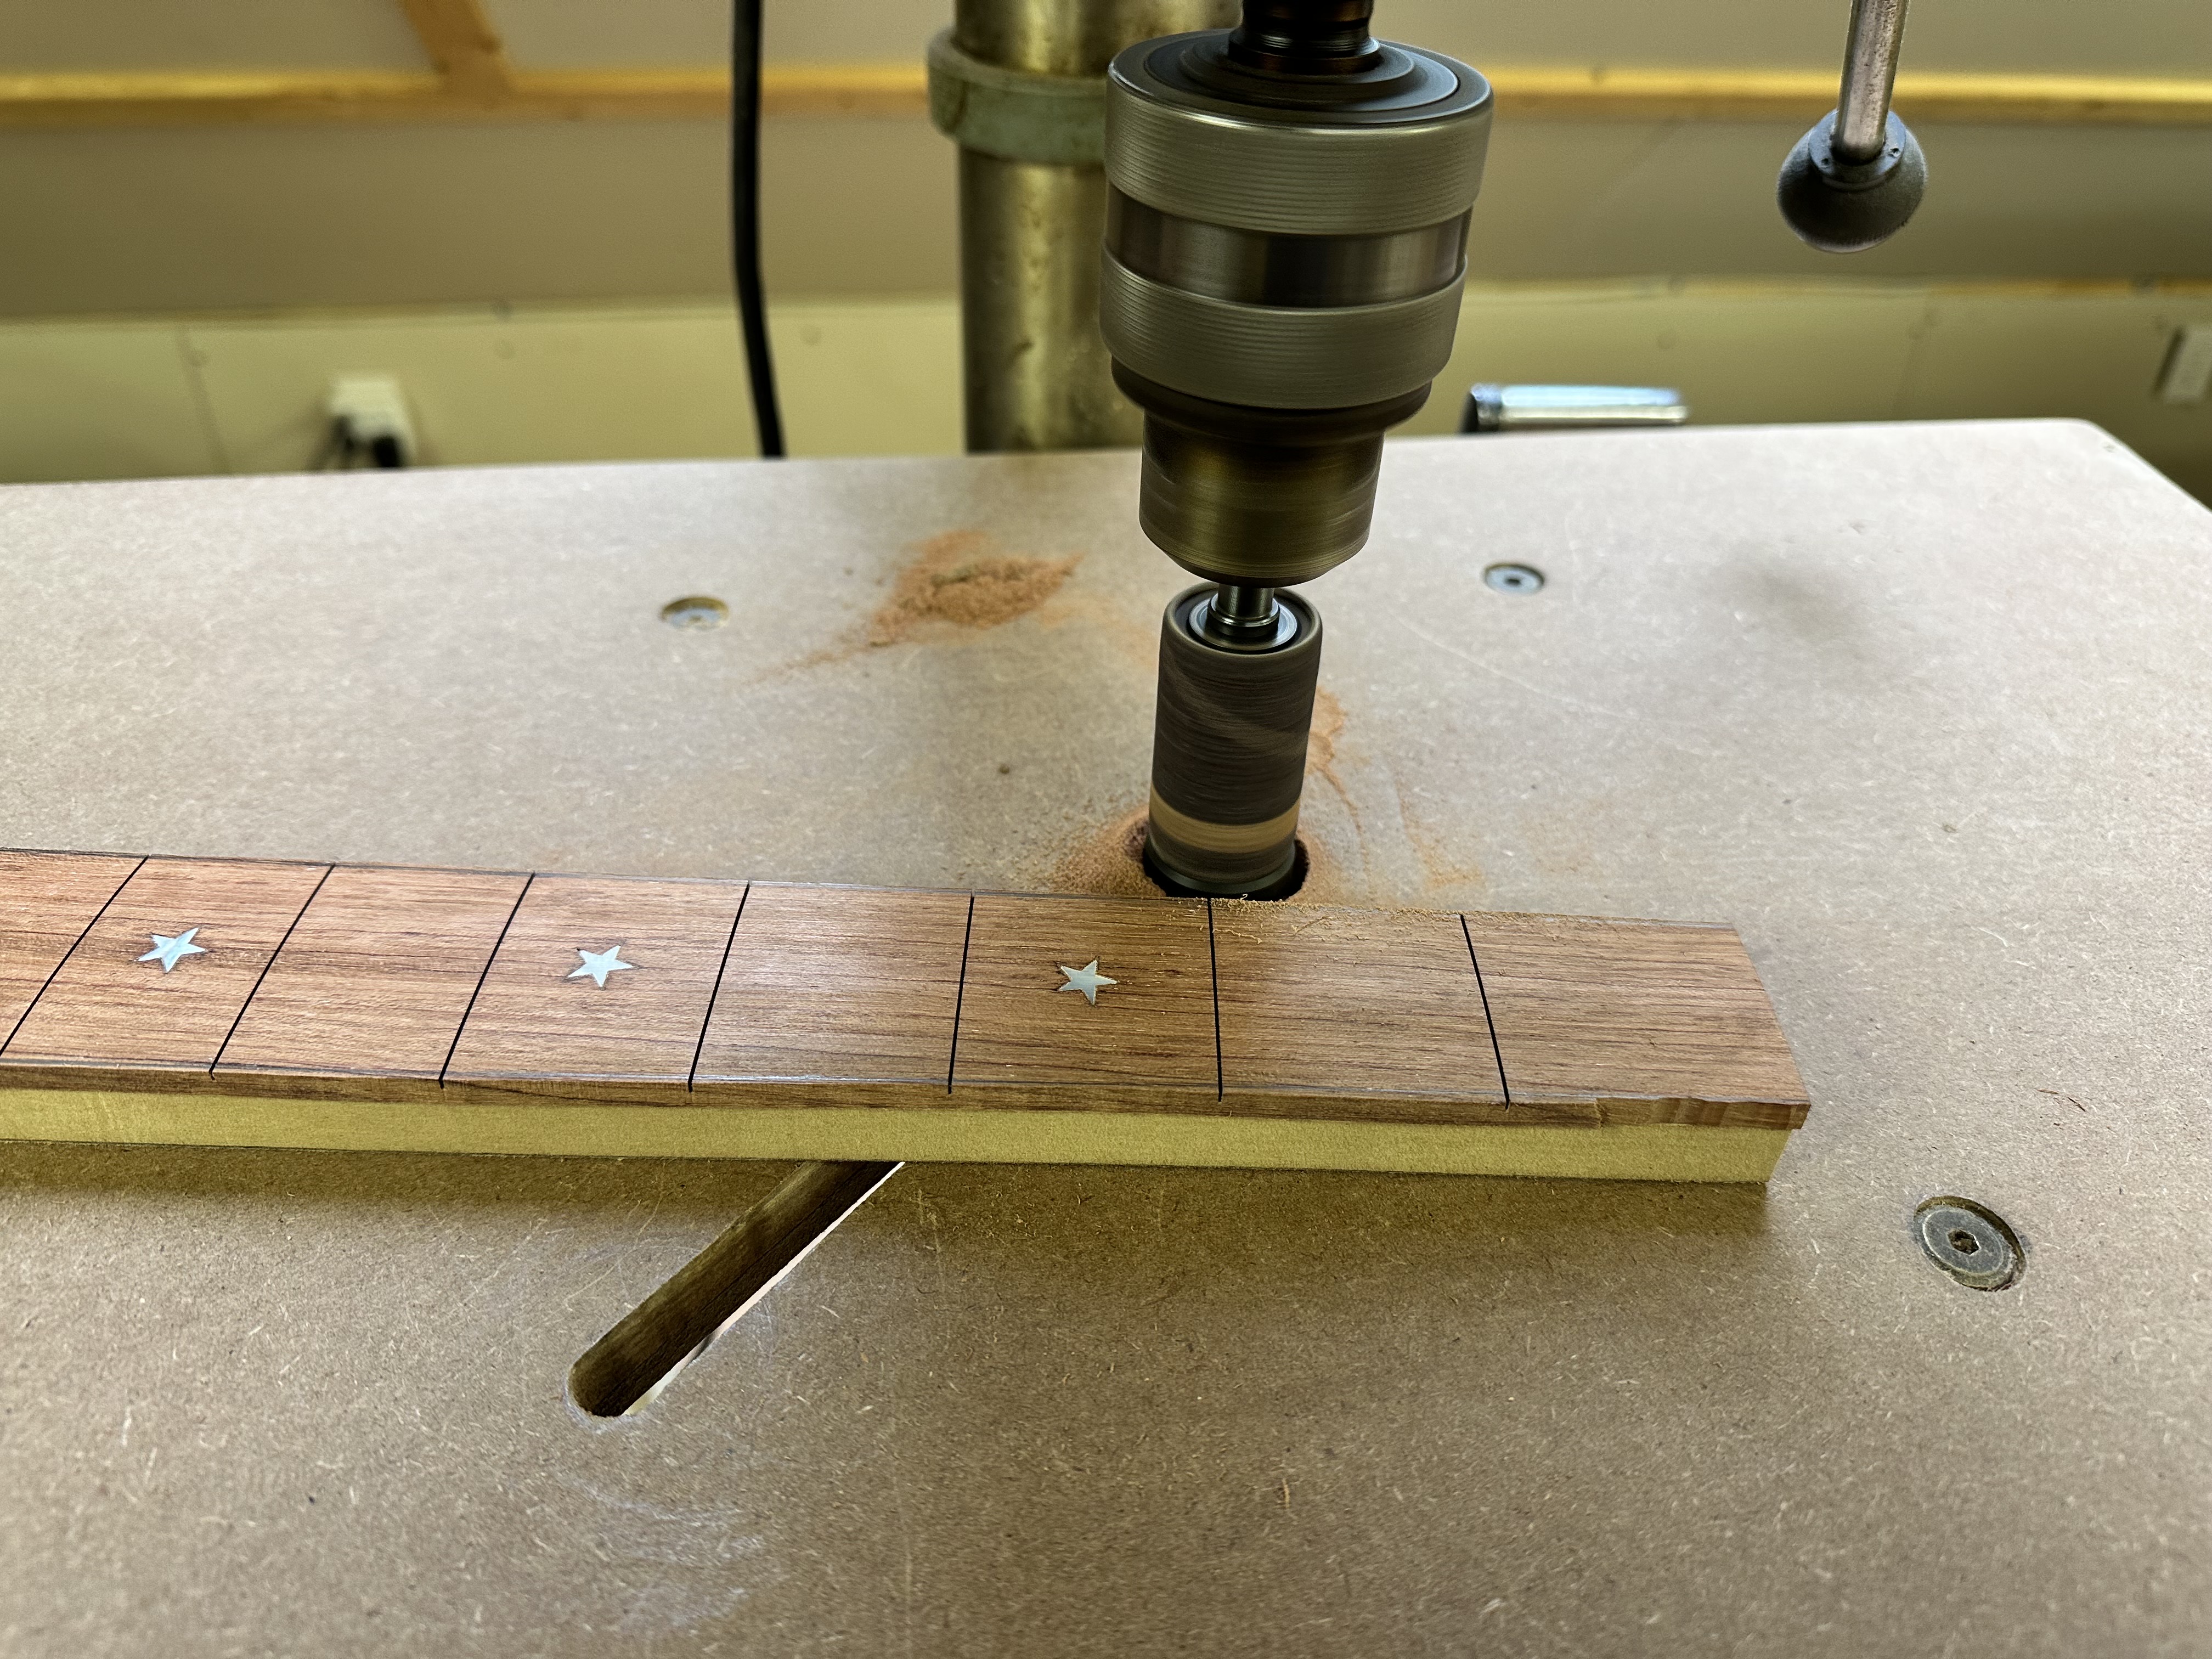
BTW, I got this knockoff of the Stewmac Dremel base for less than 1/2 the Stewmac price. It clearly IS the Stewmac base, minus the Stewmac logo and some final polish on the aluminum. I'm sure it's made in the same factory. Works identical, nice piece of Kit.
I tried a few different fillers for the inevitable (at my skill level anyway) gaps around some of the stars. Both epoxy and CA glue mixed with Bubinga dust came out really dark. I tried mixing some Bubinga dust with ordinary Titebond, much better color match, should be nearly invisible.
All told, I think it took me about 6 hours of intense eye-strain and finger-cramps. Oh, to be 20 again.... or even 40. I've since filed all the gaps with Titebond/Bubinga dust putty, will sand it using my radius beam when it hardens up.
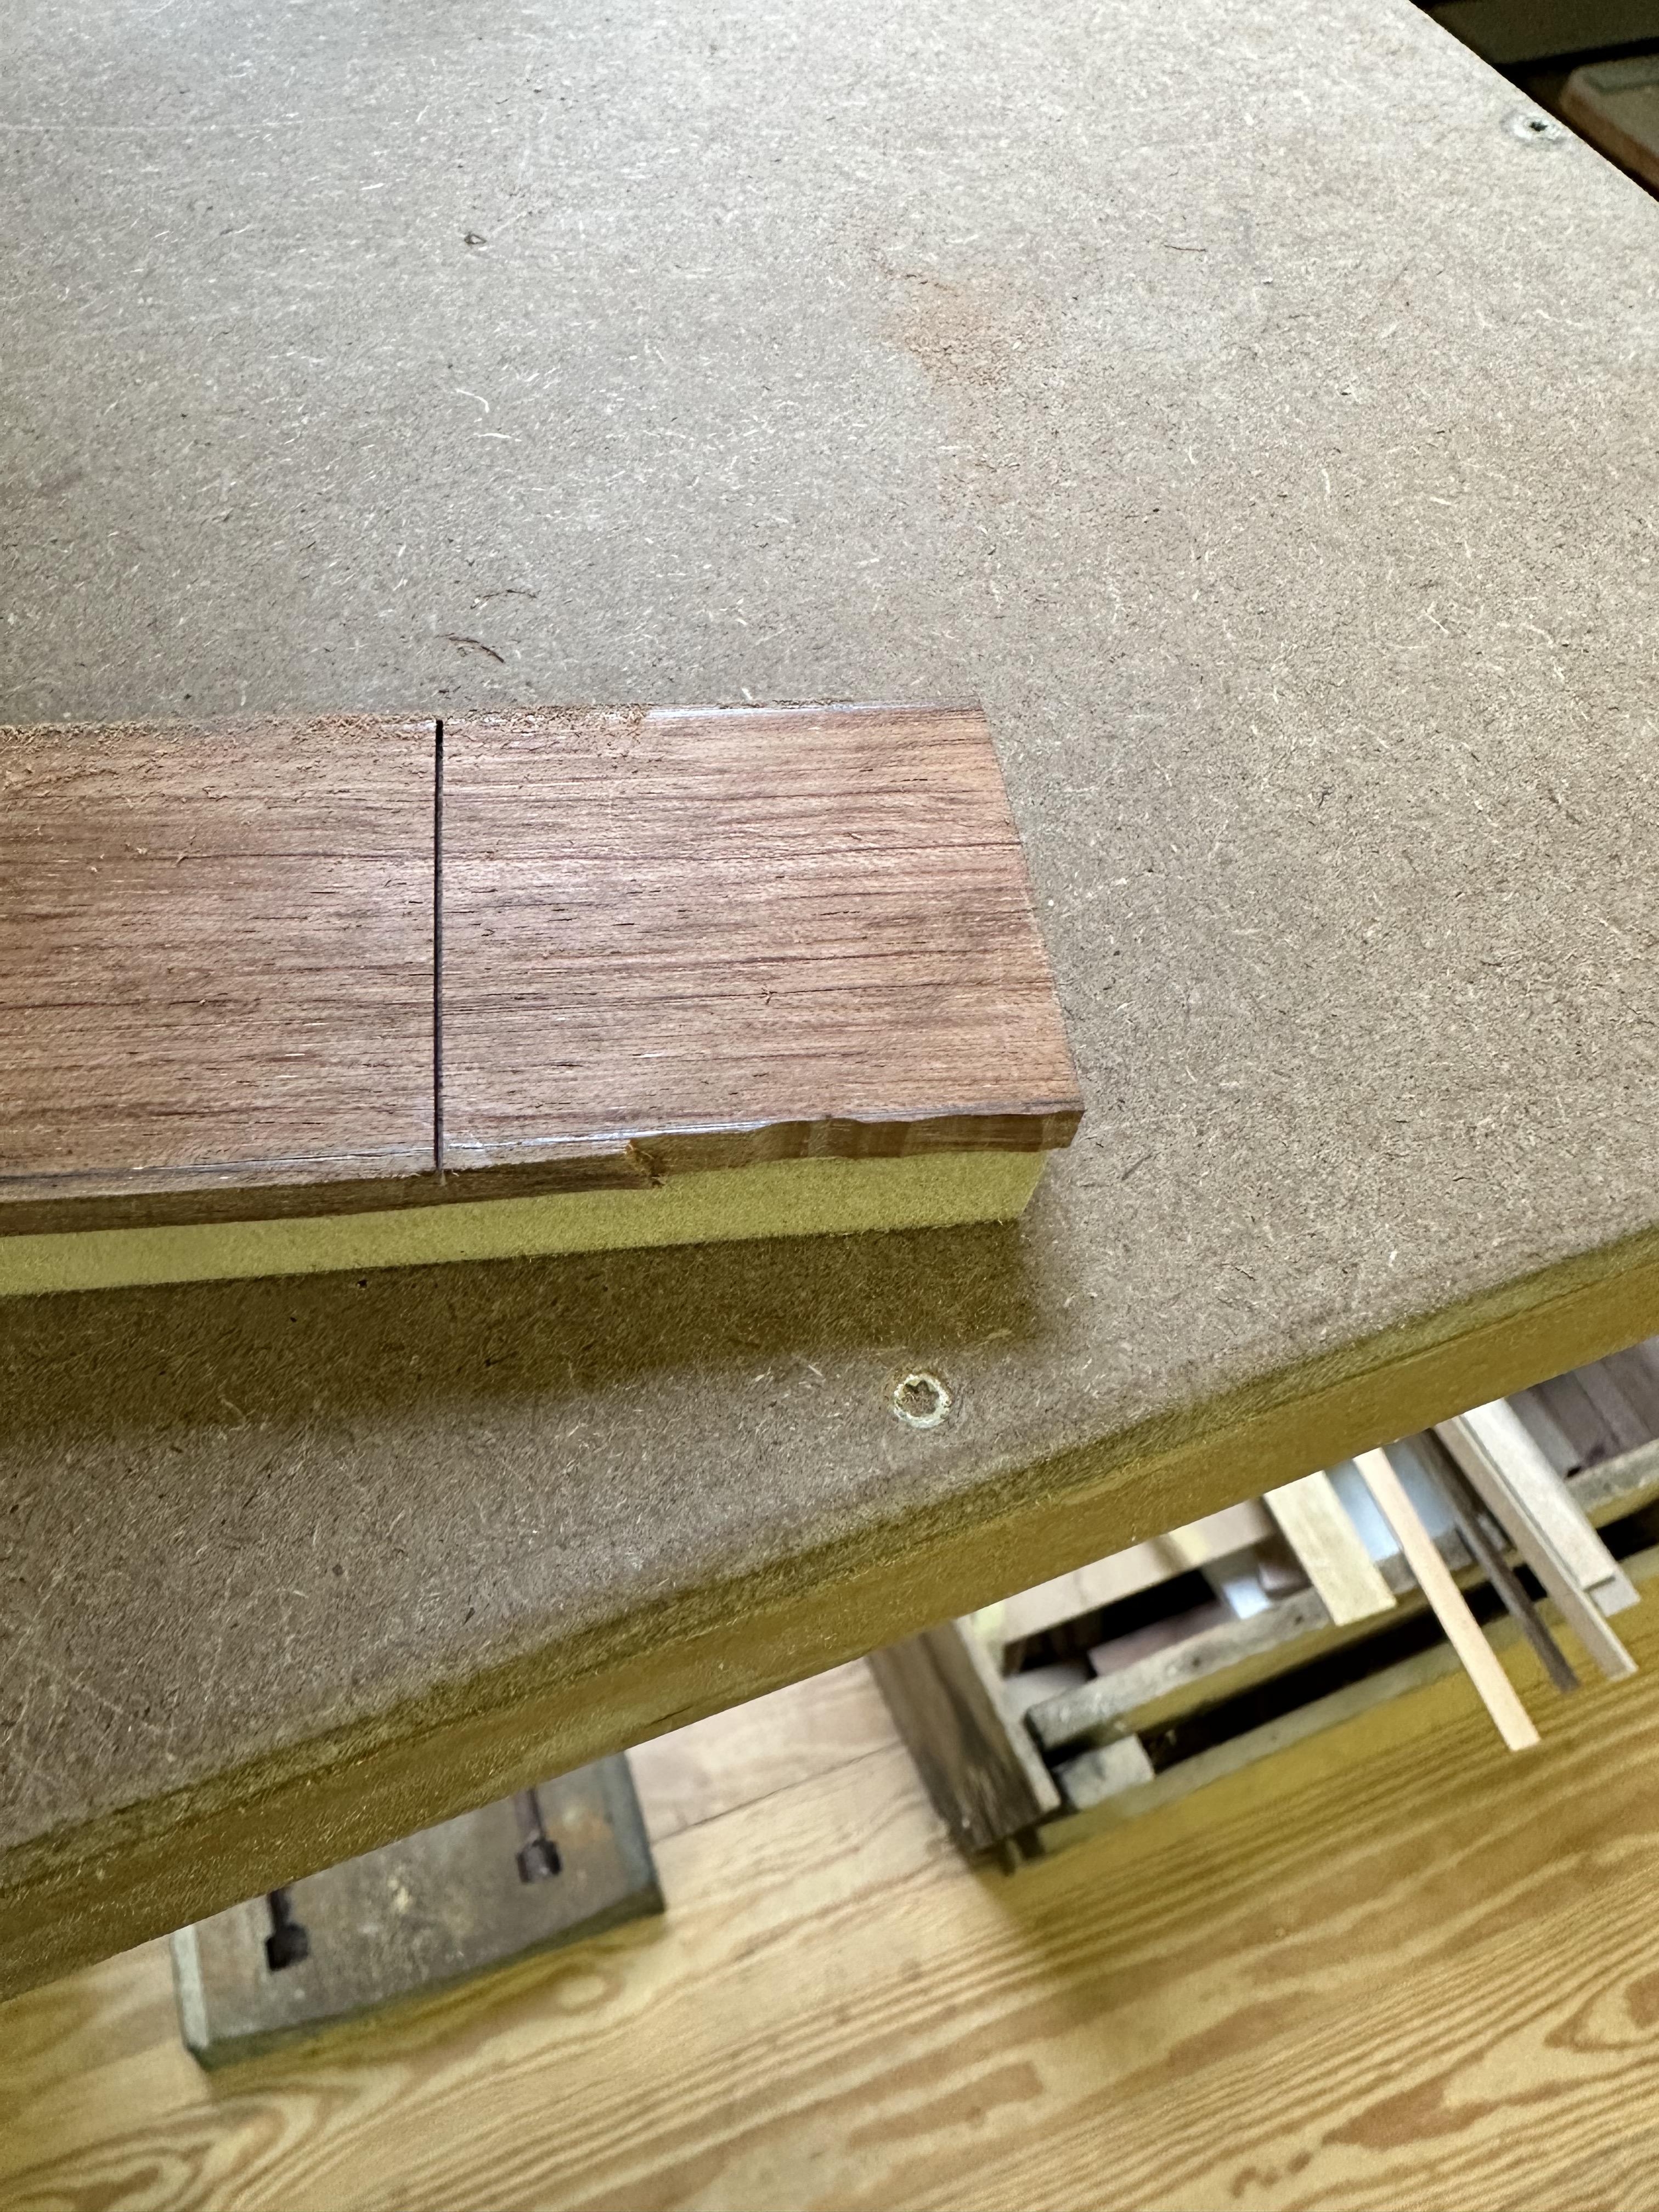
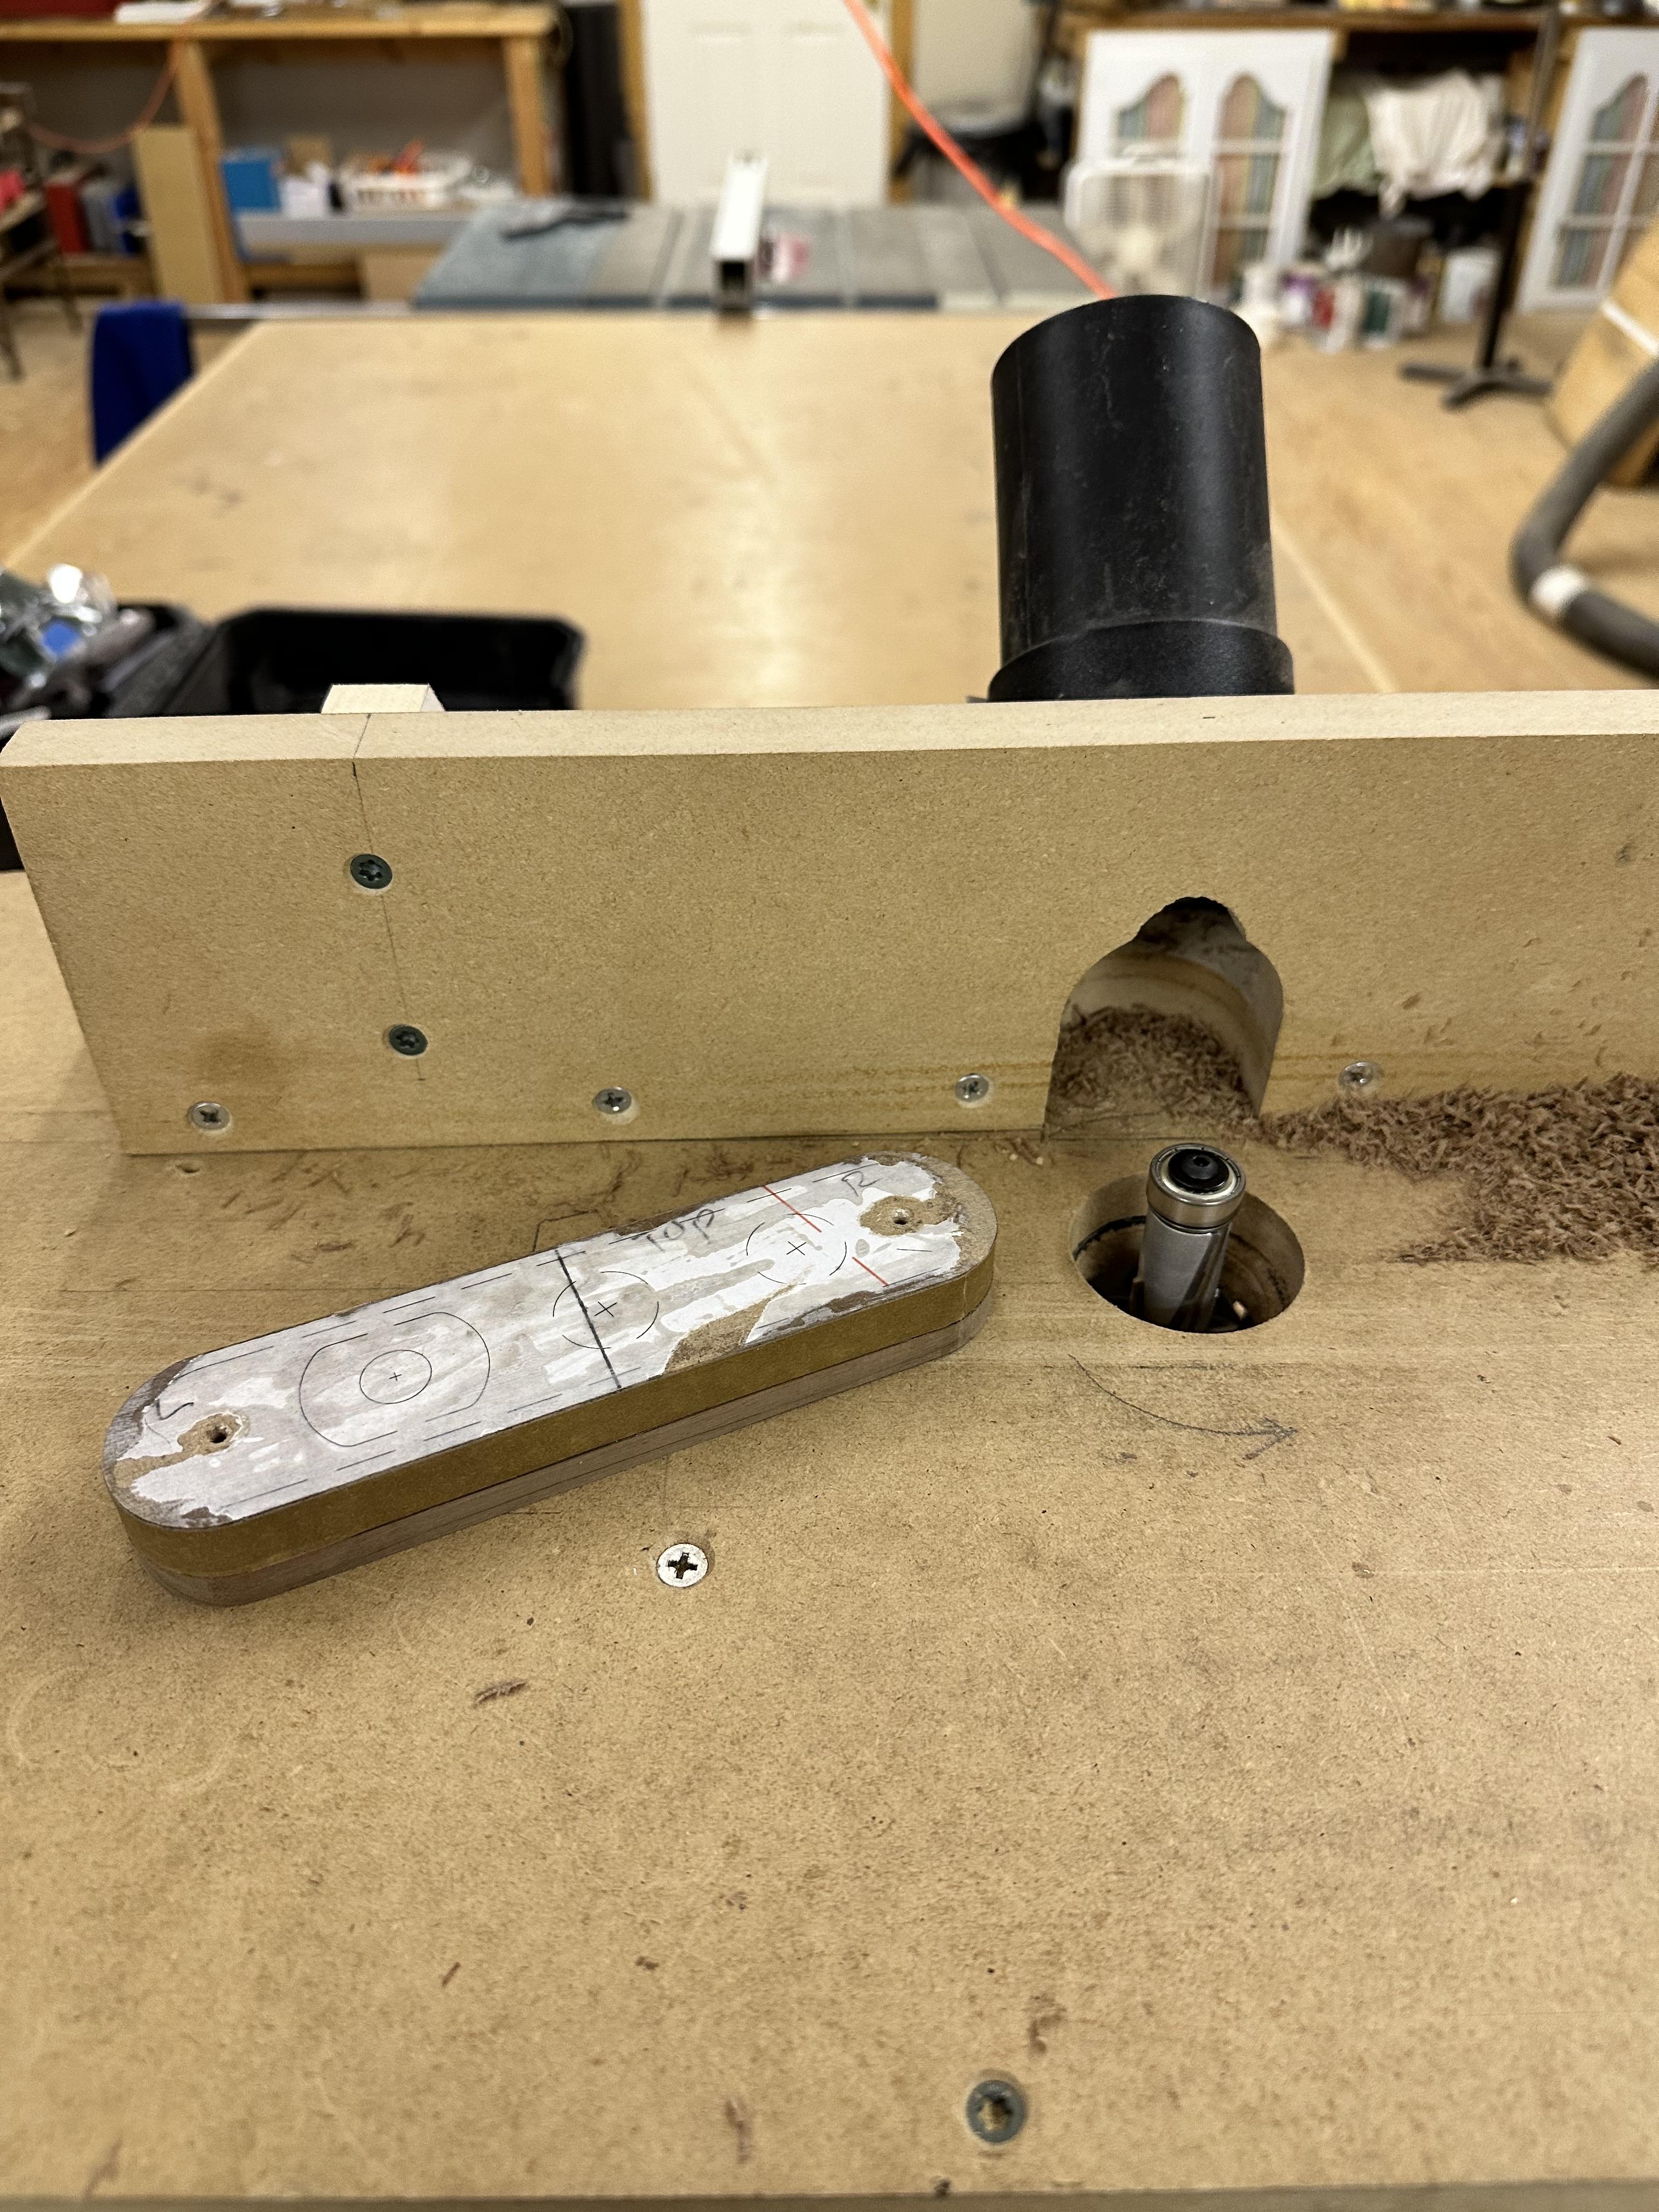
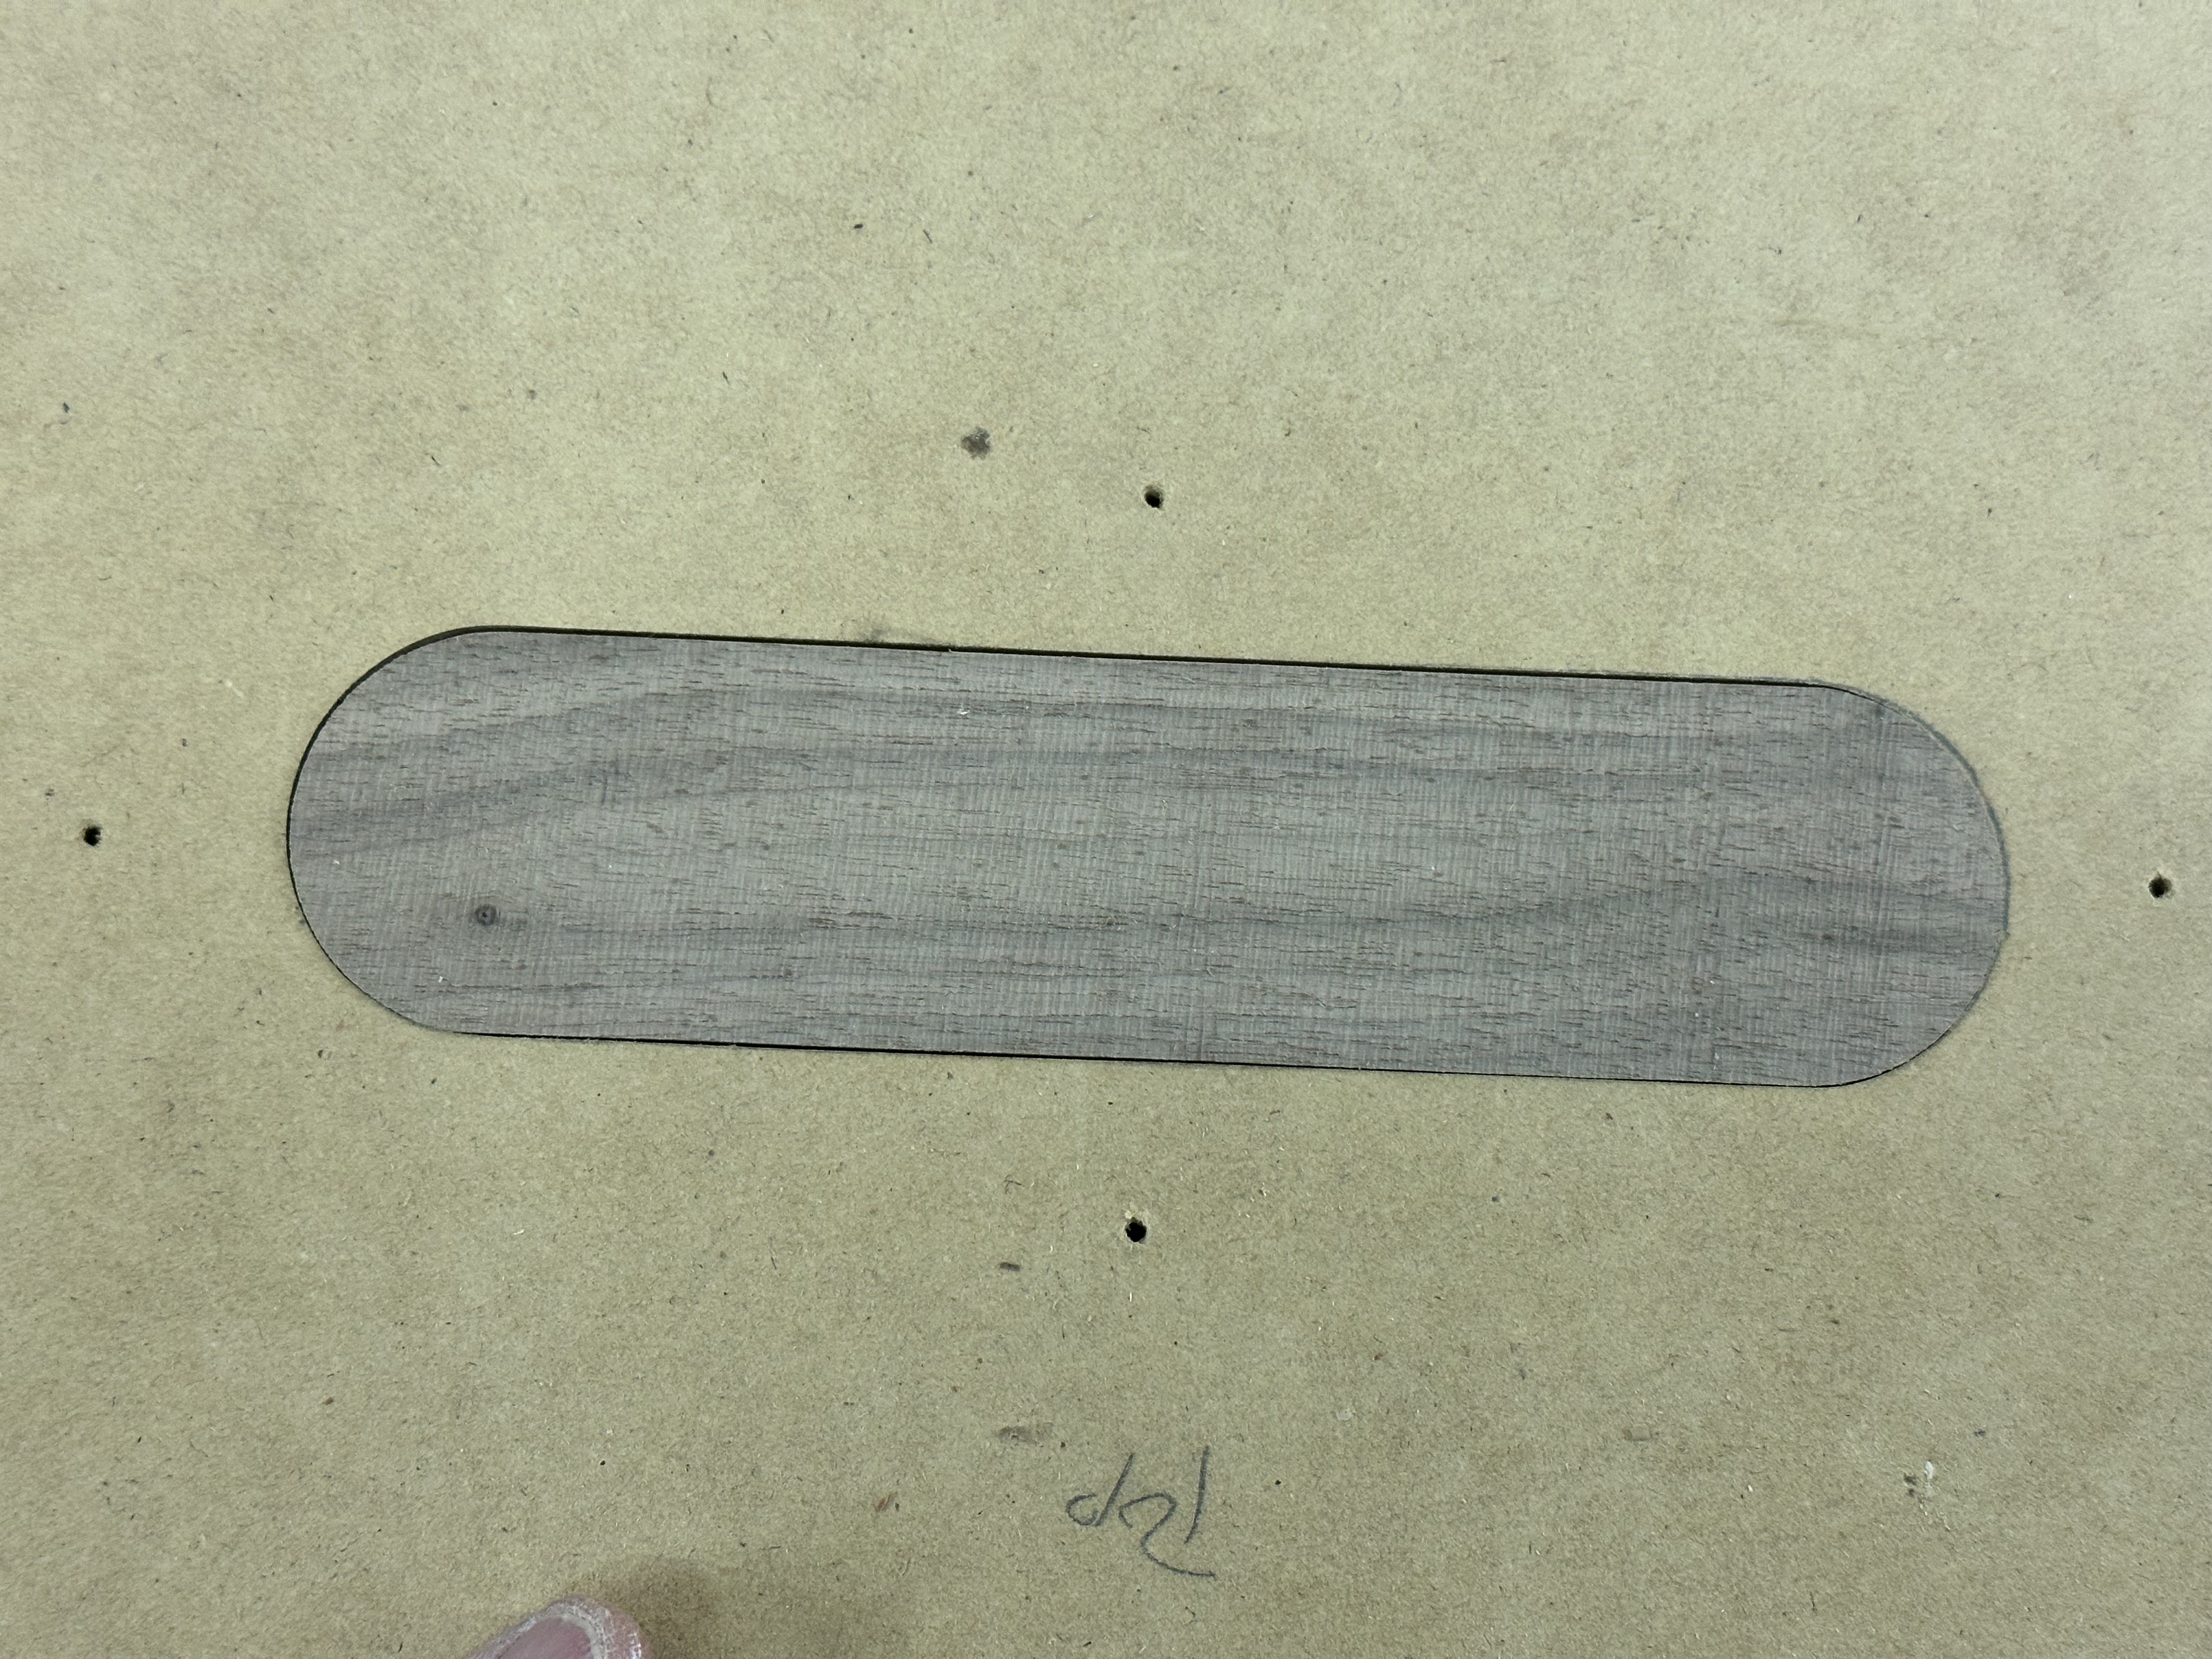
And here's the "Lost Epoxy" method I've landed on for making tight control cavity covers. Made a "positive" of the cover using a 32MM socket I had that has an exact OD of 1-1/2" for the rounded ends. Wrapped the edges in (4) layers of masking tape to create a 1/32" gap. Greased the tape edge with wax and put packing tape on the back.
Cut an oversize "negative" of the cutout, screwed in the "positive", and poured in some West System thickened with 404 structural fill. Now I have a perfectly matched Positive and Negative template for the cutouts. I've found out the hard way that the epoxy won't survive more than a couple template routes, so "Ive already made a clean "negative" out of MDF.
Now that I'm Back in Builder Mode, should be some more regular posts. A long way to go, but this is my Winter Build.