

Enjoy the benefits of a premium membership!
Upgrade Account
-
TalkBass has been independent since 1998. Add your voice.
Create a free account to reply to discussions, view embedded media, and browse with fewer display ads.
Join free Log in
Want zero display ads or expanded classifieds tools? Compare plans.
You are using an out of date browser. It may not display this or other websites correctly.
You should upgrade or use an alternative browser.
You should upgrade or use an alternative browser.
The Hossenfeffer IV Build
- Thread starter Gilmourisgod
- Start date
More options
Who Replied?
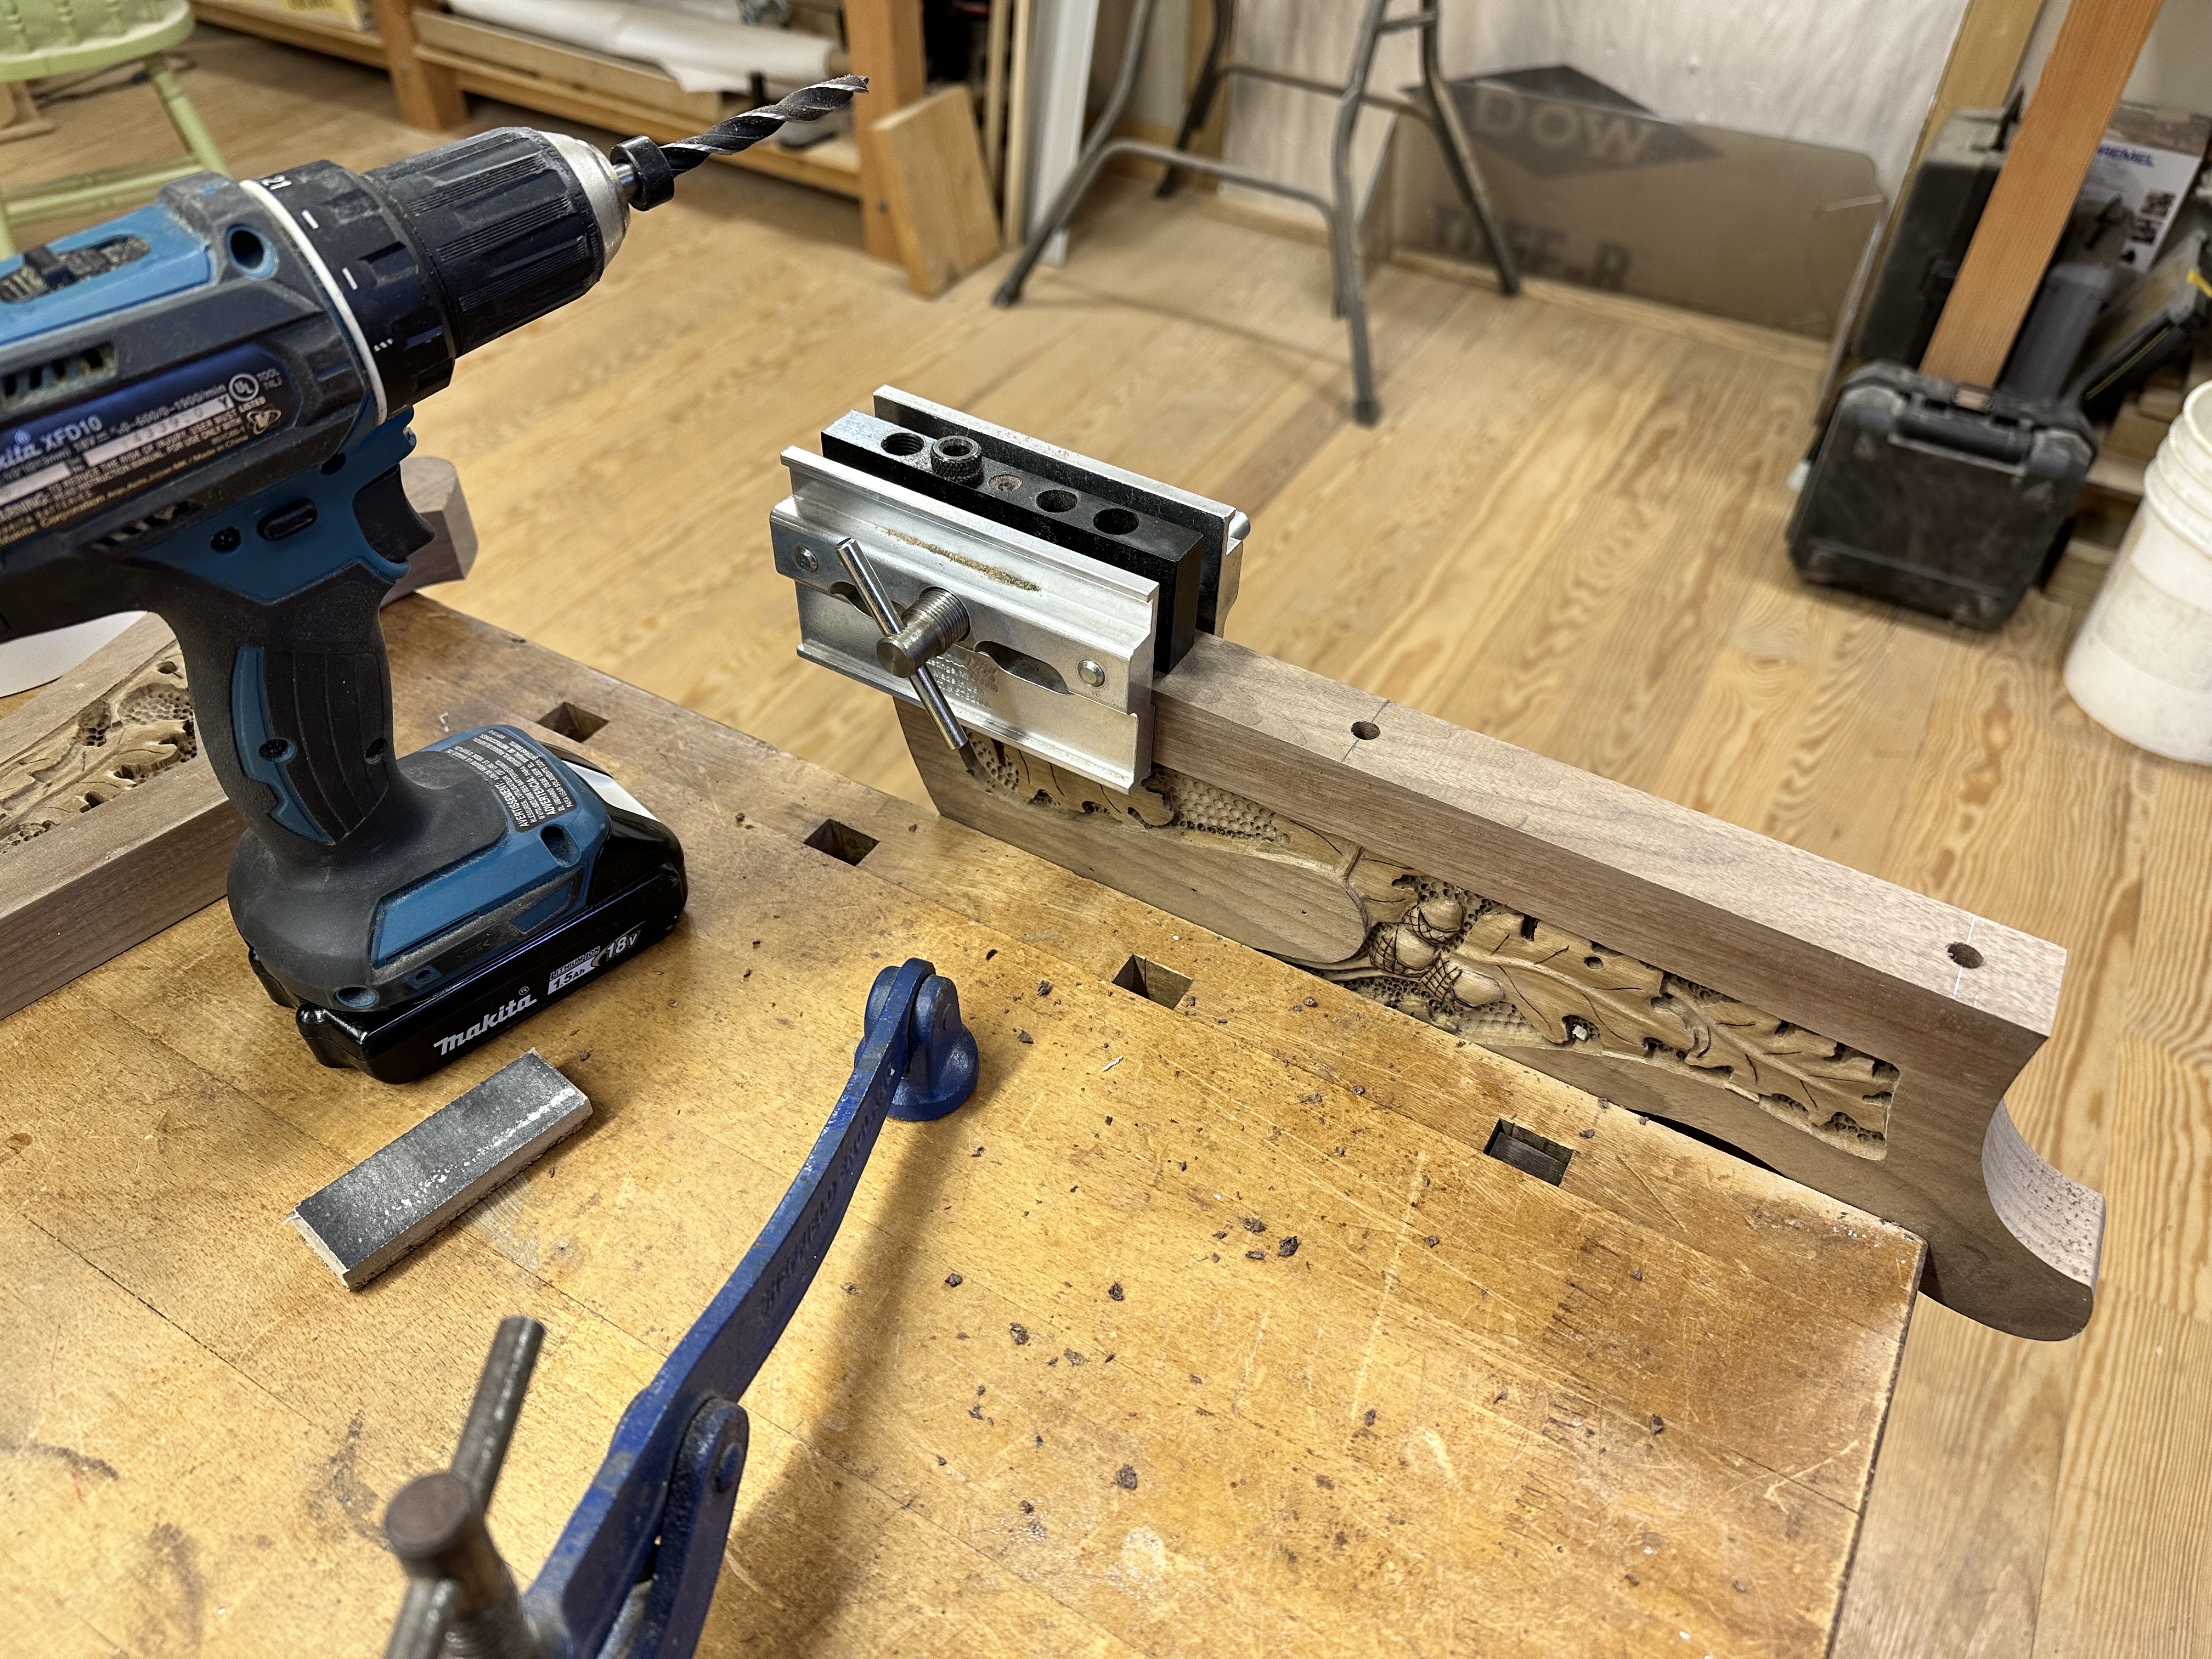
I forgot I owned this doweling jig for a couple years, love this thing. Steel drill guides in a few different sizes, centers everything perfectly square. I'm using 5/16" dowels to register the wings to neck beam.

Temporarily clamped up in my glue cauls to hog out and route the pickup cavities.
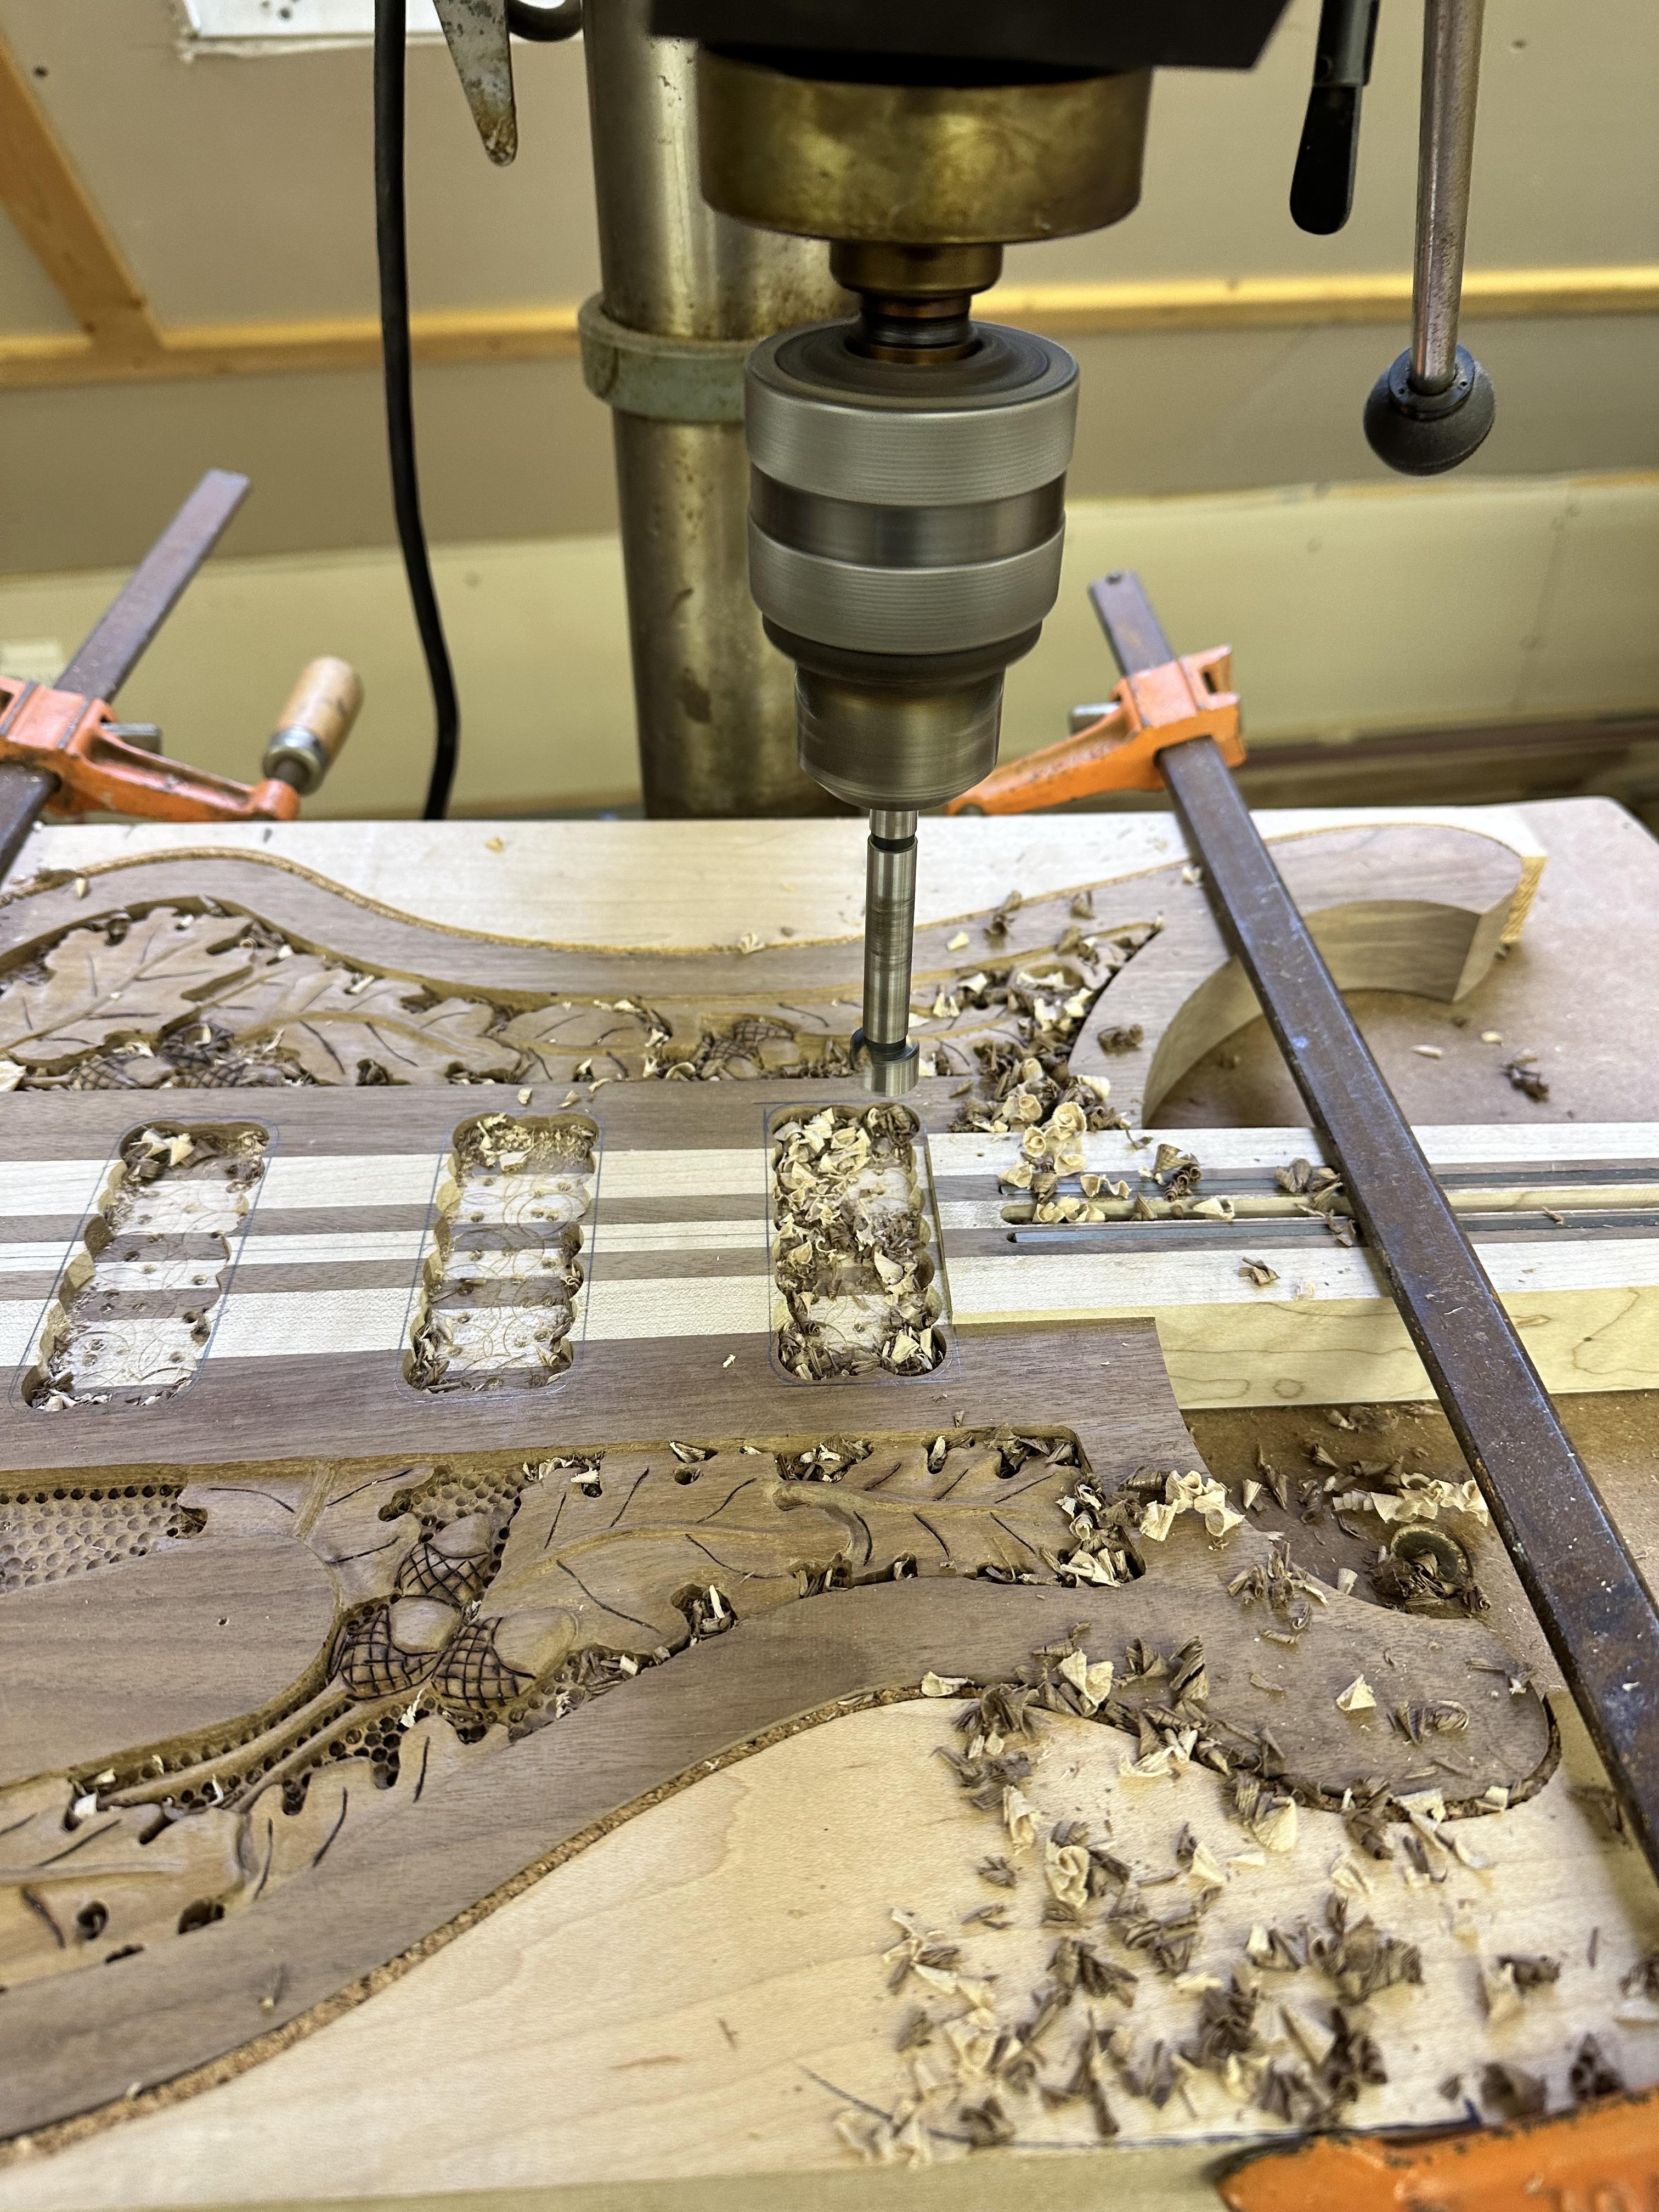
I'm pretty sure these will have to go deeper, but I want to keep them as shallow as possible, particularly at the neck pickup cavity. These are at 3/8" deep now, probably 1/2" deep by the time I'm done. Have to drill some wiring channels too. Next I have to cut the neck beam to length and fair in the curved end to the body wings. I have a template for that, gonna play it safe and Robosand it. Getting late in the day to deal with any router tearout. With that done, I can start binding the body wings and heasdstock. Some sanding to do too. the body wing curves have to be perfect, no dips or bumps, or the binding bit will just faithfully reproduce any glitches.

Temporarily clamped up in my glue cauls to hog out and route the pickup cavities.
I'm pretty sure these will have to go deeper, but I want to keep them as shallow as possible, particularly at the neck pickup cavity. These are at 3/8" deep now, probably 1/2" deep by the time I'm done. Have to drill some wiring channels too. Next I have to cut the neck beam to length and fair in the curved end to the body wings. I have a template for that, gonna play it safe and Robosand it. Getting late in the day to deal with any router tearout. With that done, I can start binding the body wings and heasdstock. Some sanding to do too. the body wing curves have to be perfect, no dips or bumps, or the binding bit will just faithfully reproduce any glitches.

Route the side of your neck beam for your wiring channel. That way, the only scary drilling is between the control cavity and the neck.
You can even make the route go all the way to the bridge for the ground wire...
You can even make the route go all the way to the bridge for the ground wire...
That’s how I did it on the last Ric clone, it was a bit of a PITA getting the wire through, but maybe a bigger notch would do. I’d probably lose that center dowel, no biggie. A 1/4” channel might do it.
Finally got back to this after a couple weeks of Kitchen renovations, wherein I pretended I know how to tile a backsplash. Looks great if you squint a little.
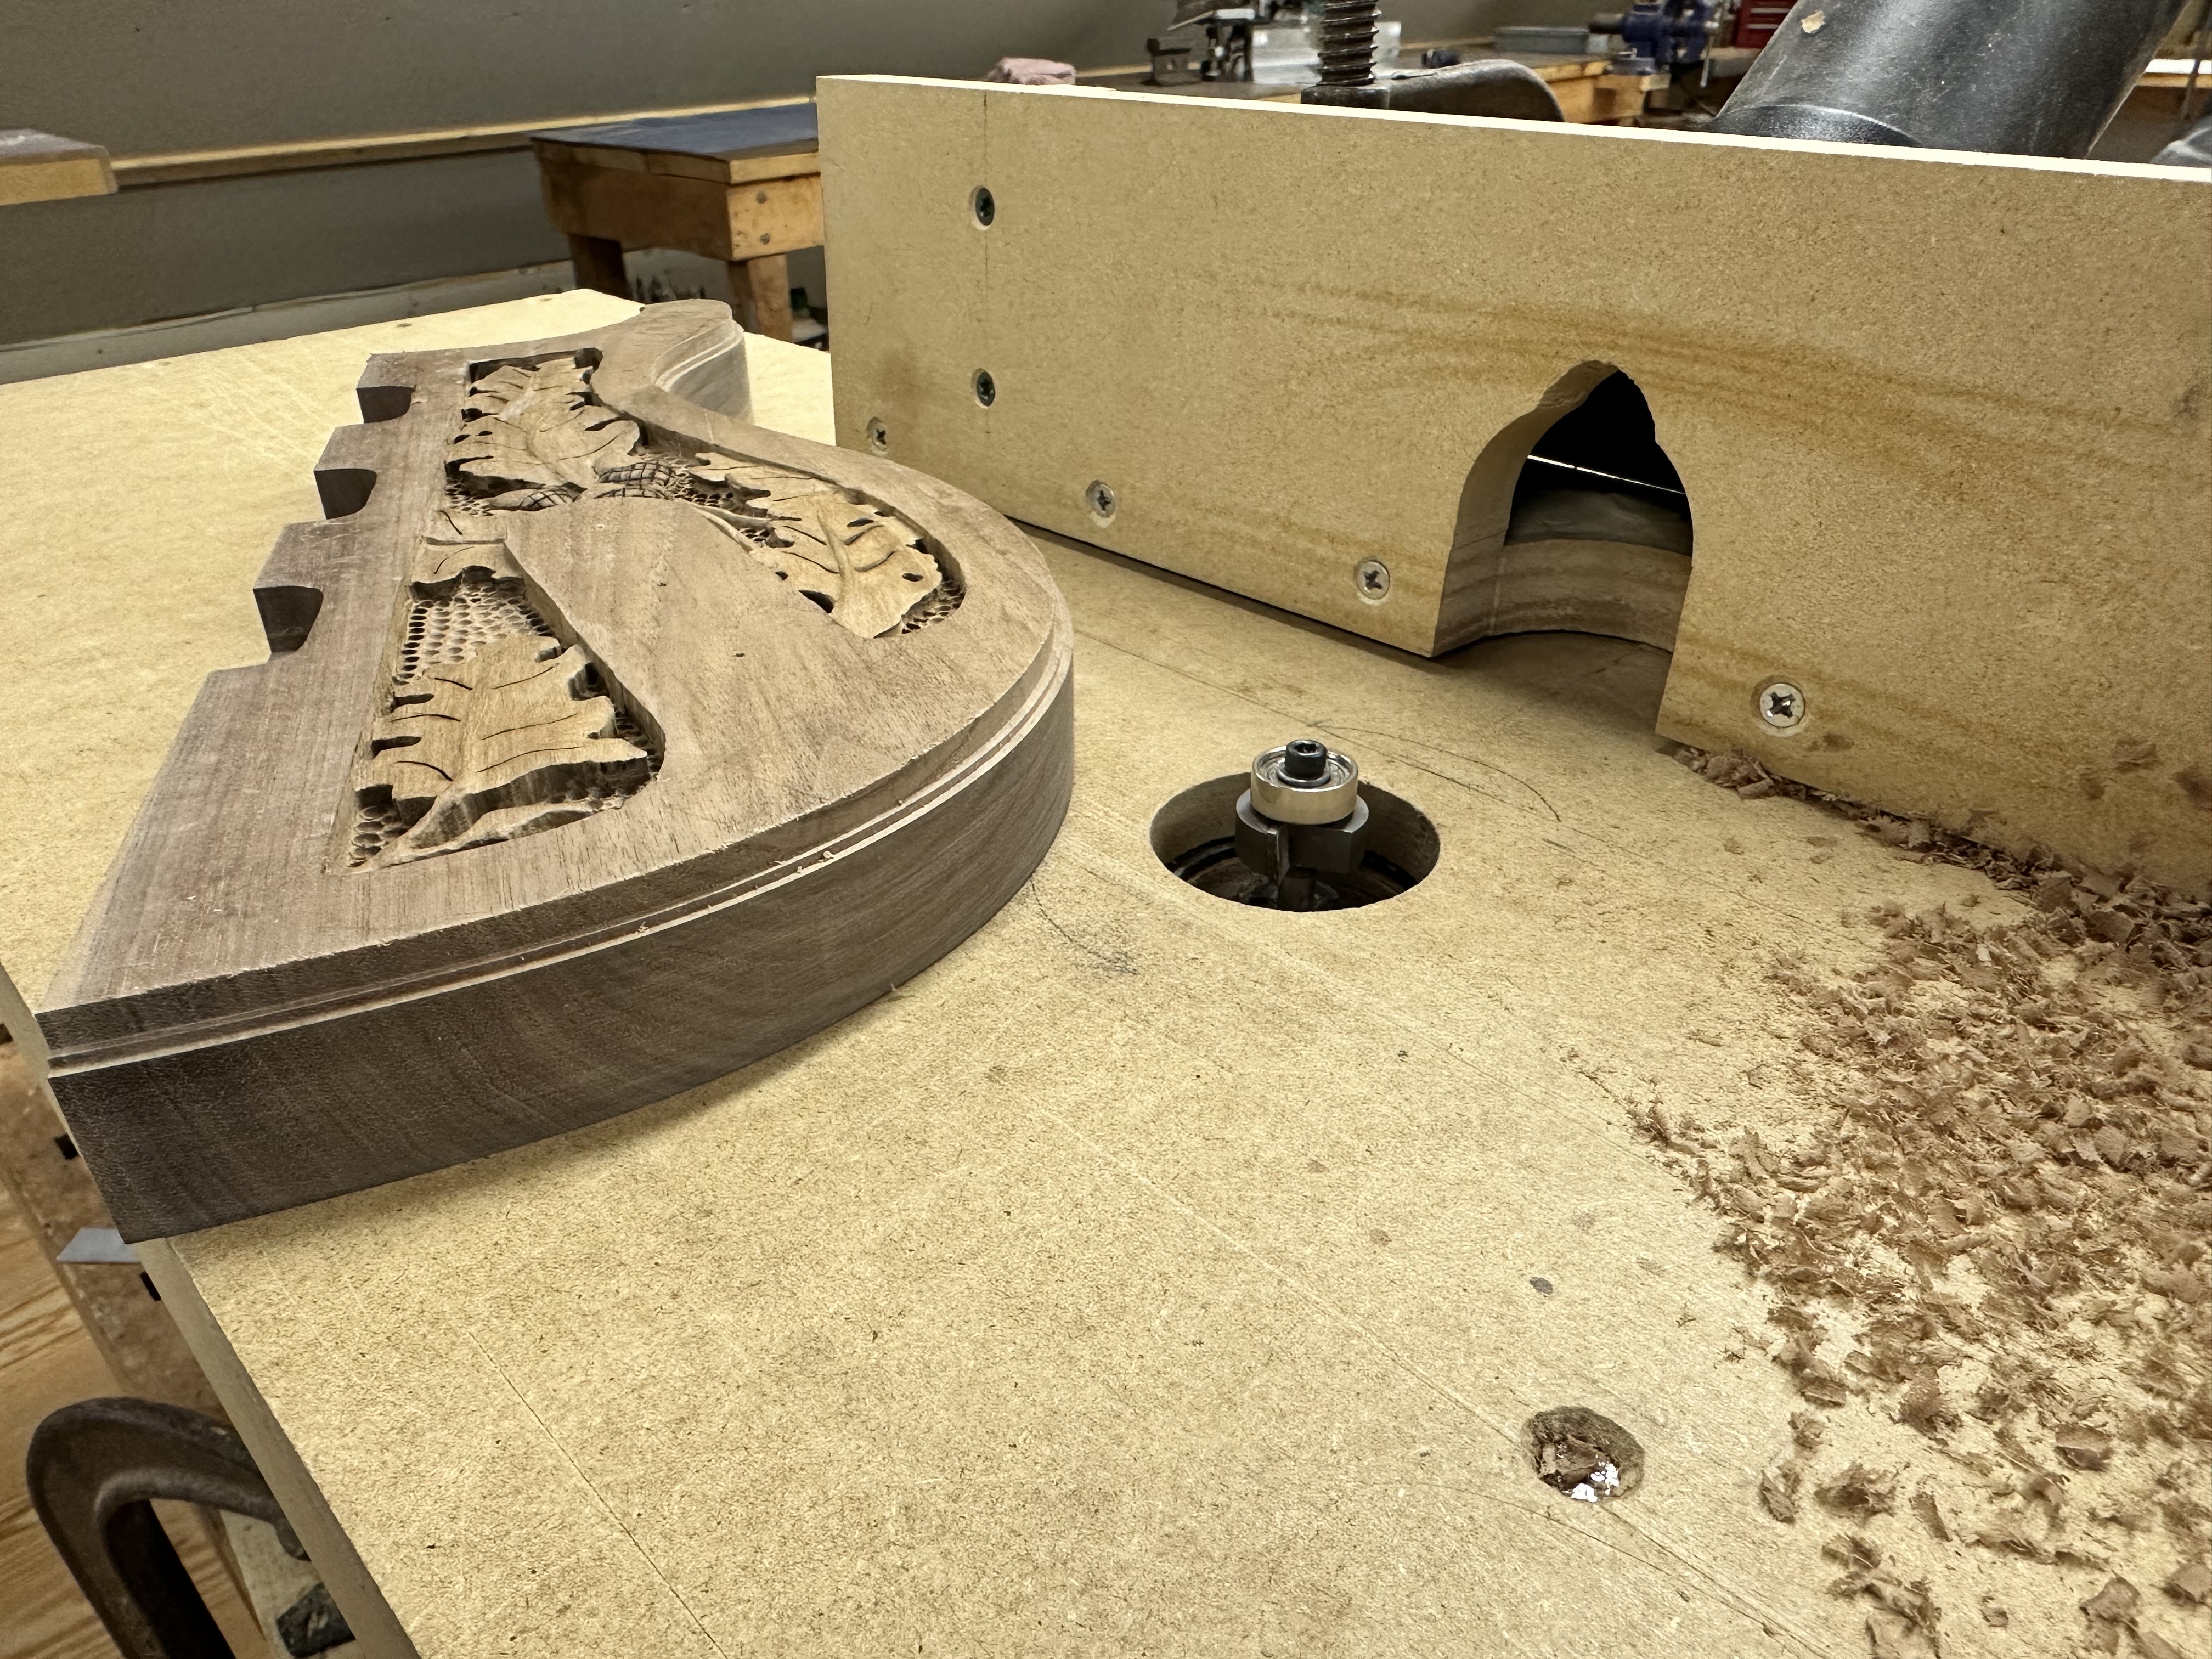
I bitch and moan about Stewmac pricing, but these binding cutters are the Bomb. The checker binding requires a two-step ledge, one at .060" and one at .120", and these do a very clean job. I had one tiny chip-out along the sharp body wing edge, should be able to fill it pretty easily.
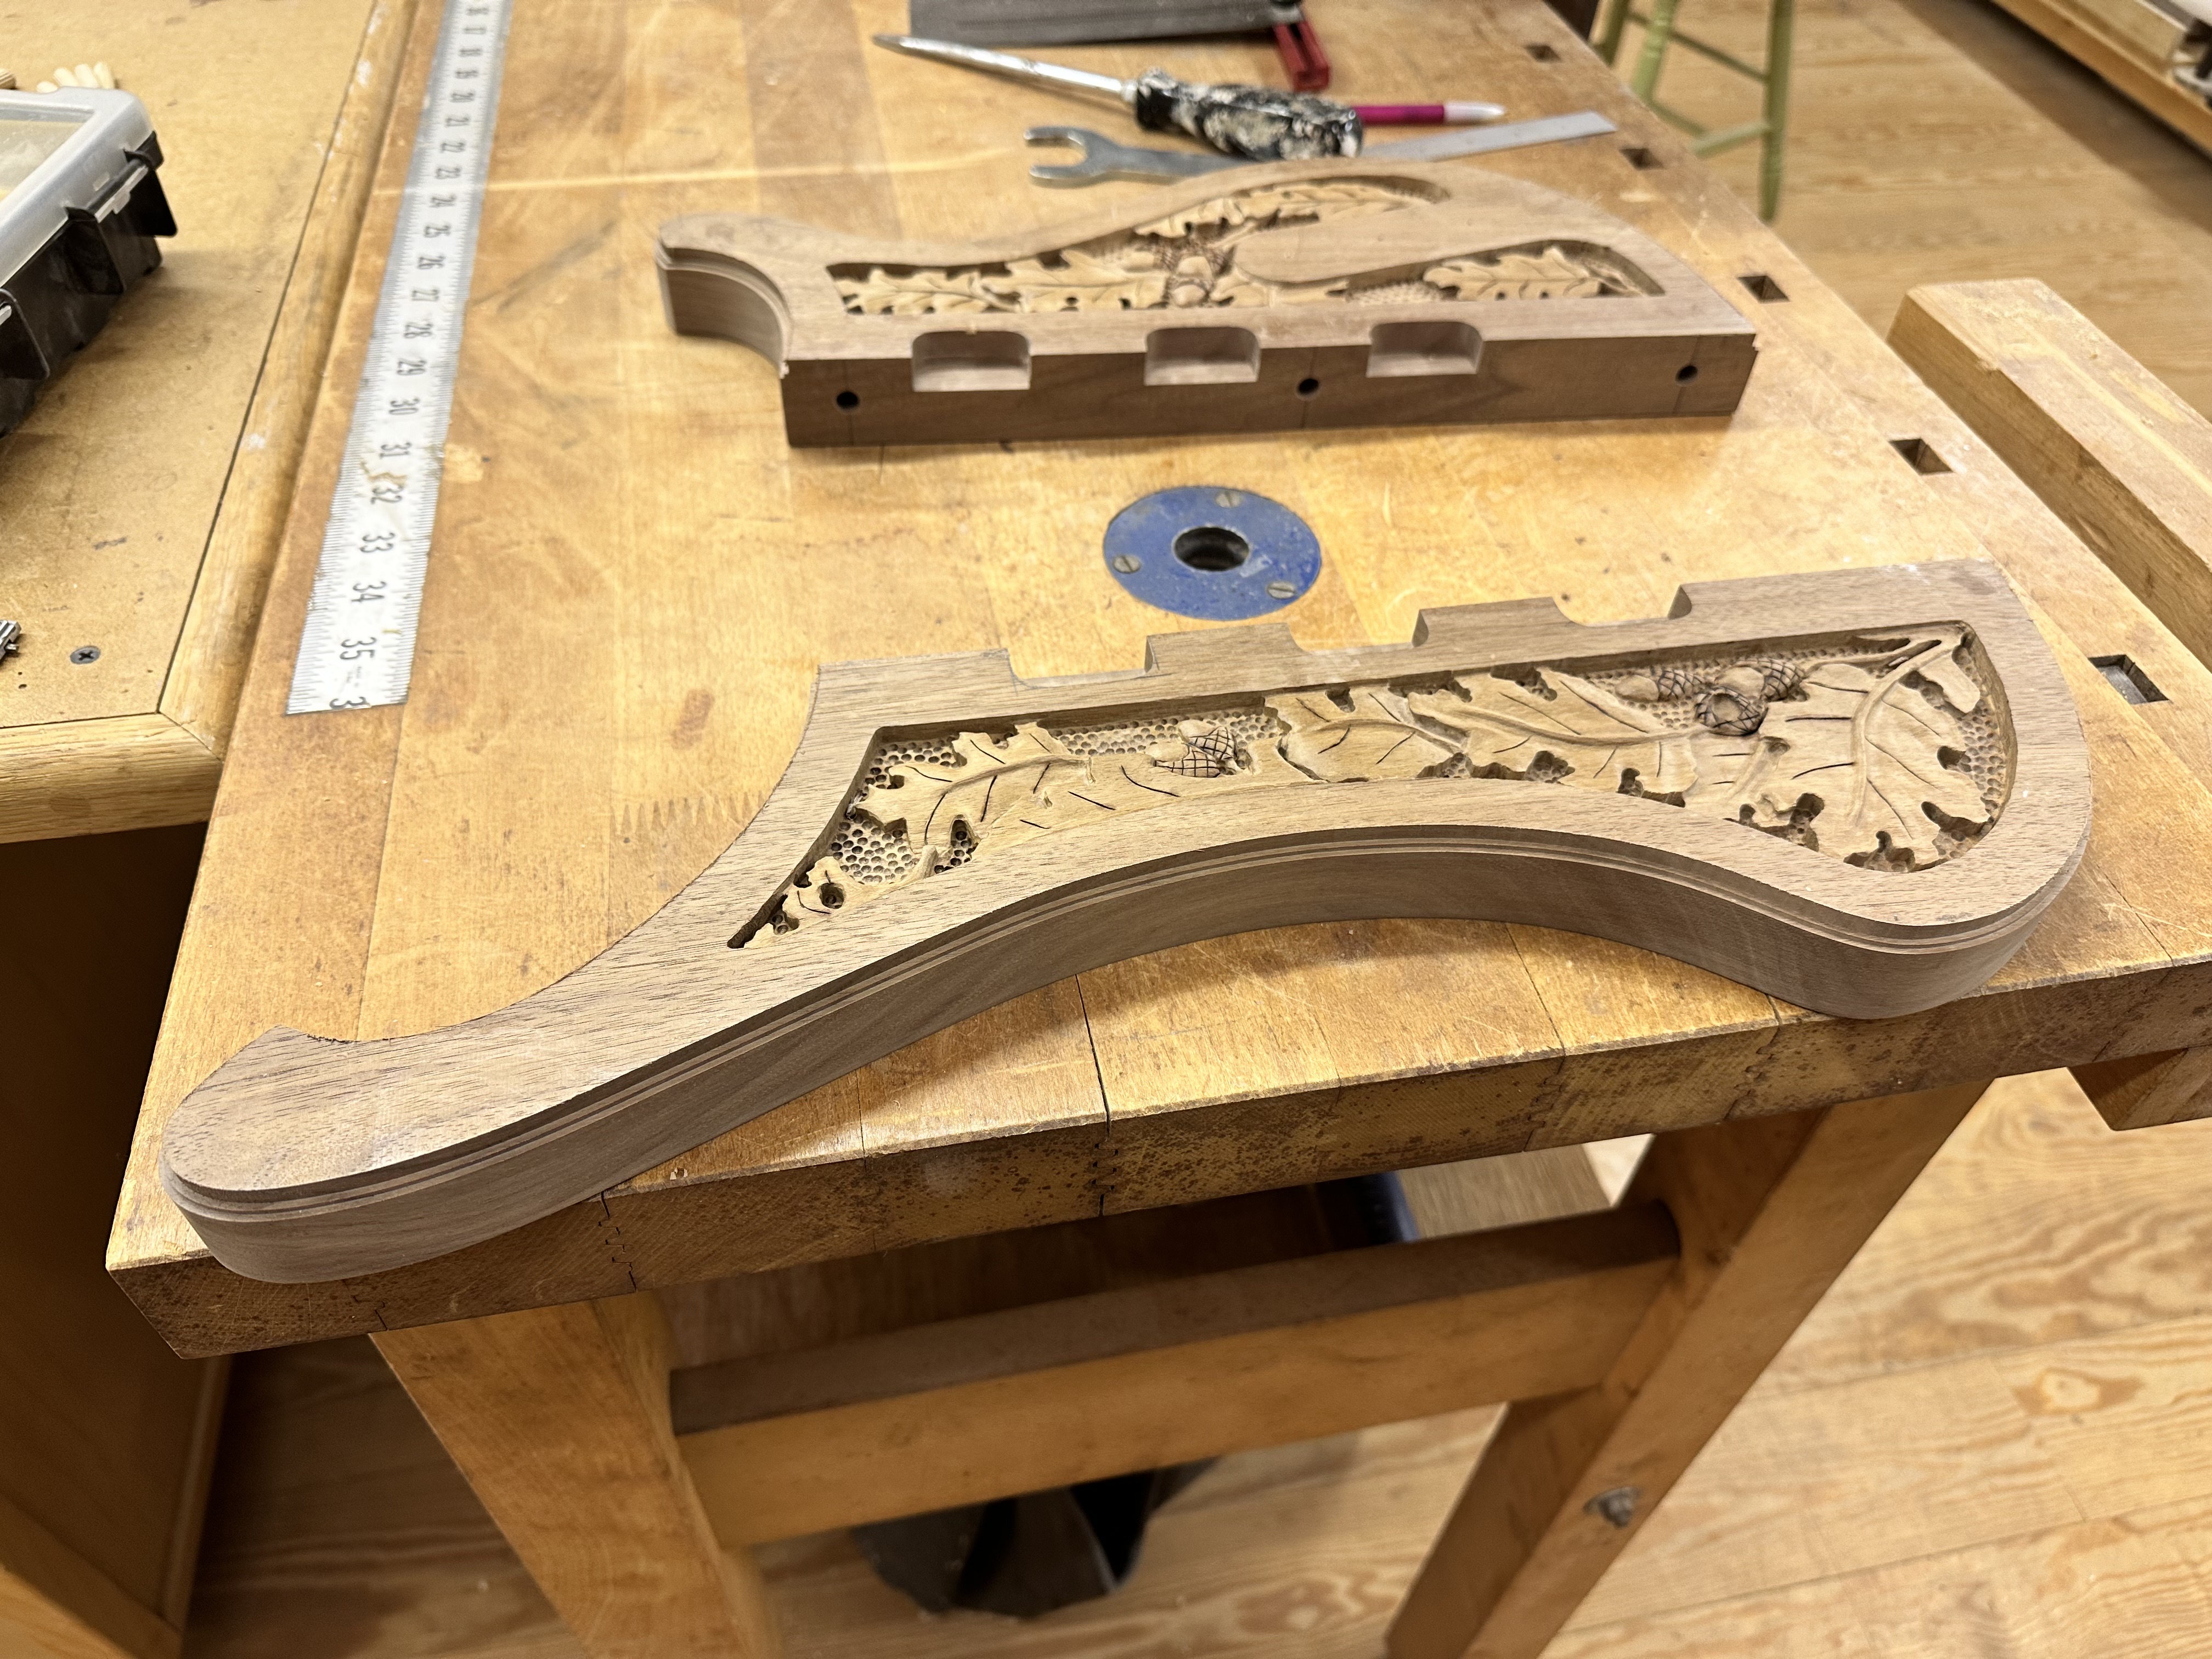
And then the headstock, this one just gets a single .060" ledge all around. The headstock binding continues right along the neck until it meets the binding on the fingerboard.
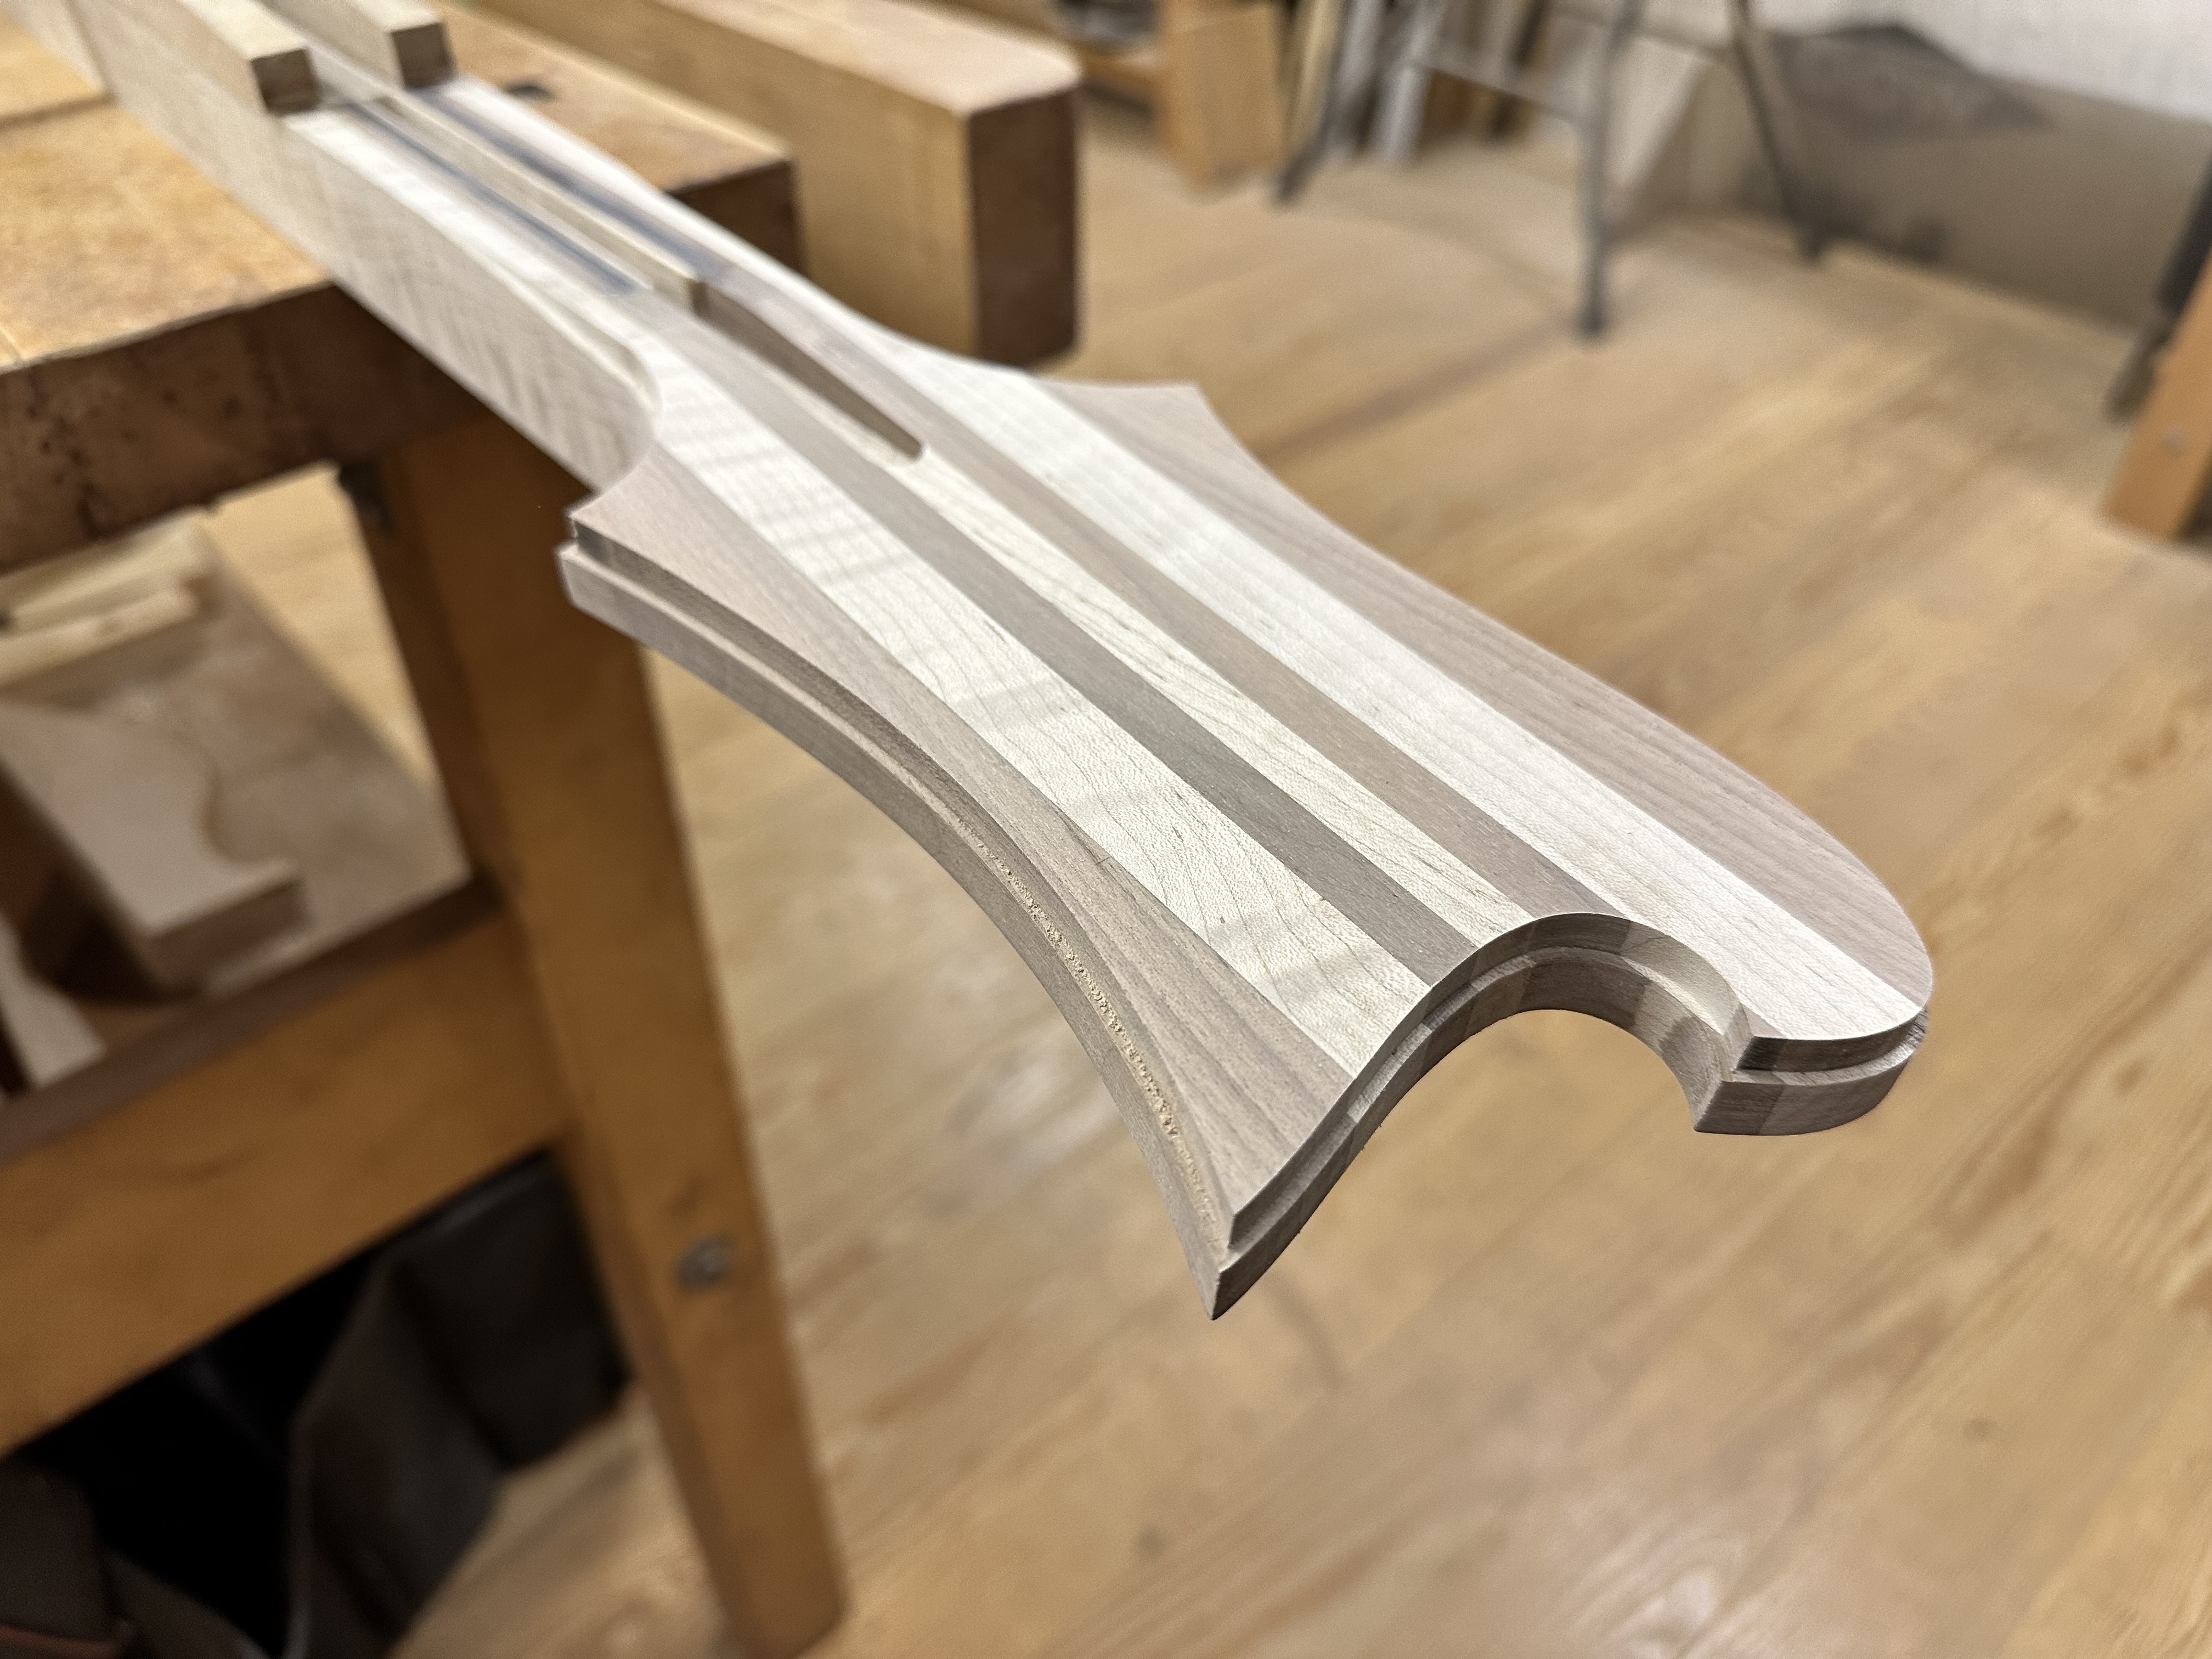
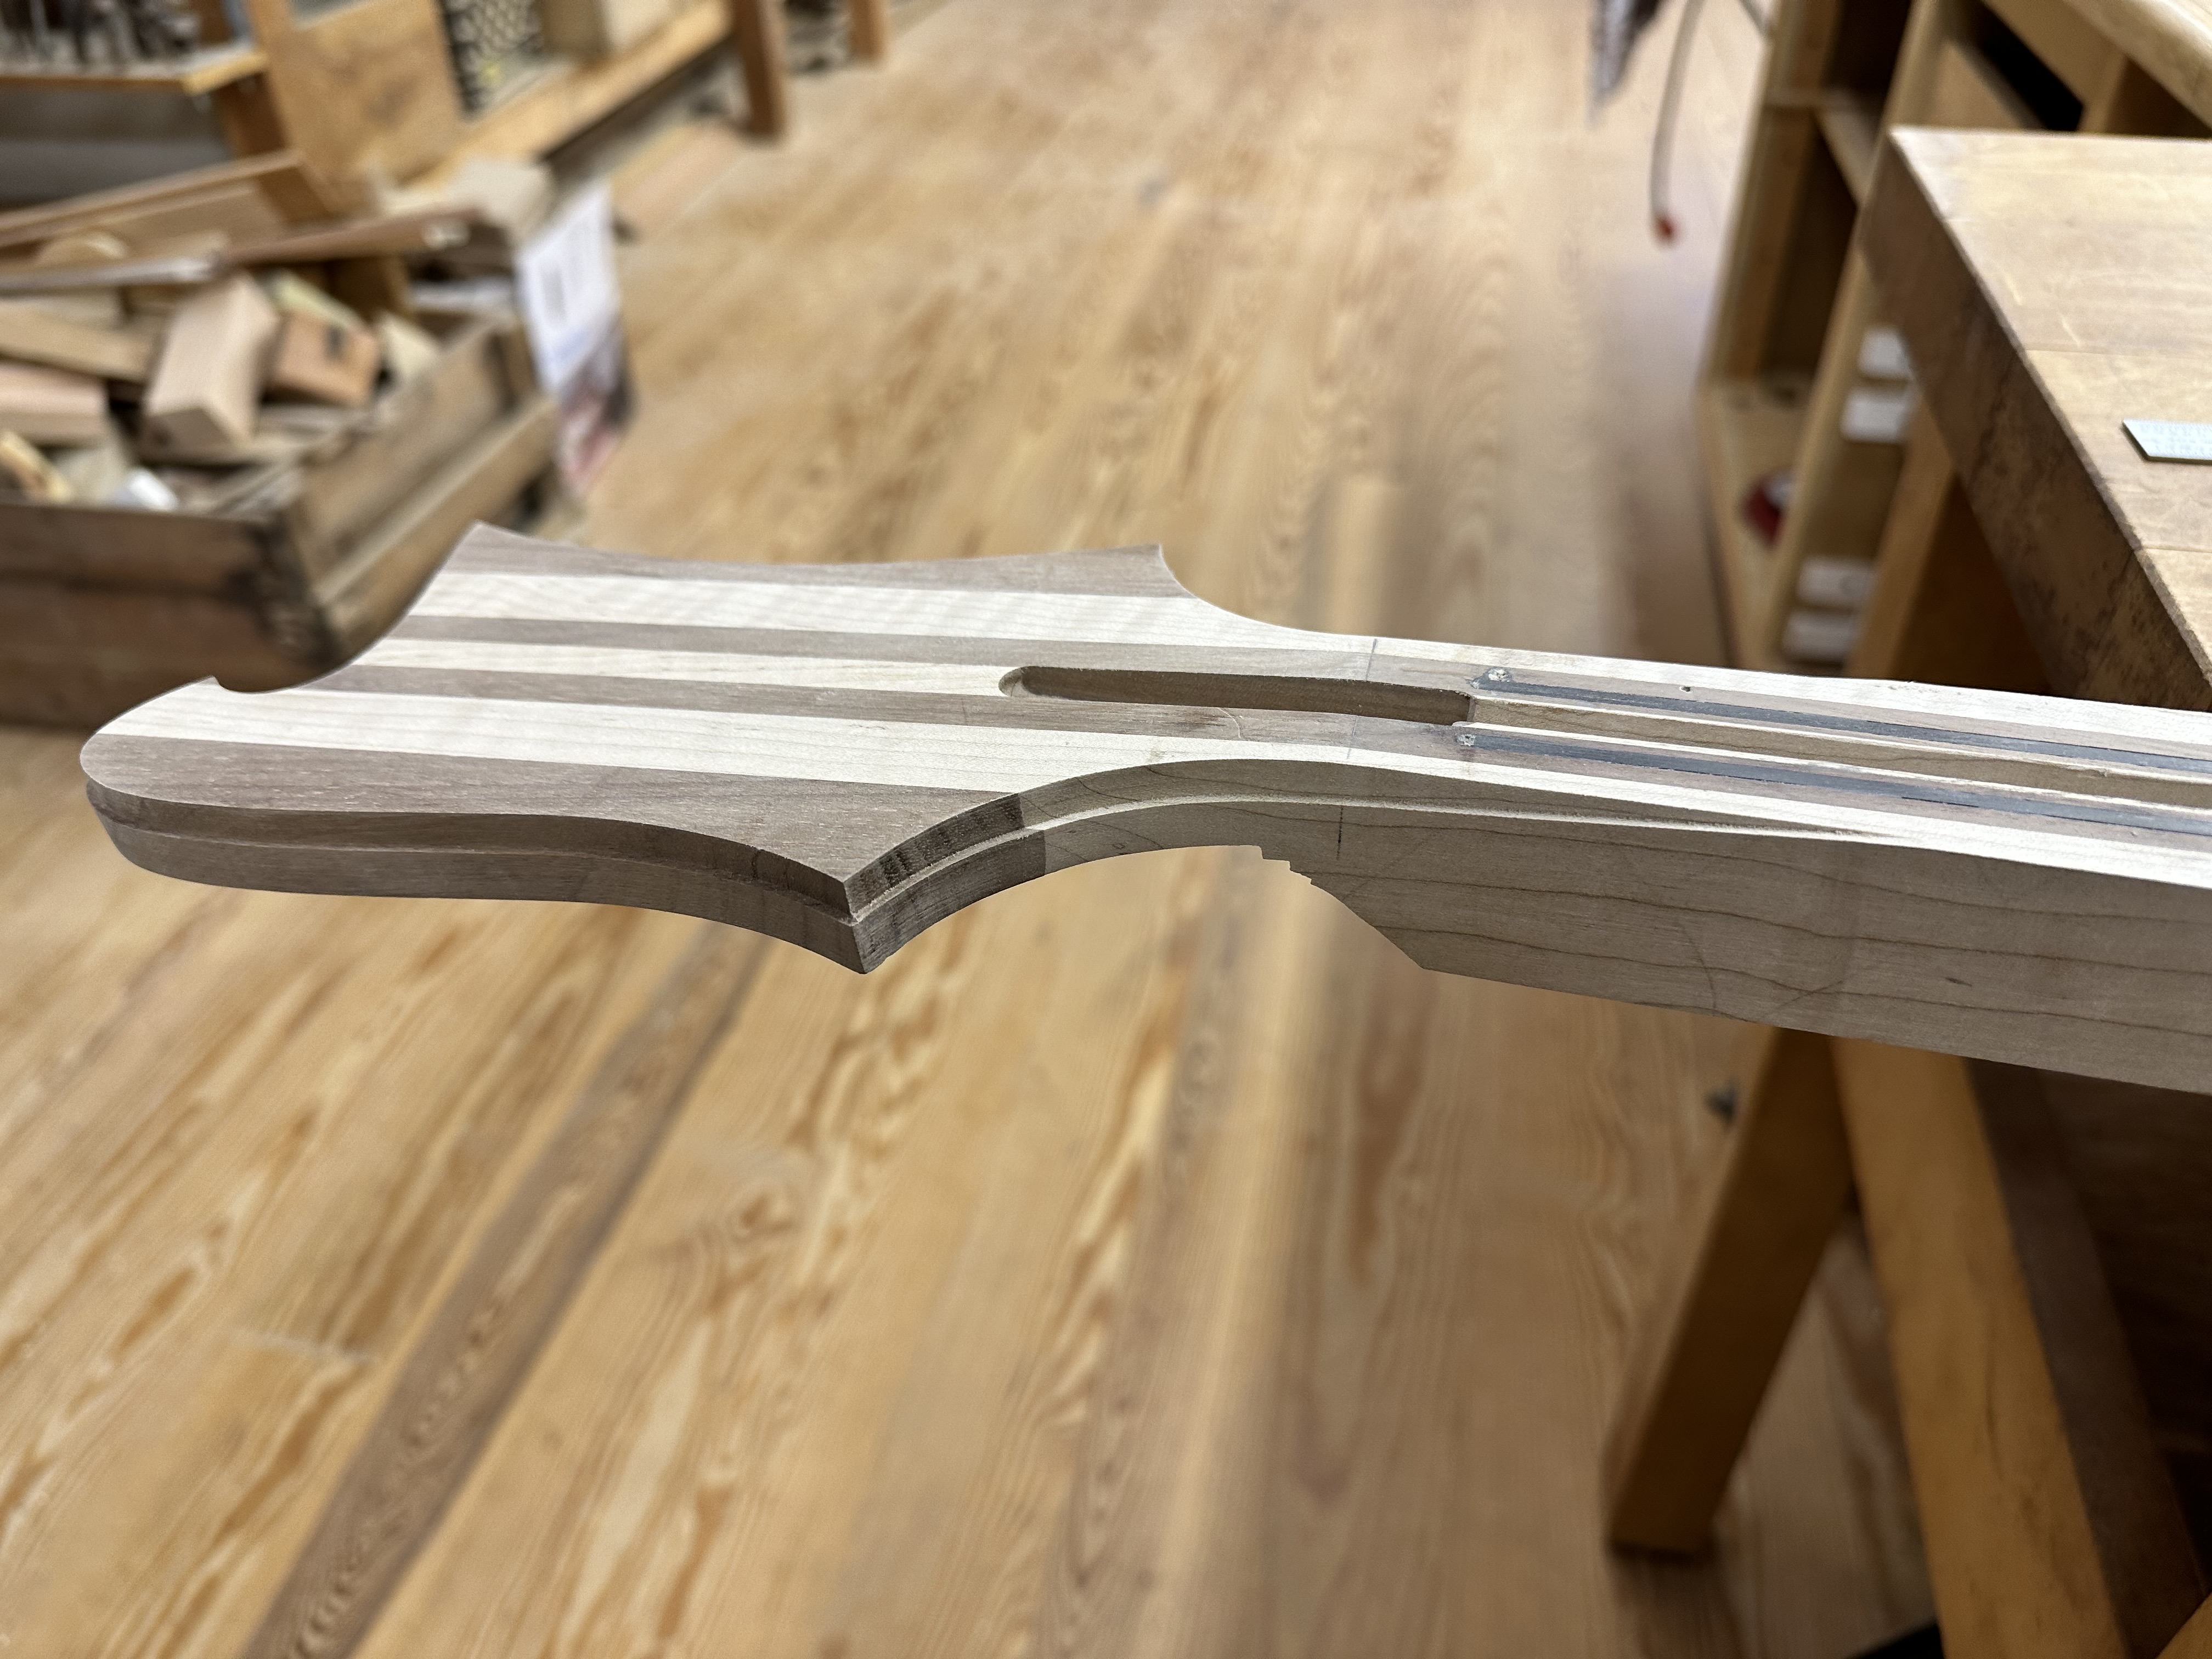
I seem to do this differently every time, but it's working pretty well on the headstock. I only destroyed one piece of binding when I decided it would be a good idea to sand one edge on my belt sander, and it friggin IGNITED. This stuff is true celluloid, and highly flammable! Very exciting, wish I had a film of me doing the Hotfoot dance trying to put it out. I got the Checker and white celluloid binding from a place called Winfield Vintage. I stupidly used most of my "correct" white Winfield binding (which is actually sort of "parchment" colored) to bind the fingerboard, assuming I could get more matching white for the body. WRONG. They are backordered on it for at least months. I have just enough of the Winfield stuff to finish the headstock, so at least the headstock and fingerboard will match perfectly. I set the binding for 1/4" reveal, which leaves it about 1/16" proud, I'll scrape and sand it flush (carefully!) later.
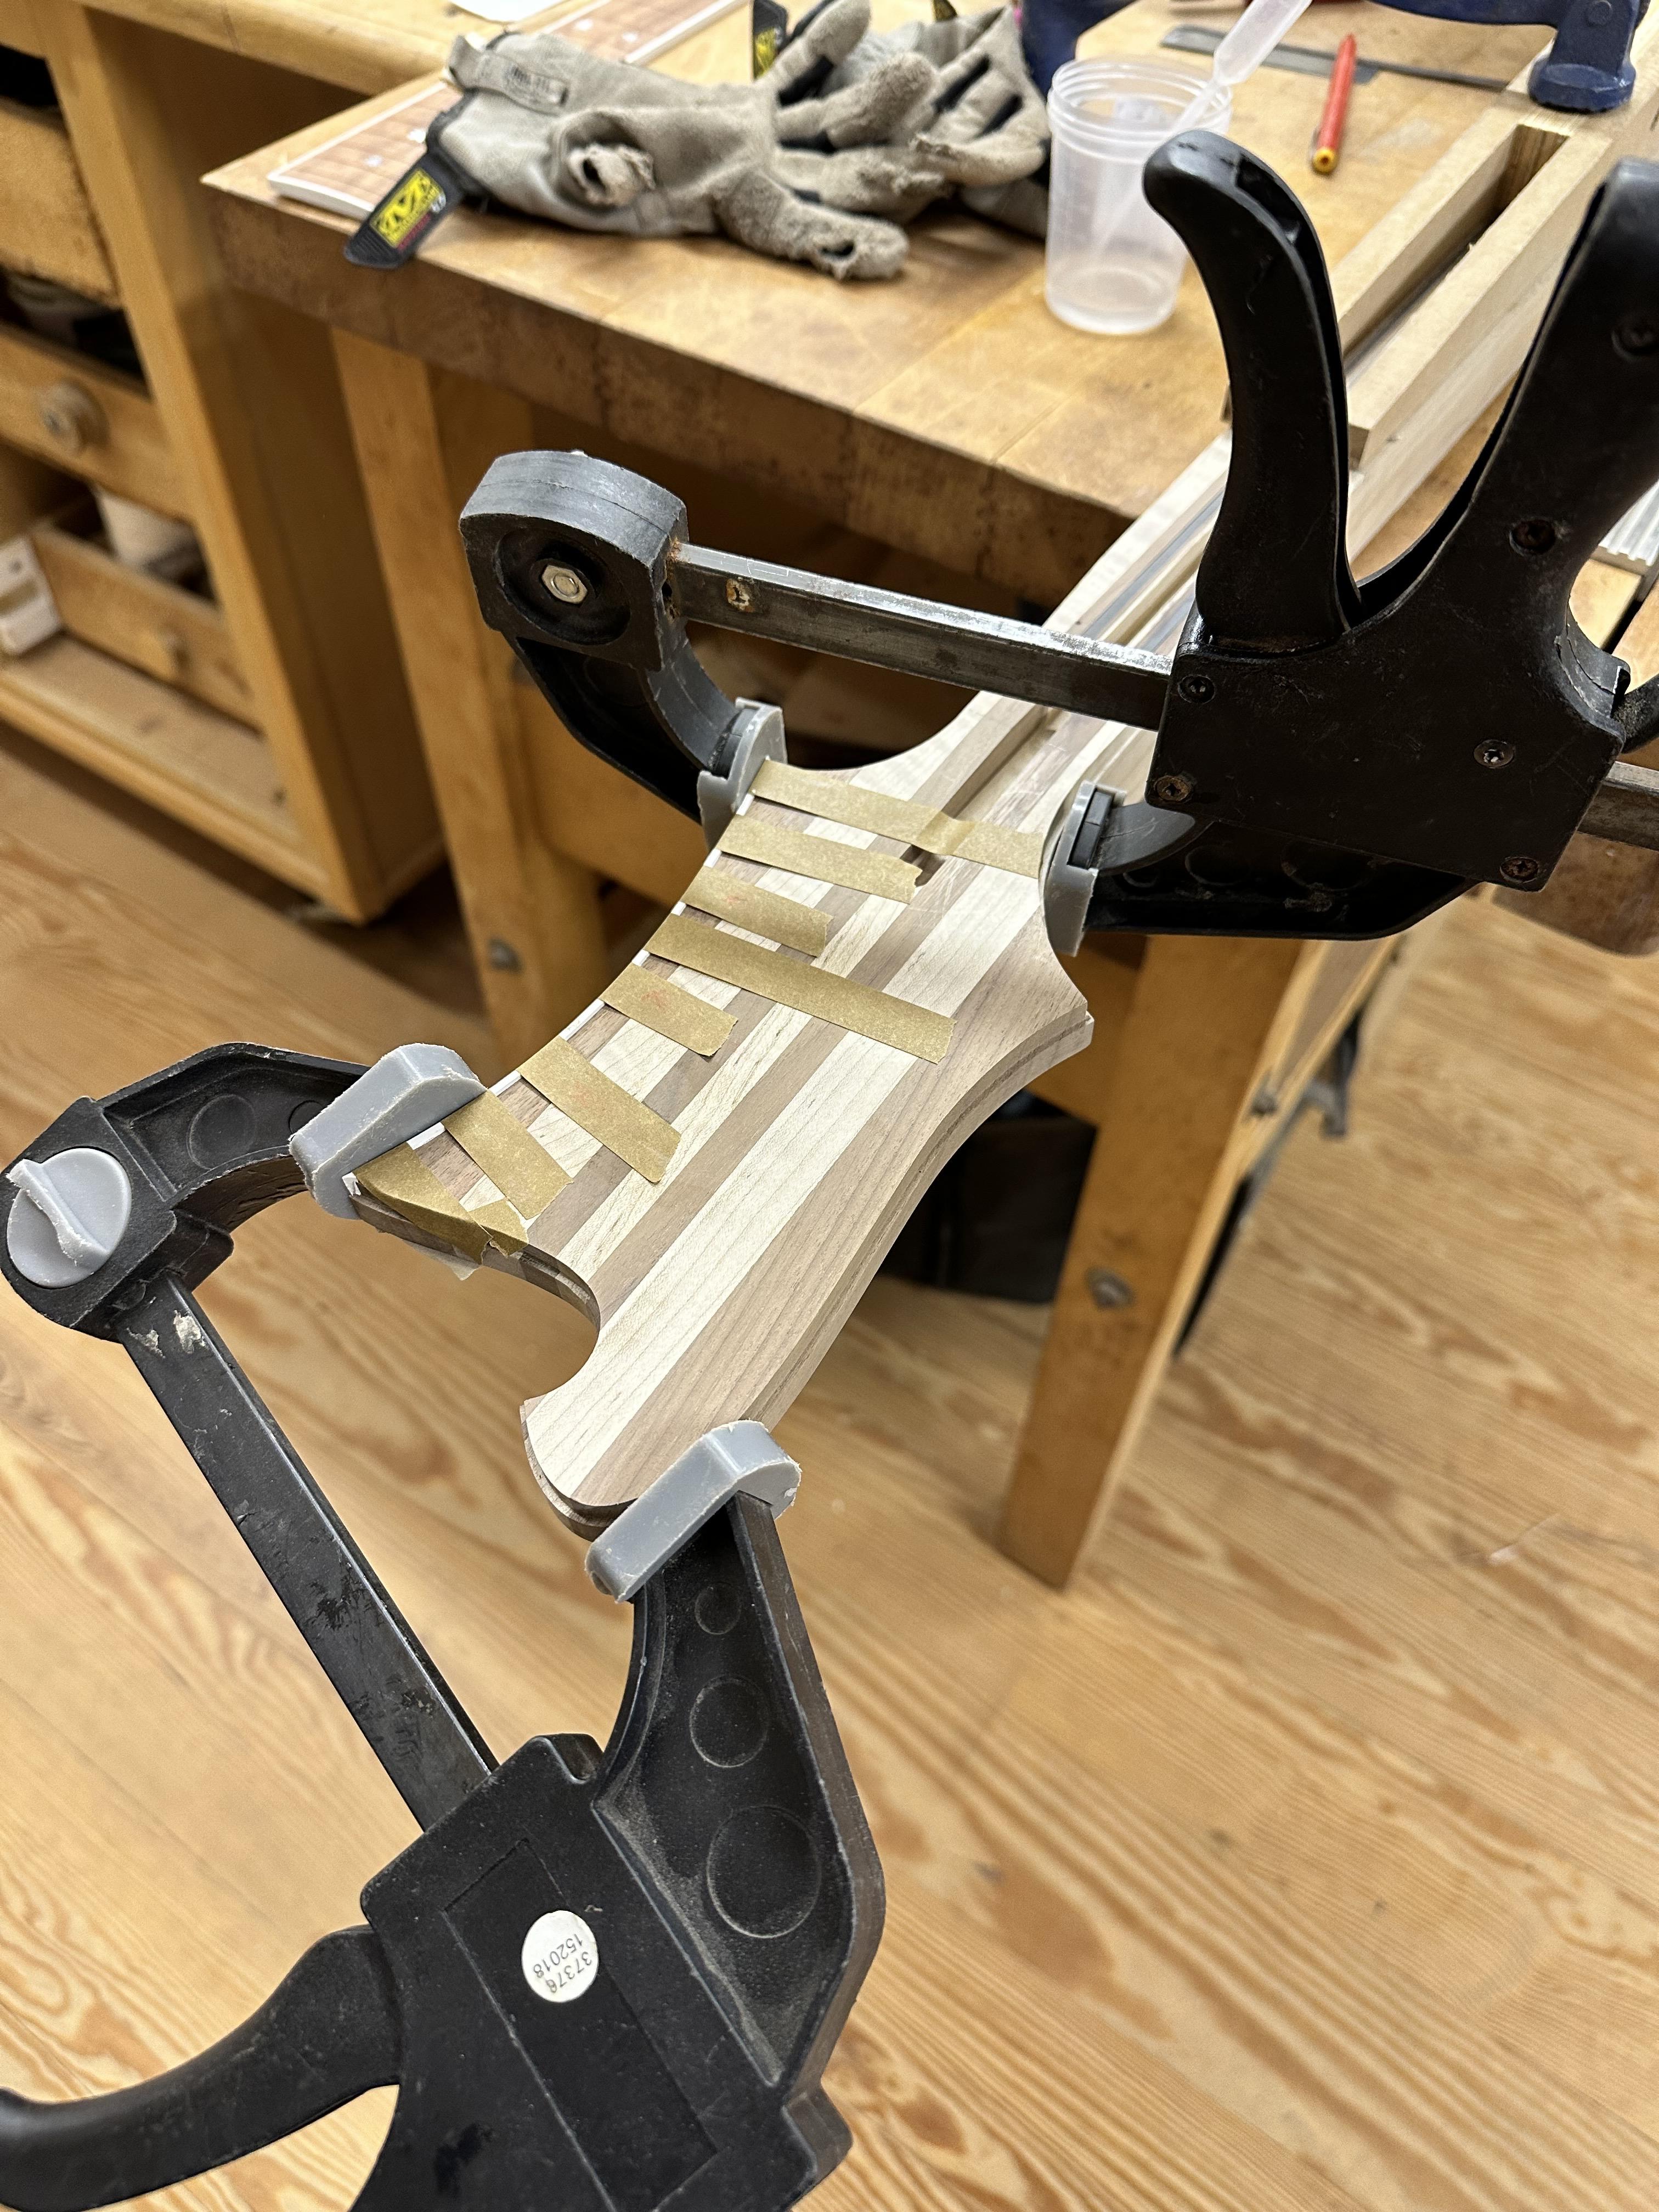
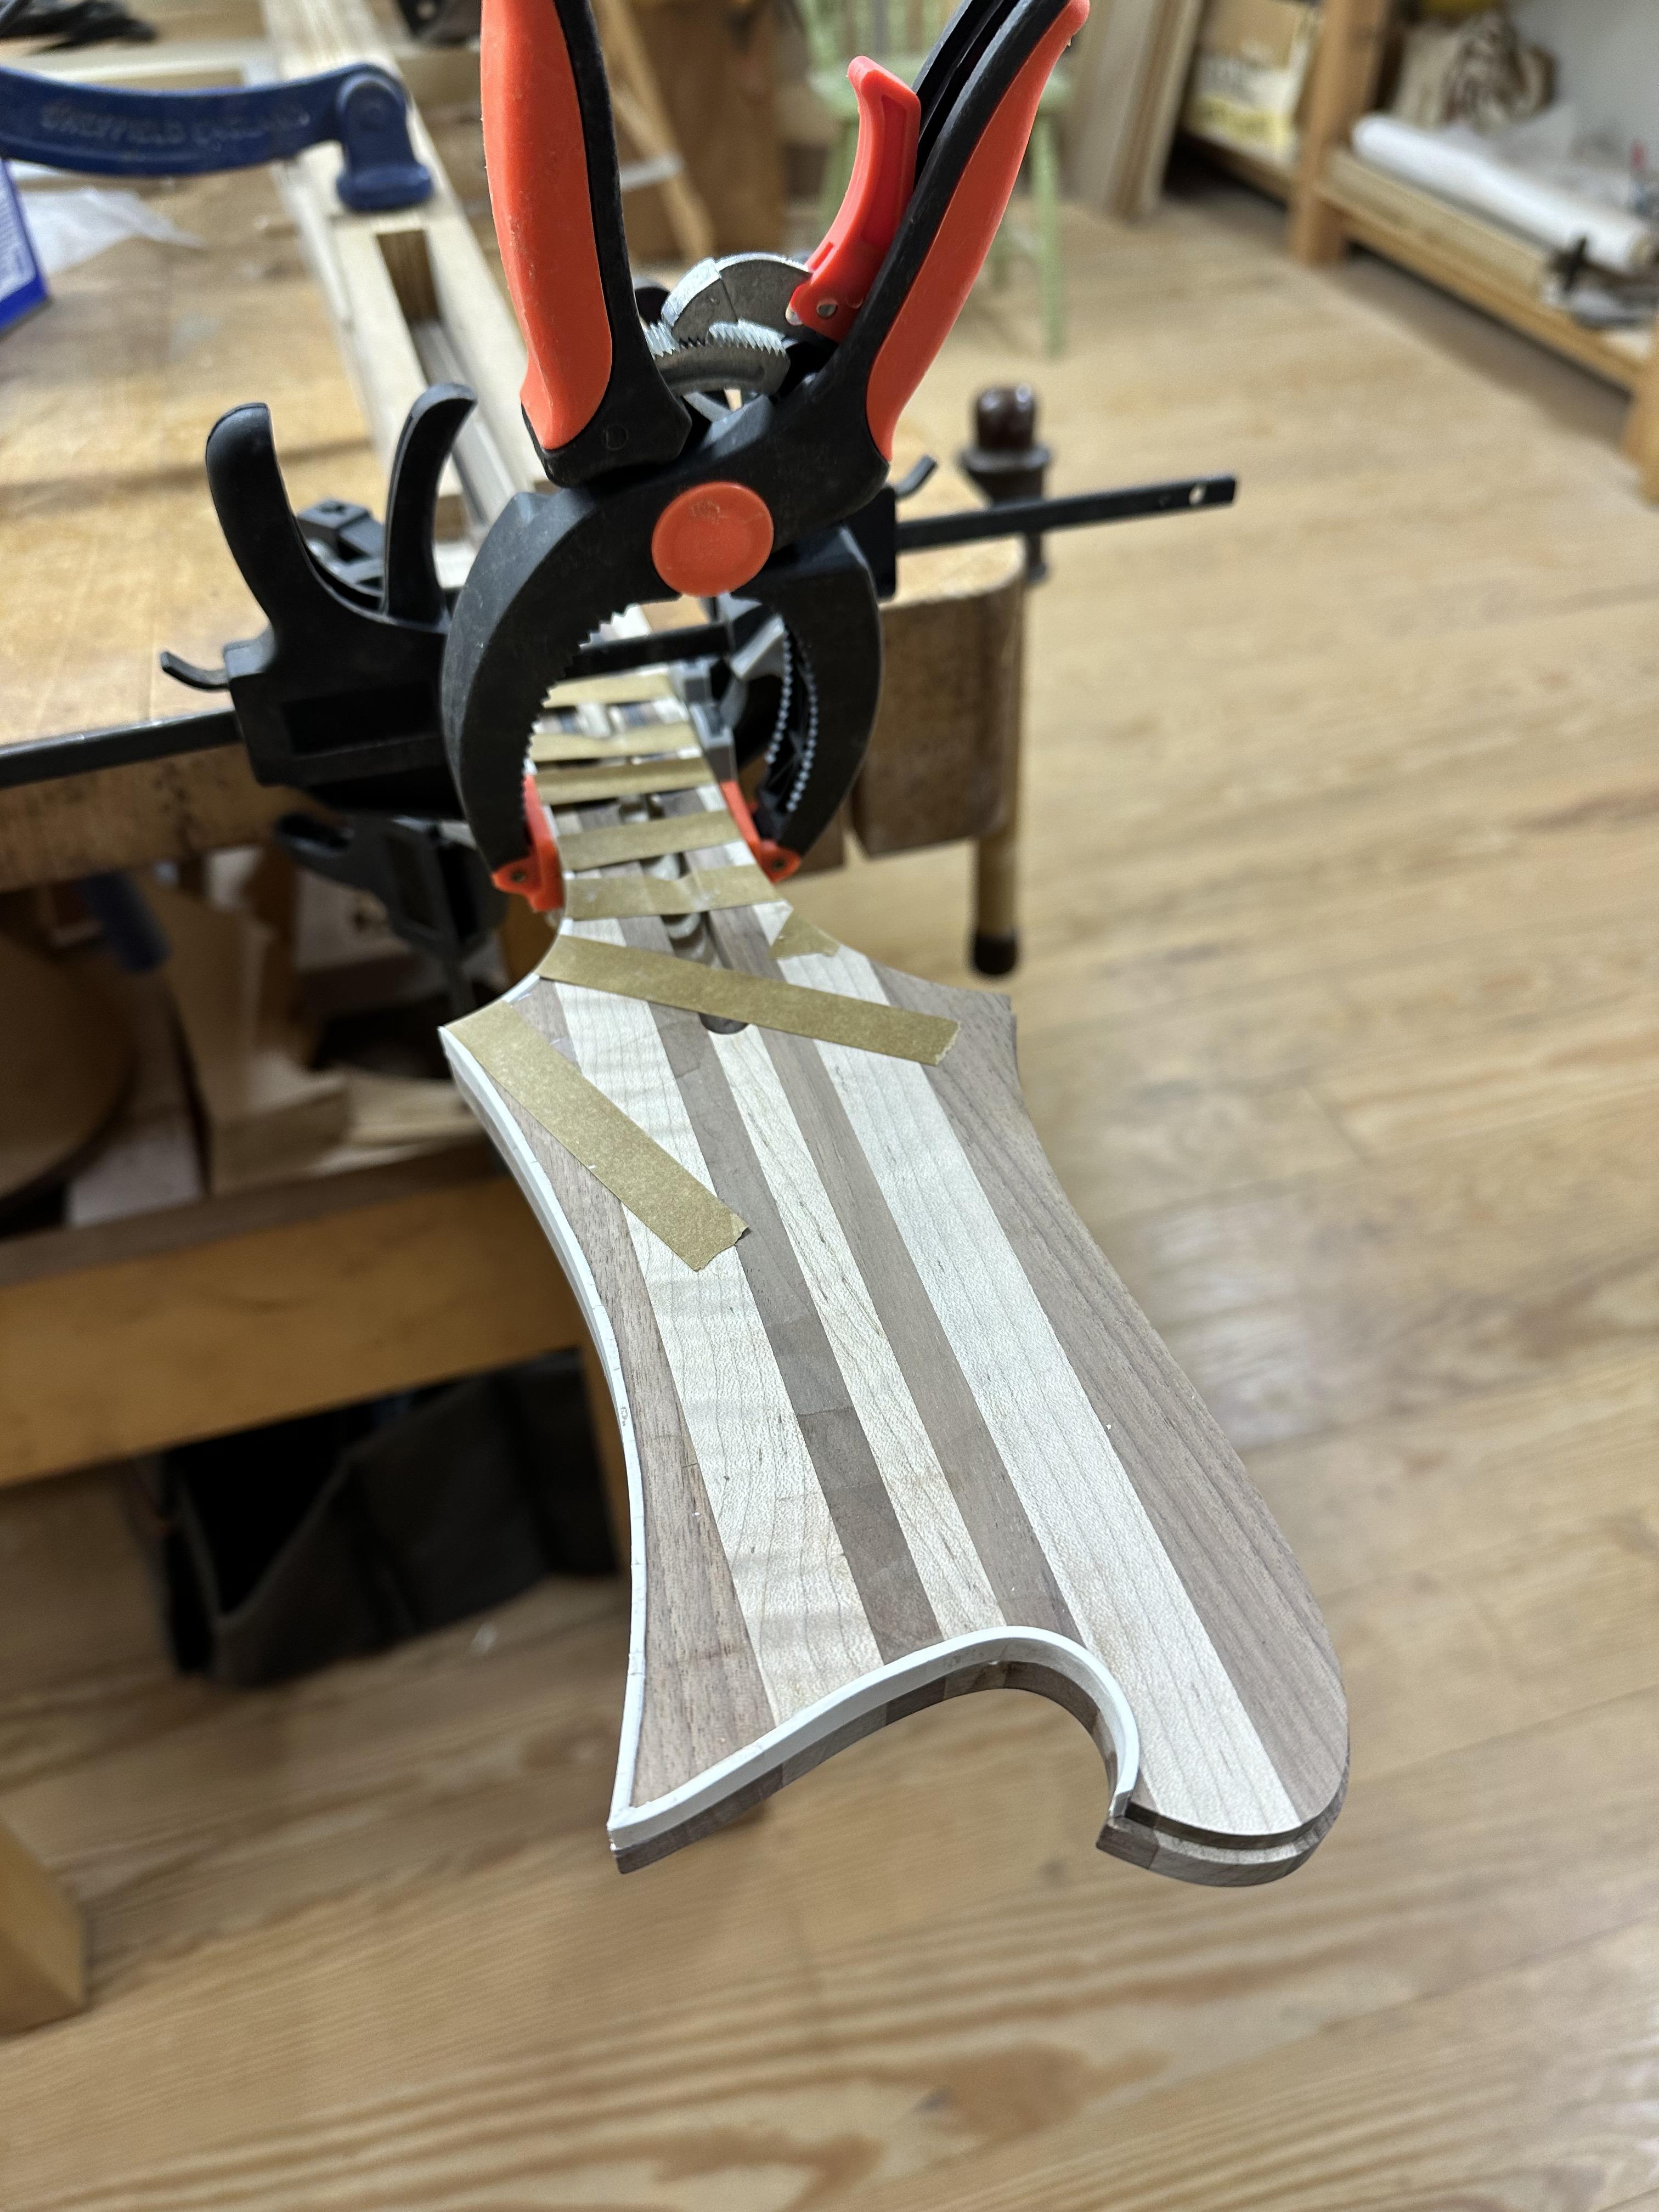
After some scrounging around, I found some .060" ABS plastic binding in "parchment" color, that is a very close match for the Winfield stuff. If you hold two pieces together, the Winfield binding is ever so slightly "greyer" than the ABS stuff, but I don't think it will be noticeable if I use it around the checker binding. At any rate, I'm going for it.
I bitch and moan about Stewmac pricing, but these binding cutters are the Bomb. The checker binding requires a two-step ledge, one at .060" and one at .120", and these do a very clean job. I had one tiny chip-out along the sharp body wing edge, should be able to fill it pretty easily.
And then the headstock, this one just gets a single .060" ledge all around. The headstock binding continues right along the neck until it meets the binding on the fingerboard.
I seem to do this differently every time, but it's working pretty well on the headstock. I only destroyed one piece of binding when I decided it would be a good idea to sand one edge on my belt sander, and it friggin IGNITED. This stuff is true celluloid, and highly flammable! Very exciting, wish I had a film of me doing the Hotfoot dance trying to put it out. I got the Checker and white celluloid binding from a place called Winfield Vintage. I stupidly used most of my "correct" white Winfield binding (which is actually sort of "parchment" colored) to bind the fingerboard, assuming I could get more matching white for the body. WRONG. They are backordered on it for at least months. I have just enough of the Winfield stuff to finish the headstock, so at least the headstock and fingerboard will match perfectly. I set the binding for 1/4" reveal, which leaves it about 1/16" proud, I'll scrape and sand it flush (carefully!) later.
After some scrounging around, I found some .060" ABS plastic binding in "parchment" color, that is a very close match for the Winfield stuff. If you hold two pieces together, the Winfield binding is ever so slightly "greyer" than the ABS stuff, but I don't think it will be noticeable if I use it around the checker binding. At any rate, I'm going for it.
Last edited:


- Apr 18, 2008
- 16,011
- 1
- 31,720
- Disclosures
- I'm highly opinionated and extremely self-assured
The binding looks great, just like on your other builds. But what a massive pain. Which is one of the reasons I never use it.
Exactly! I’m so glad GiG is doing binding, so I can enjoy it without expending any actual effort!

I specialize in Massive Pain. Annoying just isn’t good enough. 

I thought the band was
Annoying
Just Isn't Good Enough
(hmm, I might need their T-Shirt...) and the hit single was
Massive Pain
Annoying
Just Isn't Good Enough
(hmm, I might need their T-Shirt...) and the hit single was
Massive Pain

I swear I first read that as "Avenged Seinfeld"I guess "Weeping Sore" was already taken? Actually one of my favorite Metal band names is "Avenged Sevenfold", because... getting revenge once was insufficient?

You'll have to play a Kramer.Dibs!!!

I guess "Weeping Sore" was already taken? Actually one of my favorite Metal band names is "Avenged Sevenfold", because... getting revenge once was insufficient?
It comes from Genesis 4:13-15 where God decrees his punishment for Cain for killing Abel.
13 And Cain said unto the Lord, "My punishment is greater than I can bear.
14 Behold, thou hast driven me out this day from the face of the earth; and from thy face shall I be hid; and I shall be a fugitive and a vagabond in the earth; and it shall come to pass, that every one that findeth me shall slay me."
15 And the Lord said unto him, "Therefore whosoever slayeth Cain, vengeance shall be taken on him sevenfold." And the Lord set a a mark upon Cain, lest any finding him should kill him.

That binding looks fantastic! Those binding bits are awesome. I have the Amana one, and there's no way I'd do binding without one.

Finally got back to this after a couple weeks of Kitchen renovations, wherein I pretended I know how to tile a backsplash. Looks great if you squint a little.
I bitch and moan about Stewmac pricing, but these binding cutters are the Bomb. The checker binding requires a two-step ledge, one at .060" and one at .120", and these do a very clean job. I had one tiny chip-out along the sharp body wing edge, should be able to fill it pretty easily.
And then the headstock, this one just gets a single .060" ledge all around. The headstock binding continues right along the neck until it meets the binding on the fingerboard.
I seem to do this differently every time, but it's working pretty well on the headstock. I only destroyed one piece of binding when I decided it would be a good idea to sand one edge on my belt sander, and it friggin IGNITED. This stuff is true celluloid, and highly flammable! Very exciting, wish I had a film of me doing the Hotfoot dance trying to put it out. I got the Checker and white celluloid binding from a place called Winfield Vintage. I stupidly used most of my "correct" white Winfield binding (which is actually sort of "parchment" colored) to bind the fingerboard, assuming I could get more matching white for the body. WRONG. They are backordered on it for at least months. I have just enough of the Winfield stuff to finish the headstock, so at least the headstock and fingerboard will match perfectly. I set the binding for 1/4" reveal, which leaves it about 1/16" proud, I'll scrape and sand it flush (carefully!) later.
After some scrounging around, I found some .060" ABS plastic binding in "parchment" color, that is a very close match for the Winfield stuff. If you hold two pieces together, the Winfield binding is ever so slightly "greyer" than the ABS stuff, but I don't think it will be noticeable if I use it around the checker binding. At any rate, I'm going for it.
This is gonna look amazing with the checker board binding!
I've never had one of my builds spontaneously combust; I'm a little envious...
Build a hollowbody.I've never had one of my builds spontaneously combust; I'm a little envious...
Oil finish
After each coat, wad up the rag and stuff it in the sound hole.
Eventually you'll get un-"lucky" so think about where you store it, eh?
everything after "coat'" is exactly how it's done wrong, (for amusement value given the desire to have a build spontaneously combust) so don't do that. Oil rags should be spread out flat so they don't have any cosy well-insulated areas to get hot enough to combust as the oil cures, or be put in a fireproof, designed for the purpose, oily rag bin. In an airtight container in the freezer is another option.
Last edited:
Build a hollowbody.
Oil finish
After each coat, wad up the rag and stuff it in the sound hole.
Eventually you'll get un-"lucky" so think about where you store it, eh?
everything after "coat'" is exactly how it's done wrong, (for amusement value given the desire to have a build spontaneously combust) so don't do that. Oil rags should be spread out flat so they don't have any cosy well-insulated areas to get hot enough to combust as the oil cures, or be put in a fireproof, designed for the purpose, oily rag bin. In an airtight container in the freezer is another option.
Yeah, Oil rags dry flat before disposal or put in the stainless shop sink and wetted.
I've had epoxy get close, but never quite, thankfully. Lesson learned there!
heh. I mixed up WAY too much boat epoxy once, and it MELTED the plastic bucket I had it in, what a goddamn mess! Conversely, I've been short on hardener added to Bondo, and ended up driving around with a bumper repair the consistency of modeling clay for a couple years. Meh. Now I use Zpoxy, simple 1:1 mix, and West using pumps when I really need it. Speaking of Hollowbody's, I'm working up the nerve to try one. Now THAT is luthiery, at least in my book.


