This Invalid Link Removed second one downWhat fret wire are did you select?

Enjoy the benefits of a premium membership!
Upgrade Account
-
TalkBass has been independent since 1998. Add your voice.
Create a free account to reply to discussions, view embedded media, and browse with fewer display ads.
Join free Log in
Want zero display ads or expanded classifieds tools? Compare plans.
You are using an out of date browser. It may not display this or other websites correctly.
You should upgrade or use an alternative browser.
You should upgrade or use an alternative browser.
More options
Who Replied?
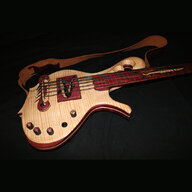
I'm a lazy cow when it comes to typing but if you need anything specific about something I've done please just askwow, lot of good info in this post - thanks for that!
I tend to wear out my welcome with questions so... I will just ask: a little more about how you cut inlays? Forgive me if that's in the thread... I've been reading back trying to figure out how you are cutting those out.
Honestly, feel freeI tend to wear out my welcome with questions so... I will just ask: a little more about how you cut inlays? Forgive me if that's in the thread... I've been reading back trying to figure out how you are cutting those out.

They are cut with a jewellers saw with a 42TPI blade. I stick a paper template onto the mother of pearl and just gently saw to the line. I hold the Mother of pearl on a small bit of wood with a small birds mouth slot in it to allow the saw to move like the one below. The pipe is to fit an airline to but it's a waste of time really.
It's only paper and pearl, no need for a backing board in the sandwich as it's 1.5mm thick and plenty strong enough to take abuse from me. It's actually very easy, the trick is not to put any pressure on the blade so you are literally letting the blade do all the work. The instant you put pressure on you'll know, the blade snaps LOLI'm guessing this is not easy because you are making it look so easy! so... do I understand: sandwich of paper/pearl/small board? then you are using that rounded board with the hole to brace it while you saw it?
Use a jewellers saw, the heat will build up and start breaking the pearl, it's slow work, those dragons took over 4 hours each to cut eachwow, I'm not sure that would turn out well for me... but you have inspired me that perhaps I can print a much bigger pattern - one that's more simple... and maybe use my dremel to cut out the pieces or perhaps attempt a jewelers saw. thanks for the insight.
note to self: buy a jewlers saw! thanks for the enlightenment!

Slick little fretwire bender. I got lazy and bought some Fender Medium Jumbo pre-cut to about 2-1/2” length and pre bent to several available radii, I got 9” pre bent radius for a 10” radius board, worked a treat.
I made it, can you tell?Slick little fretwire bender. I got lazy and bought some Fender Medium Jumbo pre-cut to about 2-1/2” length and pre bent to several available radii, I got 9” pre bent radius for a 10” radius board, worked a treat.


I just want to say: I do not possess the skillset nor the patience to manage 1/10 of what you've accomplished here. It's fascinating to watch from afar however. Your shop is a space that's nice to "visit". Seriously dying to adopt a finished twin - though I'm sure you'll be able to get a far higher price than I could afford. For your sake I'd HOPE so anyway...
Well today I screwed up a little, not a disaster just a set back:
I started off this morning by finishing off the tenons for the neck joints, so they're ready to glue now.
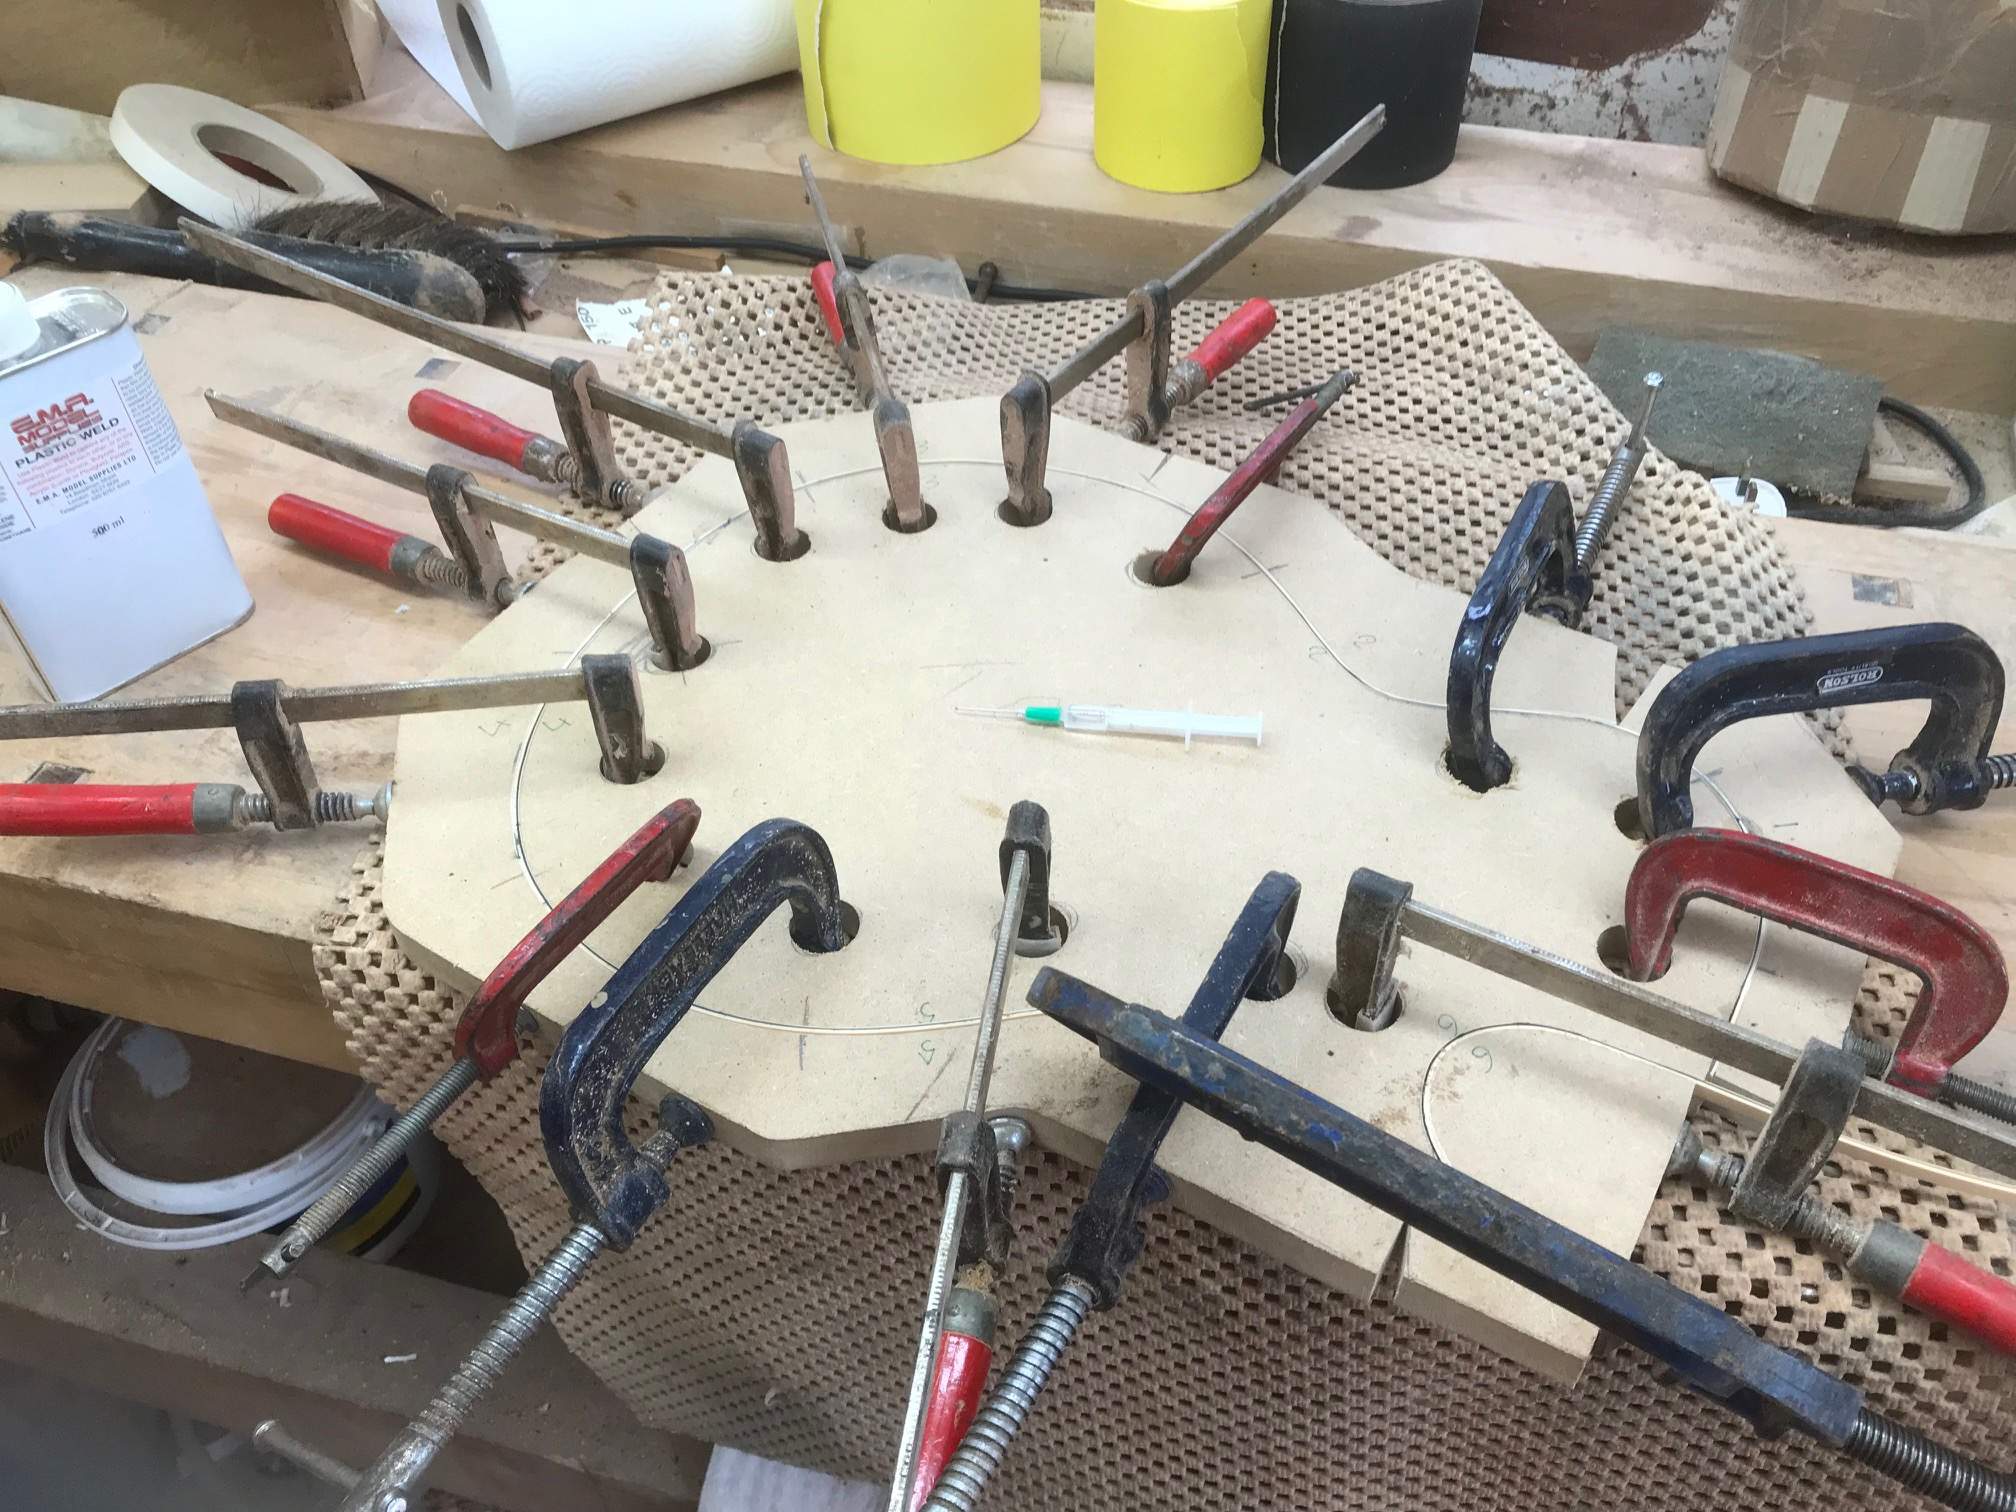
After that I turned to the head stocks for the binding, my first attempt at 3 ply binding, ah so you can see this coming First job was to create a form to bend and glue the 3 x 0.5mm binding strips together, so that was made from some MDF with foam double sided tape as a gasket sort of thing to keep an even pressure while the glue set (acetone actually). Next I cut the binding strips to size and warmed them and clamped them up in the jig and warmed them again, then I loosened the clamps one at a time and with a syringe applied some acetone to the bindings which welds them together and tightened them up while making sure they were bedded down properly and left them to set for an hour before finally taking them out, so far so good.
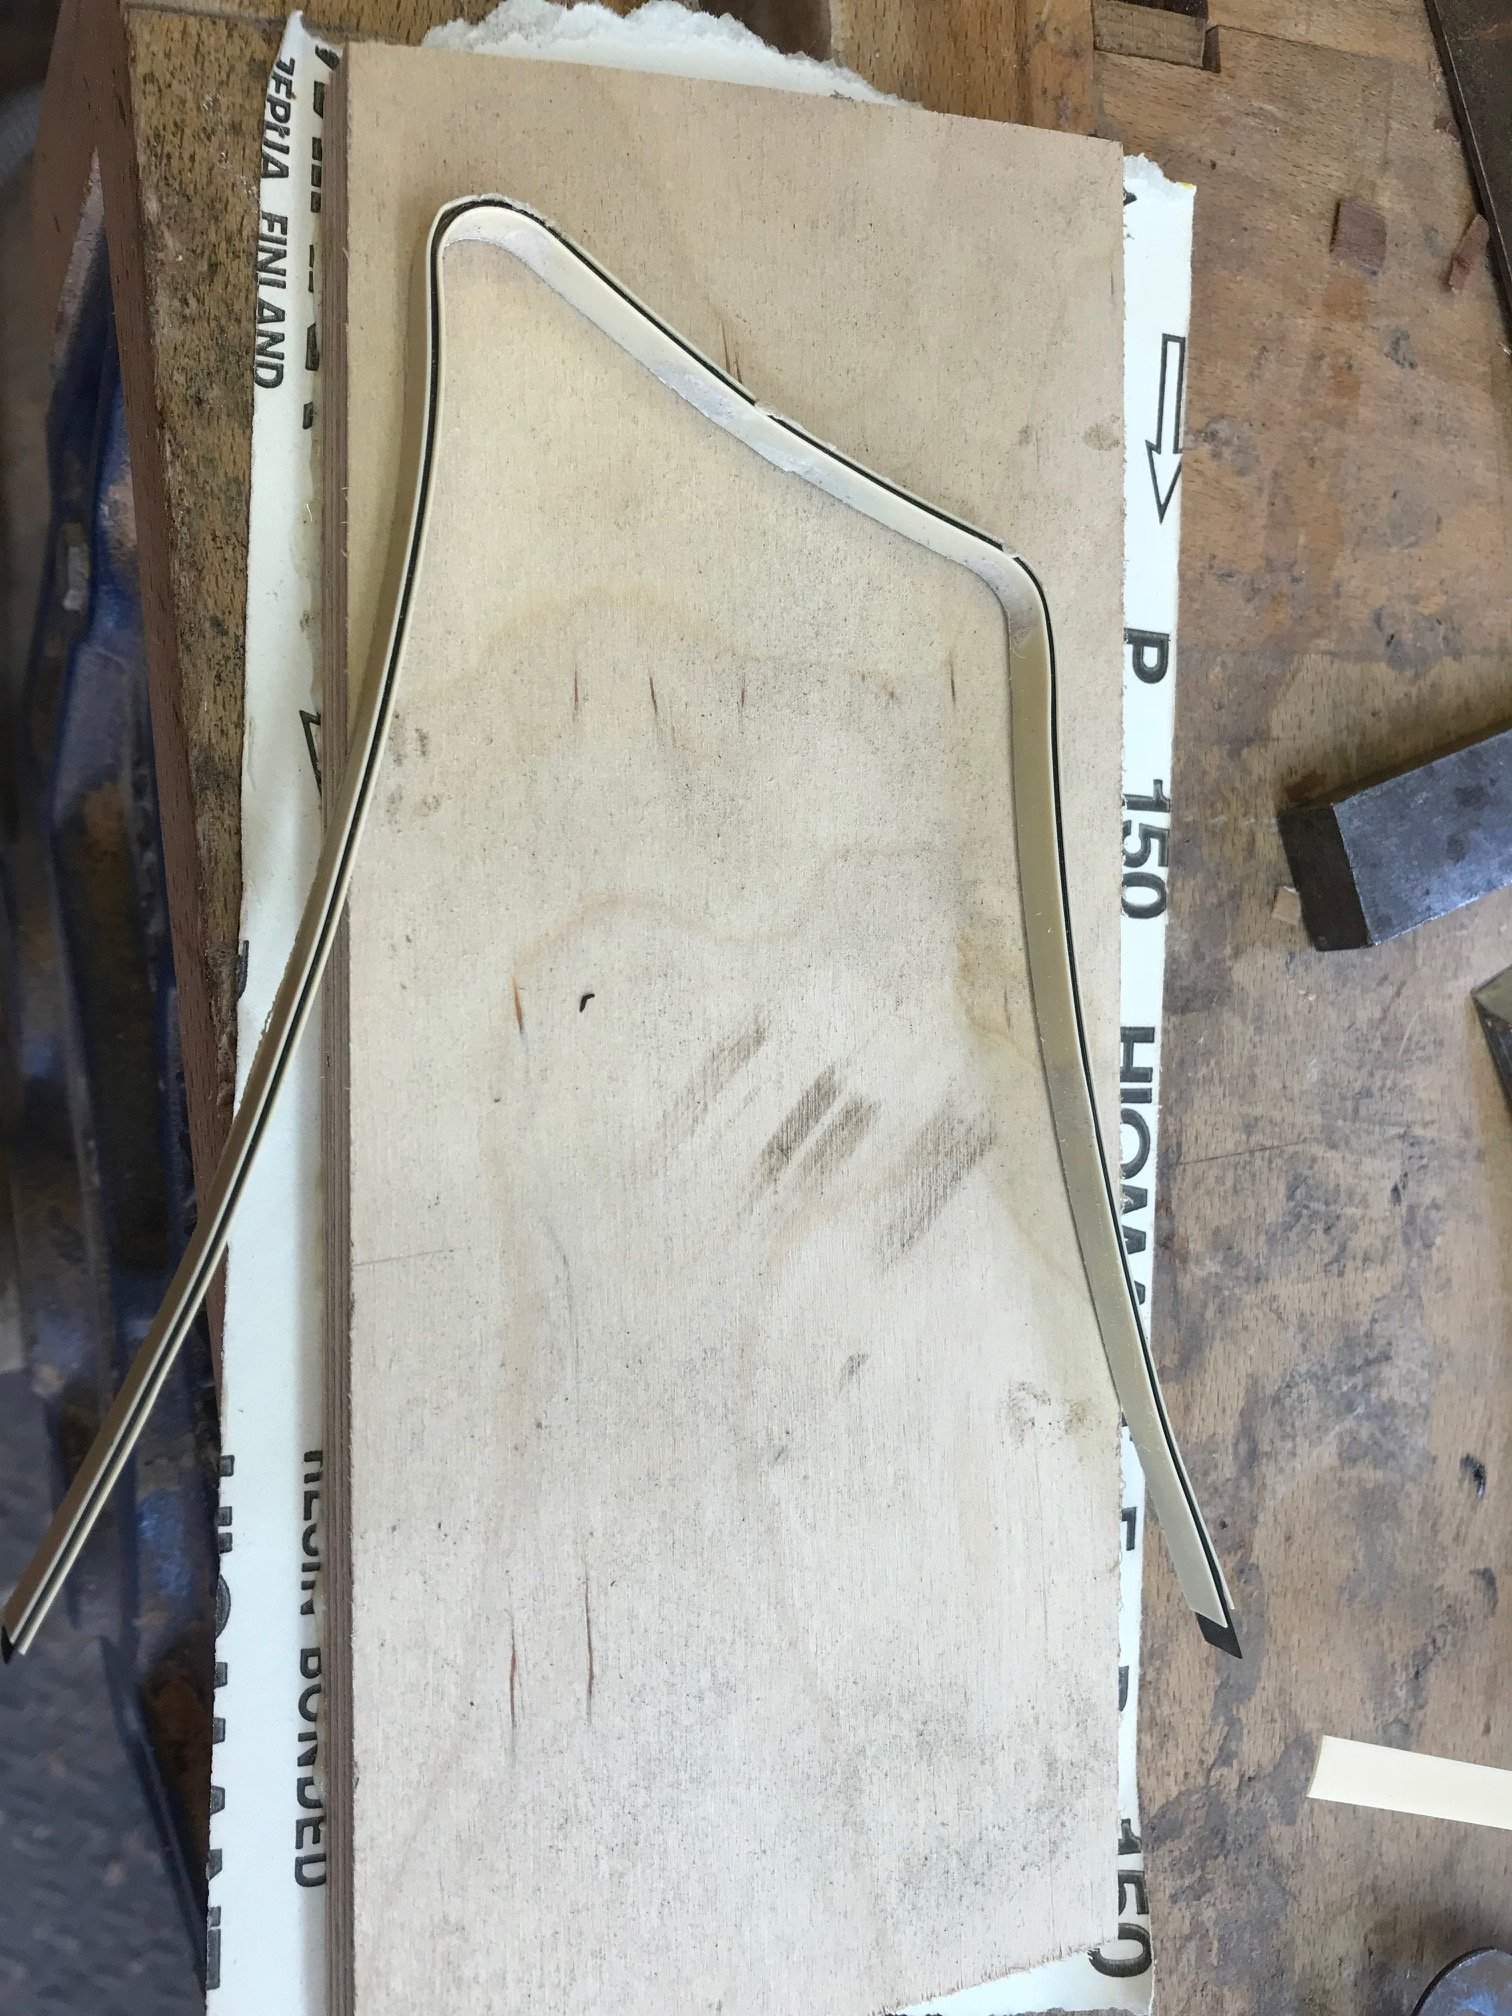
I measured the thickness of the finished laminate and it was 1.48mm, ideal I thought and routed the rebate in the headstock at 1.5mm and thankfully only at 4.5mm deep for the 6.25 binding strip. Next bit was to clean the bottom edge of the laminated strips, I did this by glueing a piece of 150 grit sandpaper onto a strip of plywood and sanded the bottom of the strip on that before cleaning off the inner corners. Finally it was glueing time so I put the strip in place and got some masking tape to hold it in place vertically with a bit left on top to flip over to hold it horizontally. I applied some thin CA and flipped the tape over and made sure the strip was well in and properly fitted.
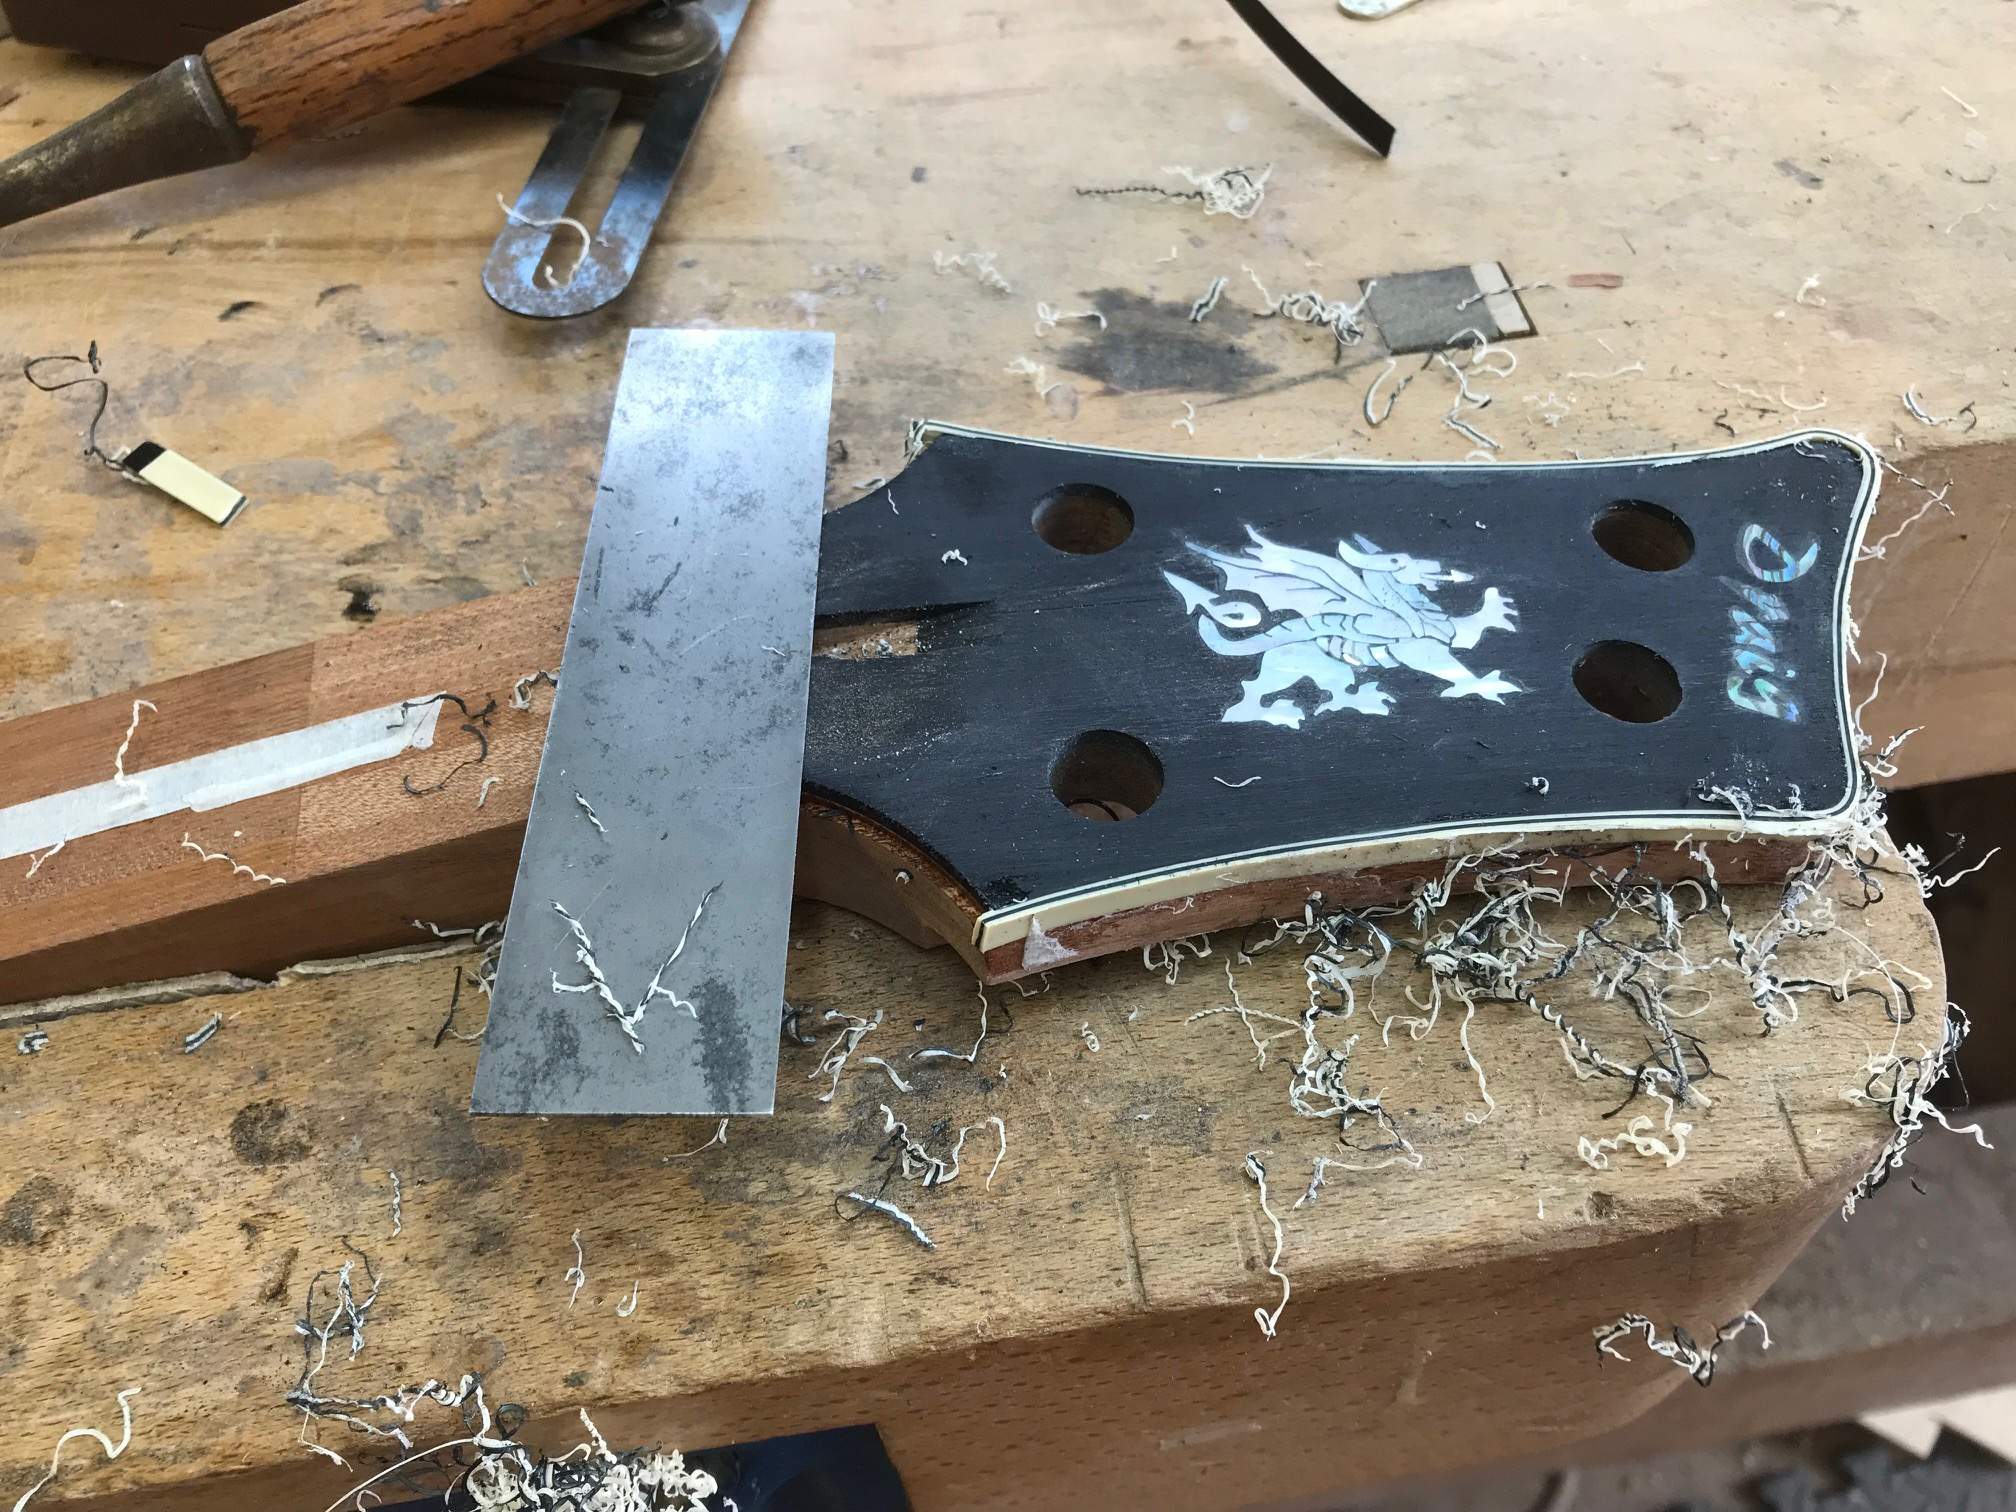
So far so good and all looked well, after another hour I removed the masking tape and started to scrape the tops of the strip, it looked great, next was the turn of the sides, ah now here it is: What was pretty much dead flush was now sticking out proud by a fair bit, well spherical objects! I scraped away to get it flush and the entire cream outer laminate was removed, I wasn't happy, I may even have sworn but I can't really remember if I did or not LOL. All I could do was remove the glued in bindings but as they were reasonably consistent at 0.5mm proud I used a 2mm rebate 5mm deep to remove the. I didn't have any more binding so that's now on order and fingers crossed will be here Friday so at least I can get it done by the weekend.
Well that's something learnt, at least it only cost a little time and money not the whole neck (s). I'm not 100% sure what exactly happened yet, I'll measure up on Friday morning when I'm back in the workshop but I suspect it was the process of glueing with CA that has caused some sort of swelling. I didn't photograph the damaged sides, I was too cross so I'll leave that to you're imagination but just think a very tidy looking black banding instead of cream
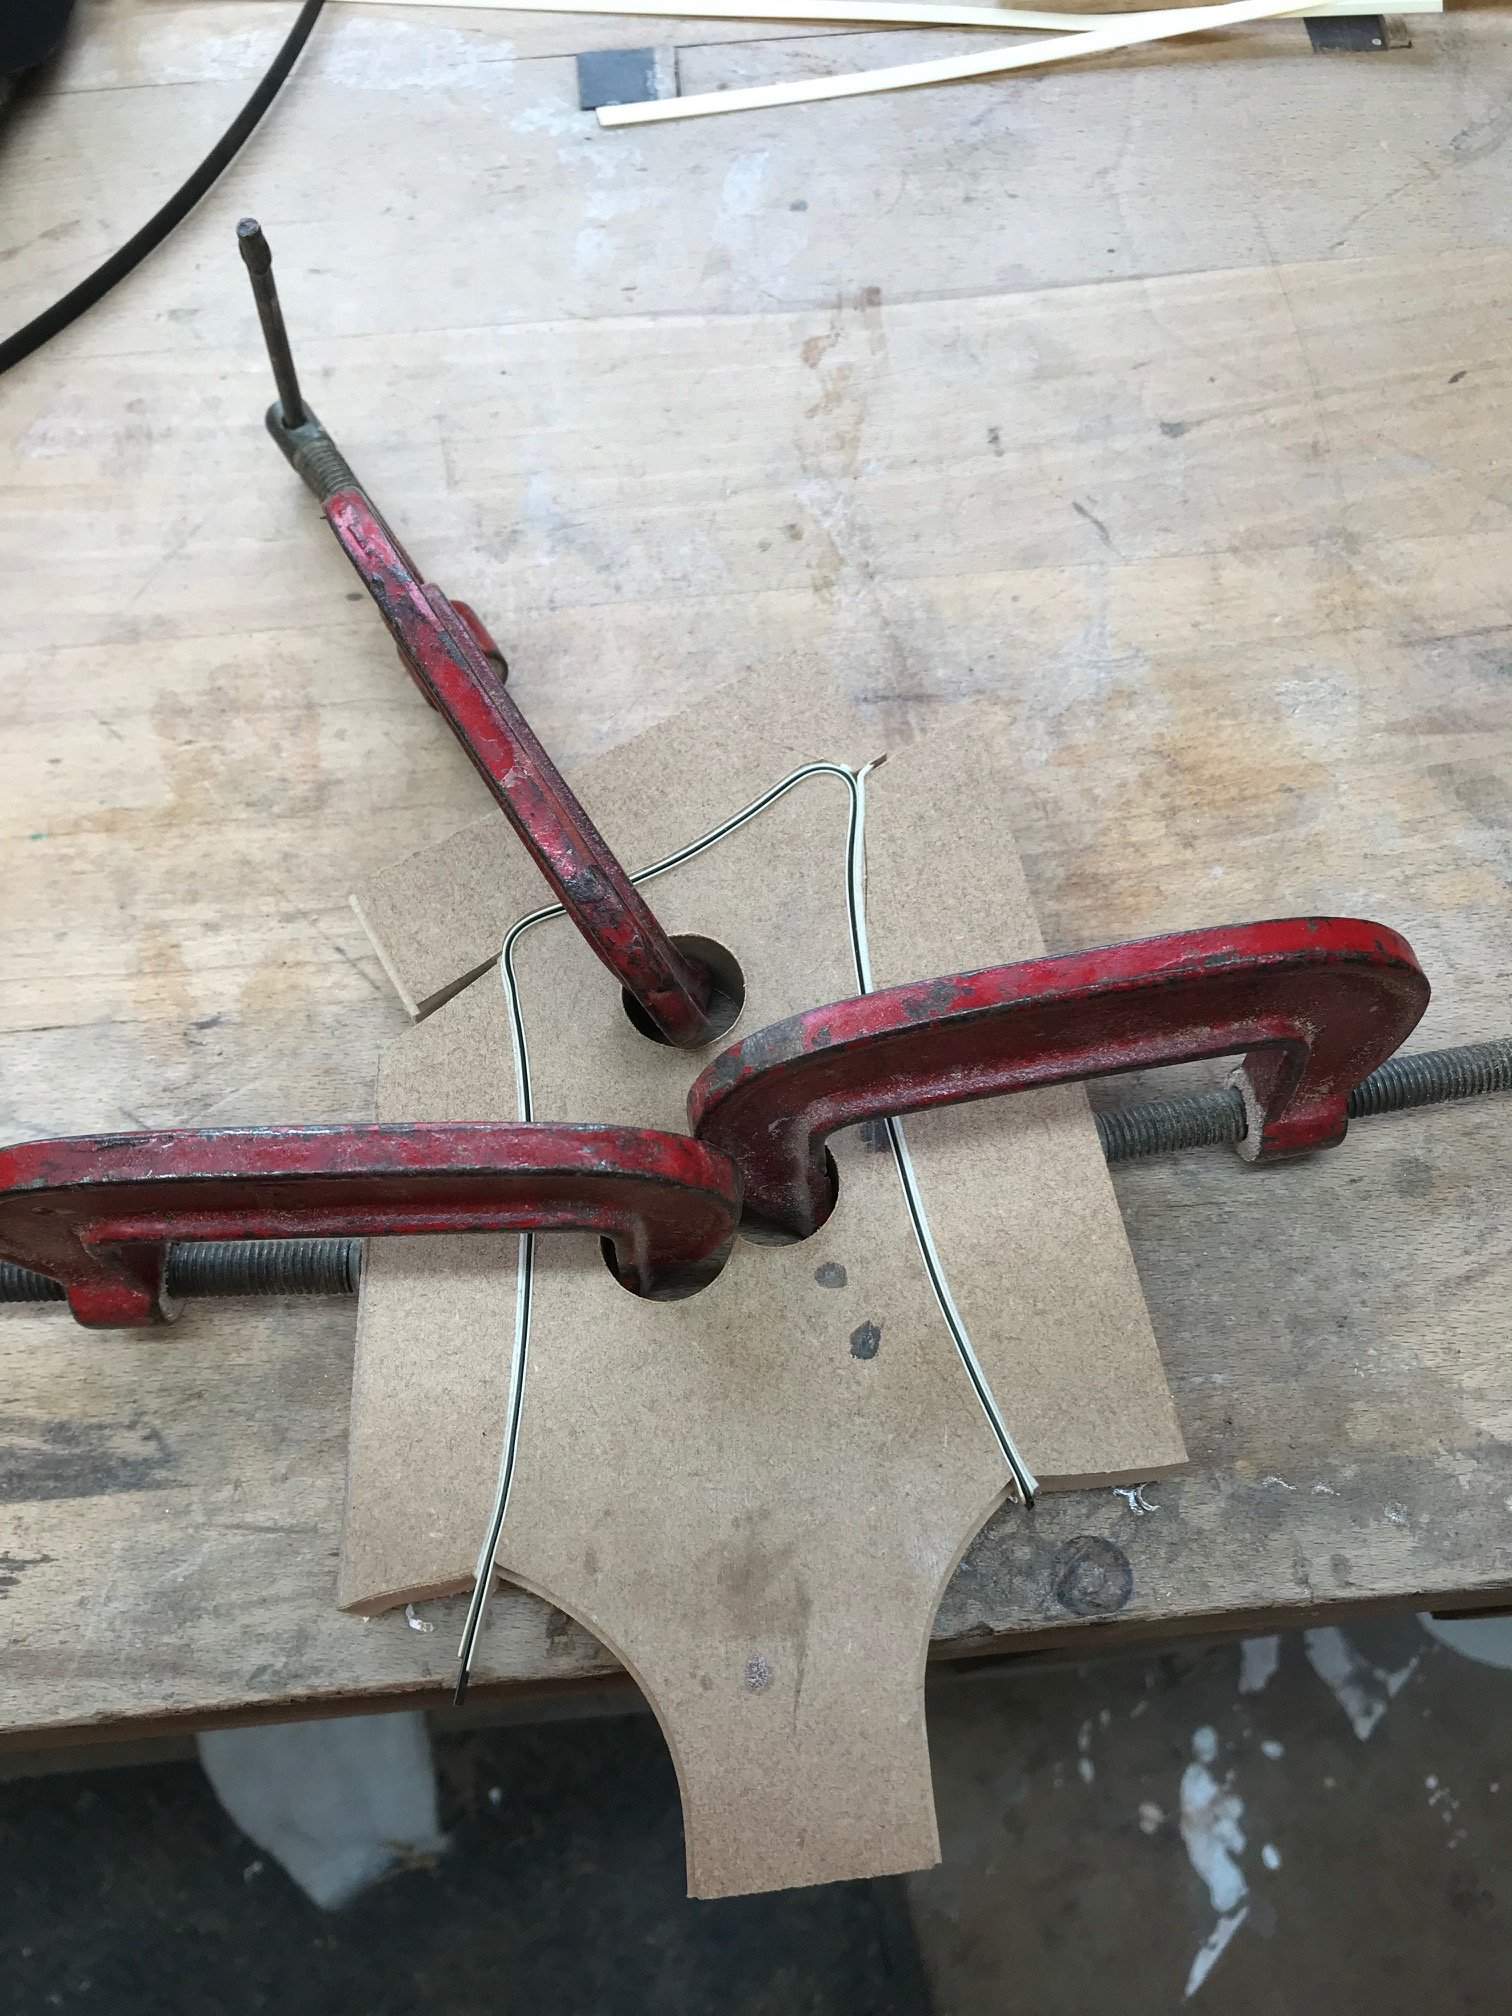
I started off this morning by finishing off the tenons for the neck joints, so they're ready to glue now.
After that I turned to the head stocks for the binding, my first attempt at 3 ply binding, ah so you can see this coming
First job was to create a form to bend and glue the 3 x 0.5mm binding strips together, so that was made from some MDF with foam double sided tape as a gasket sort of thing to keep an even pressure while the glue set (acetone actually). Next I cut the binding strips to size and warmed them and clamped them up in the jig and warmed them again, then I loosened the clamps one at a time and with a syringe applied some acetone to the bindings which welds them together and tightened them up while making sure they were bedded down properly and left them to set for an hour before finally taking them out, so far so good.I measured the thickness of the finished laminate and it was 1.48mm, ideal I thought and routed the rebate in the headstock at 1.5mm and thankfully only at 4.5mm deep for the 6.25 binding strip. Next bit was to clean the bottom edge of the laminated strips, I did this by glueing a piece of 150 grit sandpaper onto a strip of plywood and sanded the bottom of the strip on that before cleaning off the inner corners. Finally it was glueing time so I put the strip in place and got some masking tape to hold it in place vertically with a bit left on top to flip over to hold it horizontally. I applied some thin CA and flipped the tape over and made sure the strip was well in and properly fitted.
So far so good and all looked well, after another hour I removed the masking tape and started to scrape the tops of the strip, it looked great, next was the turn of the sides, ah now here it is: What was pretty much dead flush was now sticking out proud by a fair bit, well spherical objects! I scraped away to get it flush and the entire cream outer laminate was removed, I wasn't happy, I may even have sworn but I can't really remember if I did or not LOL. All I could do was remove the glued in bindings but as they were reasonably consistent at 0.5mm proud I used a 2mm rebate 5mm deep to remove the. I didn't have any more binding so that's now on order and fingers crossed will be here Friday so at least I can get it done by the weekend.
Well that's something learnt, at least it only cost a little time and money not the whole neck (s). I'm not 100% sure what exactly happened yet, I'll measure up on Friday morning when I'm back in the workshop but I suspect it was the process of glueing with CA that has caused some sort of swelling. I didn't photograph the damaged sides, I was too cross so I'll leave that to you're imagination but just think a very tidy looking black banding instead of cream
Last edited:
Probably stupid question: does binding actually do anything-other than look cool? In other words, does it really "bind" things together?Well today I screwed up a little, not a disaster just a set back:
I started off this morning by finishing off the tenons for the neck joints, so they're ready to glue now.
After that I turned to the head stocks for the binding, my first attempt at 3 ply binding, ah so you can see this coming
I measured the thickness of the finished laminate and it was 1.48mm, ideal I thought and routed the rebate in the headstock at 1.5mm and thankfully only at 4.5mm deep for the 6.25 binding strip. Next bit was to clean the bottom edge of the laminated strips, I did this by glueing a piece of 150 grit sandpaper onto a strip of plywood and sanded the bottom of the strip on that before cleaning off the inner corners. Finally it was glueing time so I put the strip in place and got some masking tape to hold it in place vertically with a bit left on top to flip over to hold it horizontally. I applied some thin CA and flipped the tape over and made sure the strip was well in and properly fitted.
So far so good and all looked well, after another hour I removed the masking tape and started to scrape the tops of the strip, it looked great, next was the turn of the sides, ah now here it is: What was pretty much dead flush was now sticking out proud by a fair bit, well spherical objects! I scraped away to get it flush and the entire cream outer laminate was removed, I wasn't happy, I may even have sworn but I can't really remember if I did or not LOL. All I could do was remove the glued in bindings but as they were reasonably consistent at 0.5mm proud I used a 2mm rebate 5mm deep to remove the. I didn't have any more binding so that's now on order and fingers crossed will be here Friday so at least I can get it done by the weekend.
Well that's something learnt, at least it only cost a little time and money not the whole neck (s). I'm not 100% sure what exactly happened yet, I'll measure up on Friday morning when I'm back in the workshop but I suspect it was the process of glueing with CA that has caused some sort of swelling. I didn't photograph the damaged sides, I was too cross so I'll leave that to you're imagination but just think a very tidy looking black banding instead of cream
View attachment 3085428
View attachment 3085429
View attachment 3085431
No not really, in days gone by it hid and protected delicate veneered edges but today it is largely used to look niceProbably stupid question: does binding actually do anything-other than look cool? In other words, does it really "bind" things together?

So what about in the days of hollow body arched tops? It also served no functional purpose?No not really, in days gone by it hid and protected delicate veneered edges but today it is largely used to look nice
Yes, it hid the join and again it provided a harder wearing edge than the delicate veneer or thin solid wood whatever was usedSo what about in the days of hollow body arched tops? It also served no functional purpose?
Sort of back in the workshop today, mostly waiting for the replacement binding to arrive but out postman was late as usual and didn't arrive until nearly 4pm so at least I can get that redone tomorrow.
What I did do was rout the recesses for the control cavity covers and made a former for the body bindings so I should get those done tomorrow too
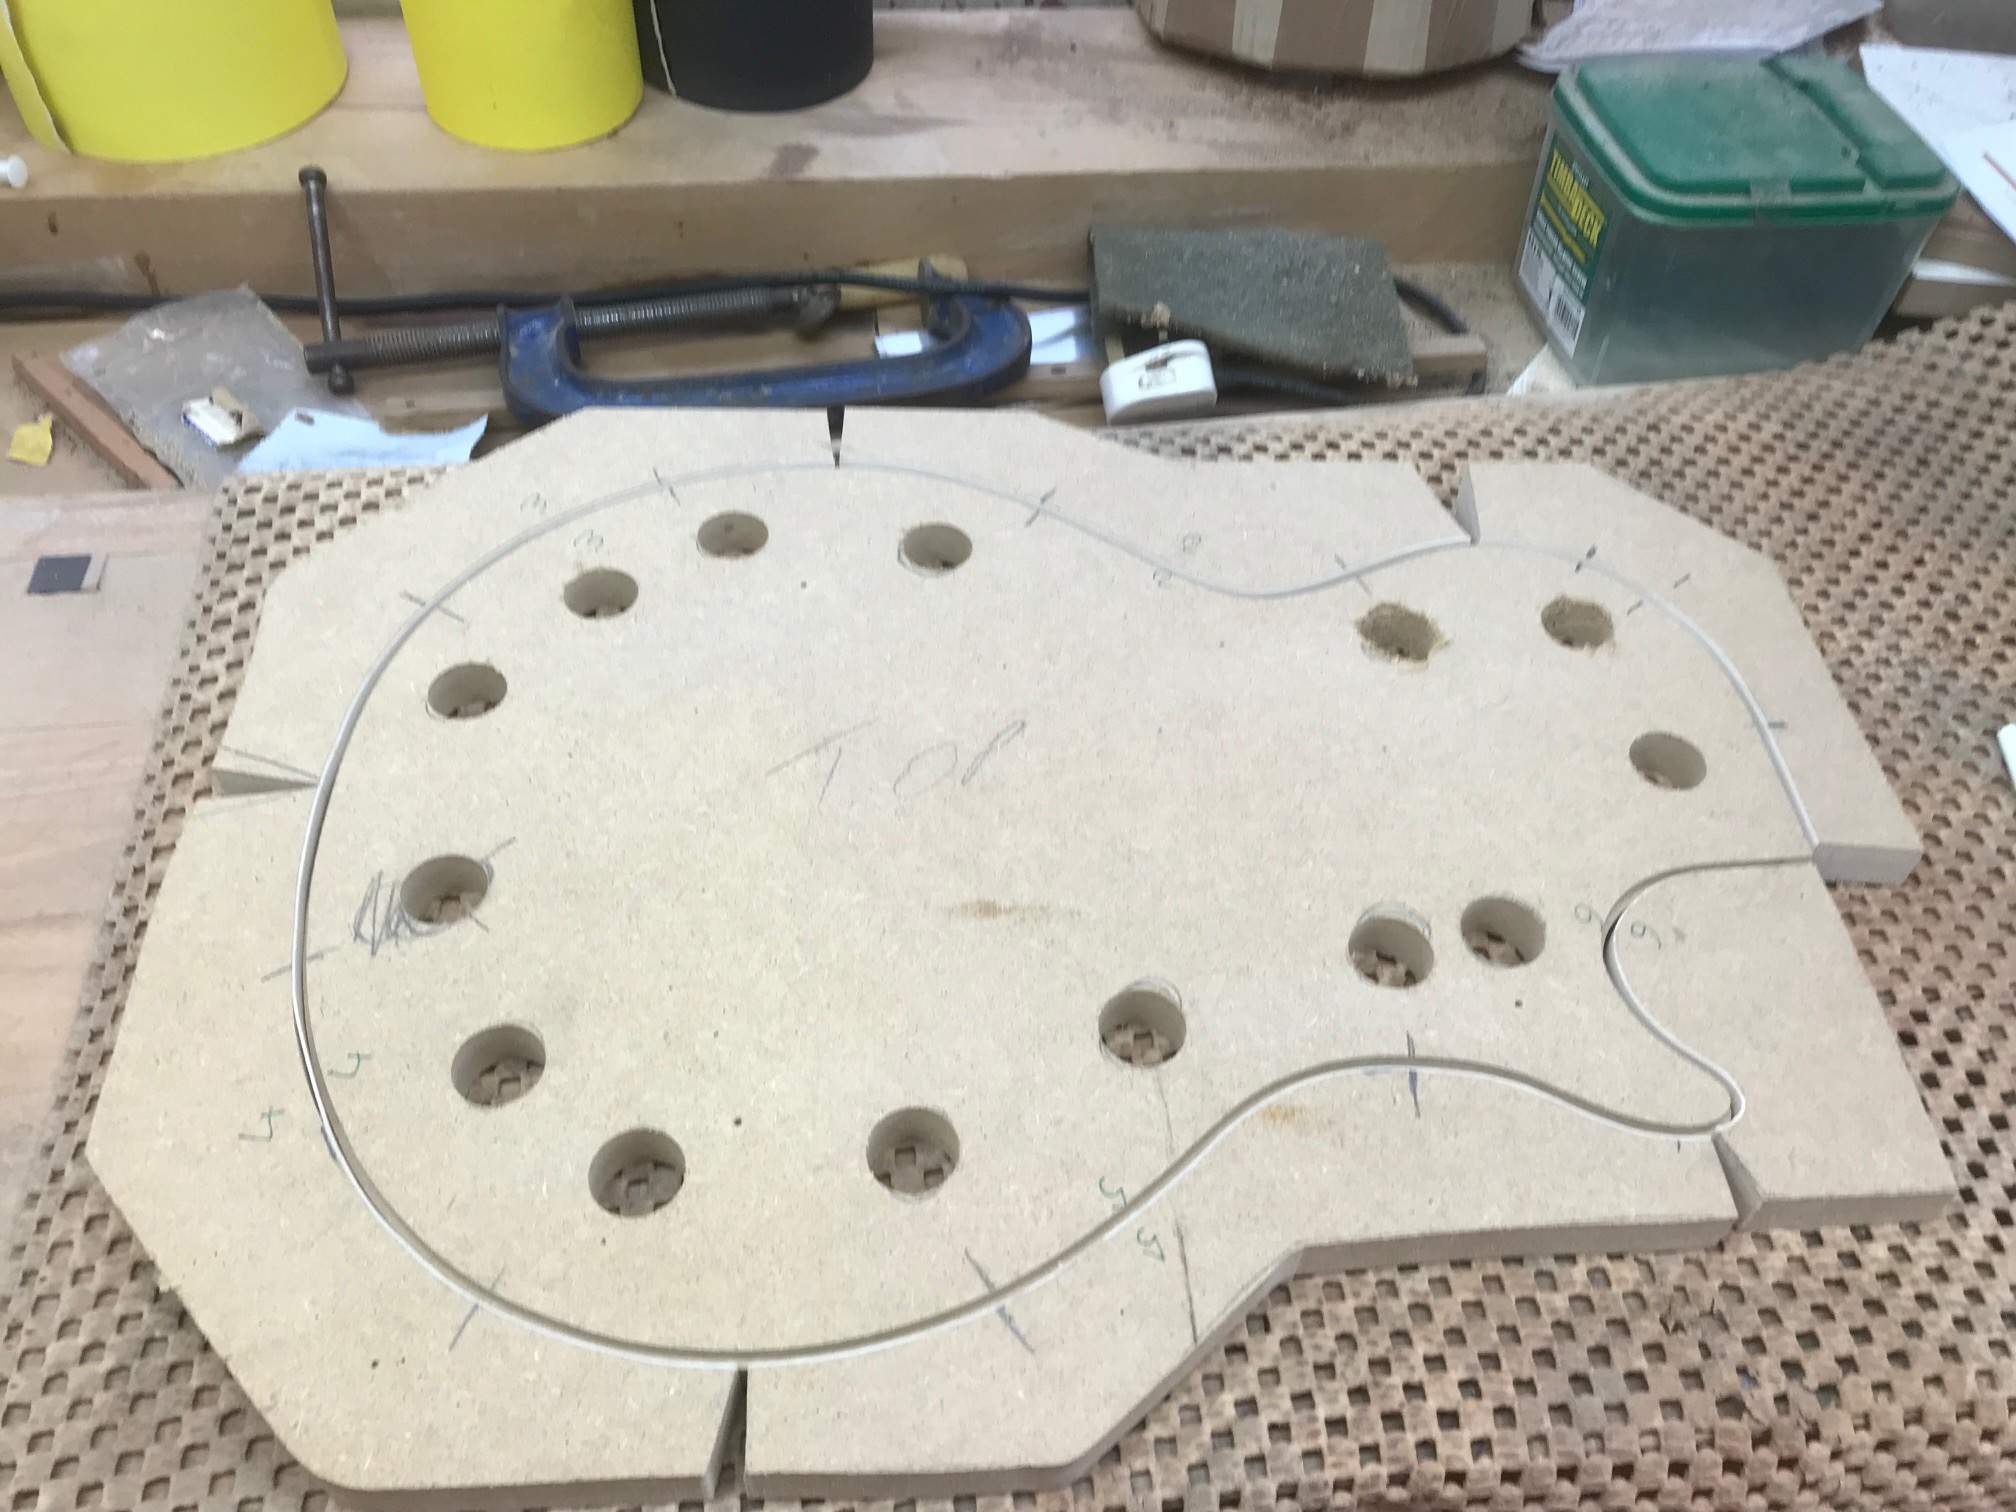
What I did do was rout the recesses for the control cavity covers and made a former for the body bindings so I should get those done tomorrow too
Morning campers
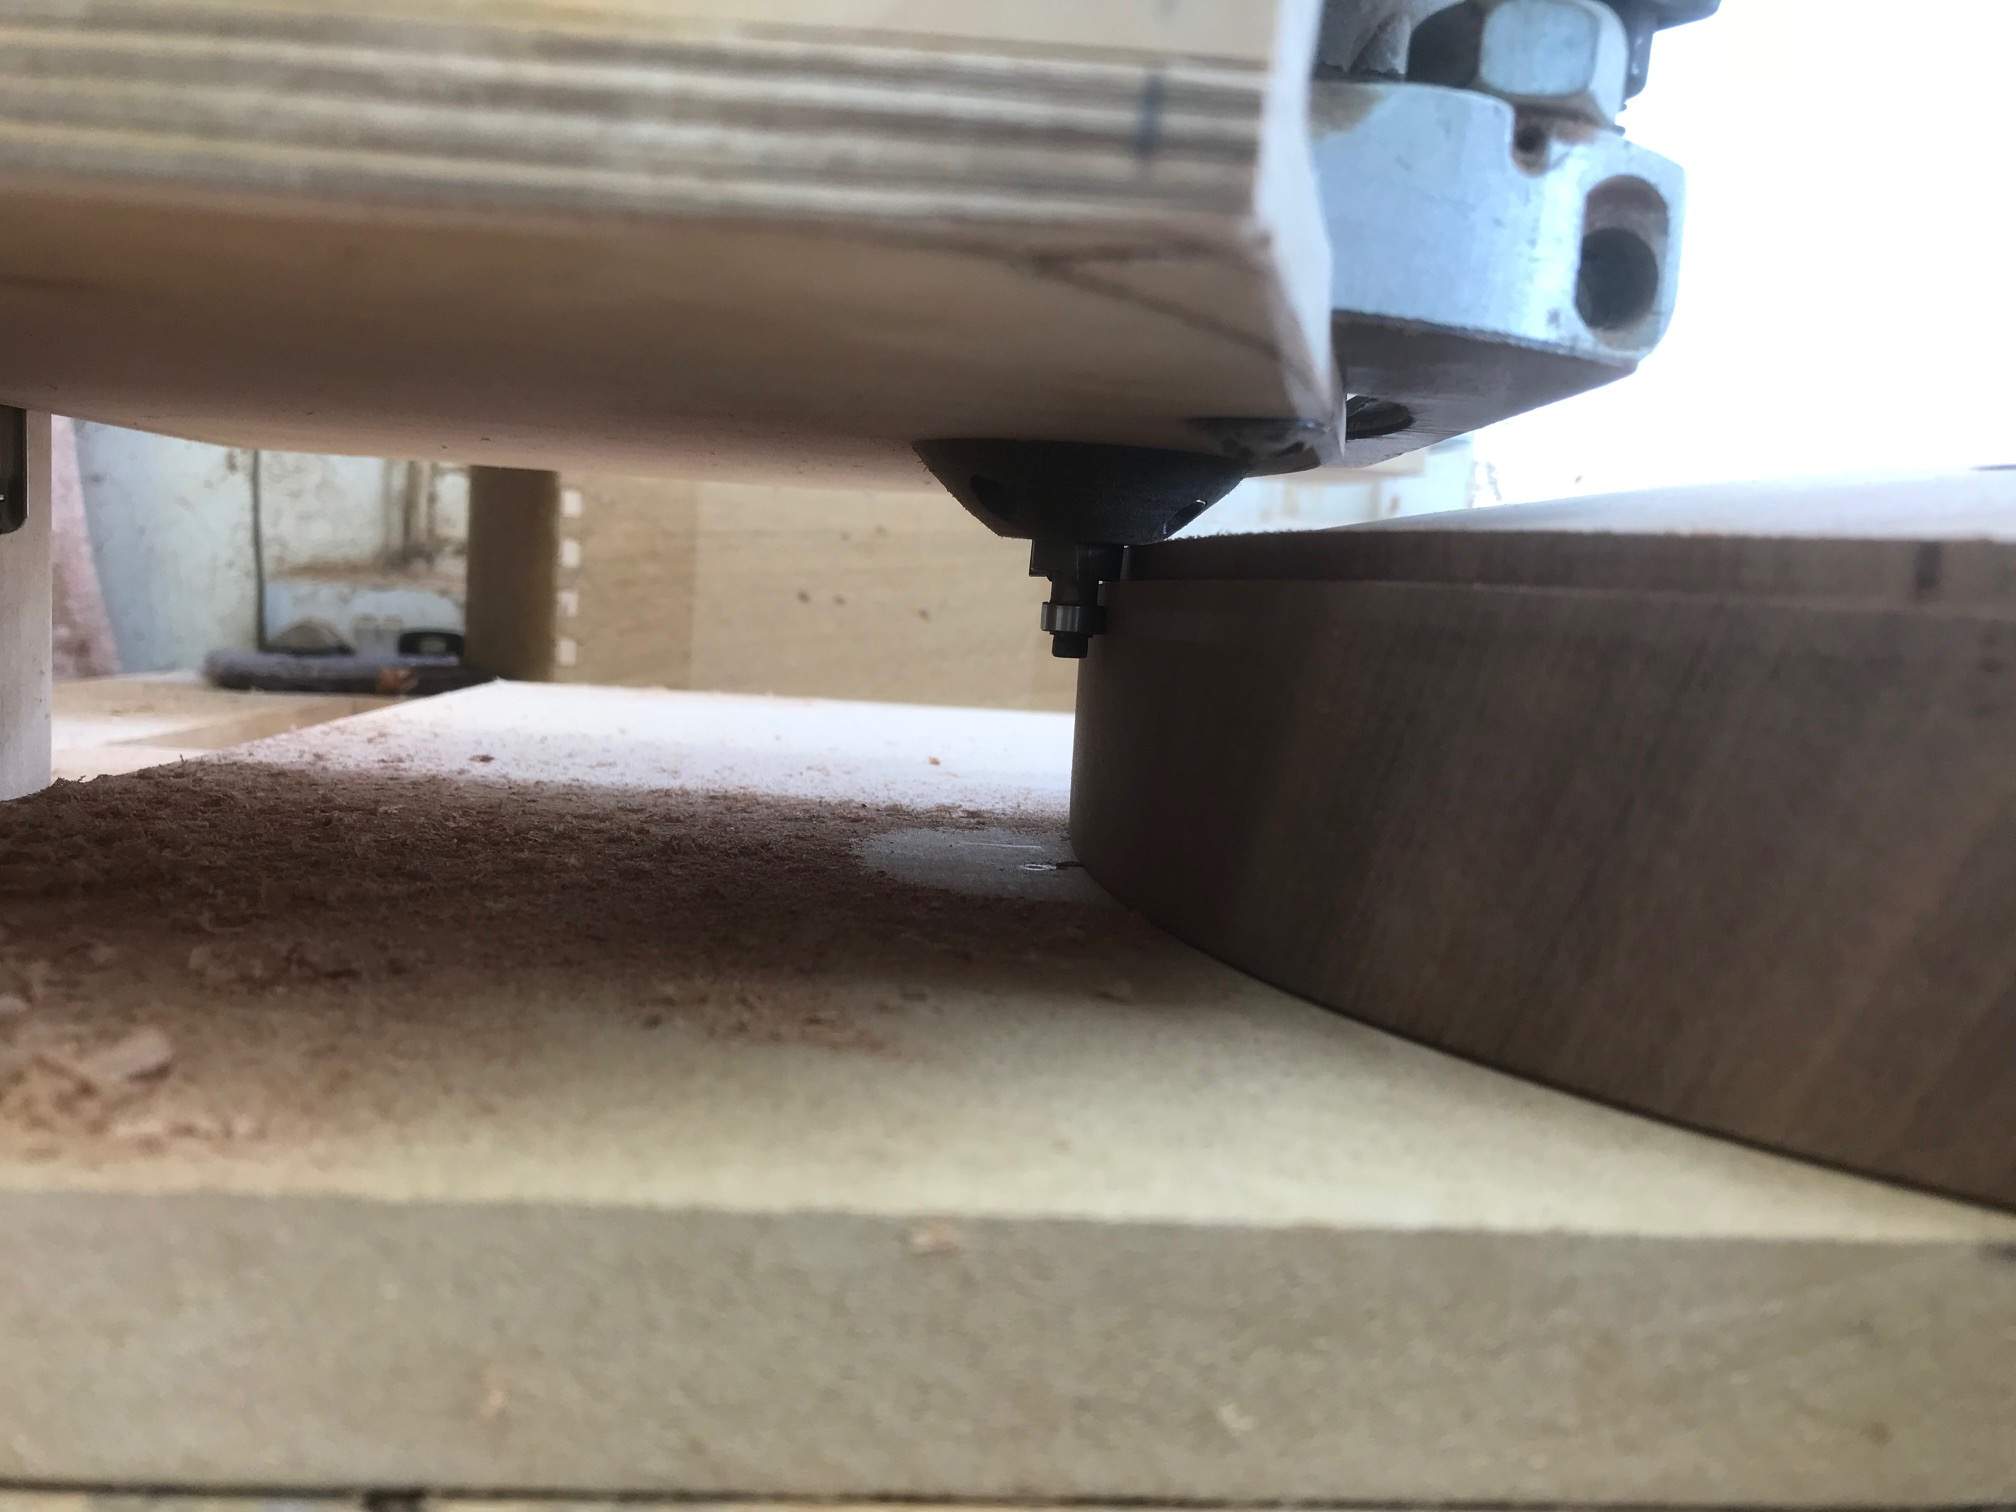
For today's thrilling instalment hold on to your seats First job was to glue together one of the headstock bindings and the body binding. After that I set them aside and routed the binding rebate on the bodies, this time I left an extra half a millimetre, better to need to scrape a bit of wood and go through that again. I ran into a small problem while routing the rebate in the bodies: When I made the routing jig some years ago the base I was routing didn't have such a dramatic carved top as the twins but this time the base of the router carriage fouled on the top of the body so I had to cut a bot away to give it some clearance, after that all went well, so if you ever need to make one, bare that in mind
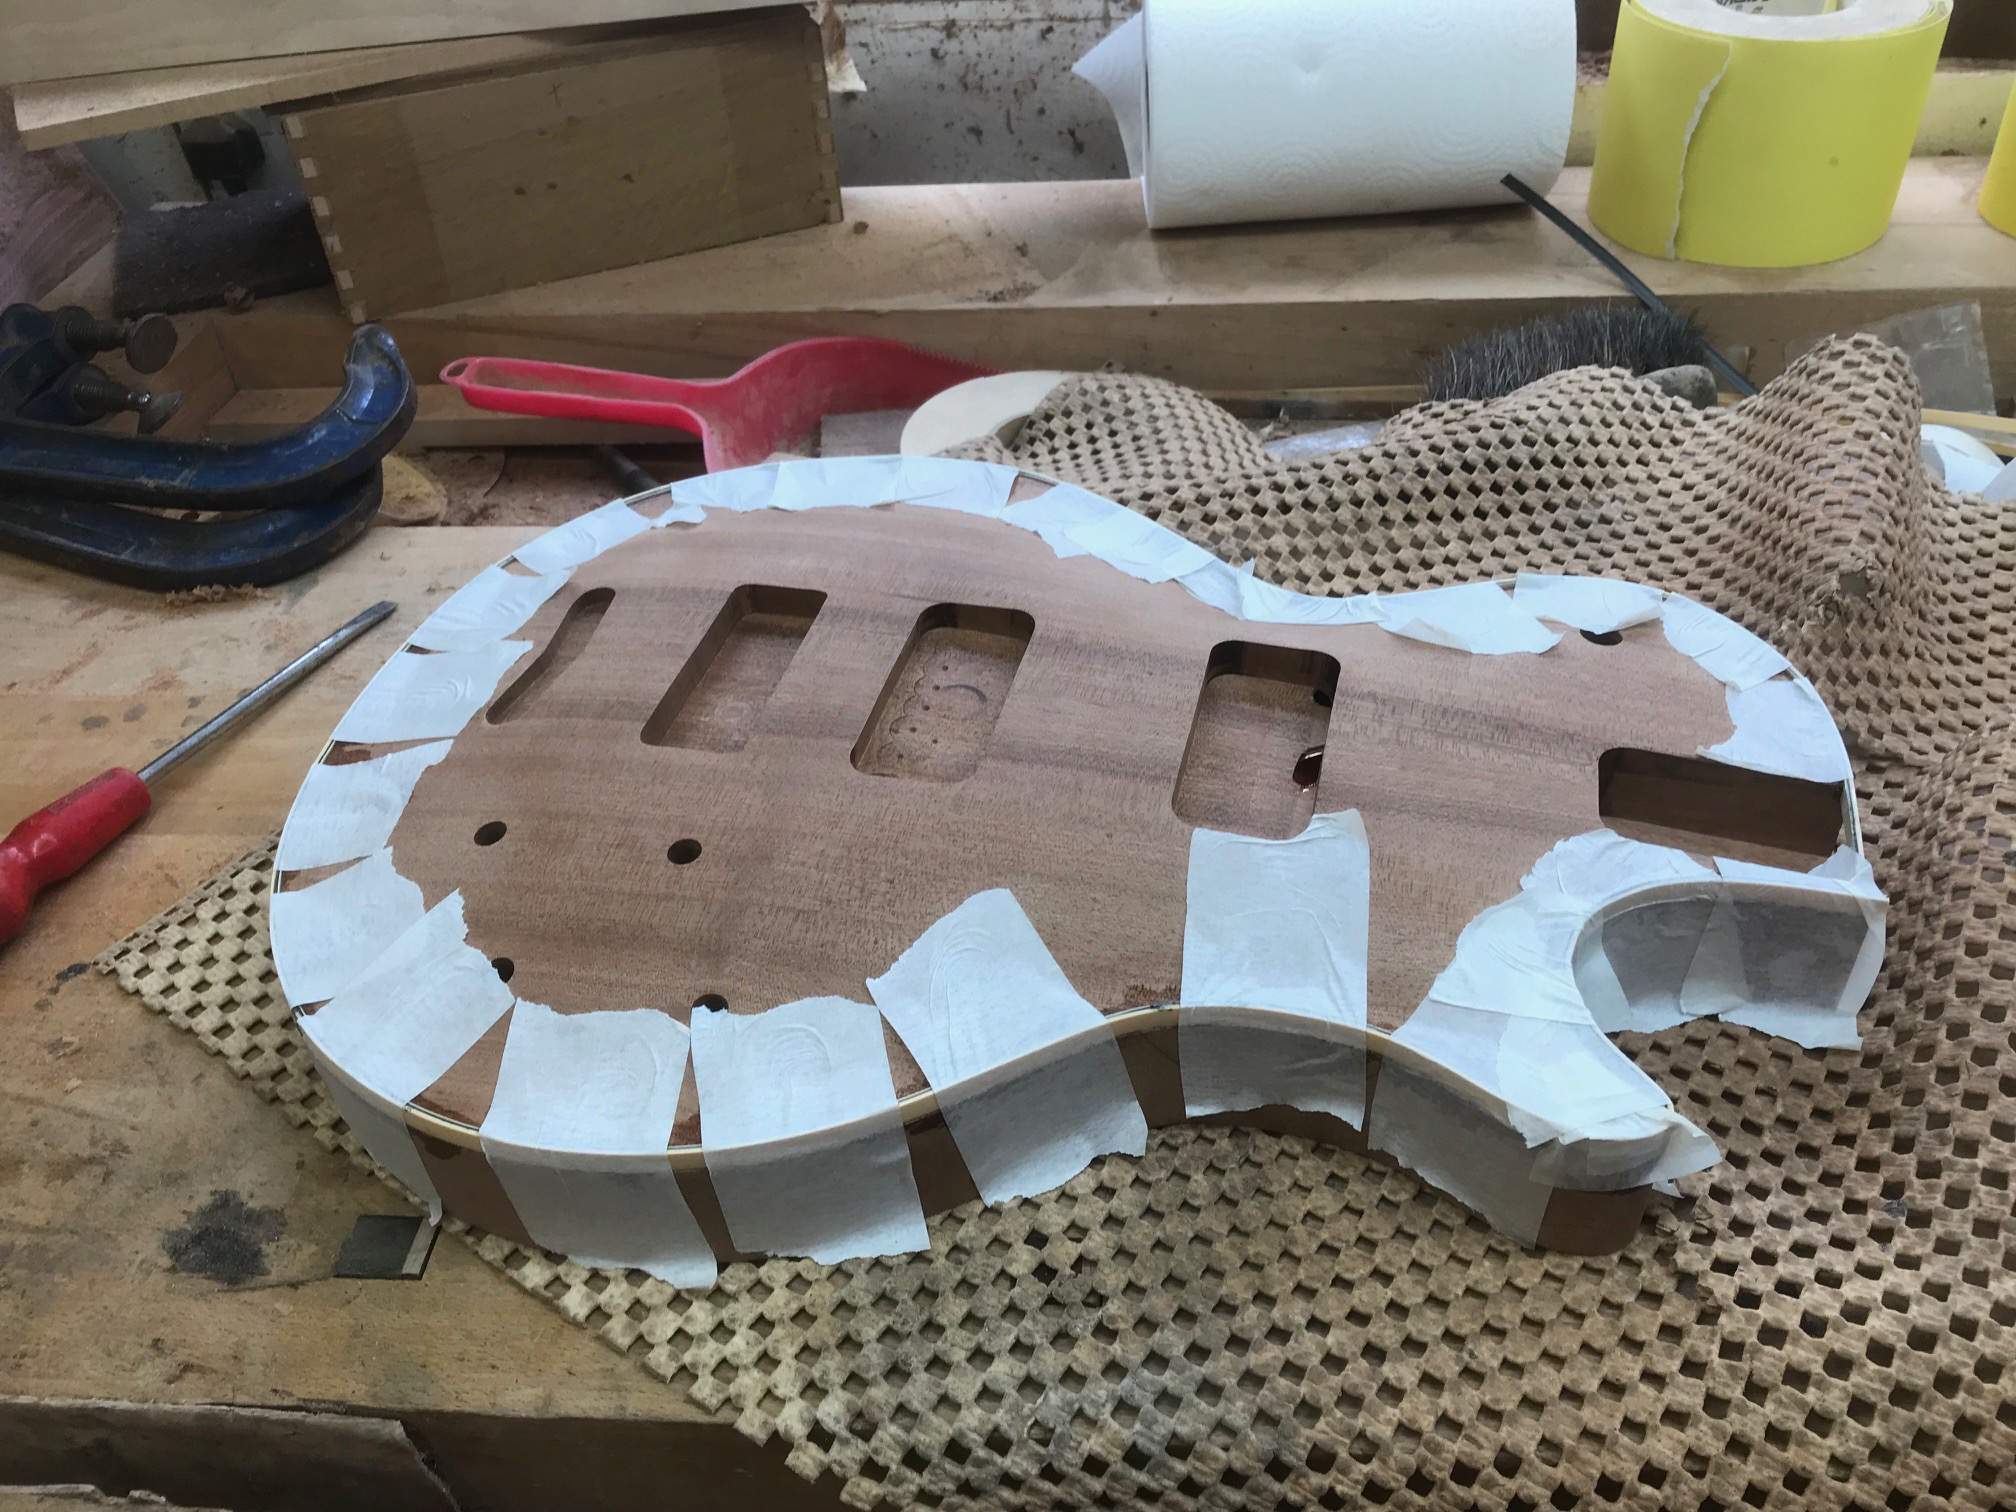
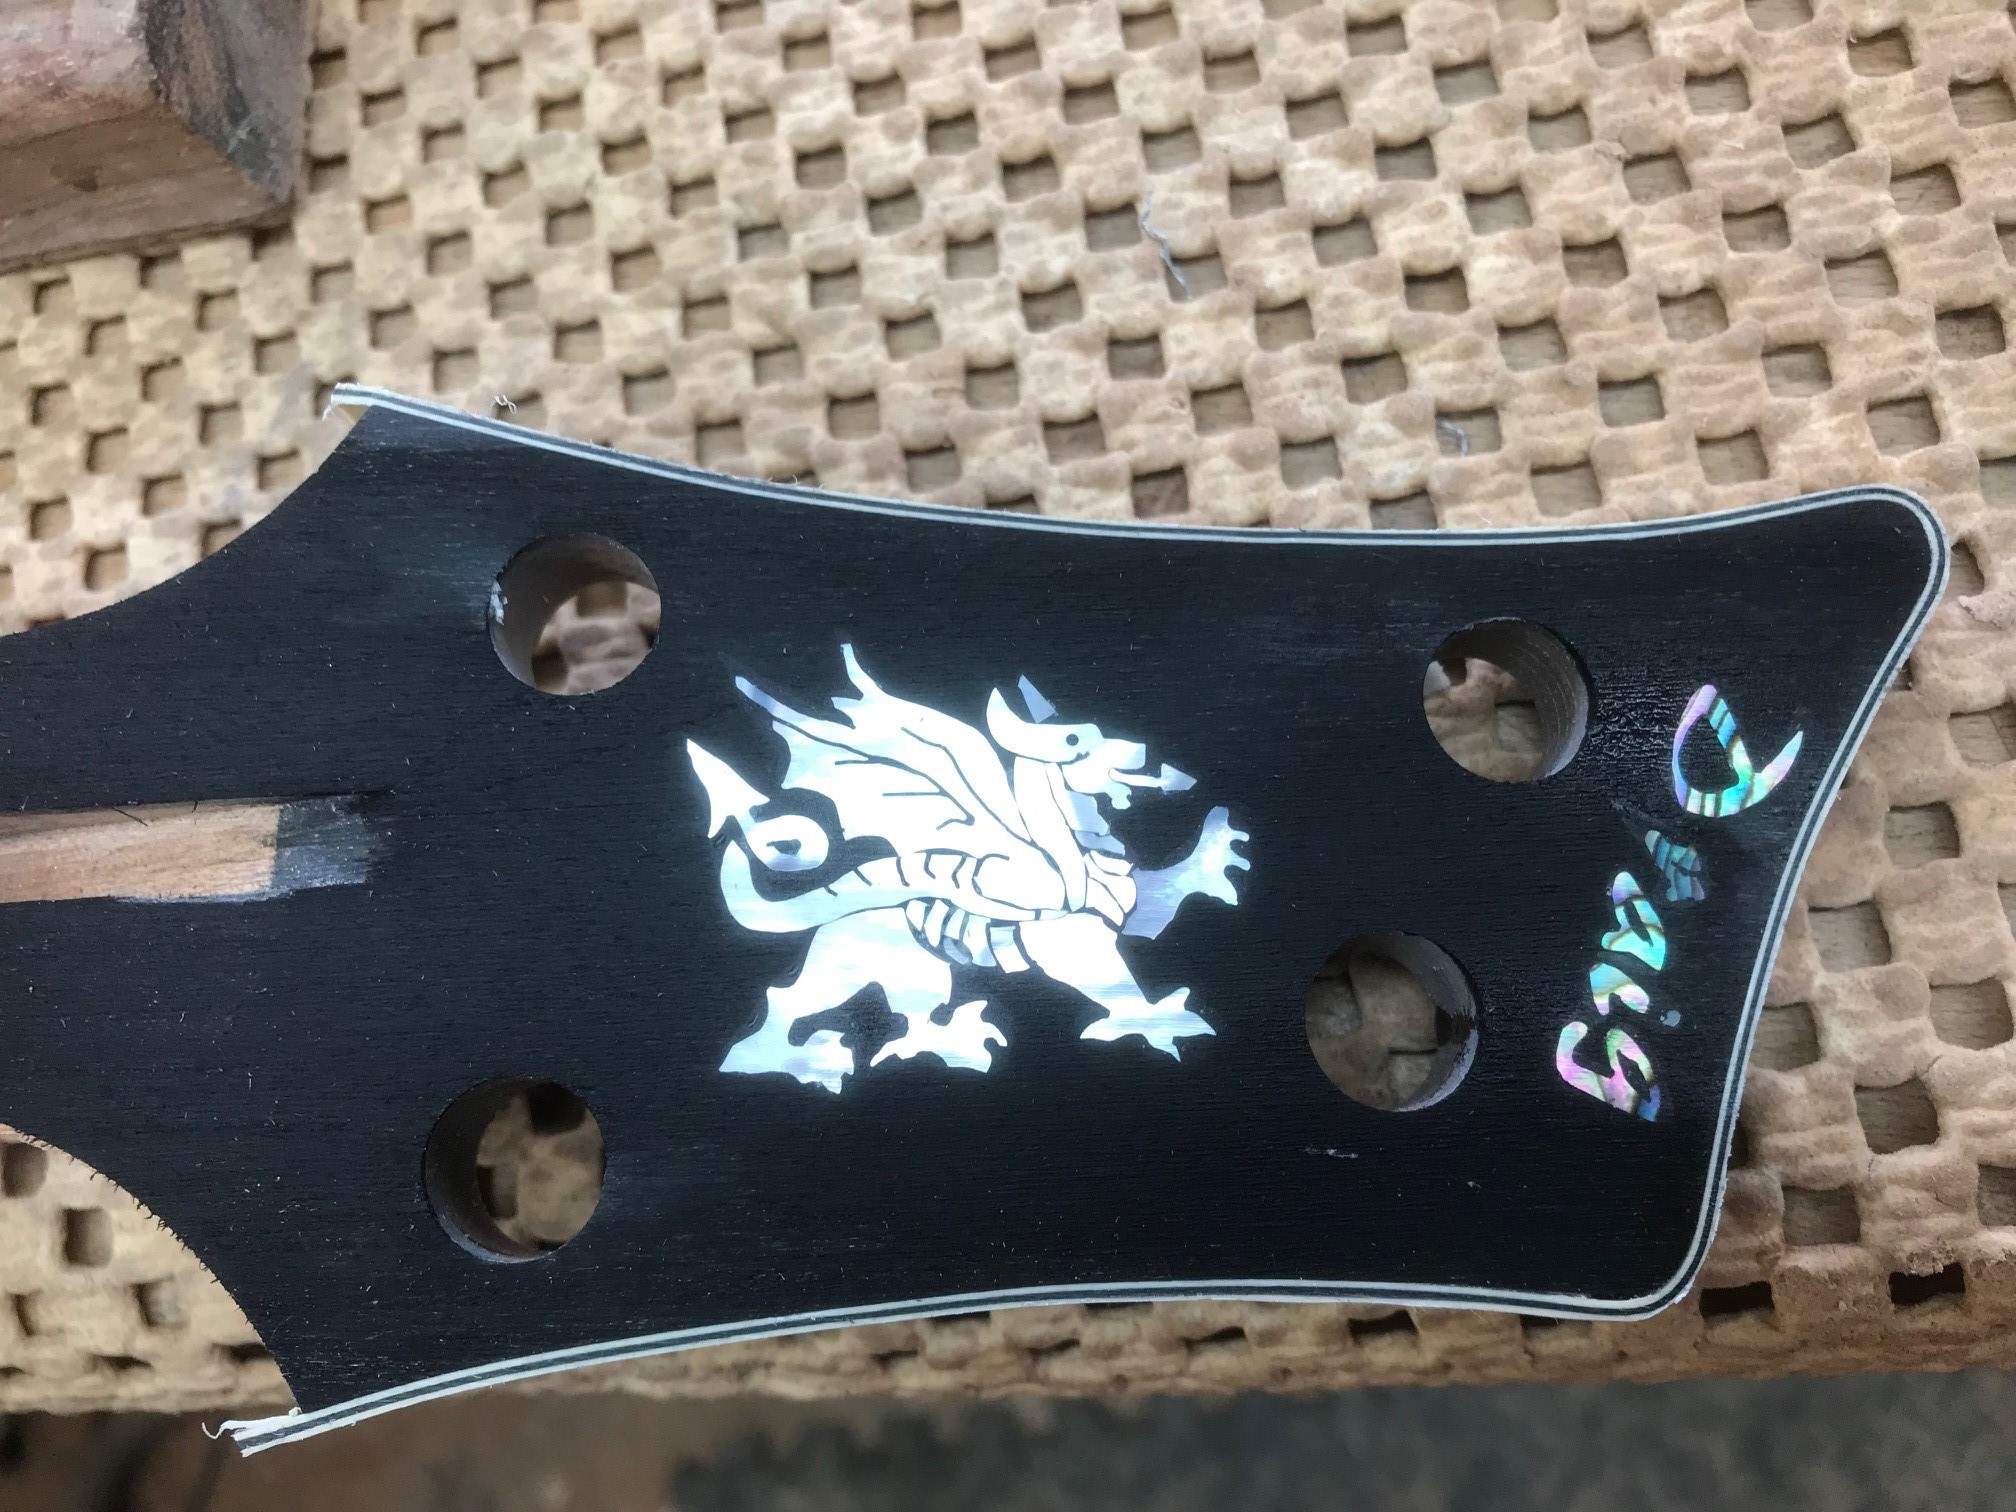
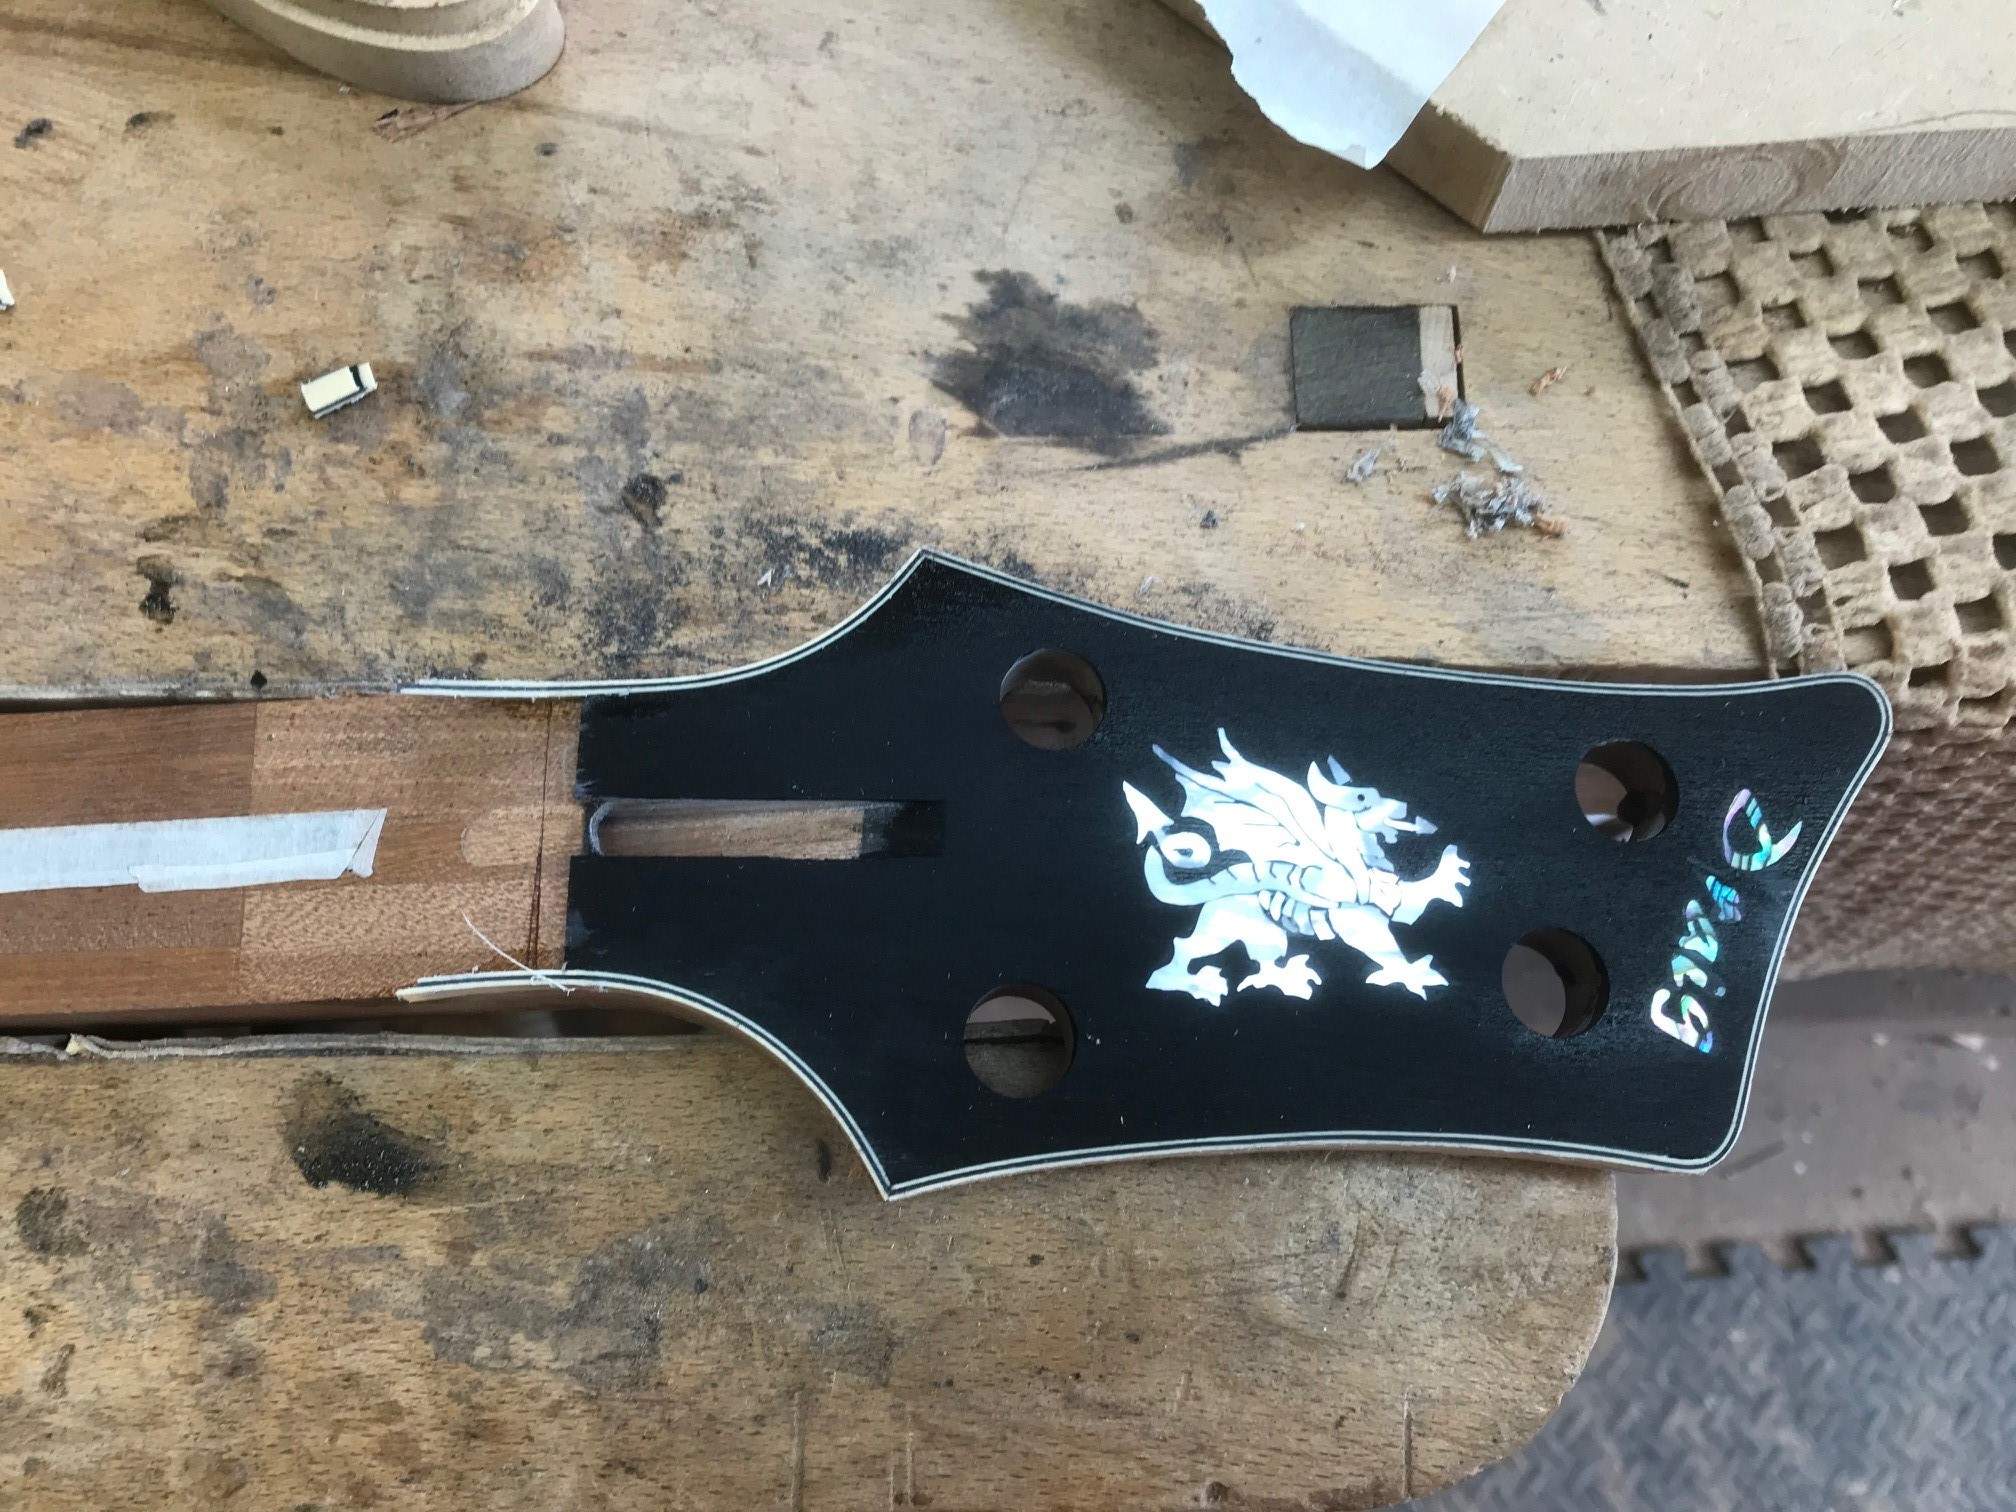
Then after some time I took the bindings out of the formers and glued up the next lot before glueing in the new bindings, then once dry I cleaned them up and prepared the headstock for the second lot of bindings which were formed once the former was free again. I cut the mitre joints freehand with a sharp chisel then welded them to the existing with acetone before finishing off by glueing them in with CA. So at the end of the day we have two sets of binding ready to be cleaned up before I can trim the neck before fitting the fretboards and carving the back of the neck
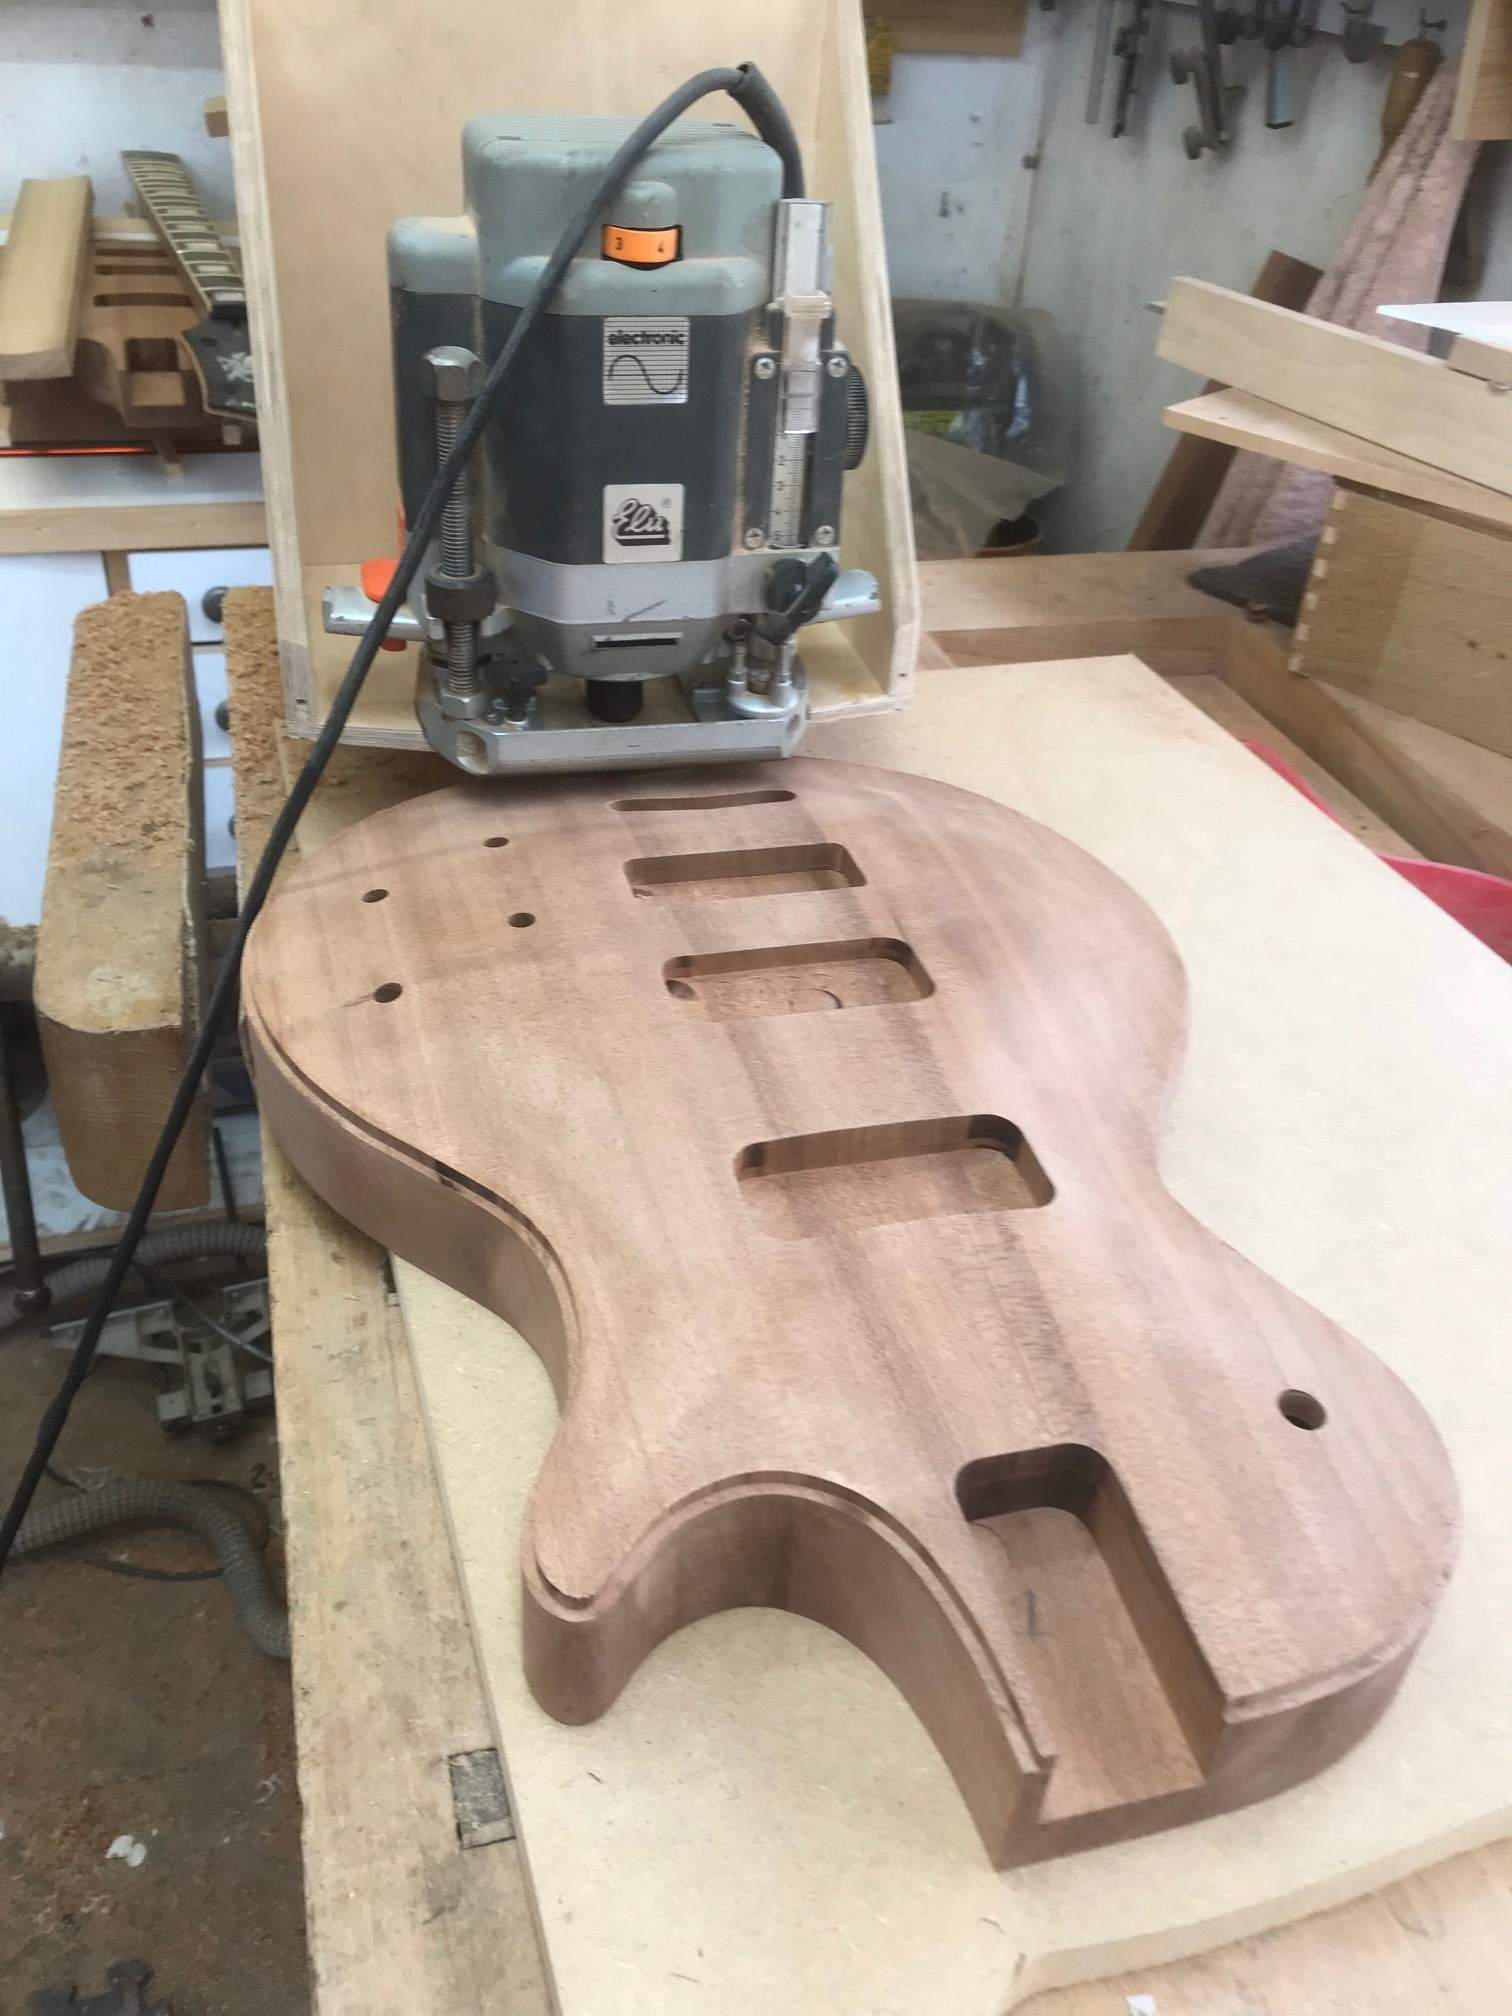
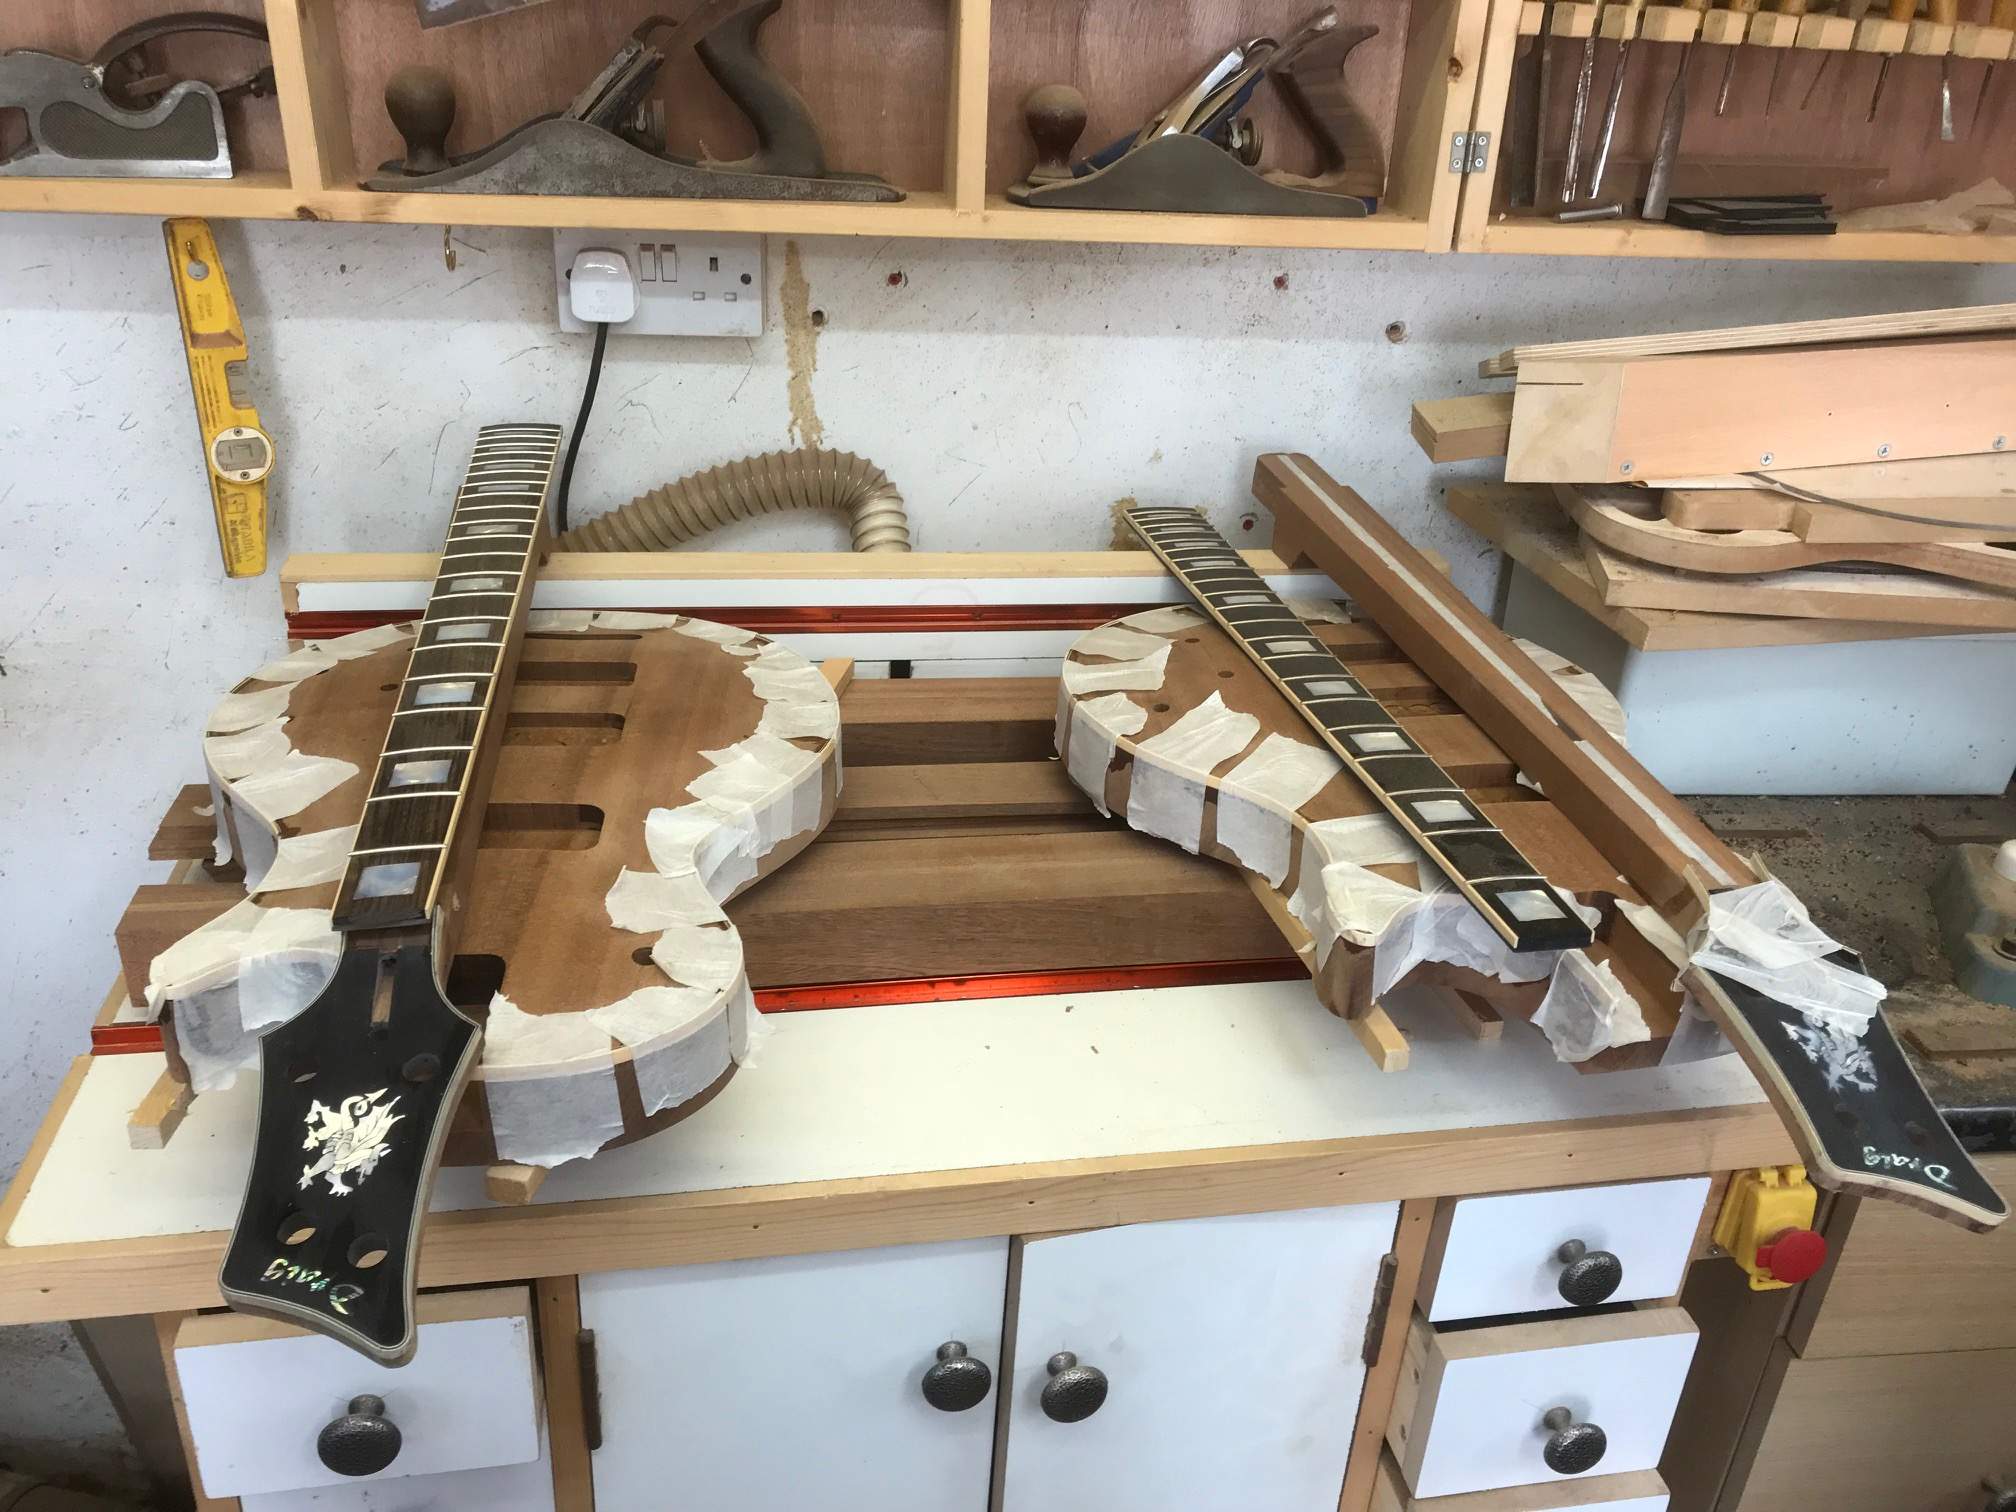
For today's thrilling instalment hold on to your seats
First job was to glue together one of the headstock bindings and the body binding. After that I set them aside and routed the binding rebate on the bodies, this time I left an extra half a millimetre, better to need to scrape a bit of wood and go through that again. I ran into a small problem while routing the rebate in the bodies: When I made the routing jig some years ago the base I was routing didn't have such a dramatic carved top as the twins but this time the base of the router carriage fouled on the top of the body so I had to cut a bot away to give it some clearance, after that all went well, so if you ever need to make one, bare that in mind Then after some time I took the bindings out of the formers and glued up the next lot before glueing in the new bindings, then once dry I cleaned them up and prepared the headstock for the second lot of bindings which were formed once the former was free again. I cut the mitre joints freehand with a sharp chisel then welded them to the existing with acetone before finishing off by glueing them in with CA. So at the end of the day we have two sets of binding ready to be cleaned up before I can trim the neck before fitting the fretboards and carving the back of the neck


