The Elu routers are great they have done an unbelievable amount of work over the years, they were the main workshop routers along with 4 small ones on each bench. These two are a little tired now but still good, I hope they'll see me out anyway. A light would be very handy, I have a large anglepoise screwed to the wall by my bench but it's not ideal for routingHeh, I just retired my 30 year old Craftsman router, bearings getting loose. I replaced it with a Porter Cable, all around better router, but I miss the built in light on the Craftsman. Been looking for an aftermarket light for the PC, doesn’t seem to exist. If yours still runs true, work it!

Enjoy the benefits of a premium membership!
Upgrade Account
-
TalkBass has been independent since 1998. Add your voice.
Create a free account to reply to discussions, view embedded media, and browse with fewer display ads.
Join free Log in
Want zero display ads or expanded classifieds tools? Compare plans.
You are using an out of date browser. It may not display this or other websites correctly.
You should upgrade or use an alternative browser.
You should upgrade or use an alternative browser.
More options
Who Replied?
Coffee doesn't half revive you  Yup I went back out to the workshop, you knew I would didn't you?
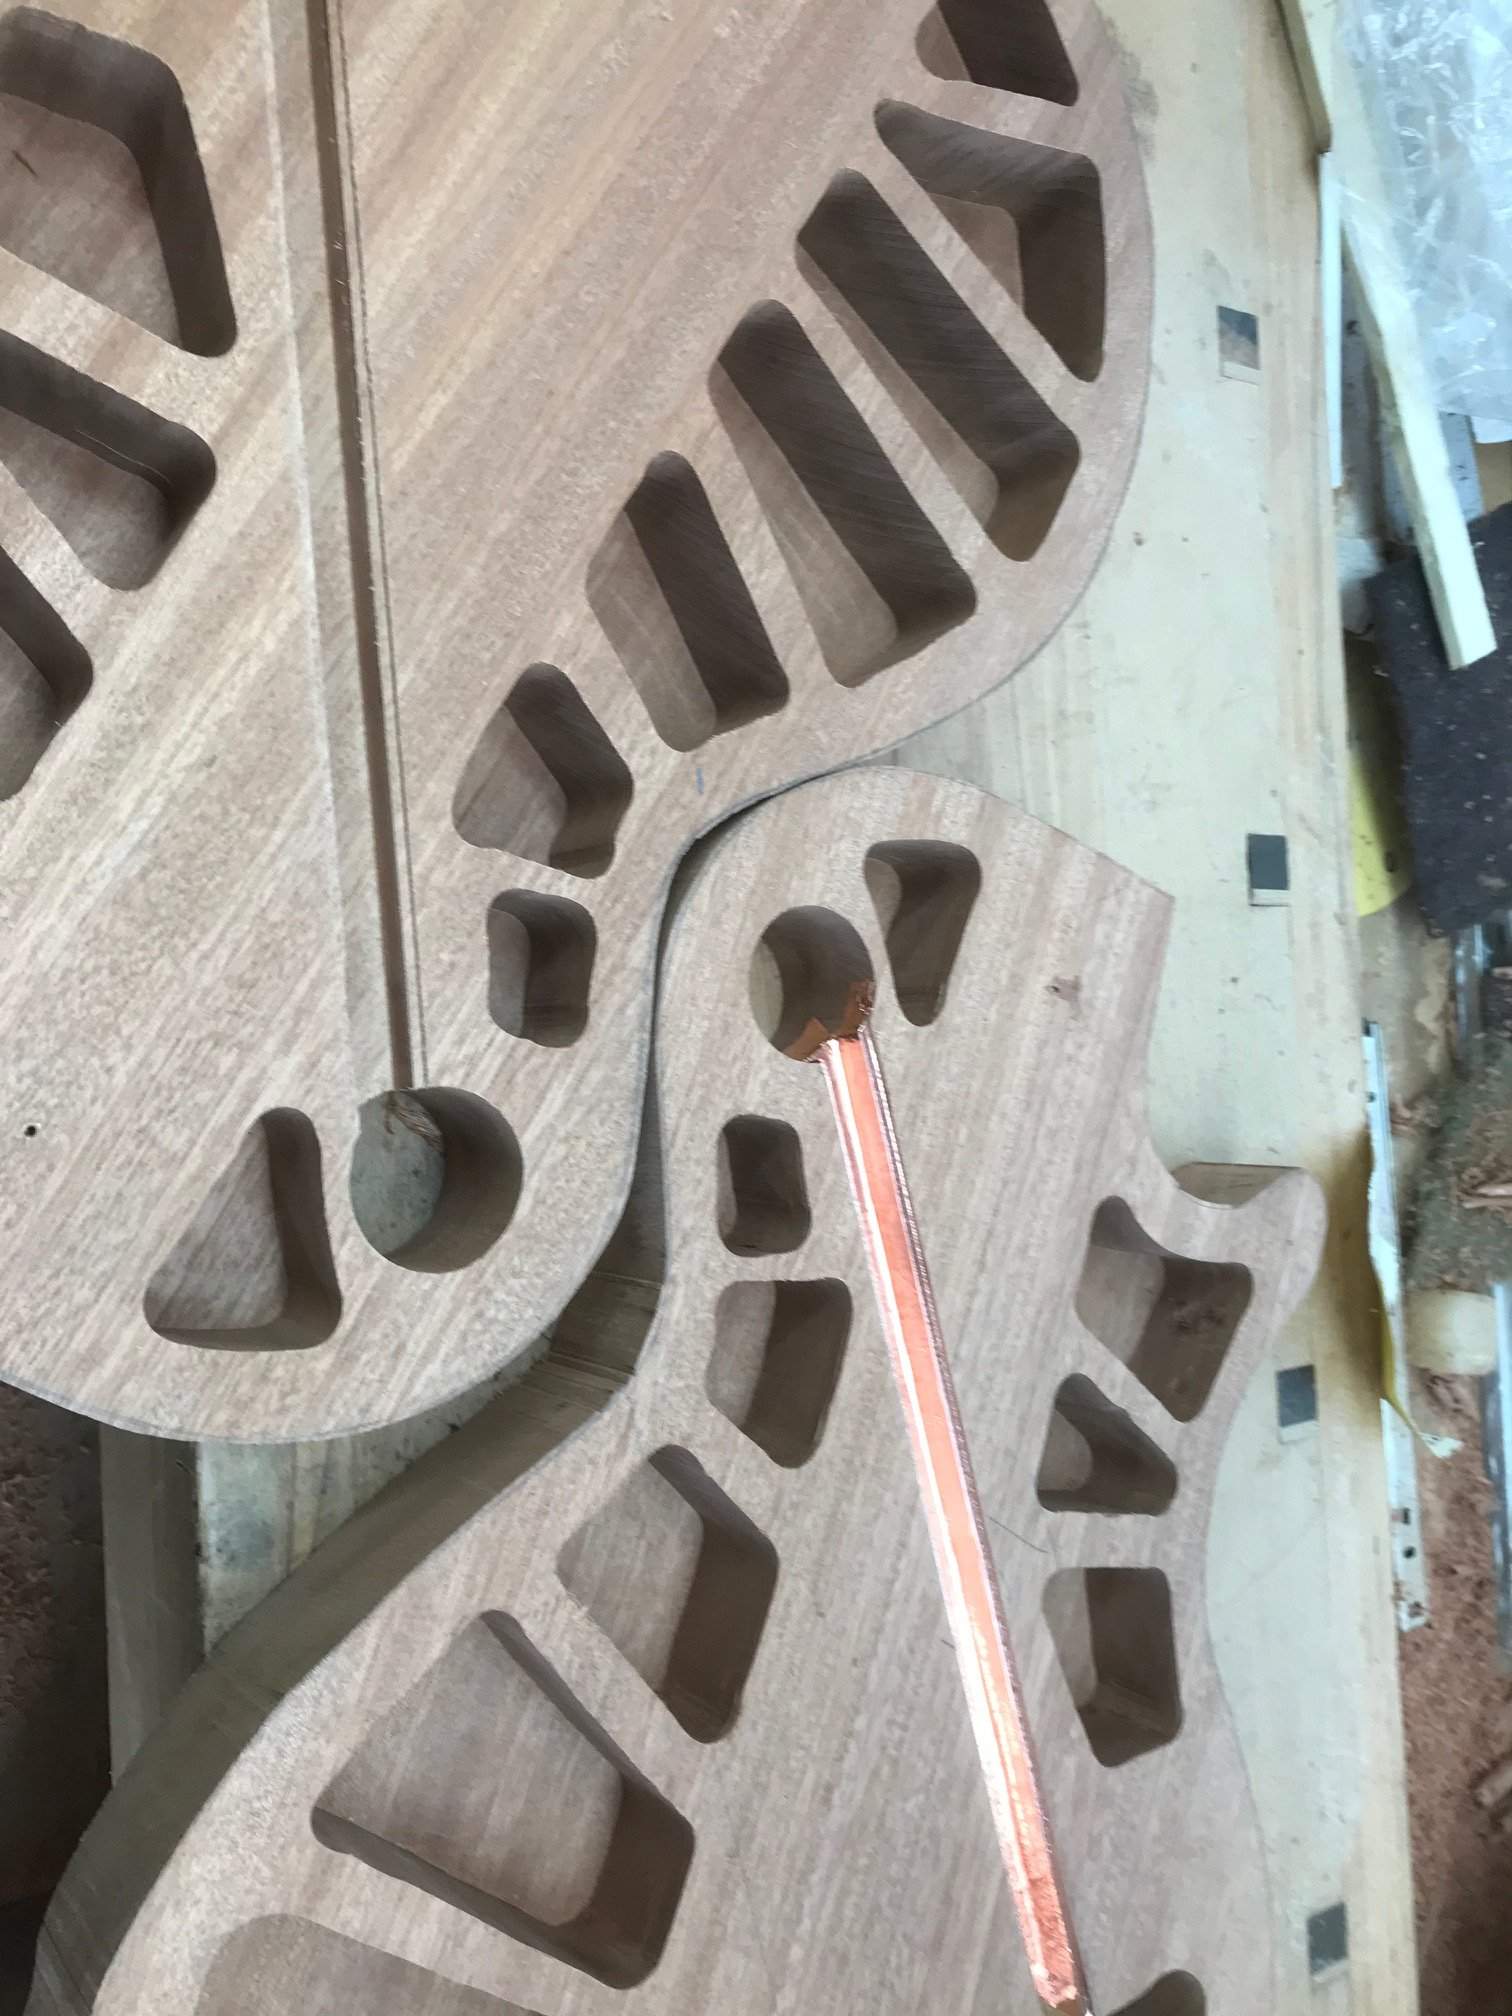
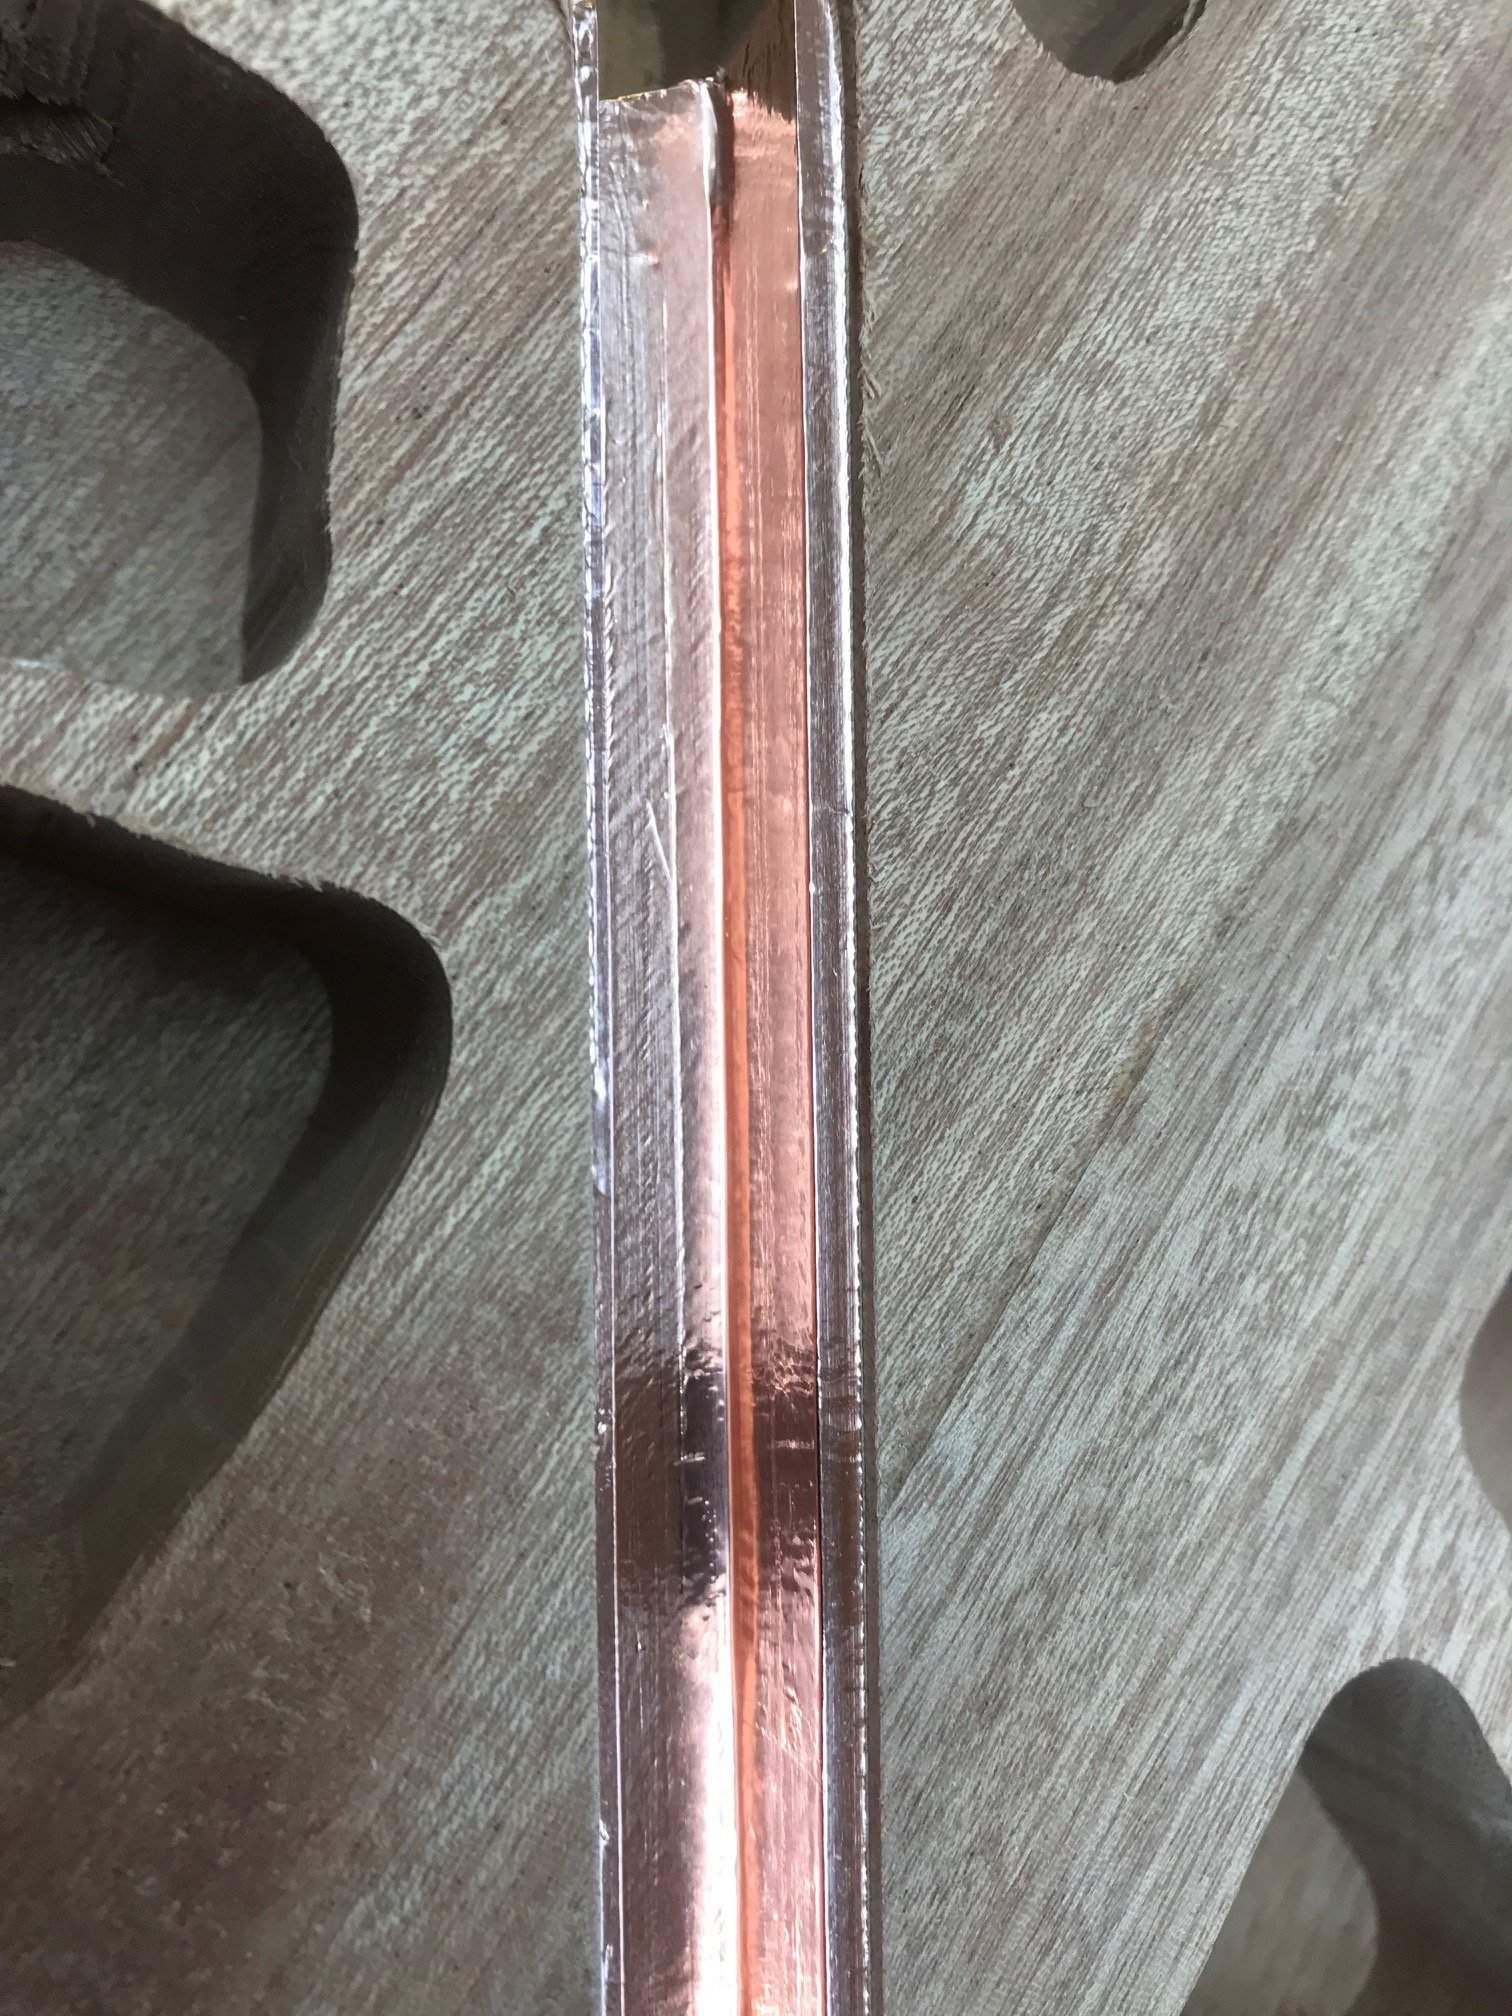
Routed in a channel between the switch and control cavity and stuck some shielding in.
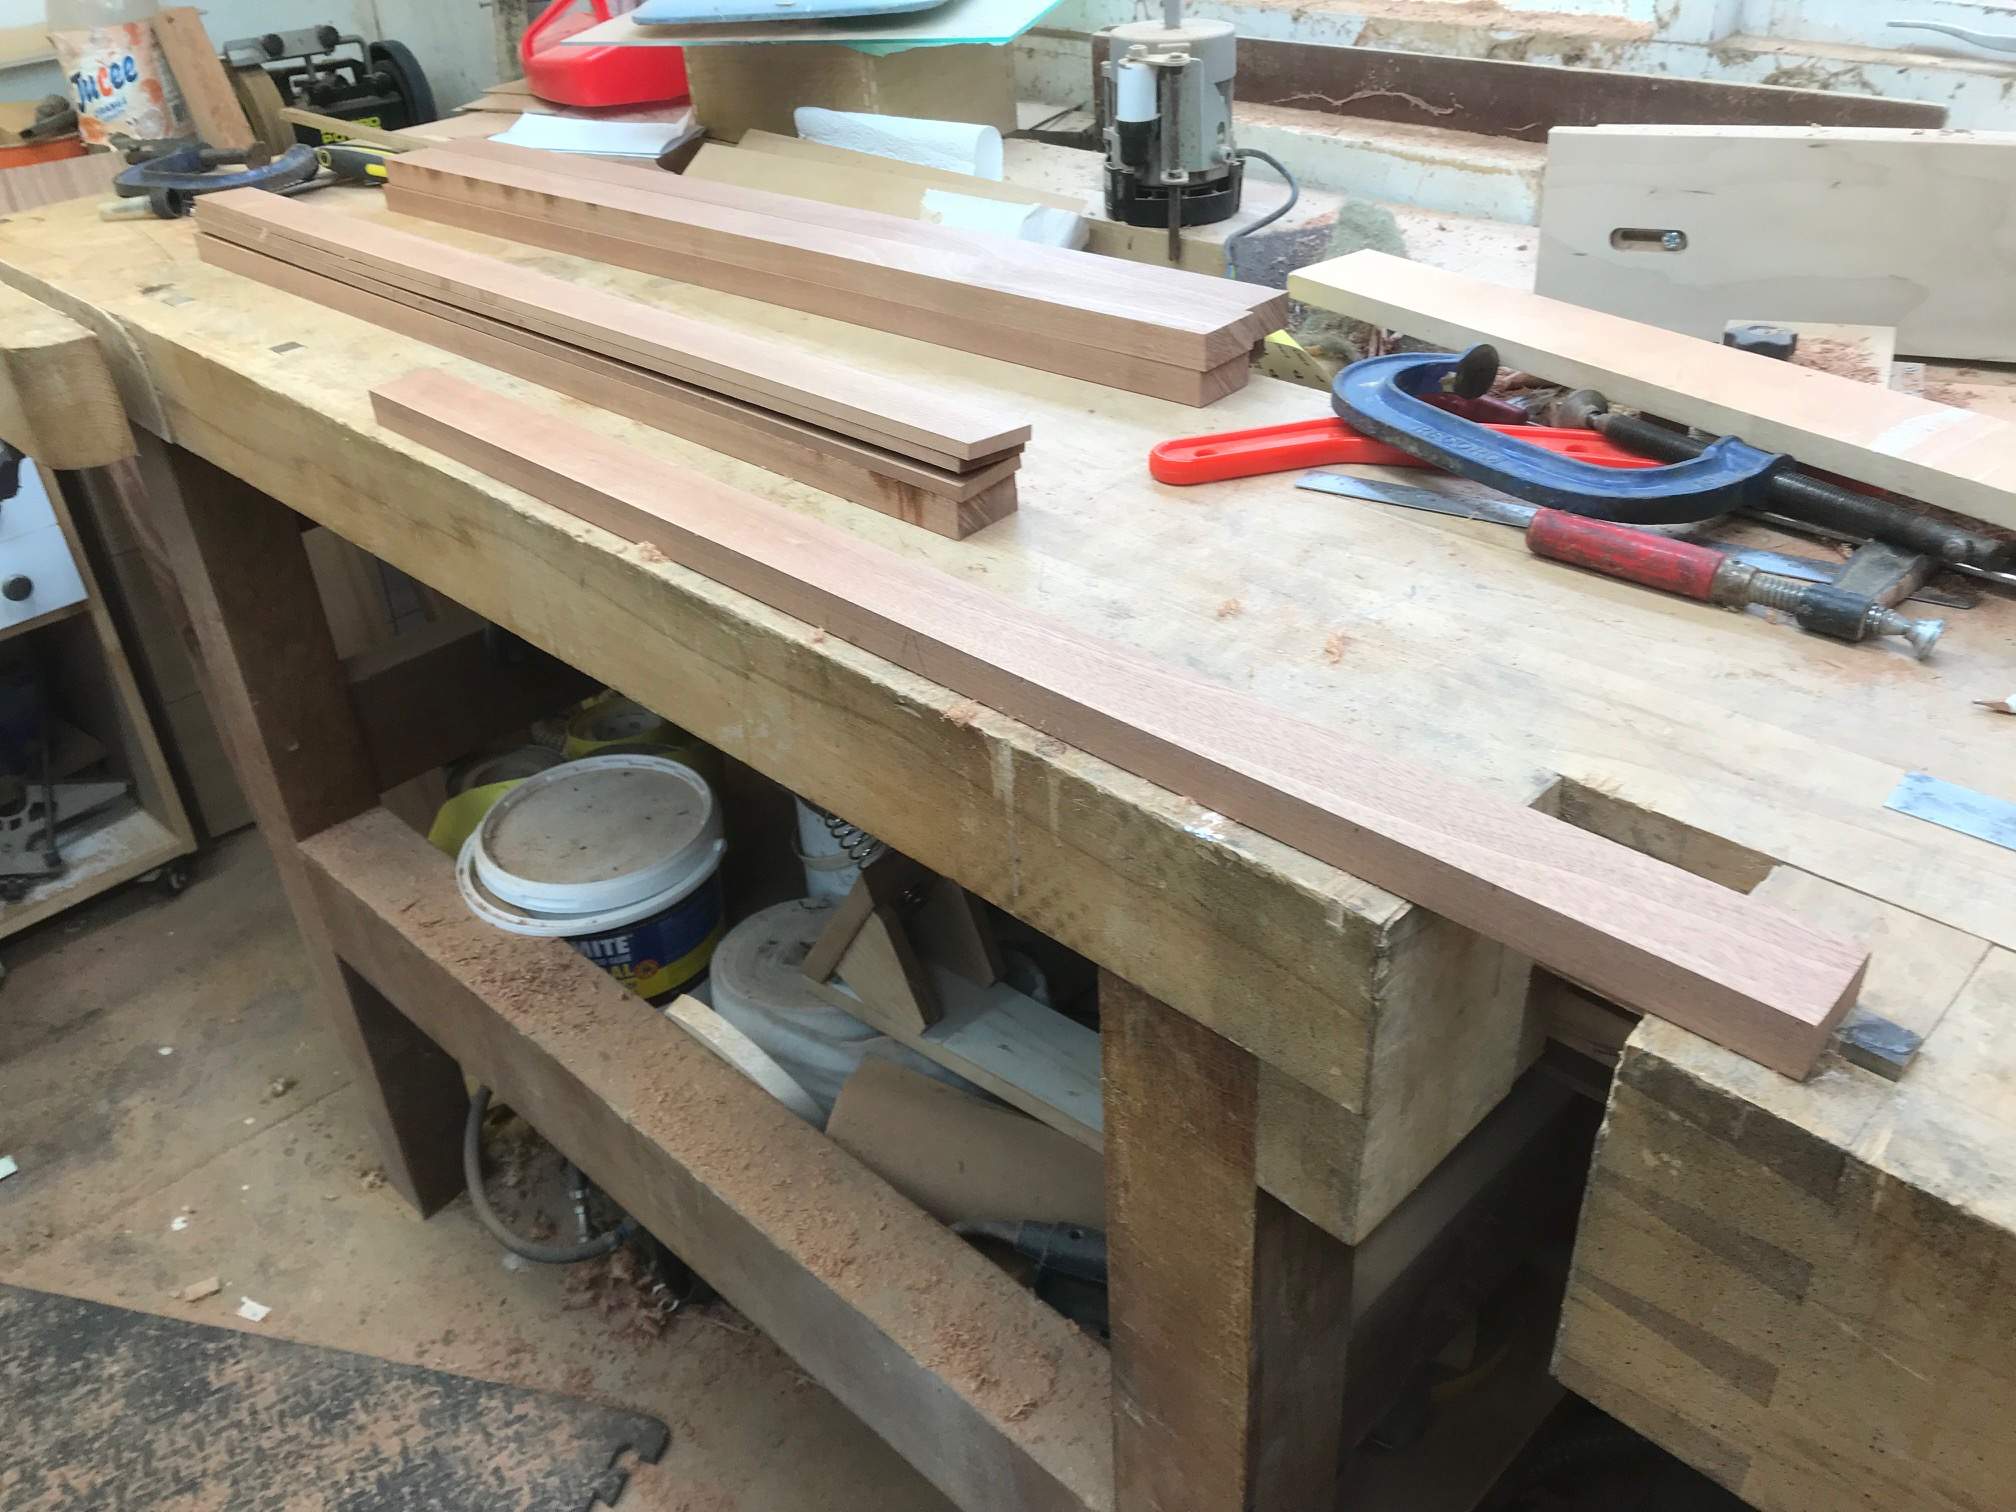
Planes the neck laminates and glued them together, well I glued two together, I had enough usable bits to make four necks so I'll glue up the other two in the morning and they can wait for the next job ( a pair of deluxe Thunderbirds ). I'd thought I'l lose more bits than I did but they all stayed pretty flat this time; I just lost three to winding.
Oh, just a note, when I glued the body up I mentioned that I didn't think that a surface from the planer was good enough for glueing so I planed them by hand with a slight hollow along their length if you remember. If I did that here I would have a total of eight curved surfaces stuck together which would leave a noticeable curve along the neck. What I did in this case was to use a cabinet scraper with two passes diagonally opposed which left a nice clean glueing surface and dead straight necks
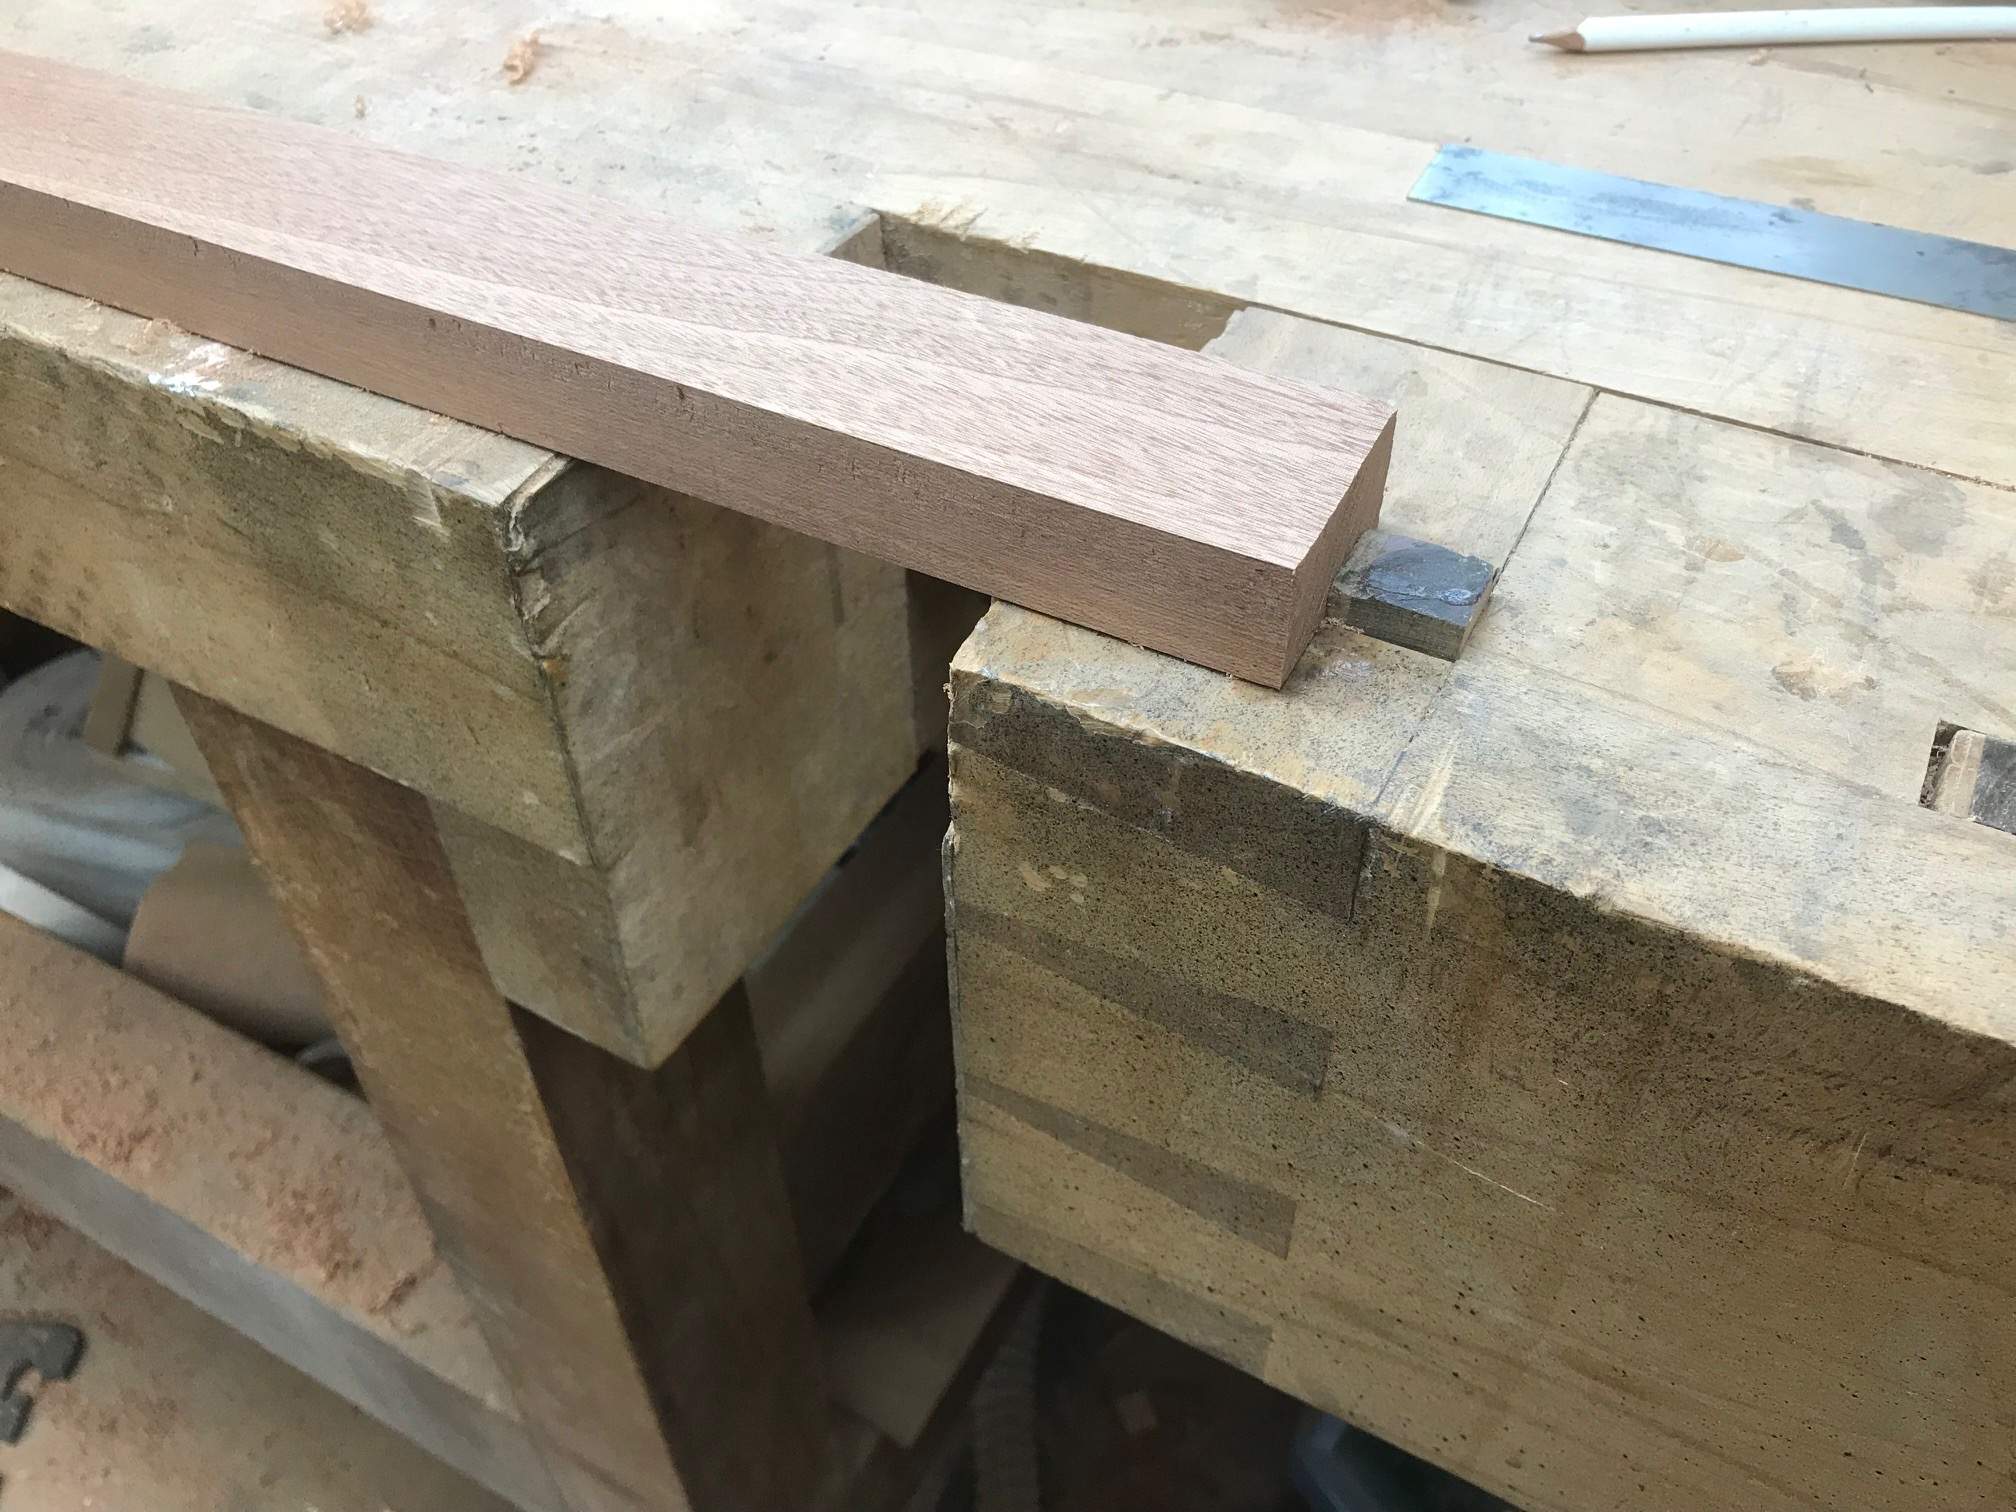
Also in case any of you were wondering what the bench dogs were for there's a picture of one in use
You can see the laminate that have wound here
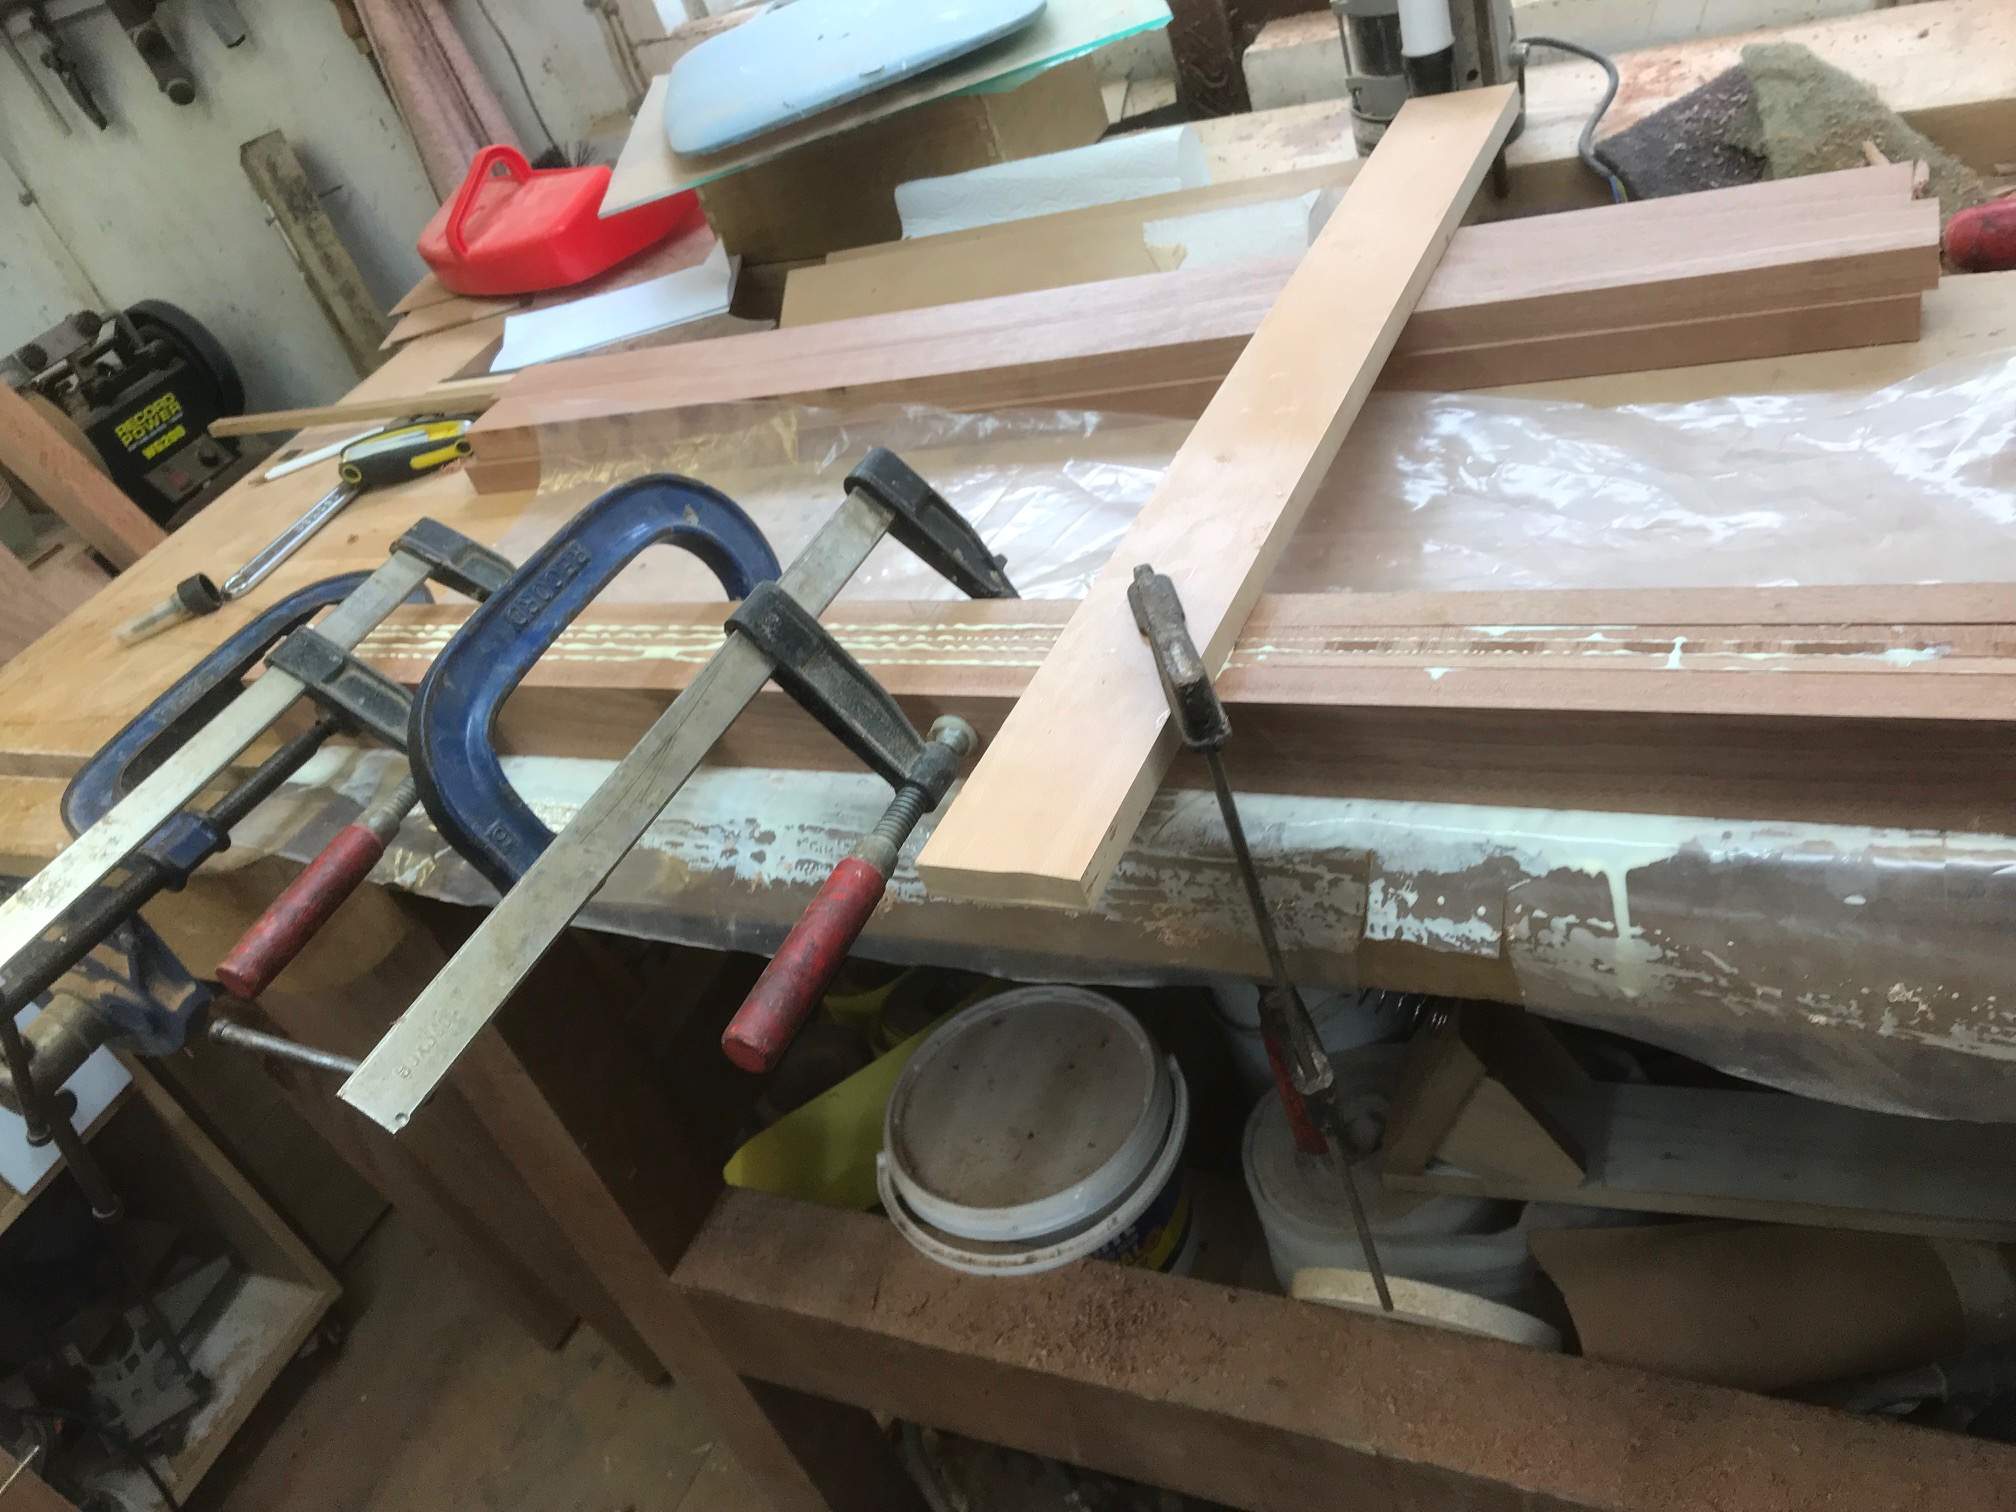
Yup I went back out to the workshop, you knew I would didn't you? Routed in a channel between the switch and control cavity and stuck some shielding in.
Planes the neck laminates and glued them together, well I glued two together, I had enough usable bits to make four necks so I'll glue up the other two in the morning and they can wait for the next job ( a pair of deluxe Thunderbirds
). I'd thought I'l lose more bits than I did but they all stayed pretty flat this time; I just lost three to winding.Oh, just a note, when I glued the body up I mentioned that I didn't think that a surface from the planer was good enough for glueing so I planed them by hand with a slight hollow along their length if you remember. If I did that here I would have a total of eight curved surfaces stuck together which would leave a noticeable curve along the neck. What I did in this case was to use a cabinet scraper with two passes diagonally opposed which left a nice clean glueing surface and dead straight necks
Also in case any of you were wondering what the bench dogs were for there's a picture of one in use
You can see the laminate that have wound here

Very clean shielding! I have a similar wiring slot in my build in progress, was thinking of using the shielding paint this time, but maybe I could pull off the copper.
Last edited:
It's easy in an open slot, I just wrapped it around a short thin bit of wood, got one edge seated then moved it over and seated the other side. The switch hole and control cavities are a different matter, they're a right PITA. I bought a uge roll of copper tape a few years ago so I'm stuck with it until it runs out, I'm tight fisted, my dad was a YorkshiremanVery clean shielding! I have a similar wiring slot in my build in progress, was thinking of using the shielding paint this time, but maybe I could pull off the copper.

Interesting

Fuming -that’s something I’ve never heard of... well except when I piss off my wifeHere's an option, The mahogany is a slightly pinky brown colour, I truly hate staining wood, I'm not very good at it and I have personal objections that are more furniture related than guitar related but something I do like is "fuming". *** I hear you cry!
And has she learned all about panning? Not for gold but over your head (when you do piss her off) with a frying pan?Interesting
Fuming -that’s something I’ve never heard of... well except when I piss off my wife
Thankfully I’m the cook so she doesn’t often have the frying pan in hand.And has she learned all about panning? Not for gold but over your head (when you do piss her off) with a frying pan?
What did you do to give you such an aversion to fuming? I never got more than a phew that stinks and I think we did it probably twice a month for nearly 20 years.Forget you ever heard of fuming! It’s a nightmare. I found some reactive stains that do the same job without the violent toxicity. I don’t see oak come up much in guitar building, though it seems like a quarter sawn oak neck would be stiff as hell, but maybe too heavy.
It works well on Mahoganies too, if I'm being persuaded to leave the back exposed I'm going to fume them, I like the effect
Last edited:
I think it was the drafting machine experience. I was literally poisoned, it’s anhydrous ammonia in very high concentration. Extremely toxic stuff. I was sick for days, probably should have gone to the hospital, young and stupid! Now the least whiff of ammonia gives me a headache. Like I said, I found a two part reactive stain that gives a very similar to fumed finish by oxidizing the oak tannins, but nowhere near the toxicity. I’ll drag it out, can’t remember the brand name. Anybody fuming oak should try it, very nice deep brownish stain, and it penetrates a bit like ammonia fuming.
I've never had problems but I do agree that it is a noxious substance and needs to be handled with extreme care. I love the colour it brings out on Mahoganies, a reddy purple hue in the white but when sprayed it looks a very mature colour

I've never had problems but I do agree that it is a noxious substance and needs to be handled with extreme care. I love the colour it brings out on Mahoganies, a reddy purple hue in the white but when sprayed it looks a very mature colour
Sure sounds like it'll go great with a blacktop.........
Actually the colour would be very similar to that Gretsch a couple of pages backSure sounds like it'll go great with a blacktop.........
Actually the colour would be very similar to that Gretsch a couple of pages back
Which to me, looks stunning.
My new cutters arrived today, so tomorrow morning I shall have a go at the shaping of the outside of the twins and get the the tops prepared for gluing on, yey!

Are you a chippy by trade?The bench is beautiful, I actually made it myself to suit my needs. It's 8' long and about 40" deep made from solid Welsh beech 4" thick. The frame is 4" English oak with a low front stretcher to allow for chair legs etc to be clamped down without interference. The clams (dogs in the UK are made from Lignum Vitae with Yew springs and hornbeam pads. It takes 4 people to move the top and 2 to move the frame. It's one of my most precious belongings as I could never make another or be able to buy anything like it. The top needs a clean and wax again, it's filthy but it's still dead flat, I checked it this morning
Cabinet maker, I was apprenticed to a man called Joe Hollet one of the last true craftsmen to come out of the Gillows (of Lancaster) workshops. Sadly long since gone now, a true geniusAre you a chippy by trade?
This thread is very, very impressive. Thanks for sharing your insight. Wish I had your skill set.Cabinet maker, I was apprenticed to a man called Joe Hollet one of the last true craftsmen to come out of the Gillows (of Lancaster) workshops. Sadly long since gone now, a true genius
This morning I opened the new bearing cutter, a very impressive looking thing it is, it has a split bearing at the shank end, I suppose it can be used in a restricted space? Who knows but it worked well enough.
I also re planed the wood for the top down to 21.25mm (I need 20mm eventually) and jointed it and glued it up. It is sat there now until the morning when I'll plane it flat on one side and glue them to the backs ready for the final bits of shaping etc.
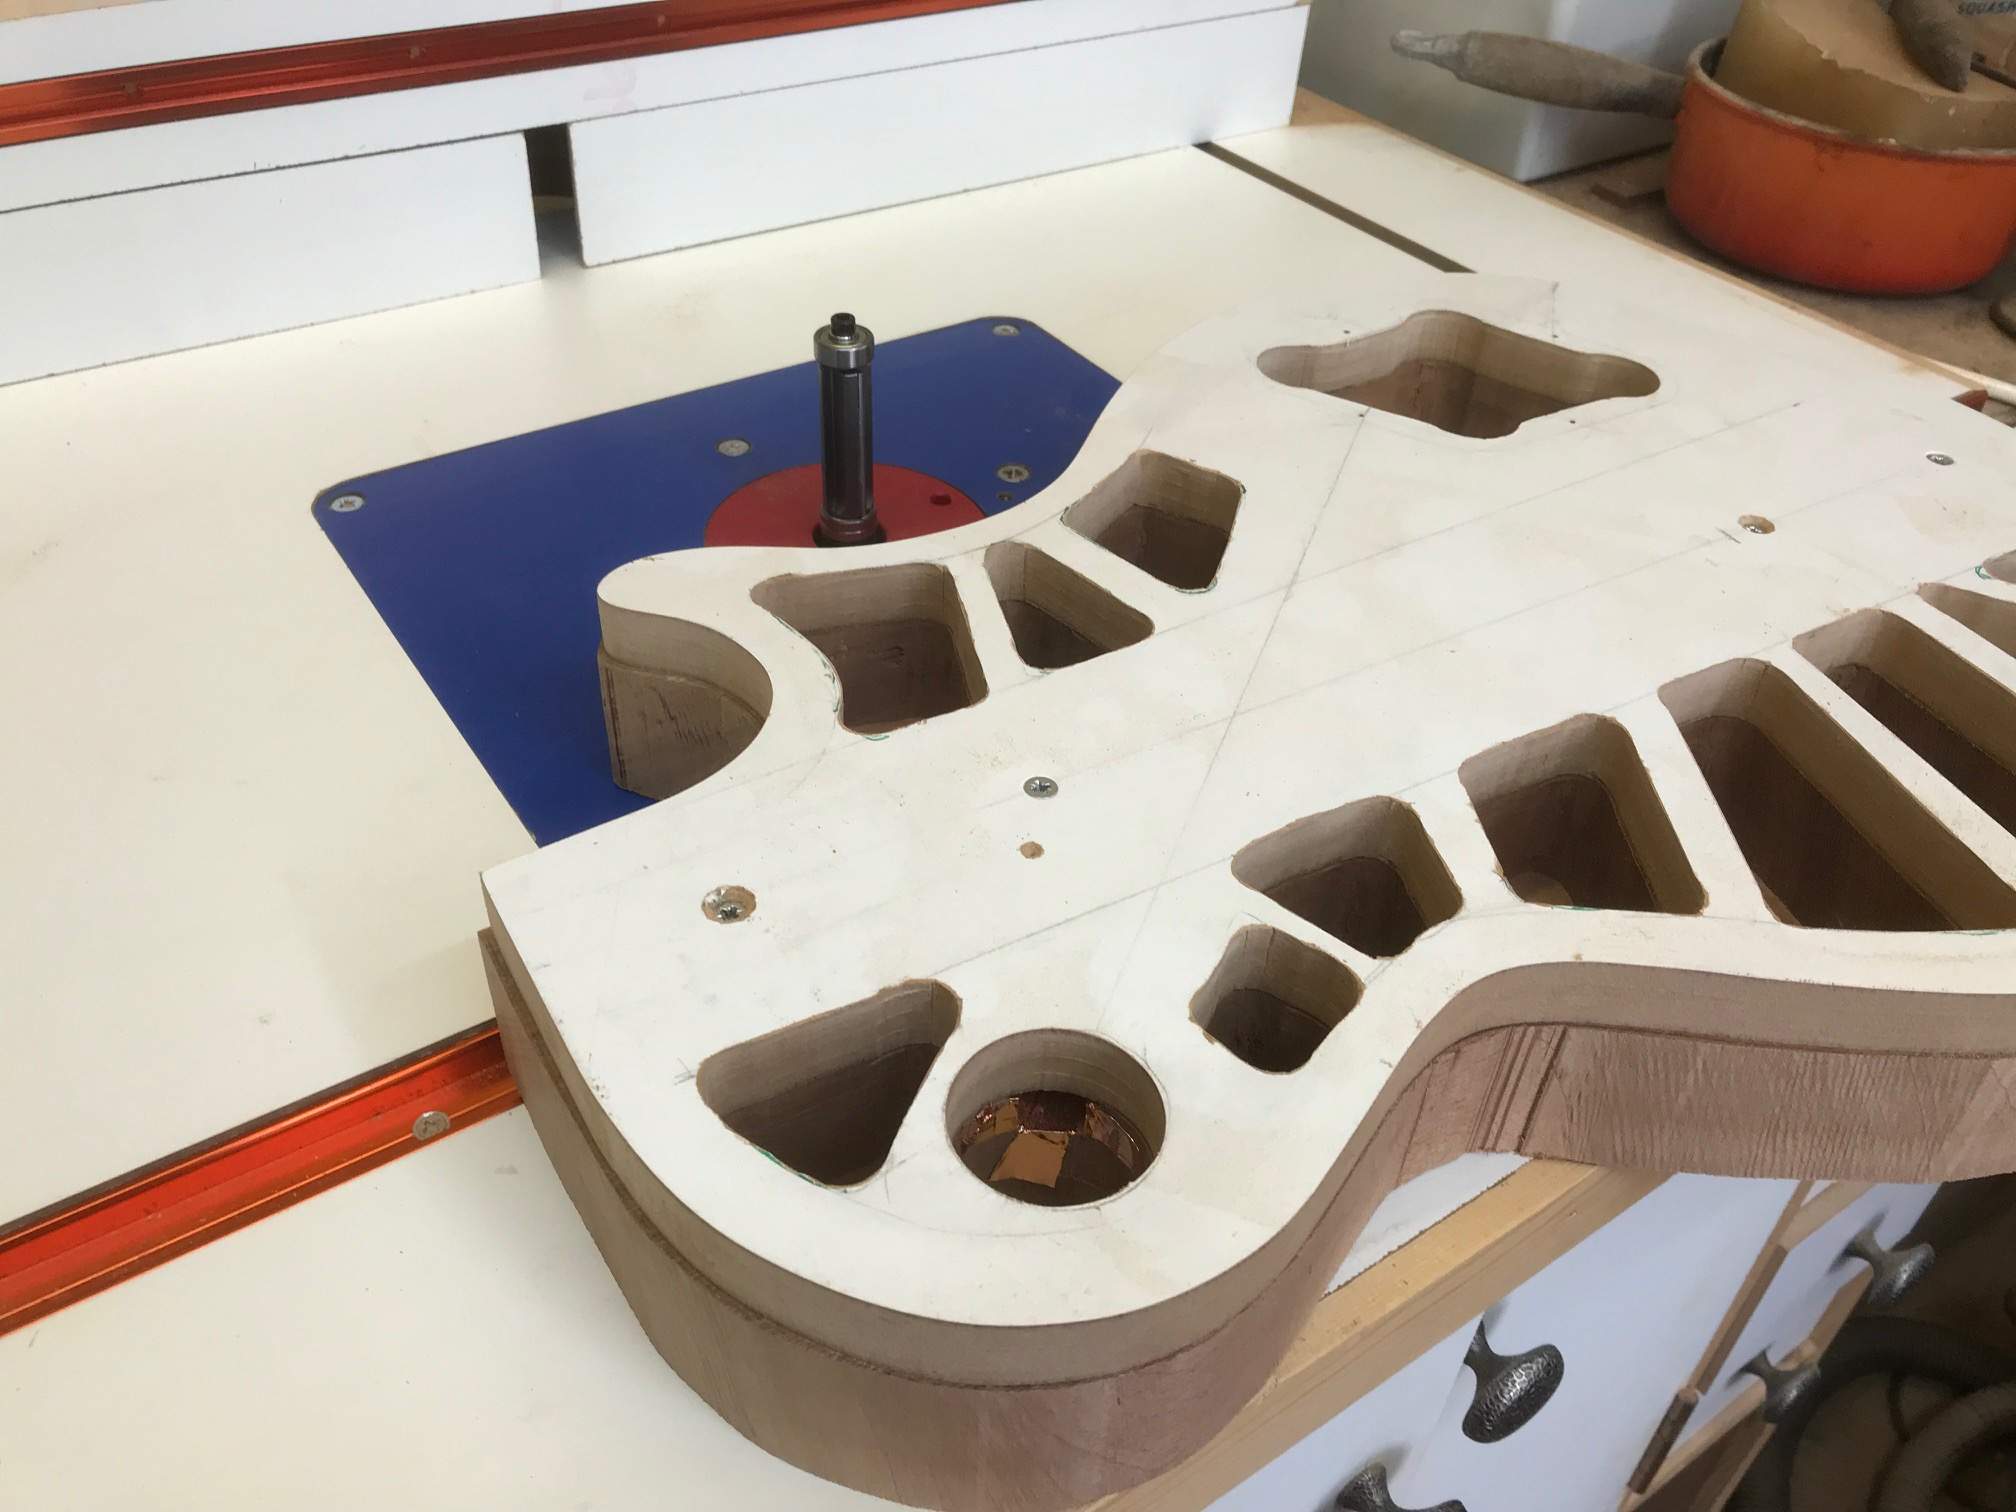
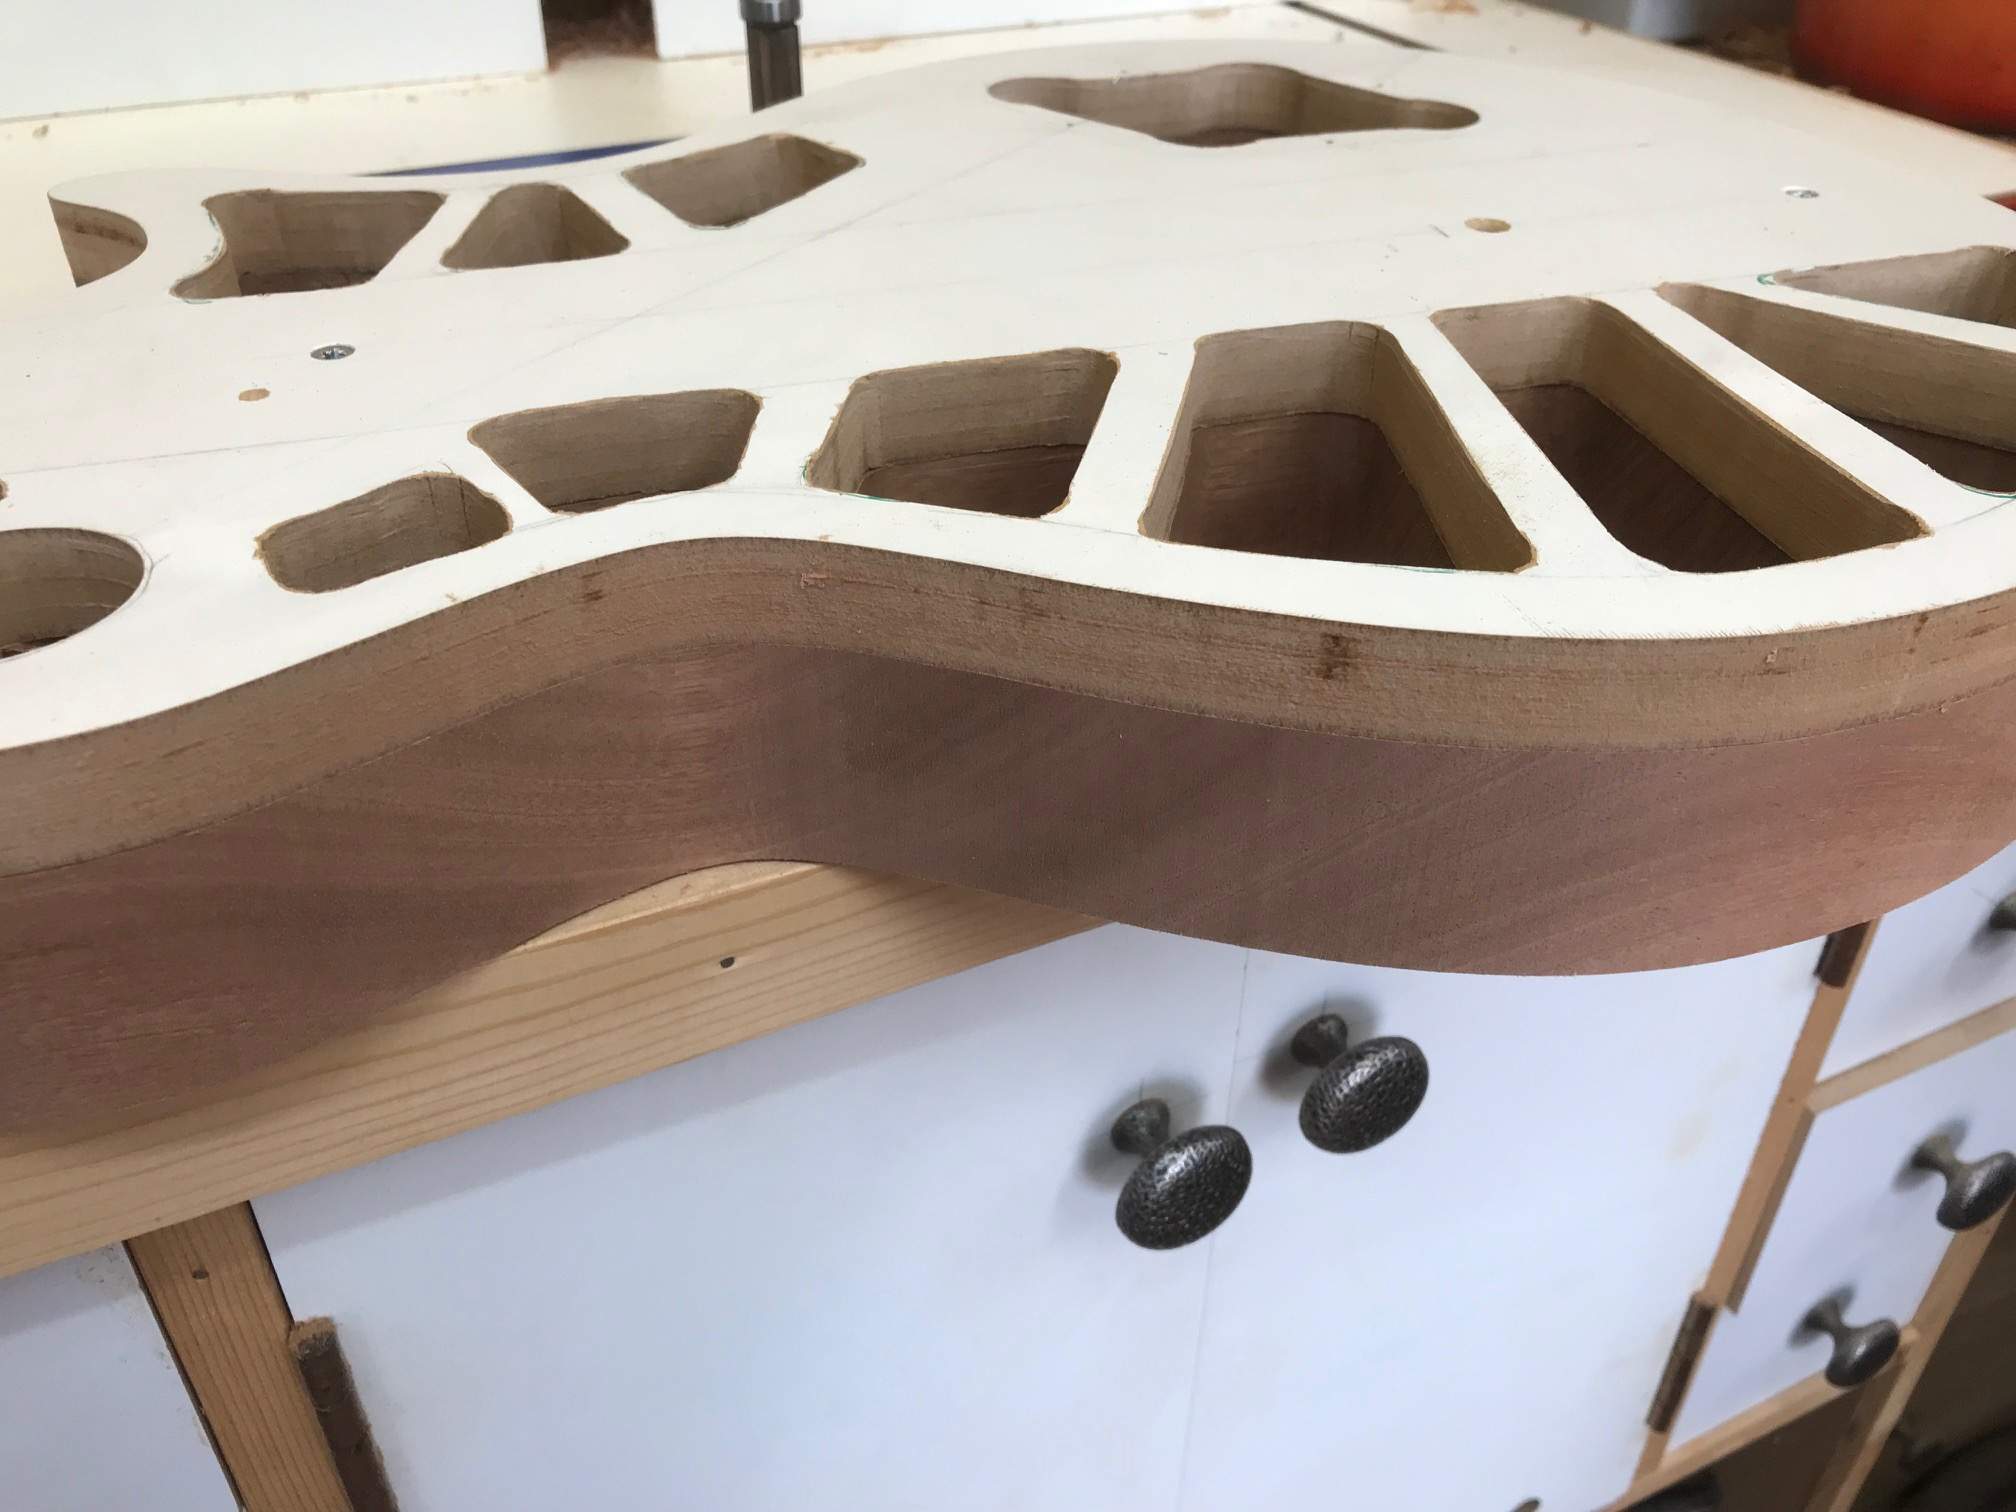
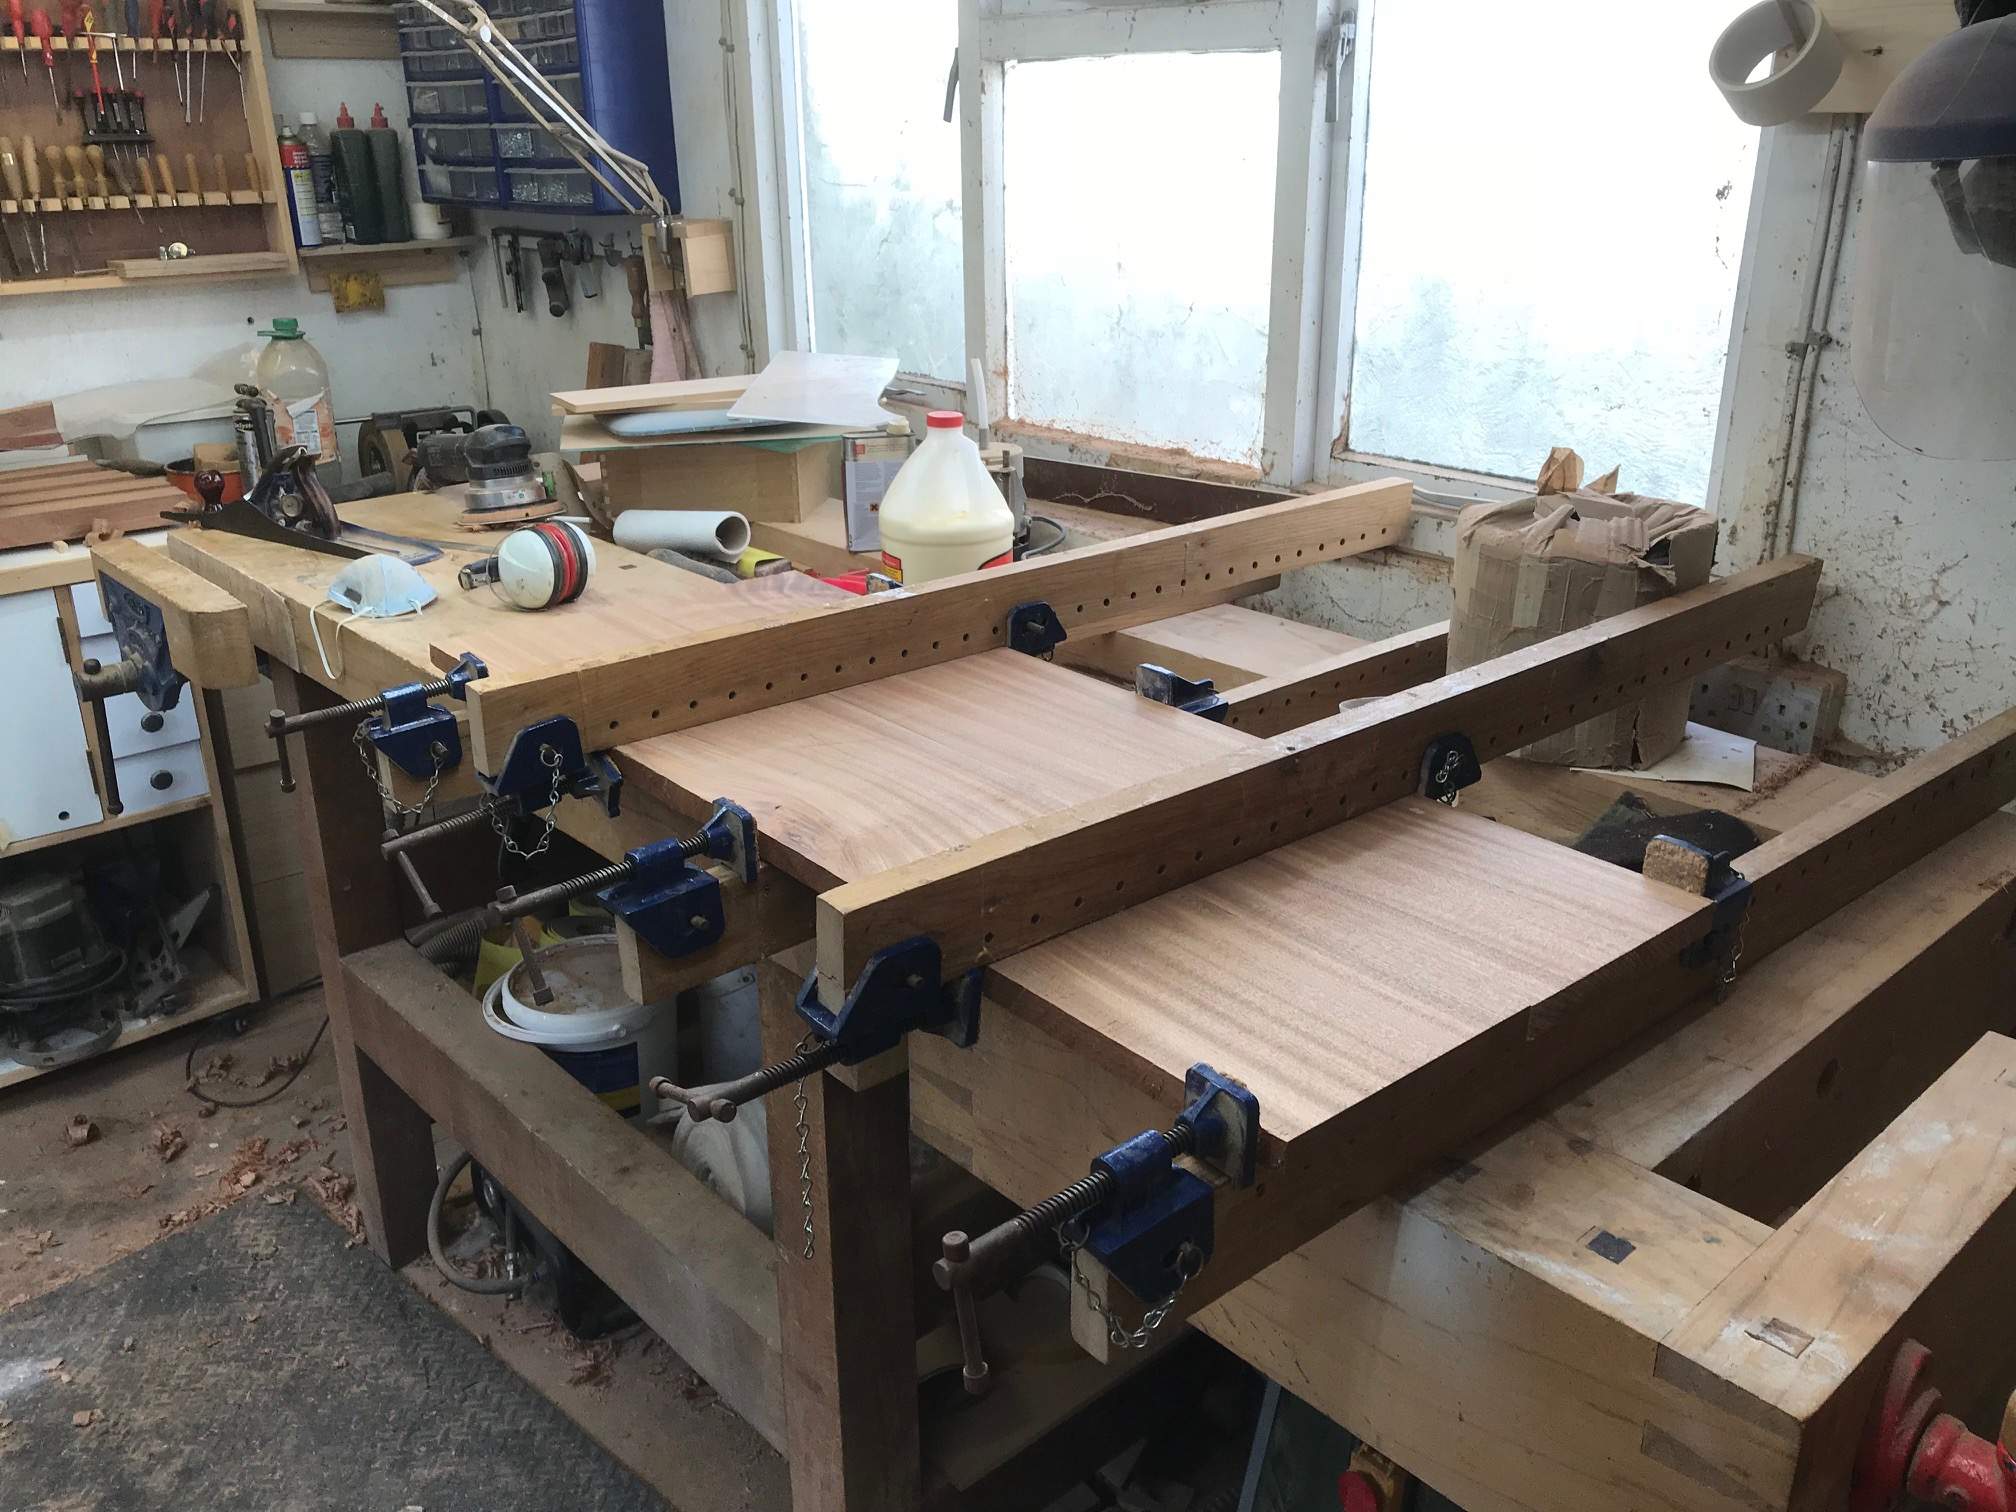
I also re planed the wood for the top down to 21.25mm (I need 20mm eventually) and jointed it and glued it up. It is sat there now until the morning when I'll plane it flat on one side and glue them to the backs ready for the final bits of shaping etc.
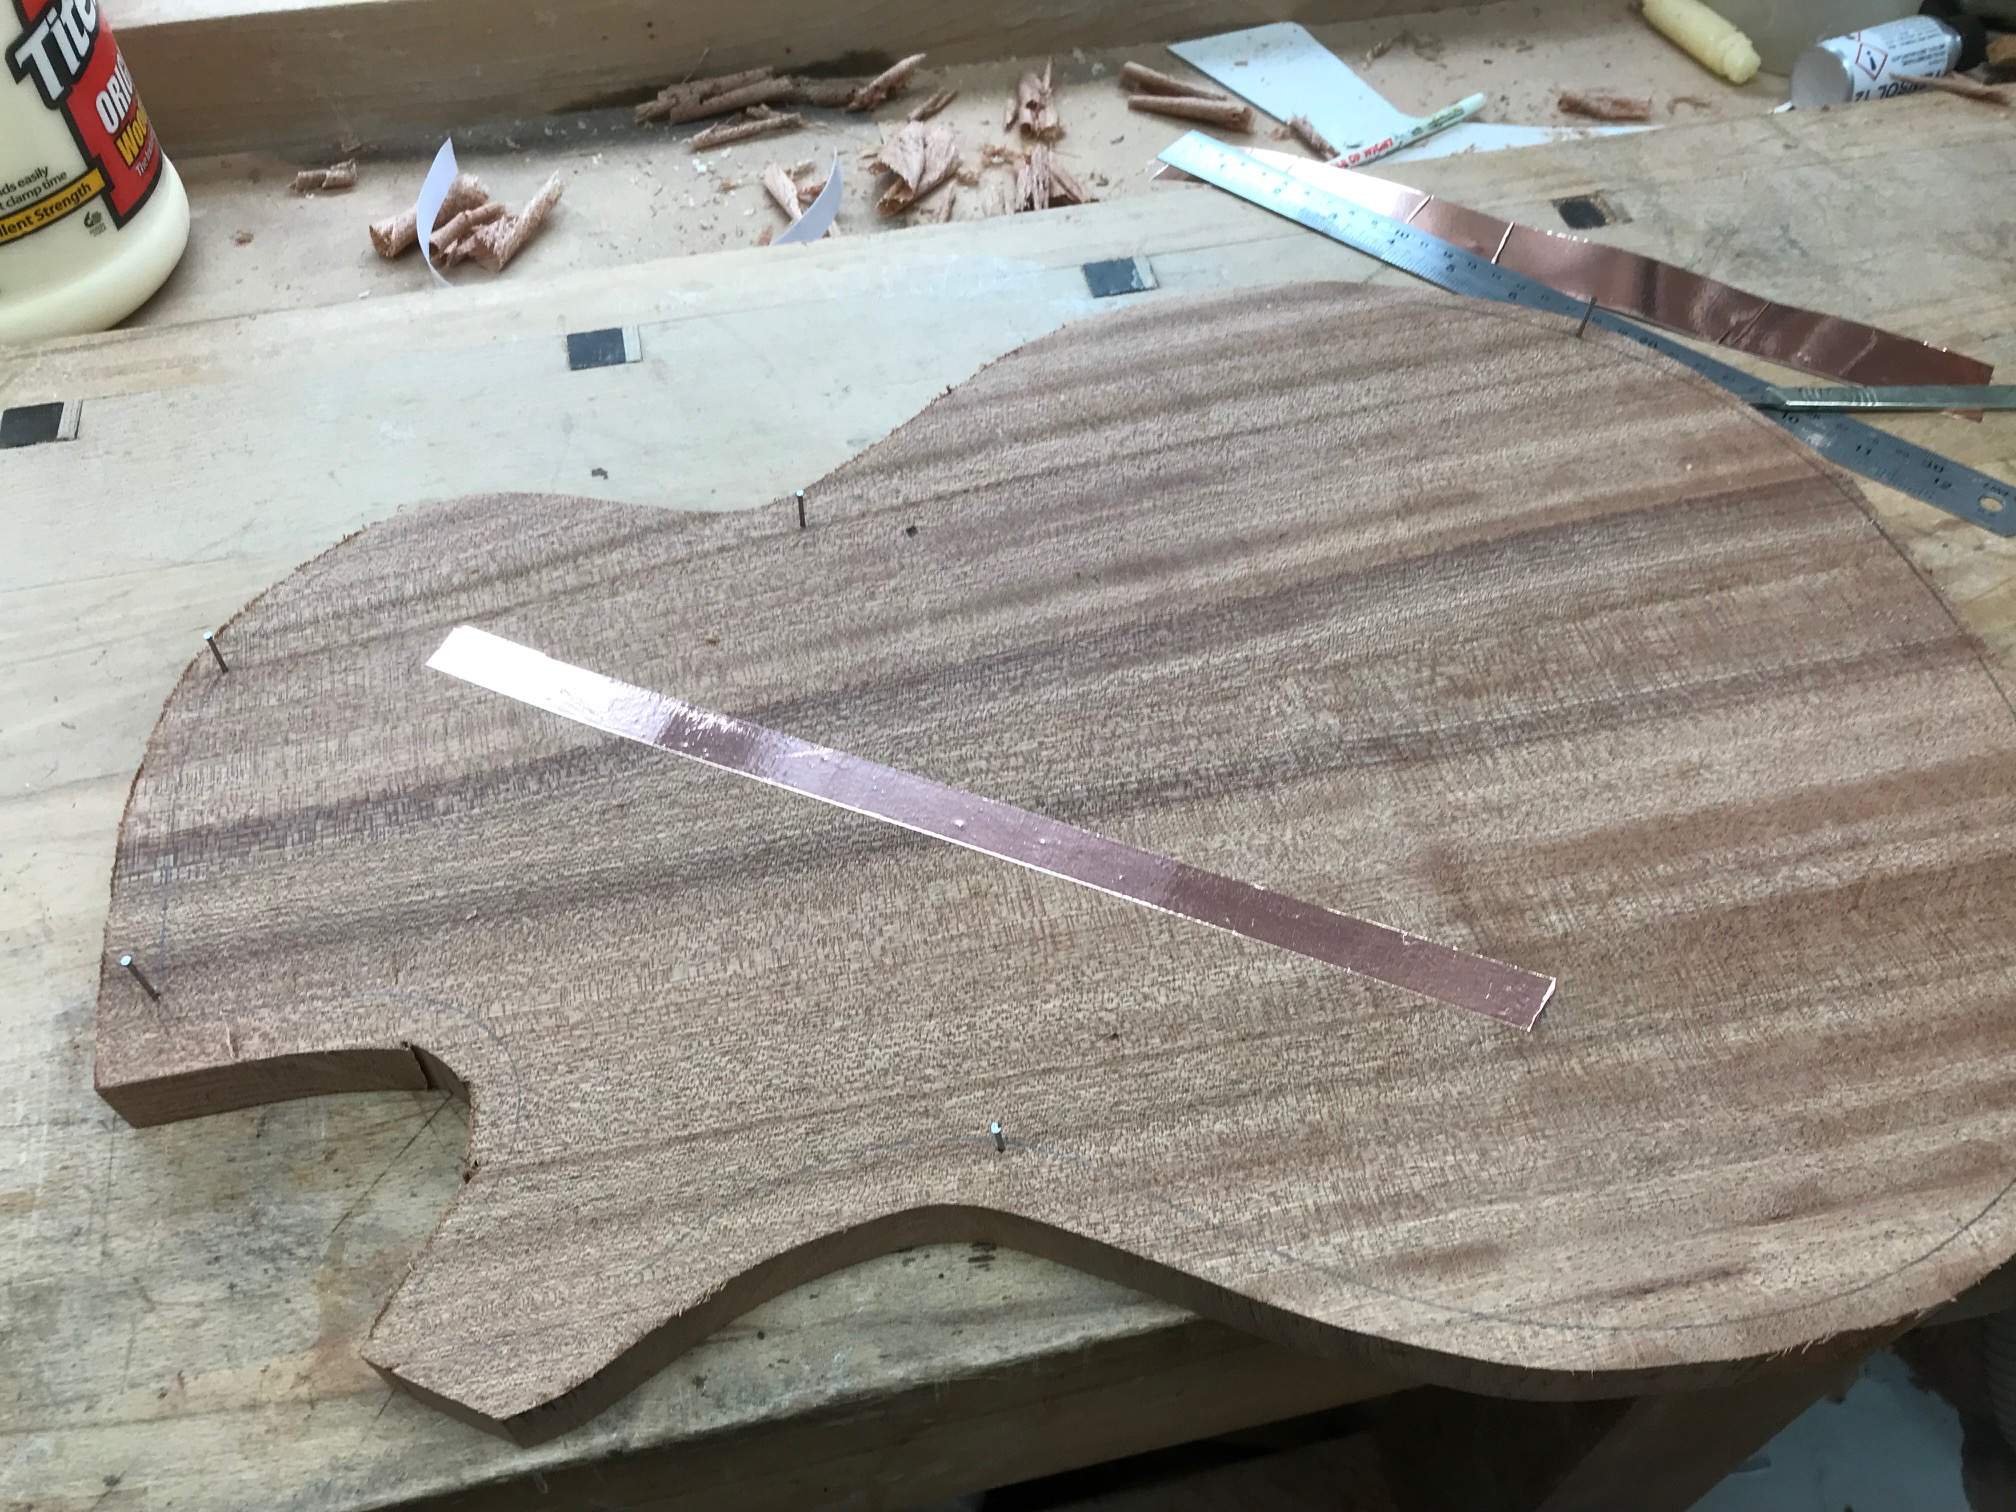
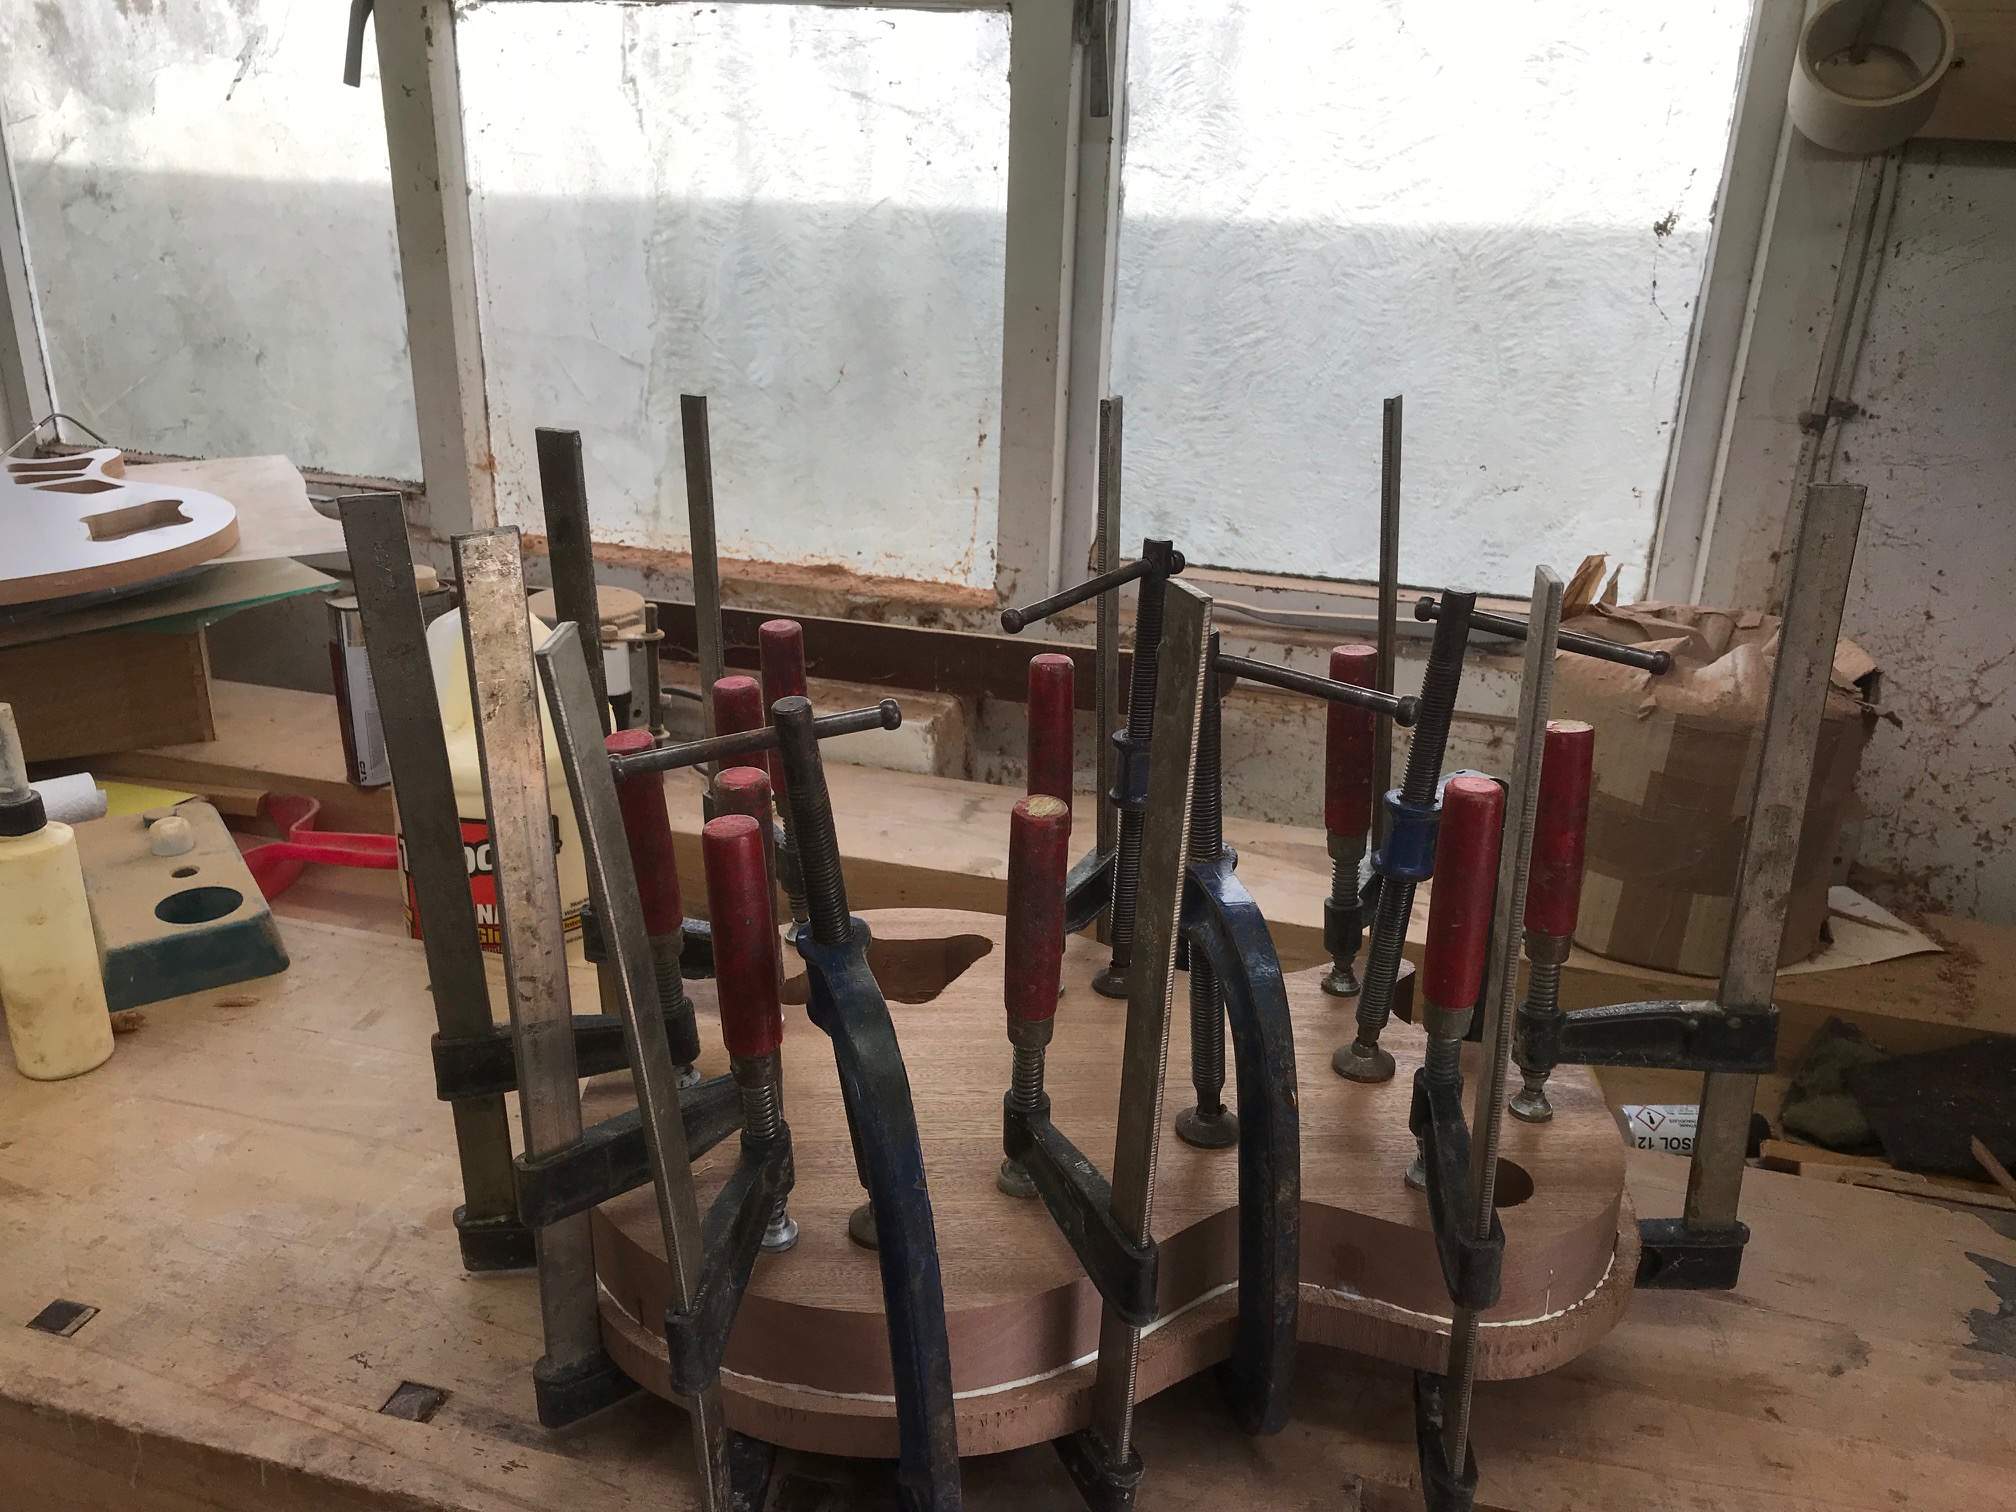
Not in the most enthusiastic mood today but got a bit done. Flattened the board for the top with the try plane and cut the shape out a fair bit oversize. Marked the position of the back on it and then pinned in some panel pins outside of the perimeter to prevent major slippage when clamping the glued surfaces together. I marked the position of the cable rout and applied some shielding tape to that, the rout on the back has a shallow recess to allow for the thickness of this tape if you noticed the other day when i taped that up.. Spread some glue and clamped them both up. Ho Hum, wait until tomorrow now
This afternoon I'm going to work out the jig for the neck joint and the pickup routs or at least I hope to; I'm expecting a delivery from StewMac with some springs and some pickup foam, I'll decide which to use when they get here. I'm going to rout the neck pocket and the pickup sockets at the same angle as the neck angle.
Then there's the bridge, I'm not sure what to do there, either rout them flat or to rout at the approximate angle of the body carve, I'm thinking flat as it allows a little bit of extra clearance to access the adjusting screws and to put strings in. What would you do?
This afternoon I'm going to work out the jig for the neck joint and the pickup routs or at least I hope to; I'm expecting a delivery from StewMac with some springs and some pickup foam, I'll decide which to use when they get here. I'm going to rout the neck pocket and the pickup sockets at the same angle as the neck angle.
Then there's the bridge, I'm not sure what to do there, either rout them flat or to rout at the approximate angle of the body carve, I'm thinking flat as it allows a little bit of extra clearance to access the adjusting screws and to put strings in. What would you do?


