
Enjoy the benefits of a premium membership!
Upgrade Account
-
TalkBass has been independent since 1998. Add your voice.
Create a free account to reply to discussions, view embedded media, and browse with fewer display ads.
Join free Log in
Want zero display ads or expanded classifieds tools? Compare plans.
You are using an out of date browser. It may not display this or other websites correctly.
You should upgrade or use an alternative browser.
You should upgrade or use an alternative browser.
More options
Who Replied?

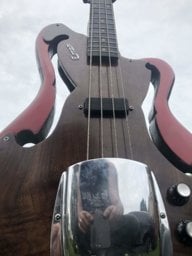
That Gretsch example is perfect, in keeping with the LP look. The binding gives you a clean paint line separation, of course, matching headstock is mandatory! 
I tried the ammonia finish on oak for some Mission style furniture, works nicely, but those fumes are brutal, and extremely toxic, not sure it’s worth the health risk minus a full hazmat respirator setup. I was once exposed to that stuff when an old blueprint diazo machine malfunctioned, horrible stuff, like nails up the nostrils.

I tried the ammonia finish on oak for some Mission style furniture, works nicely, but those fumes are brutal, and extremely toxic, not sure it’s worth the health risk minus a full hazmat respirator setup. I was once exposed to that stuff when an old blueprint diazo machine malfunctioned, horrible stuff, like nails up the nostrils.
I’ve been there before with “manual” blueprint developing using an acrylic tube to hold the blueprint for development over an ammonia tray. A blueprint machine would have been nice!
Thank god that ammonia blueprint tech is obsolete! We use what amounts to a giant laser printer now, better quality print, and no toxic stink! But, we digress...

Ha! That's nothing. I used to work in a dairy processing plant that used ammonia refrigeration. Had a couple of leaks over the years that got the plant evacuated.
Anyway, back to our original programming...
Anyway, back to our original programming...
I wasn't sure but that's a nice look, very nice, I'm as close to sold on that as I could be, thank you all for your advice and suggestions on this. If the Mahogany routs as cleanly as it should I think that is the direction we'll be going. That colour is reminiscent of the colour I was wittering about with fuming so a plan is formingColor wise, this 1956 Gretsch comes close.
View attachment 3029134 View attachment 3029135 View attachment 3029136

Love Gretsch Duo Jets, great look! Going to bind it? If so, I suggest this 3m fineline 471 masking tape, I tried scraping binding, huge learning curve. I got amazingly fine paint/binding line using this stuff, no scraping! Takes a very tight radius without distorting.
[Invalid or Expired Link Removed]
[Invalid or Expired Link Removed]
Tell me about it, vile and dangerous! We used it an awful lot in the old workshop, I had a room we used exclusively for it. We put the furniture in then poured the .880 amonia into a couple of margarine tubs outside then quickly took them inside, put them on the floor and then shut the door behind us. Then we'd tape the door up to save leakage and leave it over night. In the morning we'd un tape the door and open it and walk away for an hour until the fumes had well and truly gone.I tried the ammonia finish on oak for some Mission style furniture, works nicely, but those fumes are brutal, and extremely toxic, not sure it’s worth the health risk minus a full hazmat respirator setup. I was once exposed to that stuff when an old blueprint diazo machine malfunctioned, horrible stuff, like nails up the nostrils.
I don't have the luxury of a dedicated room any more but I could use a huge dust extractor bag and seal it
Thanks, last time I bound a guitar I scraped it, it was a pain in the bum, it took half a day . I had planed on using that very tape, nice to know it works so well.Love Gretsch Duo Jets, great look! Going to bind it? If so, I suggest this 3m fineline 471 masking tape, I tried scraping binding, huge learning curve. I got amazingly fine paint/binding line using this stuff, no scraping! Takes a very tight radius without distorting.
[Invalid or Expired Link Removed]
I like that sandwich WBW binding too, I'm a bit wary of pushing my luck, I might just read up and watch a few youtubes on it to see if it's something I'd like to try too. Any tips gratefully received

BassHappy
Supporting Member
Still lobbying politely for no paint on that wonderful mahogany.
Obviously, it's a guitar and not a bass, but I love the contrast of black on mahogany:
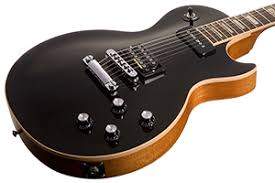
And I think the Gretsch above looks great too.
Obviously, it's a guitar and not a bass, but I love the contrast of black on mahogany:
And I think the Gretsch above looks great too.
Last edited:
I manage to throw away some more sawdust today, yey!!
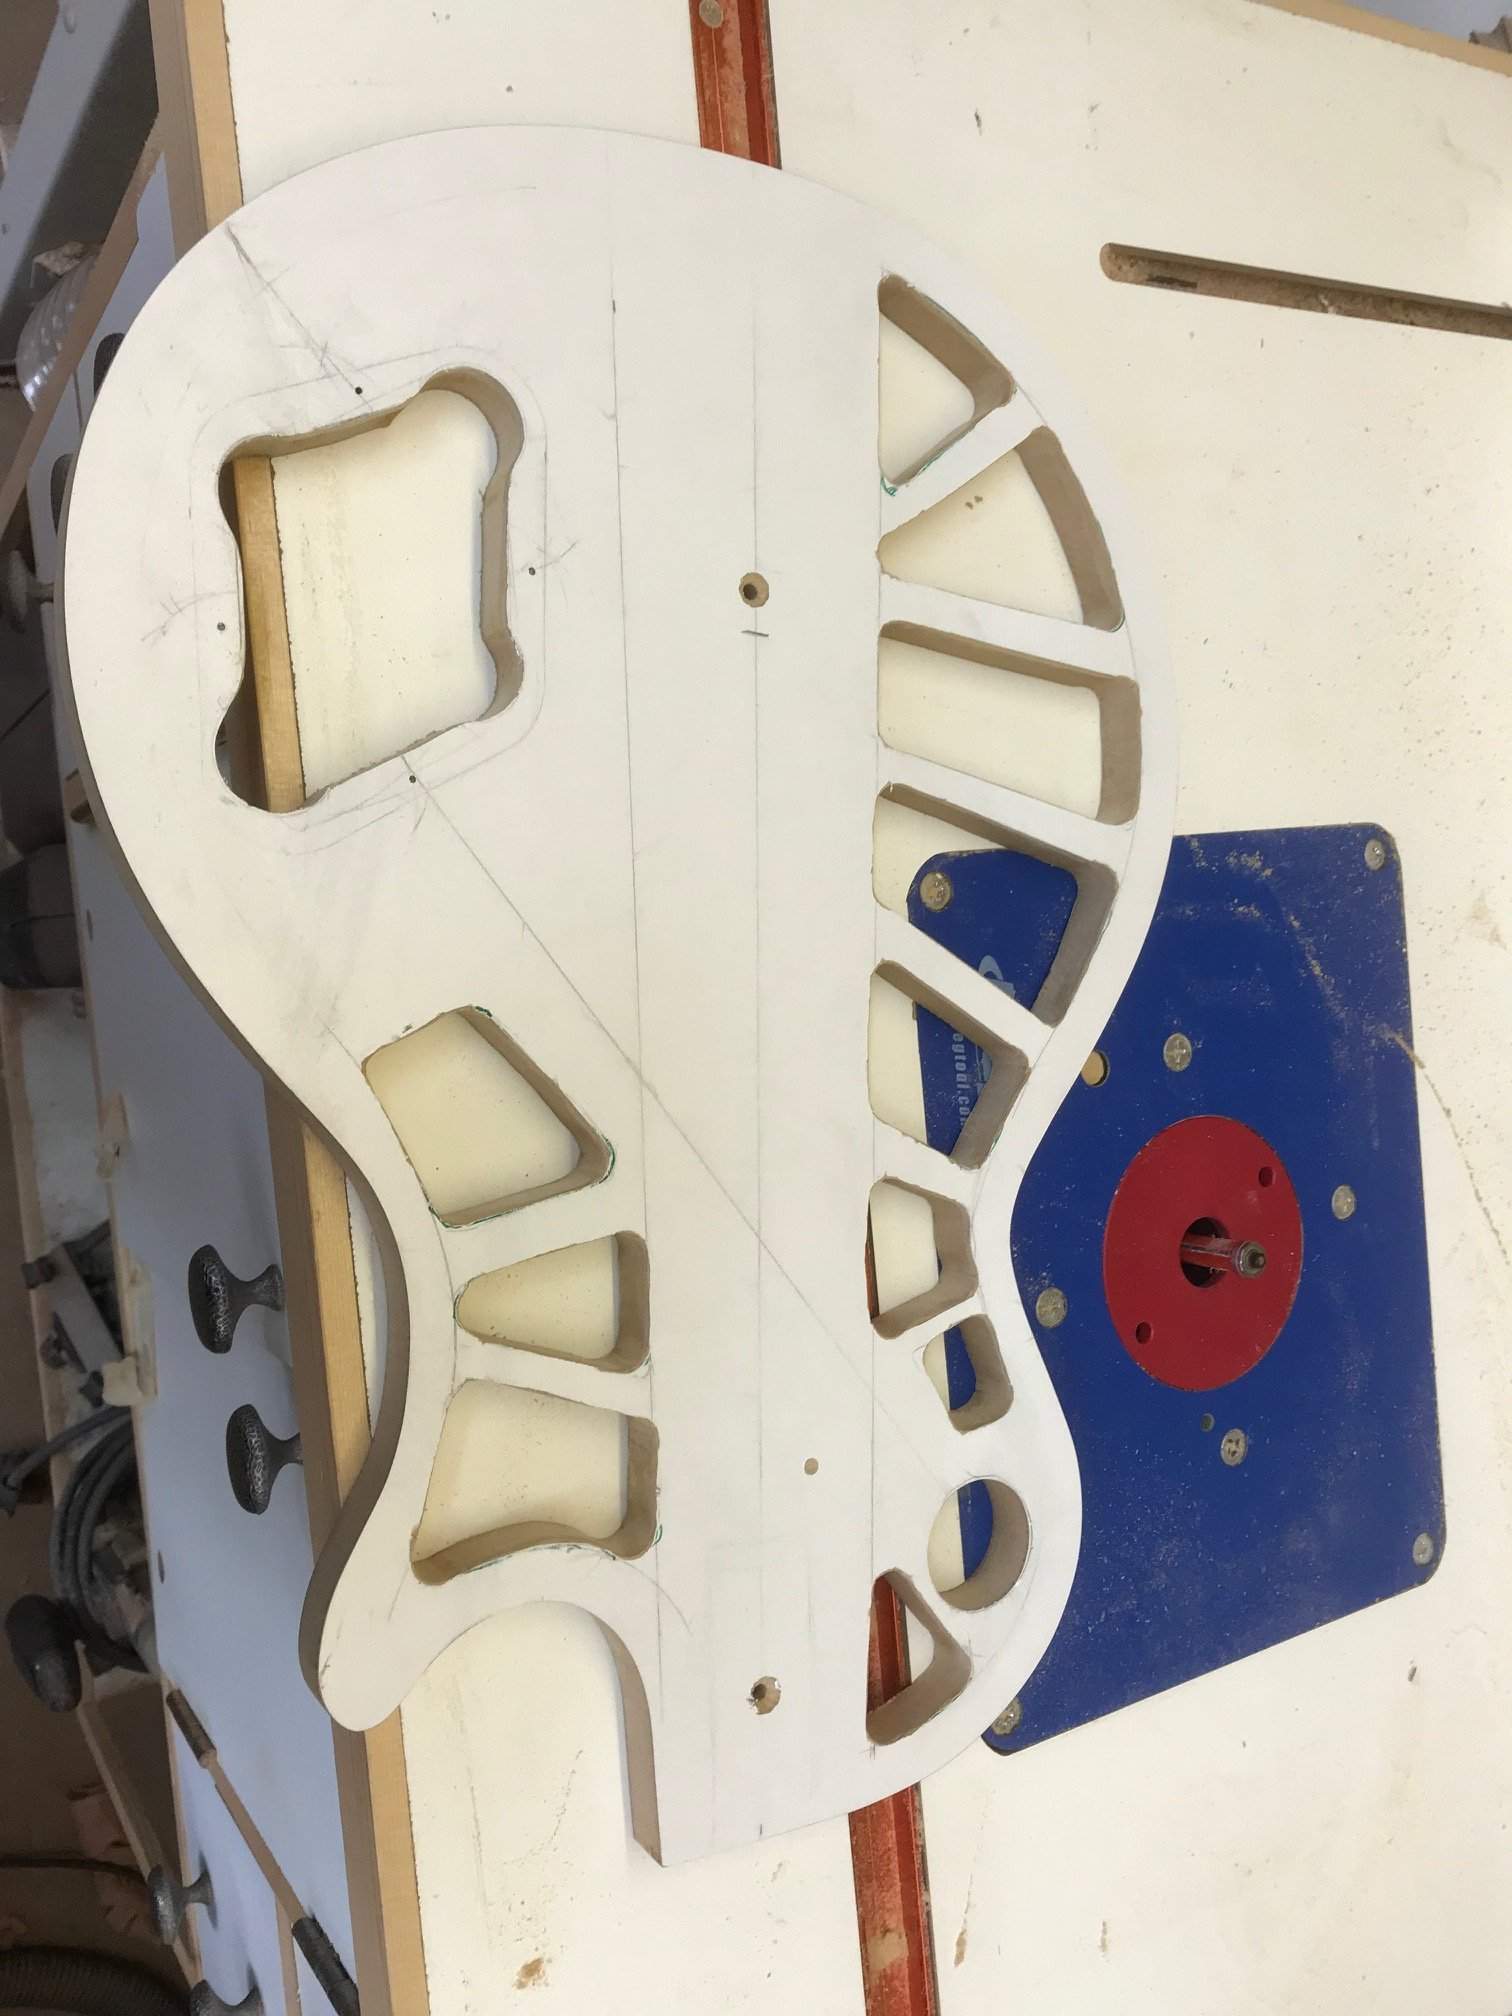
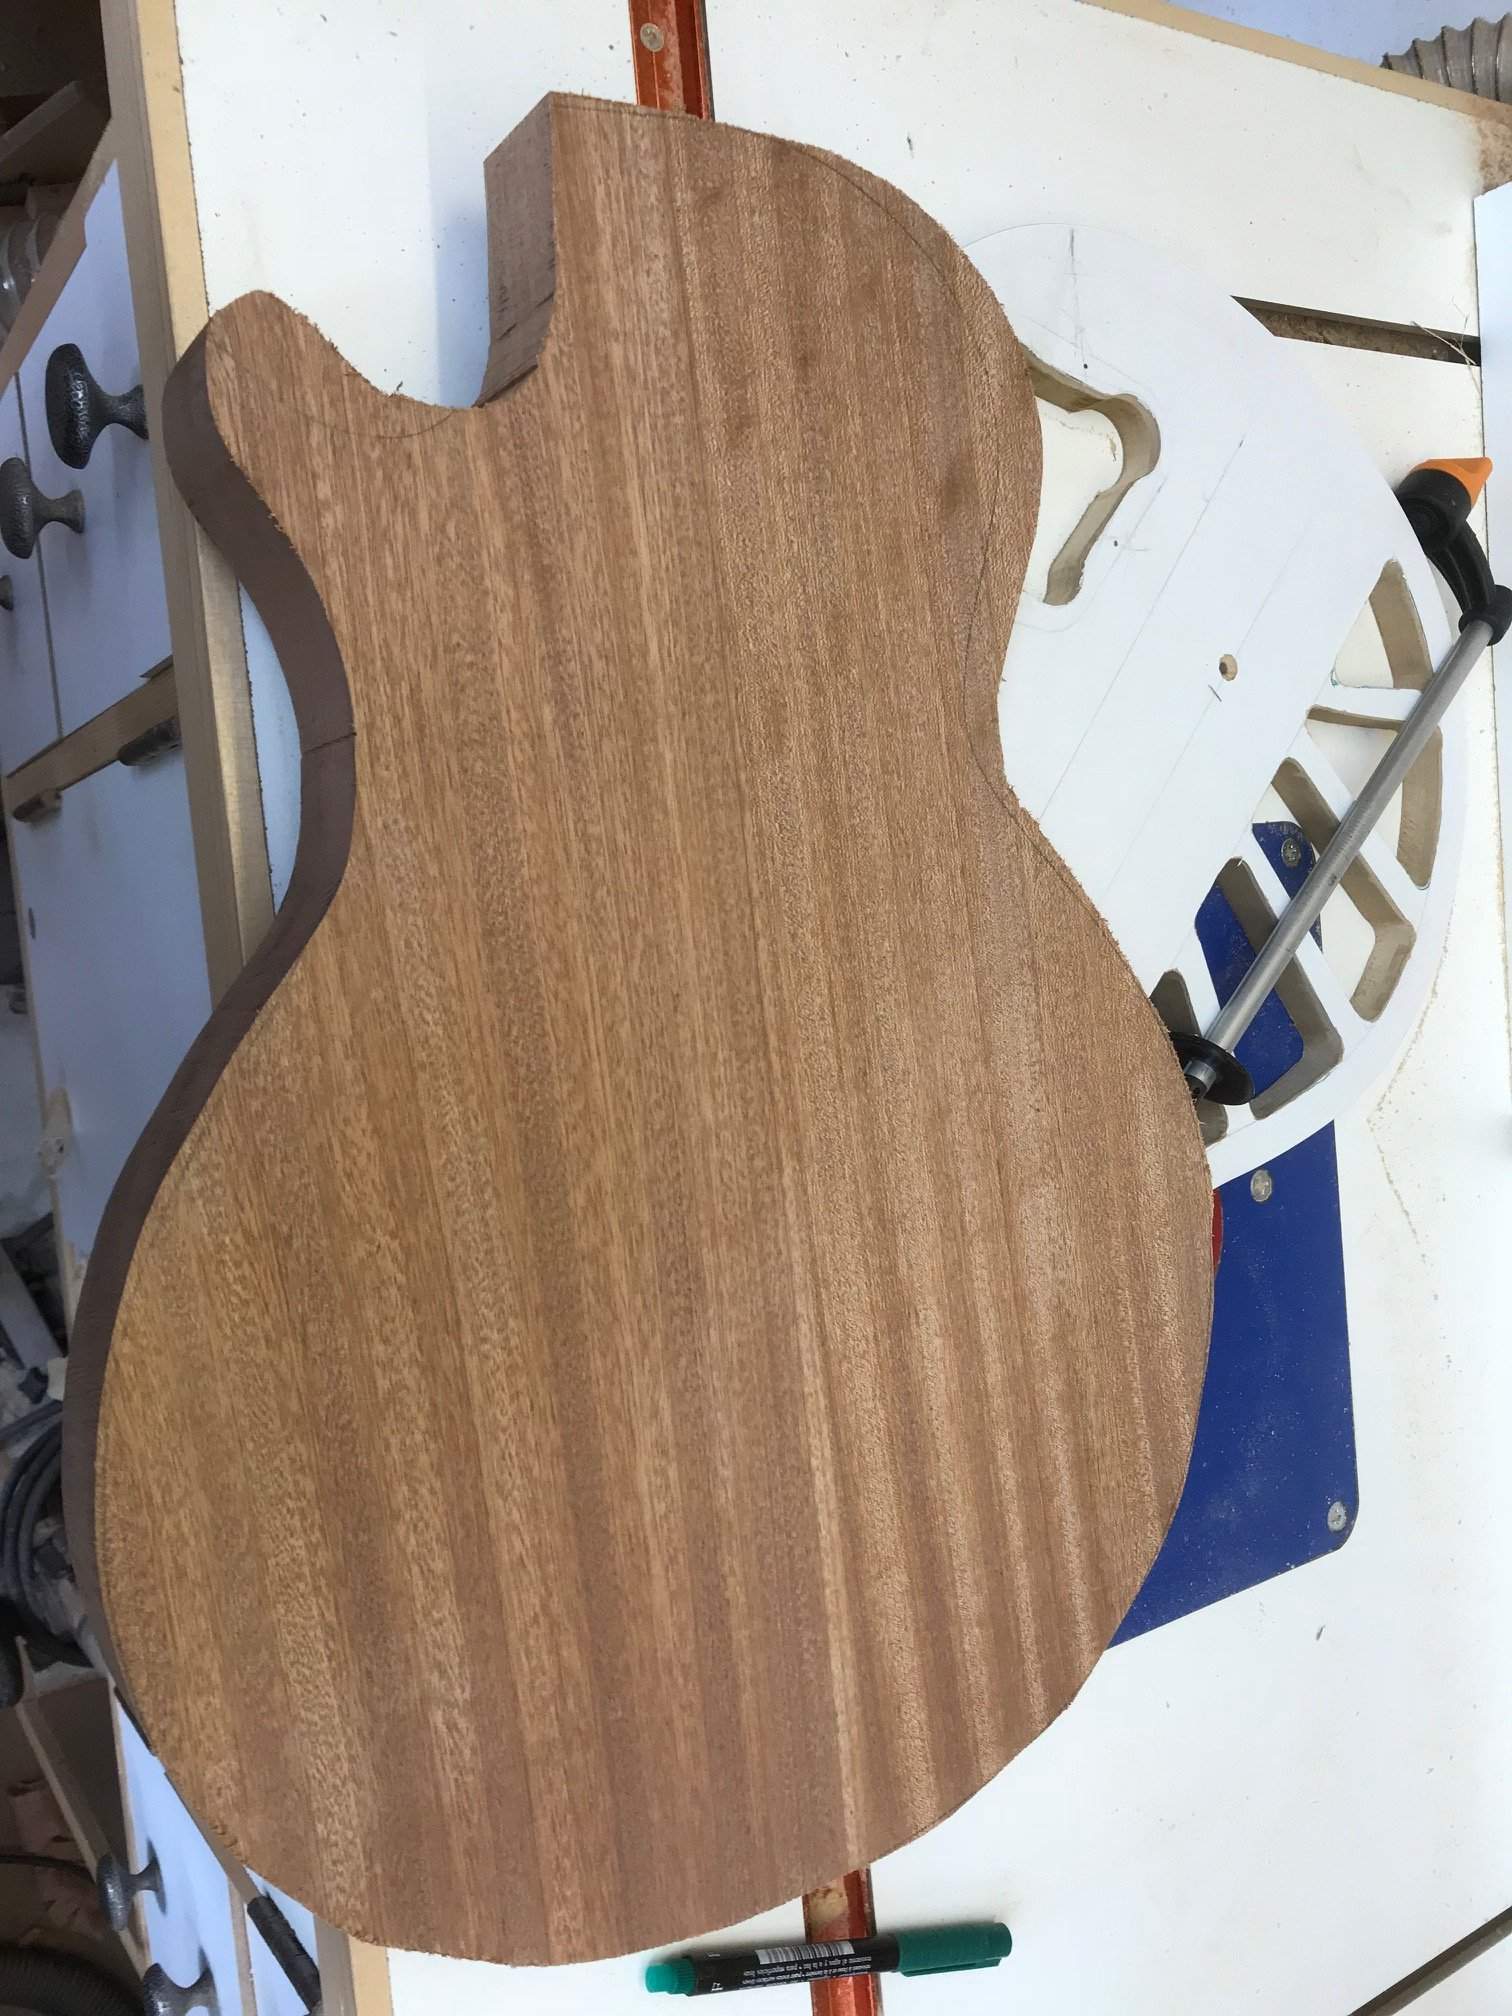
First job this morning was to finish off the jig to enable routing the shape and the cavities. Doesn't look like much but it took ages Ah well done now!
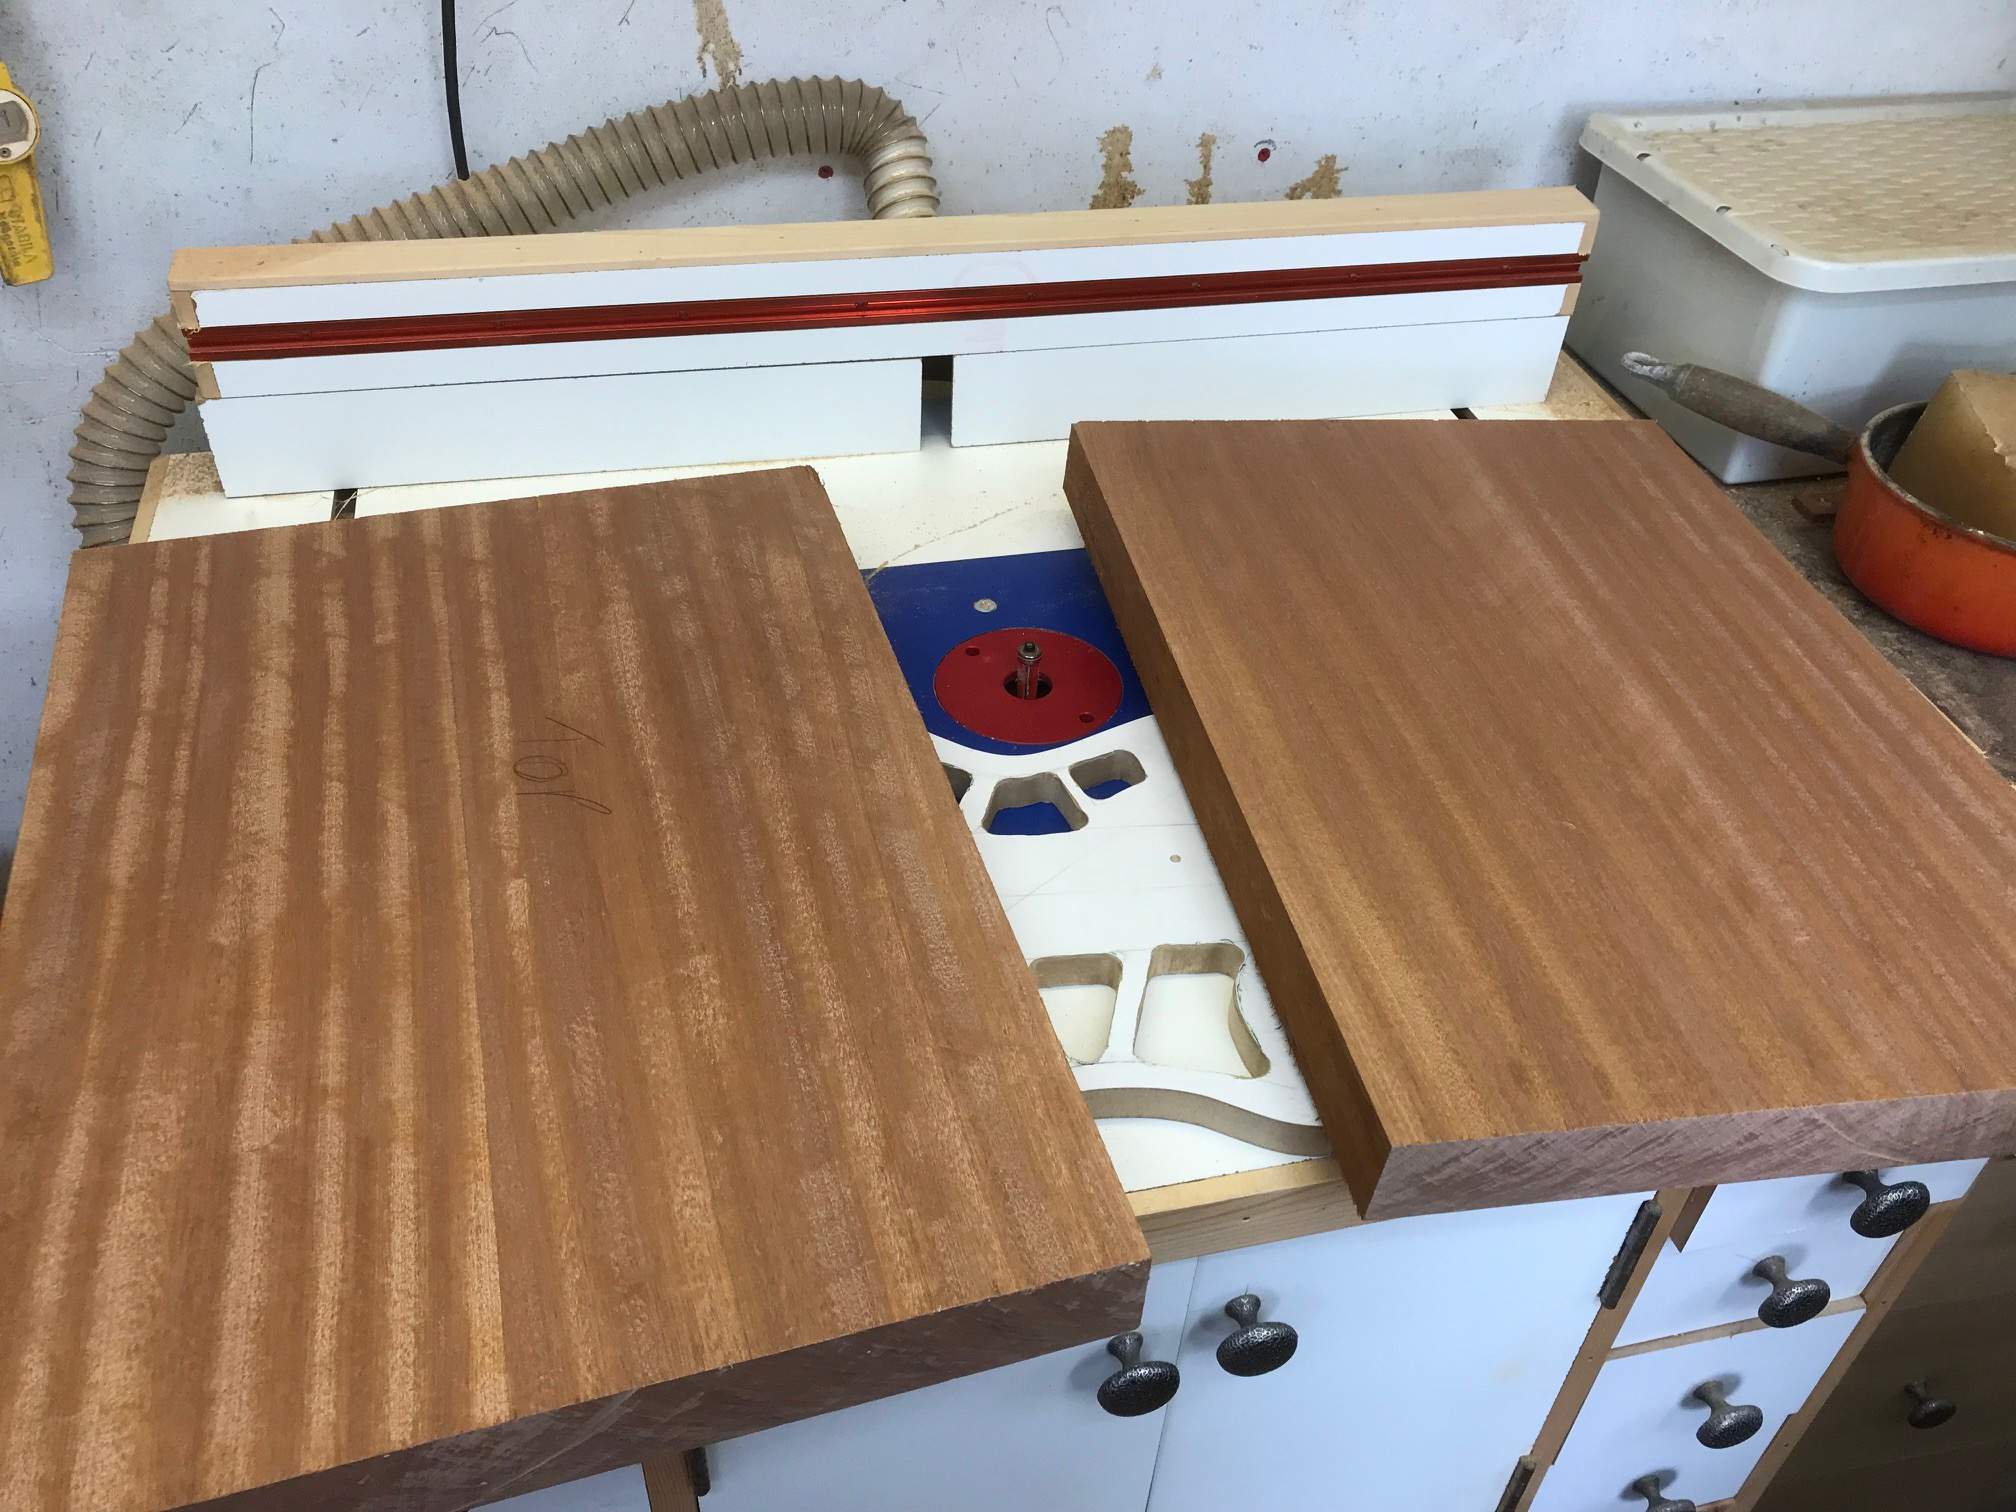
After that I took the body Mahogany out of clamps and cut it in half. Then I planed both sides diagonally both ways to flatten them, 2 passes in each direction was all it took, then with a sharp iron planed along the grain to smooth them, again a couple of passes wad all it took both blanks finished off at about 43.1 / 43.2mm so that's going to plan. too
Next was to draw around the template and bandsaw the blank to shape. next I drew the cavity positions and rough drilled them out, I removed a bit of the waste with a chisel and that was me for the day, cream crackered!
Routing tomorrow perhaps, maybe a day off weather permitting
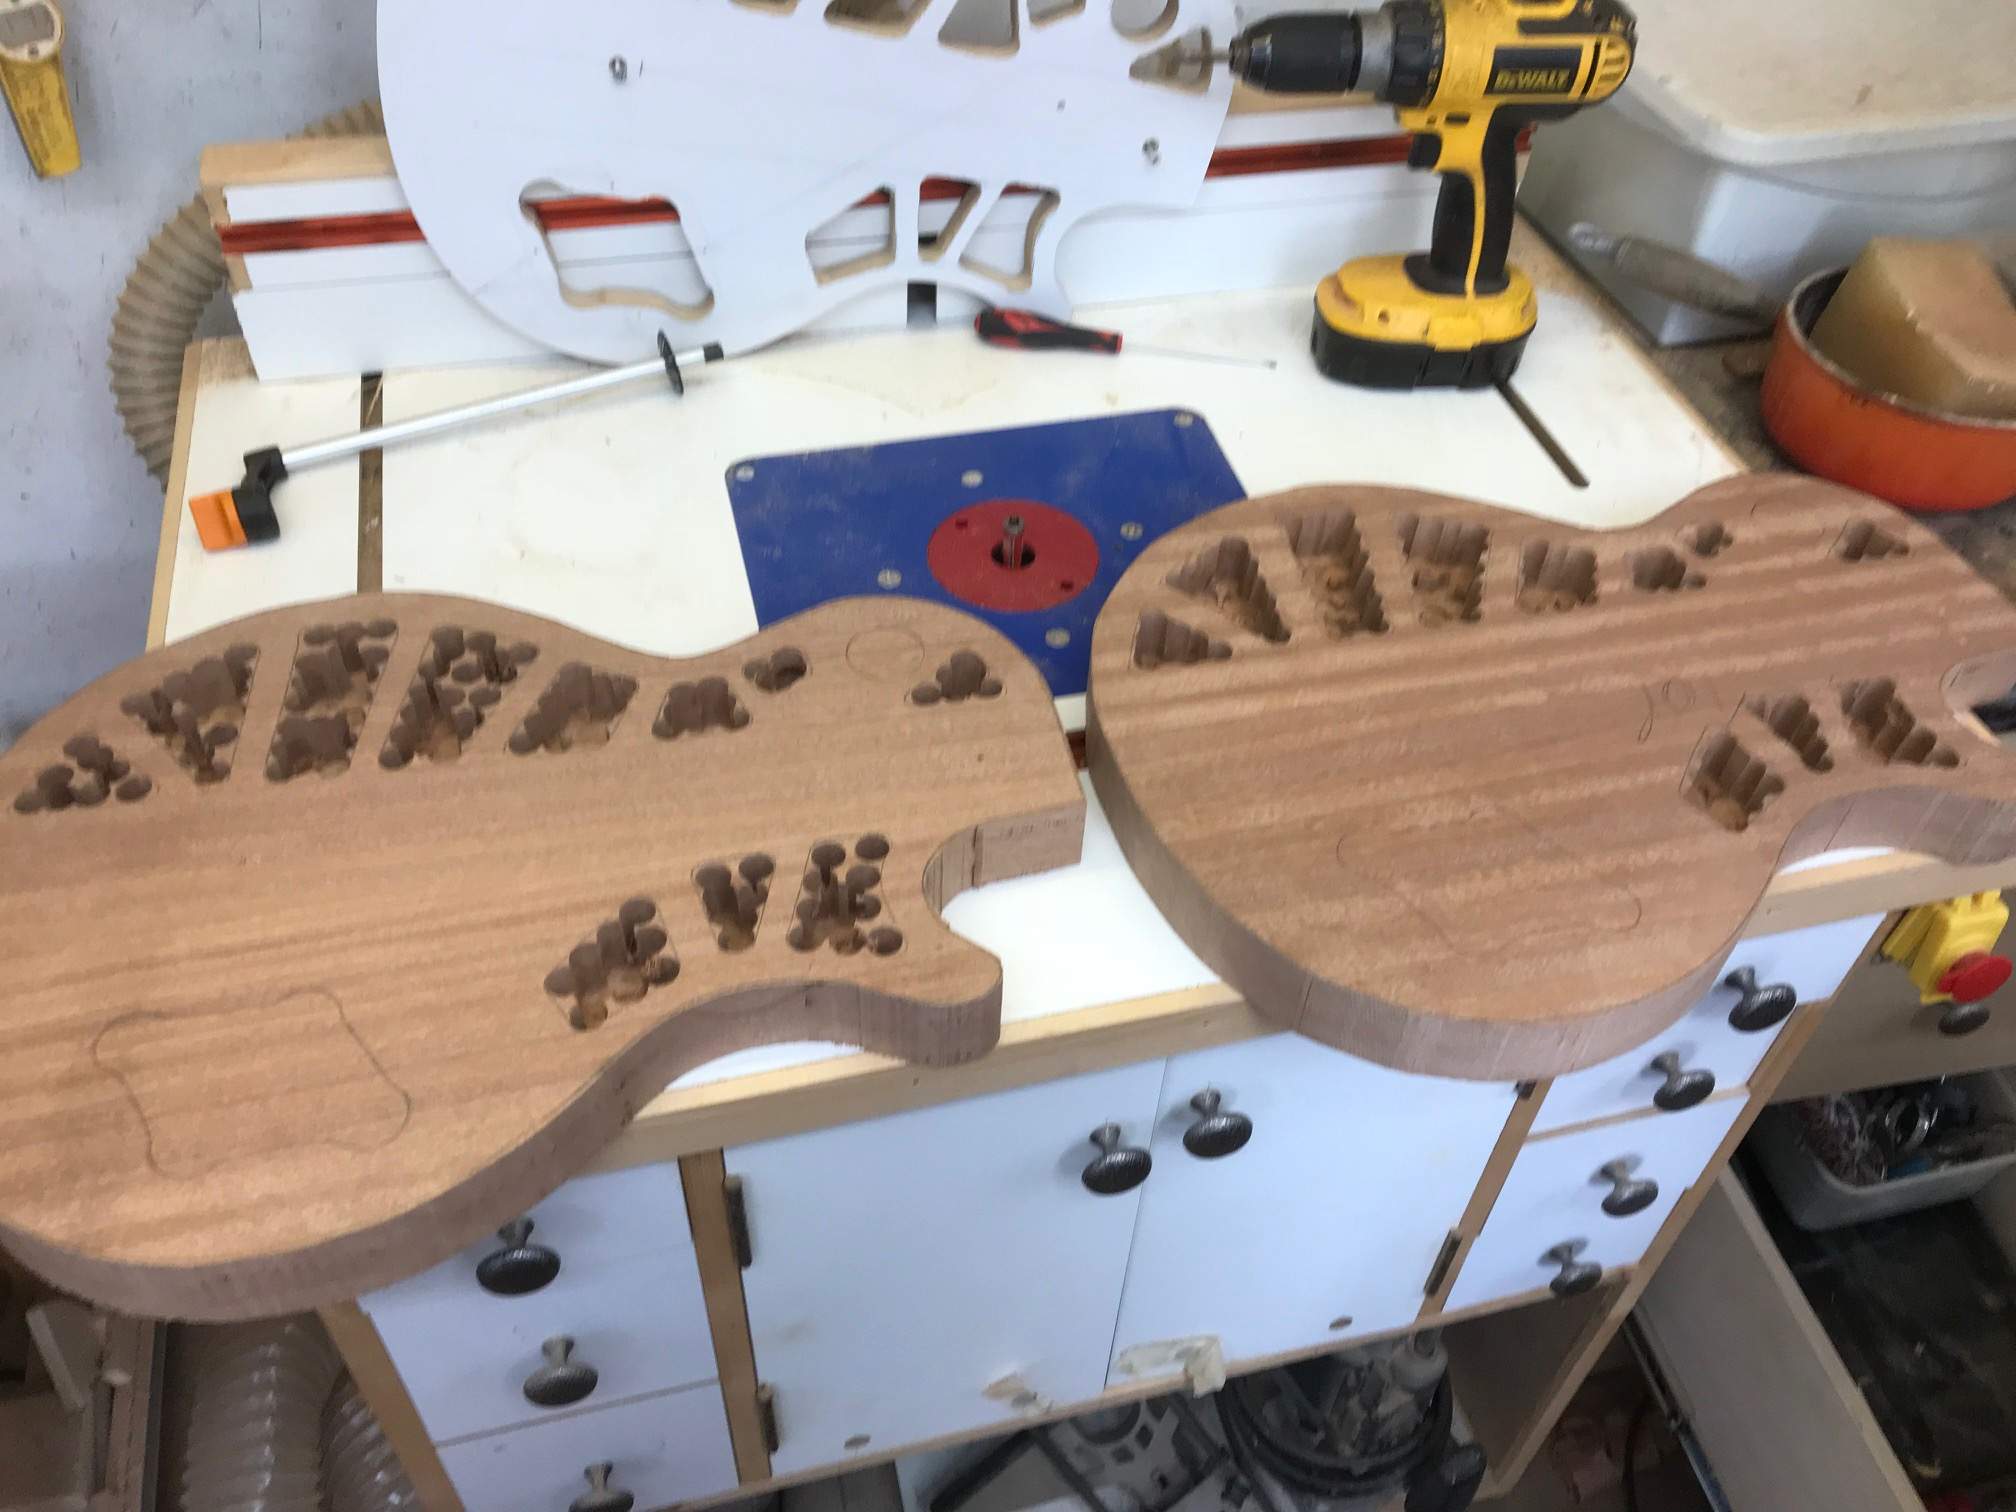
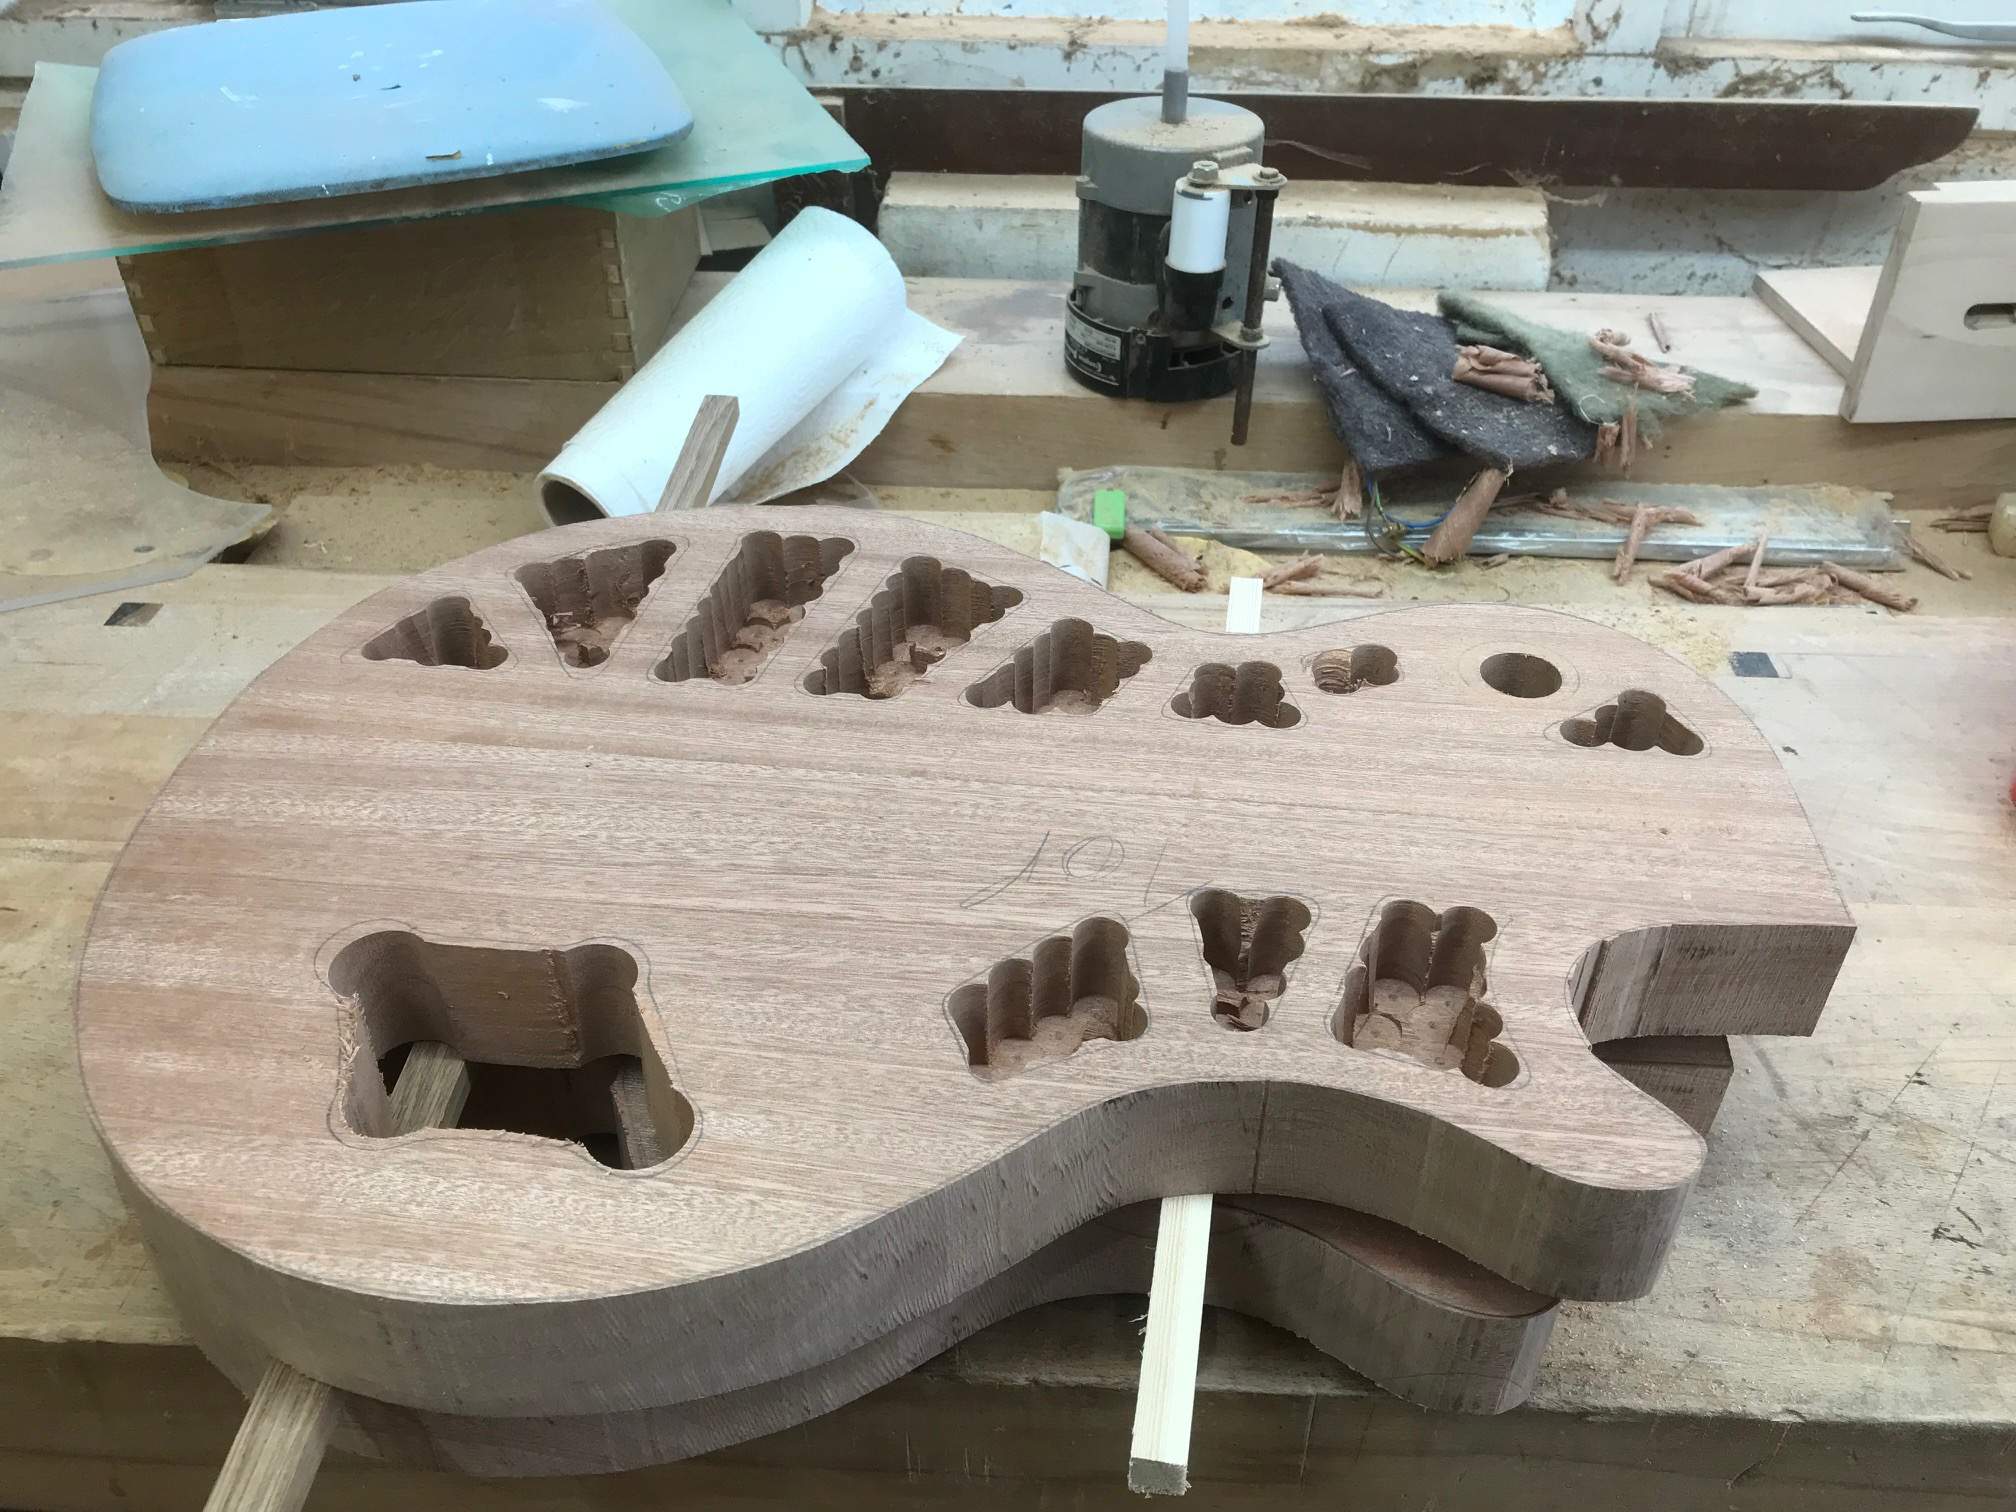
First job this morning was to finish off the jig to enable routing the shape and the cavities. Doesn't look like much but it took ages
Ah well done now!After that I took the body Mahogany out of clamps and cut it in half. Then I planed both sides diagonally both ways to flatten them, 2 passes in each direction was all it took, then with a sharp iron planed along the grain to smooth them, again a couple of passes wad all it took both blanks finished off at about 43.1 / 43.2mm so that's going to plan. too
Next was to draw around the template and bandsaw the blank to shape. next I drew the cavity positions and rough drilled them out, I removed a bit of the waste with a chisel and that was me for the day, cream crackered!
Routing tomorrow perhaps, maybe a day off weather permitting

I manage to throw away some more sawdust today, yey!!
First job this morning was to finish off the jig to enable routing the shape and the cavities. Doesn't look like much but it took ages
After that I took the body Mahogany out of clamps and cut it in half. Then I planed both sides diagonally both ways to flatten them, 2 passes in each direction was all it took, then with a sharp iron planed along the grain to smooth them, again a couple of passes wad all it took both blanks finished off at about 43.1 / 43.2mm so that's going to plan. too
Next was to draw around the template and bandsaw the blank to shape. next I drew the cavity positions and rough drilled them out, I removed a bit of the waste with a chisel and that was me for the day, cream crackered!
Routing tomorrow perhaps, maybe a day off weather permitting
View attachment 3029295
View attachment 3029296 View attachment 3029297 View attachment 3029298 View attachment 3029301
You are moving right along there. Nice progress.
It's either that or clean the house!!You are moving right along there. Nice progress.

Yeah, the fineline 471 works like a dream, just burnish the edge down tight with your fingernail or a piece of hard plastic, shoot a mist coat of clear over it, it seals the edge, and any tiny bleed through is clear, then shoot all your color coats. I got a couple tiny hair-fine bleed through that scraped off with a razor blade in a couple seconds. Huge admiration for the people who can hand scrape, I suck at it, and the results aren’t any better than this tape. One advantage of a three ply binding is you can put if on in layers. Three strips of .020” a lot easier to bend than one layer of .060”. I tried CA glue and binding glue, acetone works best, leaves no residue and doesn’t discolor wood. WBW would look killer with a black top.
Last edited:
It's either that or clean the house!!
French maid outfit for that or no?

Looking amazing so far. Loving this build!
LOL at my age?French maid outfit for that or no?
Looking amazing so far. Loving this build!
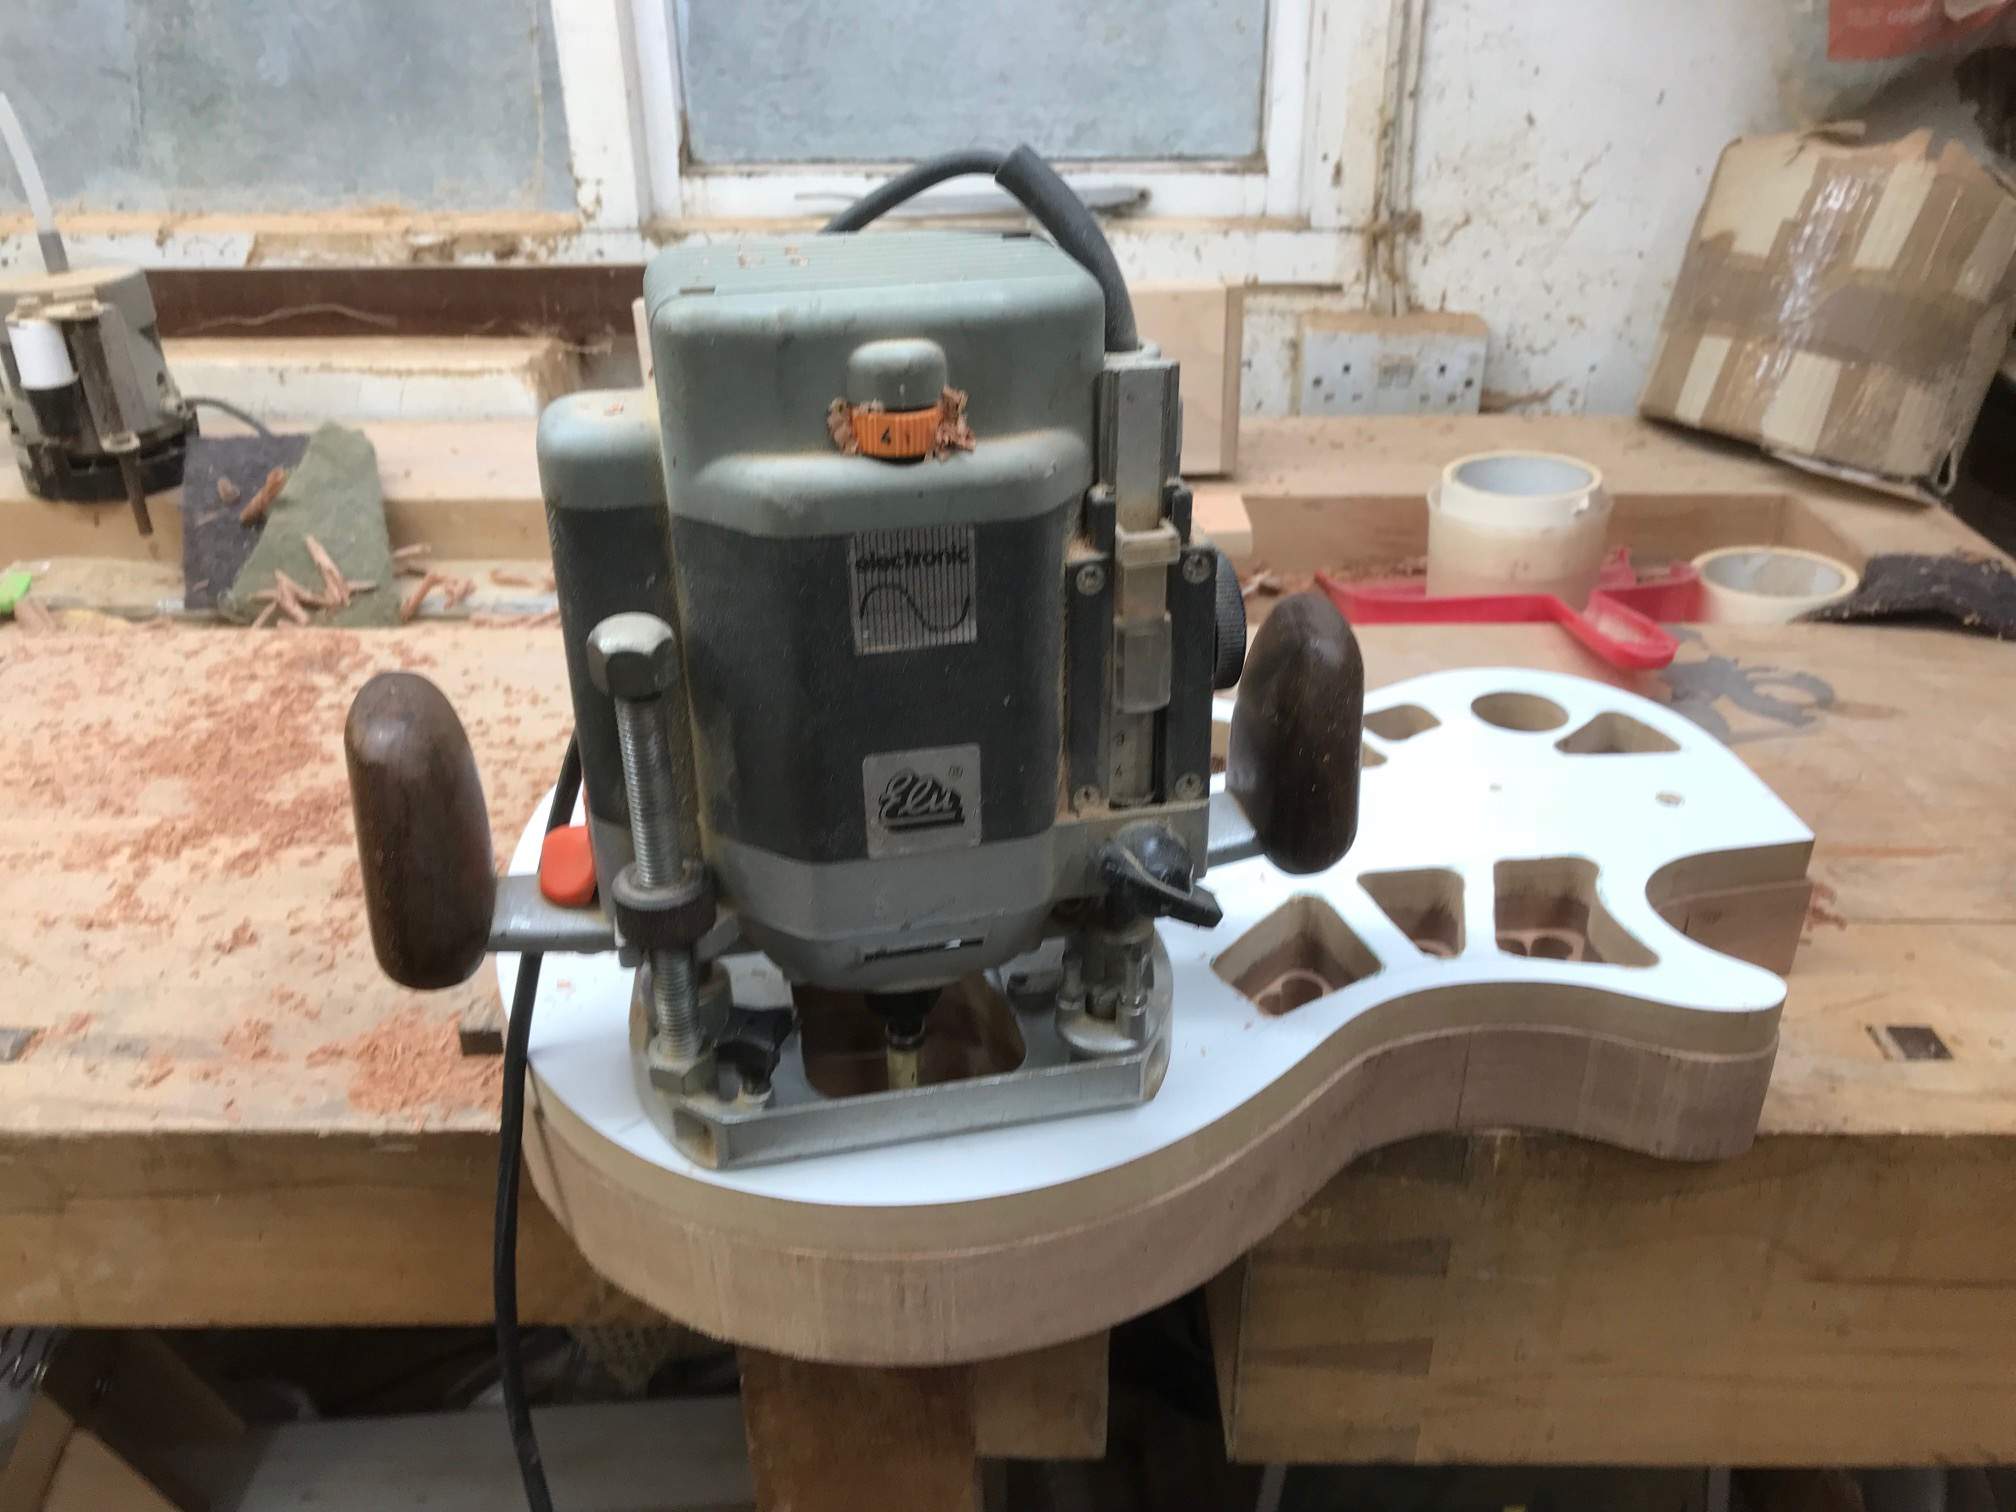
Done a little bit this morning, just routed out the cavities. I'm leaving the outer edge for now, I've ordered a new cutter from Radian tools in the UK 4 Flute Dual Bearing Router Bit 19mm x 51mm seeing as it looks like we'll be leaving the wood showing.
Not sure if I'm going to do any more today, see how I feel after some coffee
Some of you might recognise the router, if you do that's the Mk1 model, to give you an idea of how old it is, still on it's original motor whereas the Mk2 I have has had about 5. Funny seeing as they brought out to Mk2 replace the old unreliable motor!
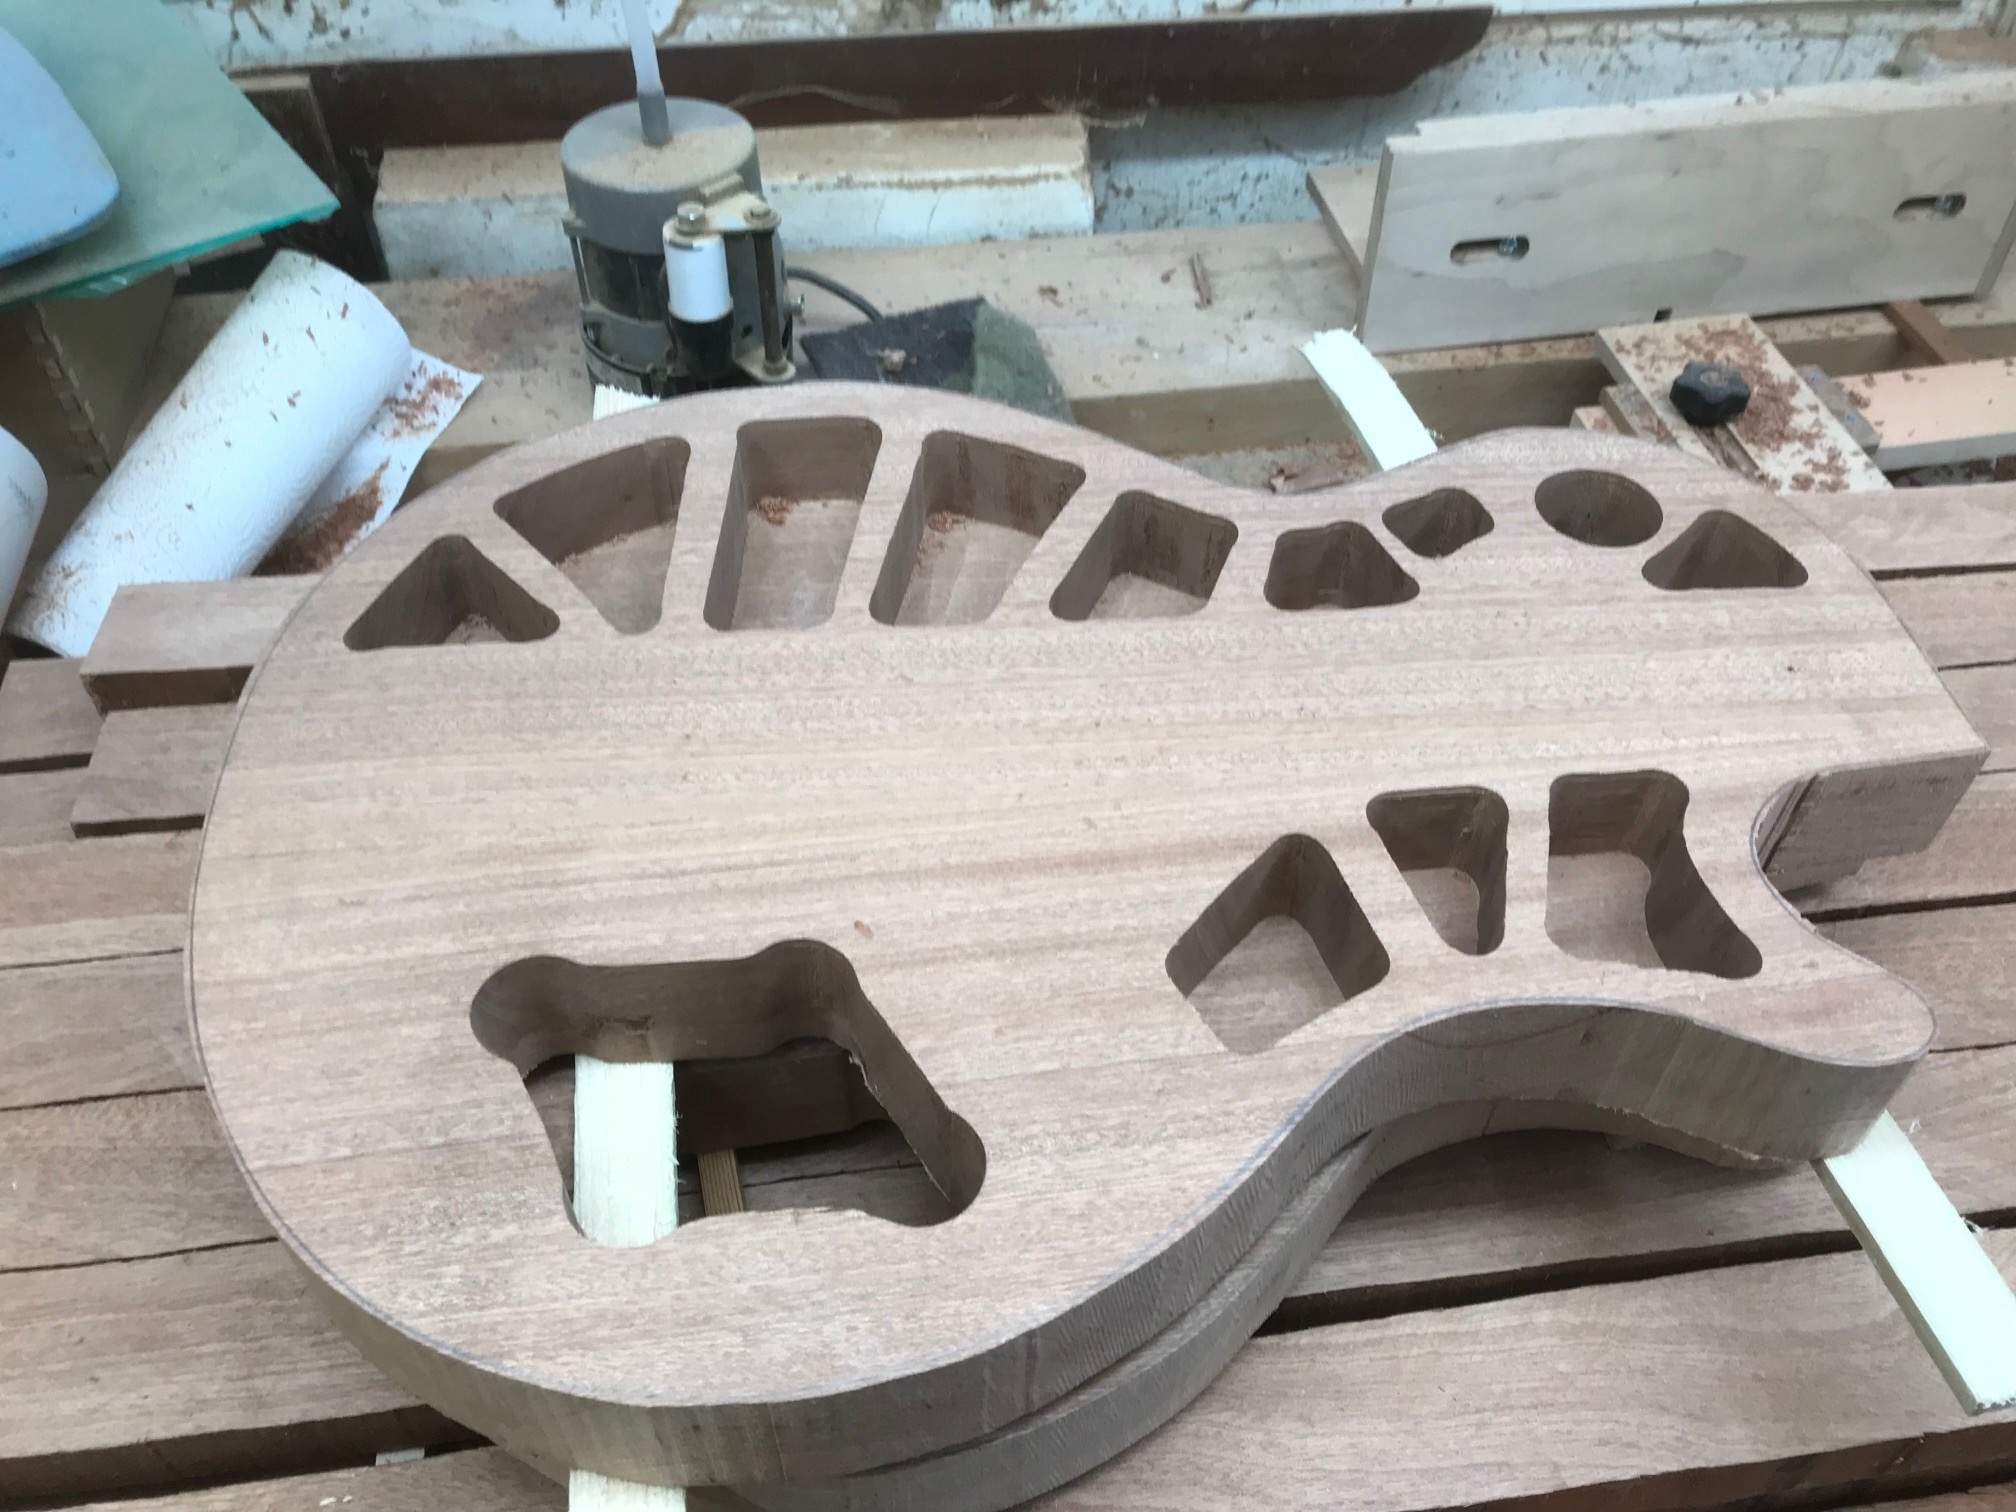
Not sure if I'm going to do any more today, see how I feel after some coffee
Some of you might recognise the router, if you do that's the Mk1 model, to give you an idea of how old it is, still on it's original motor whereas the Mk2 I have has had about 5. Funny seeing as they brought out to Mk2 replace the old unreliable motor!
Heh, I just retired my 30 year old Craftsman router, bearings getting loose. I replaced it with a Porter Cable, all around better router, but I miss the built in light on the Craftsman. Been looking for an aftermarket light for the PC, doesn’t seem to exist. If yours still runs true, work it!


