
• TalkBass has been independent since 1998. Add your voice.
    Create a free account to reply to discussions, view embedded media, and browse with fewer display ads.
    Join freeLog in
    Want zero display ads or expanded classifieds tools? Compare plans.

The SCP - Single Cut P-Bass

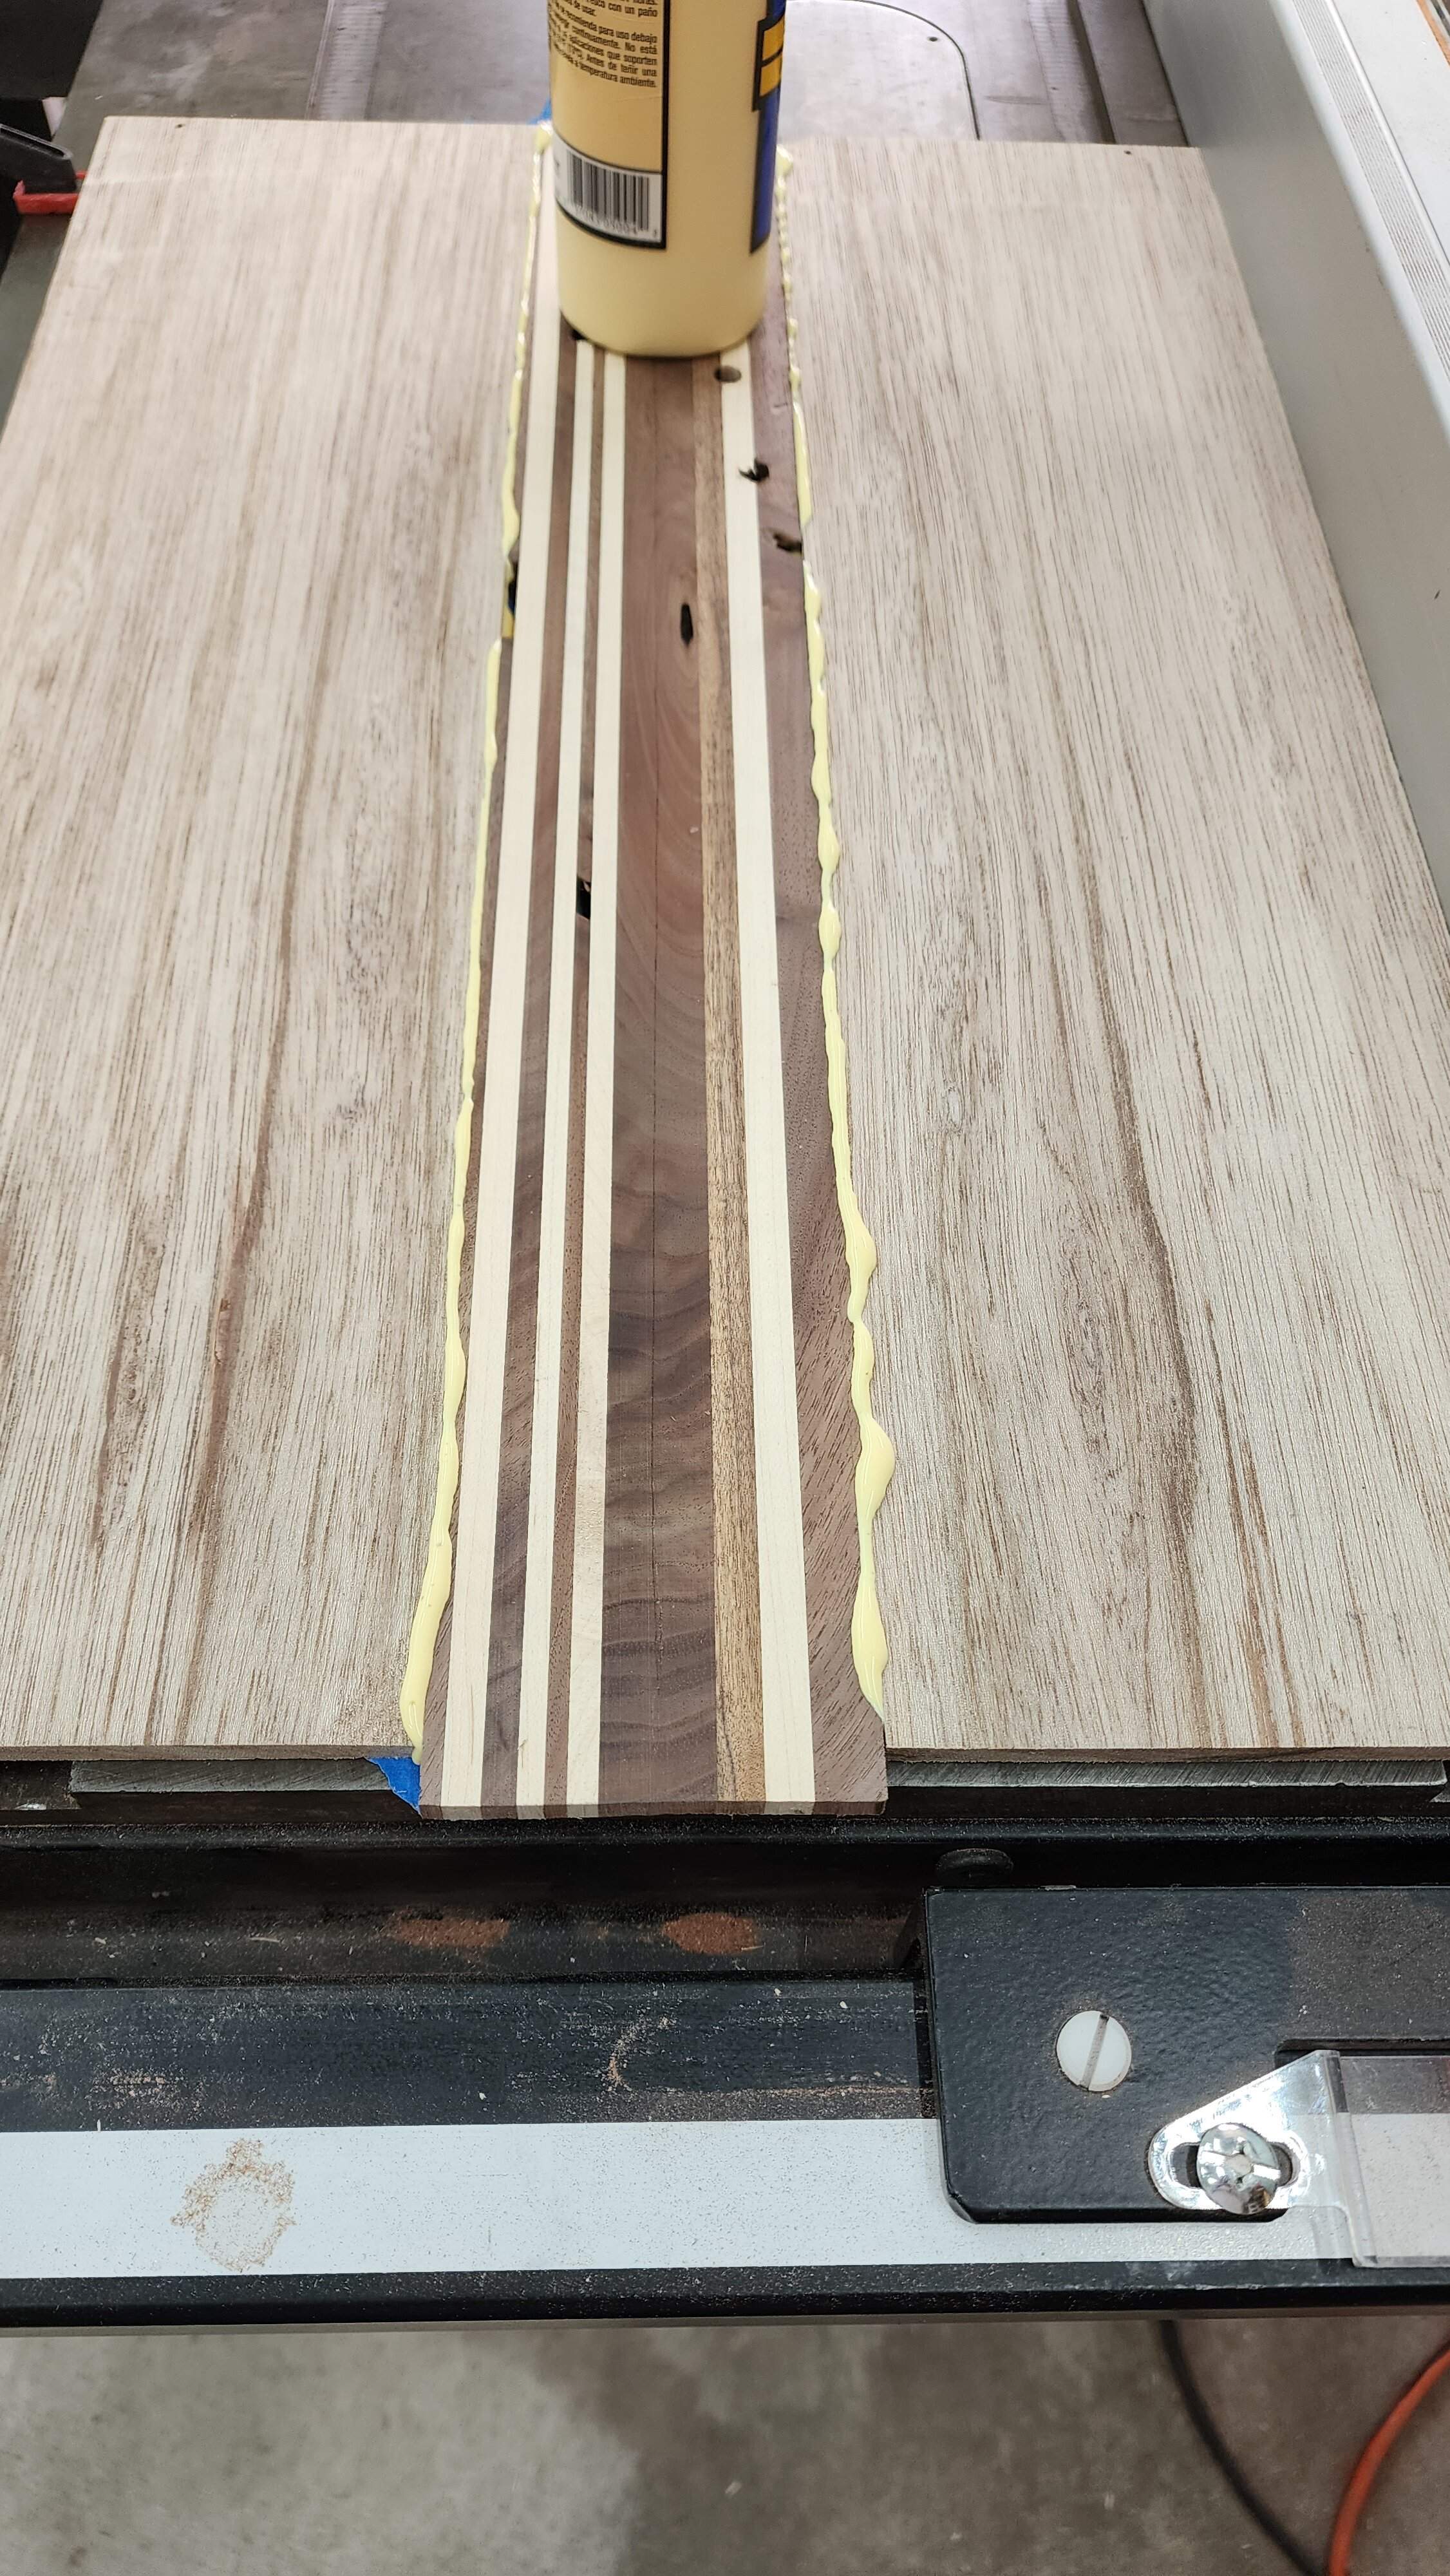
The middle of the hippie sandwich.
The middle is an off cut from the neck blank and the edges are mahogany.

I'll glue this layer to the maple once I get the control plate made (probably later today)

I plan on fillingthe gaps with my practice epoxy fills. I plan on getting some mother of pearl powder and mixing it with epoxy.
20230428_114601.jpg
 
Last edited:
I'm open to suggestions on both the epoxy and the mother of pearl powder.

My current plan was to get some ArtResin and see what powders looked good at the local craft store. There's 1000 brands on Amazon all with hundreds of good and bad reviews, and I can't sort what makes sense to order.

This is prep for filling the big spots in the front.
 
While I'm waiting for glue to dry, I'm playing around with this little project.

At Christmas, woodcraft had knife blanks on sale for $10, so I picked up a few.

This is Osage orange, purpleheart and redheart separated by maple. Should be a nice knife when I'm done.
View attachment 5045547


Looks great. I have a couple of knives in the garage that need scales. I just haven’t taken the time to start on it.
 
  • Like
Reactions: Videojunkie
Leaving off tonight with the bottom two layers of the hippie sandwich glued up. I am pressing my laundry room into a glue drying room overnight because temperatures are going to drop overnight.
20230428_212335.jpg


I got a slitting saw that I am hoping to use to finish the control plate. Then I have to very carefully plan and route the control cavity in the center of the body. I probably should make a template, because I have to do the exact same thing on the top....
 
I get it. I’d really like to try that but I’m broke and don’t do the things I already say I do nearly enough. Well…. maybe not “broke” but not in a position to acquire another money pit.

I understand that kind of "broke" and have been "broke, broke" at various times in my life as well. I remember discussing being "macaroni and sneeze" broke with my sisters once, and they were unfamiliar with the concept. I said that it's when you buy the 10/$1 Mac and Cheese (this was a while ago...) but you're too broke to get the butter and milk to properly make the cheese sauce... Thankfully those years are behind me, hopefully for good...

As much as I want to upgrade my table saw after it throwing a pulley, it's just not in the budget. So I'll have to save some of my limited spending money for a while....
 
So I finished up the control plate. I've got to figure out how I am going to make the knobs for the sliders, I have some ideas, but nothing solid.

20230429_120108.jpg

The sliders sitting side by side on the plate.

20230429_120117.jpg

Dual slots! The slitting saw was a perfect solution. I was able to reference the previous slot and make it precisely parallel at the right distance.
20230429_124544.jpg

Working out exactly where this sits in preparation for making the template.

20230429_133719.jpg

Template with the part set in to make sure everything lines up.
 
Just wondering if you guys have any recommendations. I am having a devil of a time making 100% sure that my template lines up perfectly on the top and bottom pieces. The tolerances are so tight that I need to get it perfect.

I'm considering cutting out the section of waste wood on the bottom to line it up and make sure it's perfect.
 
After several busy weeks where I had 0 shop time. And lots of measure a dozen times and then think about the measurements, sweat about the details, I took the plunge and cut the electronics recess in the top.

There was exactly 1 chance to get this perfect. :eek::nailbiting::nailbiting::nailbiting:

It has to match exactly the recess cut in the back, when the top is exactly aligned with the centerline of the body. No pressure.

:hyper: it seems to have worked perfectly! :thumbsup::)
20230518_201239.jpg
20230518_201137.jpg


With the controls in place.
20230518_202225.jpg
 
Last edited:
I guess before I get too excited about carving the top I should go ahead and do the neck joint. I designed the bass without a neck angle, so unless there's a compelling reason for changing that, I was going to go ahead and take this on down.

So the bridge is right about 12mm at its lowest. With the 3/4" (19mm) template, the frets are 6mm above the template. So, that's a Delta of 6mm. I probably want the bridge to be either even, or 1mm higher than the frets.... if my math is correct, that's a Delta of 5mm so I want my neck recess to be right around 14mm (9/16") deep?

Otherwise I'm going to need to either angle the neck or recess the bridge. And the math for the neck angle is hard... (and more importantly will screw up the locations for my neck screw holes.)
20230520_174948.jpg
 
Last edited: