
Finish is done on this one, time for assembly.


Enjoy the benefits of a premium membership!
Upgrade Account
-
TalkBass has been independent since 1998. Add your voice.
Create a free account to reply to discussions, view embedded media, and browse with fewer display ads.
Join free Log in
Want zero display ads or expanded classifieds tools? Compare plans.
You are using an out of date browser. It may not display this or other websites correctly.
You should upgrade or use an alternative browser.
You should upgrade or use an alternative browser.
What's On Your Workbench?
- Thread starter HaMMerHeD
- Start date
More options
Who Replied?


@dwizum That's awesome. 
I need to practice that clean edge between the stain and natural wood.
@Lo-E Don't forget, you can always build the one good drill out of all the good parts. Then take all the left-over parts and build another drill and sell that as a "barn-chic" decor for some reno flipper tv show!
I need to practice that clean edge between the stain and natural wood.
@Lo-E Don't forget, you can always build the one good drill out of all the good parts. Then take all the left-over parts and build another drill and sell that as a "barn-chic" decor for some reno flipper tv show!

Hah! Definitely considered it!@Lo-E Don't forget, you can always build the one good drill out of all the good parts. Then take all the left-over parts and build another drill and sell that as a "barn-chic" decor for some reno flipper tv show!
The one with the broken wheel is only missing one tooth on the outside row and it seems to work okay without it. On the inside row (the slower, higher-torque setting) it’s completely hosed with five or six teeth rounded over but it’ll still work okay as a single-speed drill so I may get it working as well as I can and pass it along to one of several other tinkerers I know. It would be a shame to hang it on a wall in a restaurant if it can still drill holes.
I found one that looks almost new and allegedly hasn't been restored.That Craftsman is almost certainly made by MF and $20 is a nice price
Is $60 reasonable for that model?
Seems a little high to me but if it’s really, really clean why not? Saves you the trouble of cleaning it up yourself. You say you were seeing them for $20 so that kinda gives you the range.I found one that looks almost new and allegedly hasn't been restored.
Is $60 reasonable for that model?
Yeah, one hobby I'd like to start some day is collecting vintage hand tools from around the the turn of the last century. But I haven't started yet and have no idea how hard they are to find, find parts for, how to value any of it, etc.Seems a little high to me but if it’s really, really clean why not? Saves you the trouble of cleaning it up yourself. You say you were seeing them for $20 so that kinda gives you the range.
The reason I haven't pulled the trigger is because I can't tell if it's original and in really good shape, or if it's been cleaned, repainted and had parts replaced. I think id rather have one that's all original, as long as it's in good working condition, I don't care about a little rust and missing paint.
CRAFTSMAN VTG. No. 1071 Woodworker's Hand Drill, 1/4" Cap., Bits in Handle, USA | eBay
As an eBay Associate, TalkBass may earn a commission from qualifying purchases.

I found a workbench yesterday. some minor tweaking and generous lubricant application and everything works as it should.
I’ll be able to take this out in the yard and make wood chips safely away from the house.
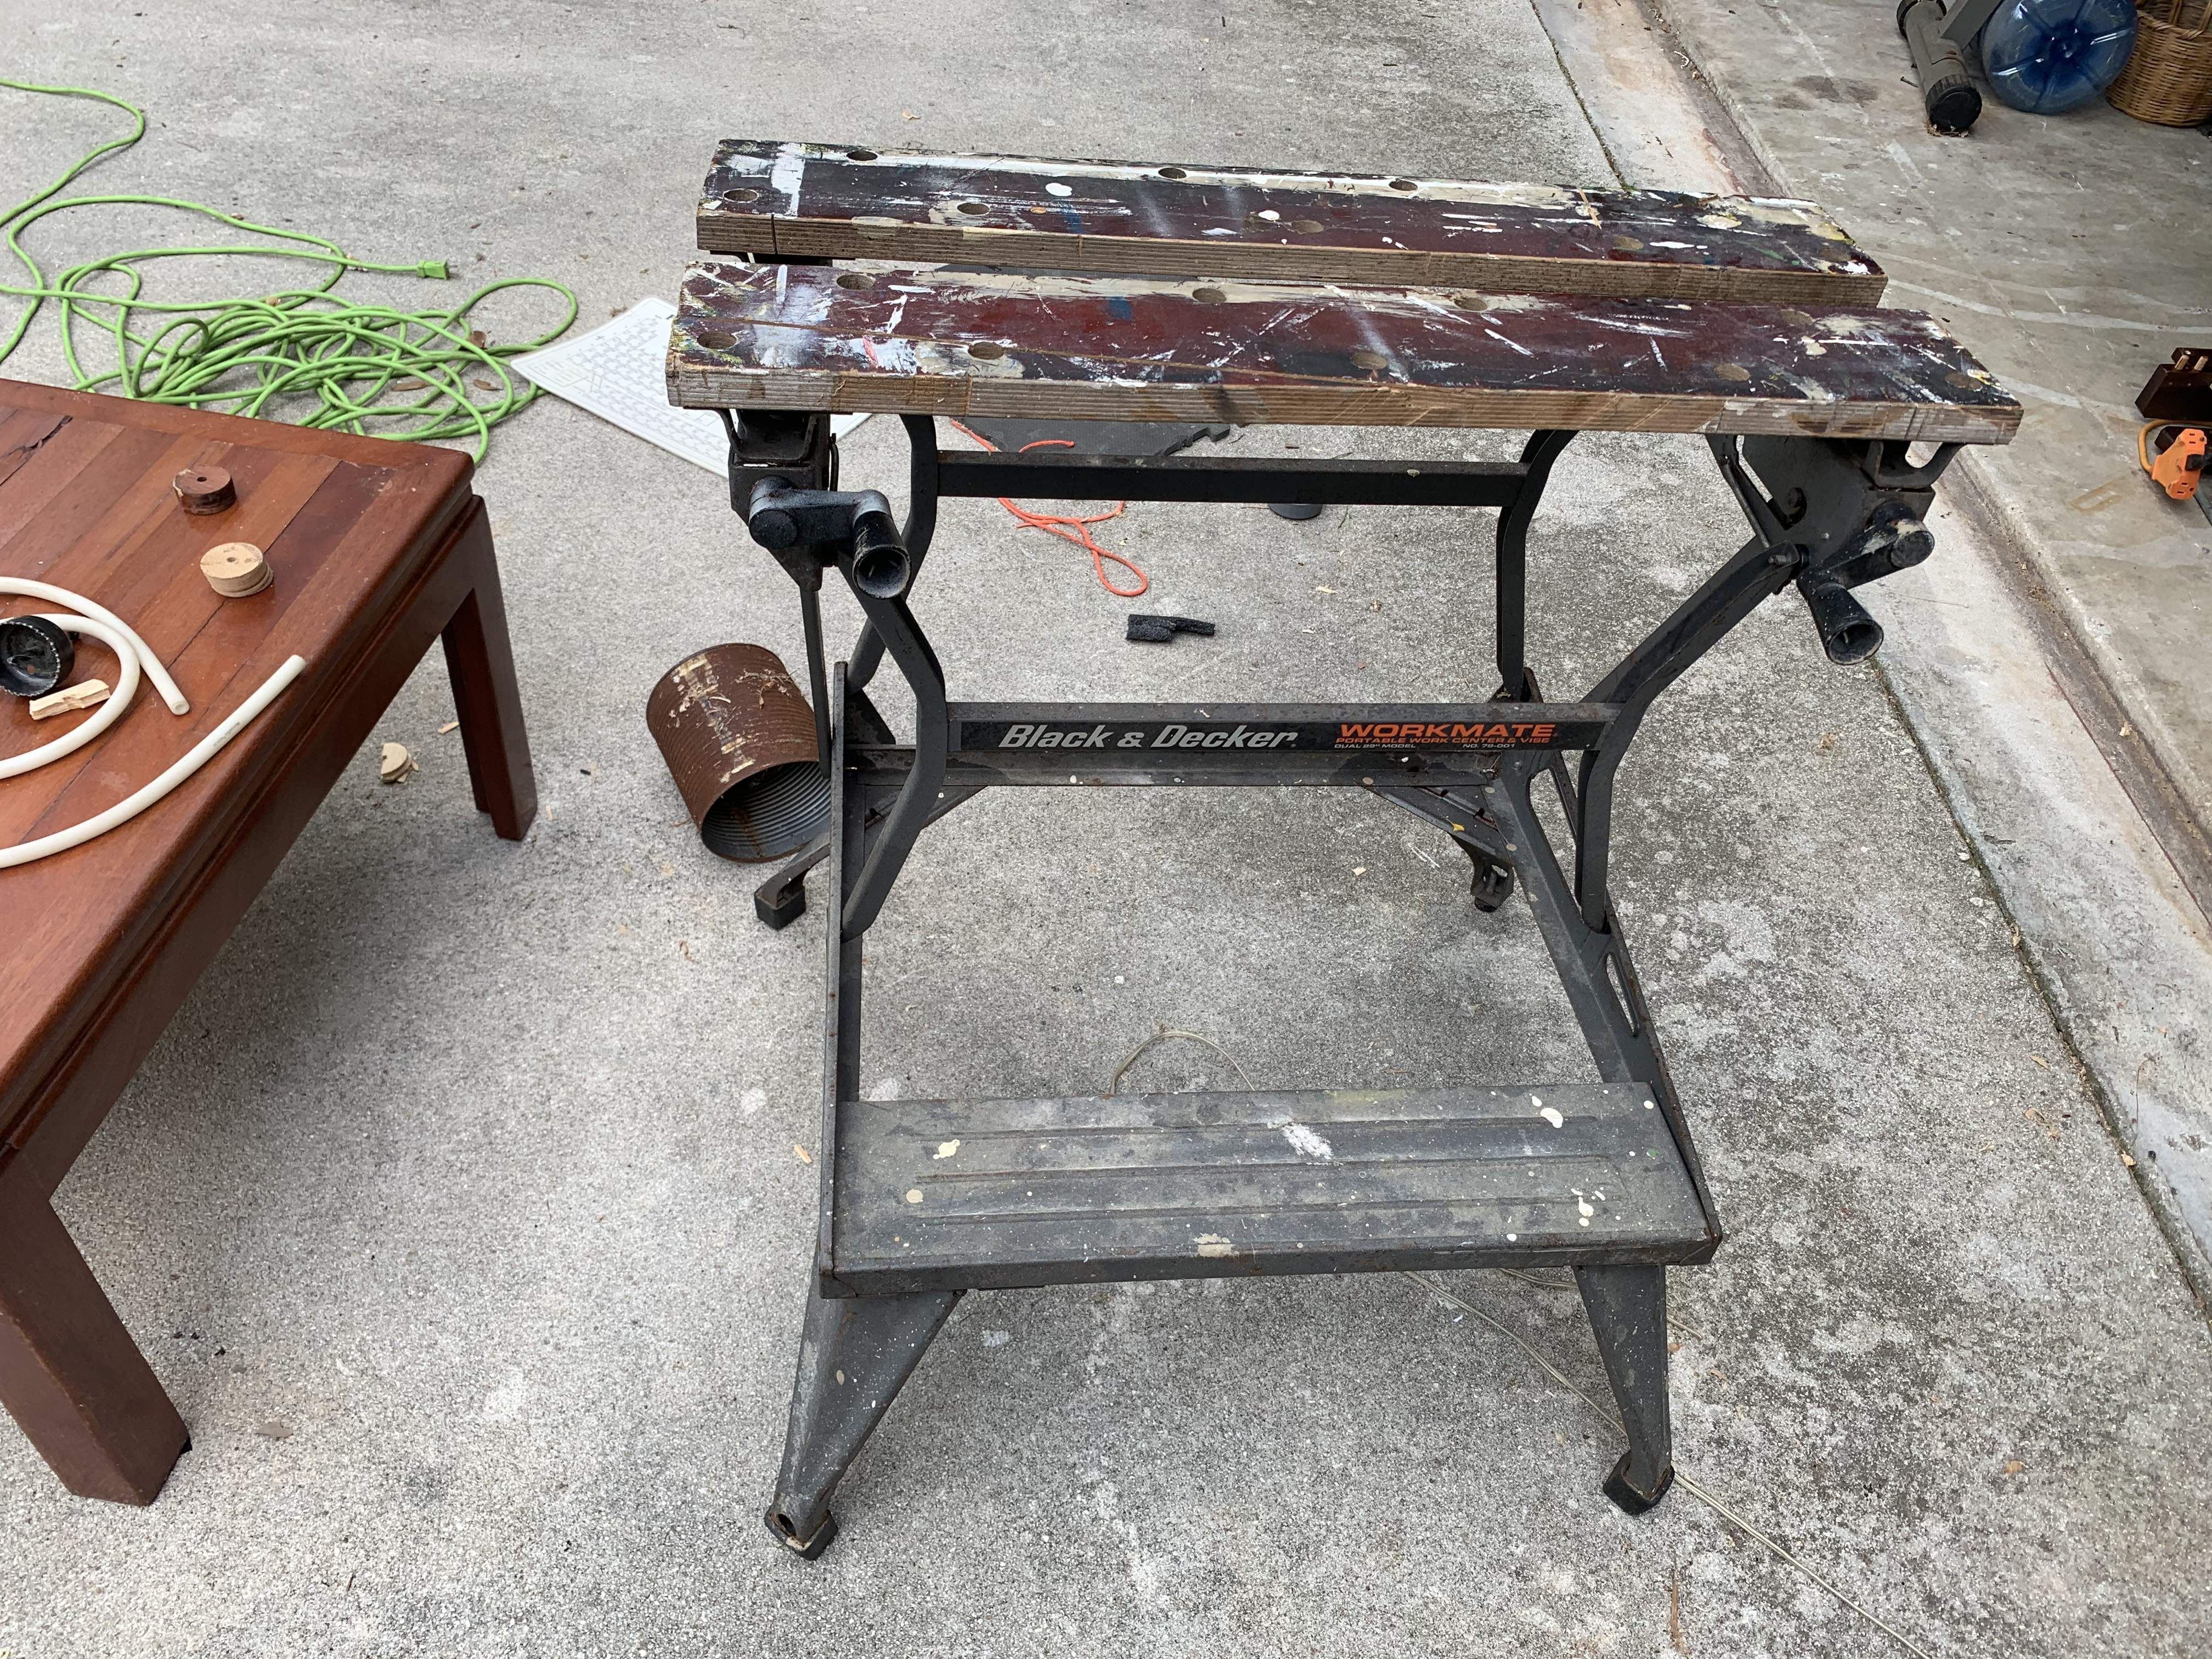
I’ll be able to take this out in the yard and make wood chips safely away from the house.
Heck, offer $40 and see if the seller bites.Yeah, one hobby I'd like to start some day is collecting vintage hand tools from around the the turn of the last century. But I haven't started yet and have no idea how hard they are to find, find parts for, how to value any of it, etc.
The reason I haven't pulled the trigger is because I can't tell if it's original and in really good shape, or if it's been cleaned, repainted and had parts replaced. I think id rather have one that's all original, as long as it's in good working condition, I don't care about a little rust and missing paint.
CRAFTSMAN VTG. No. 1071 Woodworker's Hand Drill, 1/4" Cap., Bits in Handle, USA | eBay
As an eBay Associate, TalkBass may earn a commission from qualifying purchases.

Right, gotta start somewhere. You can start a thread about collecting old tools. Bruce will probably chime in.
Please don’t
I use old tools.
Buy and fix them when needed.
Maybe I have more than I use regularly already, but I’ve never considered collecting them, not really.
Now you have me thinking, I need all The Swan chisels and gouges I can get. I can make a nice rack and display…
Maybe I could do the same with planes, saws,…
Maybe I need another mortgage. Lol.
I use old tools.
Buy and fix them when needed.
Maybe I have more than I use regularly already, but I’ve never considered collecting them, not really.
Now you have me thinking, I need all The Swan chisels and gouges I can get. I can make a nice rack and display…
Maybe I could do the same with planes, saws,…
Maybe I need another mortgage. Lol.
I just want a small collection. It won't get outta hand. I can totally control it.
@dwizum That's awesome.
I need to practice that clean edge between the stain and natural wood.
I've done a couple with the sharp edge to the stain. Plain old blue masking tape worked the best. On my recent V, it came out perfect with blue tape. For this one, because it was so curvy, the blue masking tape wouldn't work. I got some fancy vinyl automotive pinstriping tape on Amazon. It sucked. It certainly went on nice, but the stain bled right under it in several spots, so I had to scrape those spots to clean it up before putting the clear coat on.
I was going to ask if they make thin masking tape,....then googled it and yup, they make 1/4" wide rolls.
Although, I've never seen it in any of the box stores. But, there's always Amazon.
Although, I've never seen it in any of the box stores. But, there's always Amazon.

I've had mixed experiences with masking tape and always had some of the stain creep underneath. The trick I use for a sharp stain border at a bevel or edge is to seal the clear surface with sanding sealer or epoxy and then sand the surface that I want to stain with fine sandpaper, wich establishes a clear edge in the sealer. That works for bevels like above and also for faux binding. The stain won't penetrate the filler and you can wipe it right off. Here's one I did with this technique two years ago:@dwizum That's awesome.
I need to practice that clean edge between the stain and natural wood.
That's kinda what I assumed (wrongly) was going on with @dwizum's build. I just figured stain would be too thin to be controlled with tape.The trick I use for a sharp stain border at a bevel or edge is to seal the clear surface with sanding sealer or epoxy
Art supply stores typically have various widths. They also make assorted products for auto painting.I was going to ask if they make thin masking tape,....then googled it and yup, they make 1/4" wide rolls.
Although, I've never seen it in any of the box stores. But, there's always Amazon.
I forgot to get a decent photo - and I'm not really sure what it would show, really, but the last heat treatment (shown above) on Jack's Thunderbird got me there!
Heat setting a neck - especially somebody else's neck... and especially somebody else's vintage and very sentimental neck - is always nerve wracking. It's such an imprecise science. It's not even science; it's an educated guess. There's so much that can go sideways...
But it didn't! The neck is now almost flat. There's still a tiny amount of bow and a tiny amount of ski jump but they're both so small they'll be corrected easily when I dress the board and refret.
I'm really very excited about this because I didn't think repairing the truss rod was going to be enough to straighten the neck with the forward bow it had before.
Now I can proceed with repairing a headstock crack and repairing the snapped truss rod. Still miles to go!
I watched a YT vid yesterday where the guy just slathered his stain all over the top, not really caring if he got a little bit on the beveled edges. Then he went back and just sanded the bevels to remove anything that got on there and give it a nice crisp edge. I just kinda sat there going "Yeah, okay, that's one way."


