• TalkBass has been independent since 1998. Add your voice.
    Create a free account to reply to discussions, view embedded media, and browse with fewer display ads.
    Join freeLog in
    Want zero display ads or expanded classifieds tools? Compare plans.

What's On Your Workbench?

I have my main Walnut bass on the bench. The fretboard(babinga) lacquer is pretty chewed up from the round wound strings. I’m removing the finish on the fingerboard.
I will give it a slight oiling afterwards.
And I haven’t boiled bass strings in a very long time….:smug:
View attachment 4964713

Almost done:cool:…but hard on the teeth.
View attachment 4964714
The fretboard lacquer removed. A light oiling. Next up is to clean up the bass, maintenance. Thinking about a permanent/better fix for the control area that I messed up:meh:
Not in the pic.
I like putzing on my basses.
6EA3A4A3-5510-422C-A9E9-0A77FDAC5AFA.jpeg
 
Well, my StewMac inlay bits arrived...
20230210_210315.jpg
Wow, these are teeny tiny! :eek:
Hopefully I don't break these practicing.

I figured I would rebuild my neck shaping jig now that I have a leg vise on my workbench. It's crazy how useful that thing is. I saw a pretty cool setup in the Ewor Guitars YouTube channel so I kind of stole his idea. This is just a bunch of pressure treated lumber I got for free, I ran the important parts thru my jointer to make sure I had a flat, smooth face where it matters...
20230210_210229_HDR.jpg 20230210_210207_HDR.jpg 20230210_210200_HDR.jpg
I'm pretty happy with this, even tho I haven't used it yet. It places the neck in a much more exposed position from what I had. It felt like I was always working around or over clamps with my old jig. This feels way easier to get at it and also feel way more sturdy. :cool:
 
Last edited:
I saw this on FB this morning. Kinda cool.
I have my main Walnut bass on the bench. The fretboard(babinga) lacquer is pretty chewed up from the round wound strings. I’m removing the finish on the fingerboard.
I will give it a slight oiling afterwards.
And I haven’t boiled bass strings in a very long time….:smug:
View attachment 4964713

Almost done:cool:…but hard on the teeth.
View attachment 4964714
I have cobalt flats coming…I’ve never been a big fan of flats…:meh::cautious:
 
Would this act as a kill switch?

Yes. This has been been back-of-mind since I first played it.
So, I'll eventually need to figure out/research a "pop free" on-off circuit for switching out 48v phantom.
I want to be able to -silently- push to "off", and unplug without alerting the entire venue (and pissing off sound guy), then walk to the bar, anonymously.
Standing on stage, waving arms to get sound guys attention, miming I'm about to unplug, so he can mute the channel, is soooo anti-rock star.

Rick
 
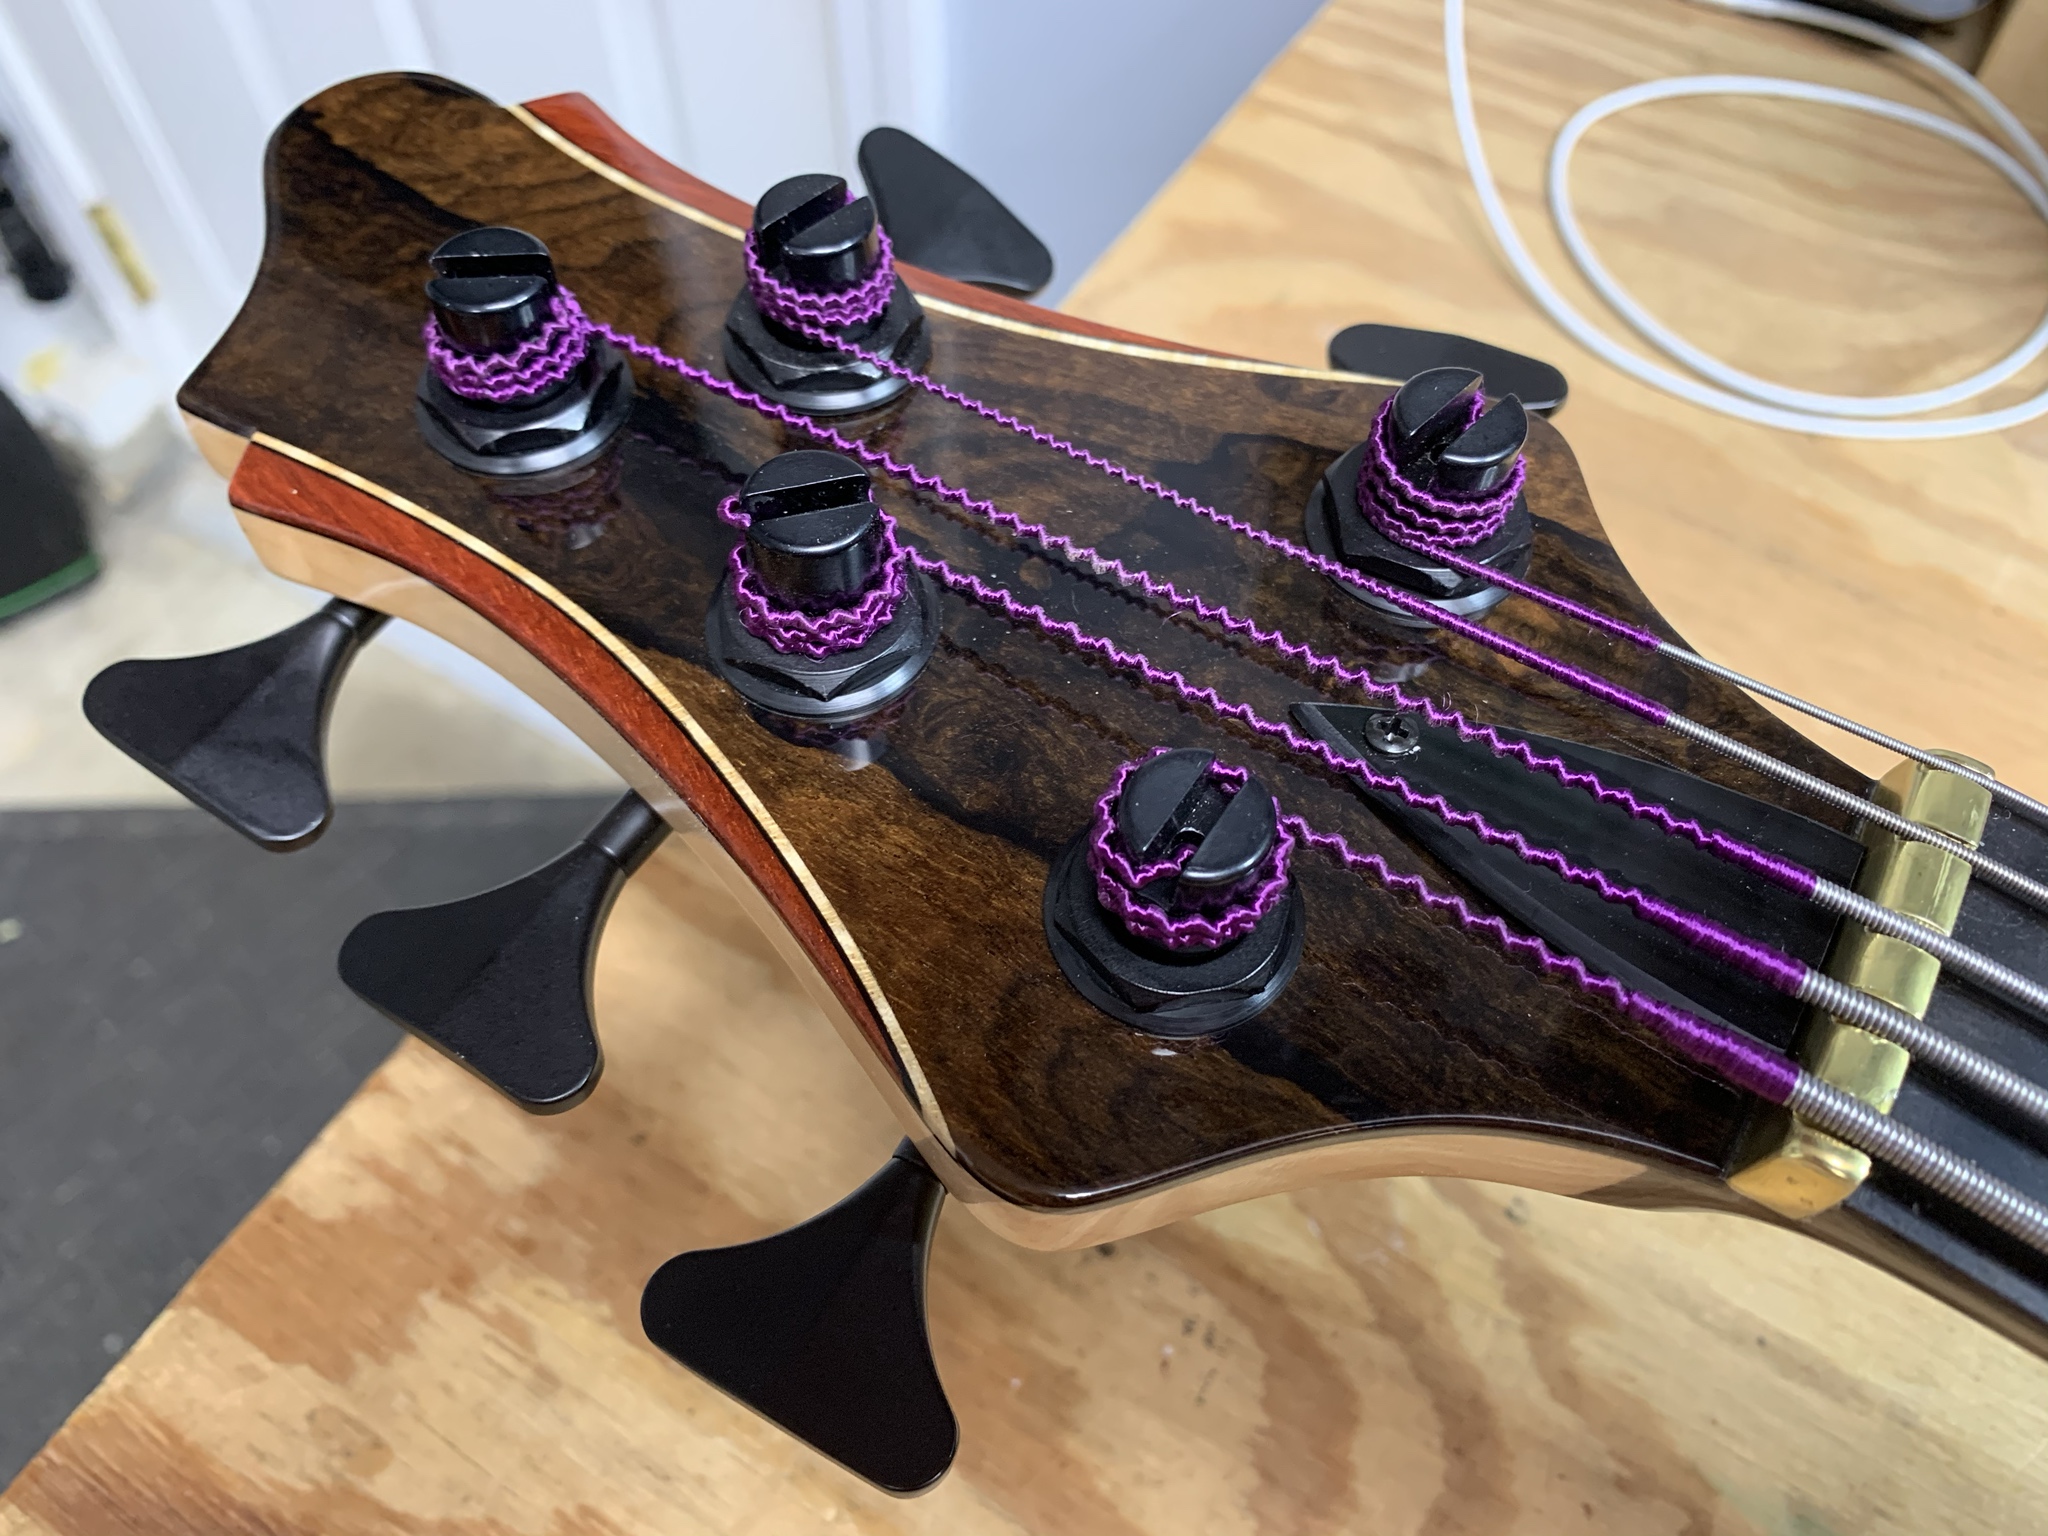
Brass nuts! I decided my new Sire U5 needed slightly wider nut spacing. My preferred medium for making nuts is brass.

I ended up down a rabbit hole of proportional vs equal string spacing, which resulted in a few scrapped prototype nuts.

daMc57H.jpg


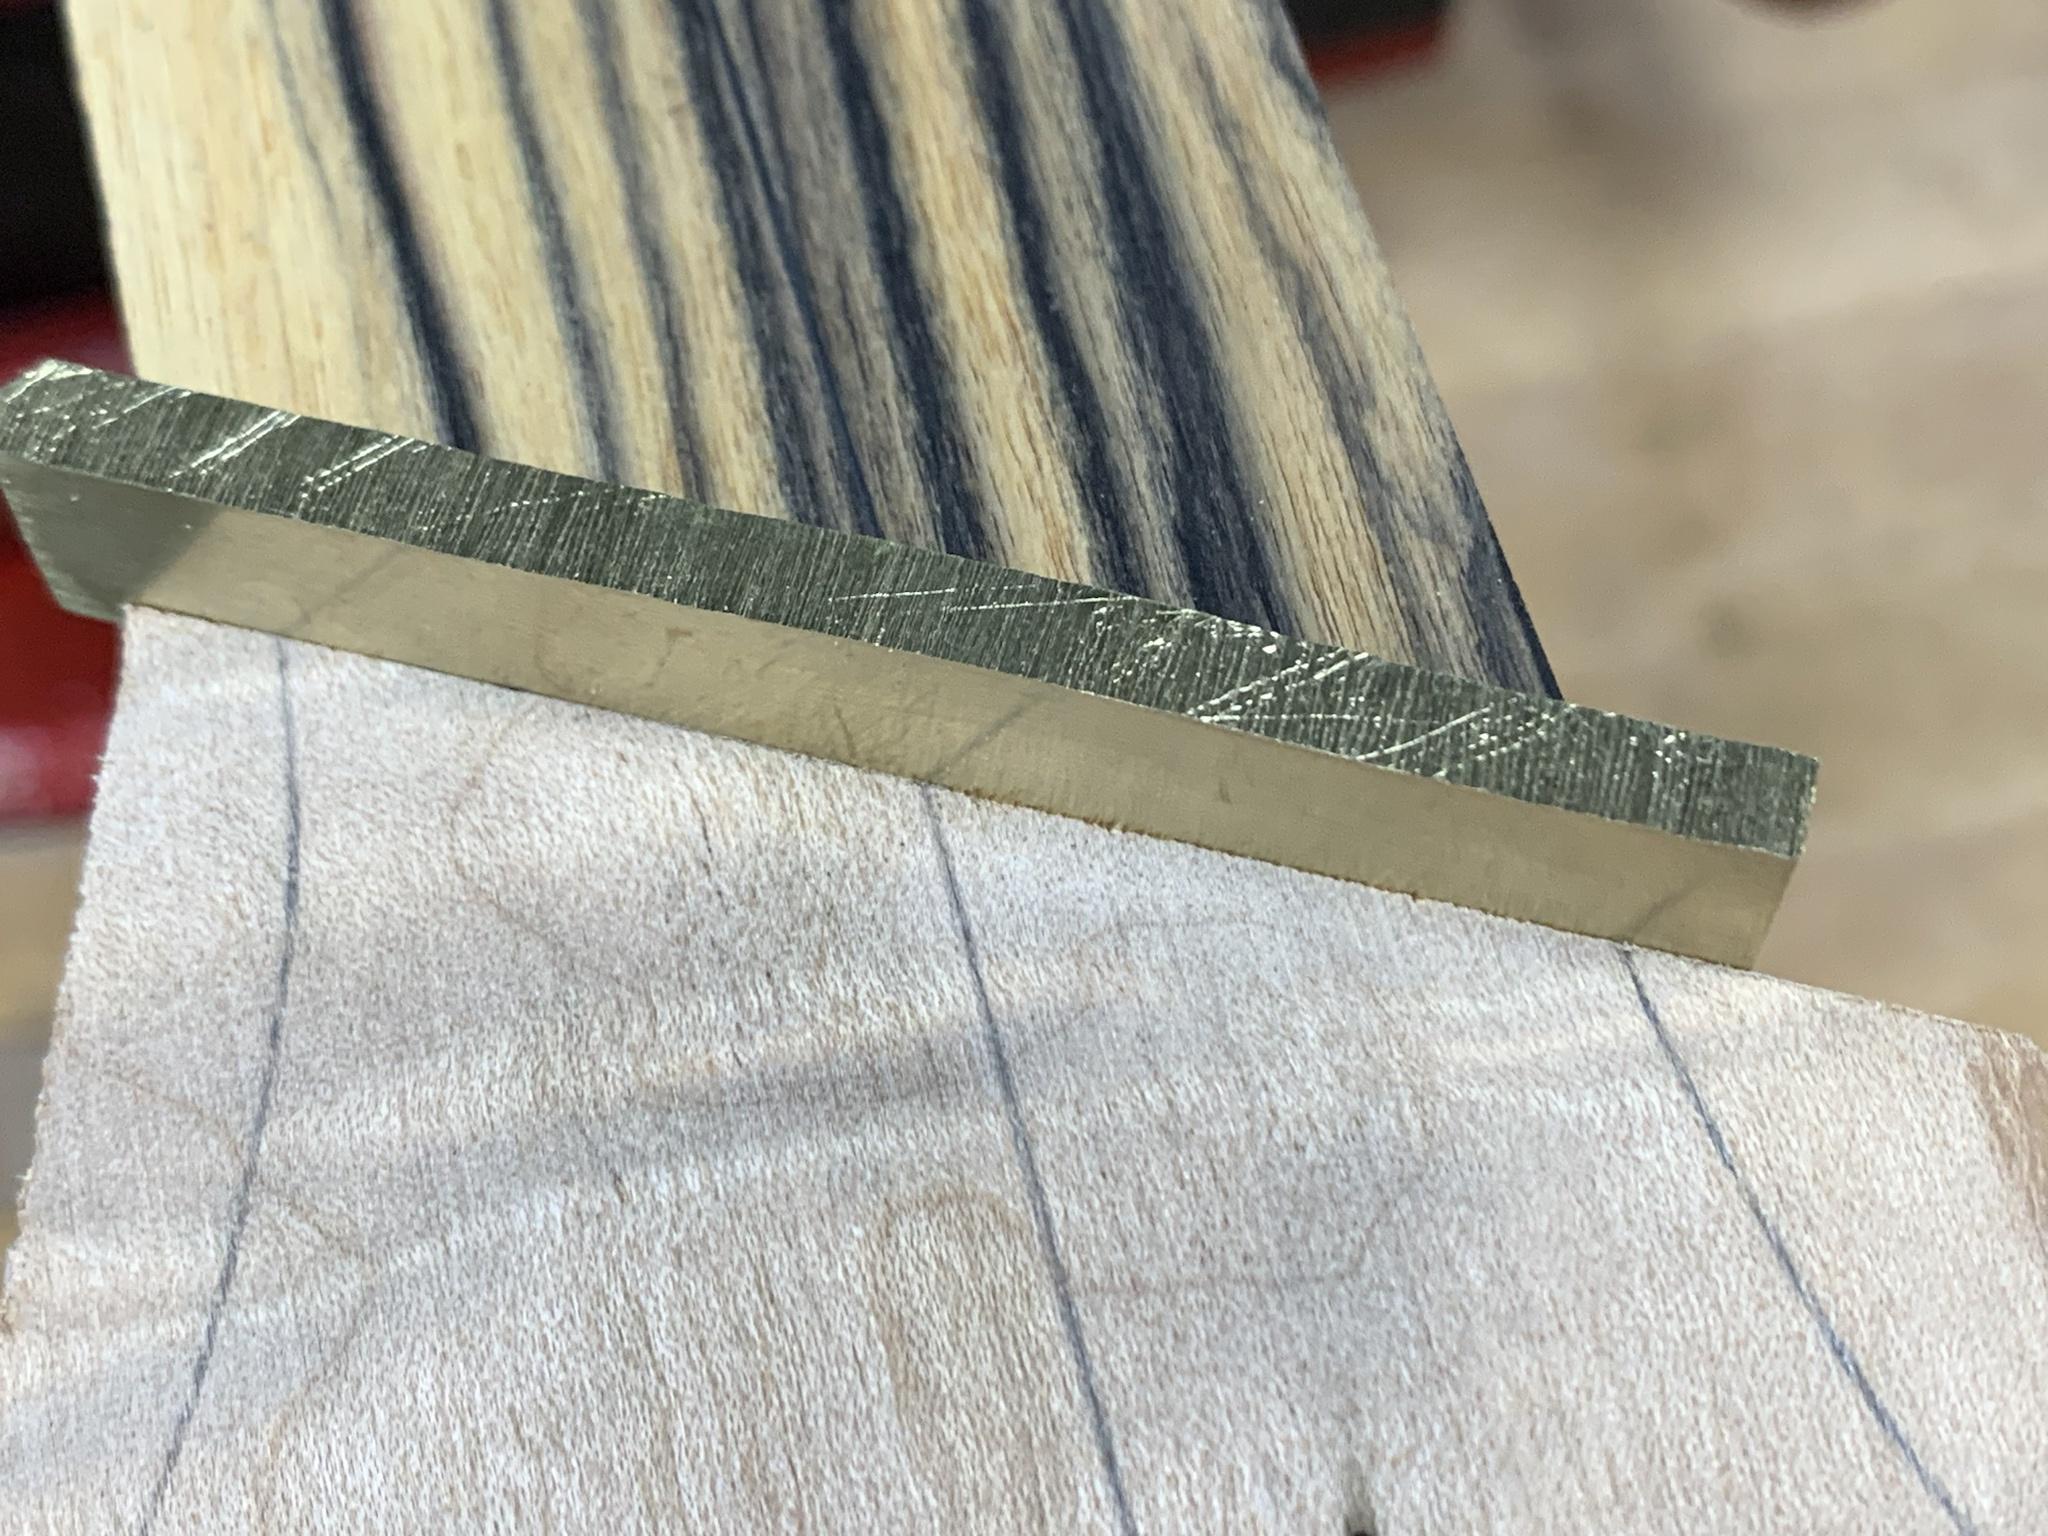
This is my basic nut blank cut from 4mm brass stock. I had to true up each face, starting with the bottom and then bringing in the sides in tiny increments. The nut slot in the Sire is notionally 4mm wide, but actually flares to 4mm at each end while being thinner in the middle. As such the blank needed thinned.

All work except final polishing done with hand tools.

Coarse slotting:

RWoUWzH.jpg


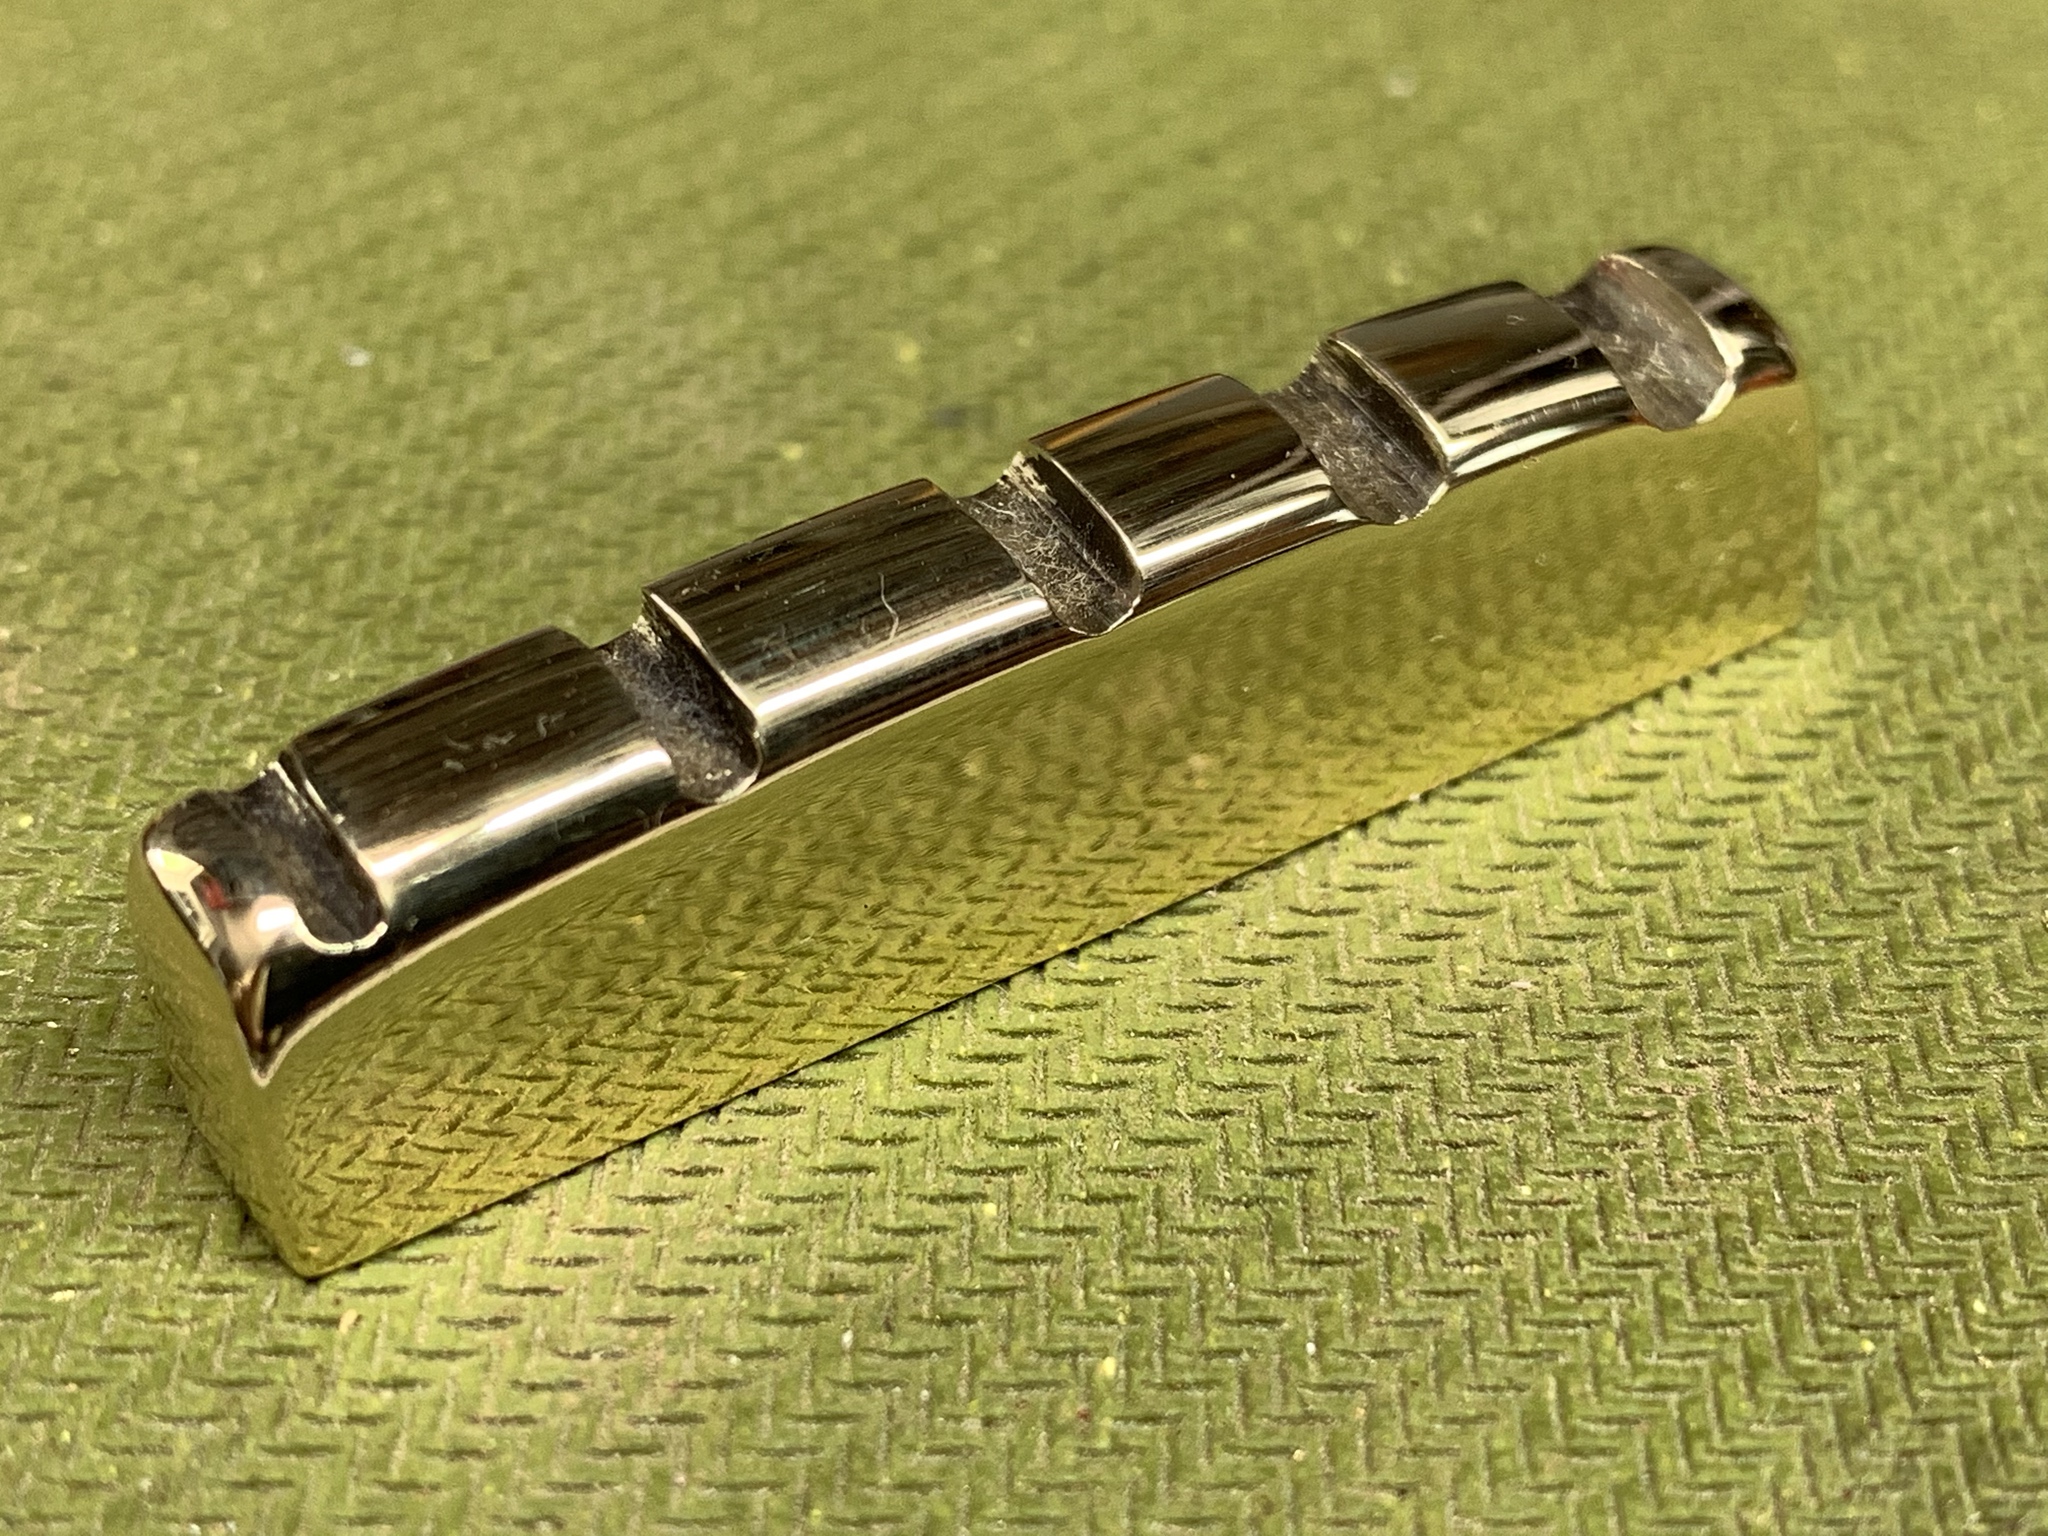
Shaped, refined and polished:

JLlGkr4.jpg
 
Brass nuts! I decided my new Sire U5 needed slightly wider nut spacing. My preferred medium for making nuts is brass.

I ended up down a rabbit hole of proportional vs equal string spacing, which resulted in a few scrapped prototype nuts.

daMc57H.jpg


This is my basic nut blank cut from 4mm brass stock. I had to true up each face, starting with the bottom and then bringing in the sides in tiny increments. The nut slot in the Sire is notionally 4mm wide, but actually flares to 4mm at each end while being thinner in the middle. As such the blank needed thinned.

All work except final polishing done with hand tools.

Coarse slotting:

RWoUWzH.jpg


Shaped, refined and polished:

JLlGkr4.jpg

Very nice. I do like me some brass nuts! :D
 
  • Like
Reactions: SulzerType2
Thanks! A bit uncool in this day and age when folk are using mammoth tusk ivory, synthetic self-lubricating materials and everything in between.

I'm definitely one of the uncool kids. :laugh: I've used a lot of materials, but brass looks so cool.
JZReNJV.jpg


dSSTbu2.jpg


Using brass on my current build as well. :)
BeciXTr.jpg
 
Like a reeeeeeally posh Danelectro!

Yes, Dano used an aluminum nut attached with one central screw. '68 Coral Deluxe Bass - made by Danelectro.

upload_2023-2-14_13-20-12.jpeg

'68 Dano made Silvertone 1443 Hornet w/craqueleur finish
upload_2023-2-14_13-22-23.jpeg
 
I made an aluminium nut for my Recording King lap steel, based on my experience restoring a friend's Danelectro 59 shorthorn guitar, a la Jimmy Page. Why don't more builders utilise a nut that mounts with a screw or two? The radius on the underside of Fender nuts is tricky to copy with hand tools, and it has to fit that small channel.

I'm wary of sanding and polishing too much aluminium though as I gather there is a link to Alzheimer's upon repeated exposure.
 
  • Like
Reactions: stevecaronna
Brass nuts! I decided my new Sire U5 needed slightly wider nut spacing. My preferred medium for making nuts is brass.

I ended up down a rabbit hole of proportional vs equal string spacing, which resulted in a few scrapped prototype nuts.

daMc57H.jpg


This is my basic nut blank cut from 4mm brass stock. I had to true up each face, starting with the bottom and then bringing in the sides in tiny increments. The nut slot in the Sire is notionally 4mm wide, but actually flares to 4mm at each end while being thinner in the middle. As such the blank needed thinned.

All work except final polishing done with hand tools.

Coarse slotting:

RWoUWzH.jpg


Shaped, refined and polished:

JLlGkr4.jpg

Nice work! Brass (or aluminum or stainless) nuts aren't really that difficult to make....with some patience. A good vise, some files, and magnifiers.

To get the string spacing right, I like to draw them up accurately in the computer in a CAD program, and then print the drawing out, full size, onto adhesive-back mailing label stock. Cut it out and stick it on the bar stock. Precise guidelines to follow with your files.

Another helpful trick is to do most of the filing and shaping while the nut is still on the end of a longer piece of the bar stock. That gives you a handle to hold it with. The last step is to cut it free and trim the two ends.
 
Why don't more builders utilise a nut that mounts with a screw or two?

Yes, that's what I do. I make the nuts on my basses from aluminum and they are held on by two 4-40 x 1/2" socket head machine screws. The screws thread directly into the neck wood, usually maple or walnut. Very secure and convenient.

IMG_7062B.jpg


The screws also make it easier to make up the nut. I drill the counterbored holes in the aluminum bar stock blank.....

IMG_7041B.jpg


And then bolt it to an aluminum holder bar to do all the filing, shaping and polishing...

IMG_7040B.jpg


IMG_7060B.jpg


These nuts are 1/2" wide, but I've also made more conventional 1/4" wide nuts, also held down with two 4-40 machine screws like this. Use socket head machine screws, tighten with an Allen wrench.