• TalkBass has been independent since 1998. Add your voice.
    Create a free account to reply to discussions, view embedded media, and browse with fewer display ads.
    Join freeLog in
    Want zero display ads or expanded classifieds tools? Compare plans.

What's On Your Workbench?

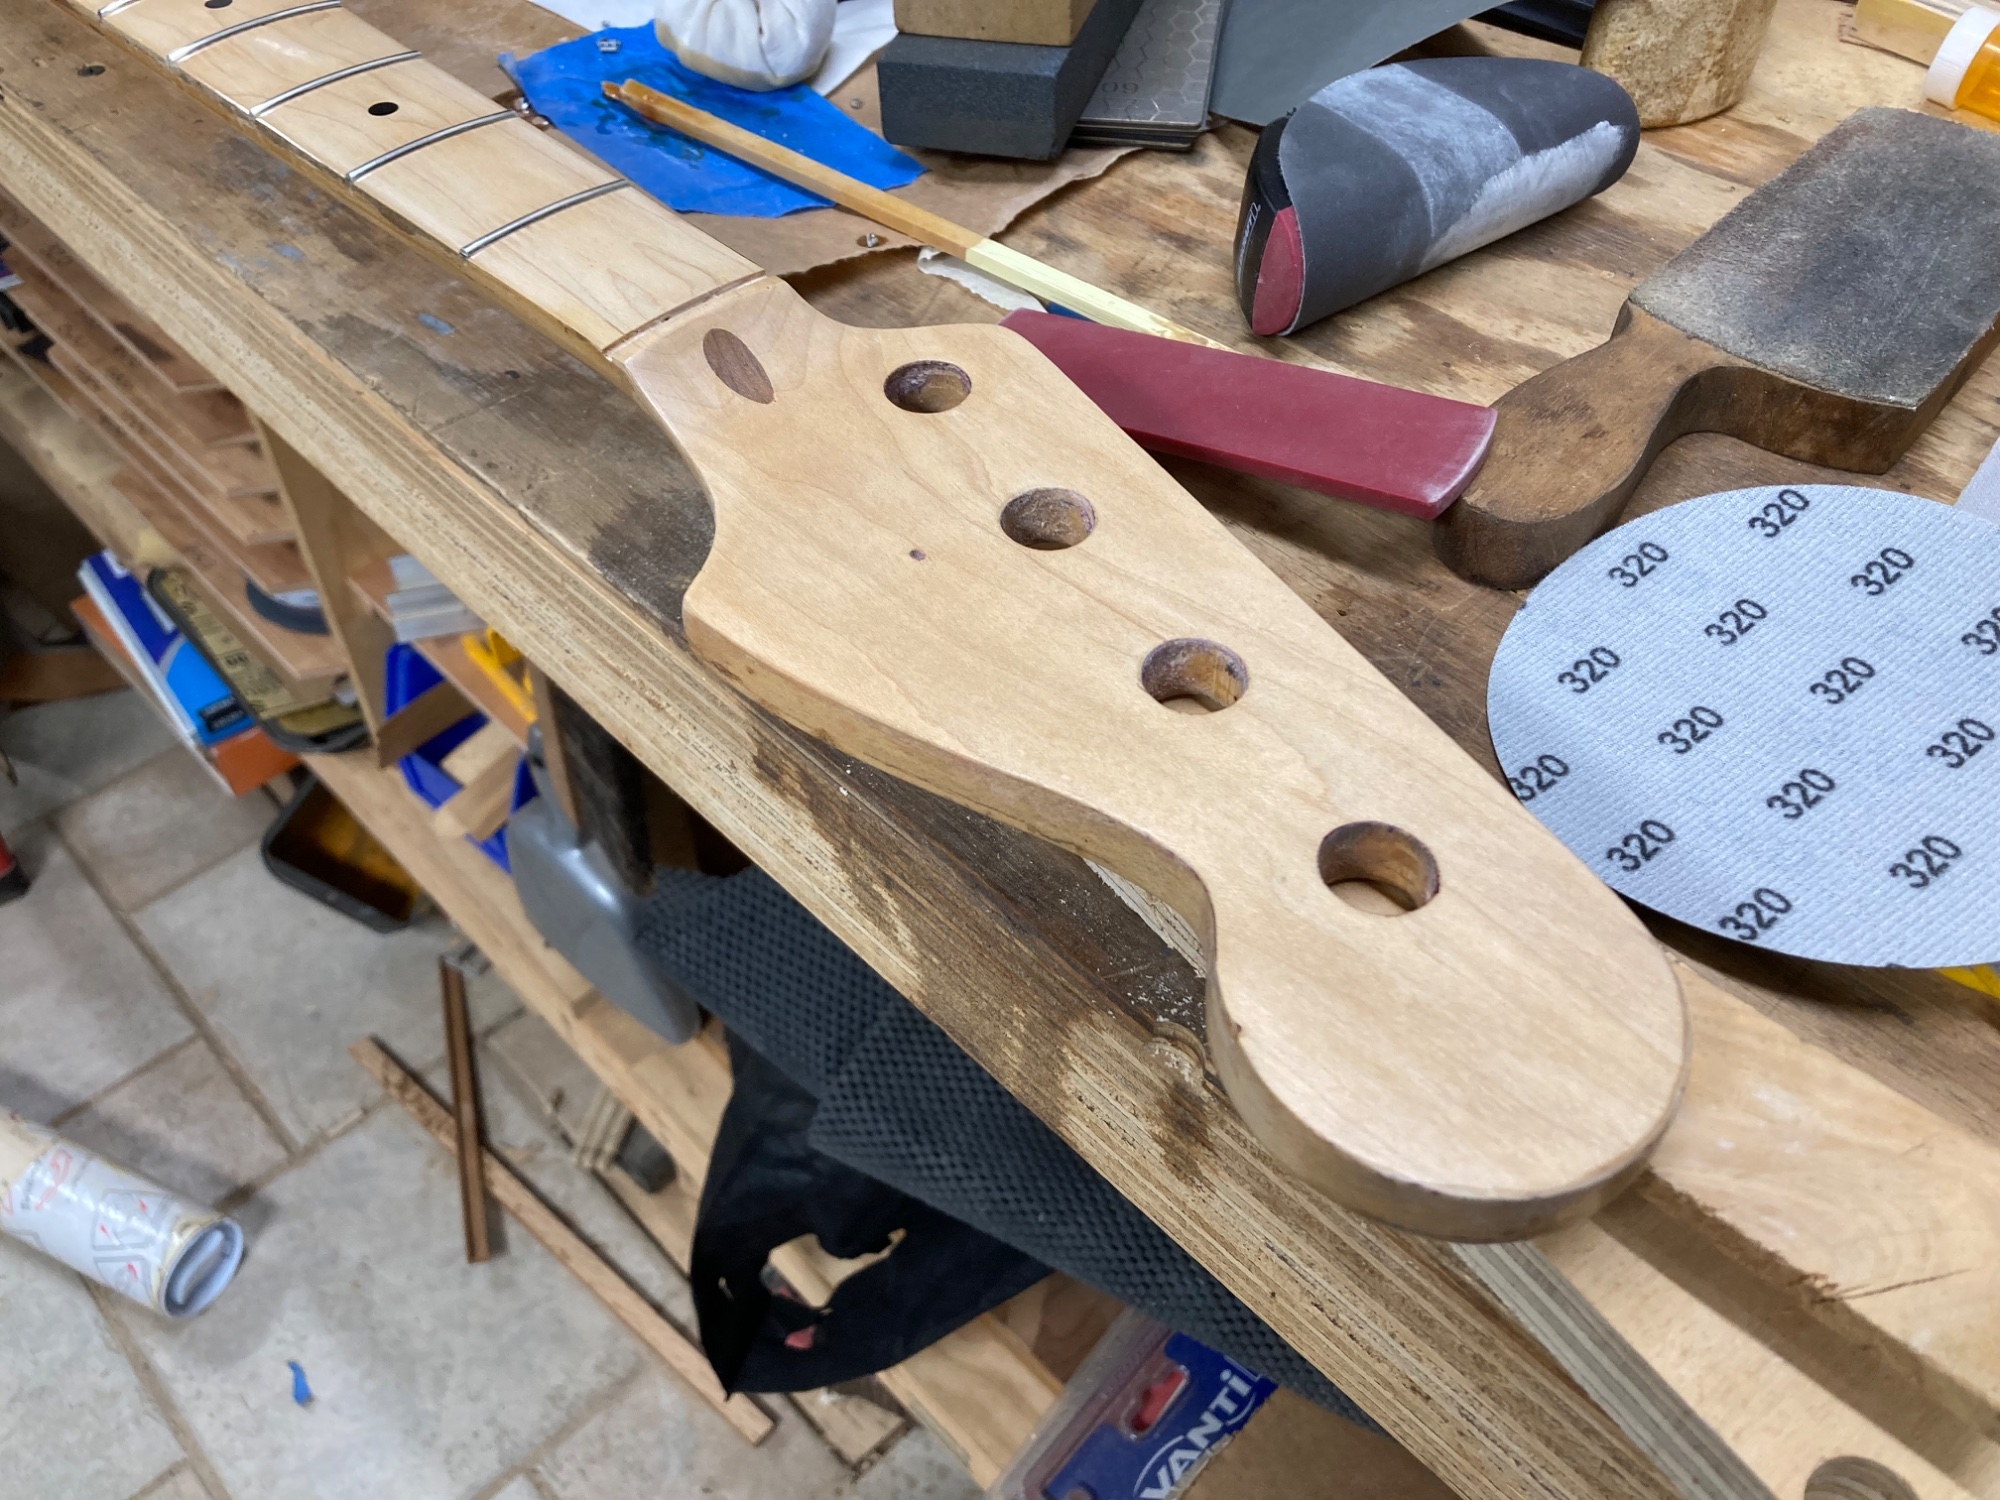
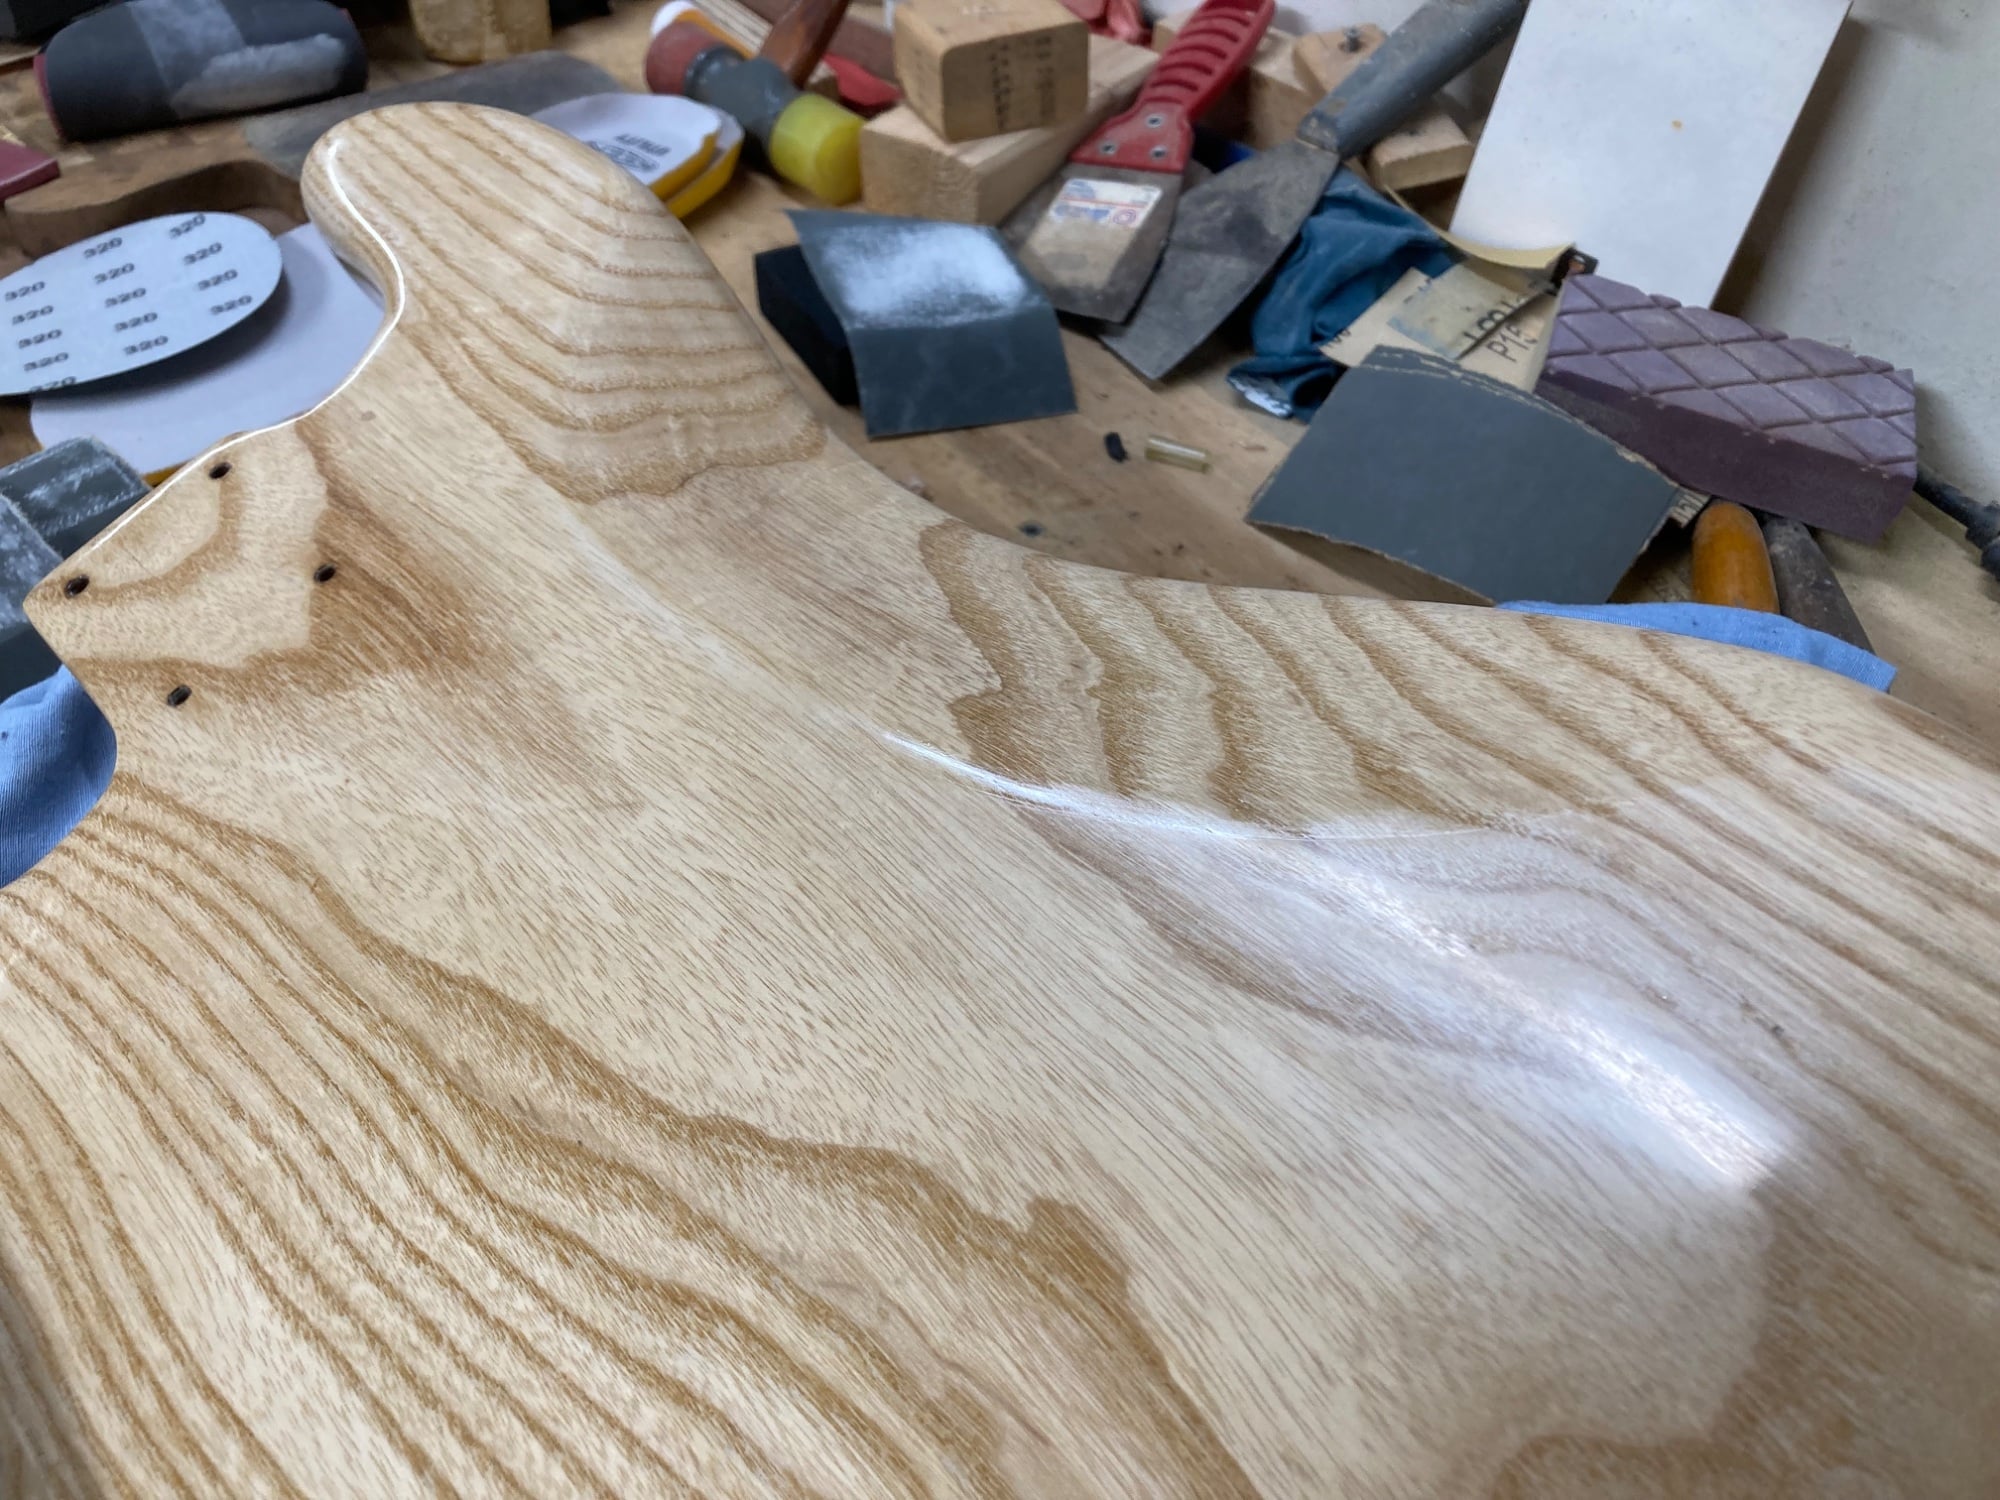
More coats of finish on the ‘75 P-bass. Doing small areas at a time are working out better for me all around. Right now focusing on the tummy cut and the headstock.
IMG_9699.jpeg
IMG_9700.jpeg

I think this may be the last coat I need on the headstock face. Now I need to look for a restoration decal.

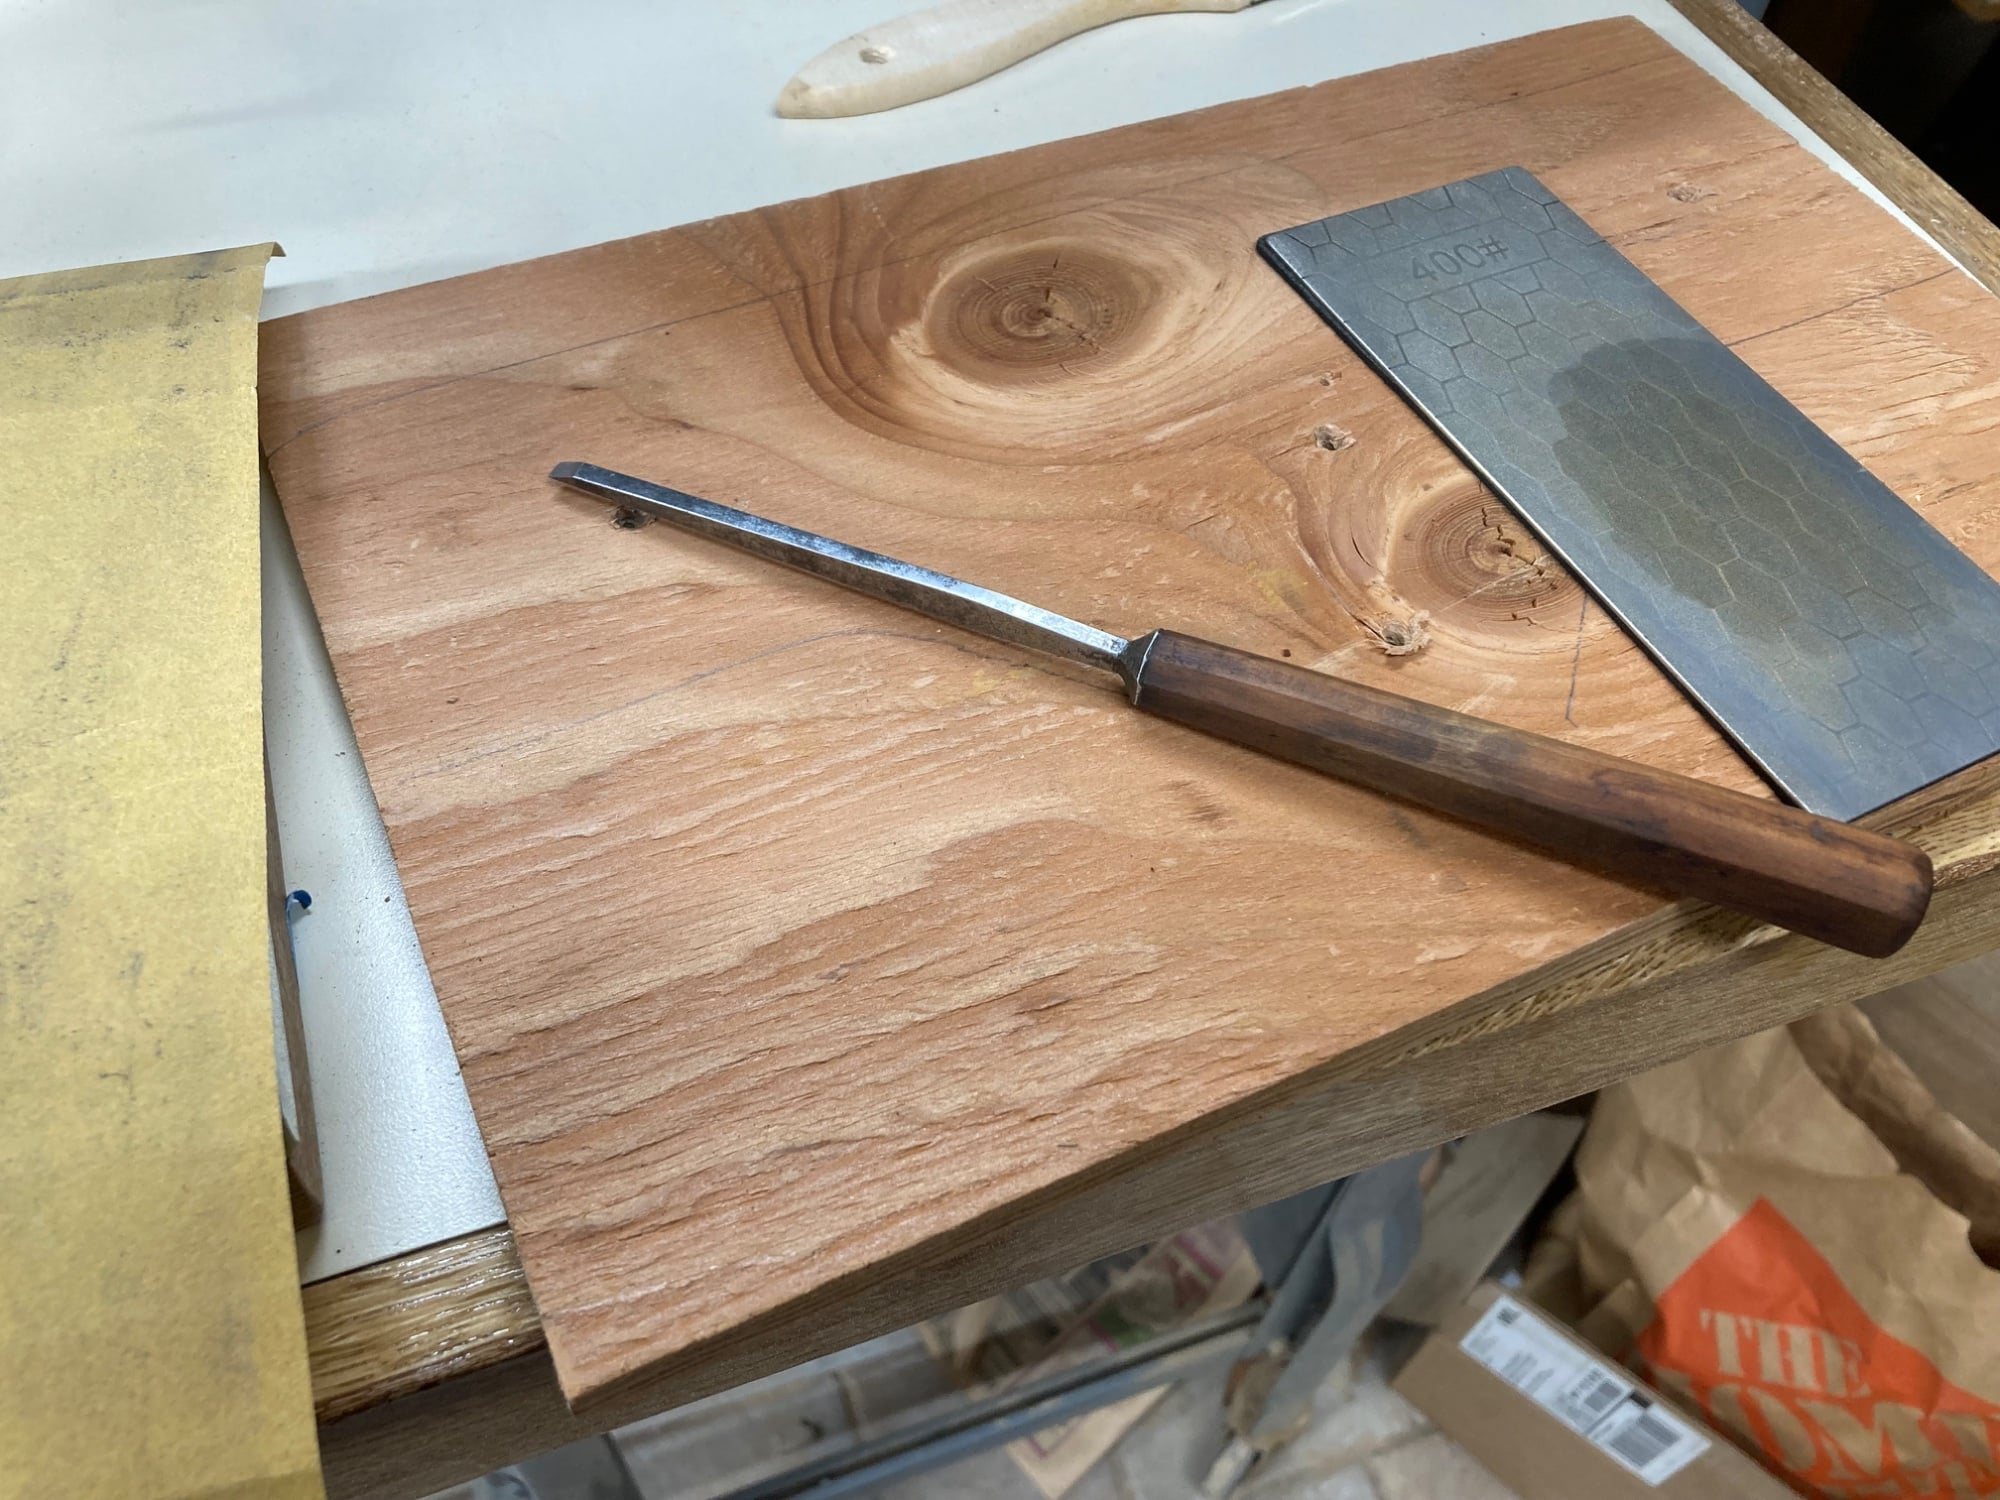
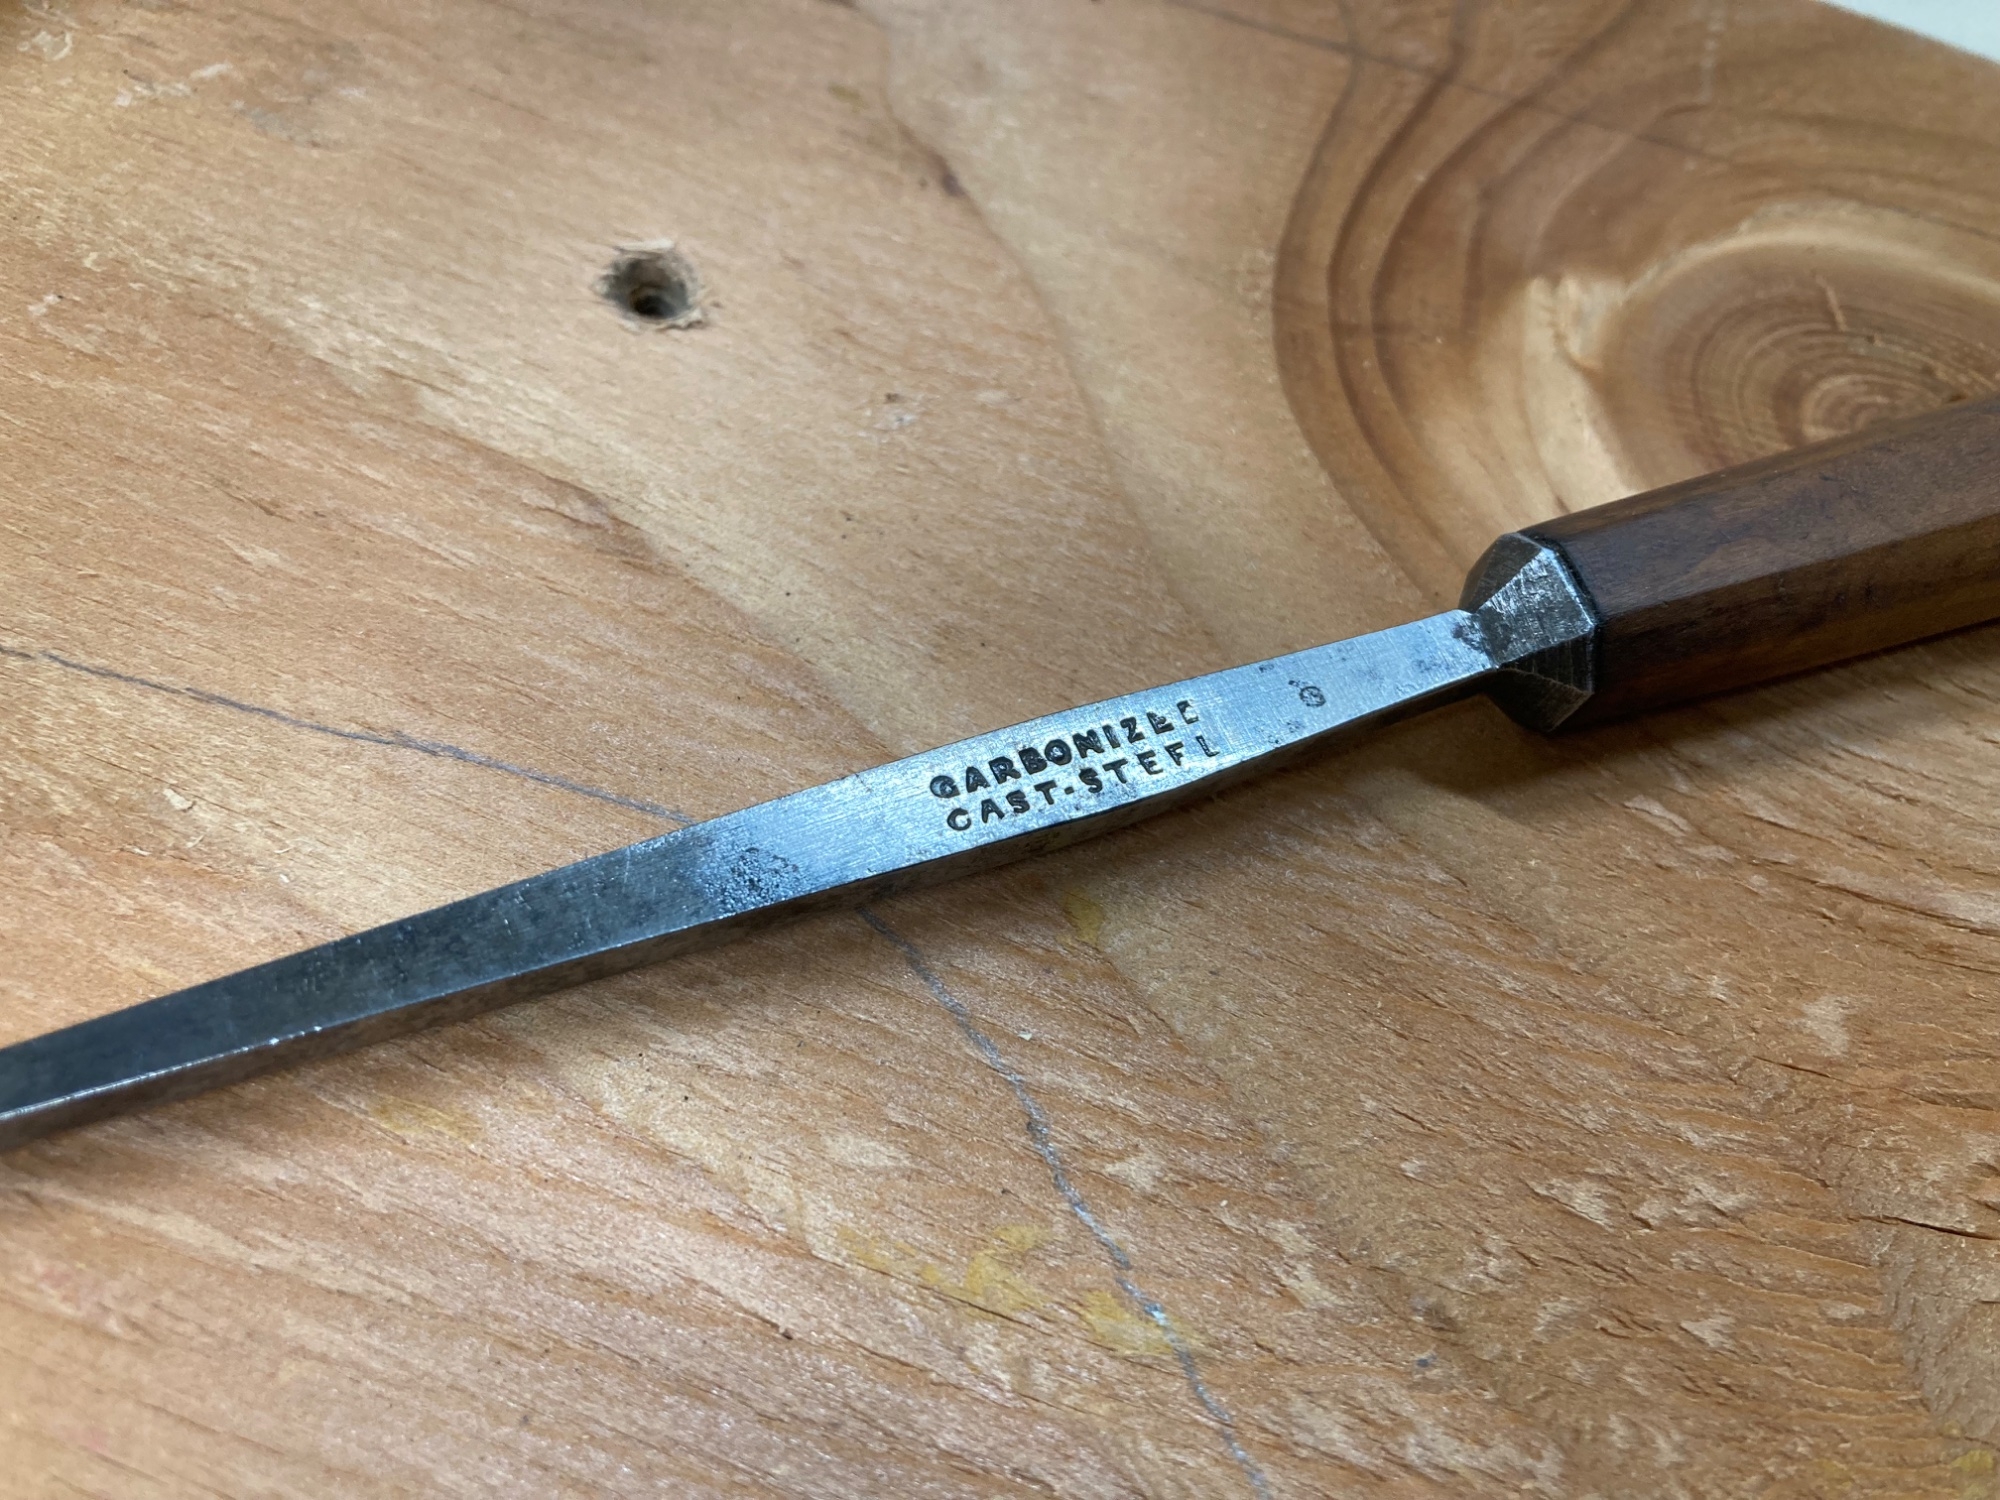
As usual, downtime between coats is when I usually tinker with basic shop maintenance such as sharpening but I’m also making a concerted effort to get all of my stash of flea market and garage sale tools cleaned up and working before I look for any more (yeah…. right). Today it’s this graceful little carving chisel.
IMG_9701.jpeg

Measuring at around 9/64” wide and probably from the late 1800s (I’m guessing), this tang chisel is definitely not beefy enough to smack with a mallet. It’s a carving chisel and it’s going to be great for small trimming and for cleaning up inside small routes.
IMG_9702.jpeg
IMG_9705.jpeg

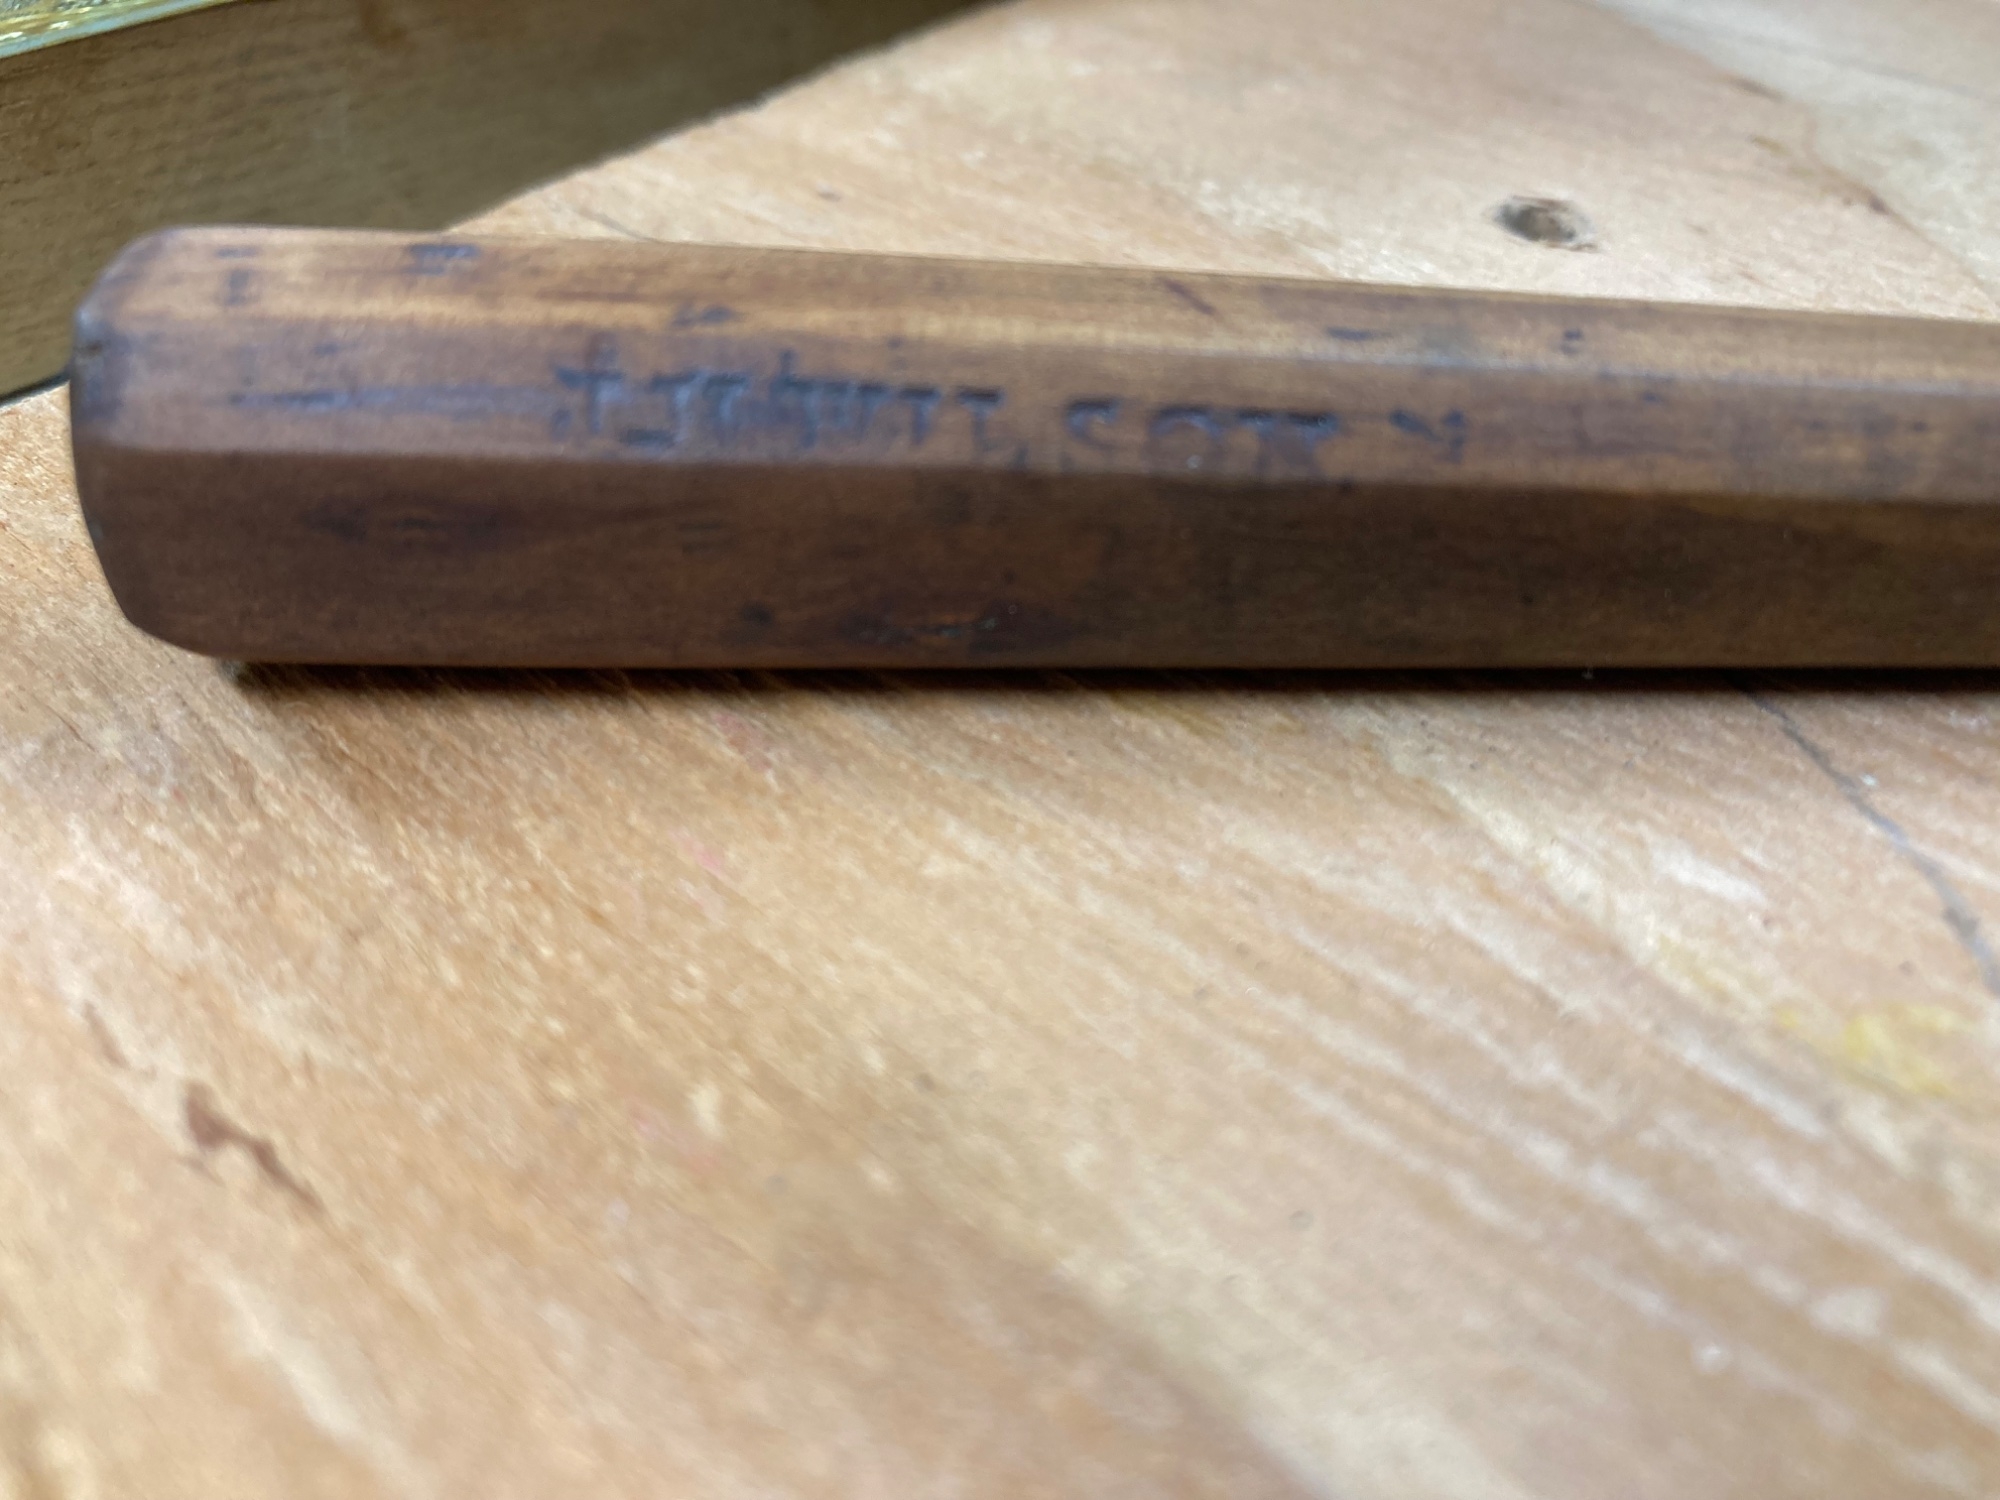
The handle is embossed with J.H. Wilson (NOT J.H. Williams, known for cold chisels and wrenches) but I have no idea whether that was the manufacturer or a former owner.

The back needs a lot of flattening, which is tedious. I really enjoy honing a chisel I just restored and bringing it back to life but flattening the back is just labor. Oh, well…. Almost done.
 
How to while away the hours during a blizzard when I’m not out shoveling?

Sanding, of course!
IMG_9769.jpeg

This neck, true to mid-70s Fenders, has the really thick poly finish which had worn through in spots and was then coated over with…. something gloppy. …which, in time, also wore through in spots. Yay.

Since I had to refin the fingerboard anyway I’m just doing the whole neck. Even a decent job will be a marked improvement over the piecemeal hack job that had been done when I got it.

@Bruce Johnson warned me that the finish I’m using doesn’t get along well with other finishes
IMG_9770.jpeg

So I’m being careful to remove all the old finish thoroughly.

Anybody who’s had to do this to a ‘70s Fender body or neck knows that it takes a long time to get through that poly, and because I don’t want to accidentally re-profile the neck, it’s taking even longer because I’m not going hog wild. I’ve got a fair amount of time in already and the only place I’m completely through to the wood is on the skunk stripe. I plan to preserve the original finish where the neck sits in the pocket so I don’t disturb the original stamps and markings.

I’ll also address this crack before I finish sanding:
IMG_9771.jpeg
 
I’m not always smart right away but I usually come around eventually.

Sanding the original poly off of the Fender neck was becoming tedious so I got smarter and burnished a curved cabinet scraper to expedite the job:
IMG_9794.jpeg

I’m now through the old finish on this side of the neck:
IMG_9795.jpeg

I’ll still need to sand through the finer grits but I would say this probably cut my sanding time more than in half.

Why don’t I ever remember the easy way until I’m halfway through the hard way?
 
After a heap of more scraping and sanding I am through Fender’s cast iron 1970s finish and the additional “bonus” finish that a previous owner had globbed on top:
IMG_9812.jpeg

Those stains…. yuck. I’m assuming they’re from rusting tuner screws. Maybe they’re from something used to lubricate the tuners that seeped into the screw holes. At any rate, they’re ugly.

Just out of curiosity, I dabbed a little bit of undiluted household bleach onto a spot that would be covered by the tuner plate and it did absolutely nothing. I’m not about to get involved in serious wood bleaching here, especially since most of it will be covered anyway:
IMG_9813.jpeg

Only the stain around that crack is really noticeable and it’s just going to stay that way. I’m not about to erase 50 years of this instrument’s history. Those are scars it has earned.

Laying the tuners out did introduce a new quandary, though; Fender’s 70s reissue tuners are straight sided and chrome plated. Since this bass is a ‘75, it would have had slightly curved plates and nickel plating but I don’t think reissues of those tuners are available. Gotoh makes a set that are identical to the originals but they don’t say Fender on ‘em. Decisions….
 
Got that crack glued up with a little West System epoxy.
IMG_9820.jpeg

I forced it open and worked the epoxy down in there before closing it up, wiping the excess and clamping. It will probably be cured by tonight but I’ll leave it until tomorrow night just to be safe.

Meanwhile, I got another couple of coats on the tummy cut and will do one more before I sand it level and blend it in with the rest of the back.
IMG_9821.jpeg

Once that’s done I can re-do the front.

I’m pretty sure that I’ll have started getting the hang of using this finish just about when I’m done.
 
Got that crack glued up with a little West System epoxy.
View attachment 7448395
I forced it open and worked the epoxy down in there before closing it up, wiping the excess and clamping. It will probably be cured by tonight but I’ll leave it until tomorrow night just to be safe.

Meanwhile, I got another couple of coats on the tummy cut and will do one more before I sand it level and blend it in with the rest of the back.
View attachment 7448404
Once that’s done I can re-do the front.

I’m pretty sure that I’ll have started getting the hang of using this finish just about when I’m done.
You ought to nickname this bass as the “Dogbone Bass” because of the dog bone grain pattern in the back.
 
Last edited:
  • Like
Reactions: Flamingo21 and Lo-E
Got that crack glued up with a little West System epoxy.
View attachment 7448395
I forced it open and worked the epoxy down in there before closing it up, wiping the excess and clamping. It will probably be cured by tonight but I’ll leave it until tomorrow night just to be safe.

Meanwhile, I got another couple of coats on the tummy cut and will do one more before I sand it level and blend it in with the rest of the back.
View attachment 7448404
Once that’s done I can re-do the front.

I’m pretty sure that I’ll have started getting the hang of using this finish just about when I’m done.


That happens if I haven’t sprayed for a while. The Autoborne sealer can go on a little funny until I get in a rhythm again, fortunately it mostly gets sanded off, then about the time I’m feeling good about it all, I’m done with the clear.
 
  • Like
Reactions: Lo-E
Currently on the bench …

5 string precision bass build for a friend. Body is in clamps for glue up. Ash, walnut accent stripe, highly figured ambrosia maple

IMG_9862.jpeg


Also working on a medium scale neck through - maple /purple heart next, maple body wings ….

IMG_9774.jpeg


And another 5 string…. Alder back, will have a one piece curly pecan top.


IMG_9692.jpeg


Here’s the wood for the top….

IMG_9807.jpeg
IMG_9806.jpeg


And finally, started aging a sugar pine slab P bass I’m building…. Faded burst….still have a long way to go on this

IMG_9744.jpeg
IMG_9745.jpeg
 
I was hoping to be more productive with a long-overdue build yesterday, but due to some mysteriously disappearing epoxy for the bridge mounting block...
(how I left it, full of epoxy)
IMG_3588.jpeg
(how it cured, large void)
IMG_3594.jpeg
... I had to refill that and do something else.
So I slapped together another project I'd had laying around:

IMG_3602.jpeg
Something very silly!
Amazon neck I got CHEAP, aromatic cedar body, dyed black, Squier pickups, vol-tone-rotary 4 way selector, Hipshot knockoff tuners, old strings from my trash pile.
Comes in at just over 7 lbs. Definitely would sound better with real strings. But it was a whim that became something real. And I'm kinda shocked that the neck is actually pretty straight and decent.
 
been on a forced hiatus for my current build, but I’ve been filling time making pickups. We got a 3d printer, which means a) I can quietly design stuff in the wee hours and b) it greatly potentiated getting started messing with pickups.. had to figure out how I wanted to handle soldering / lugs, but it’s a fantastic way to make bobbins and flatwork.

But at the moment, I’m maybe more tickled by this little press I designed for pressing in pole pieces

image.jpg
 

Latest posts