
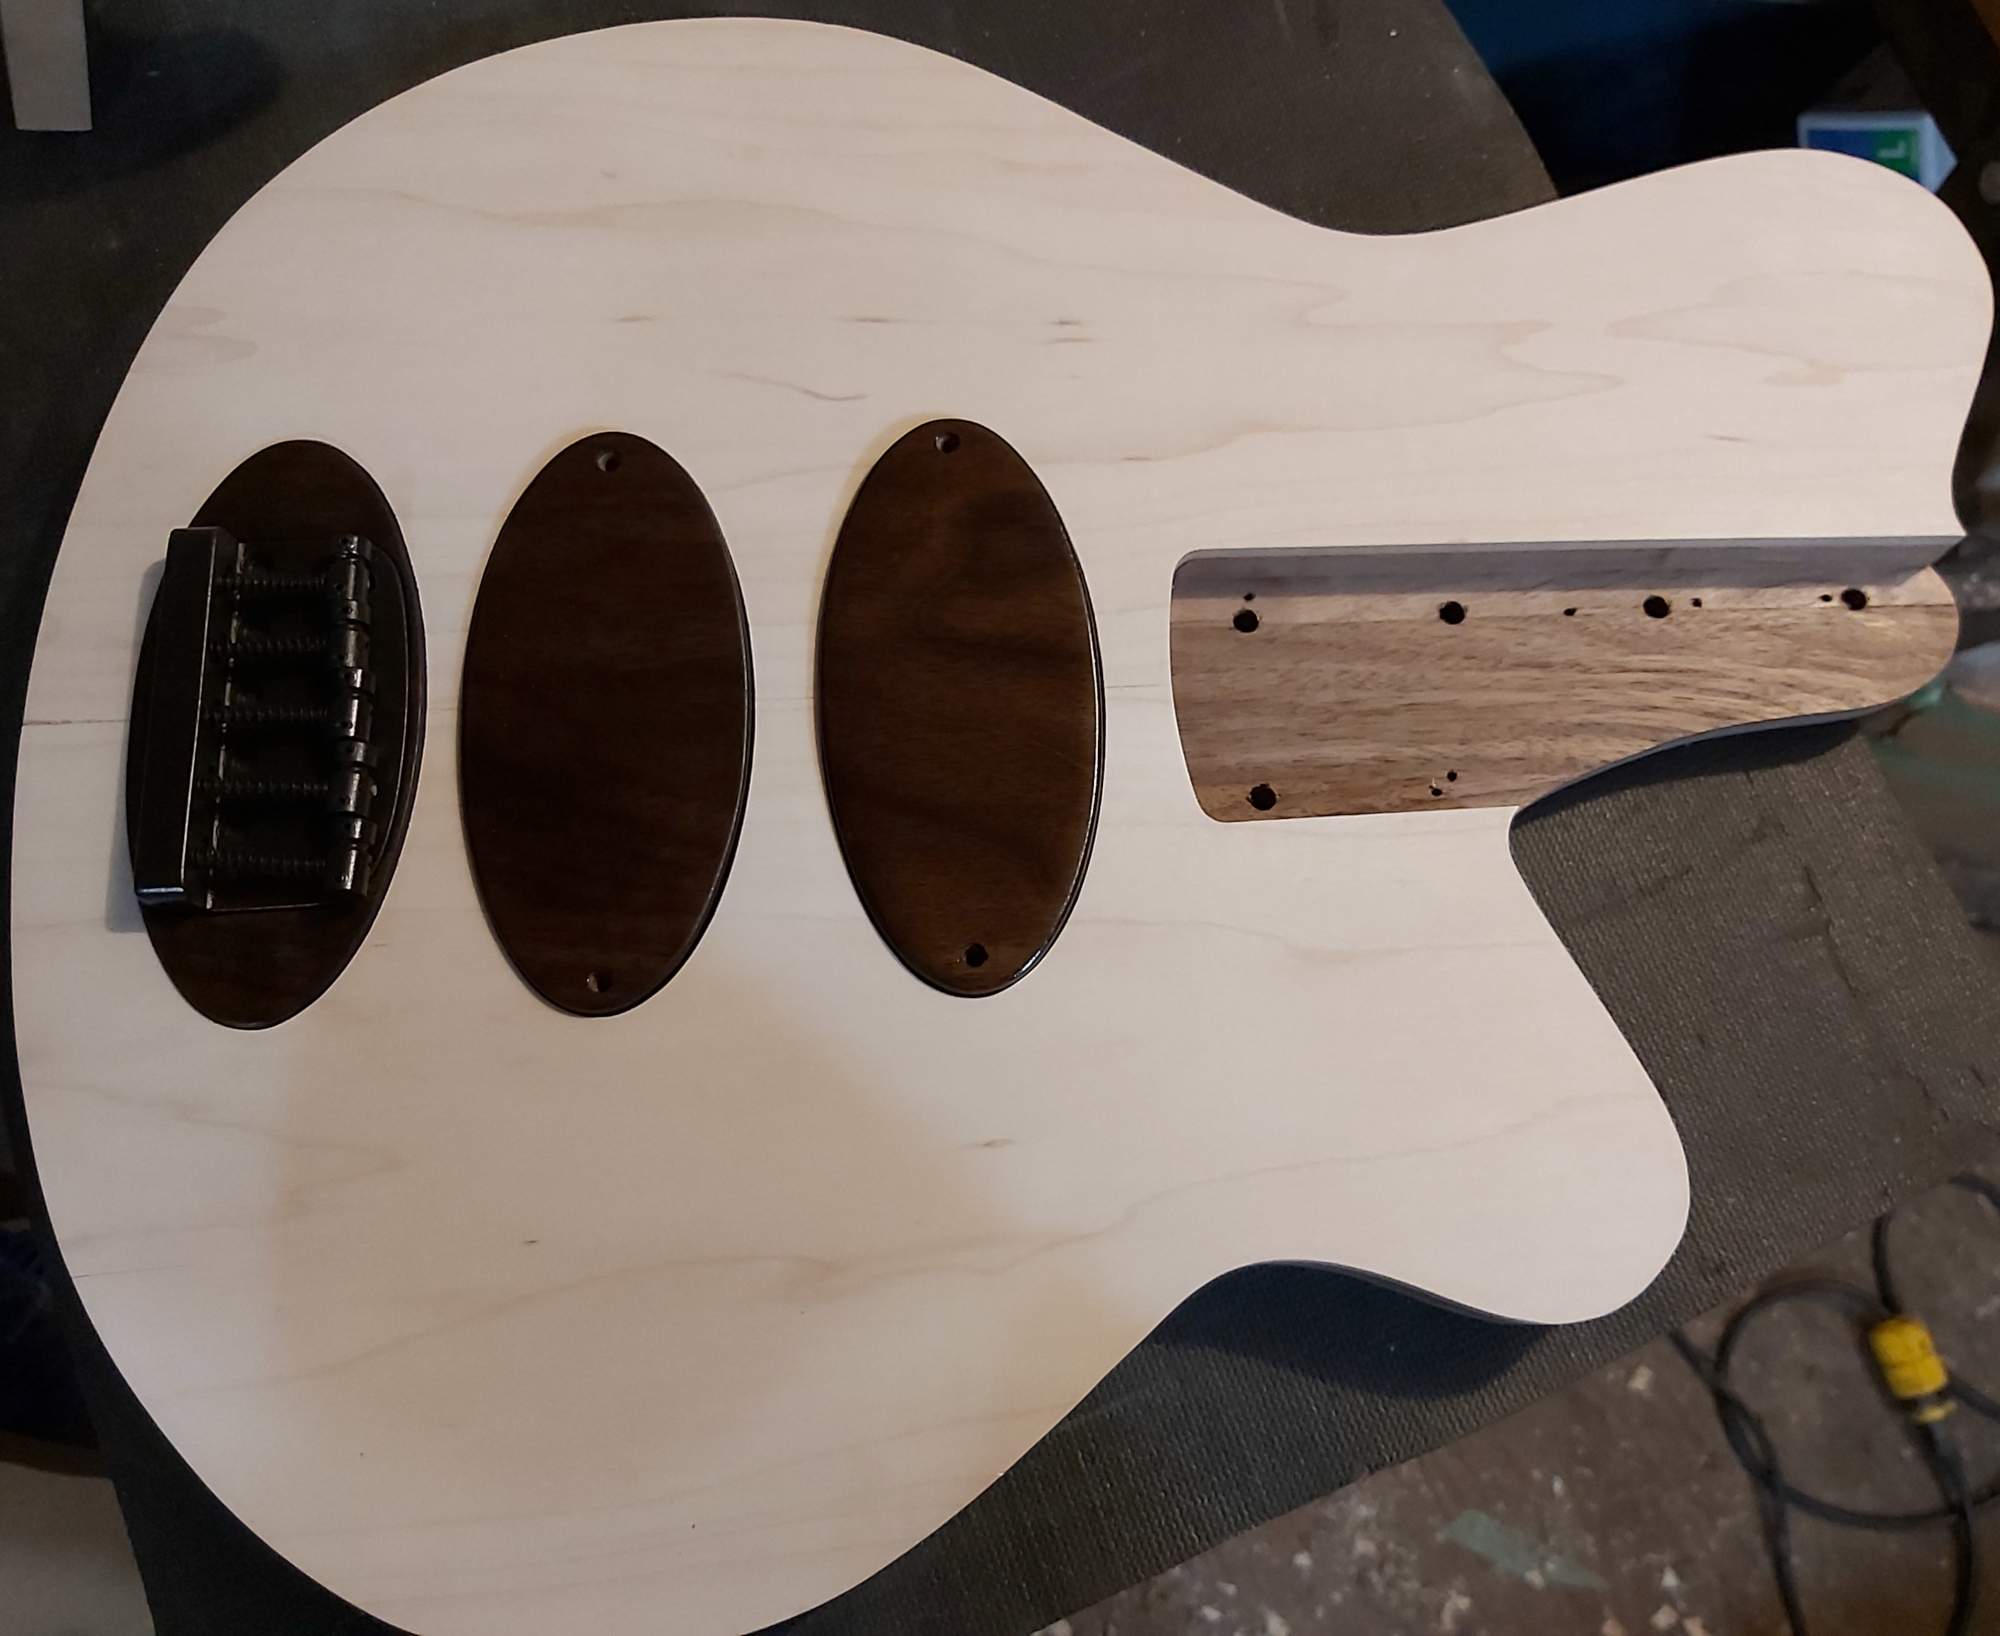
This is the funniest thing I've read on here in days!If you put the bottom "moon" over the bridge pup....
View attachment 3727308
Do something with those switches to look a bit "mouthy".....and....well....


TalkBass has been independent since 1998. Add your voice.
Create a free account to reply to discussions, view embedded media, and browse with fewer display ads.
Join free Log in
Want zero display ads or expanded classifieds tools? Compare plans.
This is the funniest thing I've read on here in days!If you put the bottom "moon" over the bridge pup....
View attachment 3727308
Do something with those switches to look a bit "mouthy".....and....well....

Right? I'm like crying right nowThis is the funniest thing I've read on here in days!
@Fat Freddy is the most helpful friend I've got on this board 

Thank you gentlemen....I'm here all week....brisket, waitress....etc...Right? I'm like crying right now

How about sound holes that accent the ovals. Something like this:
View attachment 3727226
The shape isn't exactly right but you get the idea
 Something will work itself out.
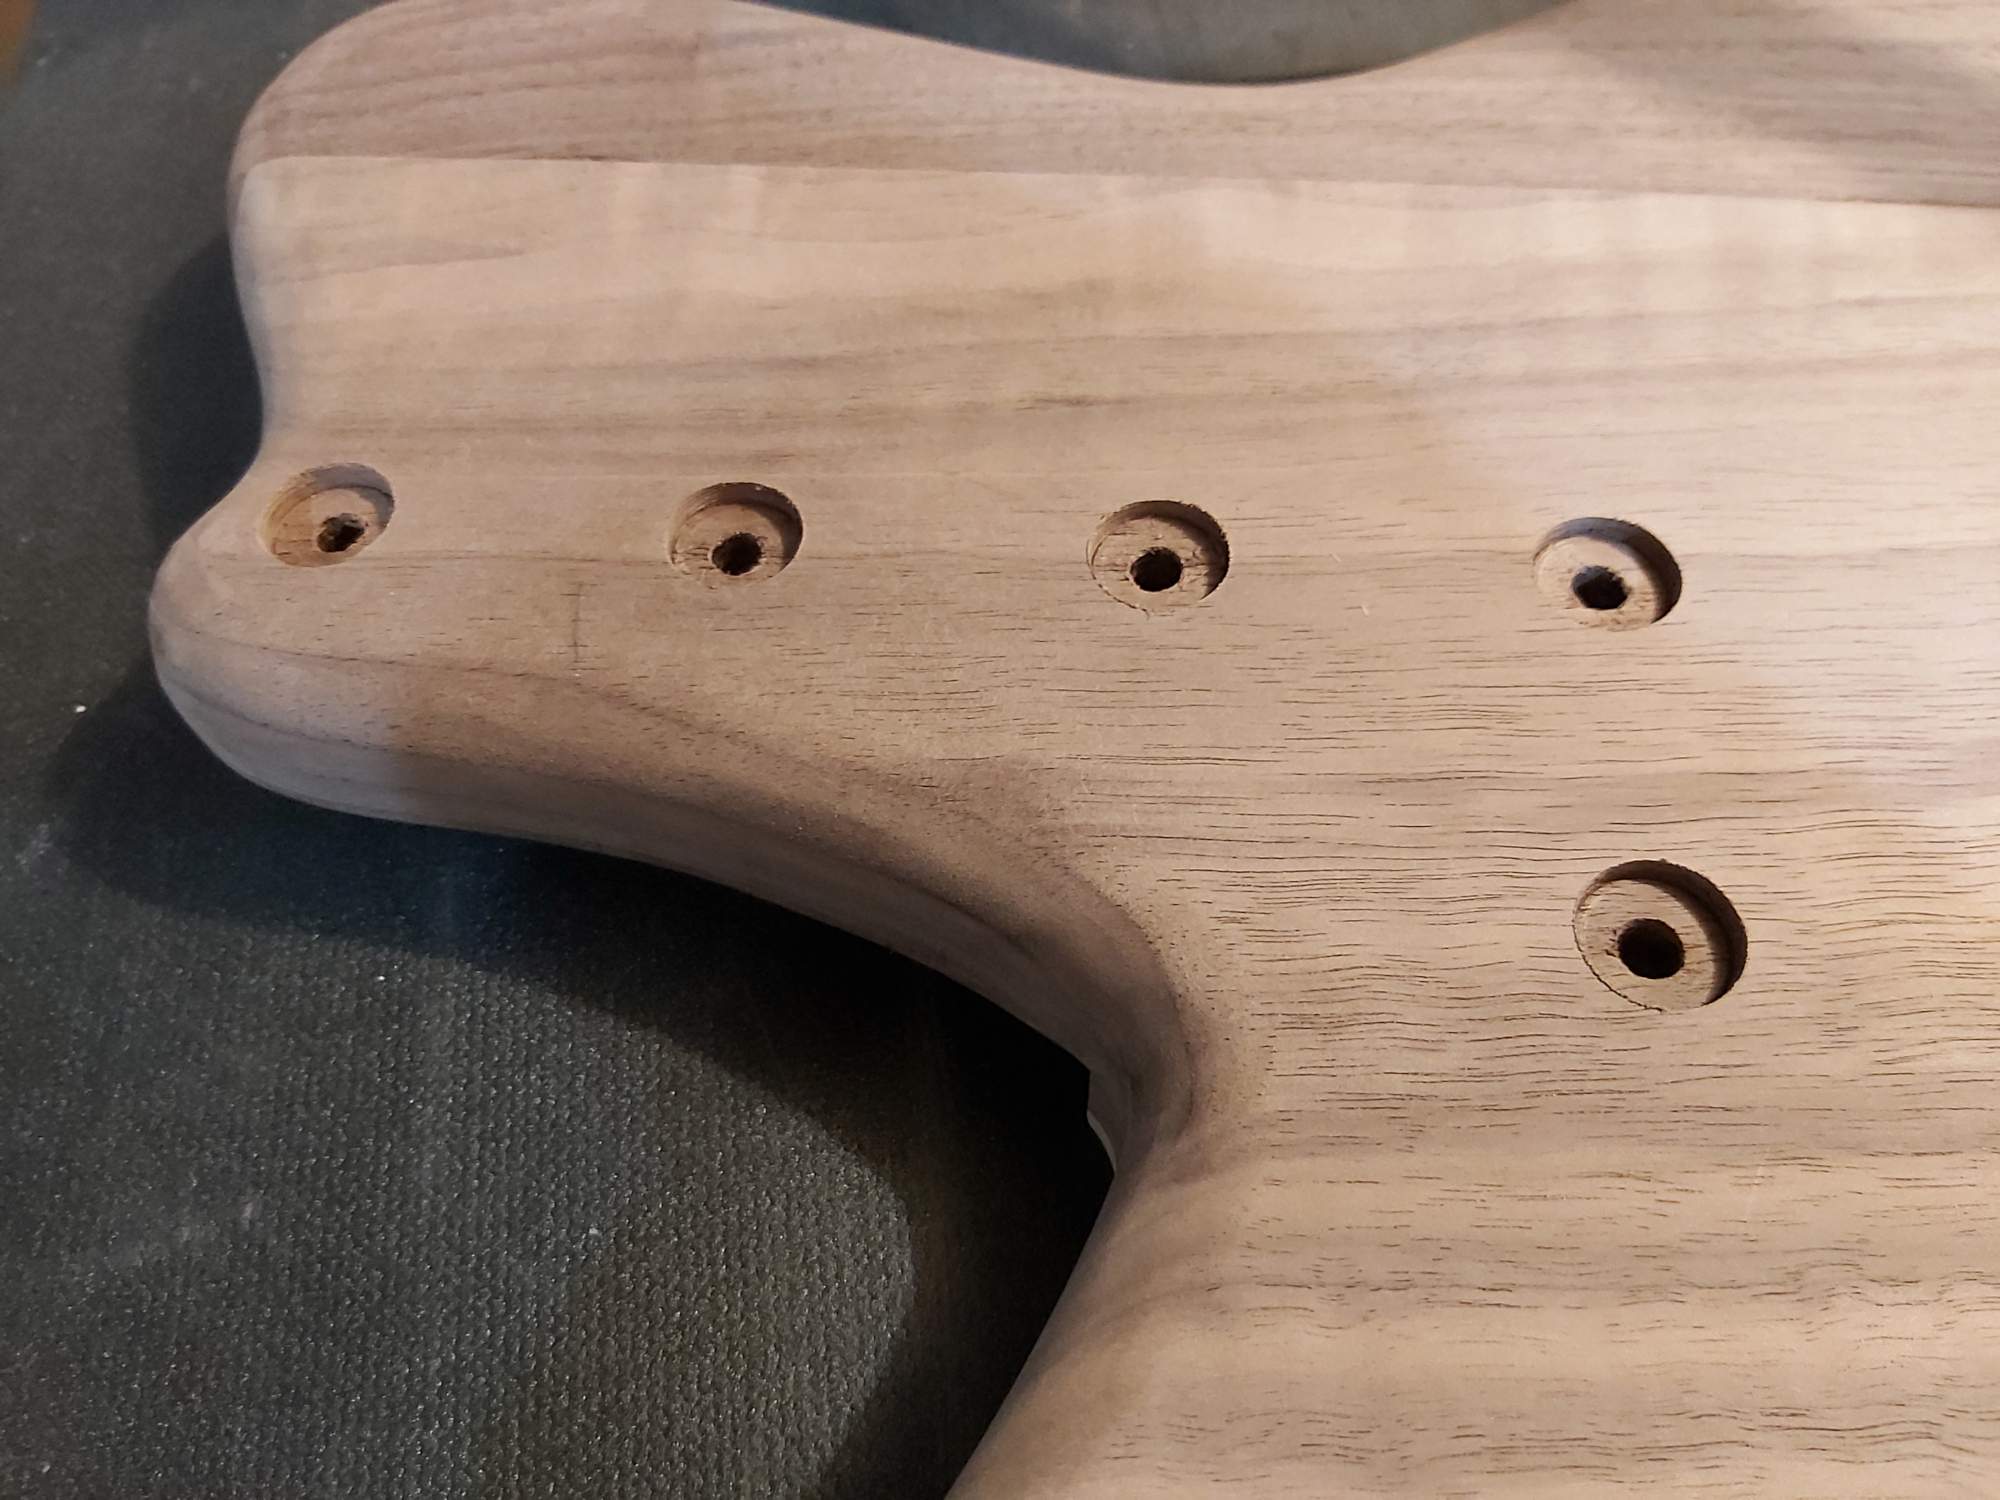

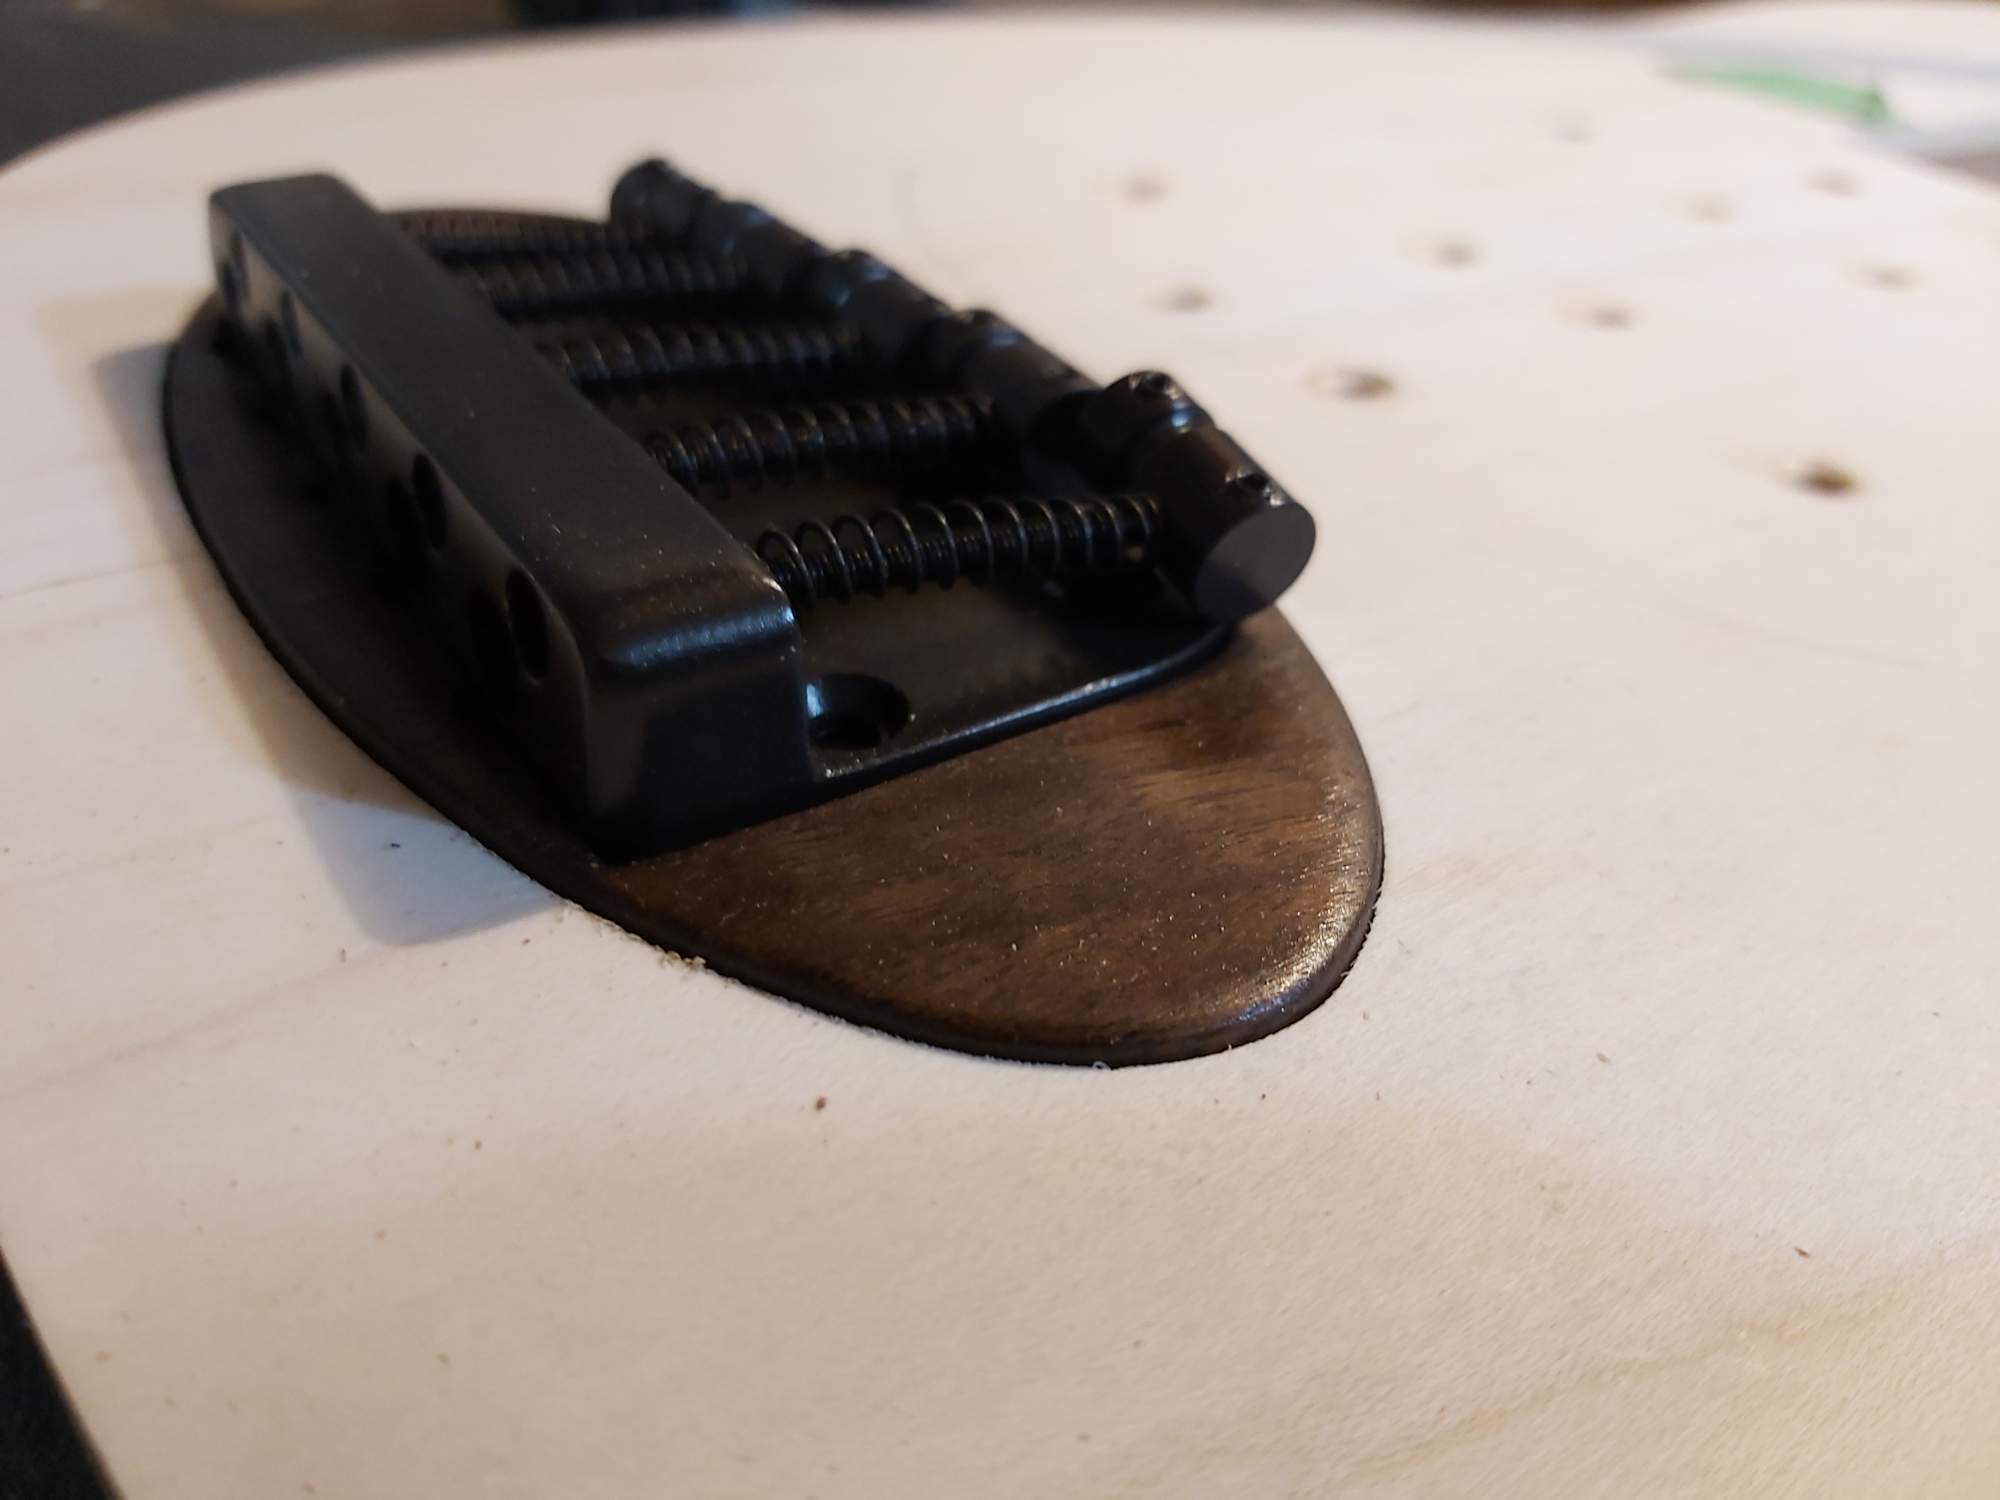
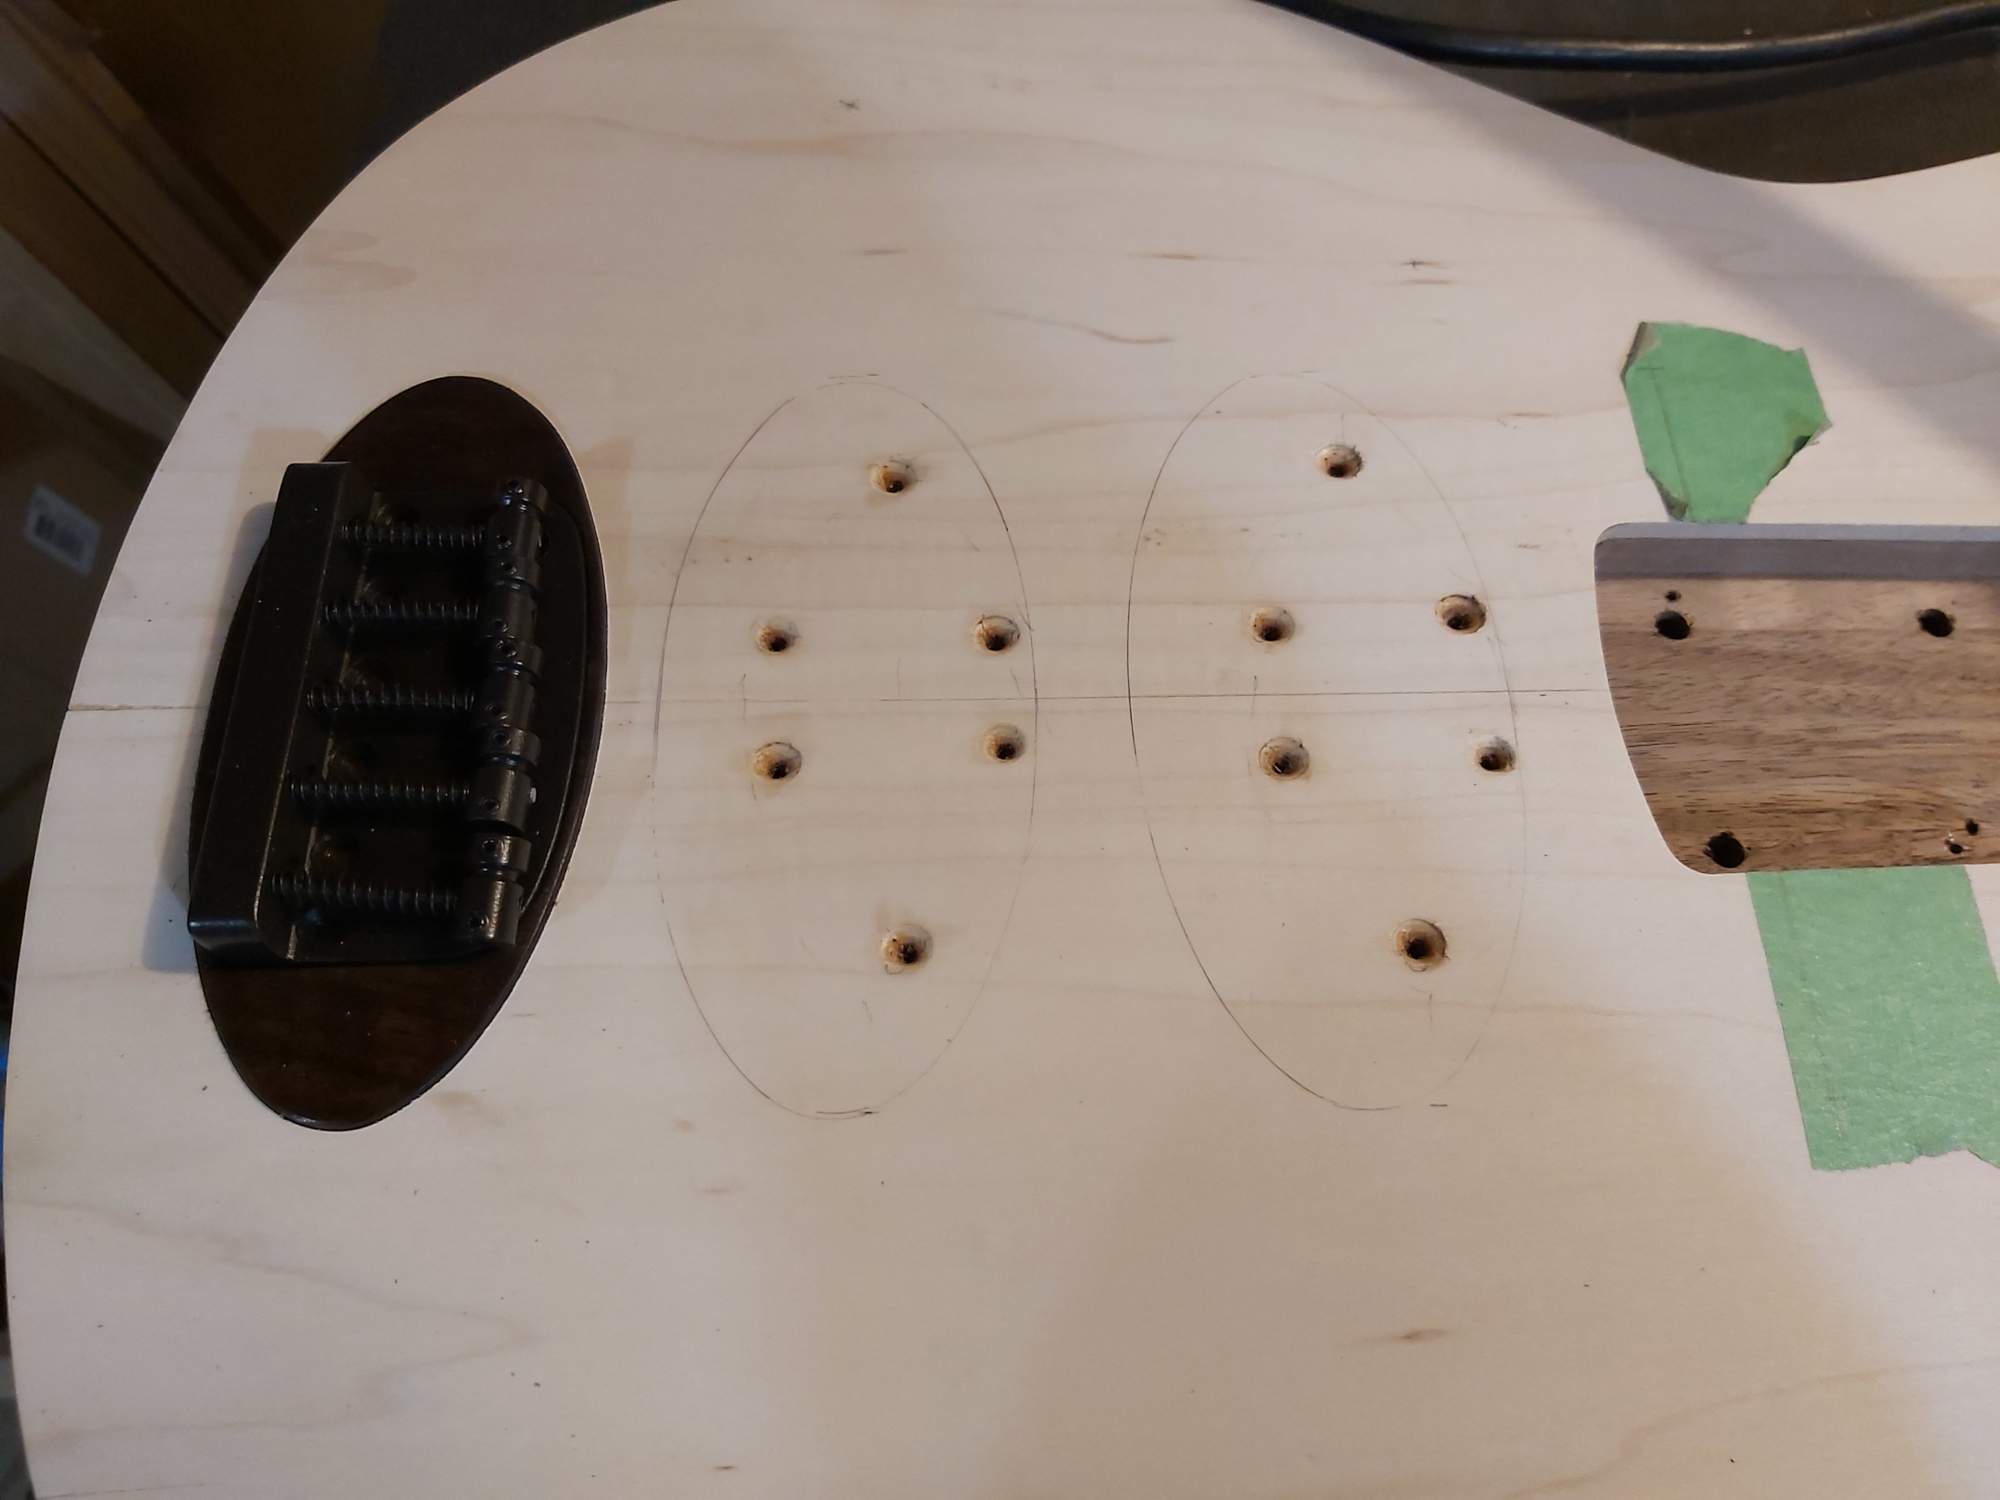
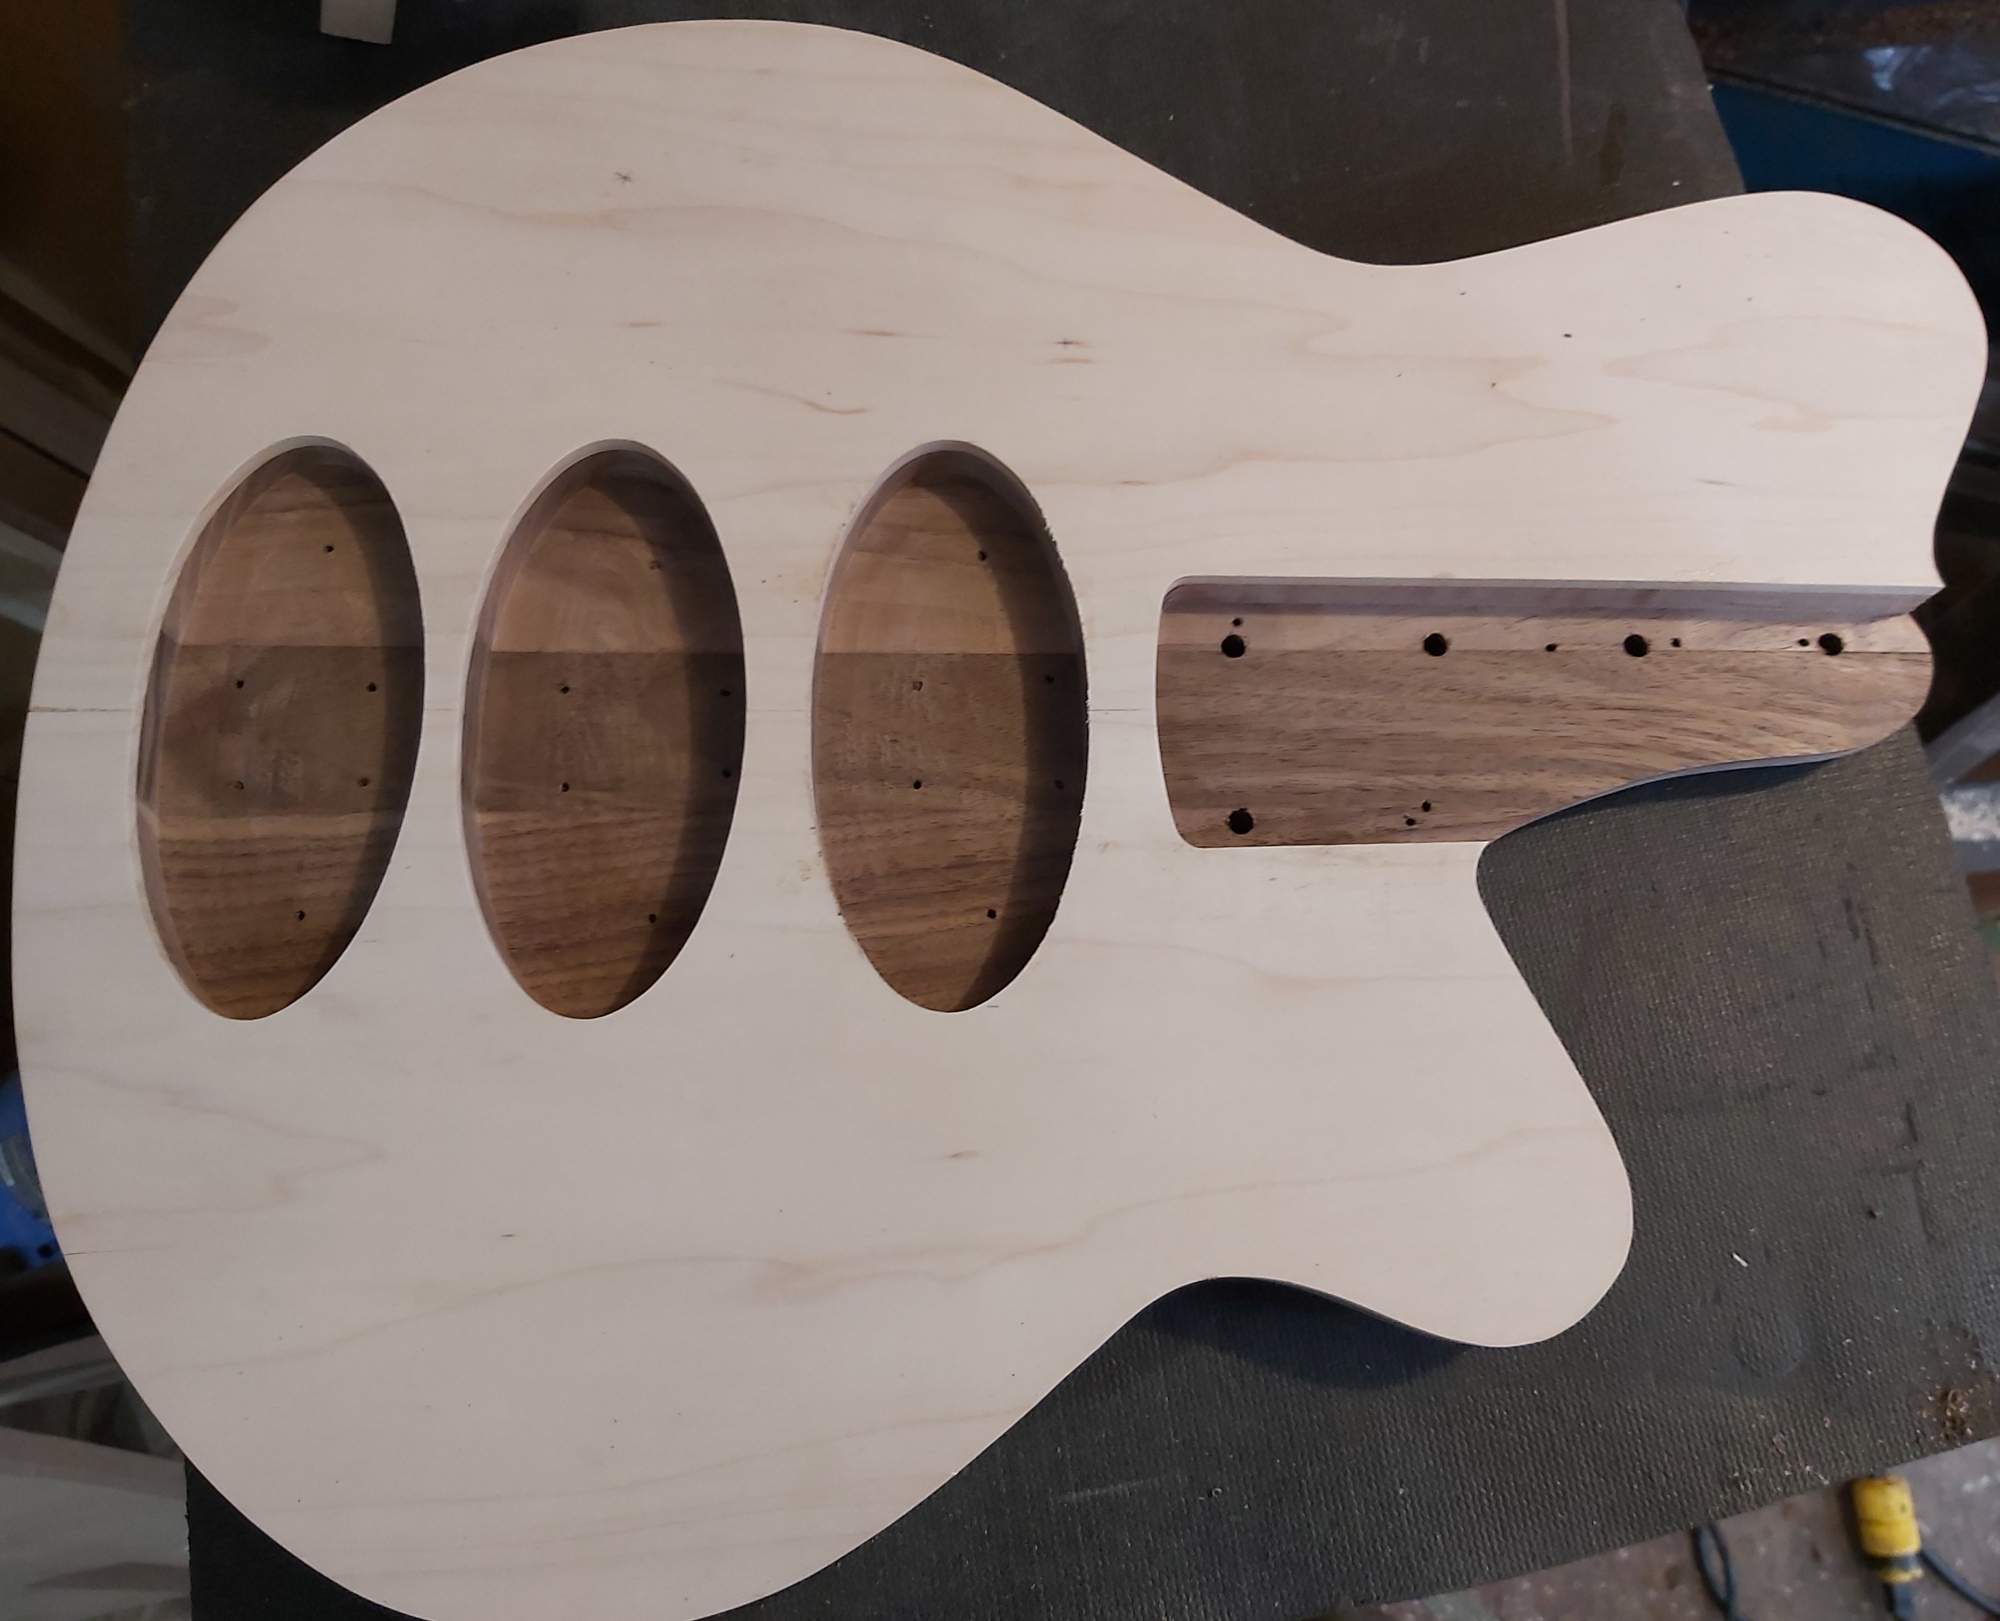


How about holes in the side of the bass if you don't like them in the front? Maybe a row of round holes or slot on the upper bass side bout?

Sounds like someone may have a hole in his head...stockView attachment 3728478
Inspiration....What about holes in the neck???....
Holes where fret markers should be?.....
Maybe not....
Yeah?.....They laughed at De Lorien too.....Sounds like someone may have a hole in his head...stock
 .....
.....
Too much catnip Freddy...Yeah?.....They laughed at De Lorien too.....
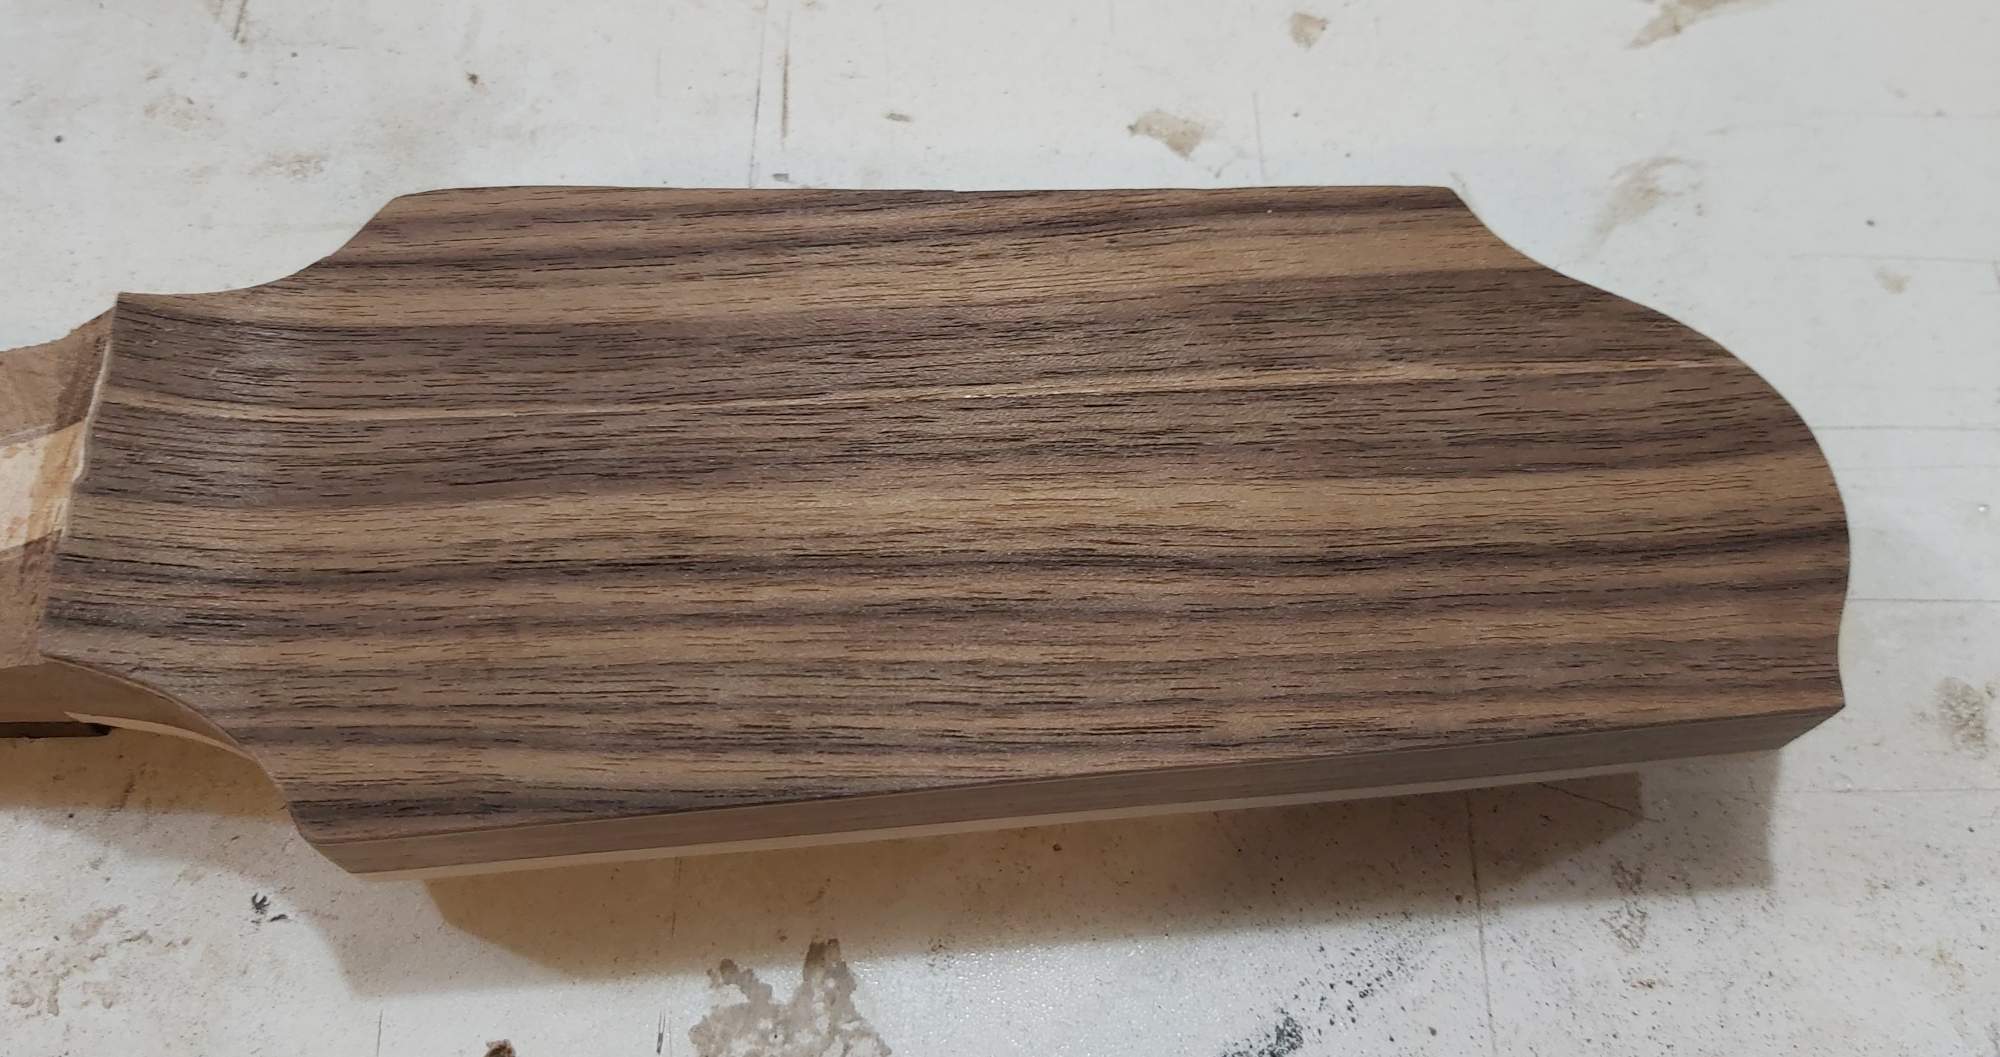
Depends on the size of the bribe....I think, technically speaking, the slotted headstock fulfills the "air space" element (please correct me if I'm wrong, but it doesn't seem any different than the "skeleton" builds, other than it's only a small portion of the instrument).
Will that technicality hurt the voting?
Not sure...


Depends on the size of the bribe....
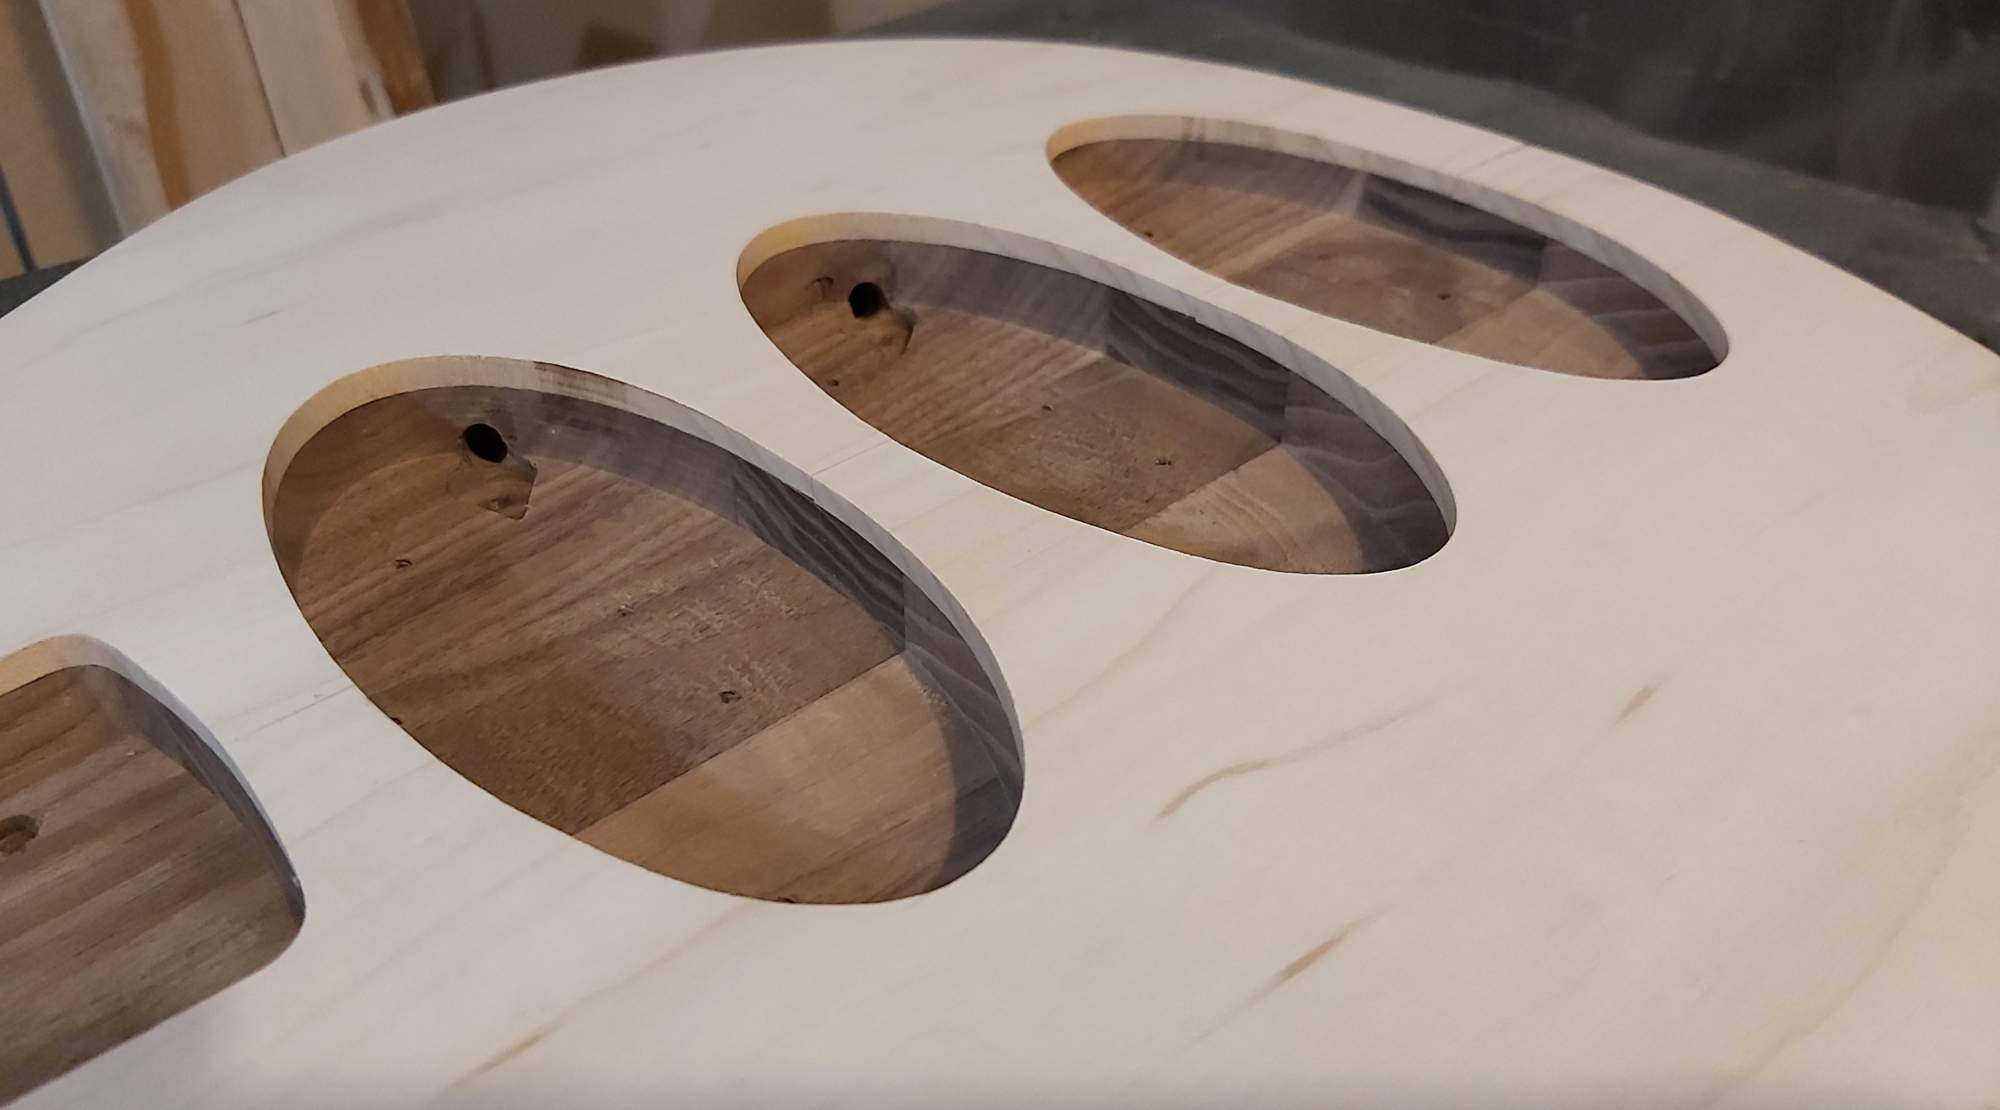
This is what my very first design had before going to f-holes or something similar. I was going to do an oval sound port in the upper horn facing the player. I still might - I do like the stealthiness.How about holes in the side of the bass if you don't like them in the front? Maybe a row of round holes or slot on the upper bass side bout?
I have - I've done it a couple of times and like the strength in connection. In this case, just due to the complexity of everything else and the time constraints, I figured I would just glue down the bridge block solidly, and then use screws to firmly connect things to the body. The design is already a solid block from neck to bridge, so I'm thinking this will be adequate to give me a good join. I'd like to implement a block under the bridge, but I think time's too tight to make it happen reasonably.Have you considered doing a Bruce Johnson brass grounding block under the bridge?
The rules state the airspace must be in the body. I was more hoping to move forward on the technicality to buy myself more time to think about the airspace holes, but these parameters/constraints being clarified have helped by forcing some choices. I think f-holes (and many of the designs posted) will work and not detract from the overall design, but I do like the oval ports on the side and also something "oval-ly" on the front in an f-hole type configuration. I still like my original design (oval with circles on ends) the best.I think, technically speaking, the slotted headstock fulfills the "air space" element (please correct me if I'm wrong, but it doesn't seem any different than the "skeleton" builds, other than it's only a small portion of the instrument).
Will that technicality hurt the voting?
Not sure...
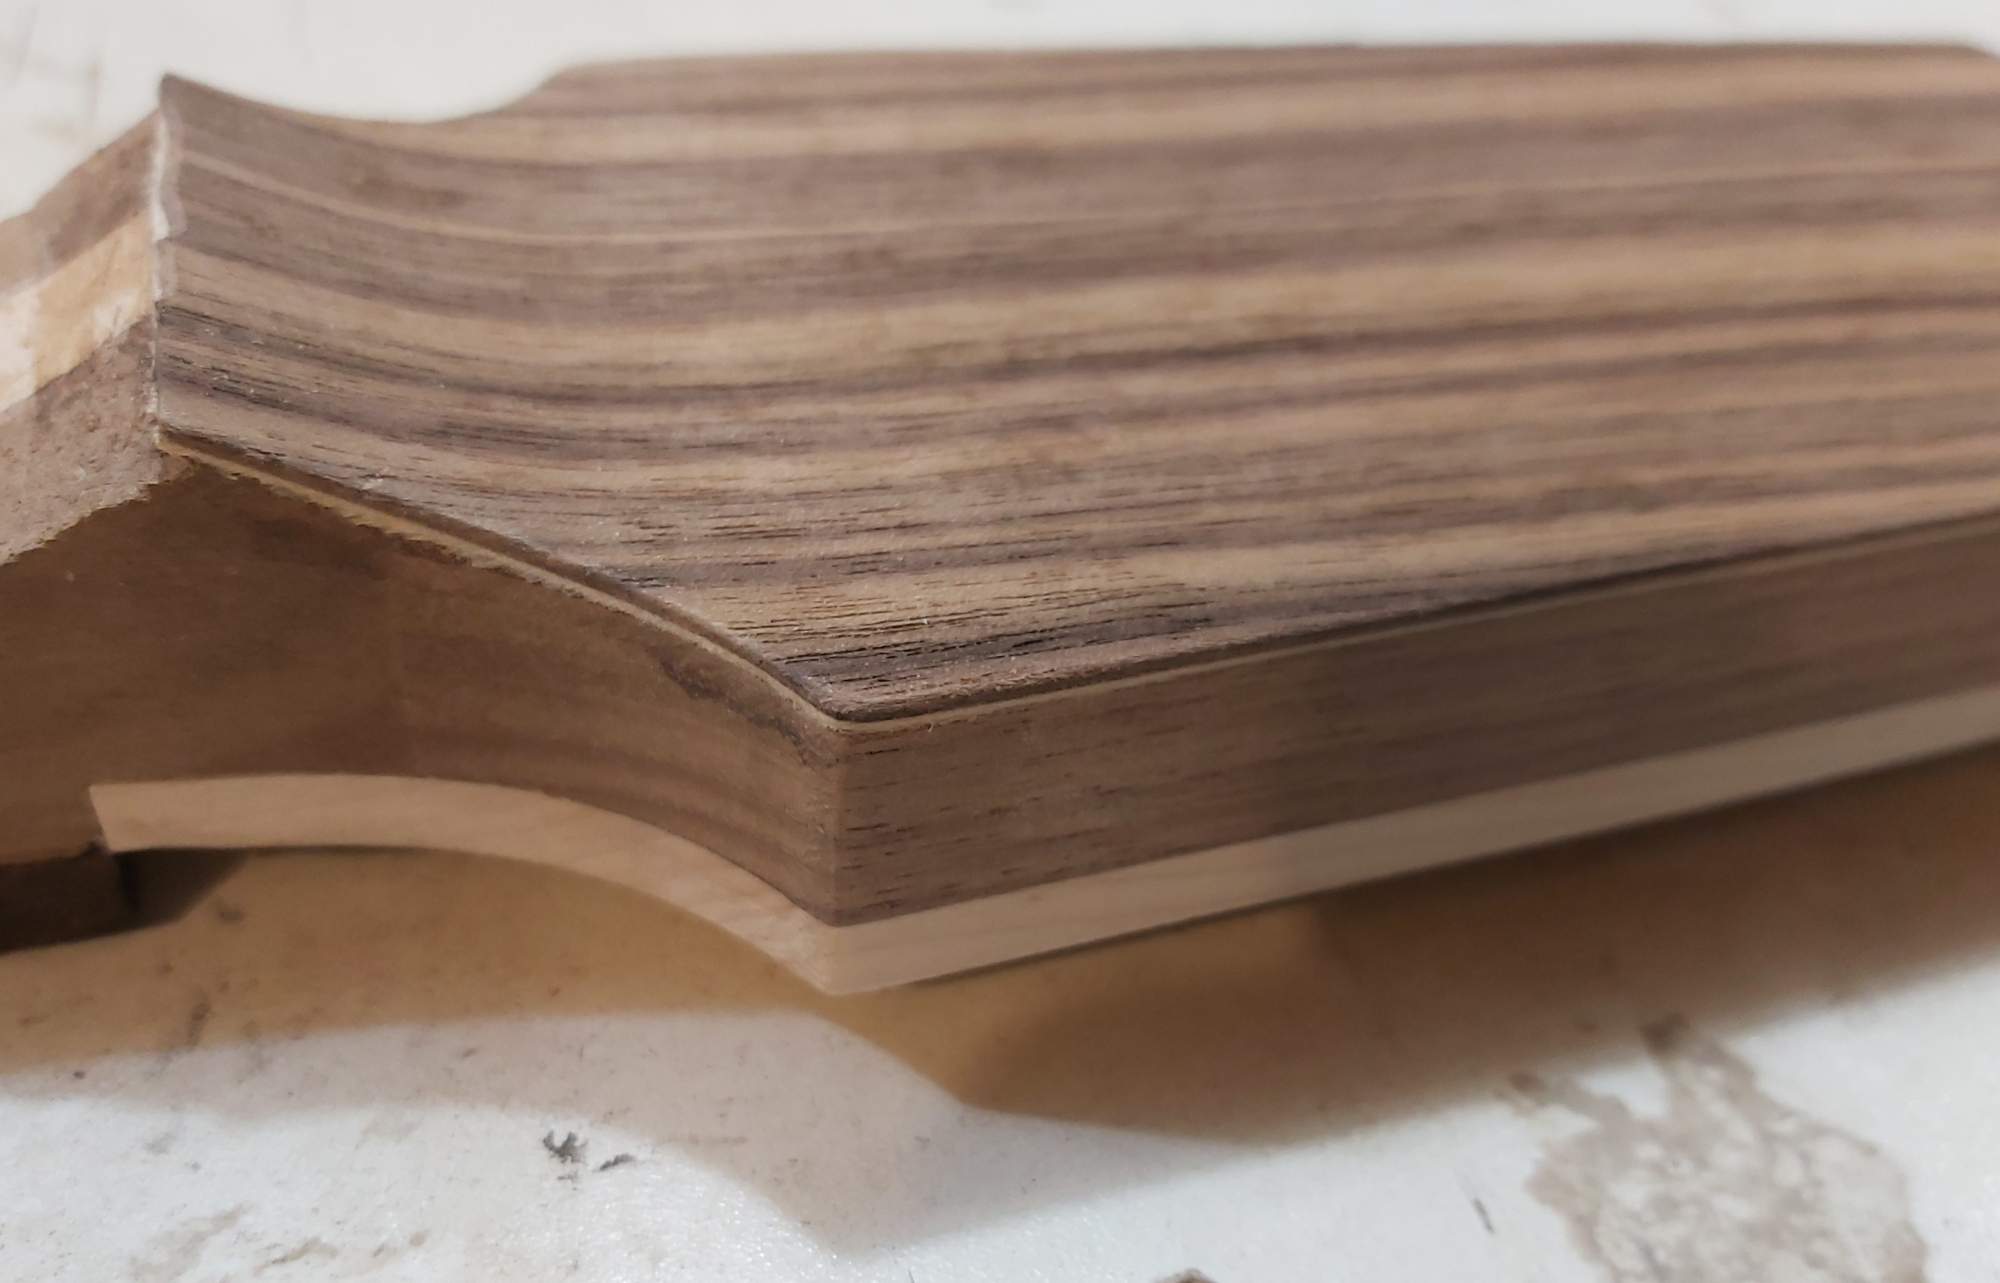
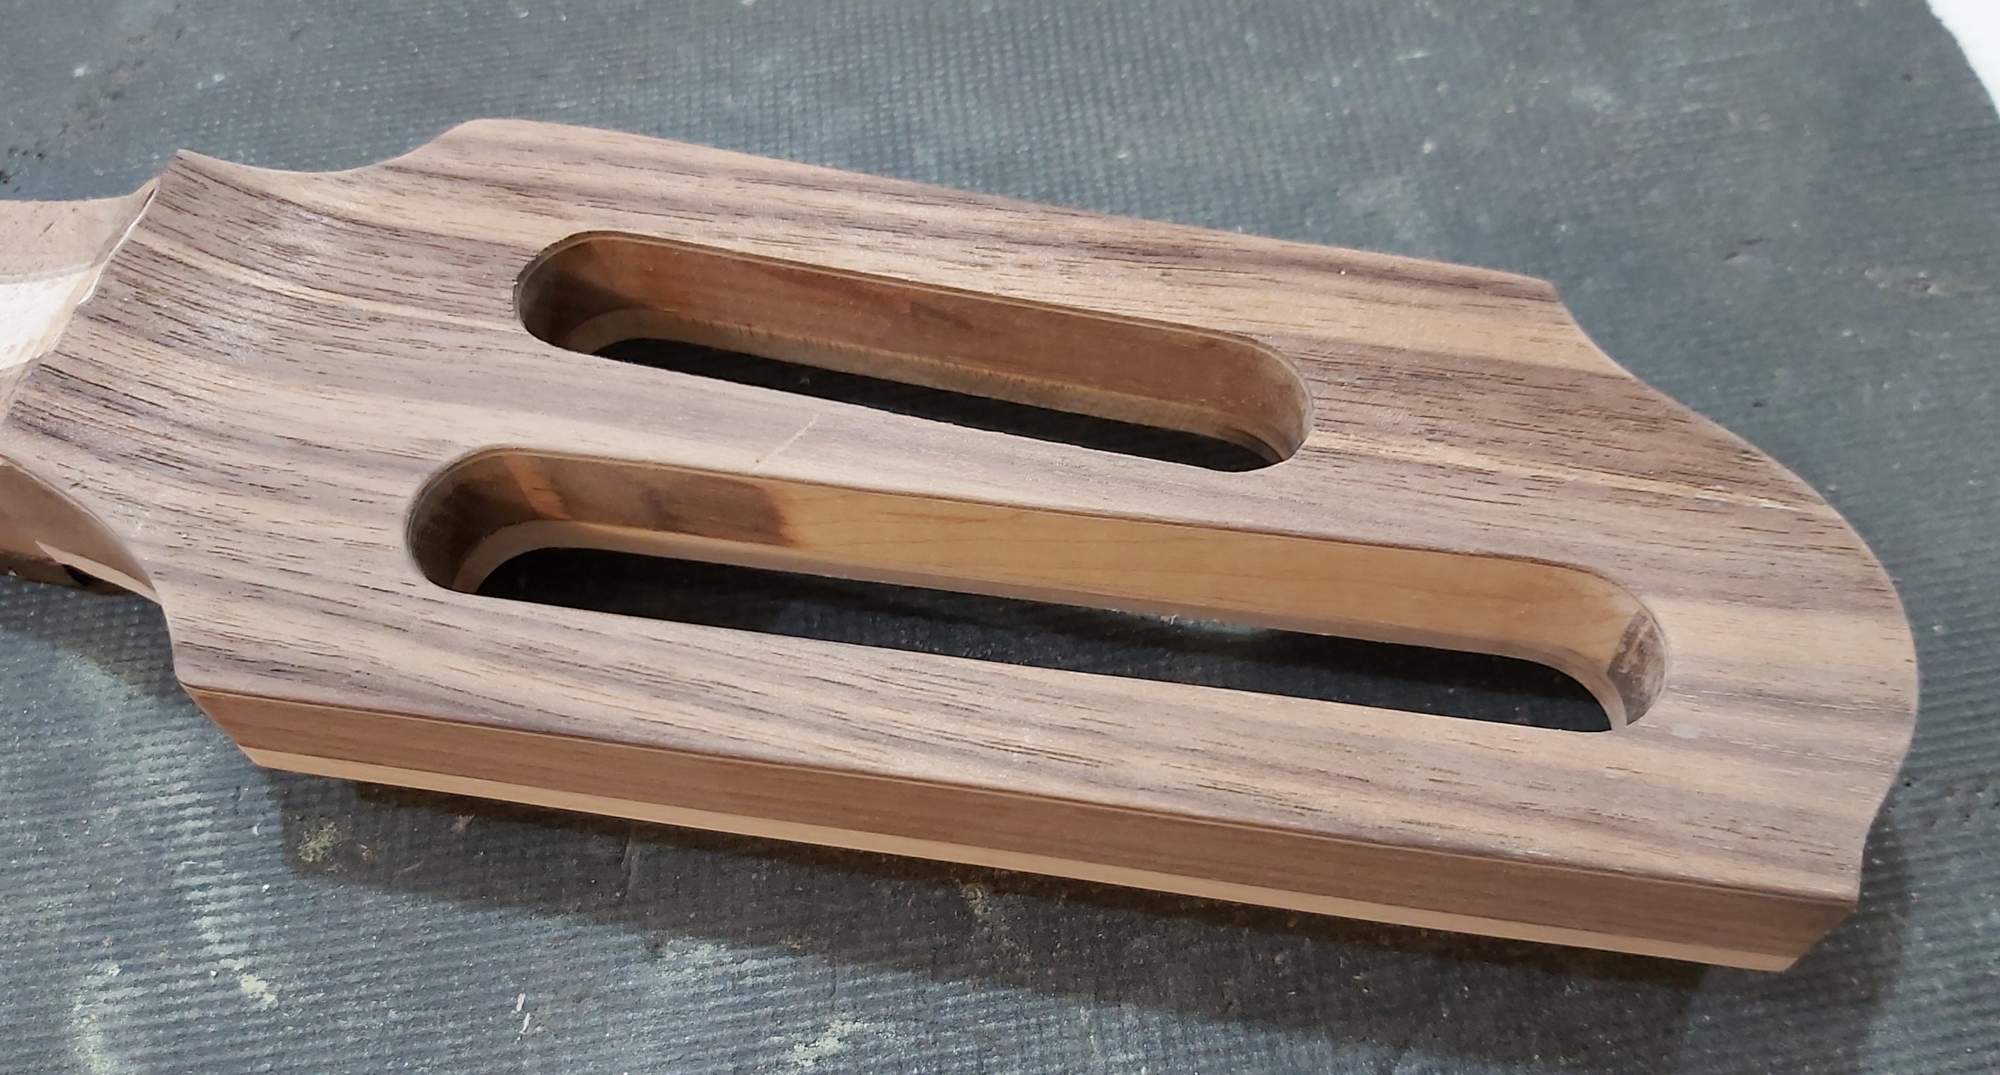

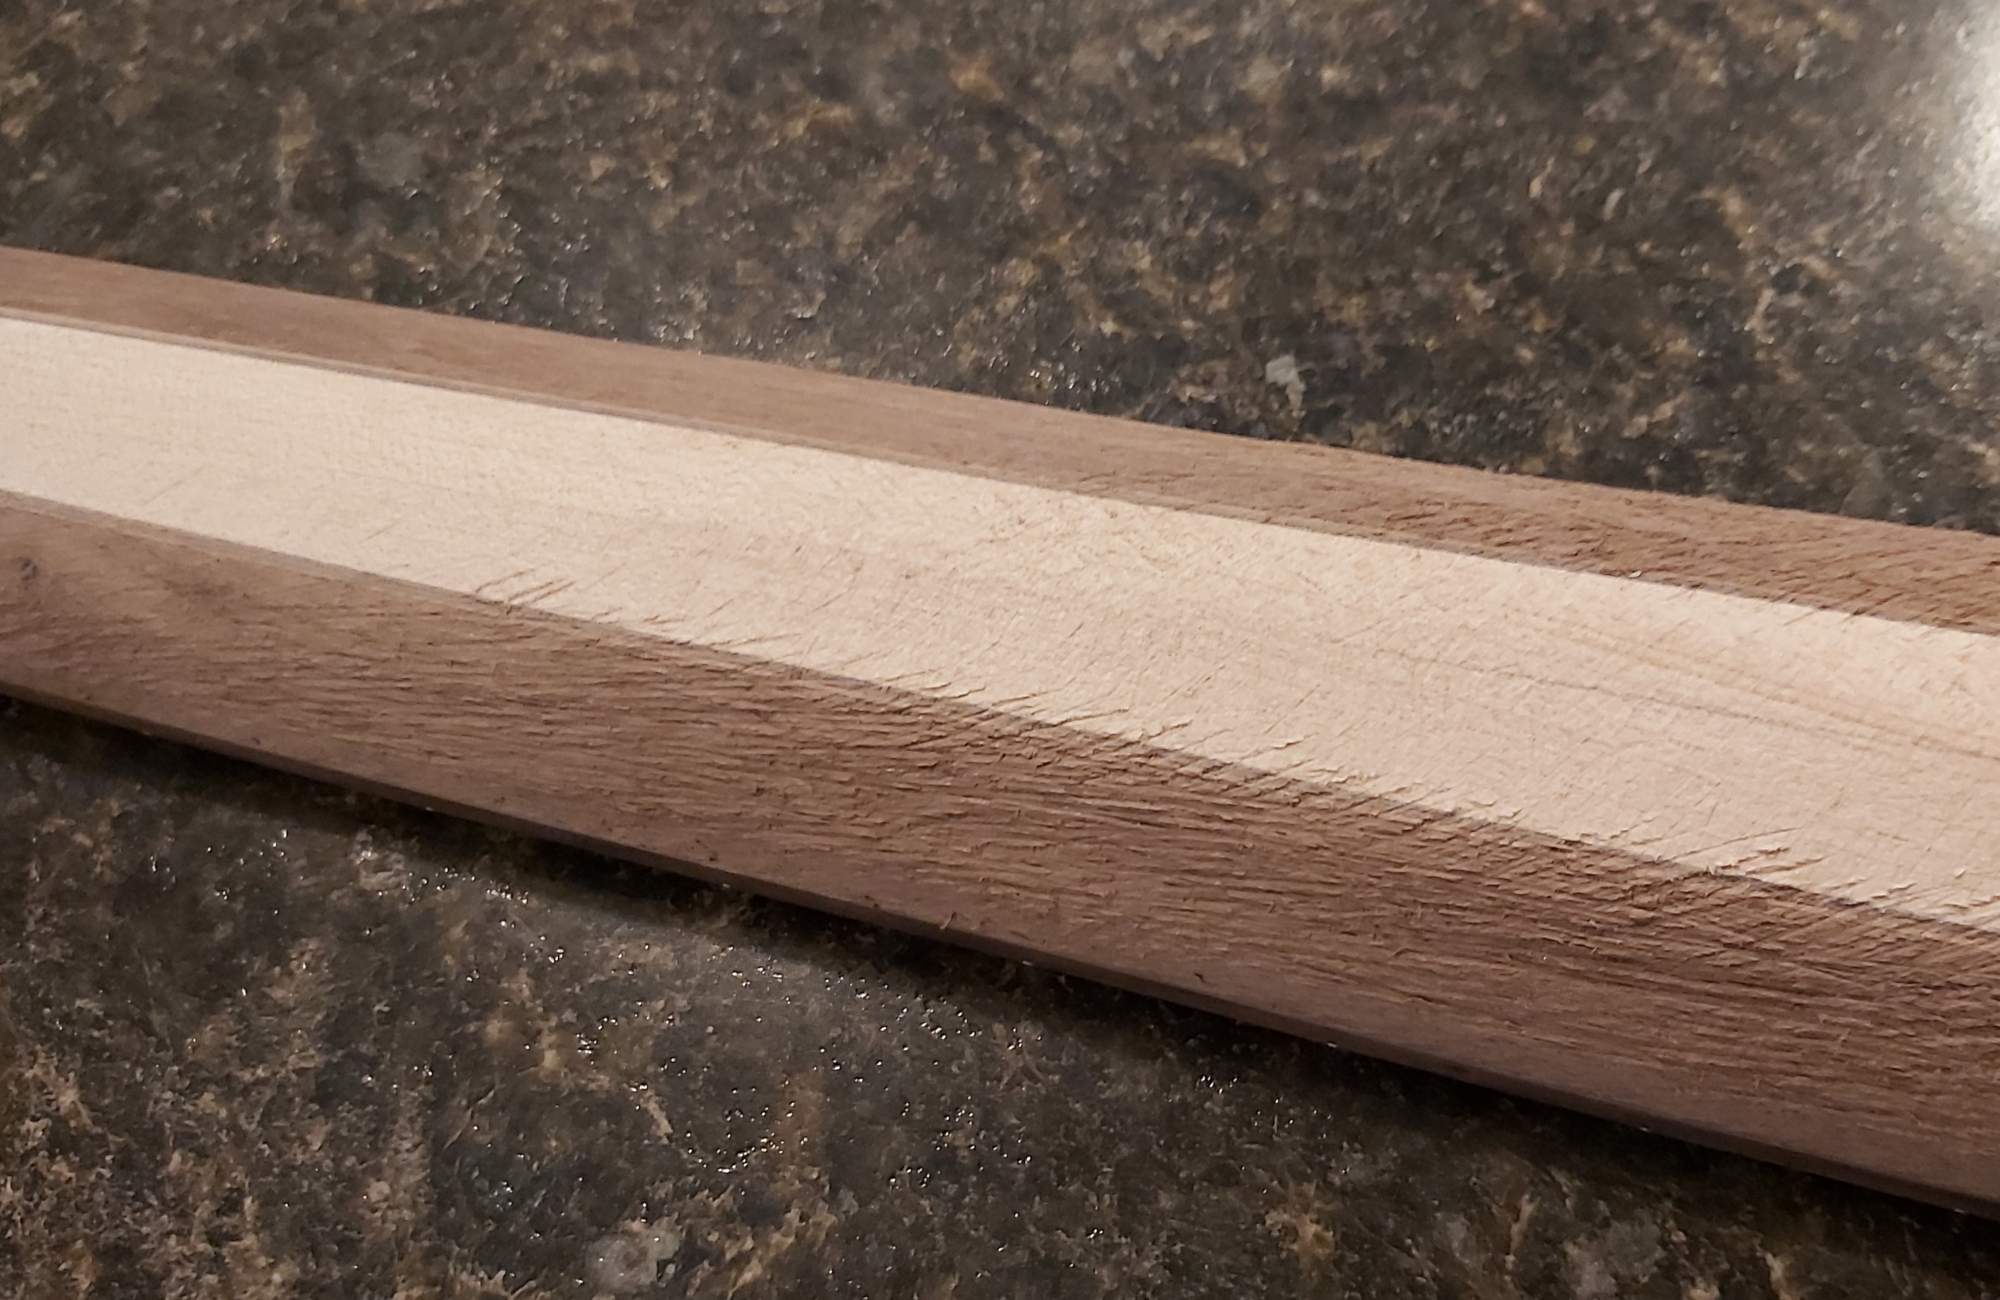
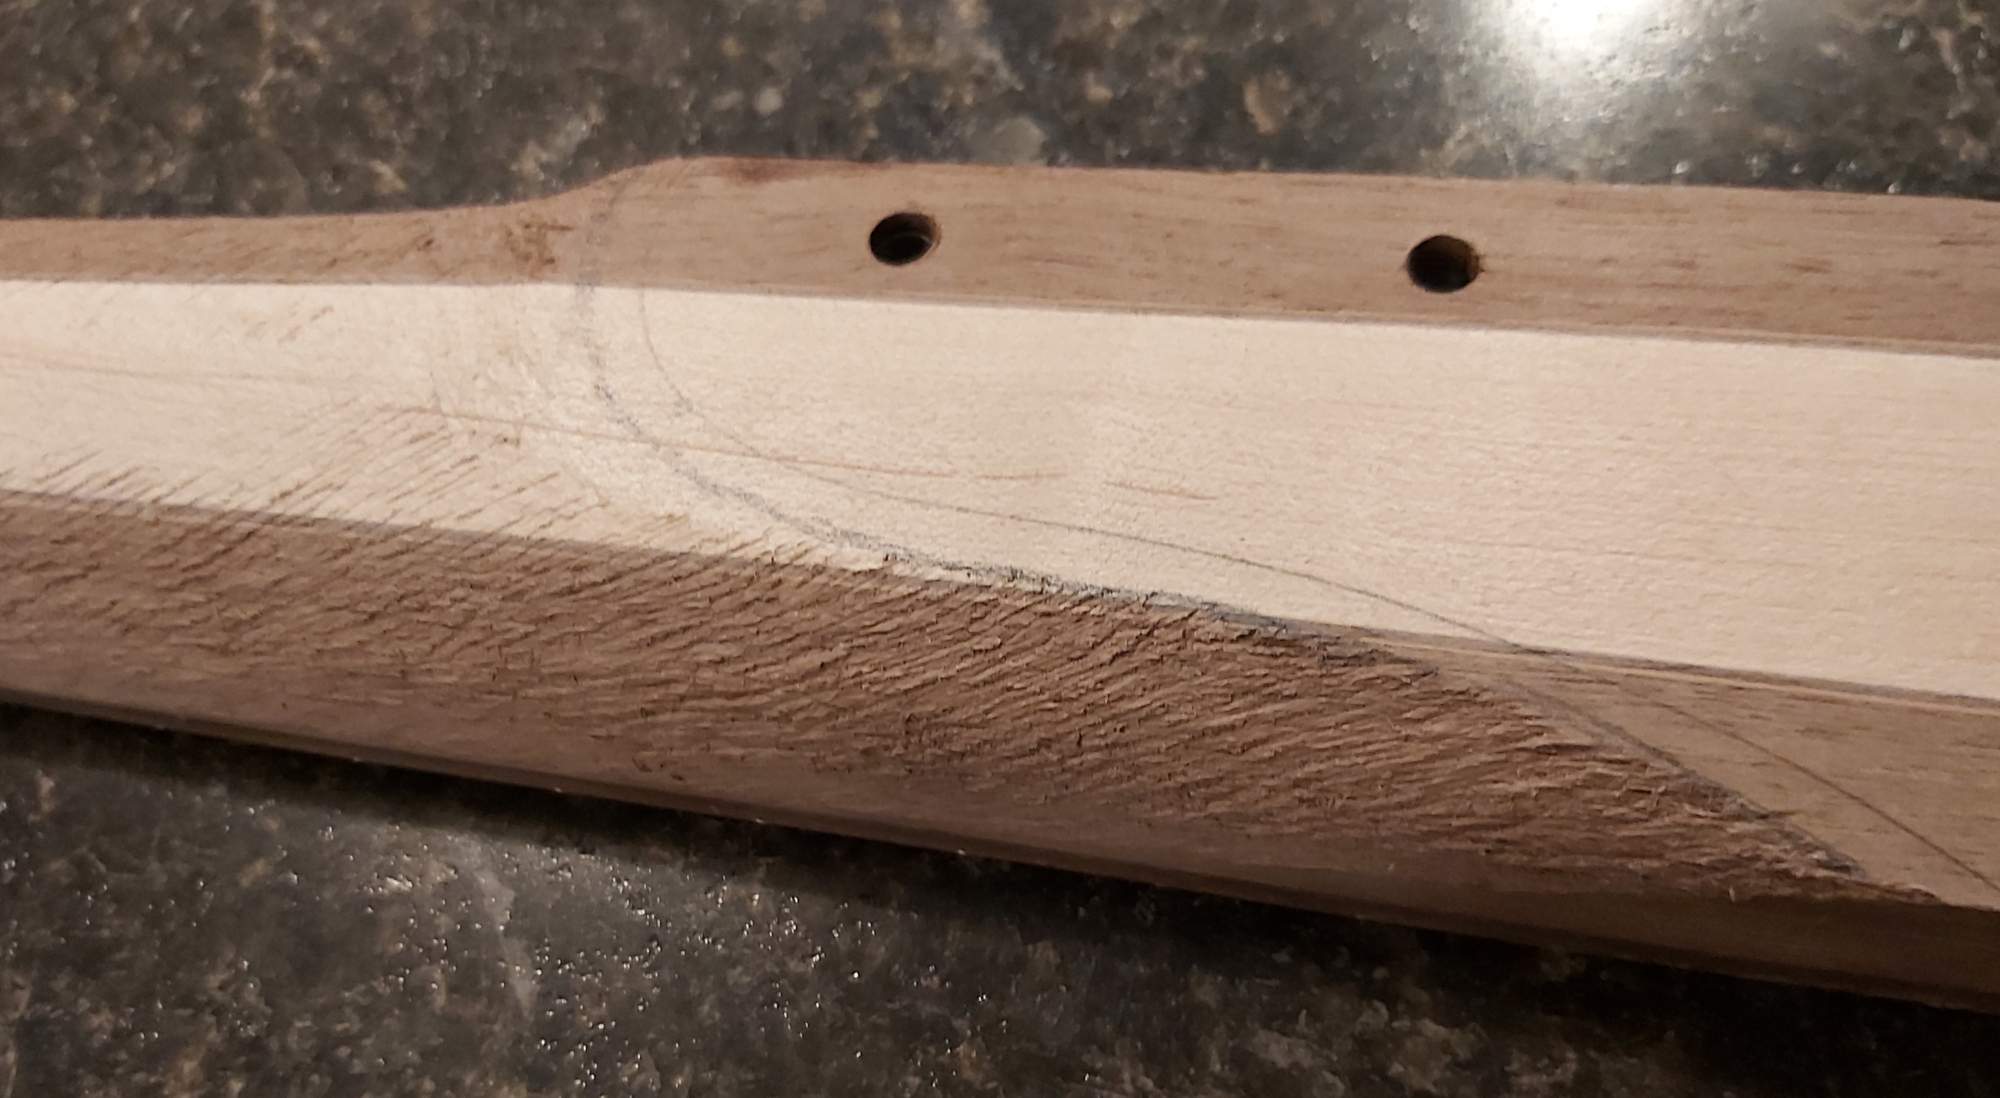 I also realized that I didn't paint the straplocks, so I'll be painting them at the same time.
  ) as a counter point?



