• TalkBass has been independent since 1998. Add your voice.
    Create a free account to reply to discussions, view embedded media, and browse with fewer display ads.
    Join freeLog in
    Want zero display ads or expanded classifieds tools? Compare plans.

Winter Build Off 2020 - Malefactor 5

I'm wondering if this design is ever gonna look right with a sound hole on the front....

All those switches......Those big existing ovals.....AND a
sound hole?.....

Busy, busy, busy, I'm going with the previous suggestion by someone for putting a, or a series of hole(s) in the top edge of it....(Maybe a shot glass holder?).....:D....

Anyhoo.....:)
 
Im surprised nobody mentioned this as a sound hole for your Malefactor Bass

upload_2020-3-3_9-40-16.png
 
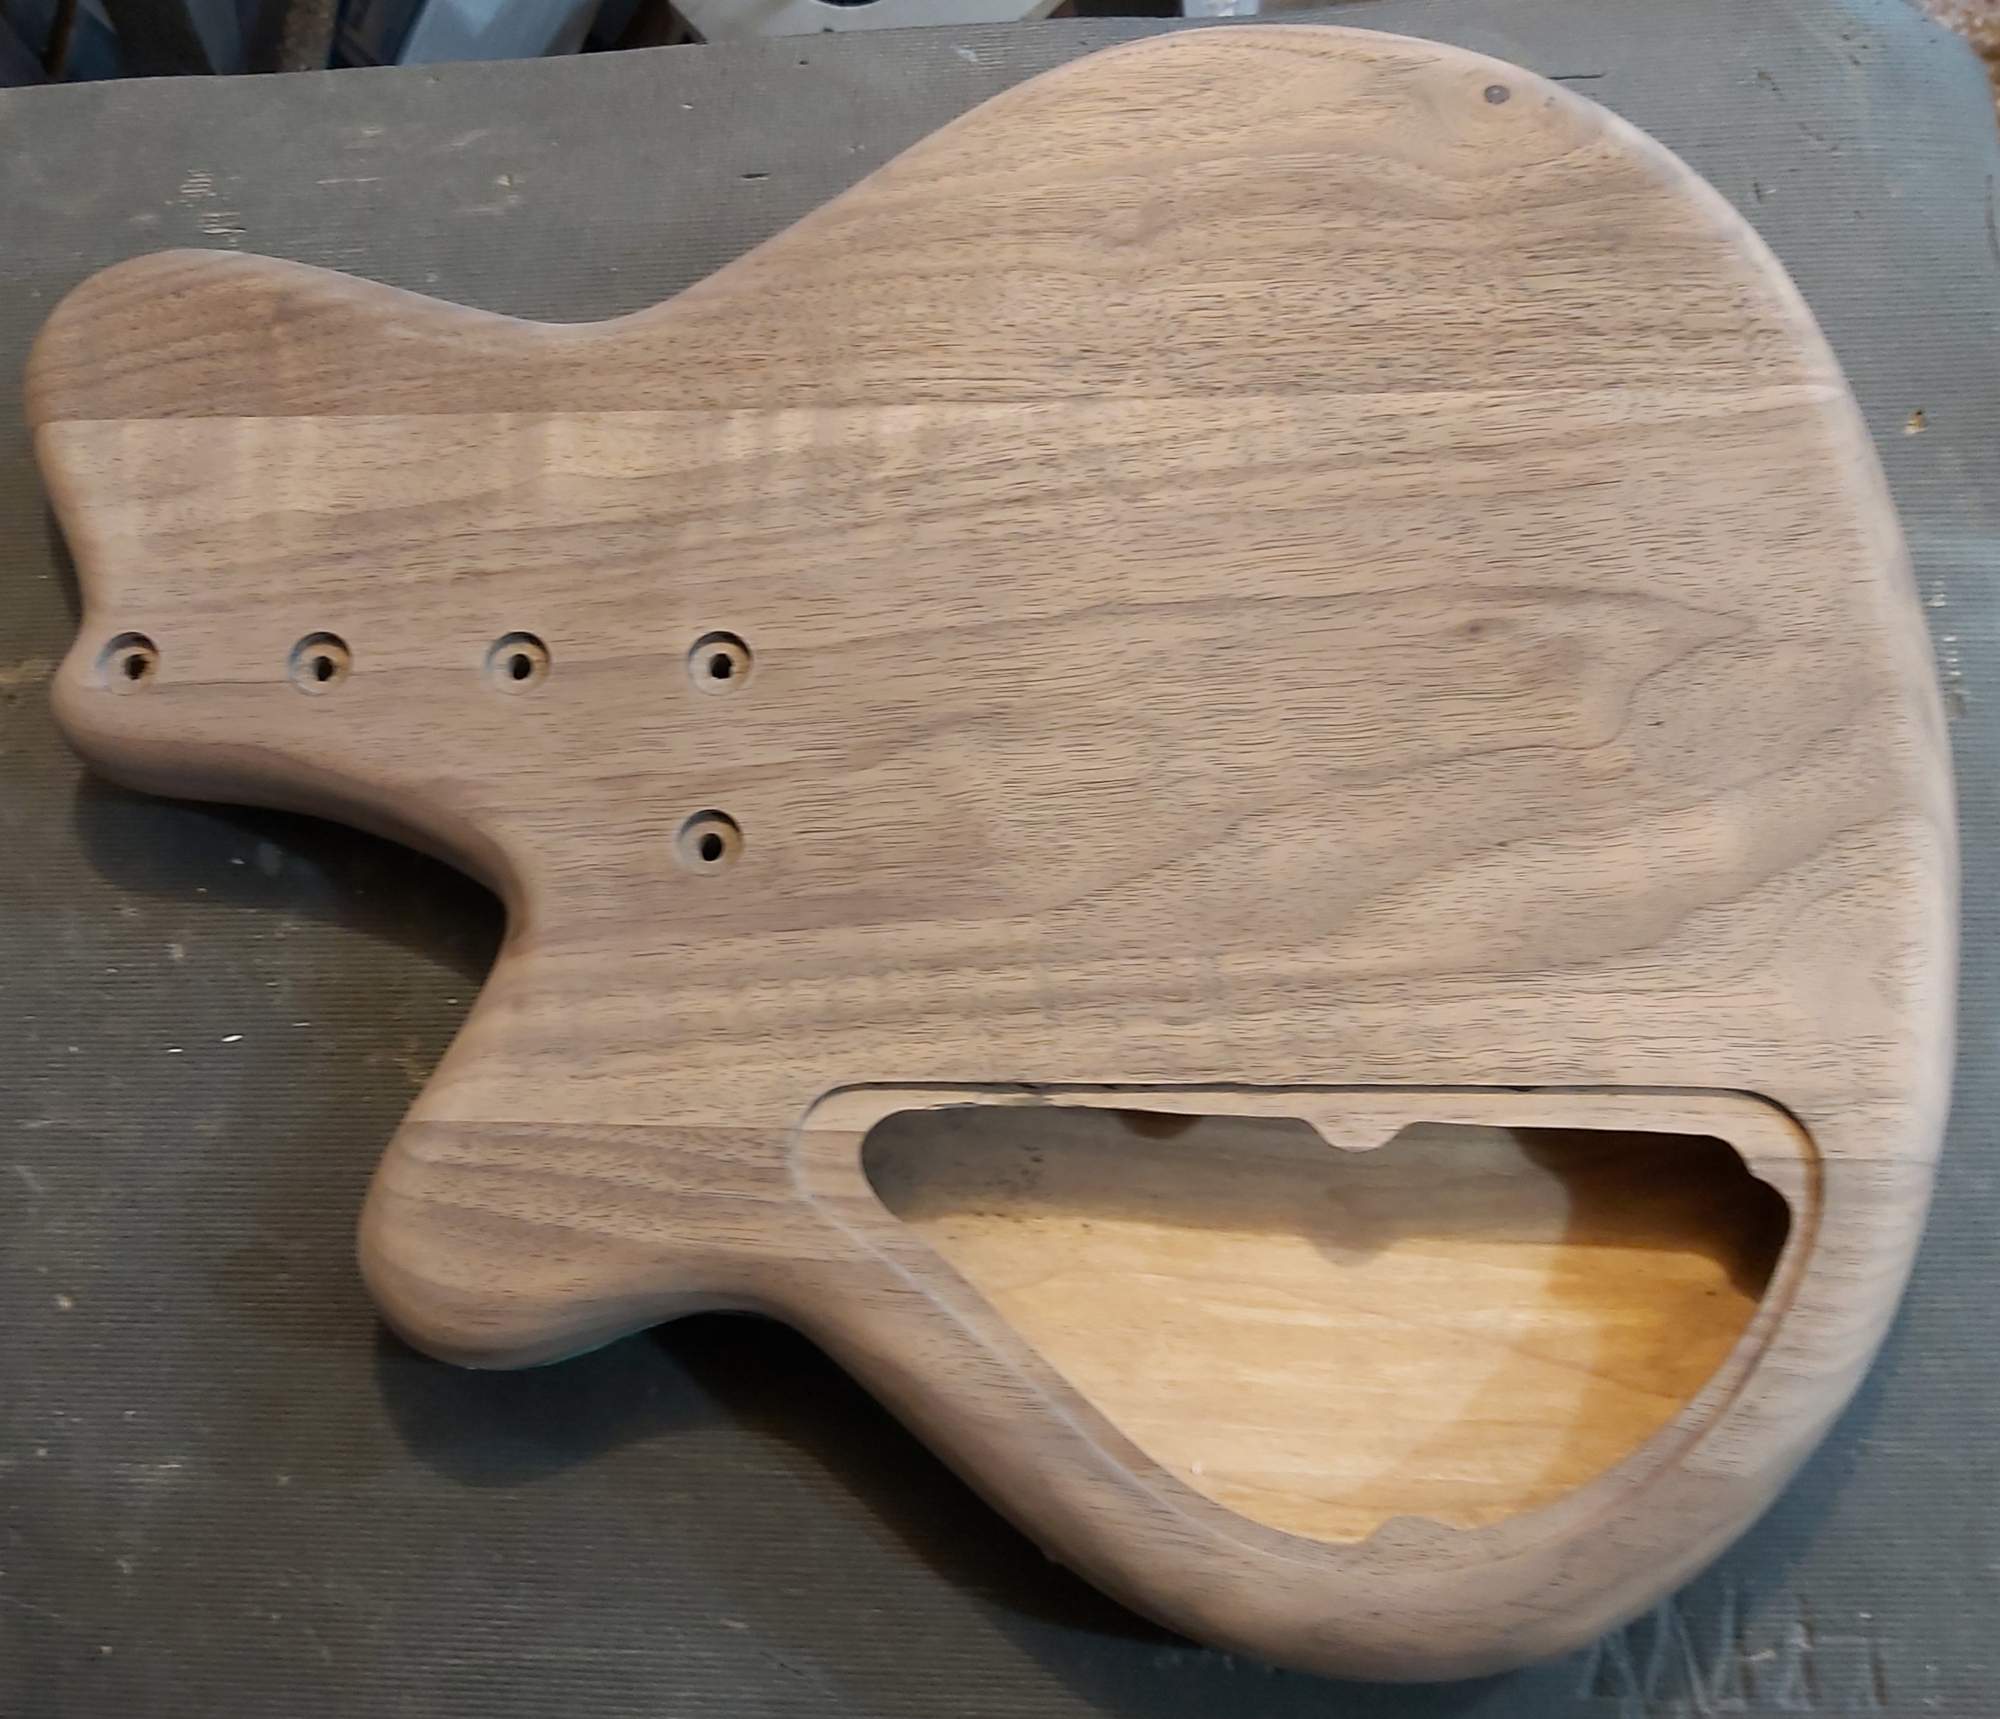
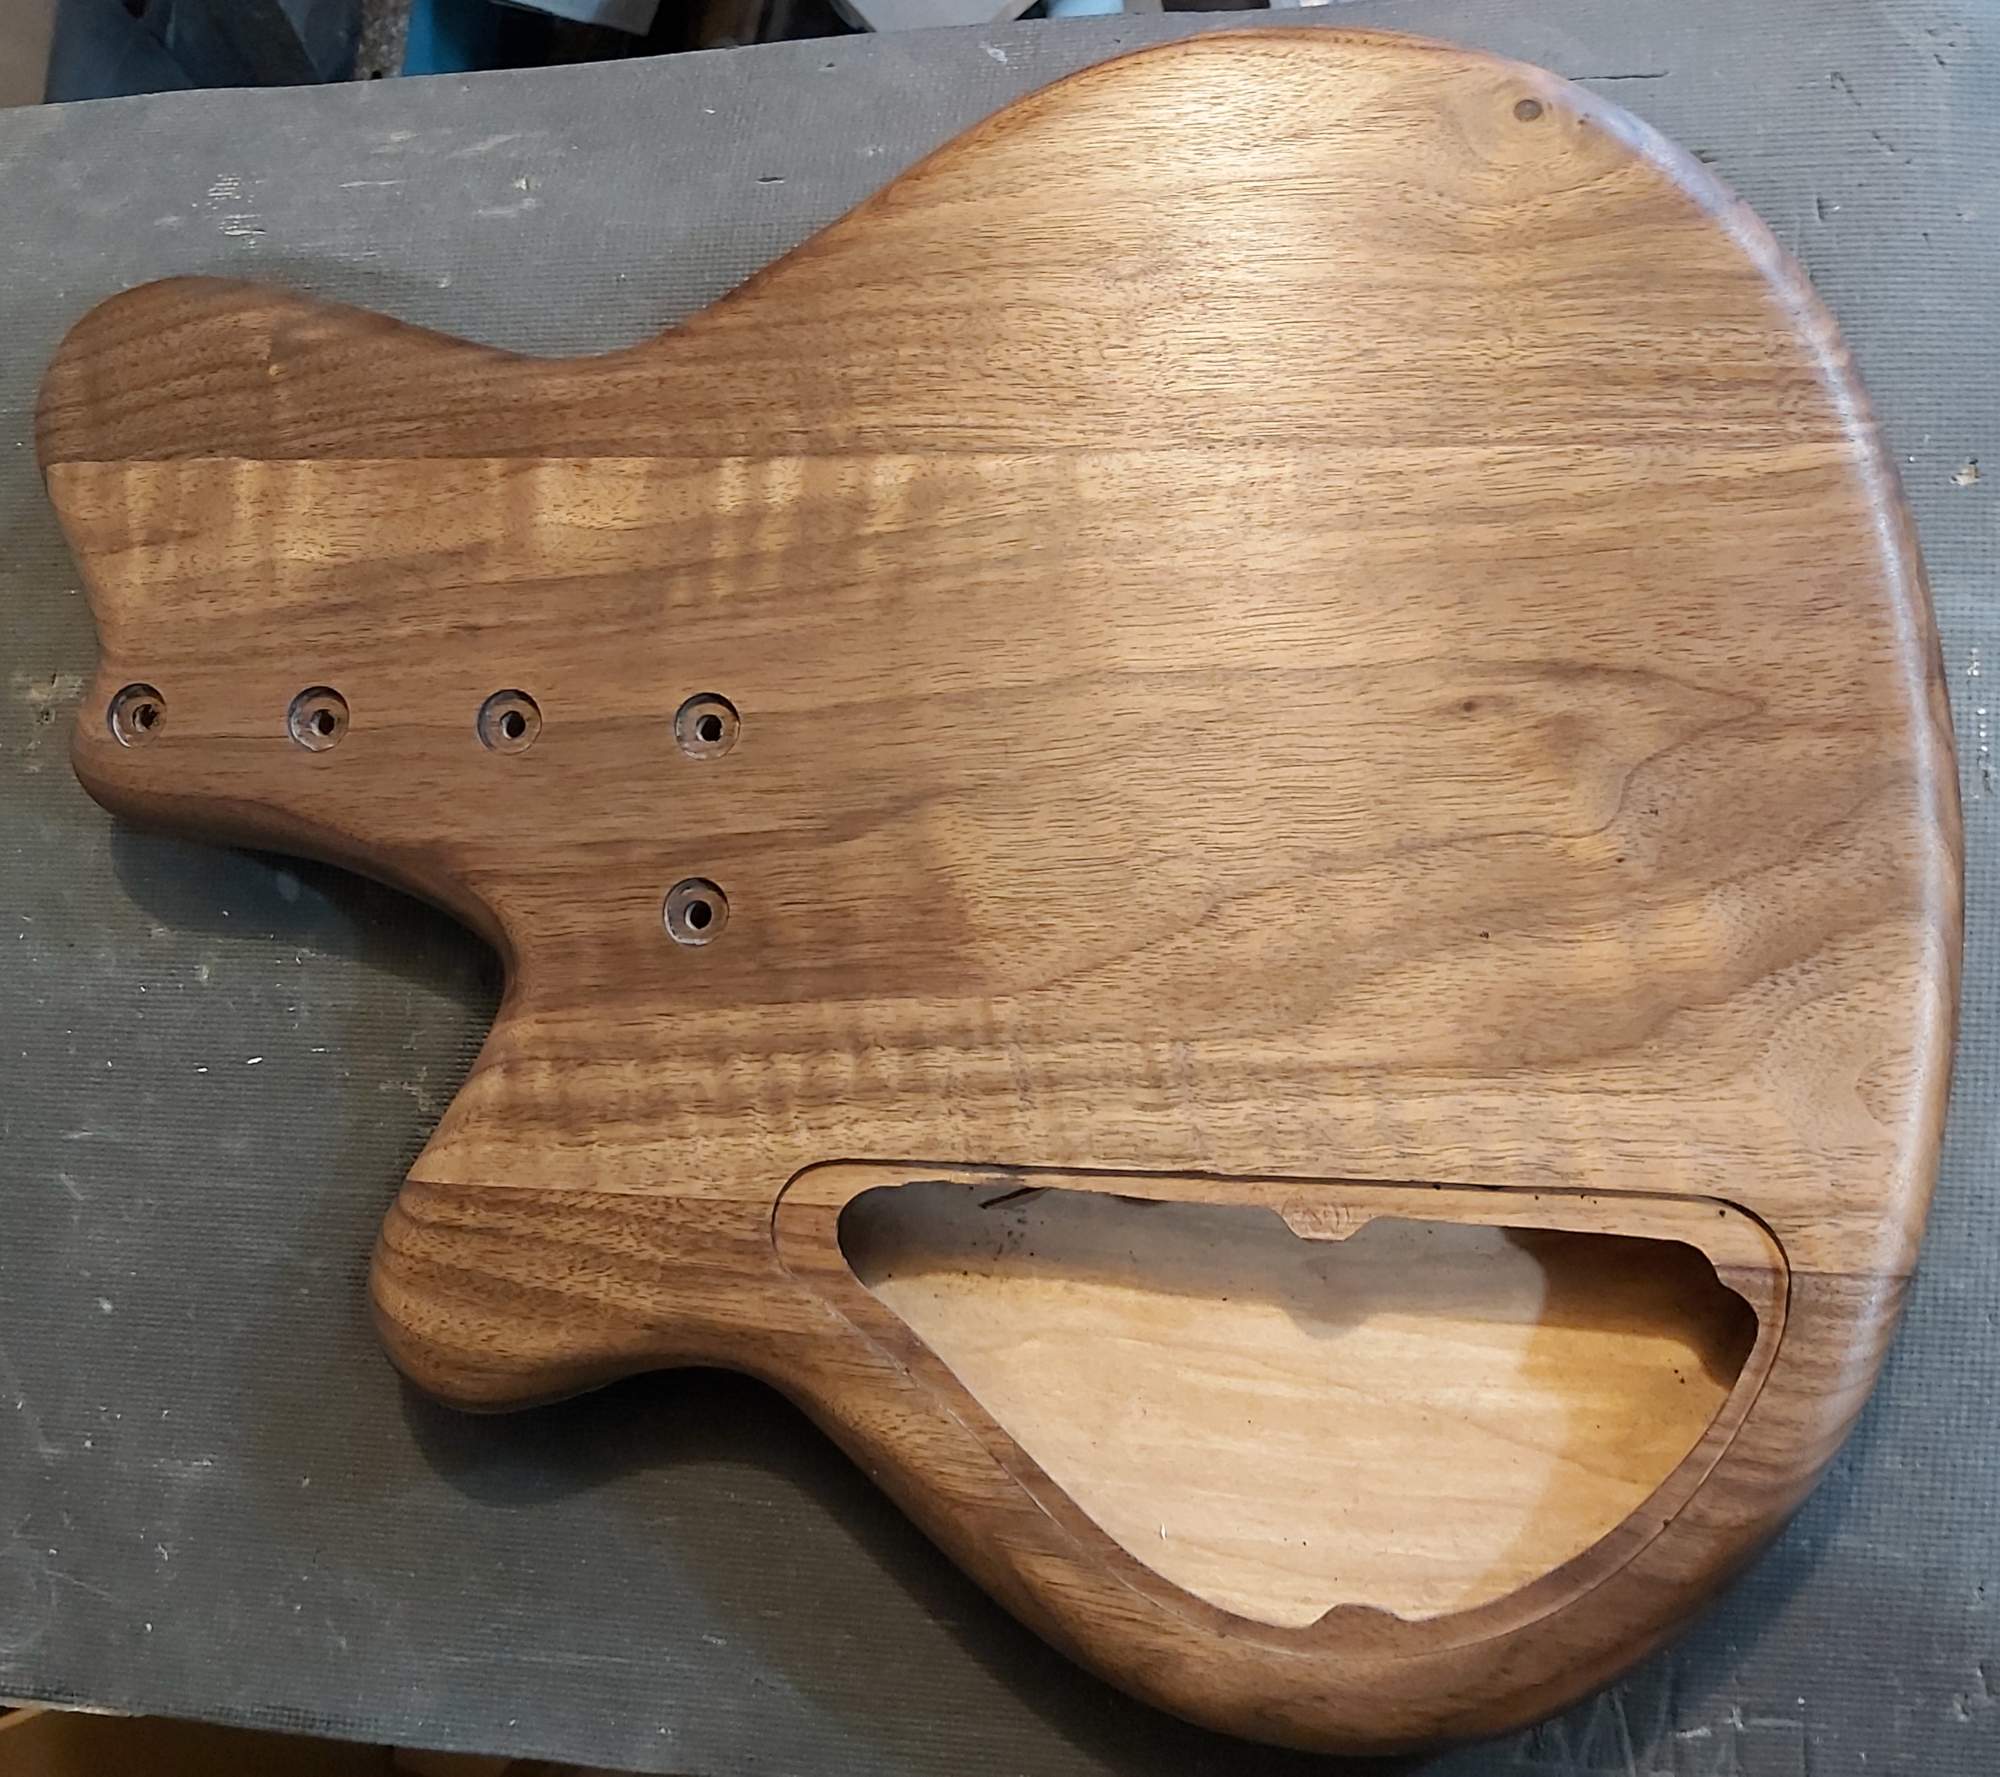
I've been plugging away on things. I tested the electronics and everything works. I've also painted the remaining bits of hardware, test-mounted the bridge and final-fitted all of the hardware on the body. I'm now steaming out the micro-dents and doing some grain raising here before sanding it up to 320.

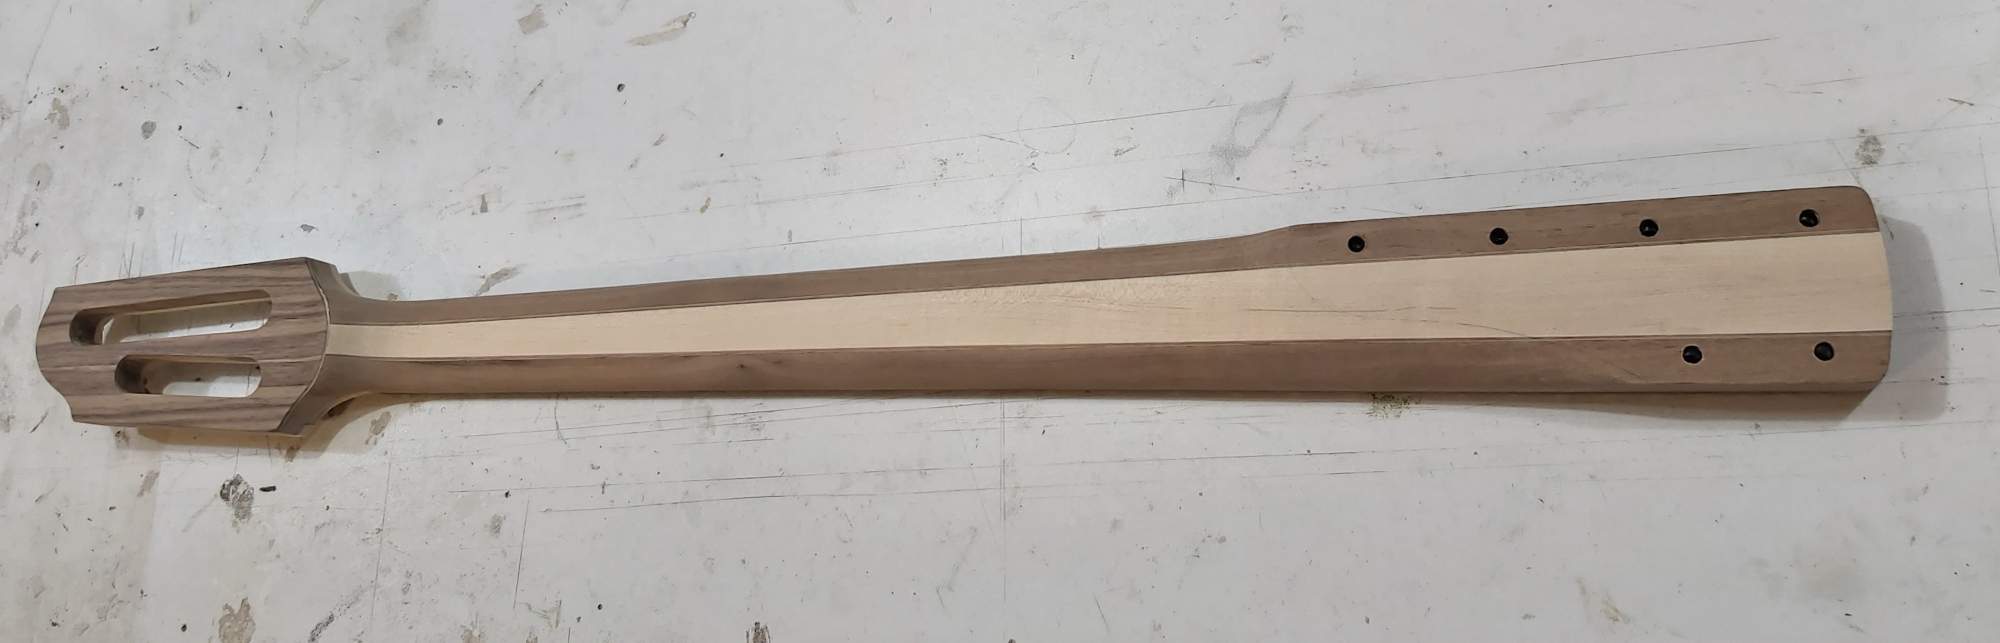
I also finished sanding the neck up to 280 and wiped it clean. It's ready for the finishing process.
 
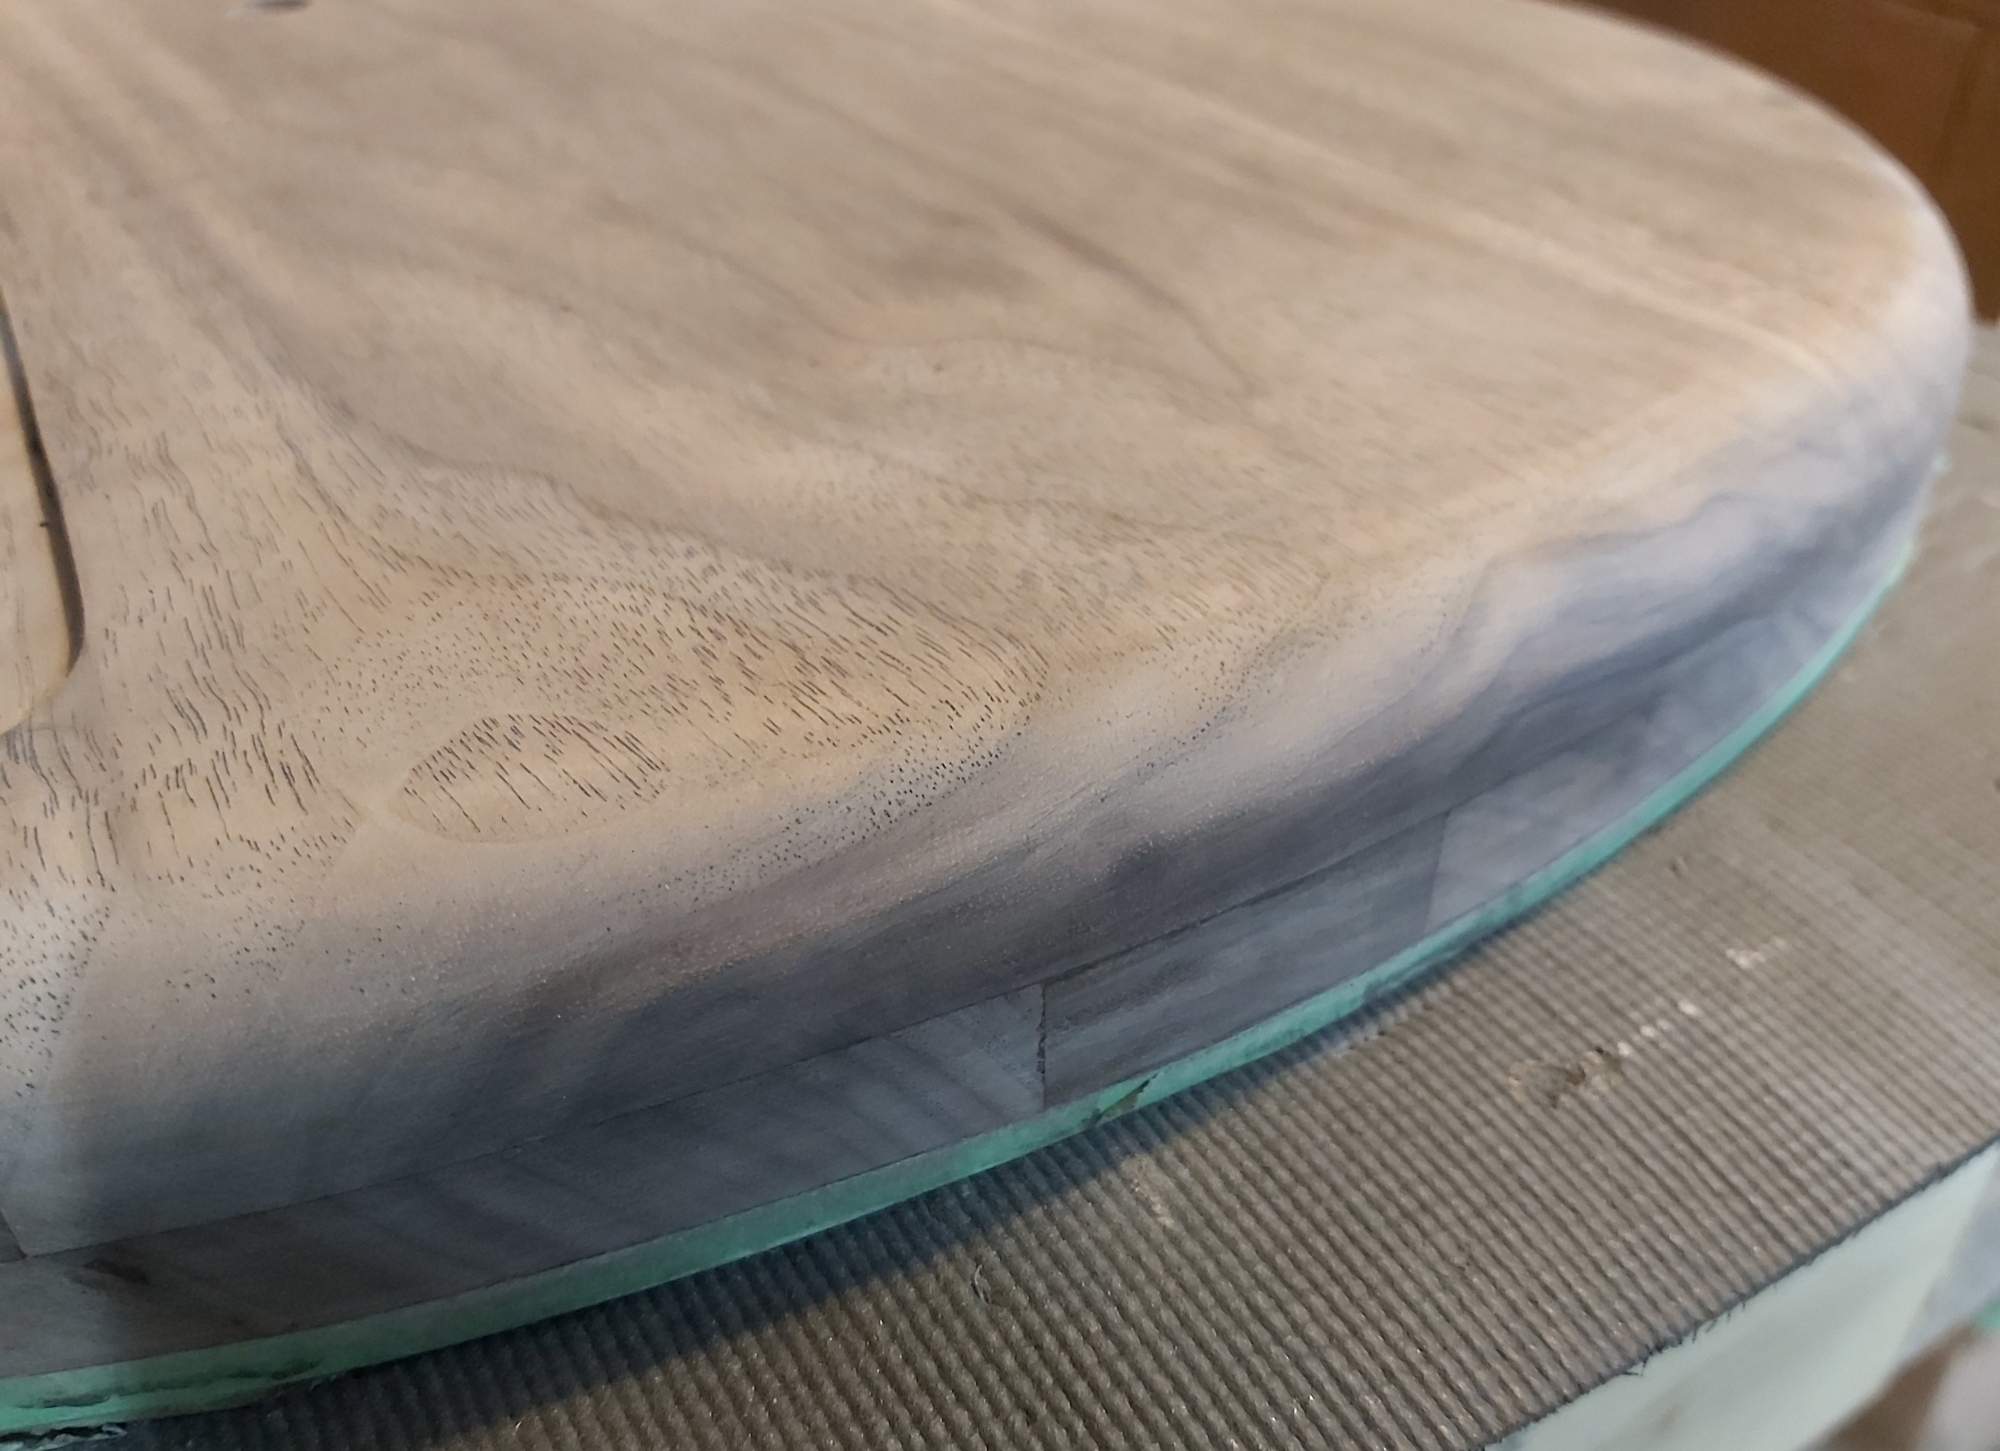
Steaming, sanding and pore filling are now done. Below is a shot of the pore filler, I dyed it darker with mixol black. I don't seem to have taken a pic of after it's been sanded off... I got most of it last night but have a bit left around the edges.

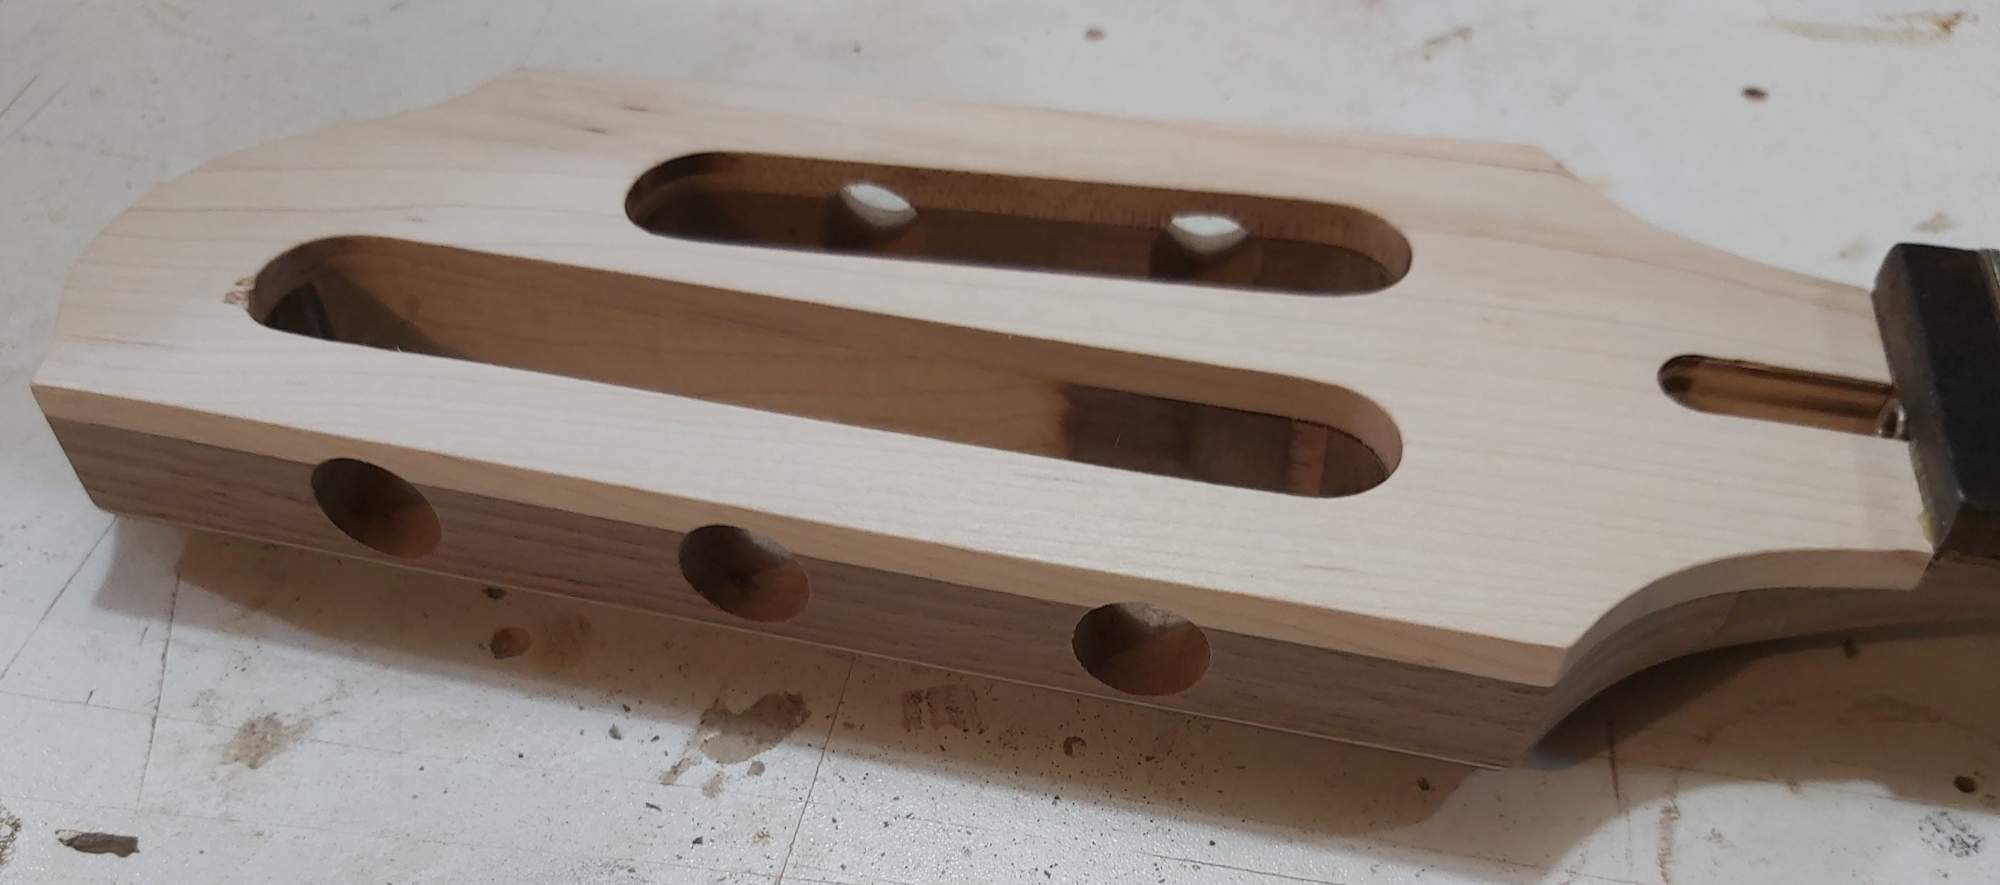
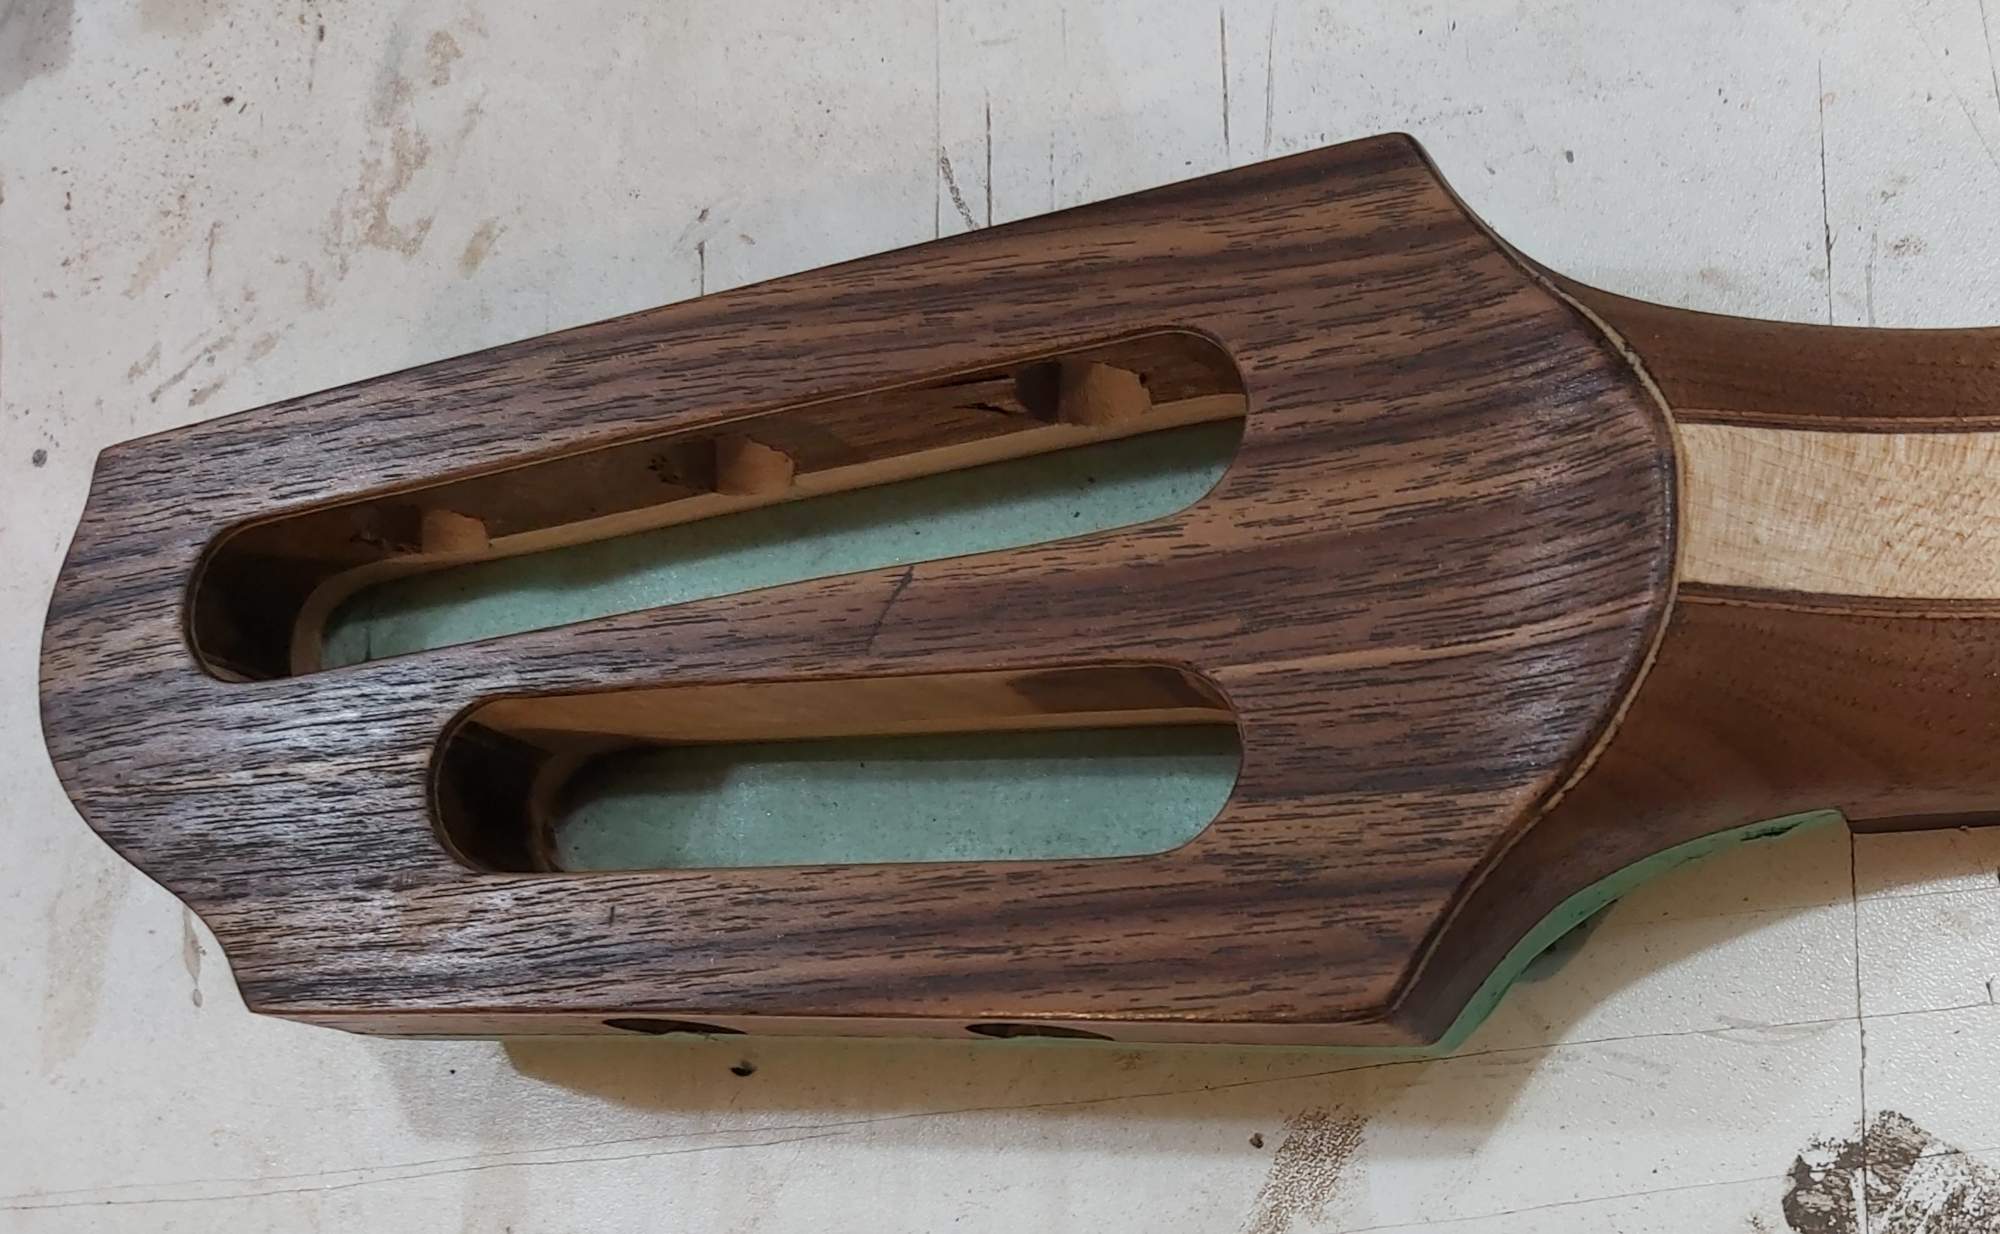
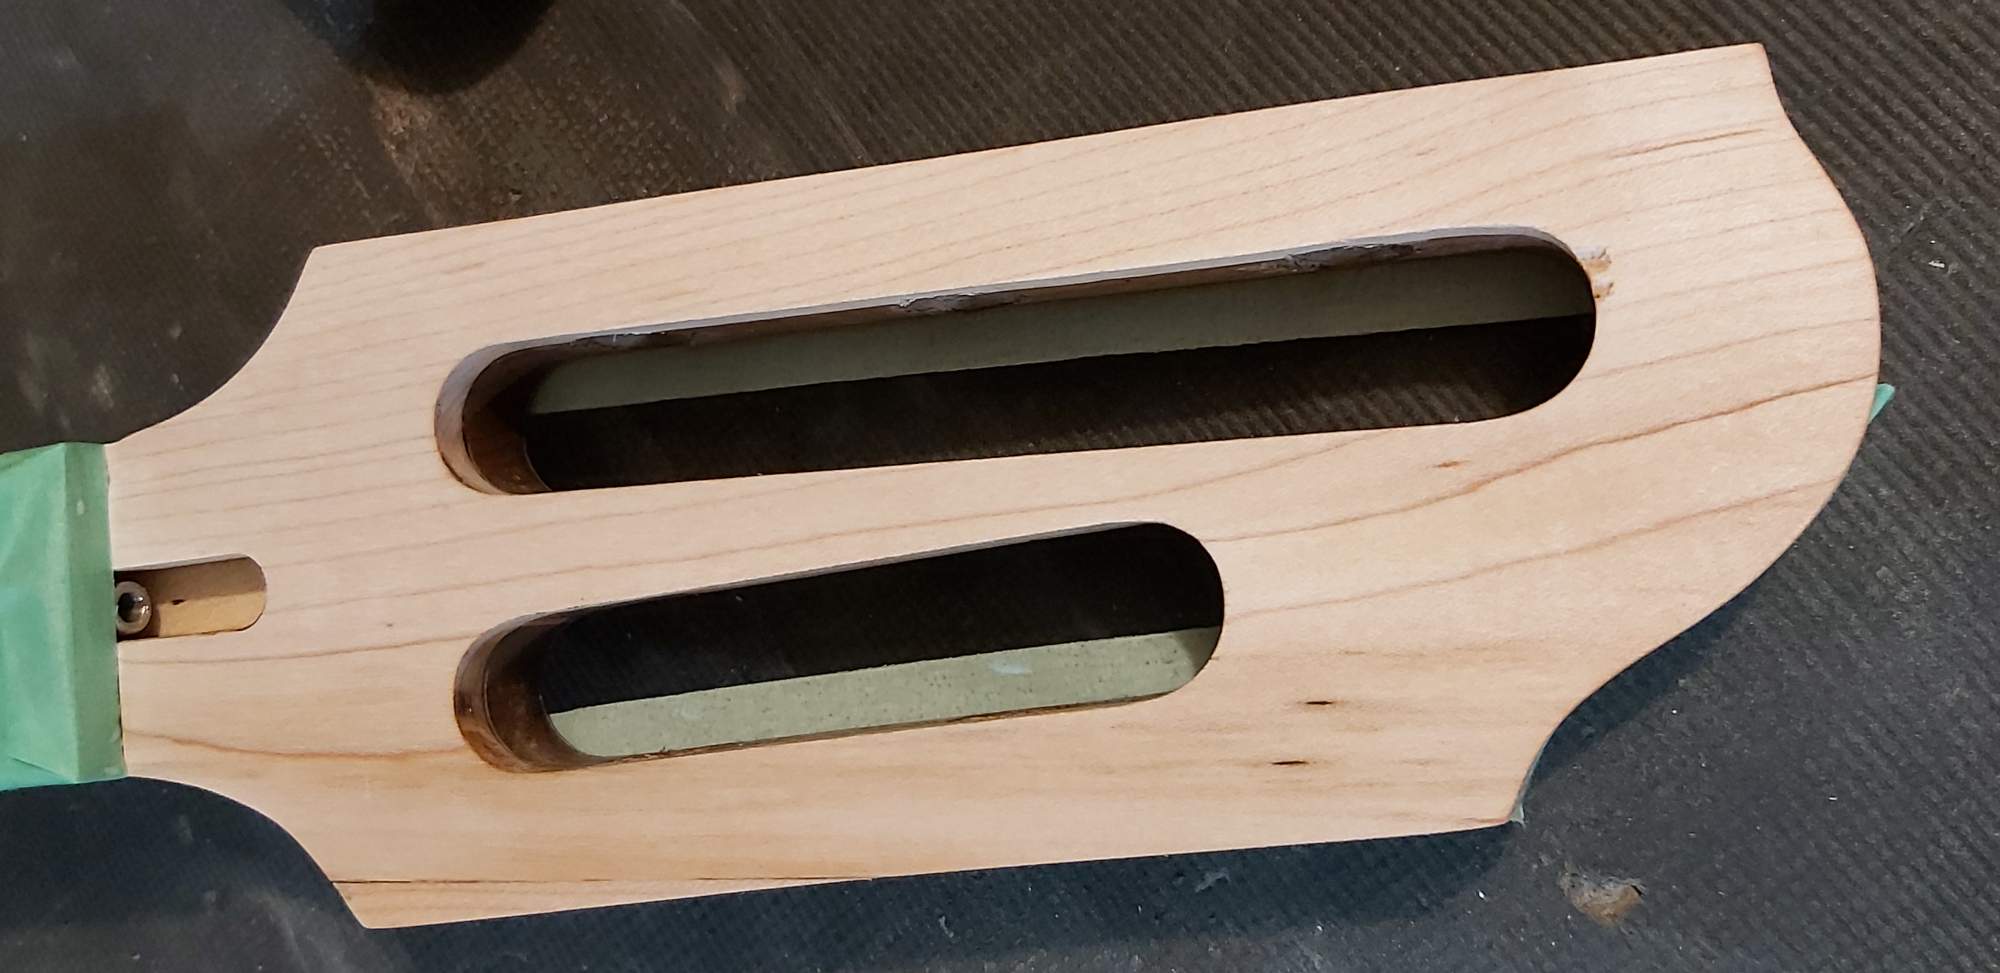
I worked on the nut/string guide and the TR cover, both from offcuts from the end of the fretboard. I've got an aluminum nut/string guide as a backup depending on how things look. I also spent time filing and fiddling with the tuner holes in the sides of the headstock.
 
Here's a shot of the headstock sanded up and ready for finish. No idea why I labeled it "body" o_O

I also sanded off the remaining grain filler, blew it down with compressed air and wiped it clean with DNA.

Then, BLAM! I hit it with a coat of shellac :D
I love that first hit on walnut. It's always so pleasant :drool:
 
Here's a shot of the headstock sanded up and ready for finish. No idea why I labeled it "body" o_O

I also sanded off the remaining grain filler, blew it down with compressed air and wiped it clean with DNA.

Then, BLAM! I hit it with a coat of shellac :D
I love that first hit on walnut. It's always so pleasant :drool:
Oh dear here comes the :drool:
 
  • Like
Reactions: Beej and Reedt2000
Mission accomplished lol :D

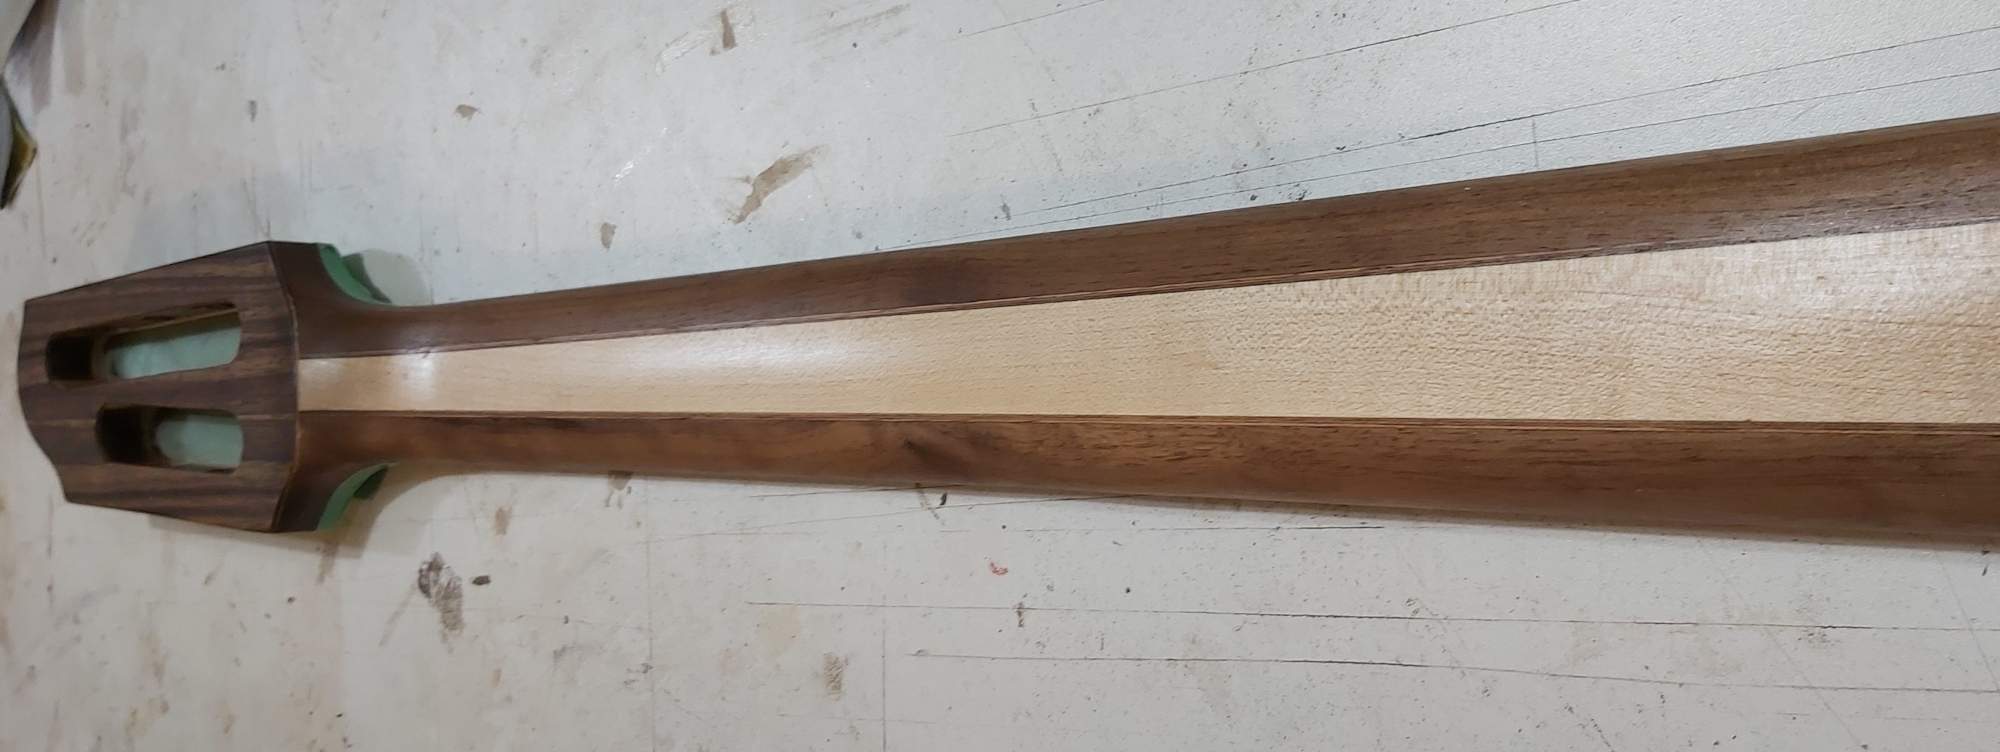
Here's a couple of shots of the nearly finished neck. This is one coat of shellac and three coats of the Saman oil modified waterbased poly. I'll scrub the sheen off with a green 3M and give it some wax as a final step. My shocked disappointment with the Saman on my pickup covers was because I had not sealed them with shellac first like I did on some testers. The shellac gives them the depth of grain and the poly finishes it.

I've done another bleach treatment on the face. I'm guessing I'll end up doing at least one more as well. The little chip at the top of the hole I'll fill with CA once the finish has hardened.

Now that I've finished the back of the body, I taped it off, bleached the top face one more time, and then applied the Saman water based poly. This is the first coat. It added nearly no colouring to the top, still about as white as I'd hoped. :)

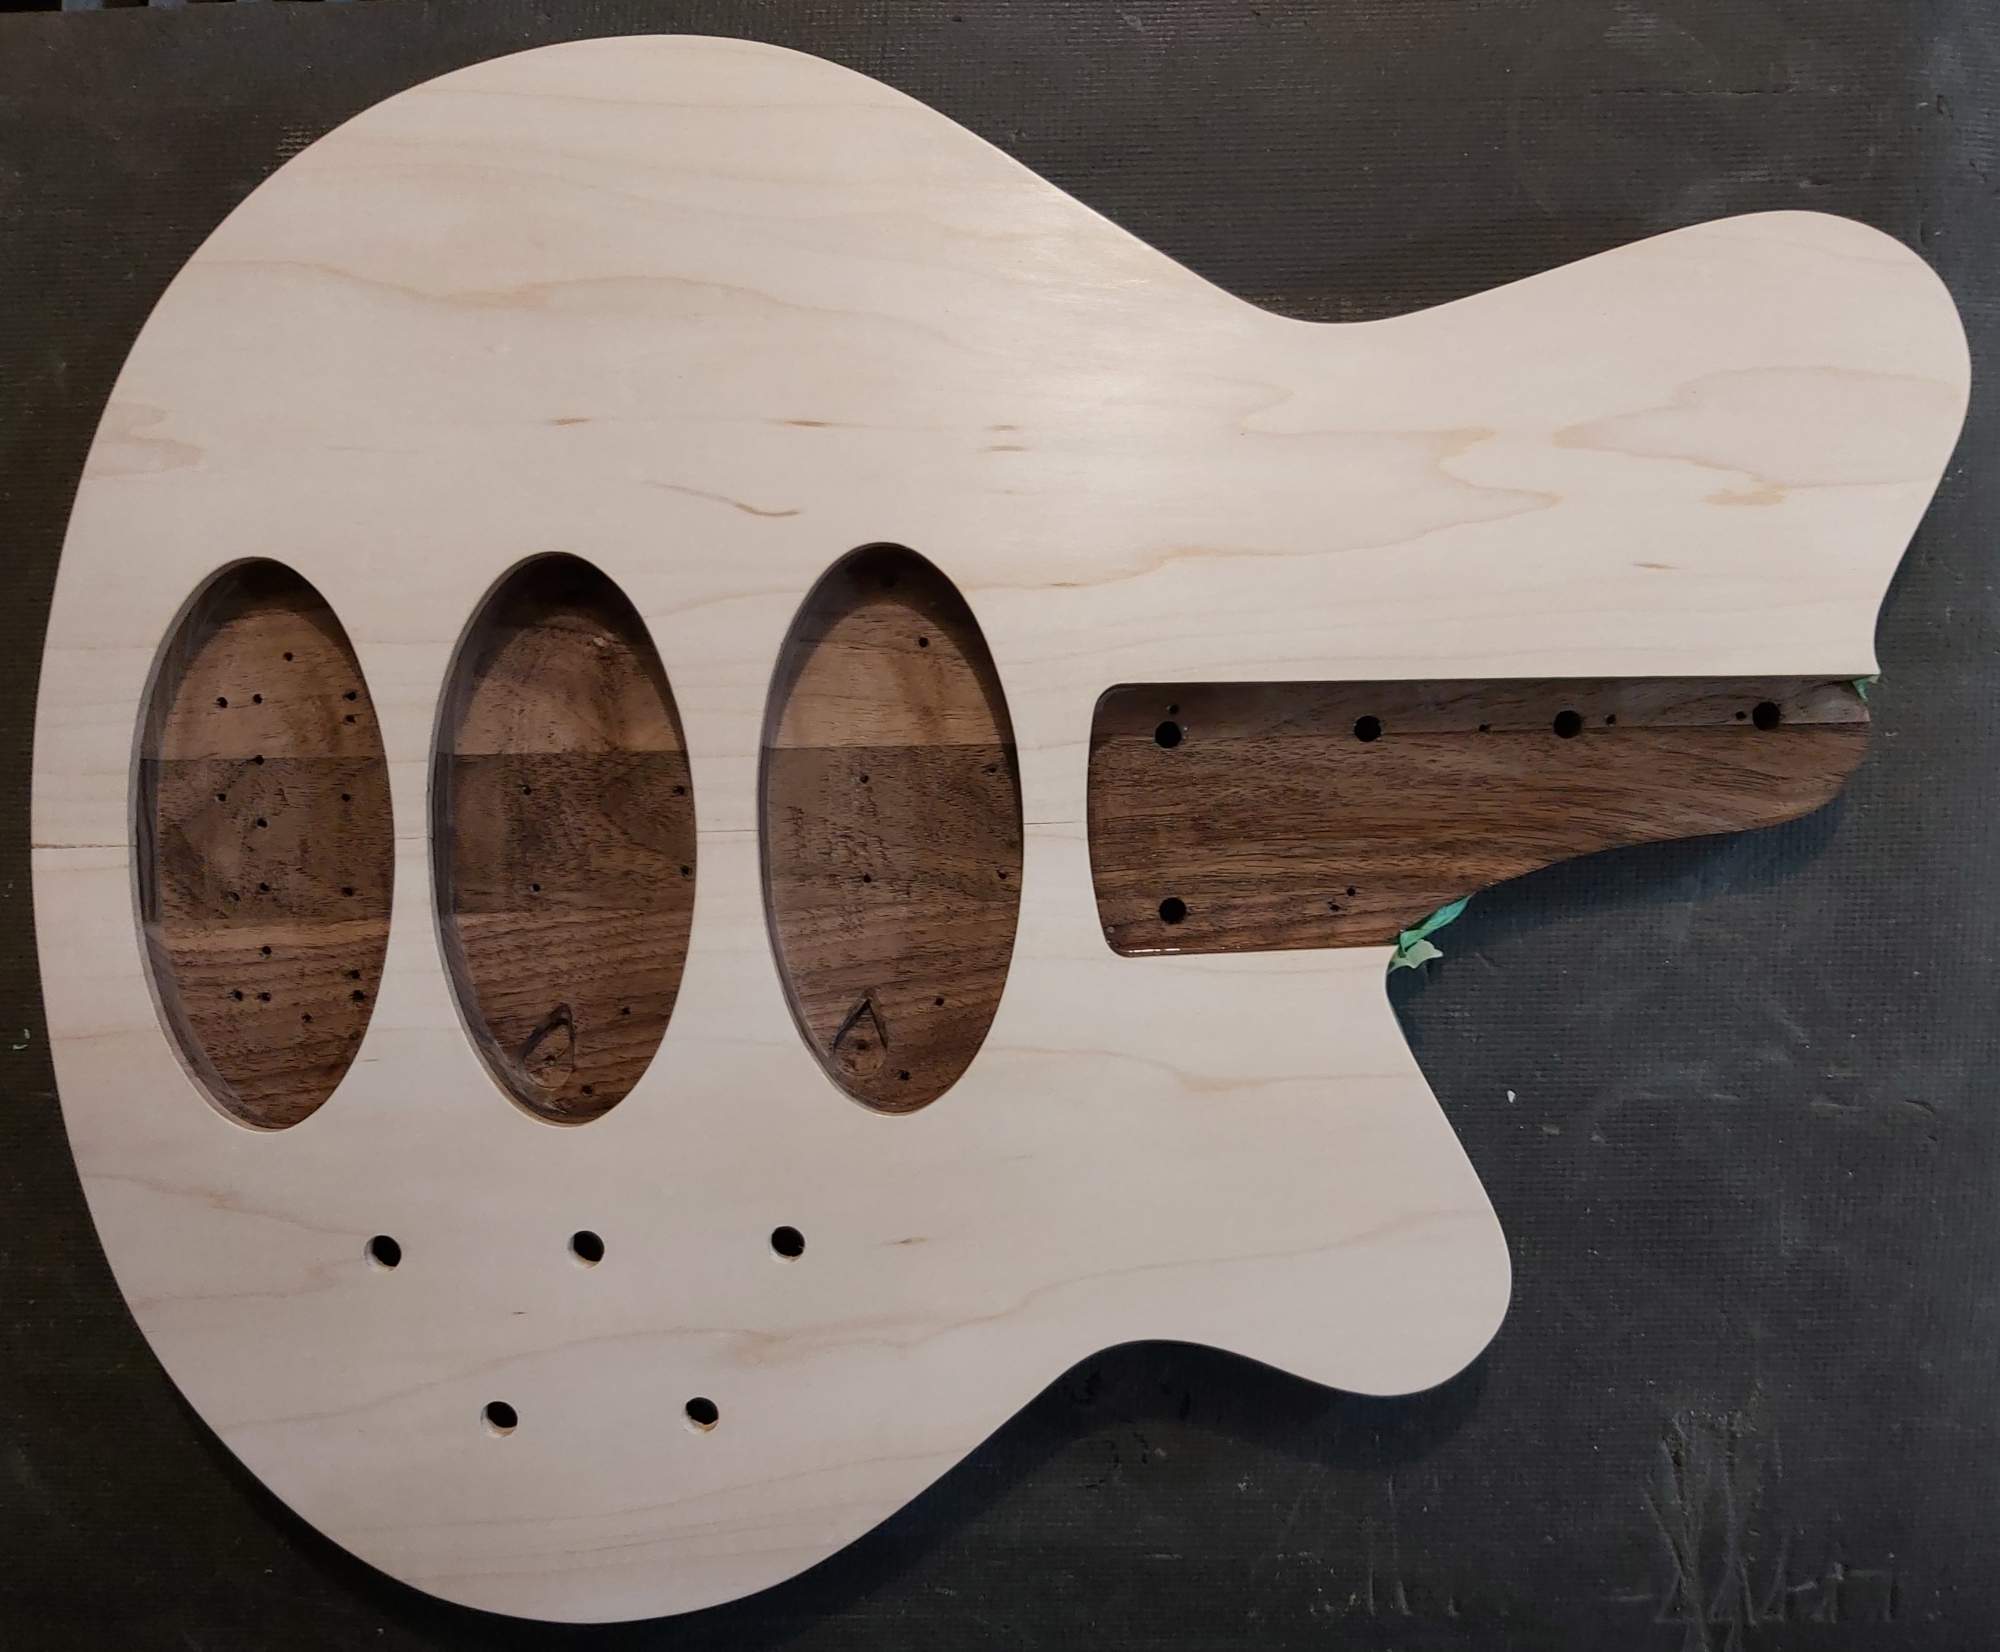
I know a couple are laughing that there are still no f-holes, but there is a method to my madness. The template for the pickups ended up leaving crud on the maple that had to be scraped back to remove. I hope to avoid that by putting the template on and routing between coats 1 and 2. :smug:
 
Neck finish is finished and it just needs a wipe down before fitment and tweaking. It may need a little massage or minor work once I get the strings in place over the tuning posts.

I also finished the body top including the f-hole and one more coat of the clear poly.

The back now needs 2 more coats of the oil-modified poly and then it can be brought to a nice satin sheen.

Other details to complete (series of notes for myself :) )
Drill for strap buttons
Repaint tweaked neck bolt
Polish nut
Shape TR cover
Cut control cover
Install electronics
Install bridge (drill for ground wire)
String & setup
Clean and rub down