

Enjoy the benefits of a premium membership!
Upgrade Account
-
TalkBass has been independent since 1998. Add your voice.
Create a free account to reply to discussions, view embedded media, and browse with fewer display ads.
Join free Log in
Want zero display ads or expanded classifieds tools? Compare plans.
You are using an out of date browser. It may not display this or other websites correctly.
You should upgrade or use an alternative browser.
You should upgrade or use an alternative browser.
Winter Build Off 2020 - Uke Space
- Thread starter dwizum
- Start date
More options
Who Replied?
I haven't updated in a while, mostly because of being busy with holidays. Also, I moved my shop to the other end of our basement, which entailed building a new wall, running new electrical, and some other work. So the actual building activities have taken a serious back seat.
I got some Iwasaki files and did manage to finish rough carving the neck. I really like these files. The one slight negative - the surface finish isn't as "clean" as I'd hoped for, I am still going to need cleanup. Maybe I just need to get my technique down better. But they do remove wood pretty fast and only need a very light touch, which was the thing I was most hoping for, as a way to reduce hand strain.
I also cut the tenon down to the final size and shape. I'm going to put a hanger bolt in the tenon and a nut inside the body to hold the neck on.


I also did some more work learning to bend. I've decided I need to step back and take this as a technique learning opportunity, rather than just trying to bang out something for this build as quickly as possible. So I cut a bunch of new side blanks and tried some more of them with the blanket and bending mold. Still had the same result, regardless of thickness or how straight the grain was. That got me to thinking about checking all the relevant variables. The heating blanket I'm using is just a generic "guitar side bending" blanket I got on eBay, the thermostat goes up to 200 C. I'd been just setting it and letting it warm up until the thermostat clicked off.
Well, I got a thermometer out, and it turns out that the blanket only gets to about 110 C even when the thermostat is set as high as it goes. No wonder why I'm breaking sides. I started a complaint with the seller on eBay, so hopefully that gets resolved. And I've ordered a different blanket to try, so I can continue using the mold once it gets here.
In the meantime, I decided I wanted to try bending on a hot pipe as well, just to see what it was like. I made a quick DIY bender by rigging a heat gun to a length of pipe stuck in a wood block. I had a good old type k thermocouple stuck to the pipe and I was manually turning the heat gun on and off to keep the pipe in the right temperature range:

The pipe has an aluminum plug in it so I don't get blasted with hot air. This actually worked incredibly well. Once I got the technique down, I could get just about any radius I would ever need on a uke. I wasted 4 or 5 side blanks just playing with this and enjoying the process. I think the obvious challenge of this method is you're "flying blind" while bending, guessing at what the shape needs to be, and then you stop for a second and hold it up to the mold to see if your curve is right. Once the wood gets up to temp, it bends like plastic, so it's easy to over-bend.
Just as I was getting confident enough to actually use this, disaster struck. The heat gun burned itself out. I guess that's what I get for using a cheapo harbor freight heat gun in such a high duty cycle, with basically nowhere for the hot air to go.
So in the meantime I've ordered a proper heating element, with a properly rated rheostat to let me adjust the temperature. Once those parts are here I'll make a less-hacked version of this, but it was a good learning process. I'll probably at least use the pipe for bending the binding, but hopefully I'll get the blanket and mold method working for the sides.
I got some Iwasaki files and did manage to finish rough carving the neck. I really like these files. The one slight negative - the surface finish isn't as "clean" as I'd hoped for, I am still going to need cleanup. Maybe I just need to get my technique down better. But they do remove wood pretty fast and only need a very light touch, which was the thing I was most hoping for, as a way to reduce hand strain.
I also cut the tenon down to the final size and shape. I'm going to put a hanger bolt in the tenon and a nut inside the body to hold the neck on.
I also did some more work learning to bend. I've decided I need to step back and take this as a technique learning opportunity, rather than just trying to bang out something for this build as quickly as possible. So I cut a bunch of new side blanks and tried some more of them with the blanket and bending mold. Still had the same result, regardless of thickness or how straight the grain was. That got me to thinking about checking all the relevant variables. The heating blanket I'm using is just a generic "guitar side bending" blanket I got on eBay, the thermostat goes up to 200 C. I'd been just setting it and letting it warm up until the thermostat clicked off.
Well, I got a thermometer out, and it turns out that the blanket only gets to about 110 C even when the thermostat is set as high as it goes.
No wonder why I'm breaking sides. I started a complaint with the seller on eBay, so hopefully that gets resolved. And I've ordered a different blanket to try, so I can continue using the mold once it gets here.In the meantime, I decided I wanted to try bending on a hot pipe as well, just to see what it was like. I made a quick DIY bender by rigging a heat gun to a length of pipe stuck in a wood block. I had a good old type k thermocouple stuck to the pipe and I was manually turning the heat gun on and off to keep the pipe in the right temperature range:
The pipe has an aluminum plug in it so I don't get blasted with hot air. This actually worked incredibly well. Once I got the technique down, I could get just about any radius I would ever need on a uke. I wasted 4 or 5 side blanks just playing with this and enjoying the process. I think the obvious challenge of this method is you're "flying blind" while bending, guessing at what the shape needs to be, and then you stop for a second and hold it up to the mold to see if your curve is right. Once the wood gets up to temp, it bends like plastic, so it's easy to over-bend.
Just as I was getting confident enough to actually use this, disaster struck. The heat gun burned itself out. I guess that's what I get for using a cheapo harbor freight heat gun in such a high duty cycle, with basically nowhere for the hot air to go.
So in the meantime I've ordered a proper heating element, with a properly rated rheostat to let me adjust the temperature. Once those parts are here I'll make a less-hacked version of this, but it was a good learning process. I'll probably at least use the pipe for bending the binding, but hopefully I'll get the blanket and mold method working for the sides.


I use this method on my acoustic and ukuleles. If you don't have a sound-hole to tighten up the Allen headed bolt, go through the bottom strap hole with a long Allen key. I fit a jack socket strap there so it is a hole large enough for a 6mm Allen key.
New Cumpiano neck joint
New Cumpiano neck joint
Well done, that bent side looks pretty good...
Thanks, that was my best piece before the gun burnt up. I may still use it since I've got two other unused blanks cut from that same board.
I use this method on my acoustic and ukuleles. If you don't have a sound-hole to tighten up the Allen headed bolt, go through the bottom strap hole with a long Allen key. I fit a jack socket strap there so it is a hole large enough for a 6mm Allen key.
New Cumpiano neck joint
I have Cumpiano's guitar making book, what a great reference it is. I do have soundhole access. I am basically planning on the same style of bolted joint but just using the hanger bolt because I have them in my shop already. I do like the creativity of his hardware choice.
Nice to hear from someone who has built a uke, I've been lurking on ukulele underground to prepare for this build! The heating element and rheostat I ordered for my pipe based bender is actually stolen from a DIY bender thread I found over there.

If you want to make a deluxe bending iron, Jerry built a great one. Of course, he builds and repairs acoustic instruments full time...
That is super deluxe! Although I was (obviously) really frustrated by bending at first, I feel like I've got the groove now and I am enjoying it enough that I might try to build something fancier. That's a good reference design, thanks for sharing.
My heating element showed up today, so I couldn't resist throwing it in the pipe before dinner and giving it a try. I'd say it was a success:

It's not quite true in a few spots. The hardest part is getting a consistent curve. At first, what ended up happening is that I'd end up with a sort of "wobbly" curve because I would have several areas too tight and several too shallow. This was because I was forming the curve by pushing against the iron, and the iron is too tight of a radius. The wood would just try to take on the radius of the iron because I was putting so much pressure against it. I found what works better is to keep the pressure against the iron fairly light, and instead just sort of "flexing" the wood. The warm part next to the iron would naturally form a gentle curve this way.
I got a second side bent too, total time about 45 minutes. I'm really happy. There are a couple scorch marks from not using enough water and/or too hot an iron, but I'm hoping I can sand them out enough that they disappear. Walnut hides burn marks well anyways. If I can't get them out, I'll just bend more sides. But I like the grain on these and I hope I can save them.
For reference, this is basically what I based mine on:
Homemade bending iron for $40 at the big home store
The heating element is an electric charcoal starter. It's 550w and more than powerful enough to get the iron up to temp in a minute or two.
My heating element showed up today, so I couldn't resist throwing it in the pipe before dinner and giving it a try. I'd say it was a success:
It's not quite true in a few spots. The hardest part is getting a consistent curve. At first, what ended up happening is that I'd end up with a sort of "wobbly" curve because I would have several areas too tight and several too shallow. This was because I was forming the curve by pushing against the iron, and the iron is too tight of a radius. The wood would just try to take on the radius of the iron because I was putting so much pressure against it. I found what works better is to keep the pressure against the iron fairly light, and instead just sort of "flexing" the wood. The warm part next to the iron would naturally form a gentle curve this way.
I got a second side bent too, total time about 45 minutes. I'm really happy. There are a couple scorch marks from not using enough water and/or too hot an iron, but I'm hoping I can sand them out enough that they disappear. Walnut hides burn marks well anyways. If I can't get them out, I'll just bend more sides. But I like the grain on these and I hope I can save them.
For reference, this is basically what I based mine on:
Homemade bending iron for $40 at the big home store
The heating element is an electric charcoal starter. It's 550w and more than powerful enough to get the iron up to temp in a minute or two.
Today I cut the tail block and neck block and glued them in.

Also bent the binding (which went quick!) and clamped it to the mold to cool, then I
cut the stock for the braces.

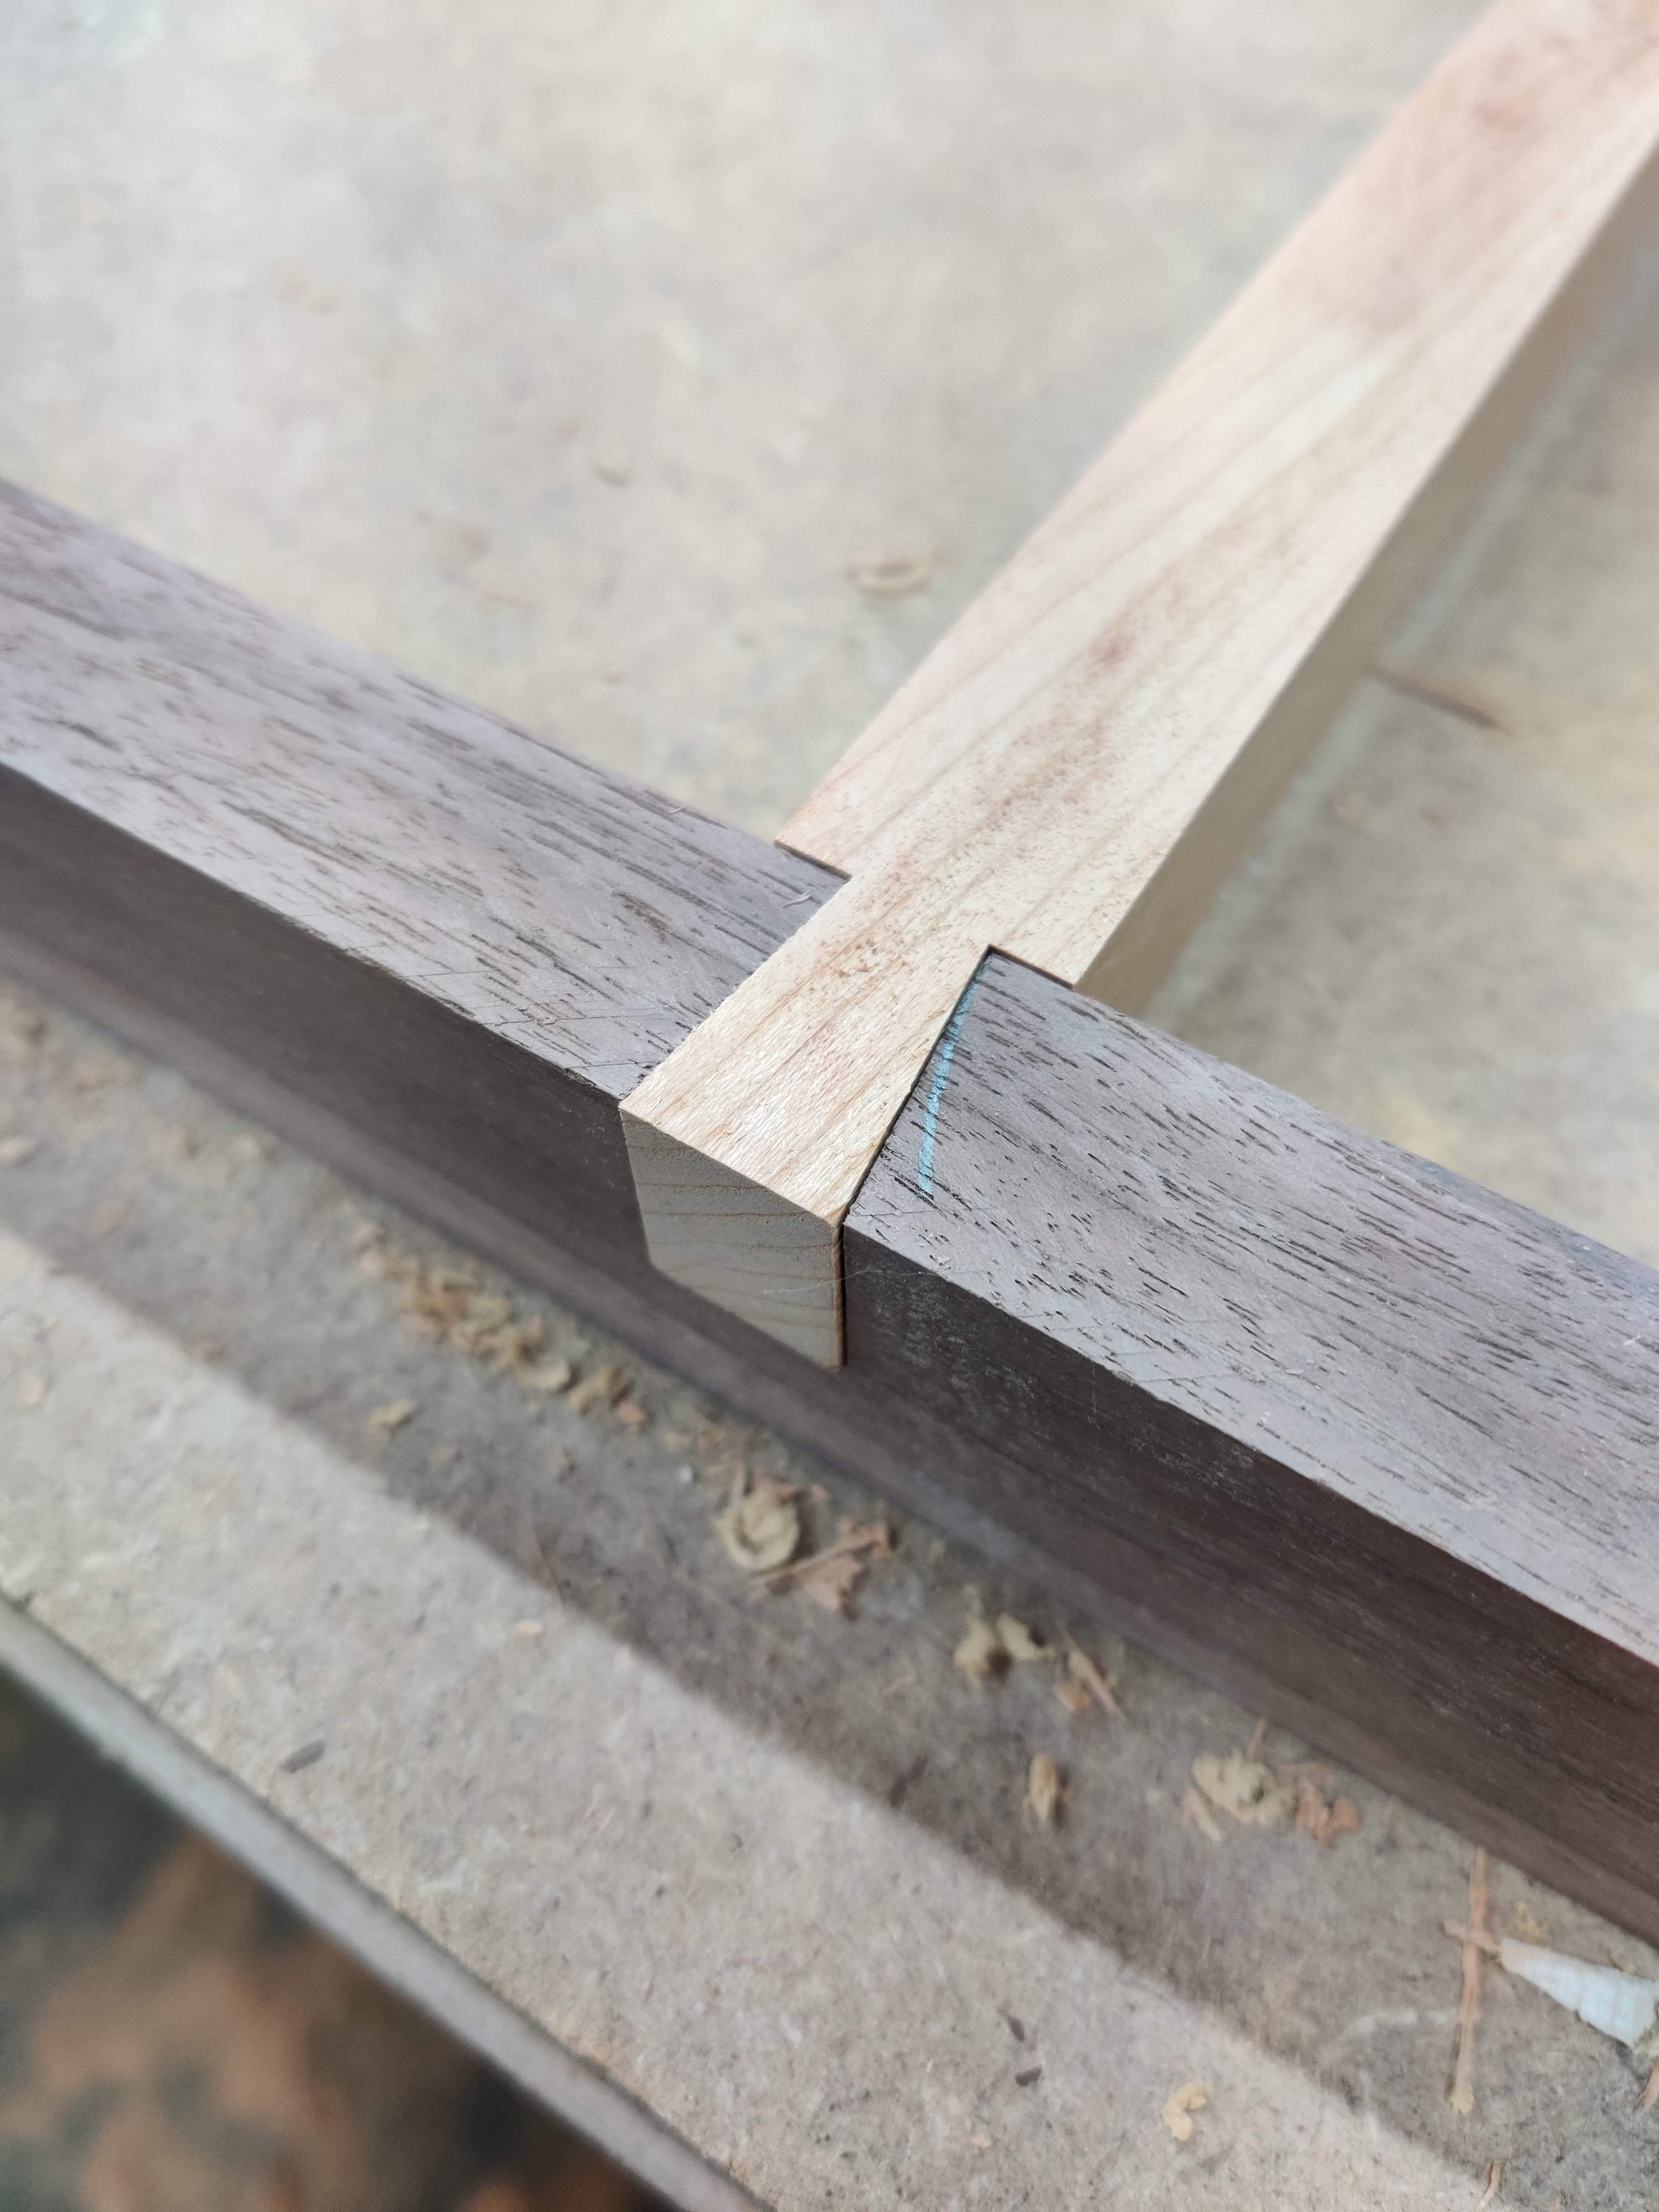
I spent the rest of the day building a cherry and walnut blanket ladder for my wife, with exposed dovetails for the joinery. Cutting 8 of these dovetails was a bit repetitive but once I got the jigging figured out it went quick!
Also bent the binding (which went quick!) and clamped it to the mold to cool, then I
cut the stock for the braces.
I spent the rest of the day building a cherry and walnut blanket ladder for my wife, with exposed dovetails for the joinery. Cutting 8 of these dovetails was a bit repetitive but once I got the jigging figured out it went quick!

Yeah, talk about a steep learning curve though. Failure after failure at first. I thought about taking a photo of all the broken and mangled wood I ruined learning how to bend, but it was too depressing to actually document it.
I was so close to giving up multiple times, it just felt like it was impossible to get the hang of it. And then all of a sudden BAM it all just clicked and I can bend like it's second nature.
I was so close to giving up multiple times, it just felt like it was impossible to get the hang of it. And then all of a sudden BAM it all just clicked and I can bend like it's second nature.
Lots of progress today. I glued the kerfed linings in:
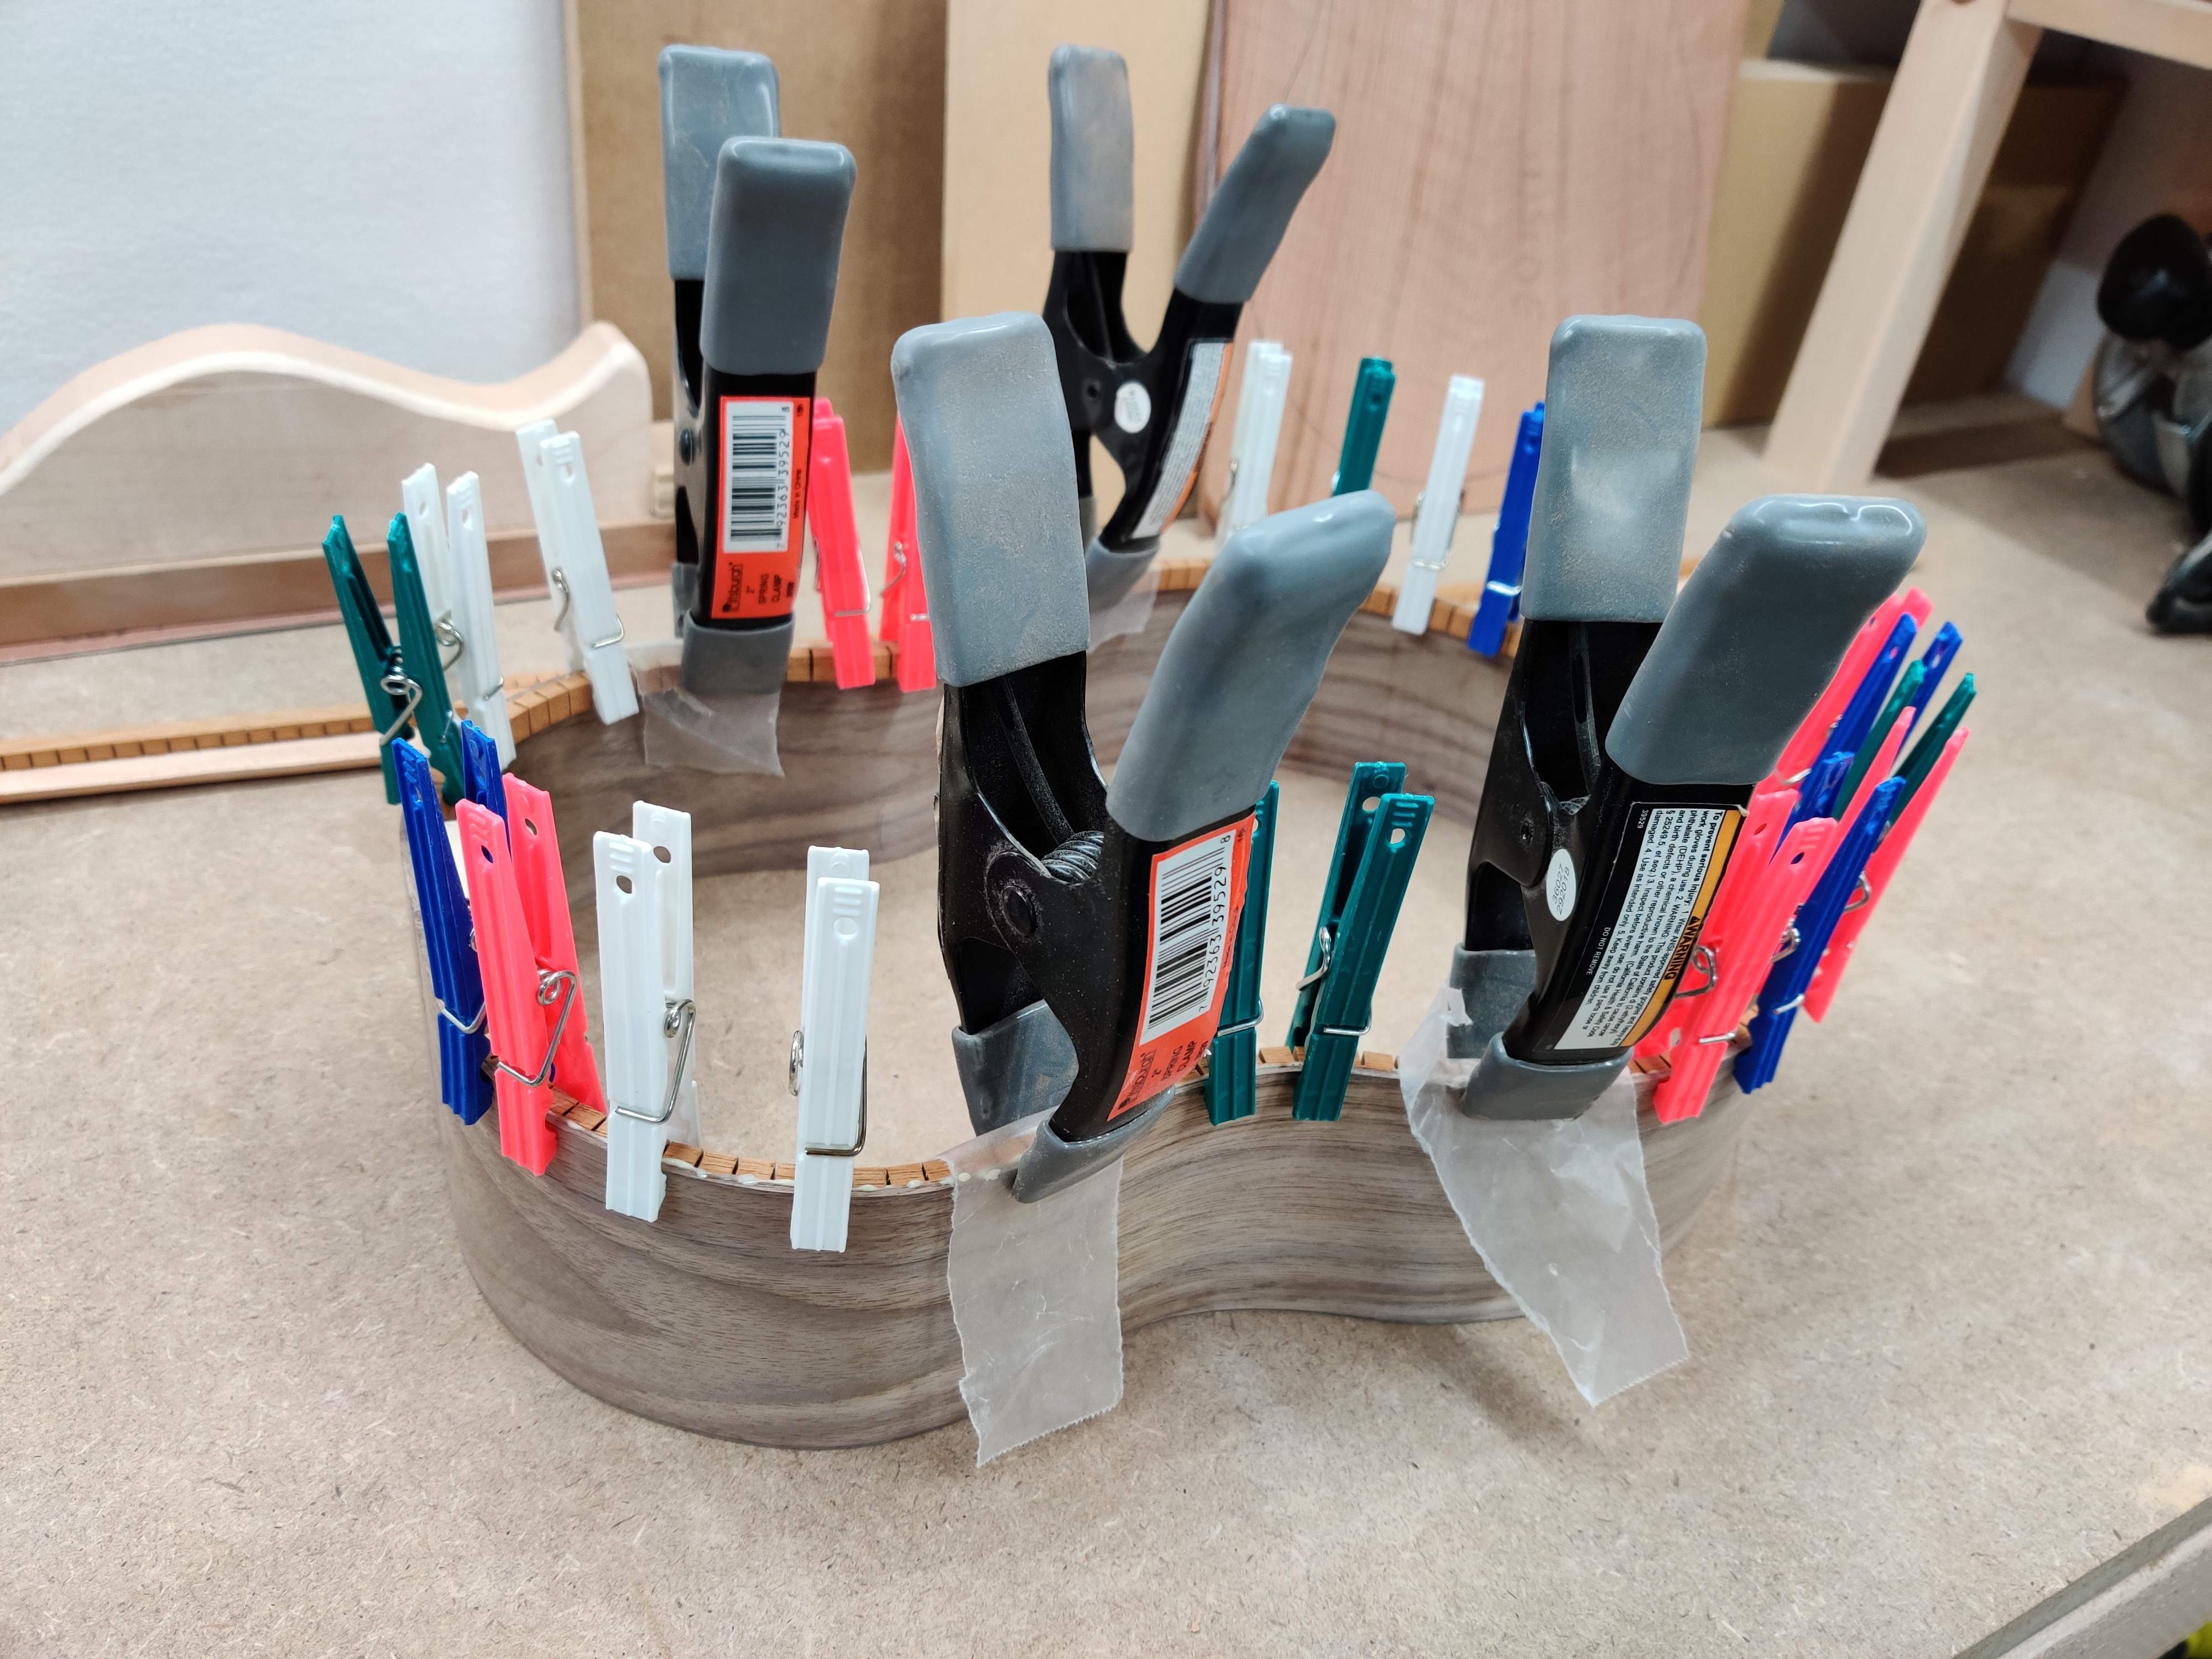
I think that photo needs a subtitle: Wonder where all your clothespins went? Check with your luthier husband!
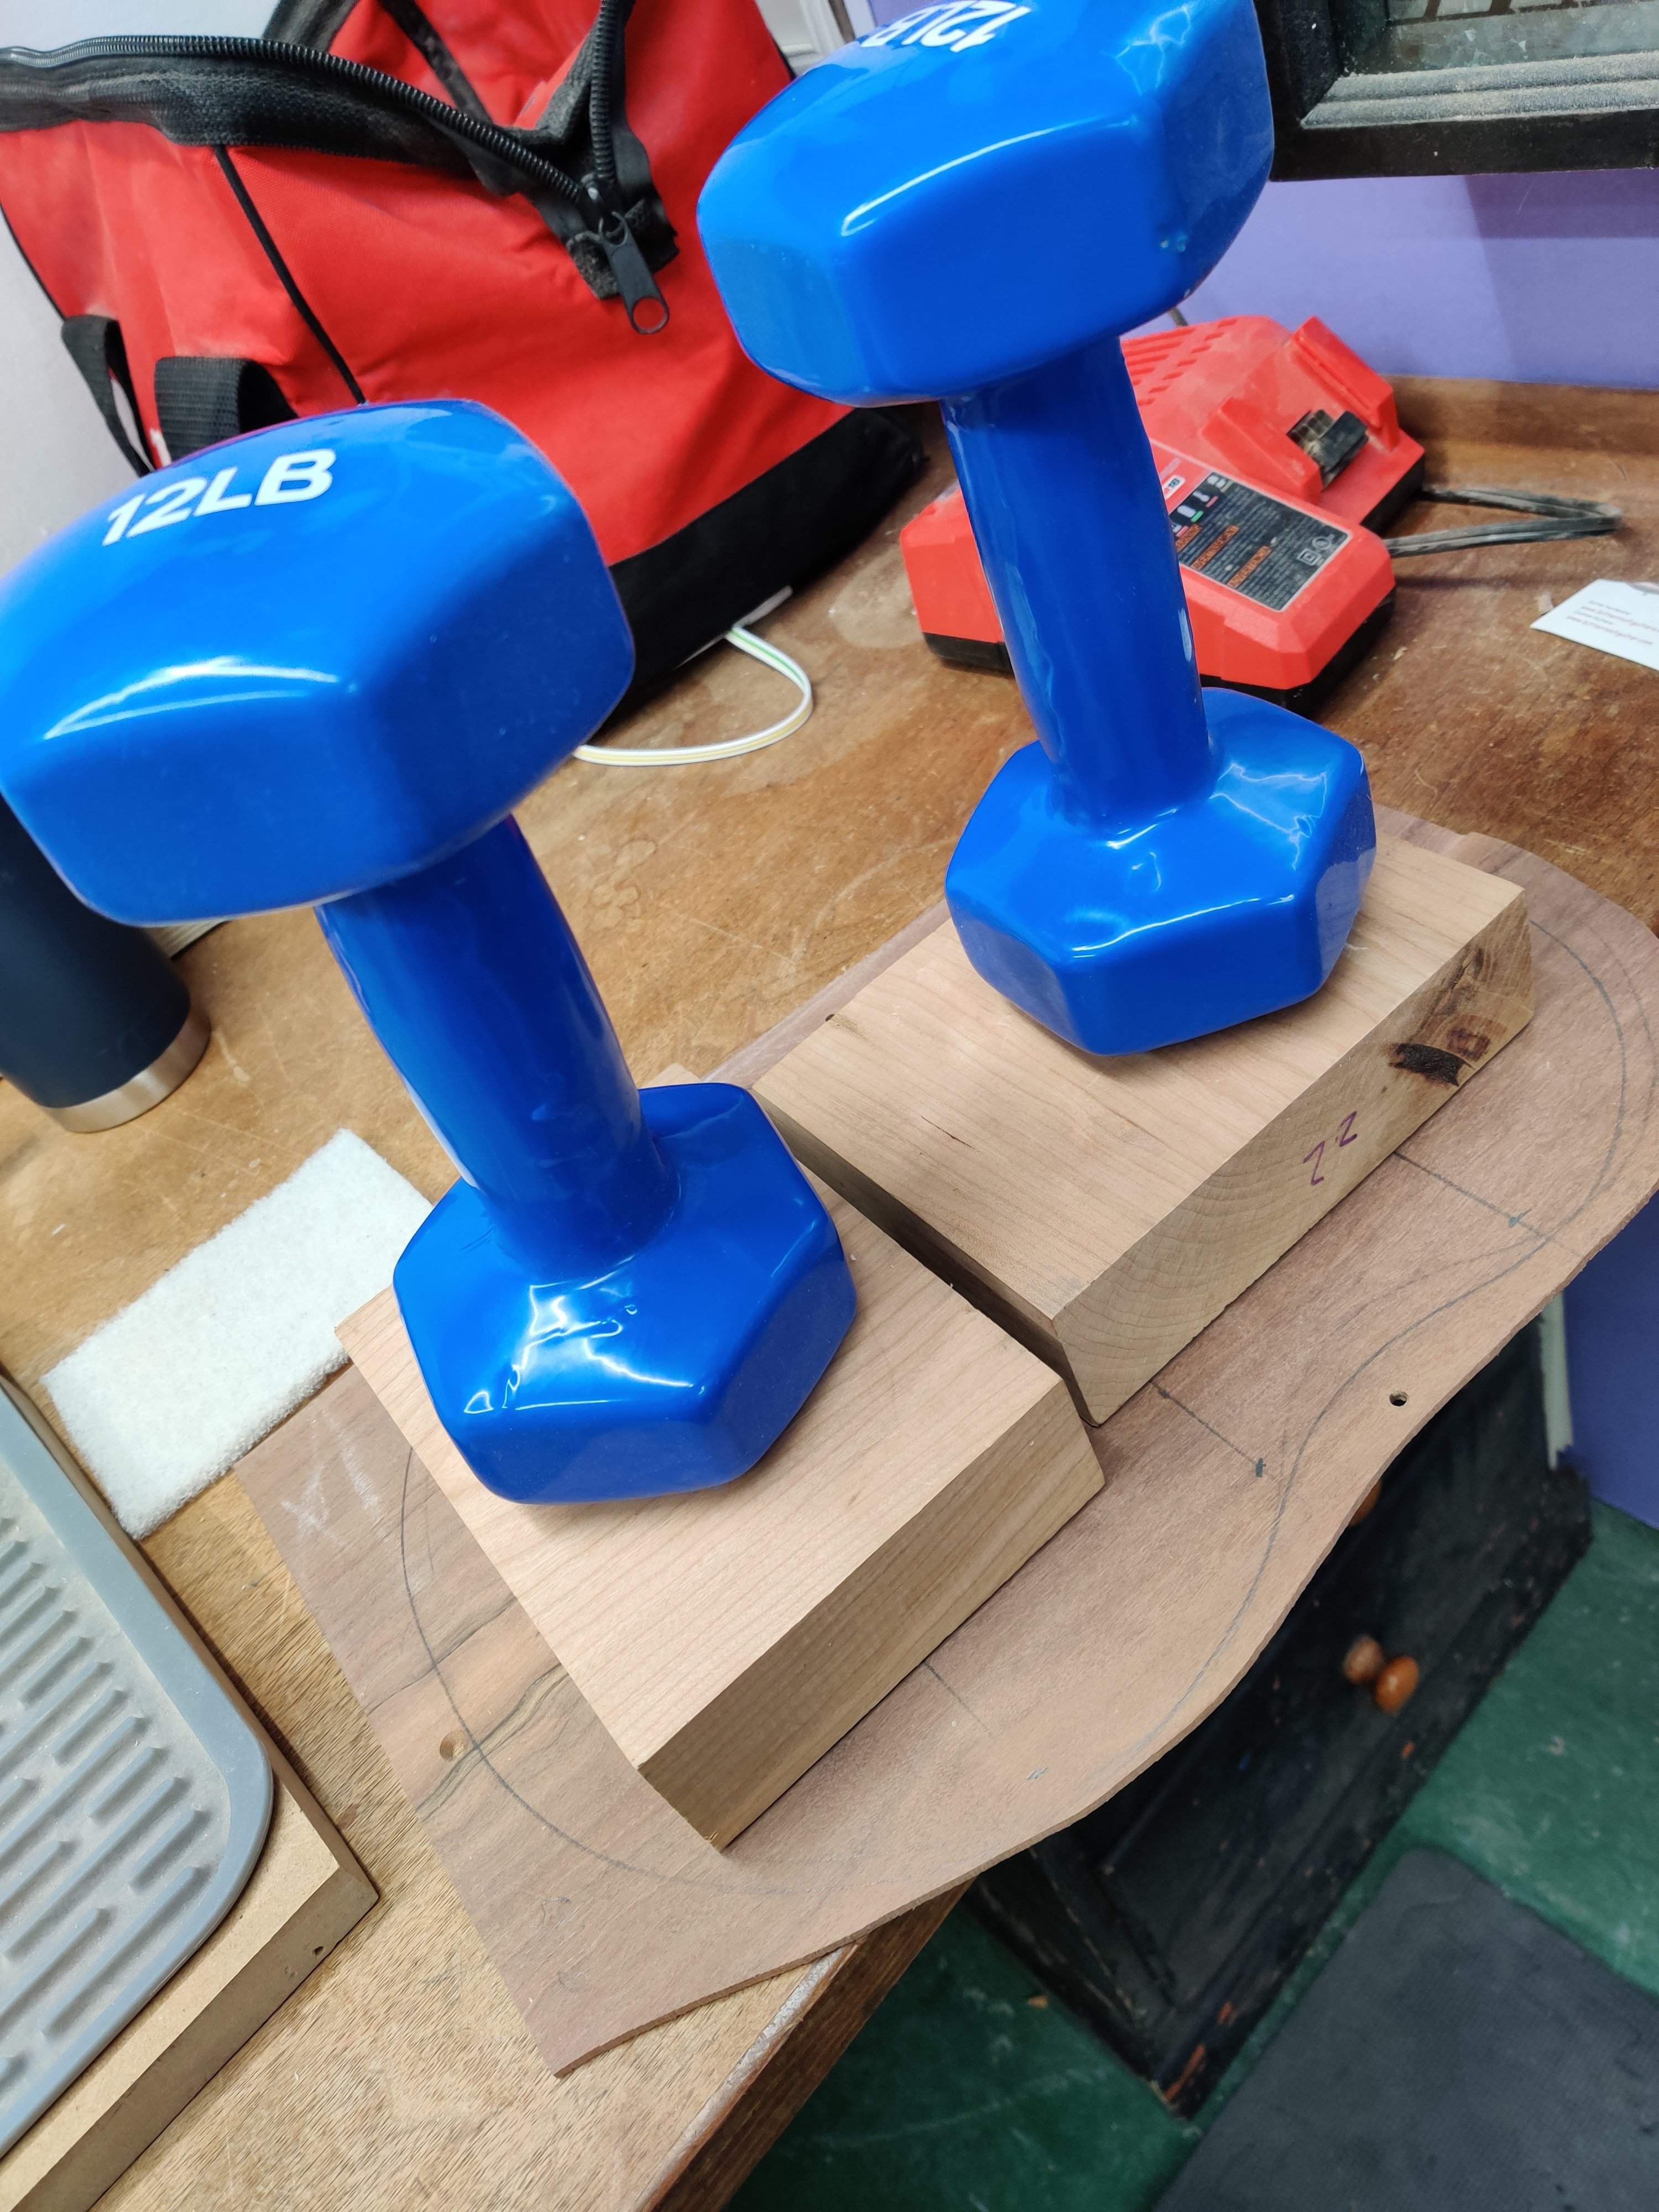
Glued a strip of hardwood (which you can't see in this questionably valuable photo) on as a back reinforcement:
Then I cut the top and back close to the finished line, rough shaped the braces, and laid them on as I went to see how it looked:
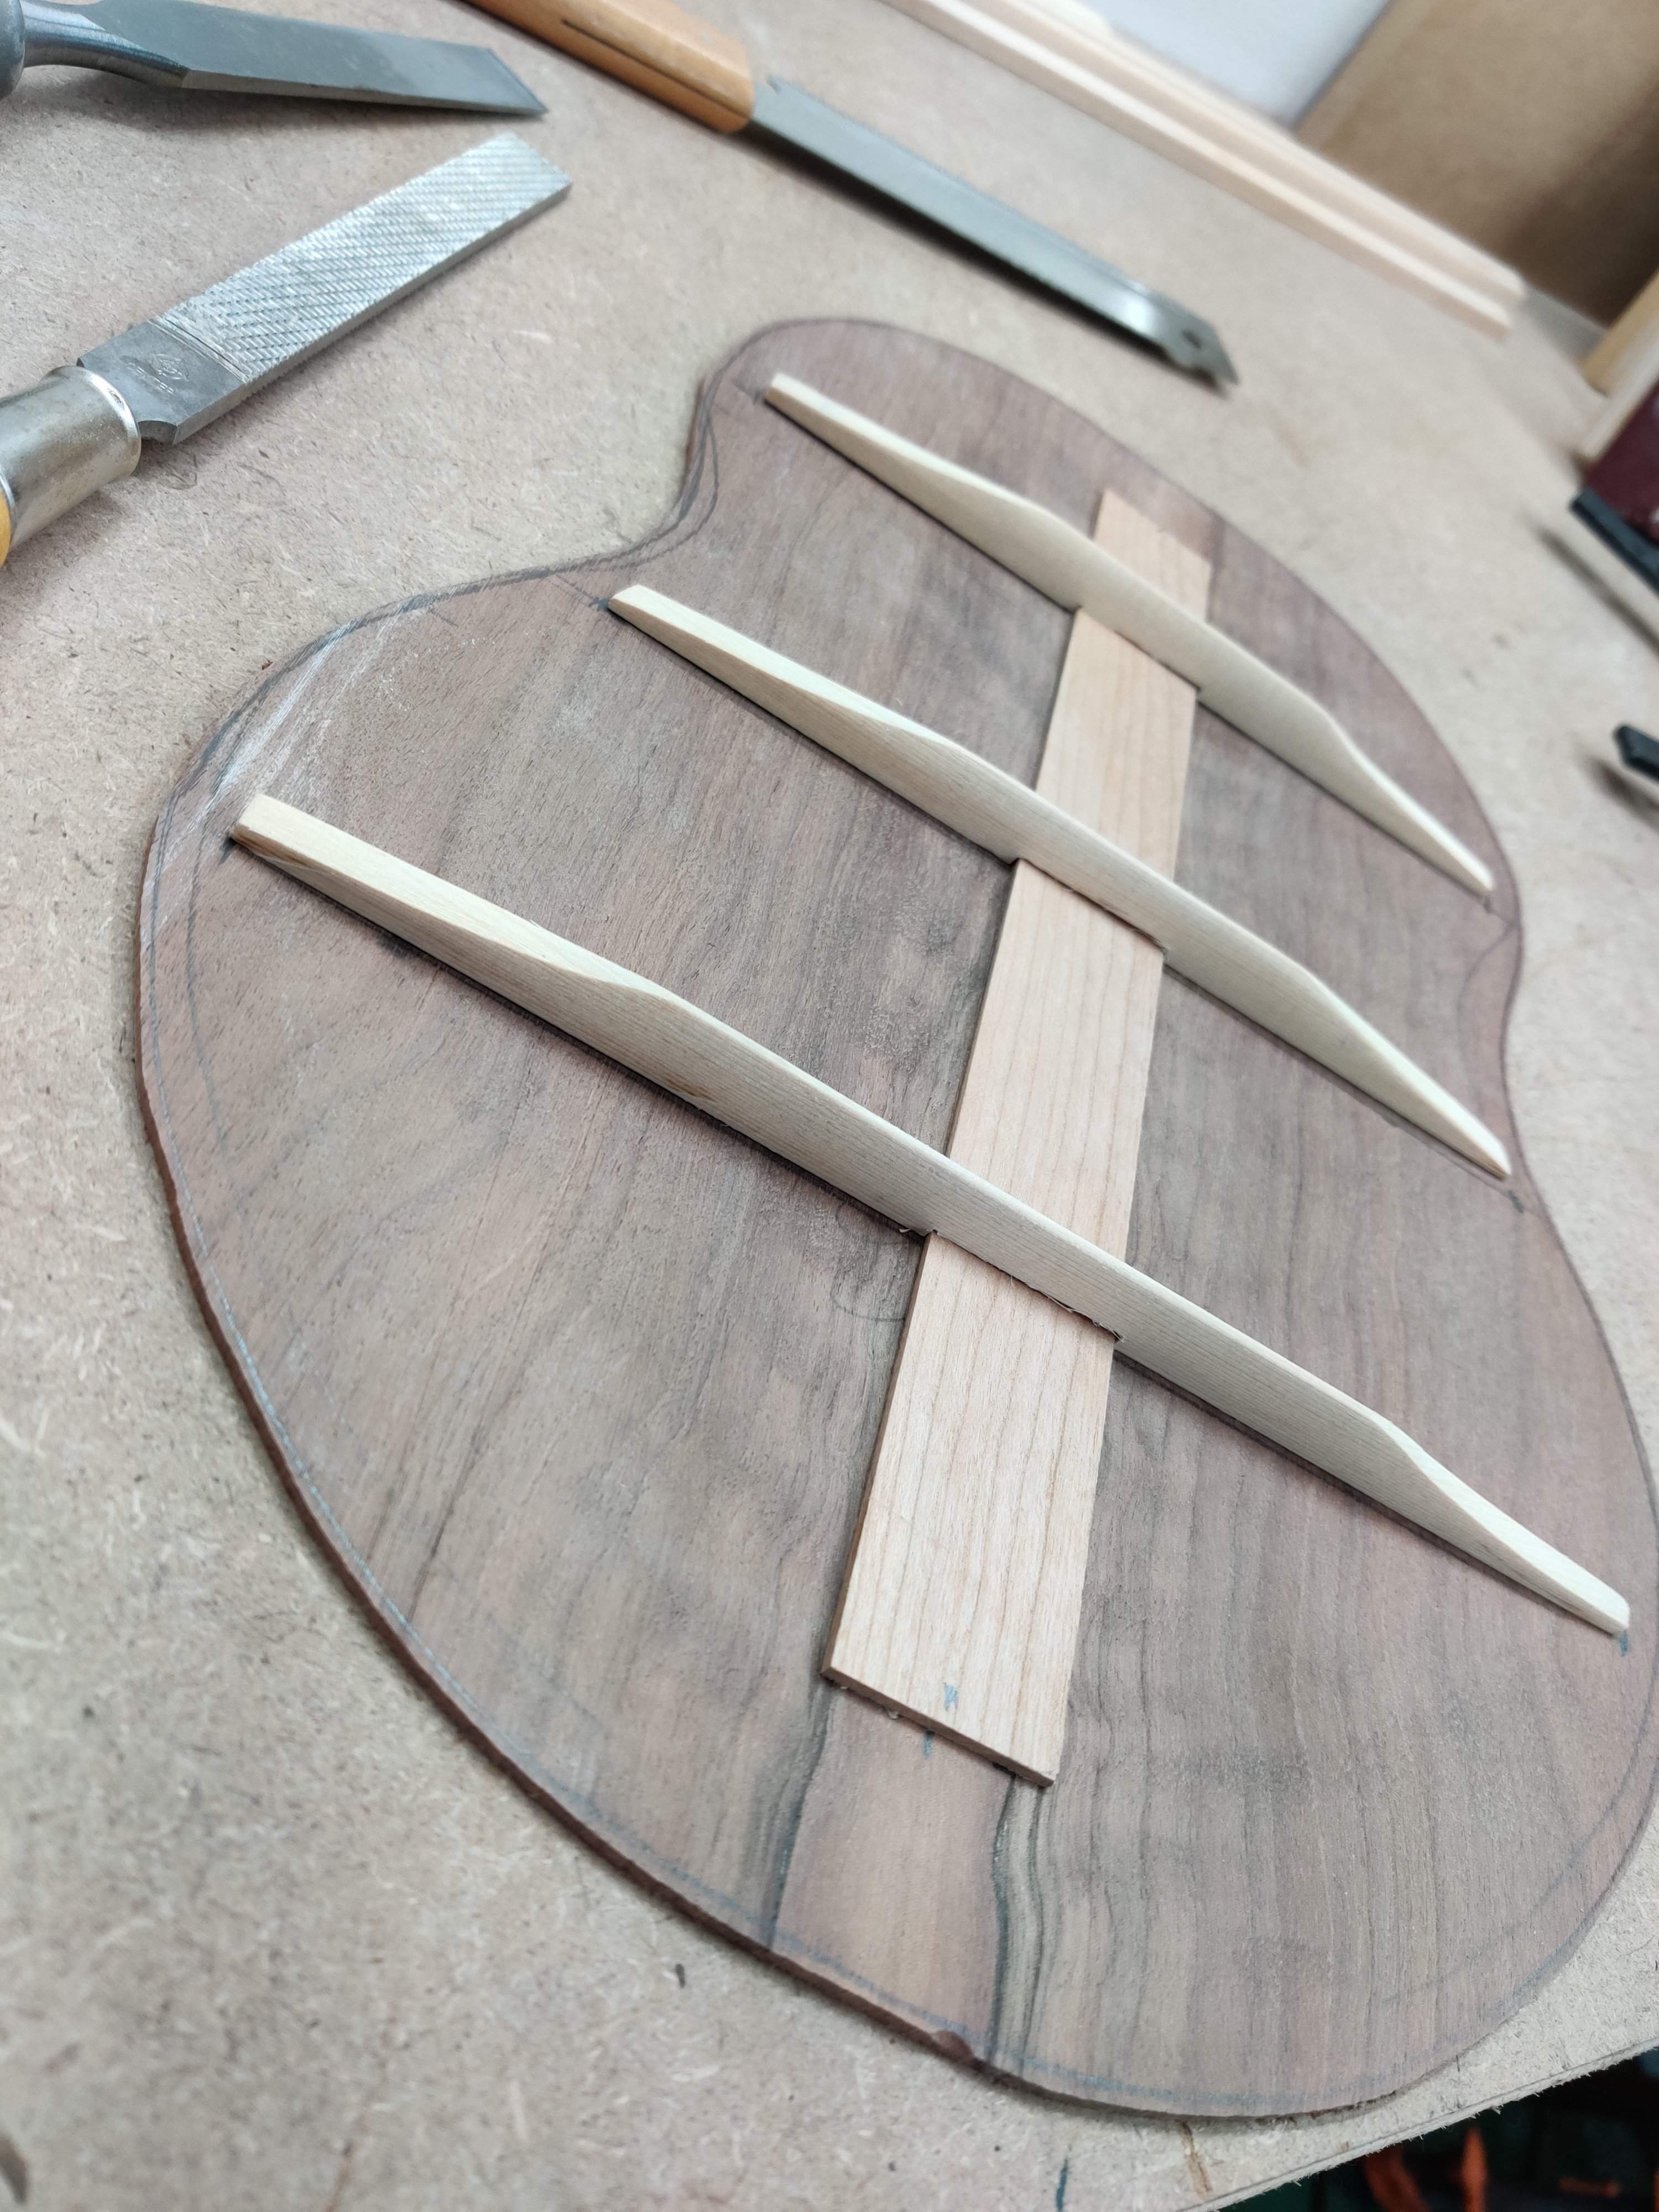

Shaping the braces was fun. It's nice to do something a little creative that takes finesse versus just "heavier" woodworking stuff with power tools.
I think that photo needs a subtitle: Wonder where all your clothespins went? Check with your luthier husband!
Glued a strip of hardwood (which you can't see in this questionably valuable photo) on as a back reinforcement:
Then I cut the top and back close to the finished line, rough shaped the braces, and laid them on as I went to see how it looked:
Shaping the braces was fun. It's nice to do something a little creative that takes finesse versus just "heavier" woodworking stuff with power tools.
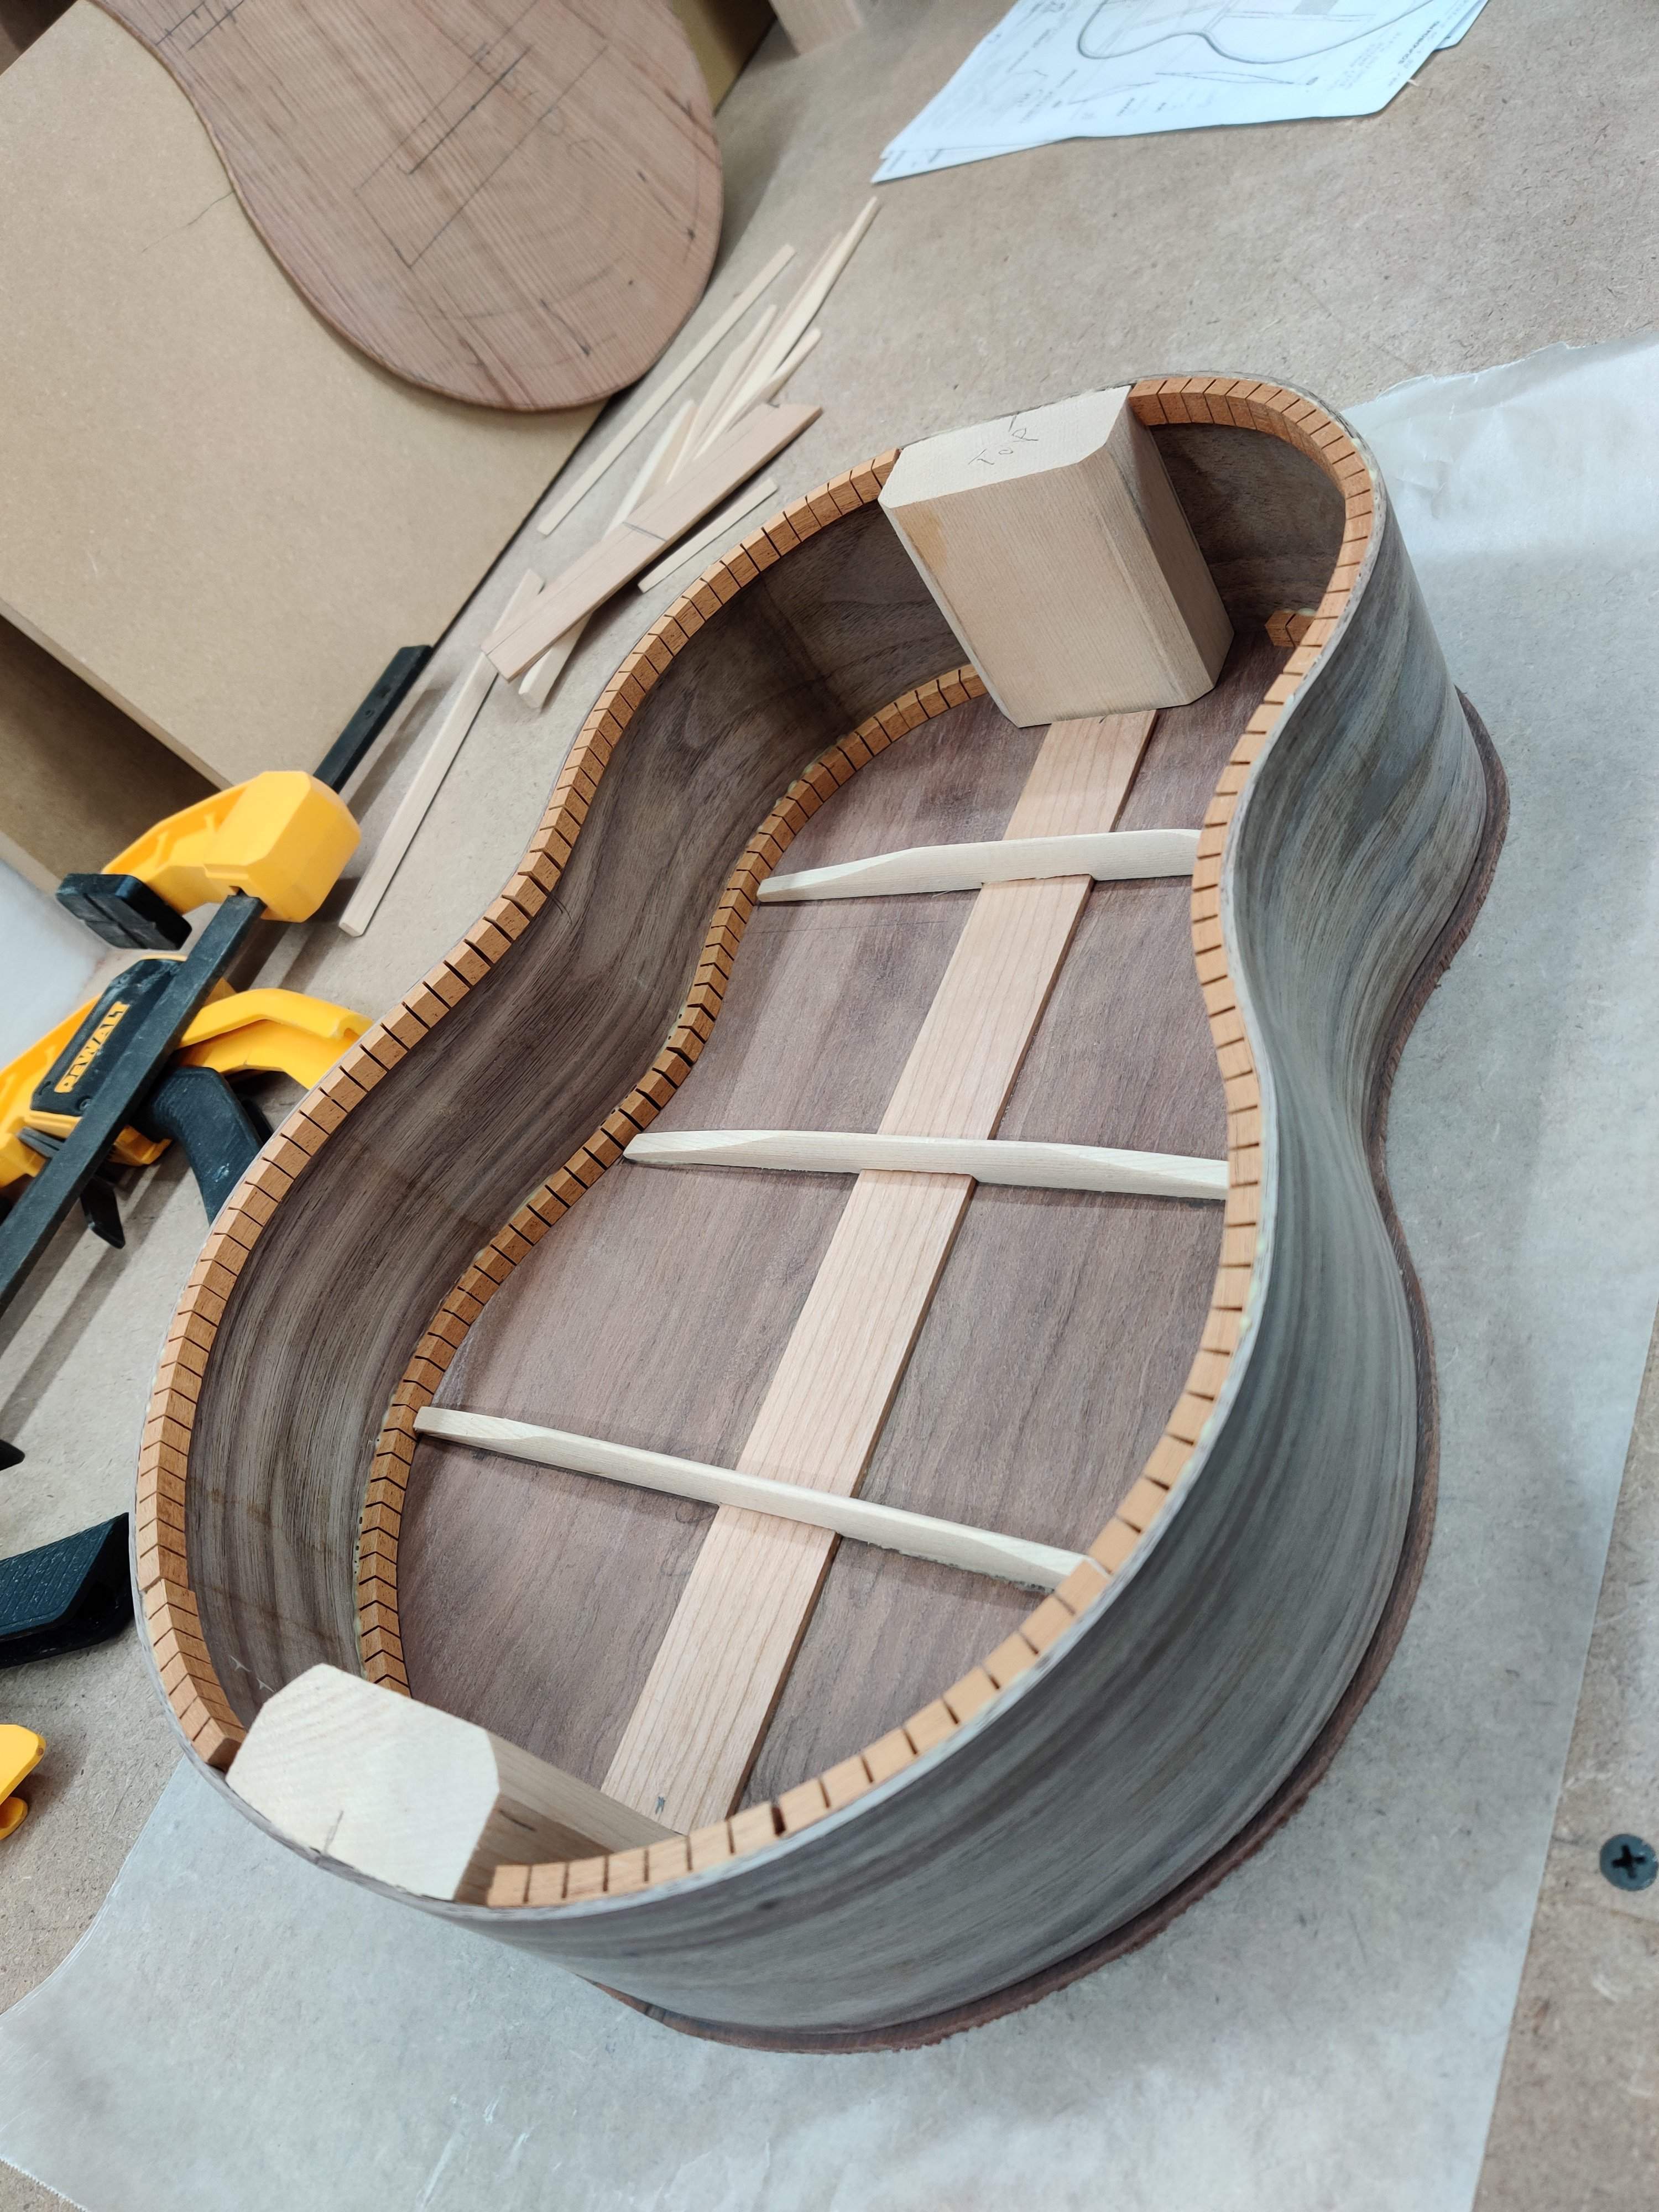
Snuck downstairs after dinner and sanded the bottom edge of the sides true then glued the back on. I took a photo of the mockup before gluing because I figured people are probably getting sick of seeing nothing but clamps.
Had another hour this evening which resulted in a lot of progress.
First I got the circle jig out for my router to cut the rosette and the soundhole. I generally build my own router jigs but I bought this and I'm glad I did. It's super effective and easy to use. I use it with my plunge base for my smaller Makita router. This way I can set the depth of the rosette channel and plunge down to cut it. I set the depth by holding the router down so the bit just touches the material, with a piece of the rosette on the depth stop, then I turn down the depth adjustment until it just bottoms out on the rosette. This way I know it's the exact depth as the rosette.

Result, nice clean accurately cut circles!

I was a bit worried since redwood is brittle to begin with, and this has enough flame that it's extra brittle, so I used a downcutting spiral bit to minimize the chance of damage. It came out perfectly.
After that I glued and clamped the first few braces.

Then I turned my attention to the body box while that was drying. I need to cut the mortise for the neck tenon. First I put a sheet of sandpaper down and while holding the body vertical, I sanded the section that the neck will mate against to make it totally flat.

I checked it with a square from a few directions to help ensure the neck is aligned well against that flat surface and it all looked good. I'm not totally sure how I'm going to cut the mortise yet but that's a problem for another day. I only had to sand off maybe a few thousandths to get the surface totally flat, it went more easily than I thought it might.

You can see in that photo that the grain didn't perfectly match between the sides. I had resawn maybe 5 side blanks from a single 4/4 board and unfortunately the ones that survived the bending experiment were not adjacent, so they're not a perfect match. I think I ended up with the first and 4th out of the 5. The grain grossly matches but the end seams don't line up. This seam will get hidden by the neck anyways, and for the seam at the tailblock, I'm thinking about putting in a strip of some contrasting wood, maybe maple to match the top binding. I may bind the back too, since bending the binding went so well. I'll install the top binding before I decide.
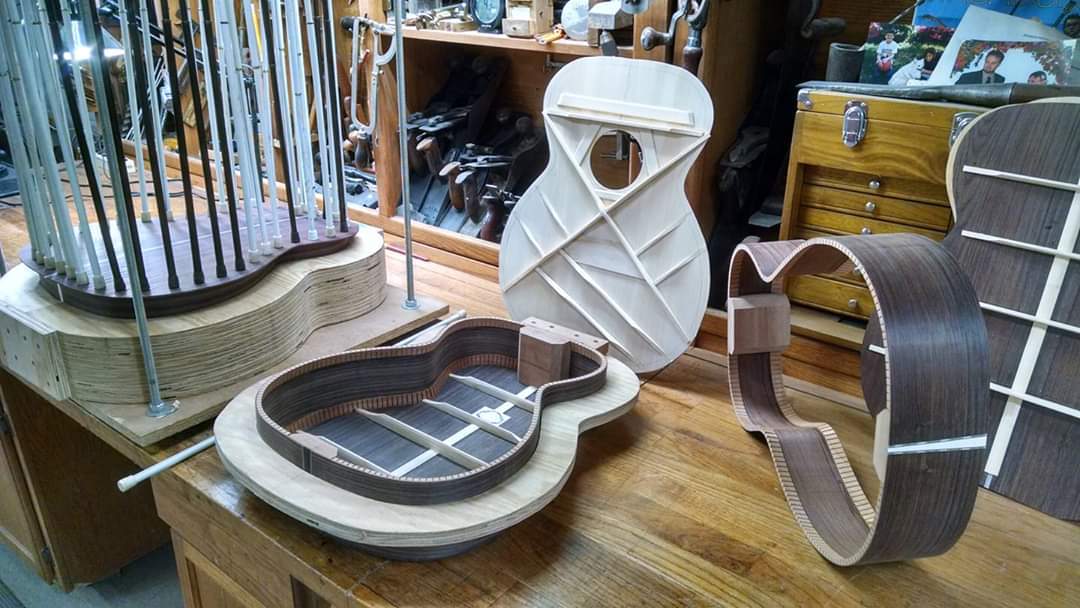
Before I wrapped up, I had to step back and take a photo of all the components. There's not a ton of woodworking left, it's getting closer to the point of being mostly assembly work. I have to cut that mortise, drill the tuner holes, and make a bridge and that's about it. Then it's just gluing and finishing.

First I got the circle jig out for my router to cut the rosette and the soundhole. I generally build my own router jigs but I bought this and I'm glad I did. It's super effective and easy to use. I use it with my plunge base for my smaller Makita router. This way I can set the depth of the rosette channel and plunge down to cut it. I set the depth by holding the router down so the bit just touches the material, with a piece of the rosette on the depth stop, then I turn down the depth adjustment until it just bottoms out on the rosette. This way I know it's the exact depth as the rosette.
Result, nice clean accurately cut circles!
I was a bit worried since redwood is brittle to begin with, and this has enough flame that it's extra brittle, so I used a downcutting spiral bit to minimize the chance of damage. It came out perfectly.
After that I glued and clamped the first few braces.
Then I turned my attention to the body box while that was drying. I need to cut the mortise for the neck tenon. First I put a sheet of sandpaper down and while holding the body vertical, I sanded the section that the neck will mate against to make it totally flat.
I checked it with a square from a few directions to help ensure the neck is aligned well against that flat surface and it all looked good. I'm not totally sure how I'm going to cut the mortise yet but that's a problem for another day. I only had to sand off maybe a few thousandths to get the surface totally flat, it went more easily than I thought it might.
You can see in that photo that the grain didn't perfectly match between the sides. I had resawn maybe 5 side blanks from a single 4/4 board and unfortunately the ones that survived the bending experiment were not adjacent, so they're not a perfect match. I think I ended up with the first and 4th out of the 5. The grain grossly matches but the end seams don't line up. This seam will get hidden by the neck anyways, and for the seam at the tailblock, I'm thinking about putting in a strip of some contrasting wood, maybe maple to match the top binding. I may bind the back too, since bending the binding went so well. I'll install the top binding before I decide.
Before I wrapped up, I had to step back and take a photo of all the components. There's not a ton of woodworking left, it's getting closer to the point of being mostly assembly work. I have to cut that mortise, drill the tuner holes, and make a bridge and that's about it. Then it's just gluing and finishing.
I managed to get 5 minutes downstairs before work so glued on the rest of the braces.

I will not win the award for most clamps, or nicest clamps, or biggest variety of clamps, but if there's a "most creative clamping" prize, this would be my entry. It worked better than I had hoped, the hardwood strips were flexible and by wiggling the Popsicle sticks further under it or pulling them out a bit I could tune the pressure on each brace.
Unfortunately, I think this photo would also be my entry for sloppiest glue job. I guess that's what I get for rushing.
I will not win the award for most clamps, or nicest clamps, or biggest variety of clamps, but if there's a "most creative clamping" prize, this would be my entry. It worked better than I had hoped, the hardwood strips were flexible and by wiggling the Popsicle sticks further under it or pulling them out a bit I could tune the pressure on each brace.
Unfortunately, I think this photo would also be my entry for sloppiest glue job. I guess that's what I get for rushing.

I have a friend who makes early gibson and martin copies, he uses curtain rods (in a jig) to clamp the braces, and the tops
That's a good solution. I've seen "go bar" decks that achieve the same result but use flexible sticks instead. If I decide to keep building acoustic instruments (which seems likely, considering how enjoyable this is) I will probably build something like that.
I think the other major tooling item I'd want is a thickness sander so I can easily get consistent thicknesses on wide thin stock without having to buy it thicknessed. I resawed these sides on my table saw - I can get good enough quality right off the saw on pieces this narrow. But I have no way to true up or thickness a larger panel or blank.
And, although I have a "nice" full size acoustic guitar, I have to say that there's something really charming about this smaller form factor. If I do build more acoustics, I think my next projects will be 3/4 scale guitars. We gave my stepdaughter a Yamaha guitalele for Christmas, and at 17"(ish?) it is a hair too small for me, but I can see something in the 20 - 22" range being really fun.
But first I need to finish this!
I think the other major tooling item I'd want is a thickness sander so I can easily get consistent thicknesses on wide thin stock without having to buy it thicknessed. I resawed these sides on my table saw - I can get good enough quality right off the saw on pieces this narrow. But I have no way to true up or thickness a larger panel or blank.
And, although I have a "nice" full size acoustic guitar, I have to say that there's something really charming about this smaller form factor. If I do build more acoustics, I think my next projects will be 3/4 scale guitars. We gave my stepdaughter a Yamaha guitalele for Christmas, and at 17"(ish?) it is a hair too small for me, but I can see something in the 20 - 22" range being really fun.
But first I need to finish this!

I was musing to my wife (that's pronounced "testing the waters") last night that I may want to invest in a thickness sander. My planer is 13" so anything larger than that has to be flattened/thicknessed by hand!
We got a thickness sander last year, that thing gets a LOT of use. You need to get your wife in the shop with you. My wife makes cutting boards, she probably uses it as much as I do.
I would like to get a blade planer for quicker thicknessing, but we don't have room for it.
I would like to get a blade planer for quicker thicknessing, but we don't have room for it.
Glued the top on after work today.

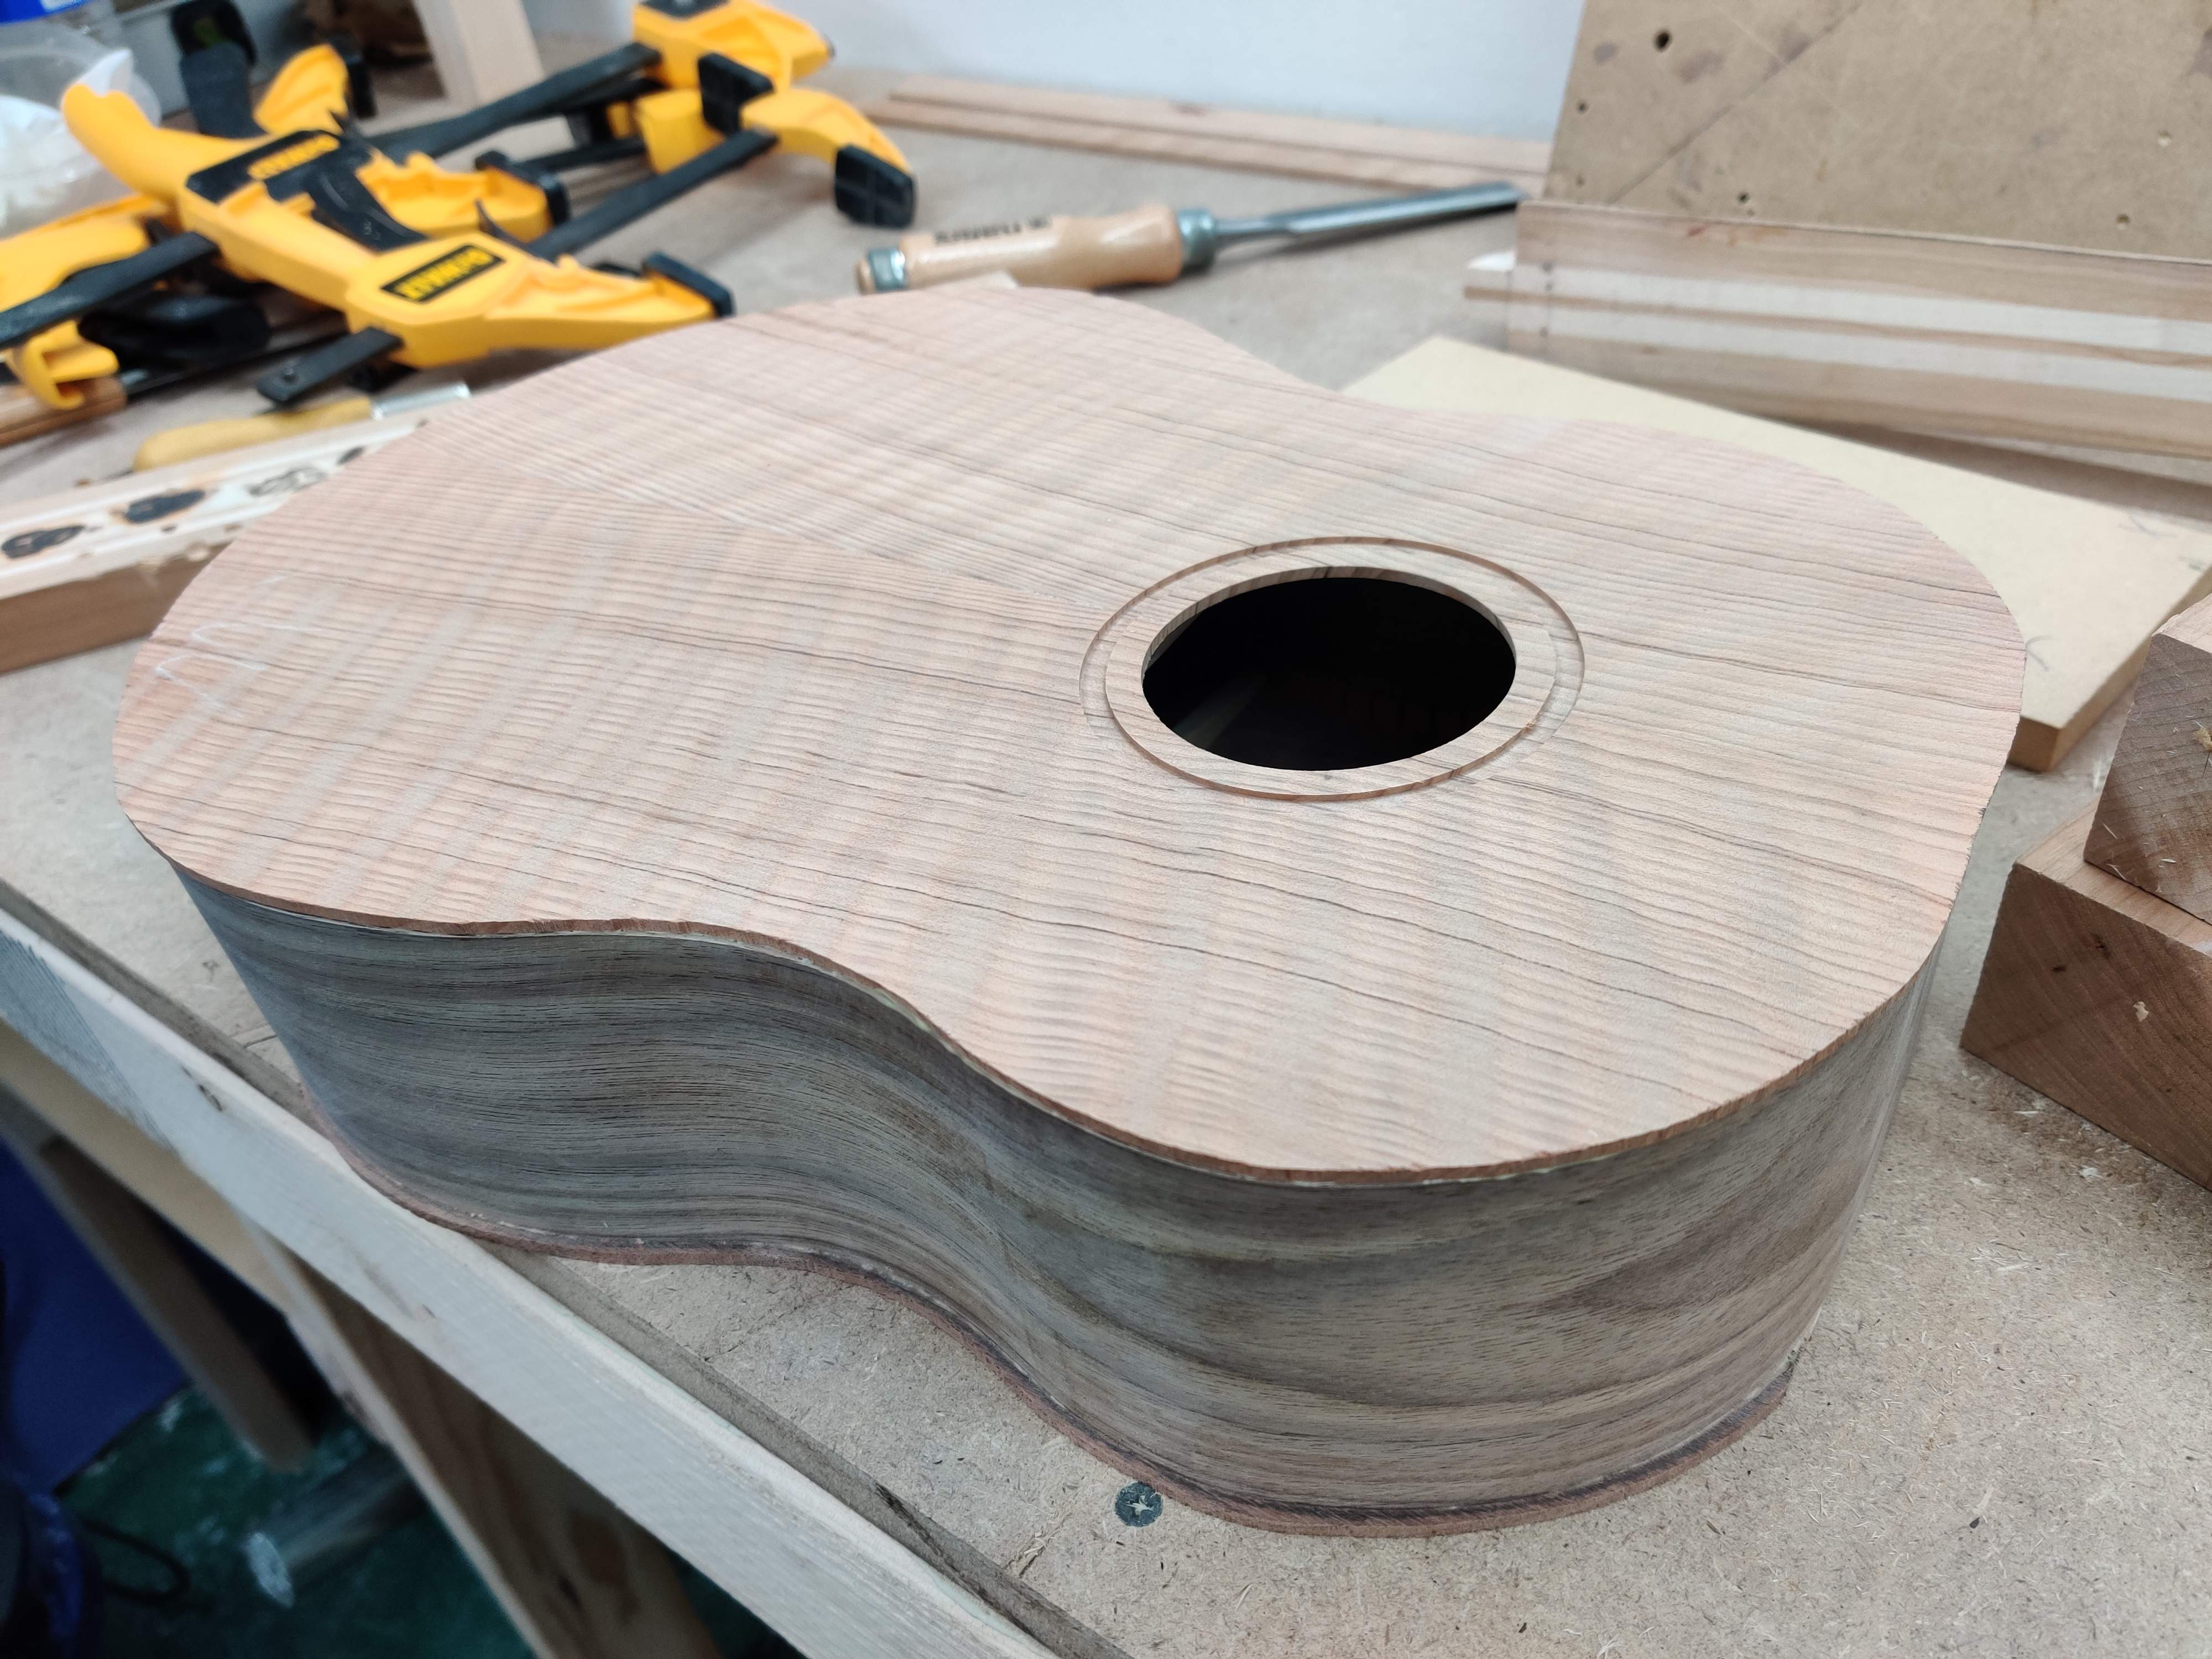
I mocked up a jig to clamp to the body to route the mortise for the neck. Hoping I can make that cut this weekend and maybe work on the bridge if I have time.
I mocked up a jig to clamp to the body to route the mortise for the neck. Hoping I can make that cut this weekend and maybe work on the bridge if I have time.



