• TalkBass has been independent since 1998. Add your voice.
    Create a free account to reply to discussions, view embedded media, and browse with fewer display ads.
    Join freeLog in
    Want zero display ads or expanded classifieds tools? Compare plans.

Winter build off 2022 MPUrker

MPU

Sep 21, 2004
3,703
10,692
56
Valkeala Finland
Here’s my exhibitionist entry.
-Parker Fly-style guitar
-flame alder body, alder neck with Richlite fretboard, carbon fiber shell over the back
-Parker bridge, Steinberger gearless tuners, possibly Graphtech piezo saddles, possibly Dimarzio pickups instead of the EMGs, Warwick trussrod (SRDA).
I forgot to write the renewal thing to the wood pile which I forgot to take a pic.
Here’s where I’m at the moment.
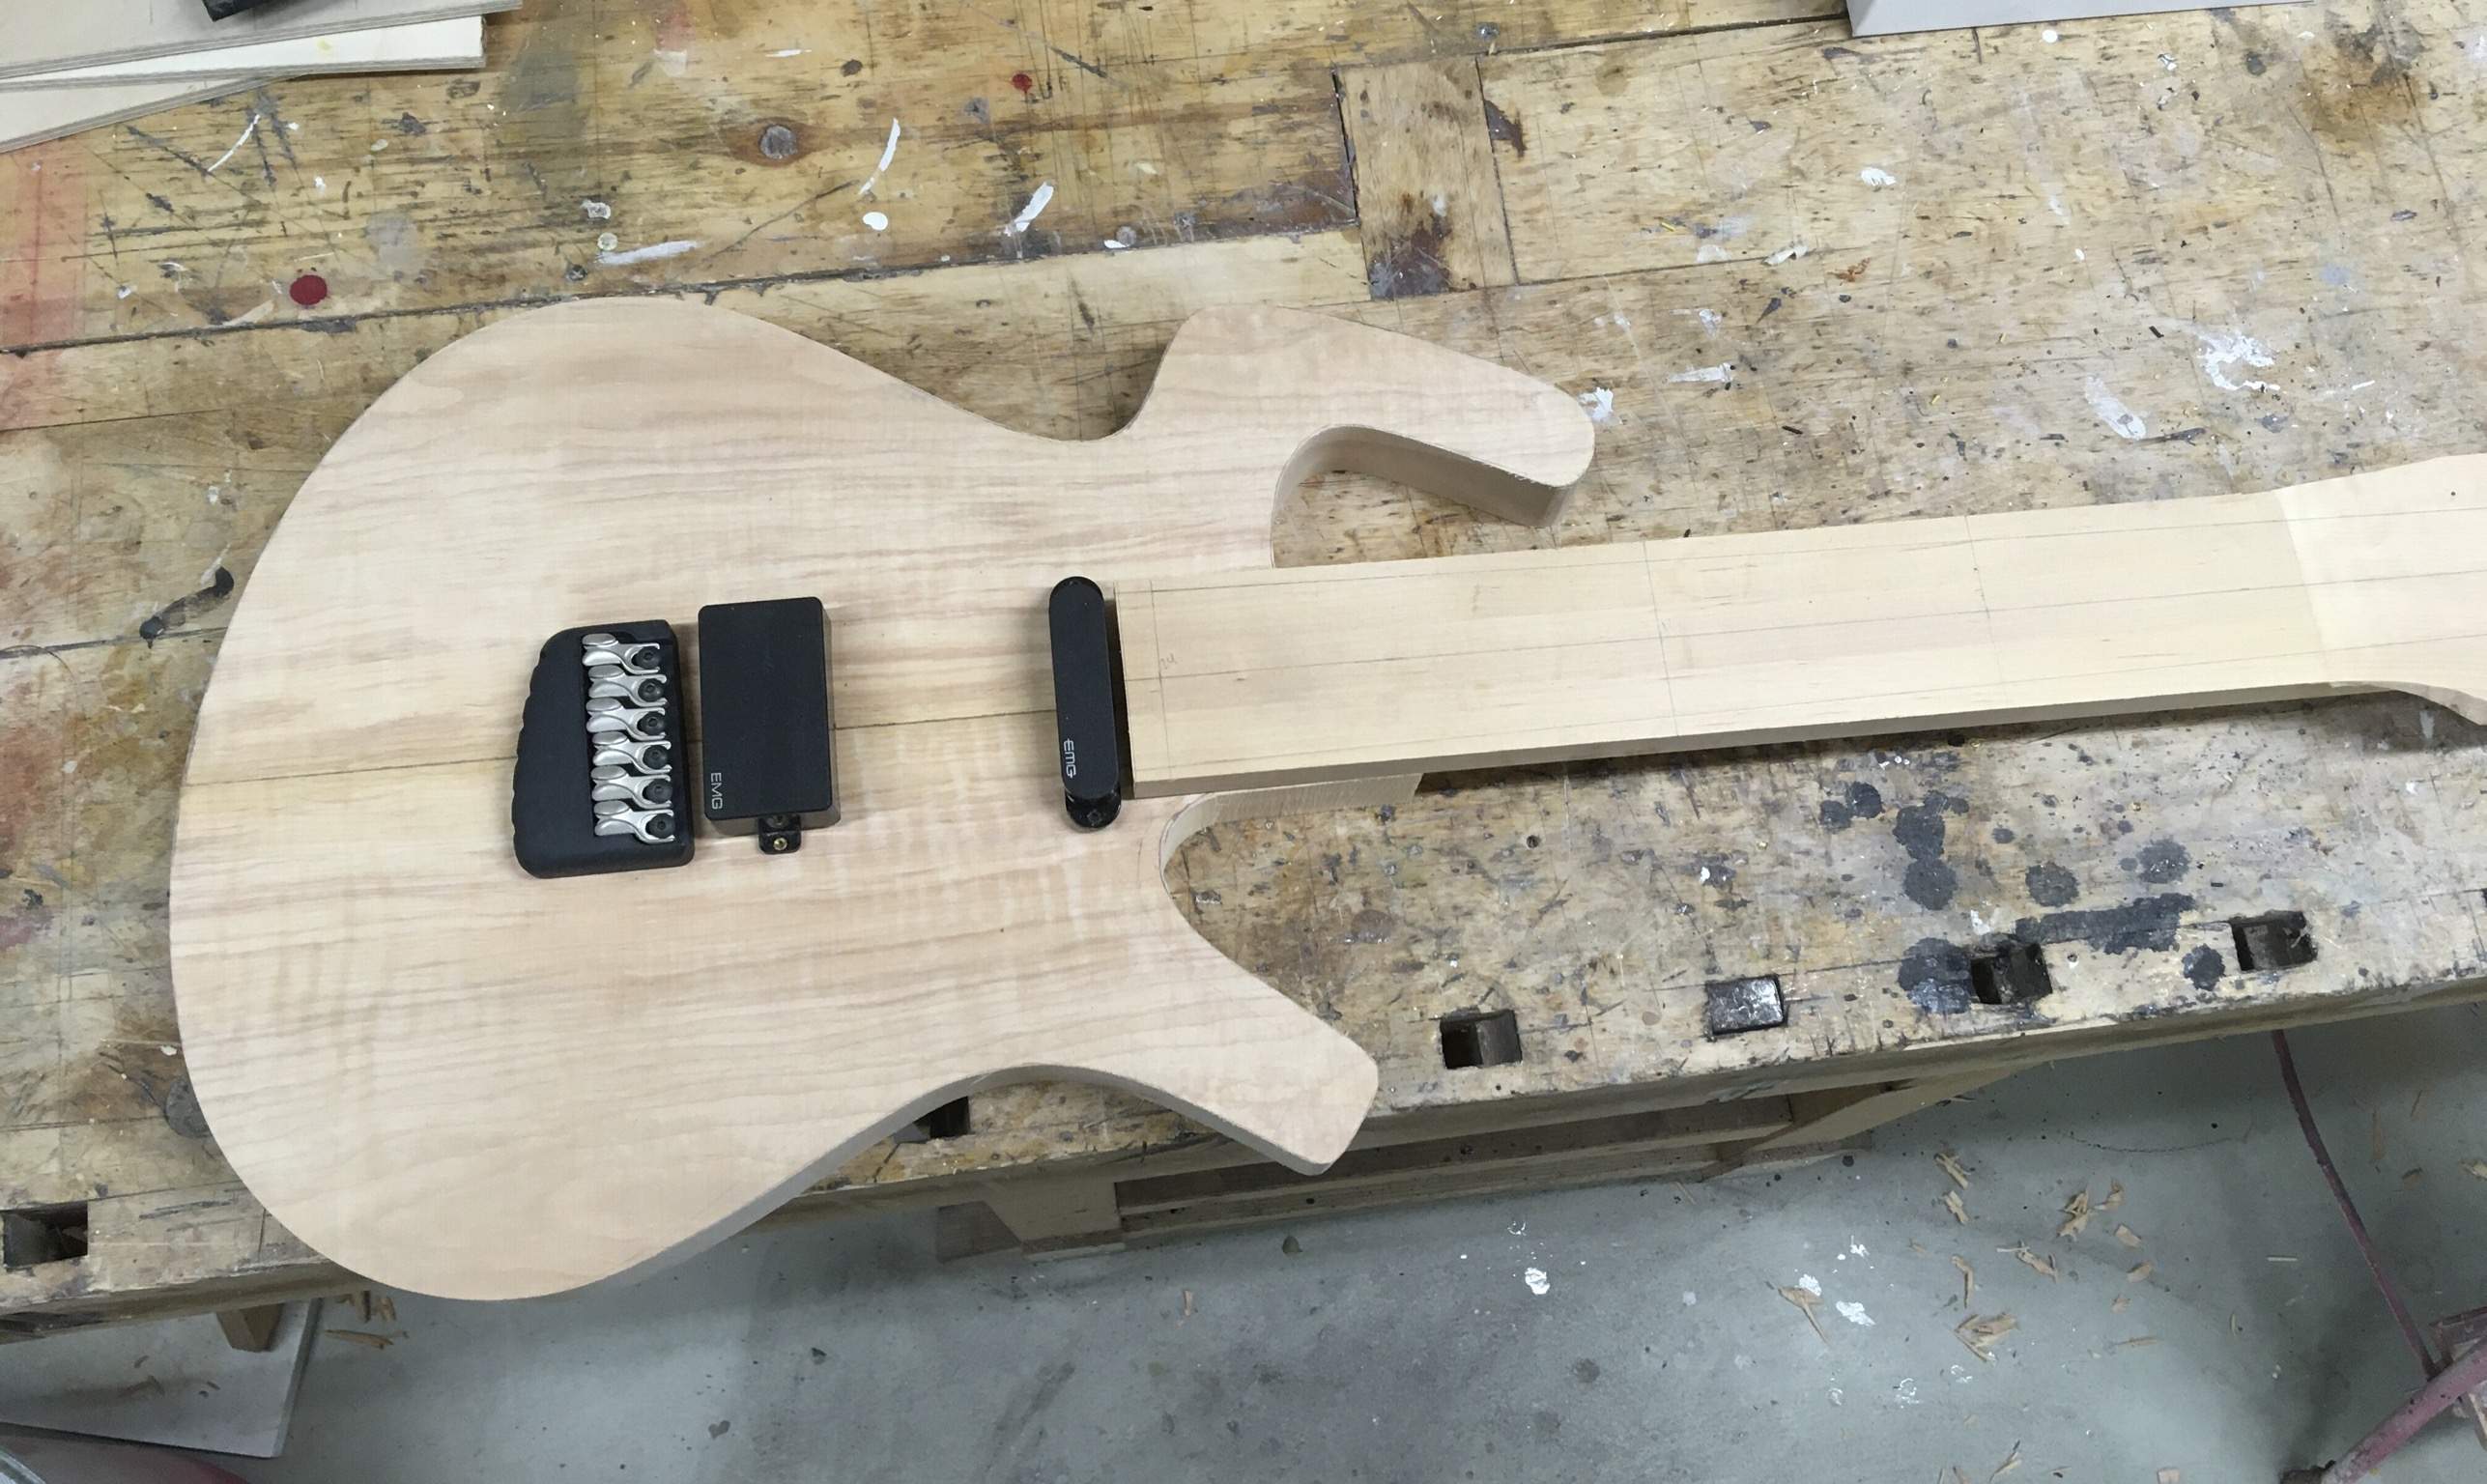
DD9E832F-4A73-498E-982E-882BC4F82965.jpeg


BAFCD331-B6E6-49AC-9044-87E2A1AE02E9.jpeg
 
I'd like to know more about the warwick DASR, how does it compare to Bruce's rods? It looks like it's going into a curved slot similar to Bruce, but it's hard to tell what's going on from the pics. I've been getting more obsessed with DASR style TRs and plan to develop something at some point. :)
 
  • Like
Reactions: BishopJP
It's basically the same as Bruce's truss rod. The adjusting head is made a bit different and the rod itself is thinner. The truss rod slot is curved.
View attachment 4534138

Hmmm.....Yeah, same basic operation as mine, but I don't like some of the construction details. It looks like both the rod and the barrel are steel, black oxide coated? That's asking for some corrosion/galling problems down the road (in my opinion). What size are the threads? 5 mm x 0.8? Do they specify how much droop should be in the slot? I recommend 4.5 mm.
 
  • Like
Reactions: Beej
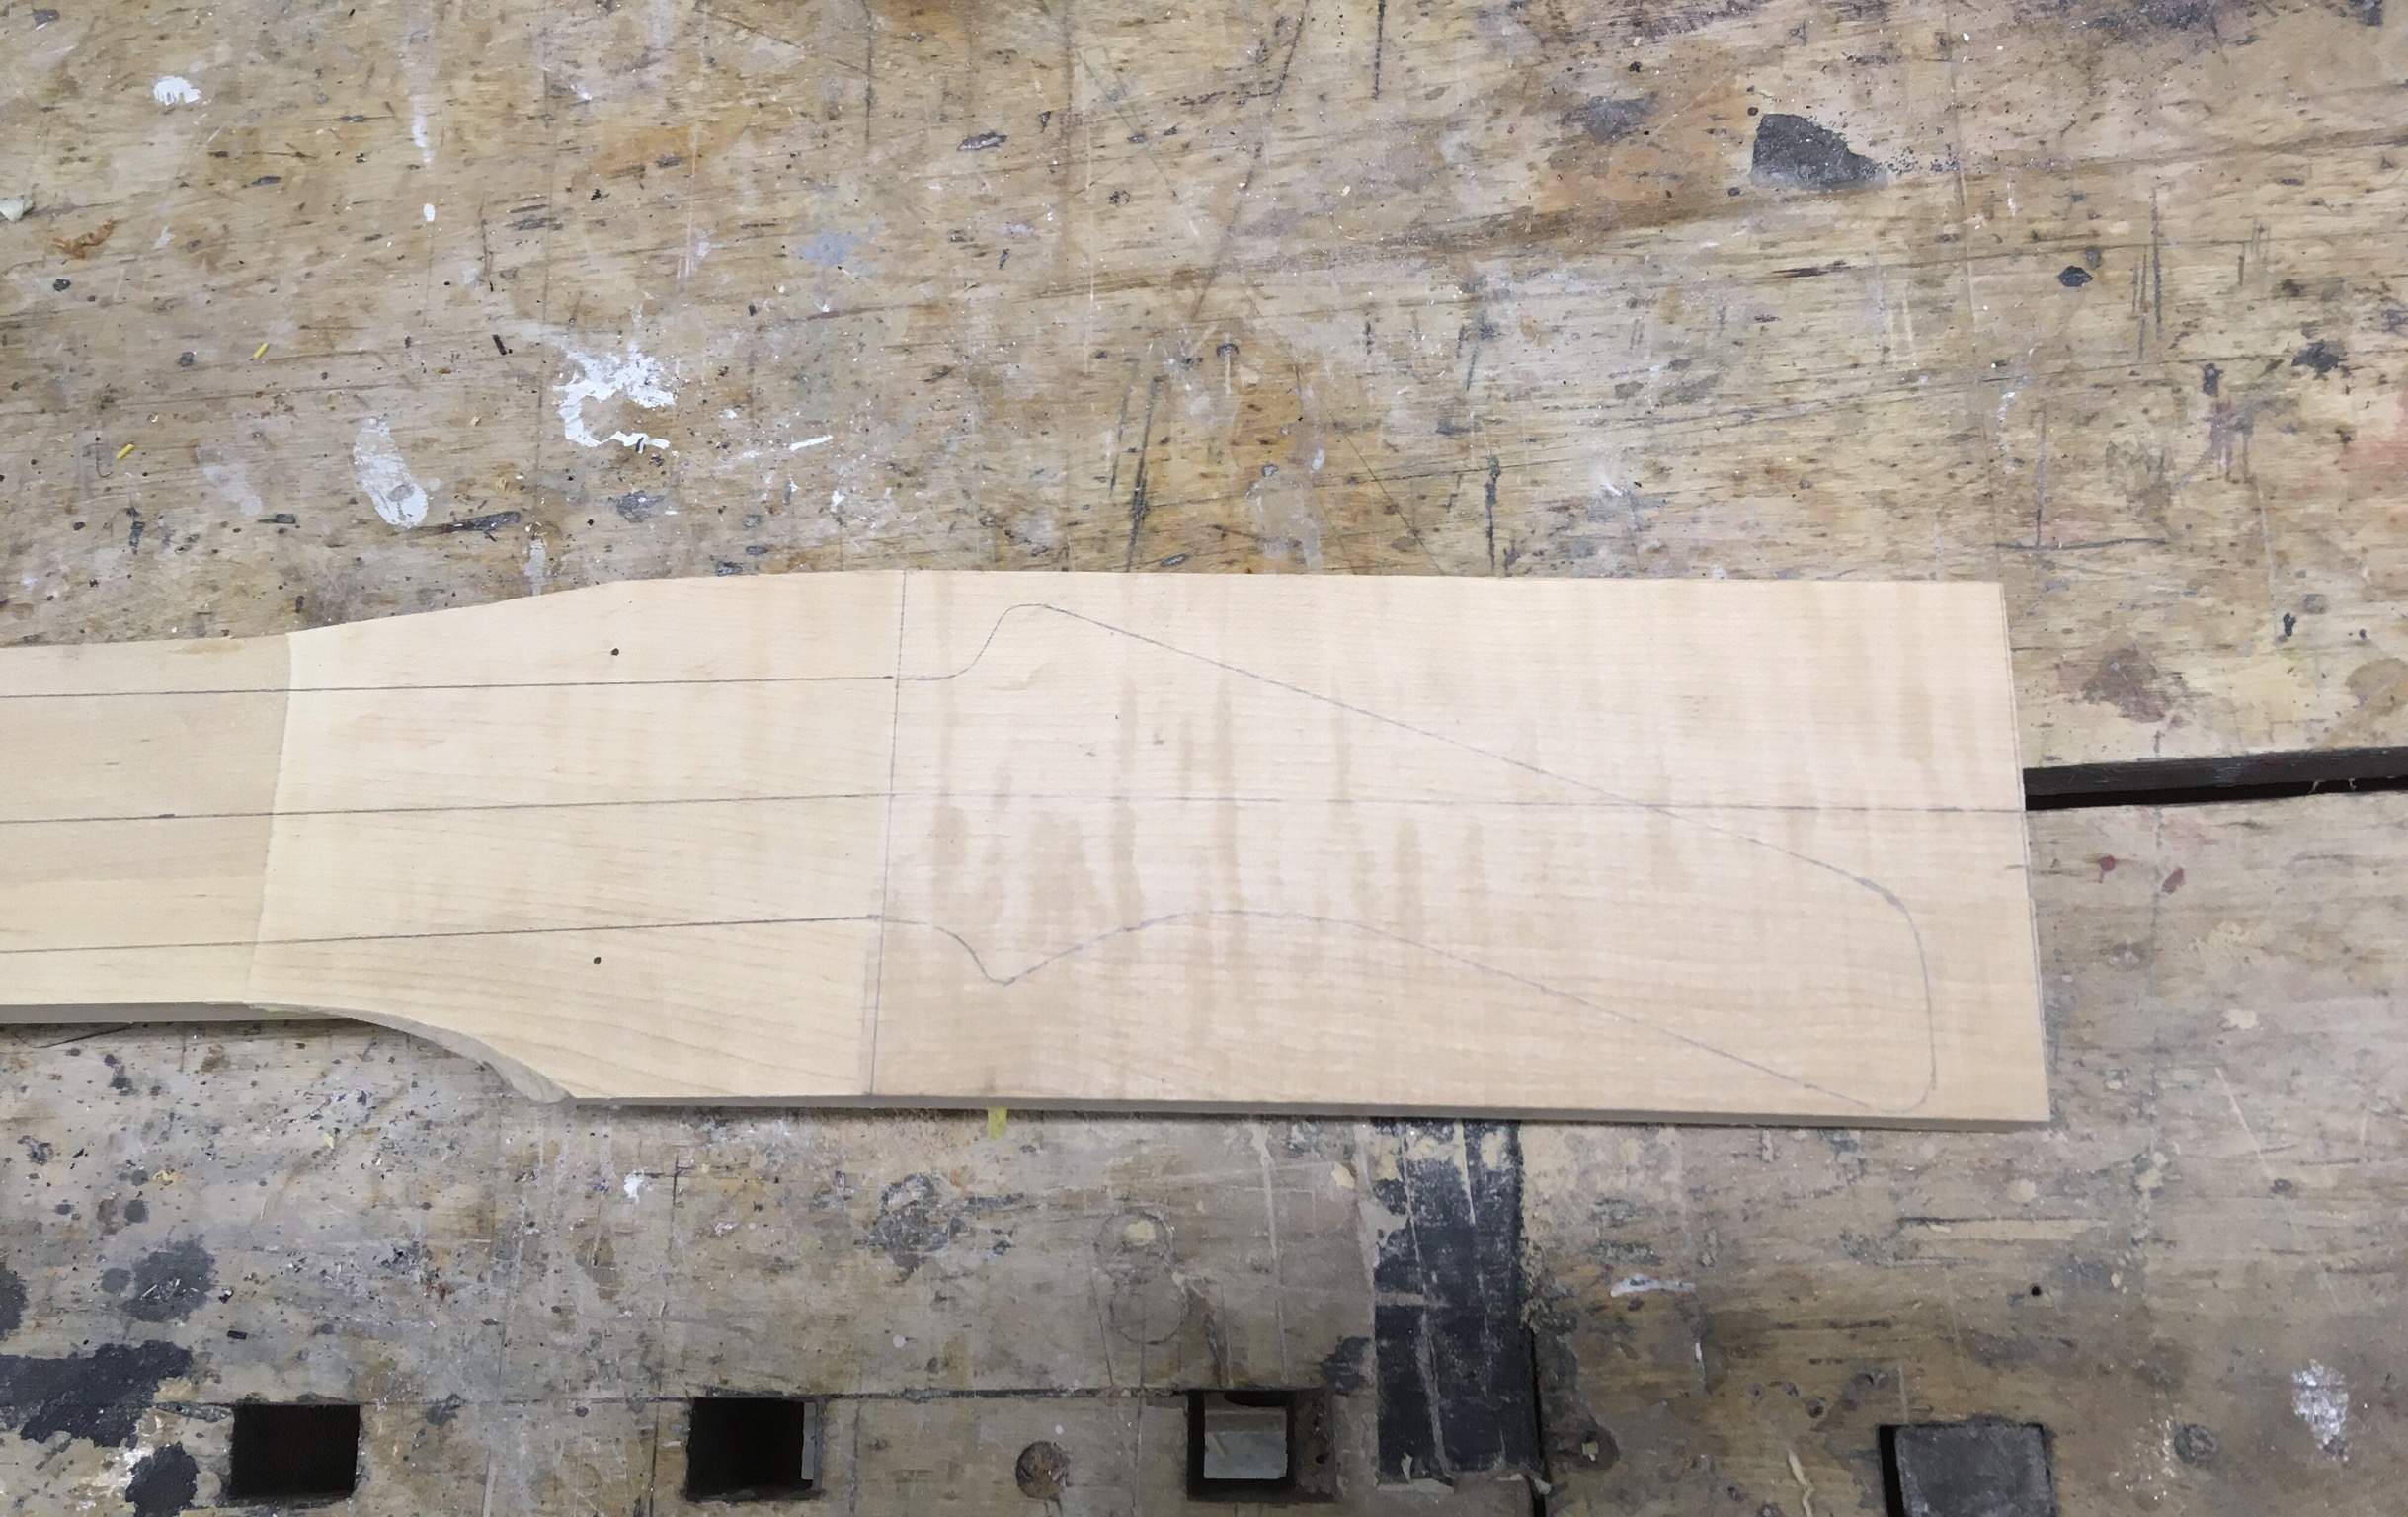
Today I shaped the neck and headstock. I sanded the headstock sides to 320 grit.

27D78EB5-05DC-4A9E-9ACD-CE7B1D105607.jpeg


My plan is to make the headstock as cf/flame alder/cf- sandwich with alder showing on the sides. Cf dust is very messy and impossible to get out of the pores. To prevent that I sealed the sides with epoxy and brushed a tack coat to the top of the neck and headstock.

4C554EC5-C2AB-49F8-B5E5-80B03E20B0AA.jpeg


After three hours it was tacky so I could lay the cf cloth over the neck, brush epoxy resin over it and clamp the waxed cauls. Tacky coat also prevents the wood from sucking all the epoxy when clamping.

7D1163C3-5E44-4D4E-B536-093ED0E62D7E.jpeg
57B22CD8-410D-45CC-A7BB-C82D52FEA547.jpeg
 
I took the neck out of clamps and let it cure for a few days.

177A10D8-196F-416B-B94C-EA53AE0AB29D.jpeg


While waiting I made a template for the treble side contour.

E9B0A802-3775-4A8C-9AE4-FFFC615B1321.jpeg


Then used a collar and 20mm round bottom router bit and routed the contour edge. I’m going to use violin makers plane to make the rest of the top contour. That will happen later, after the neck is glued on, the back side carved and carbon fiber shell laminated.

443CBB24-6C64-4AAD-985D-C8225D5D7C6F.jpeg