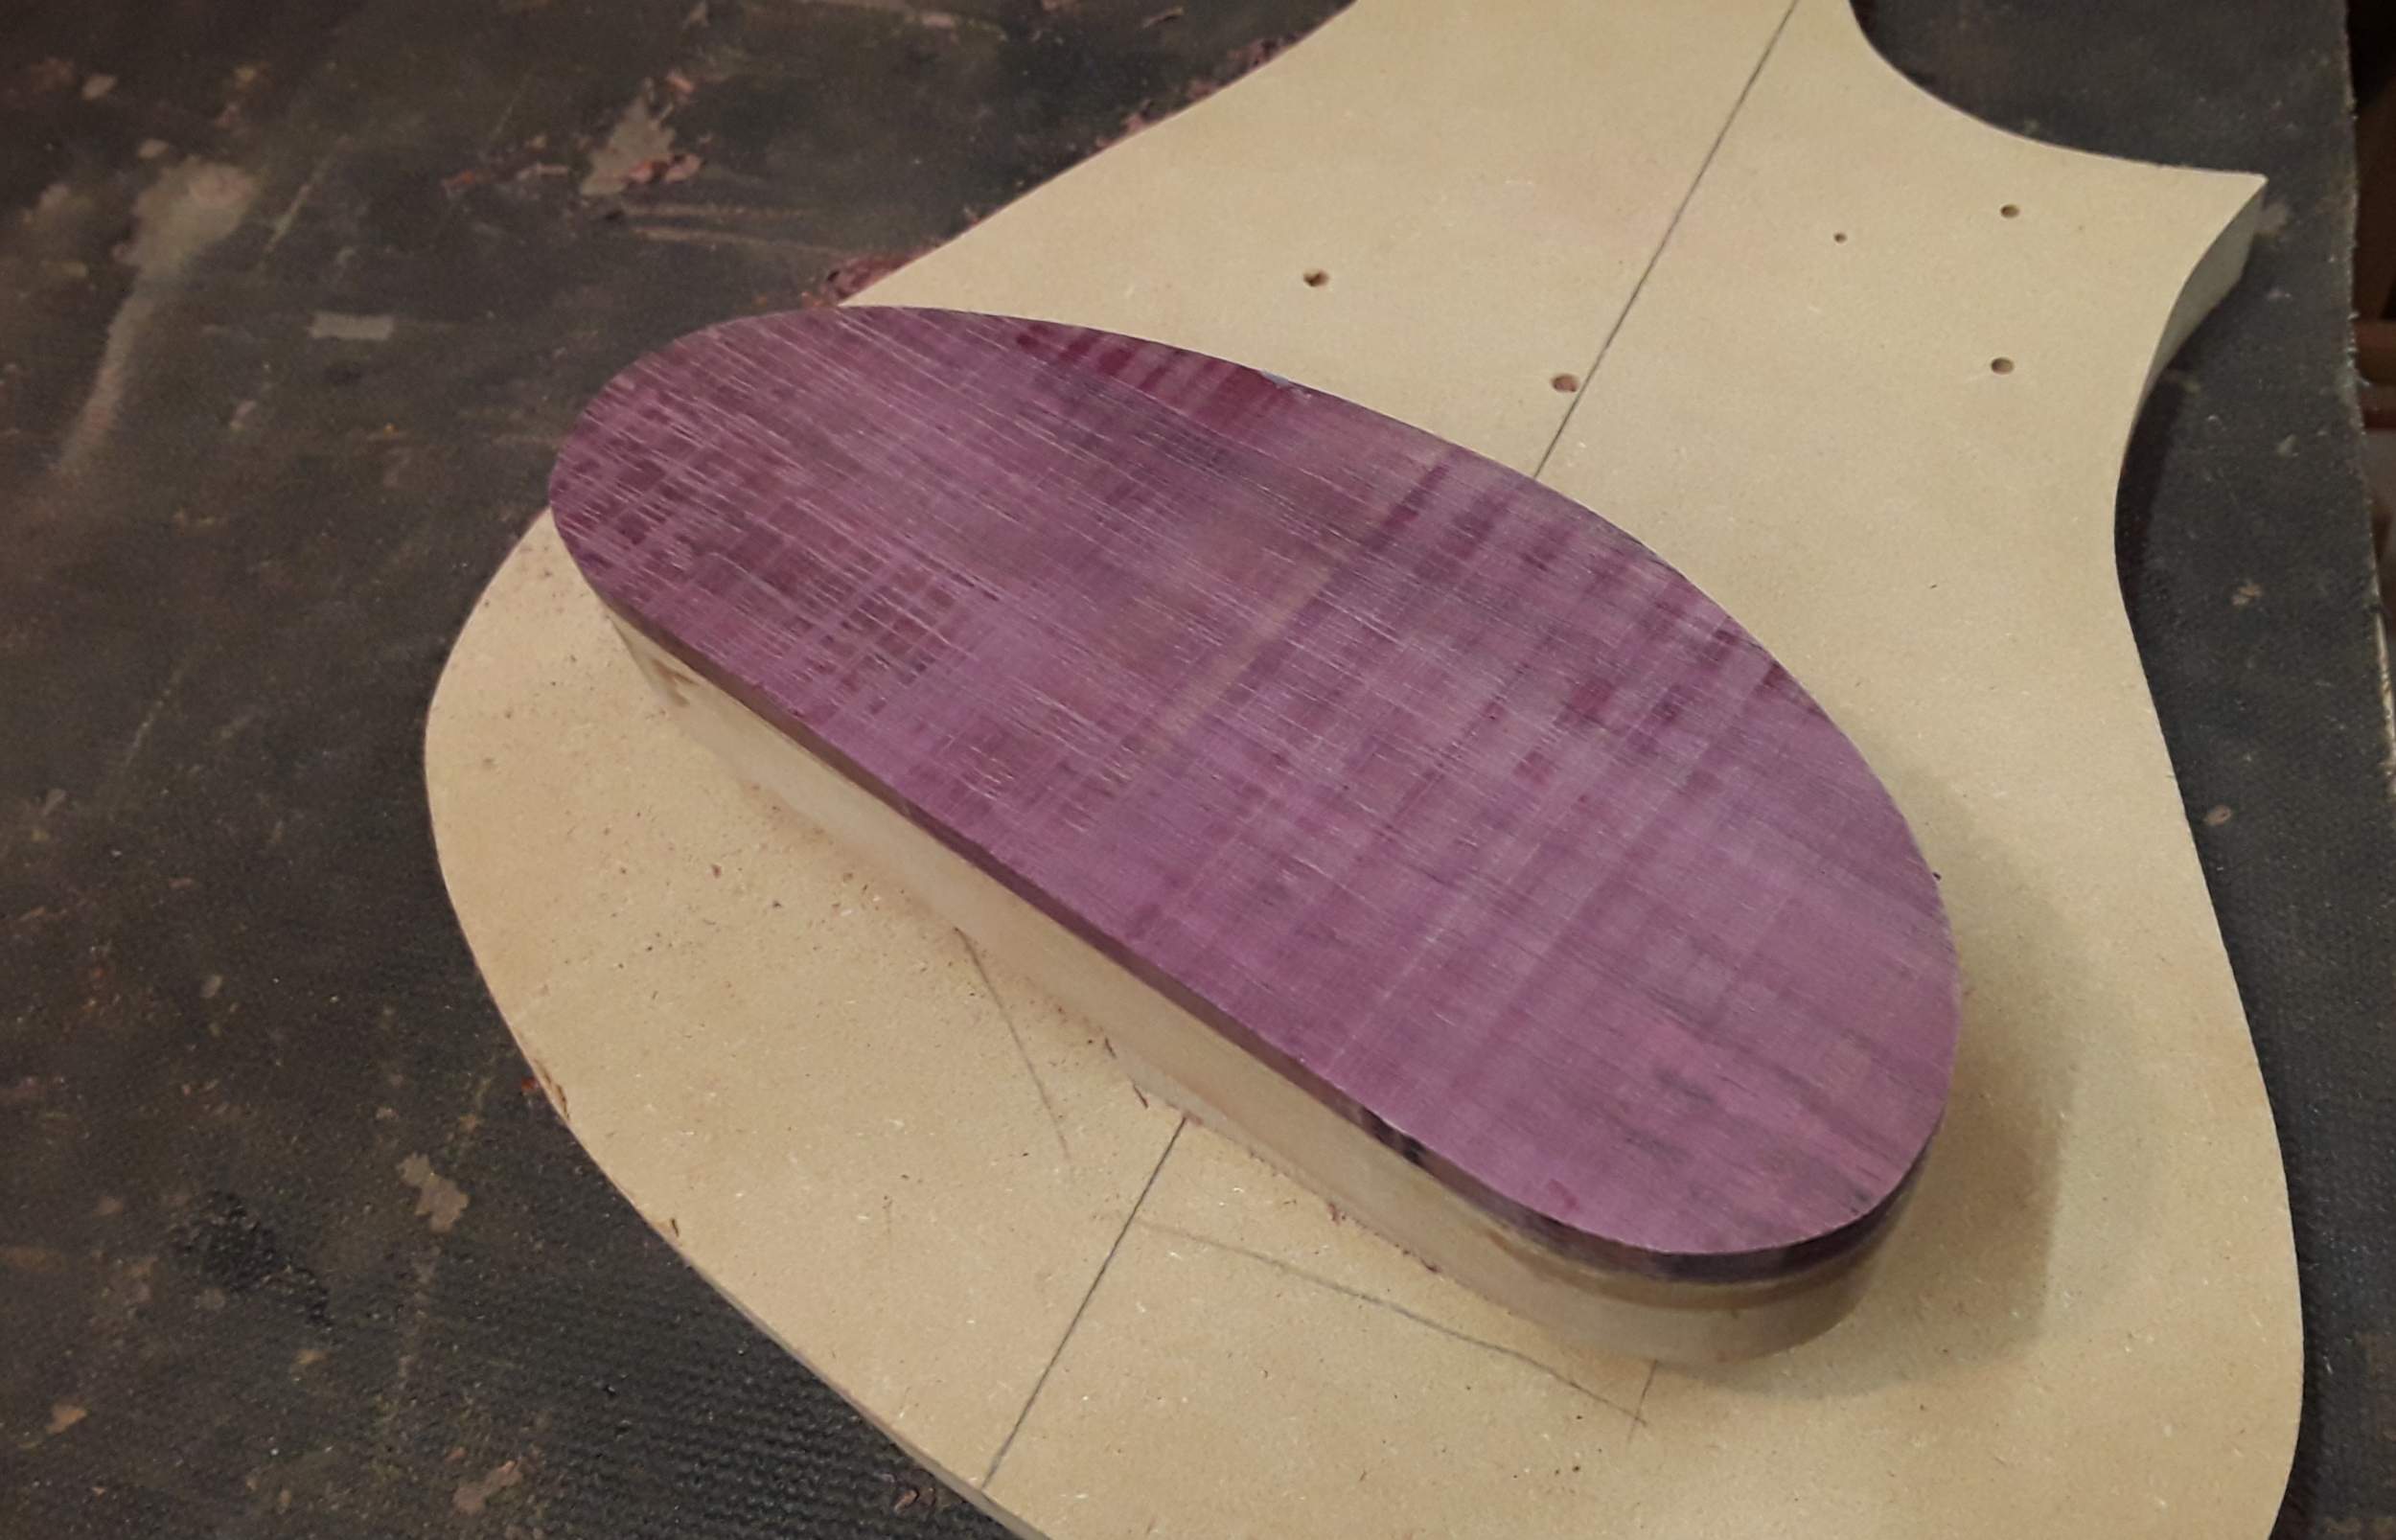
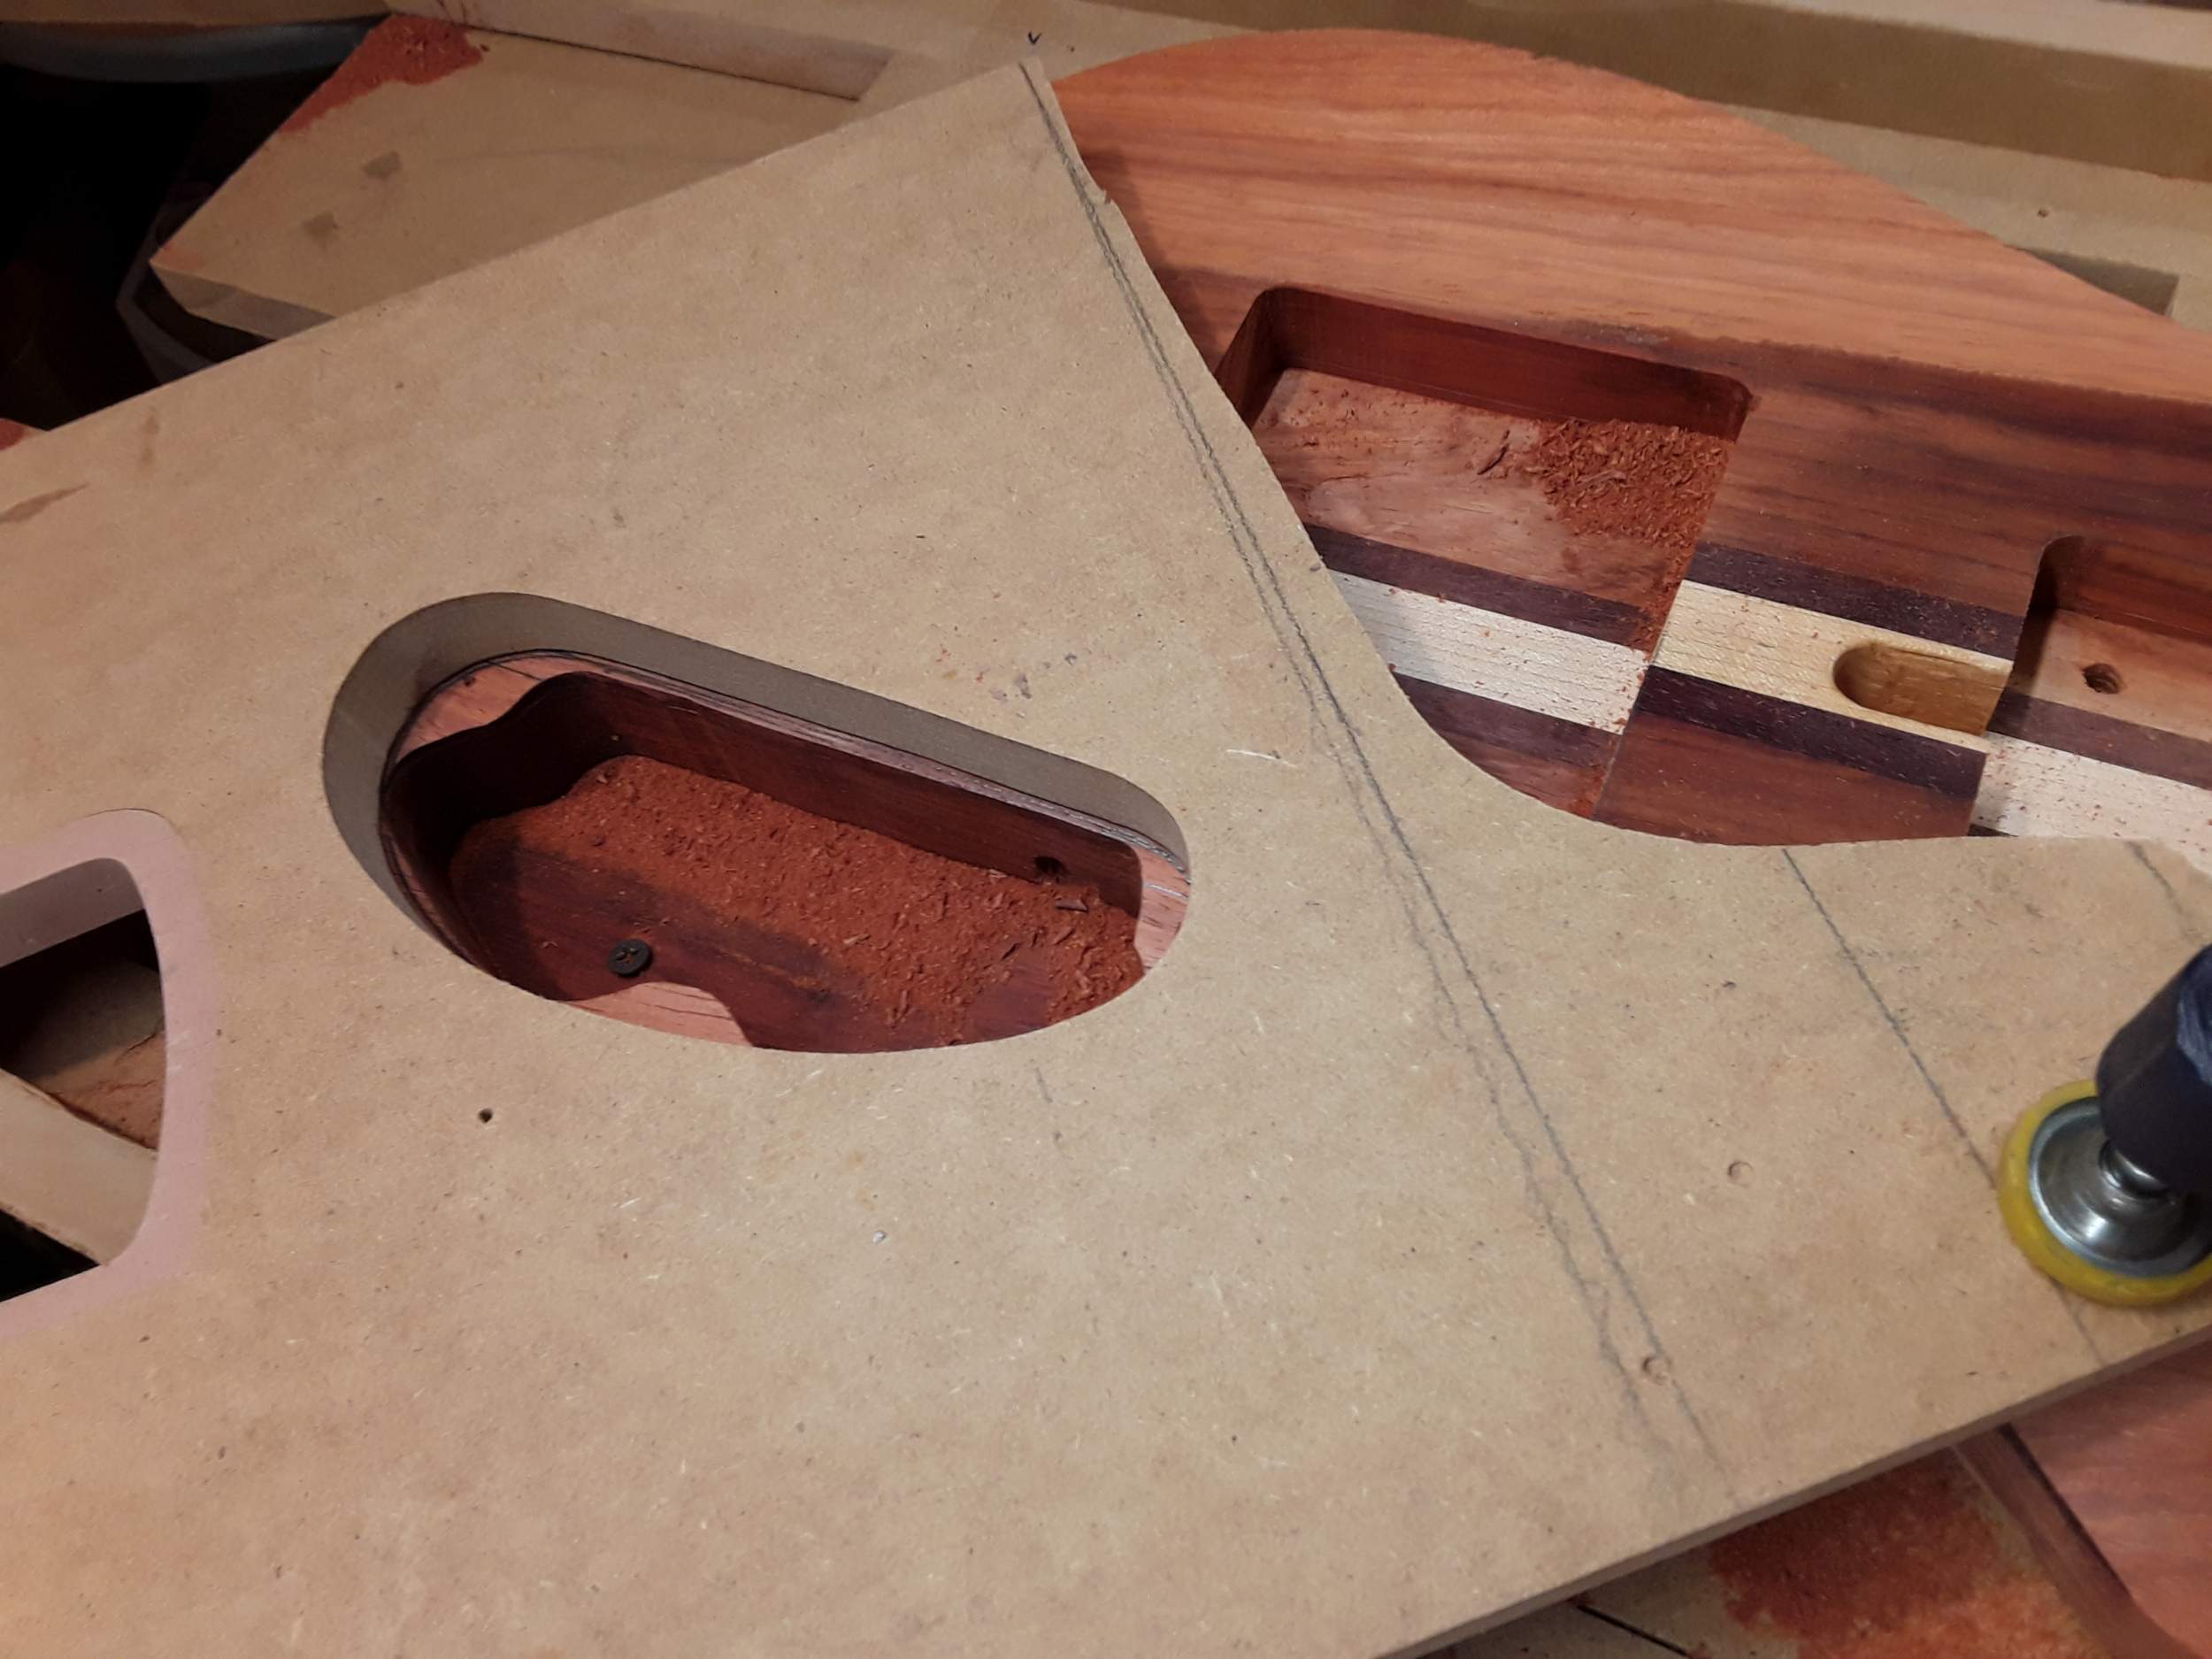
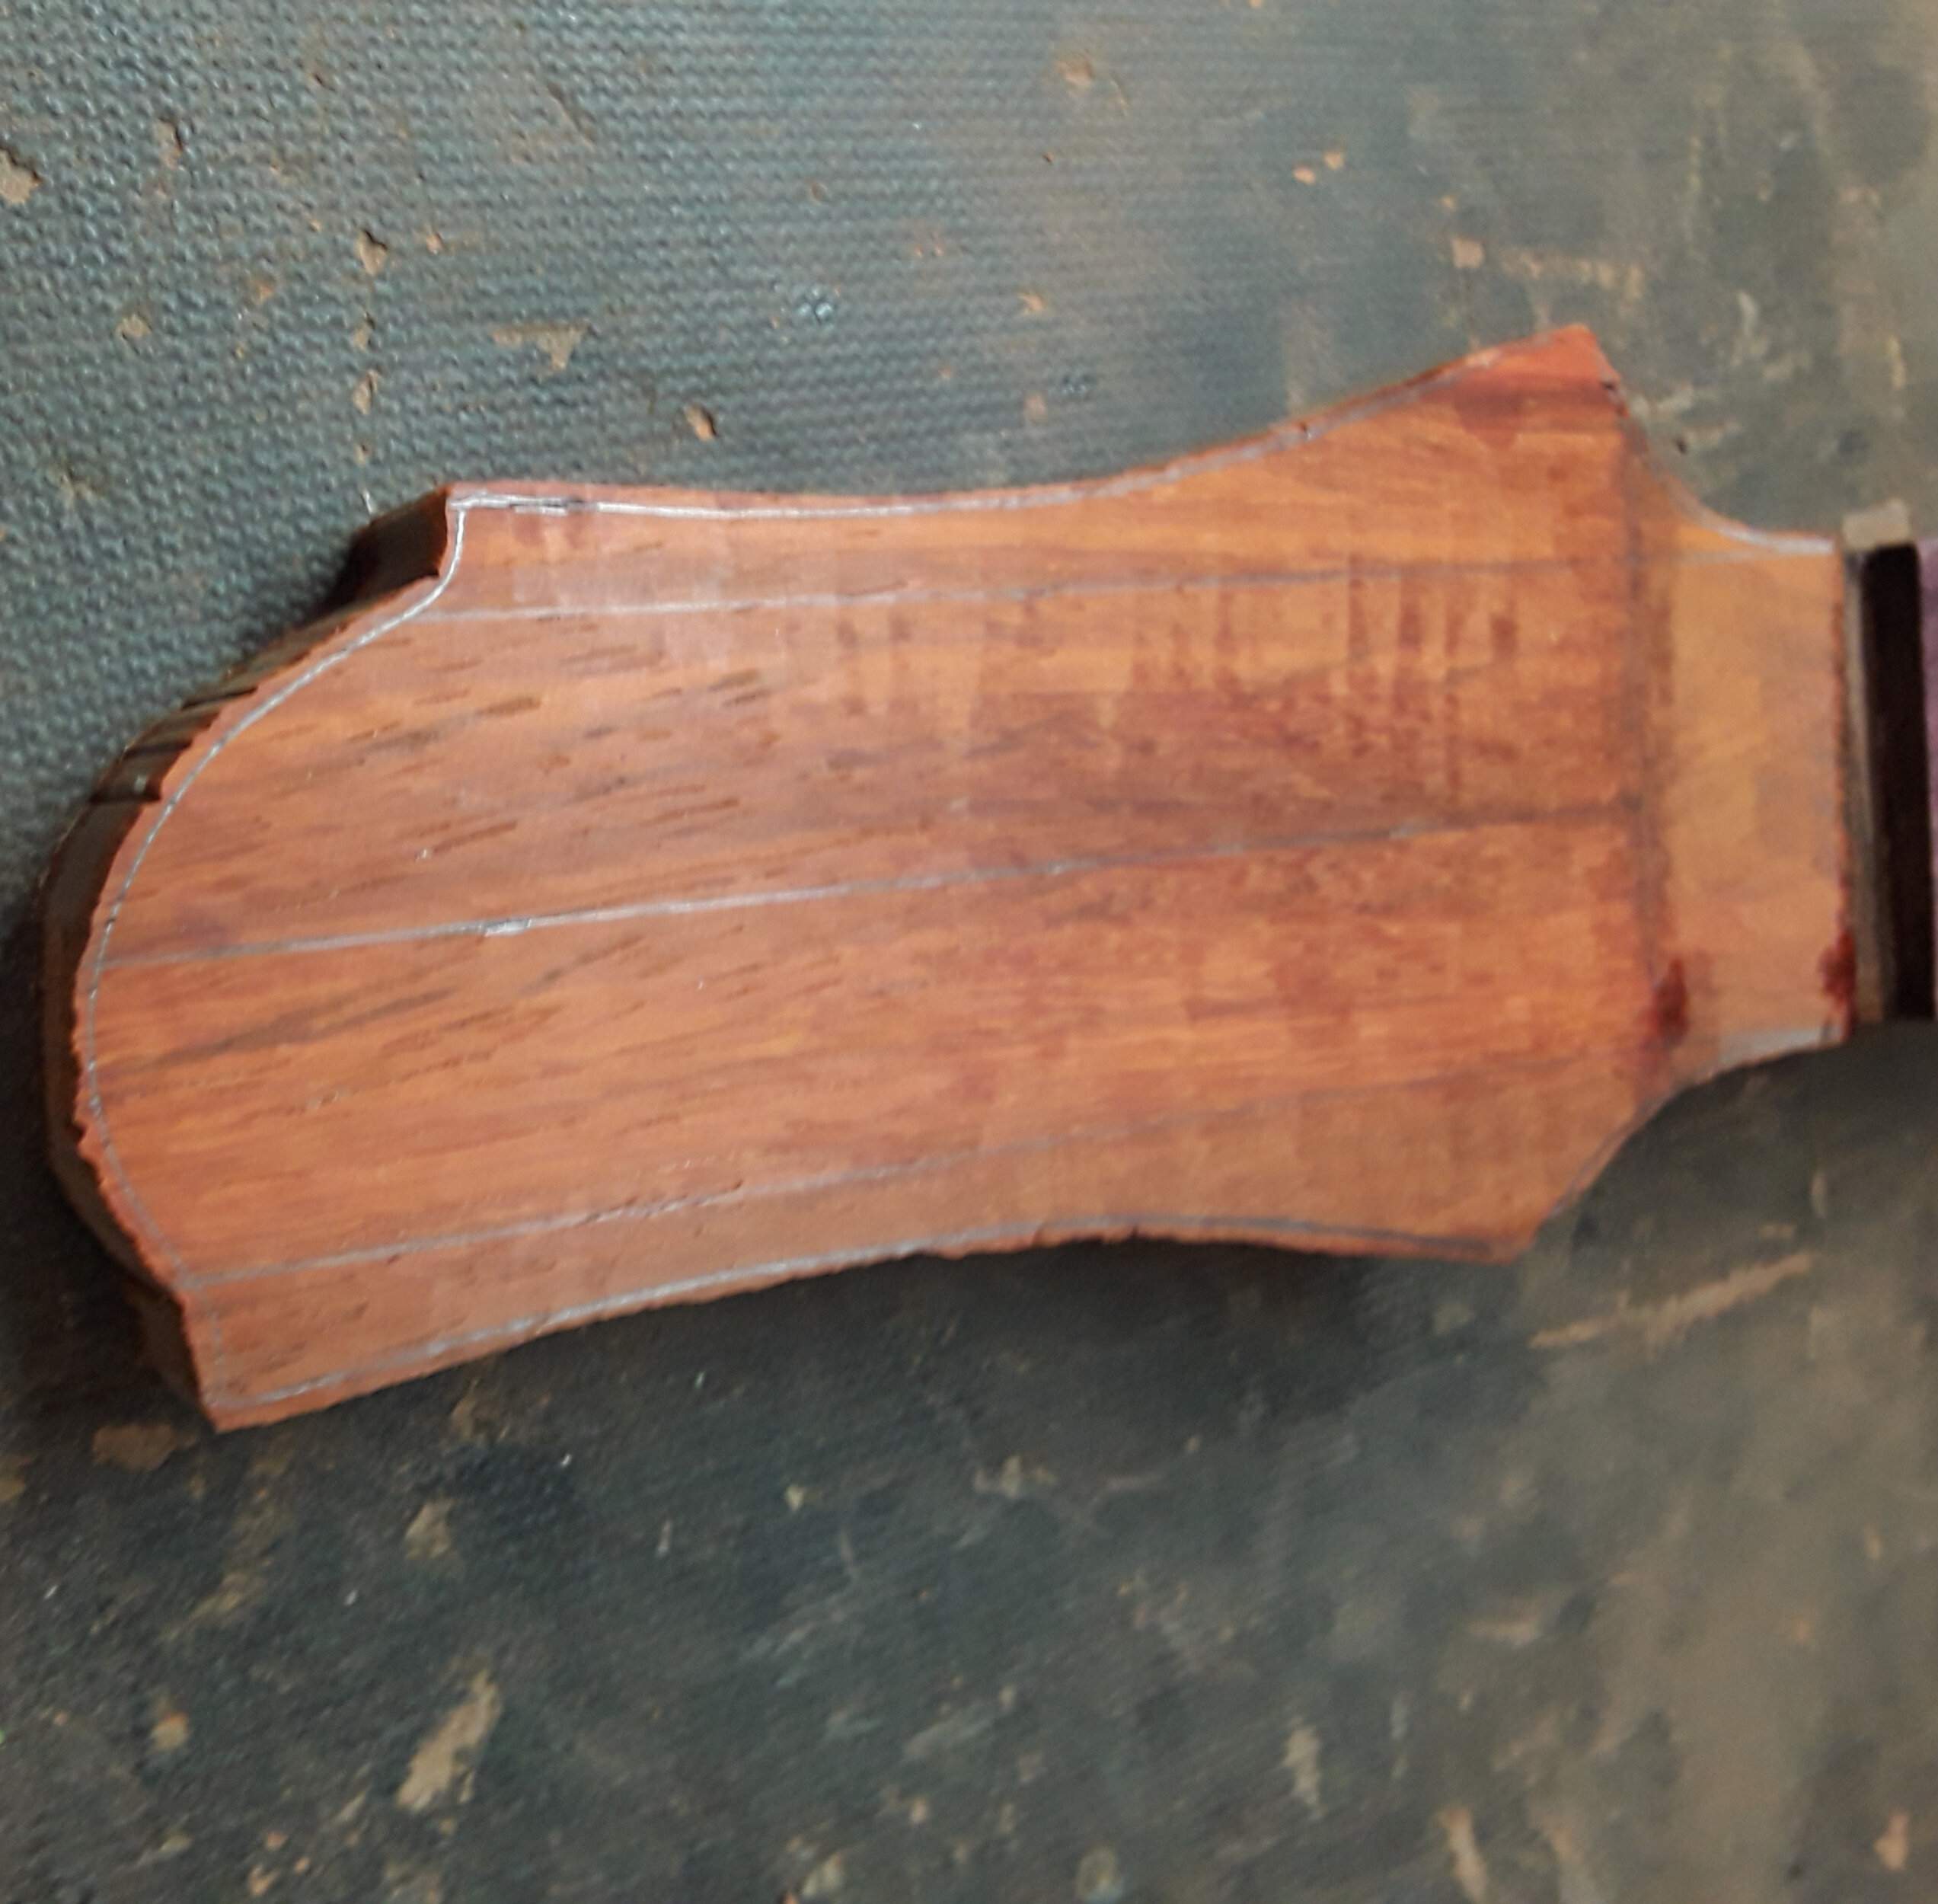
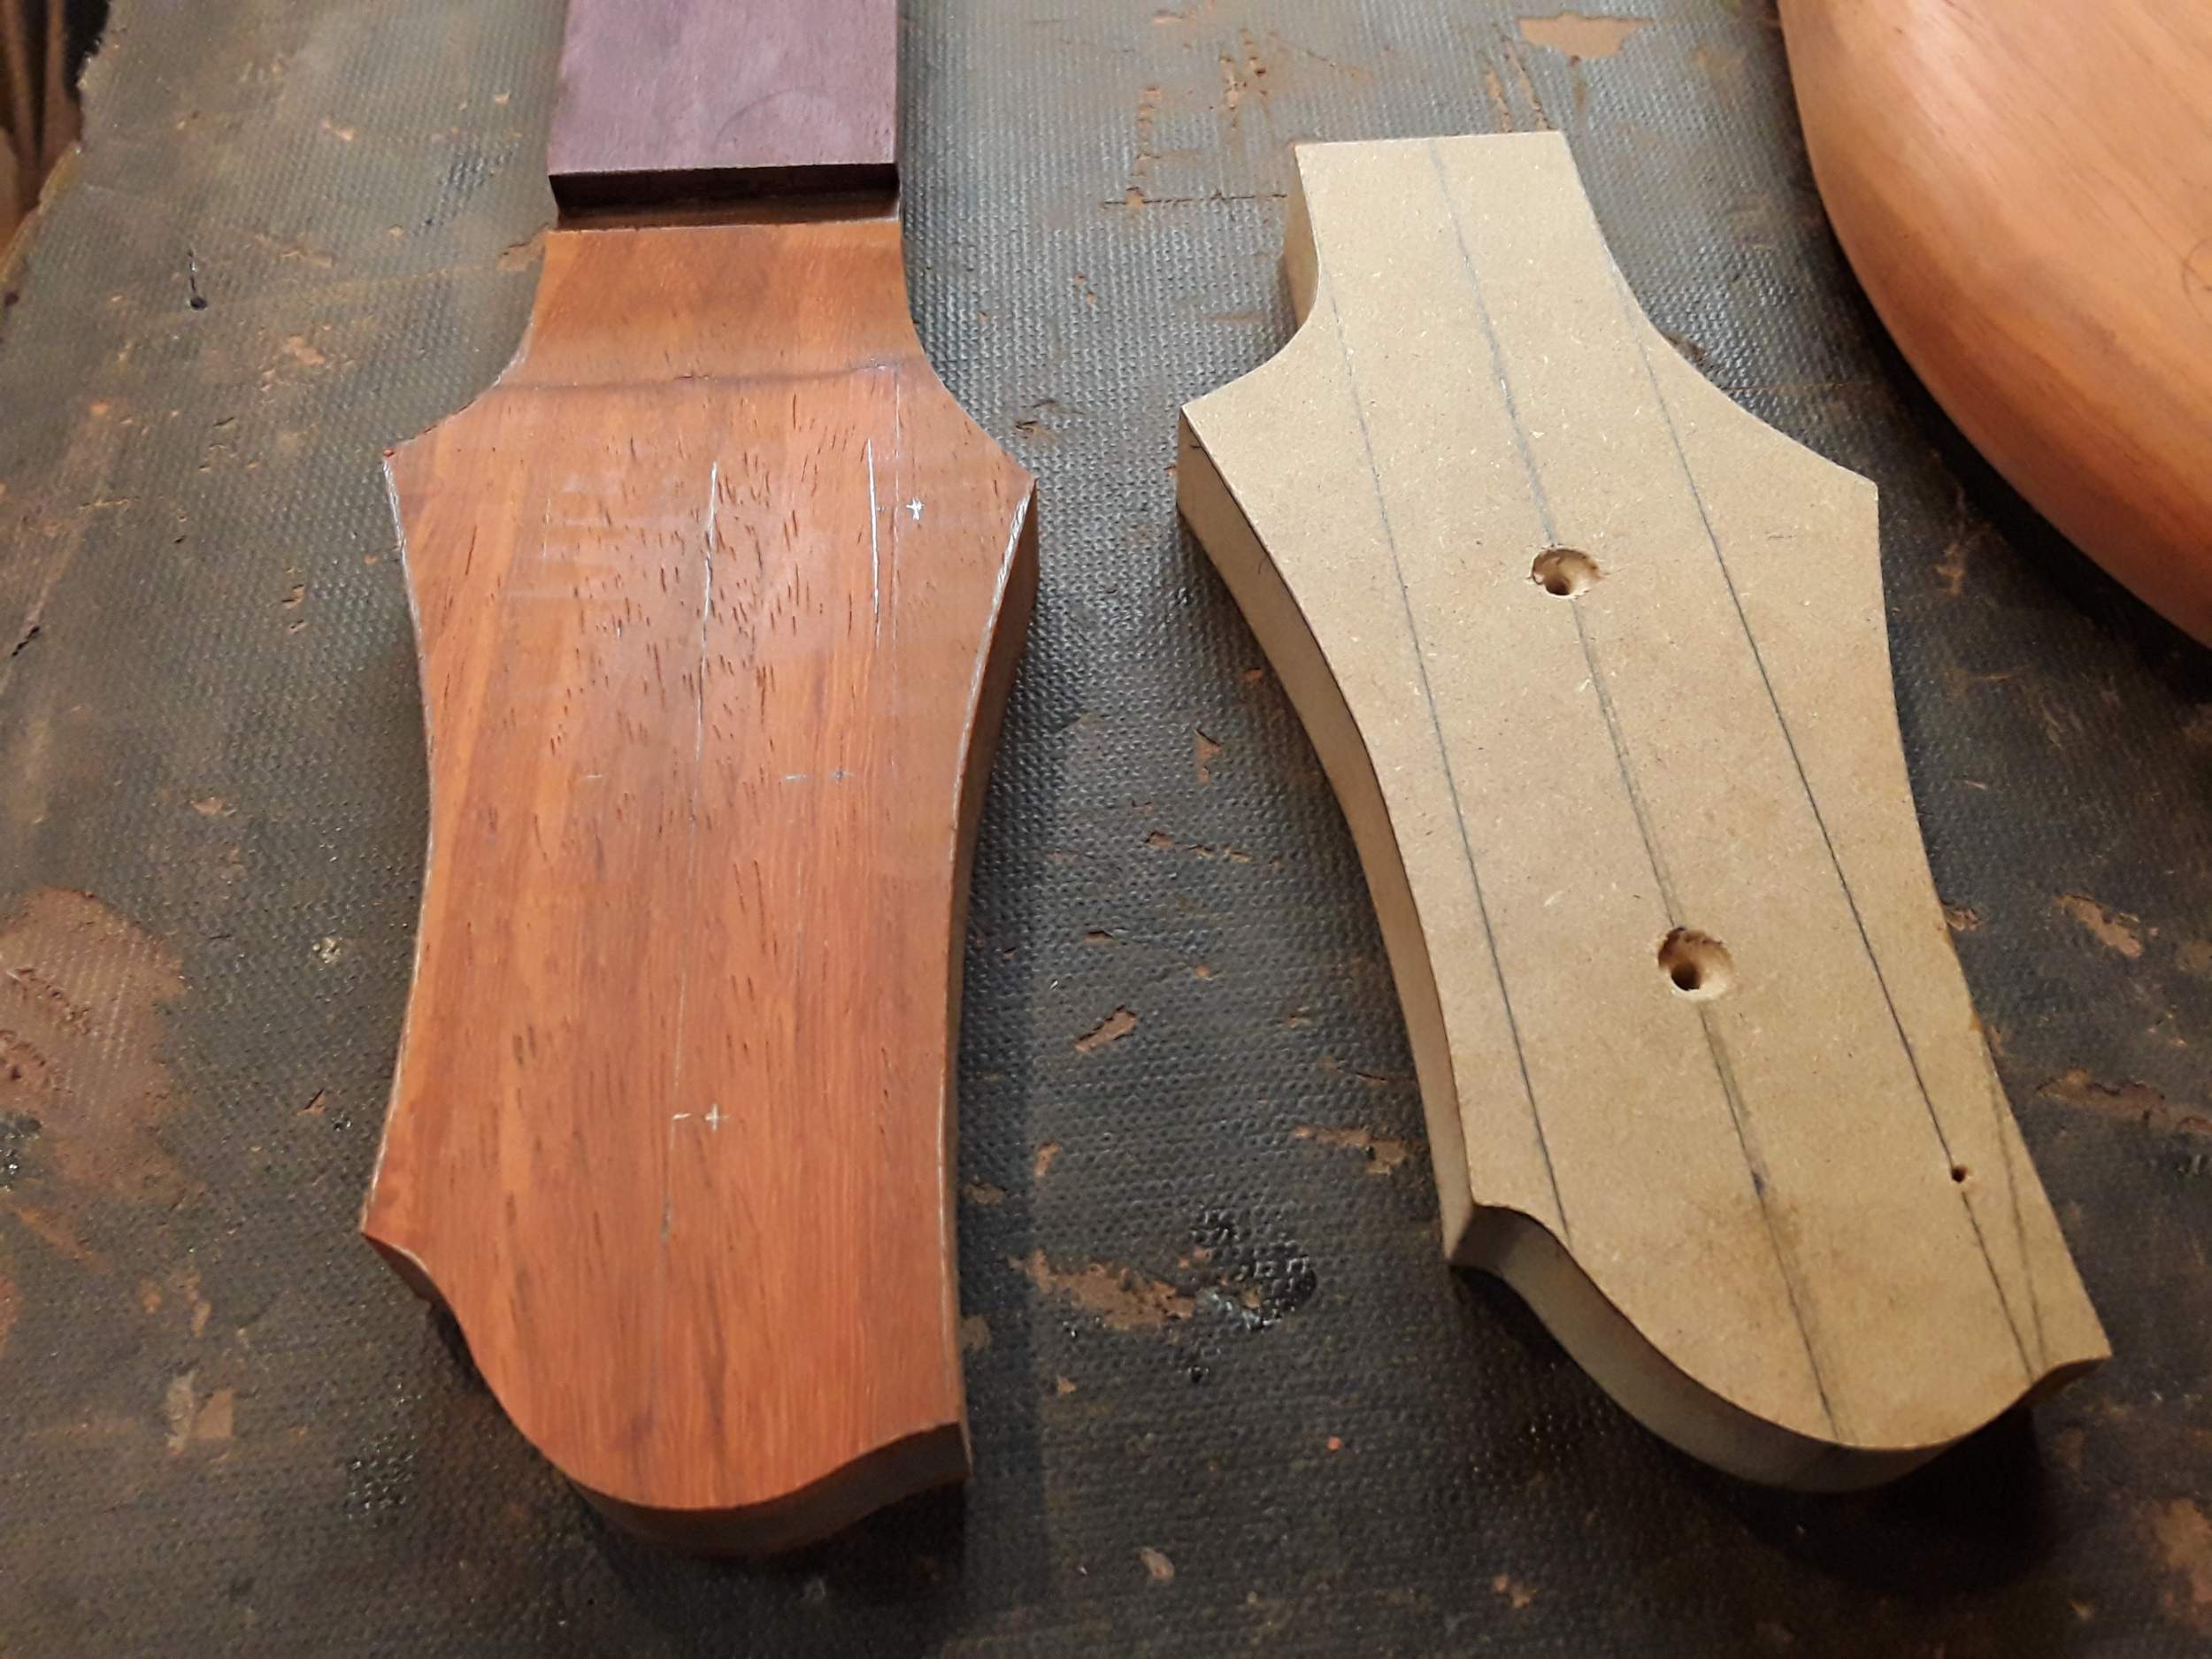
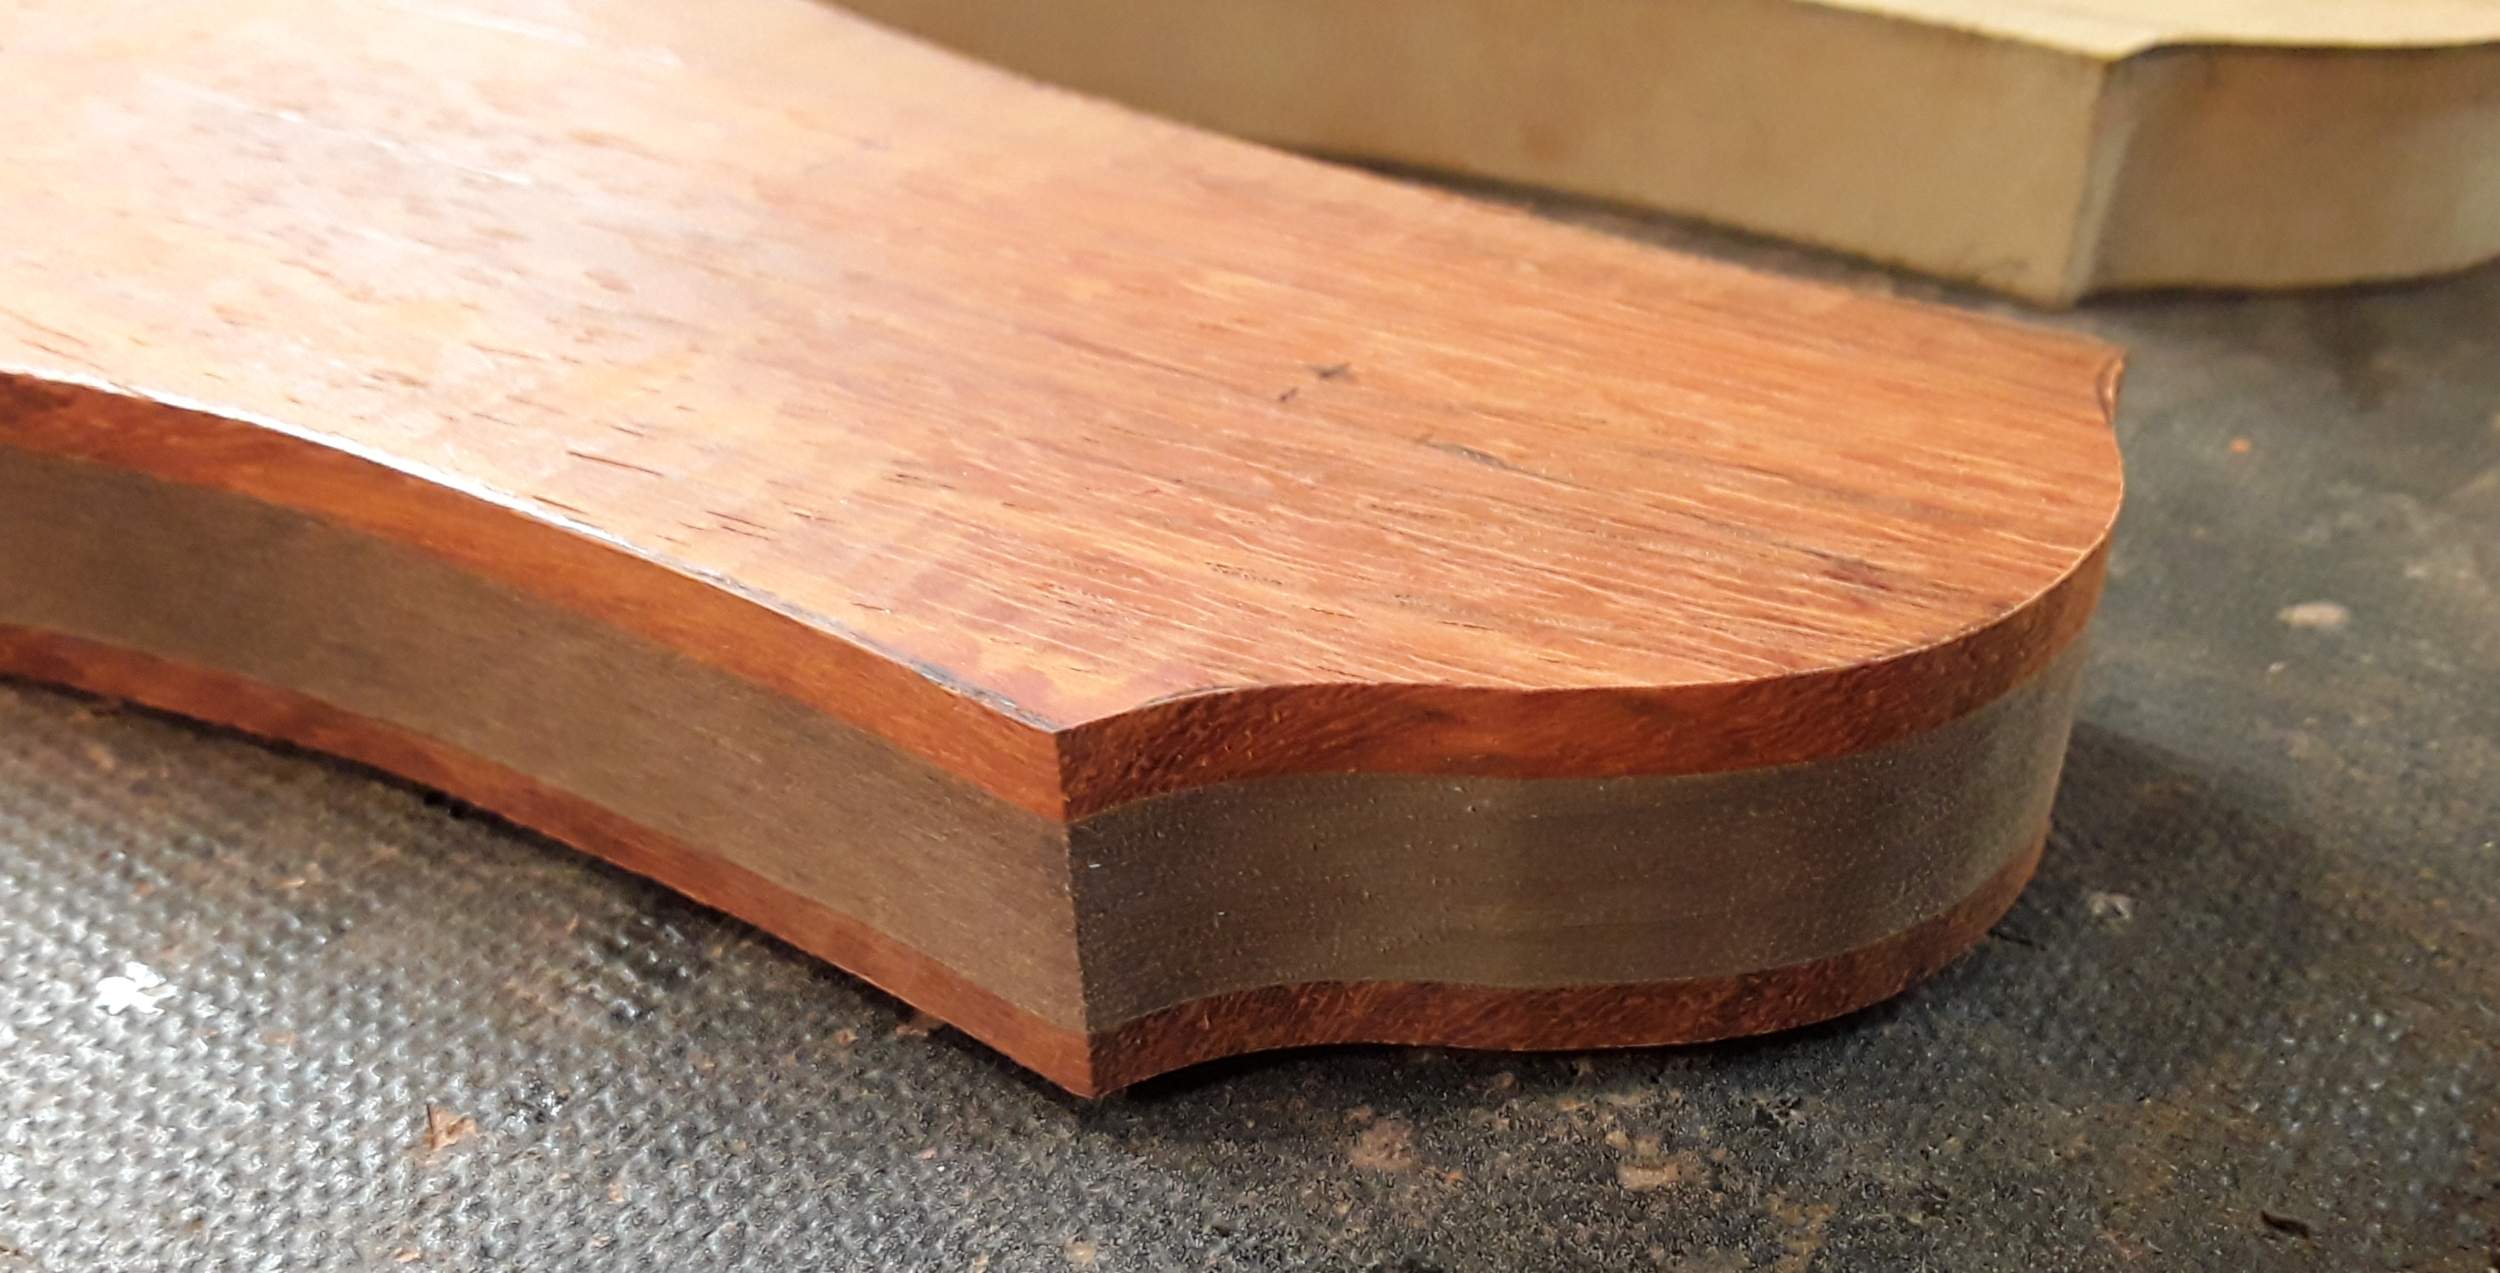
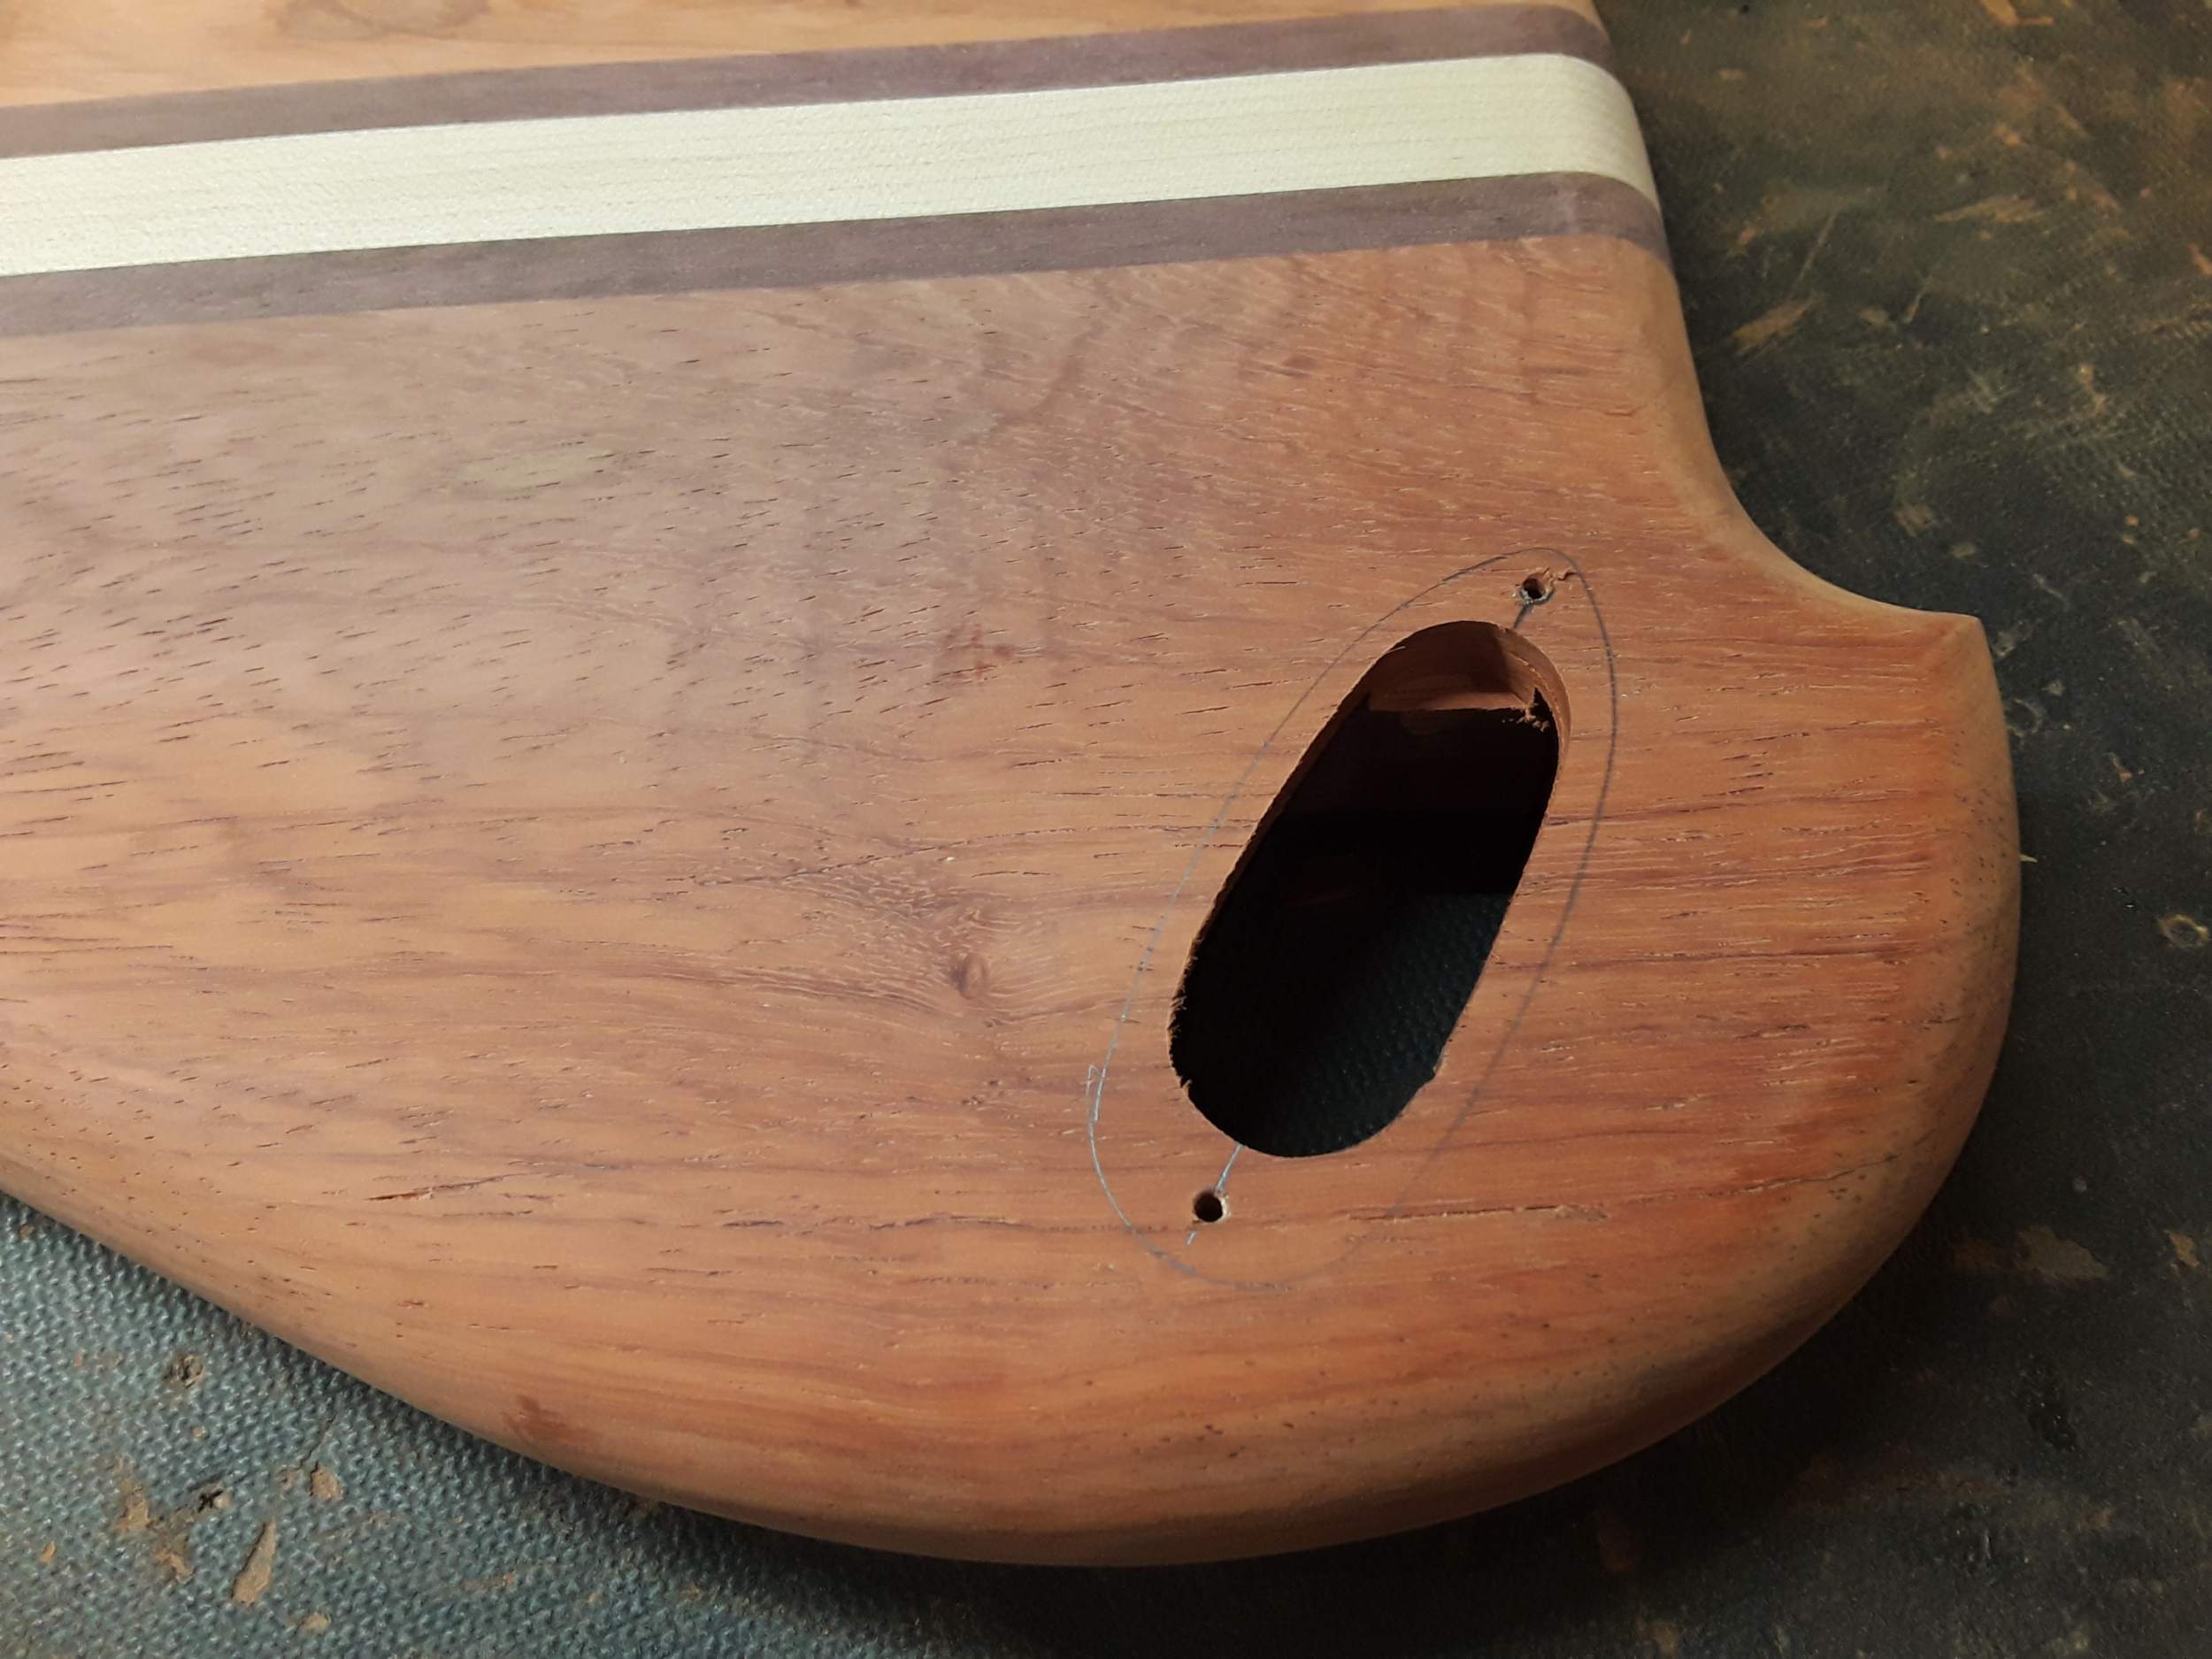
I finished off the control cover by mounting it to the dummy positive template with double sided tape (too cold out for the "trick" to work reliably) and then routing around it with pattern bit.
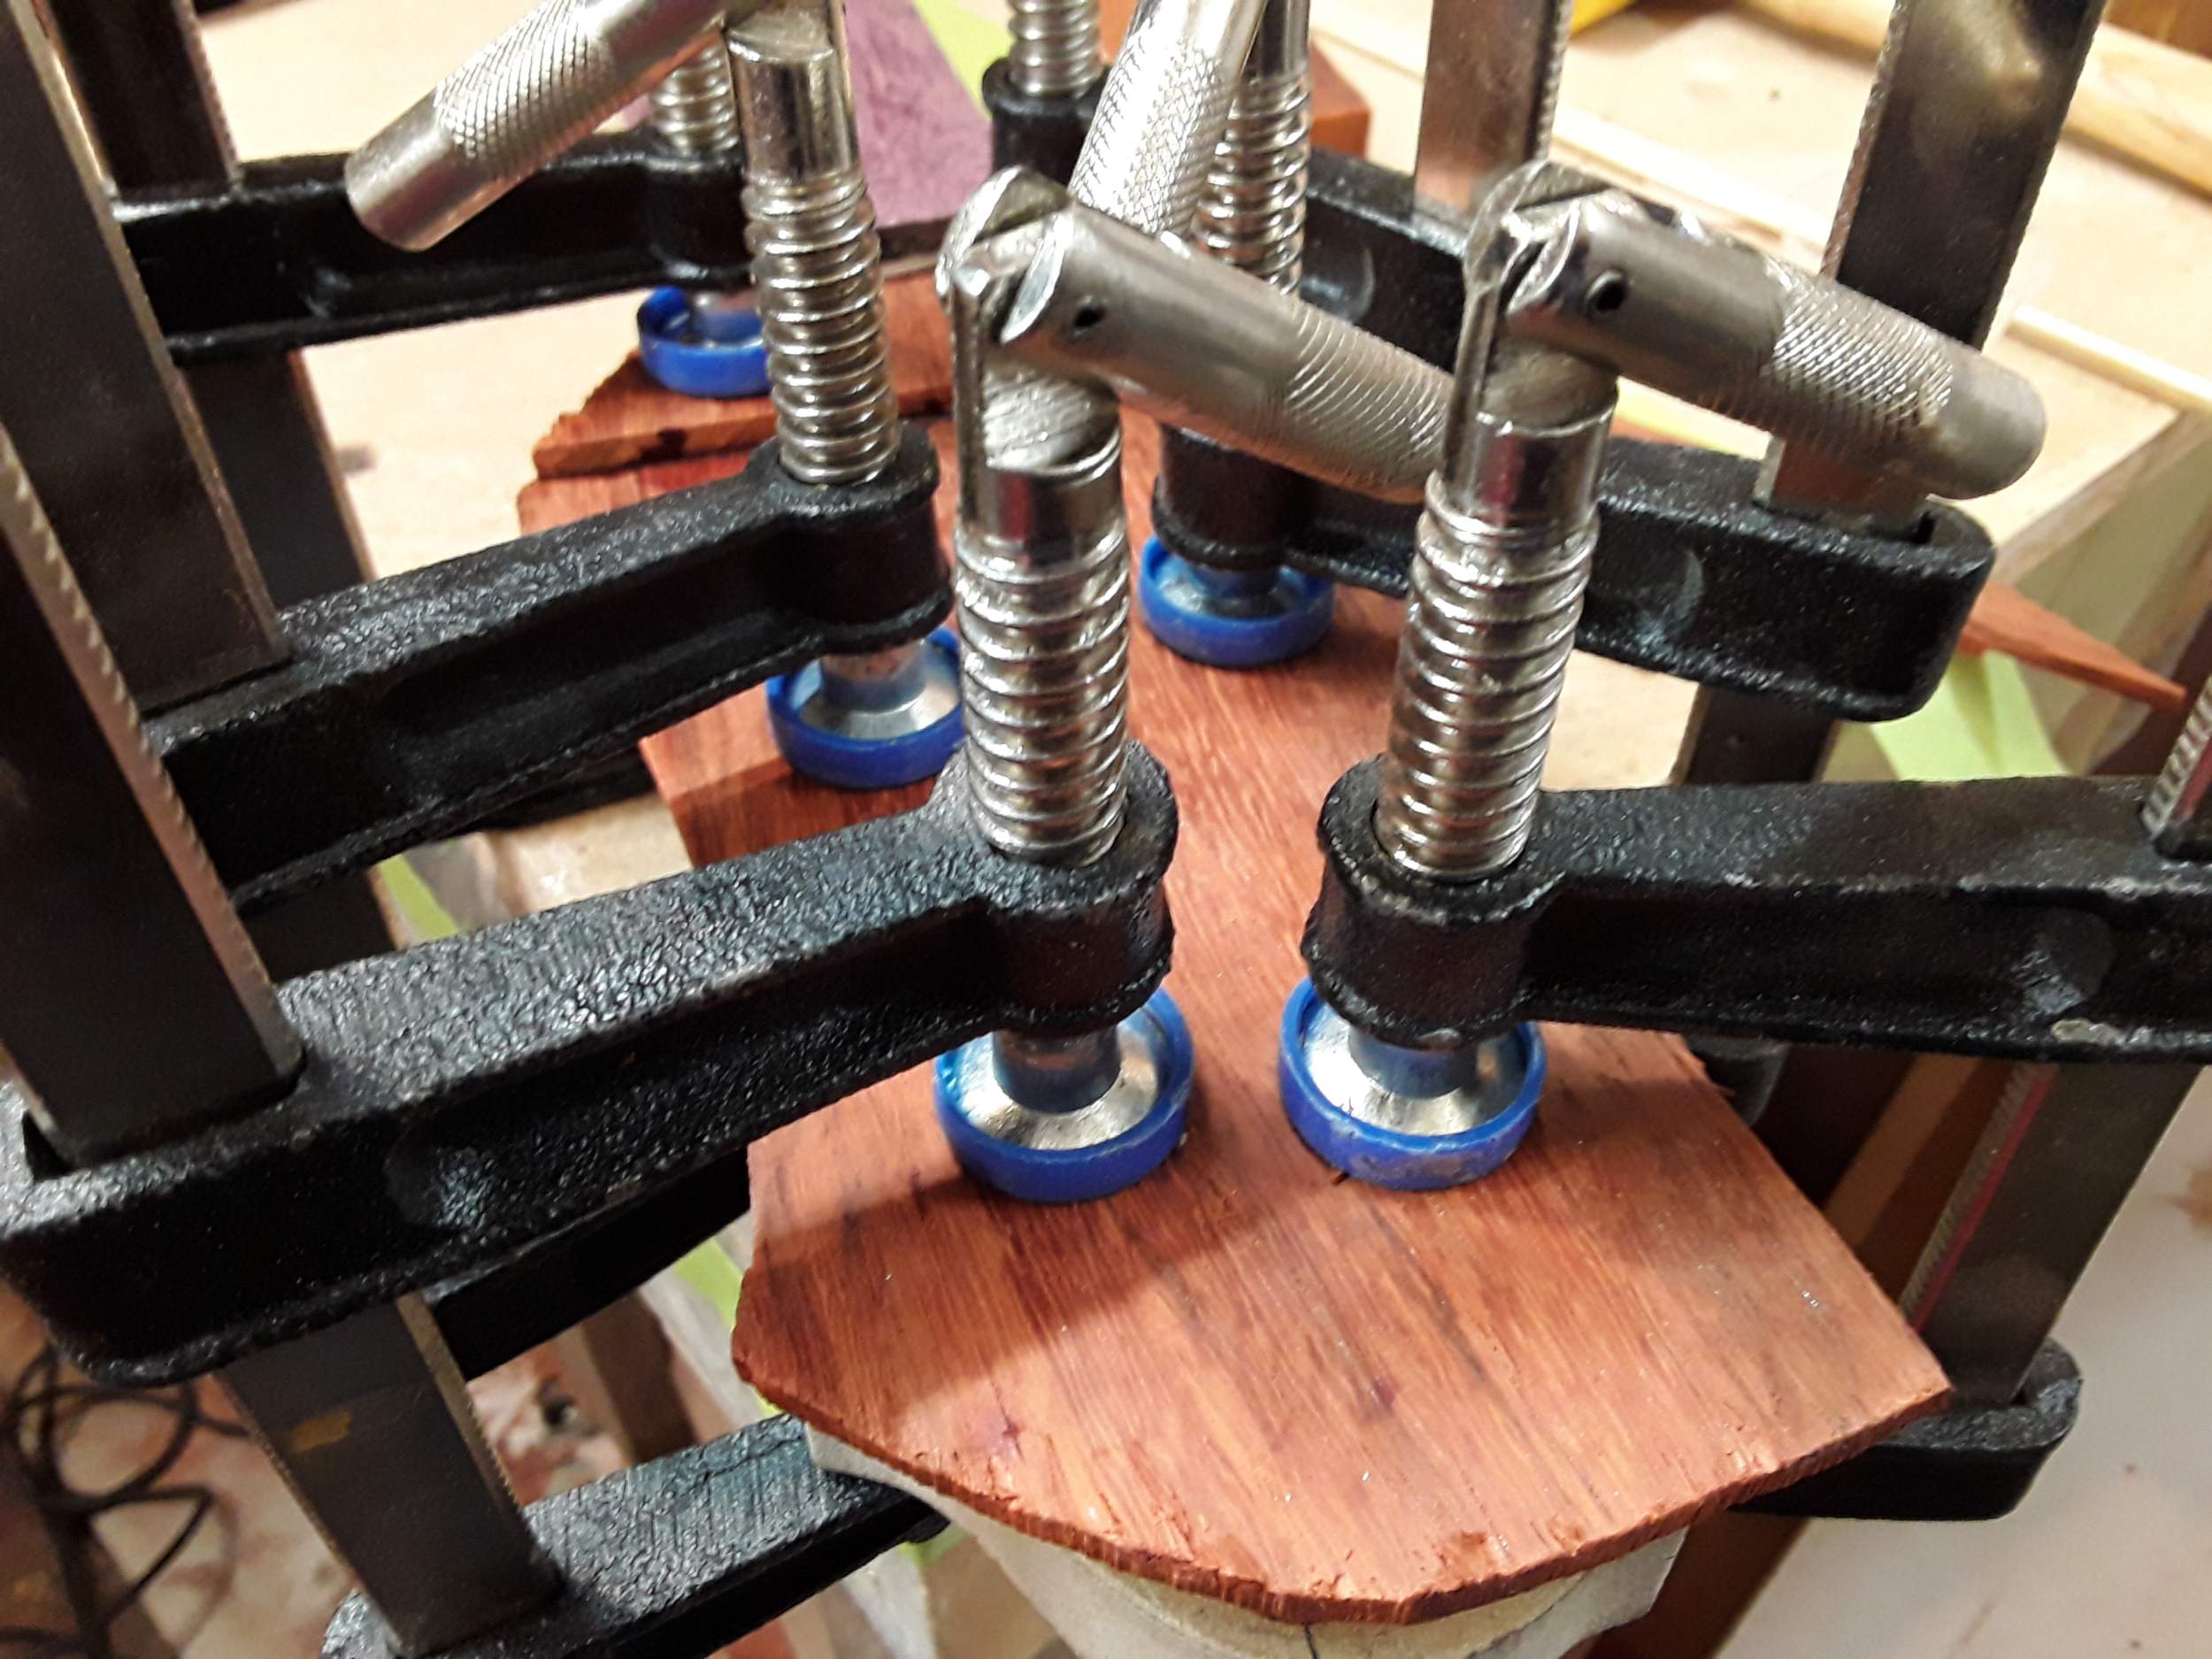
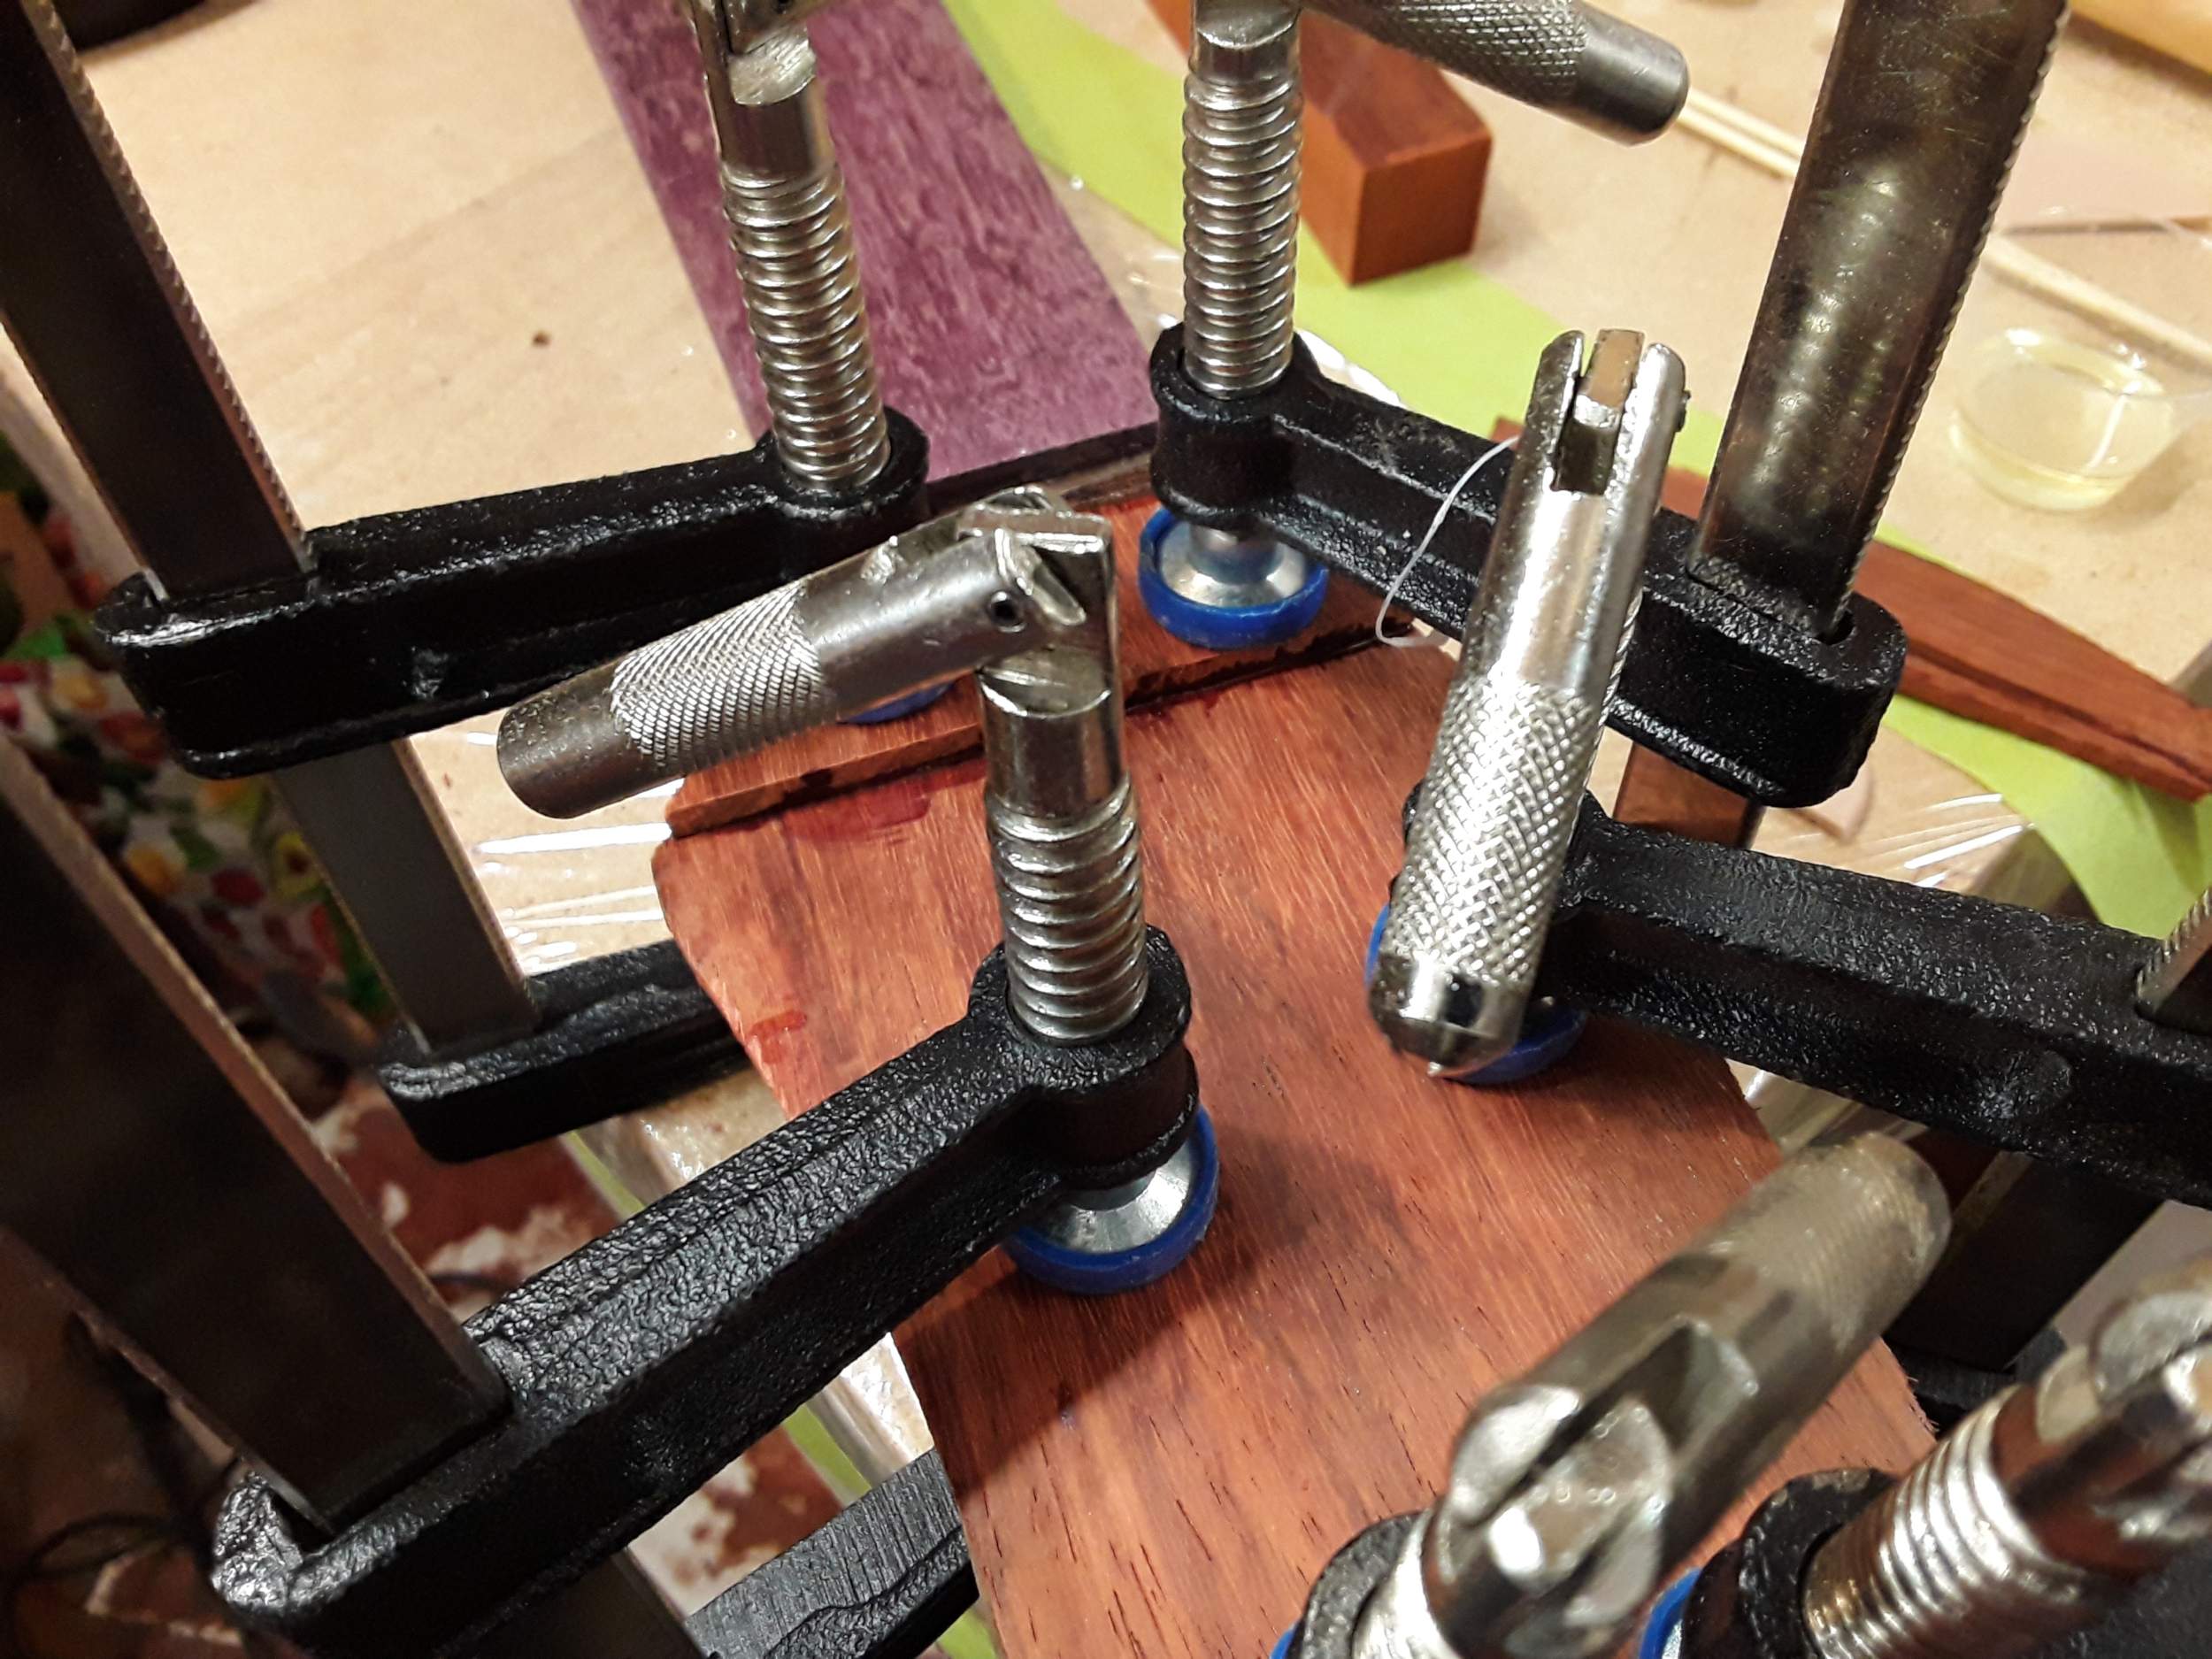
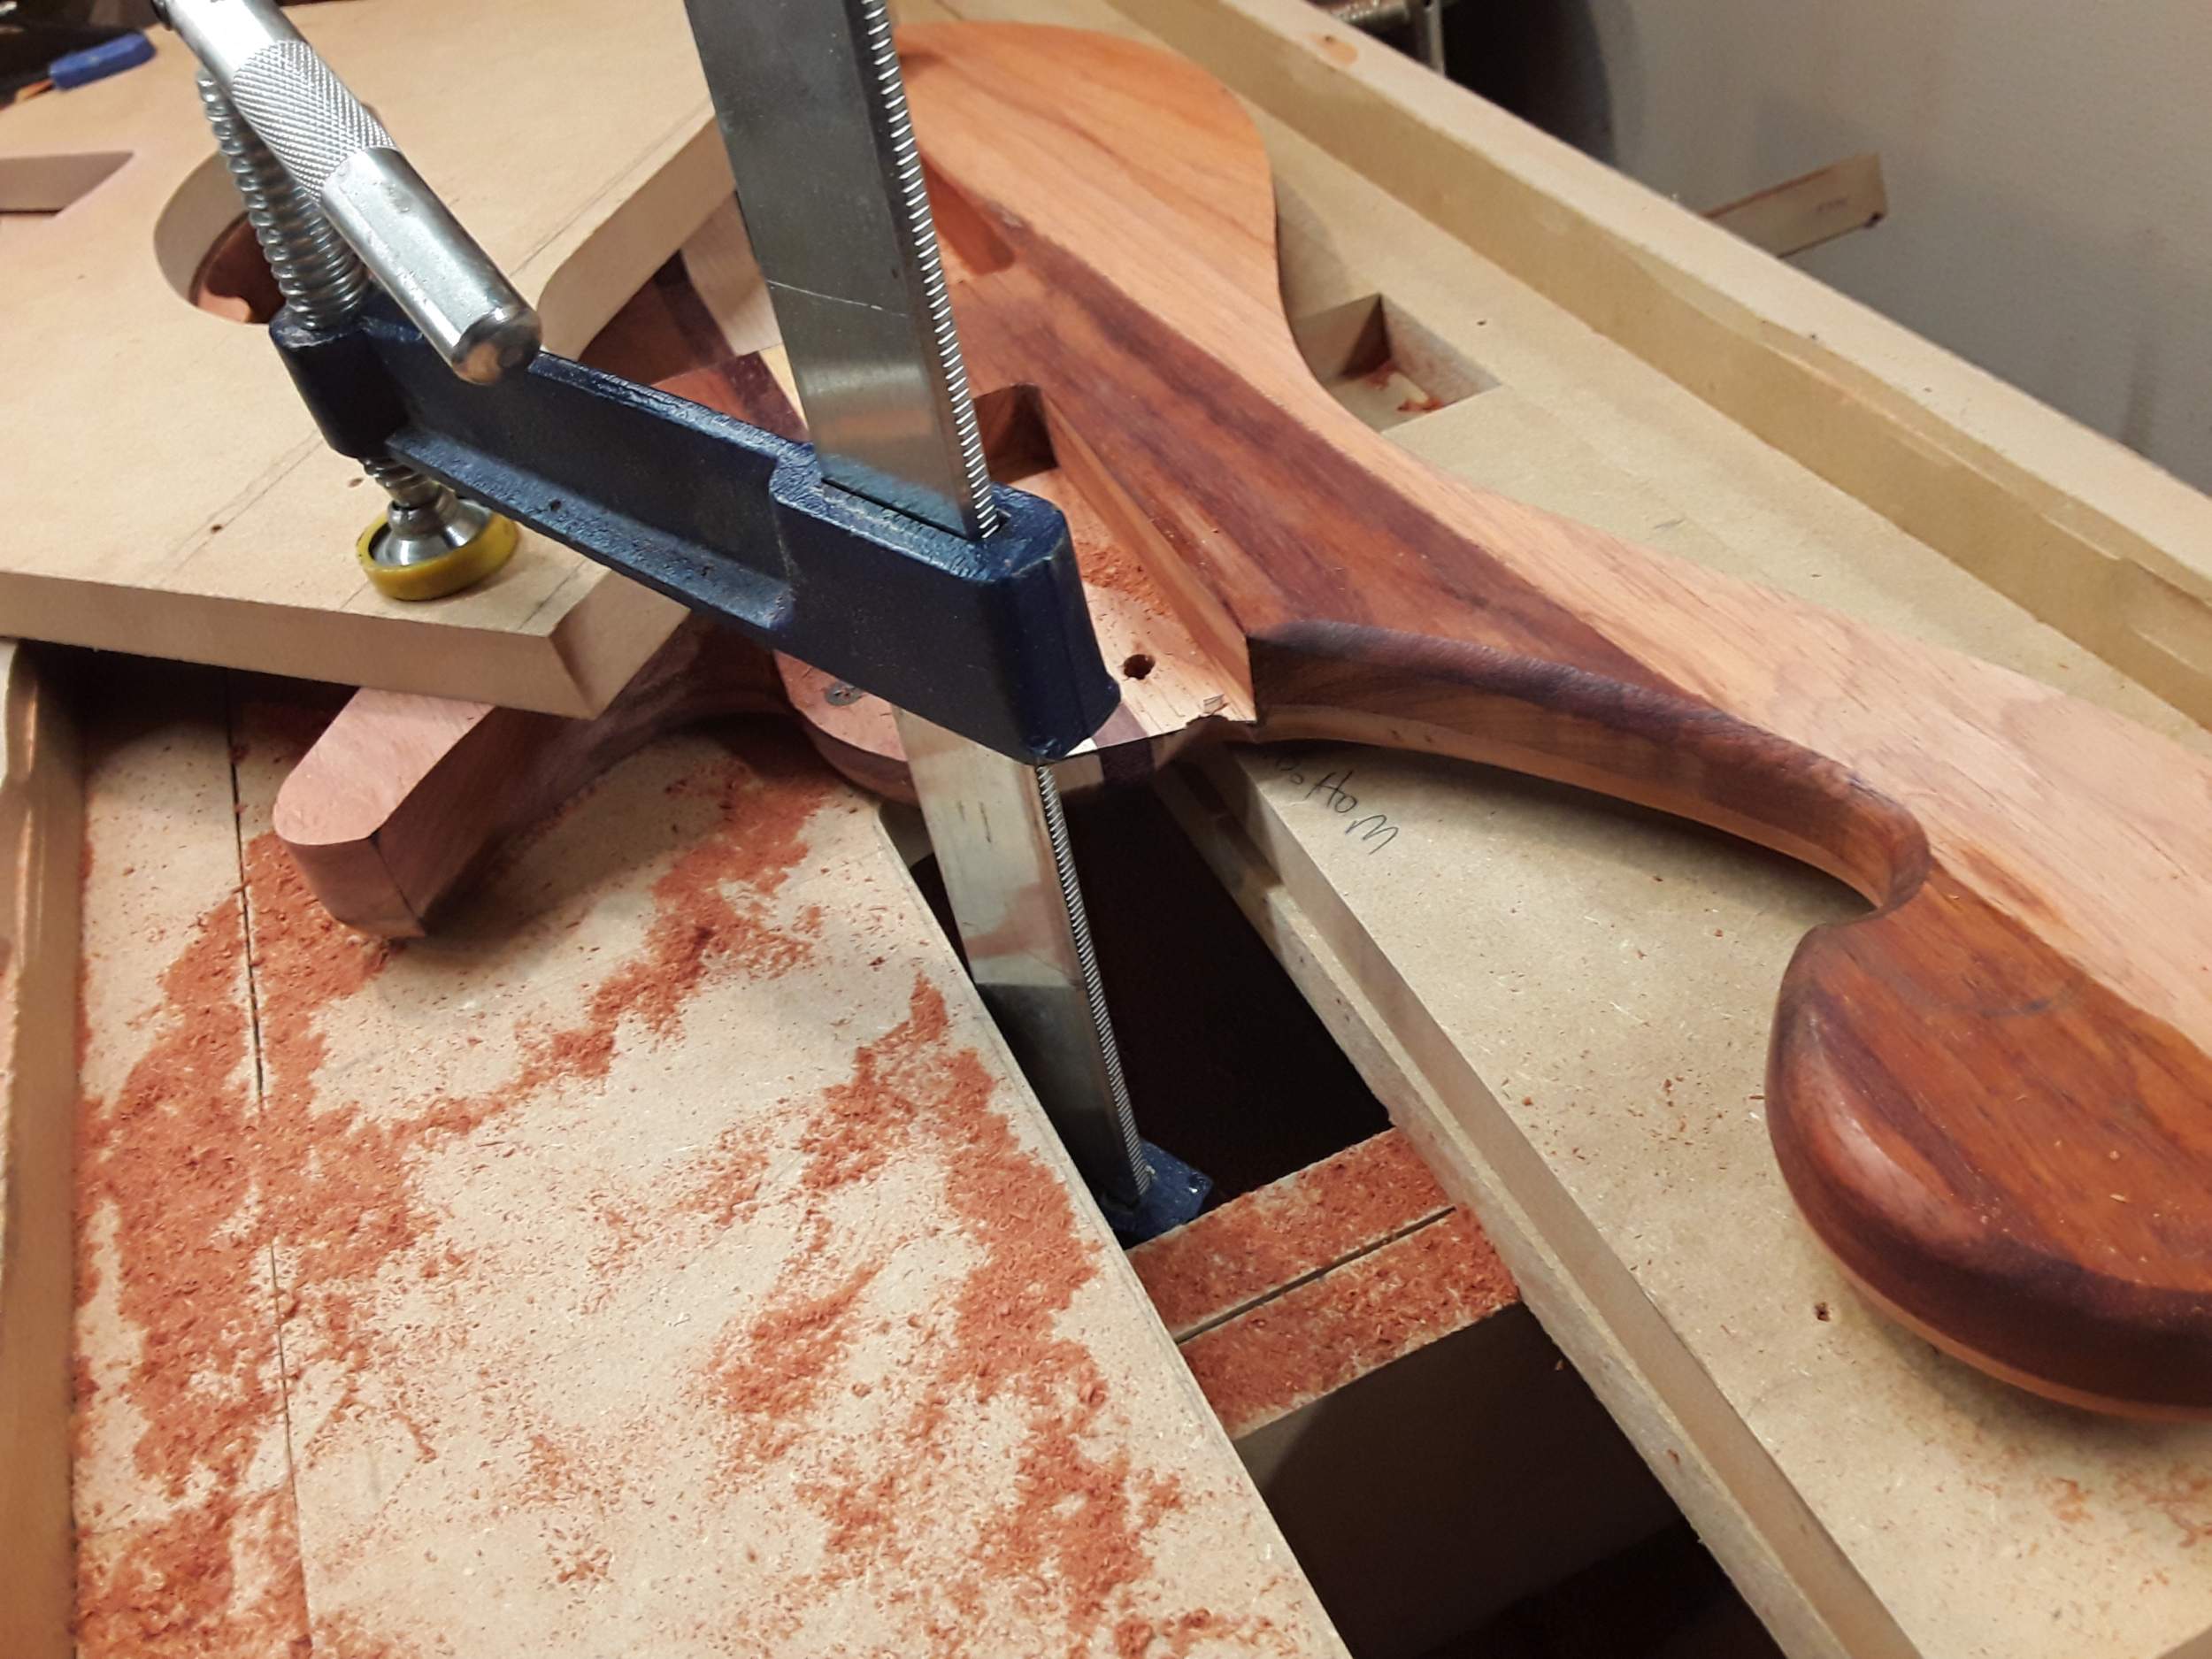
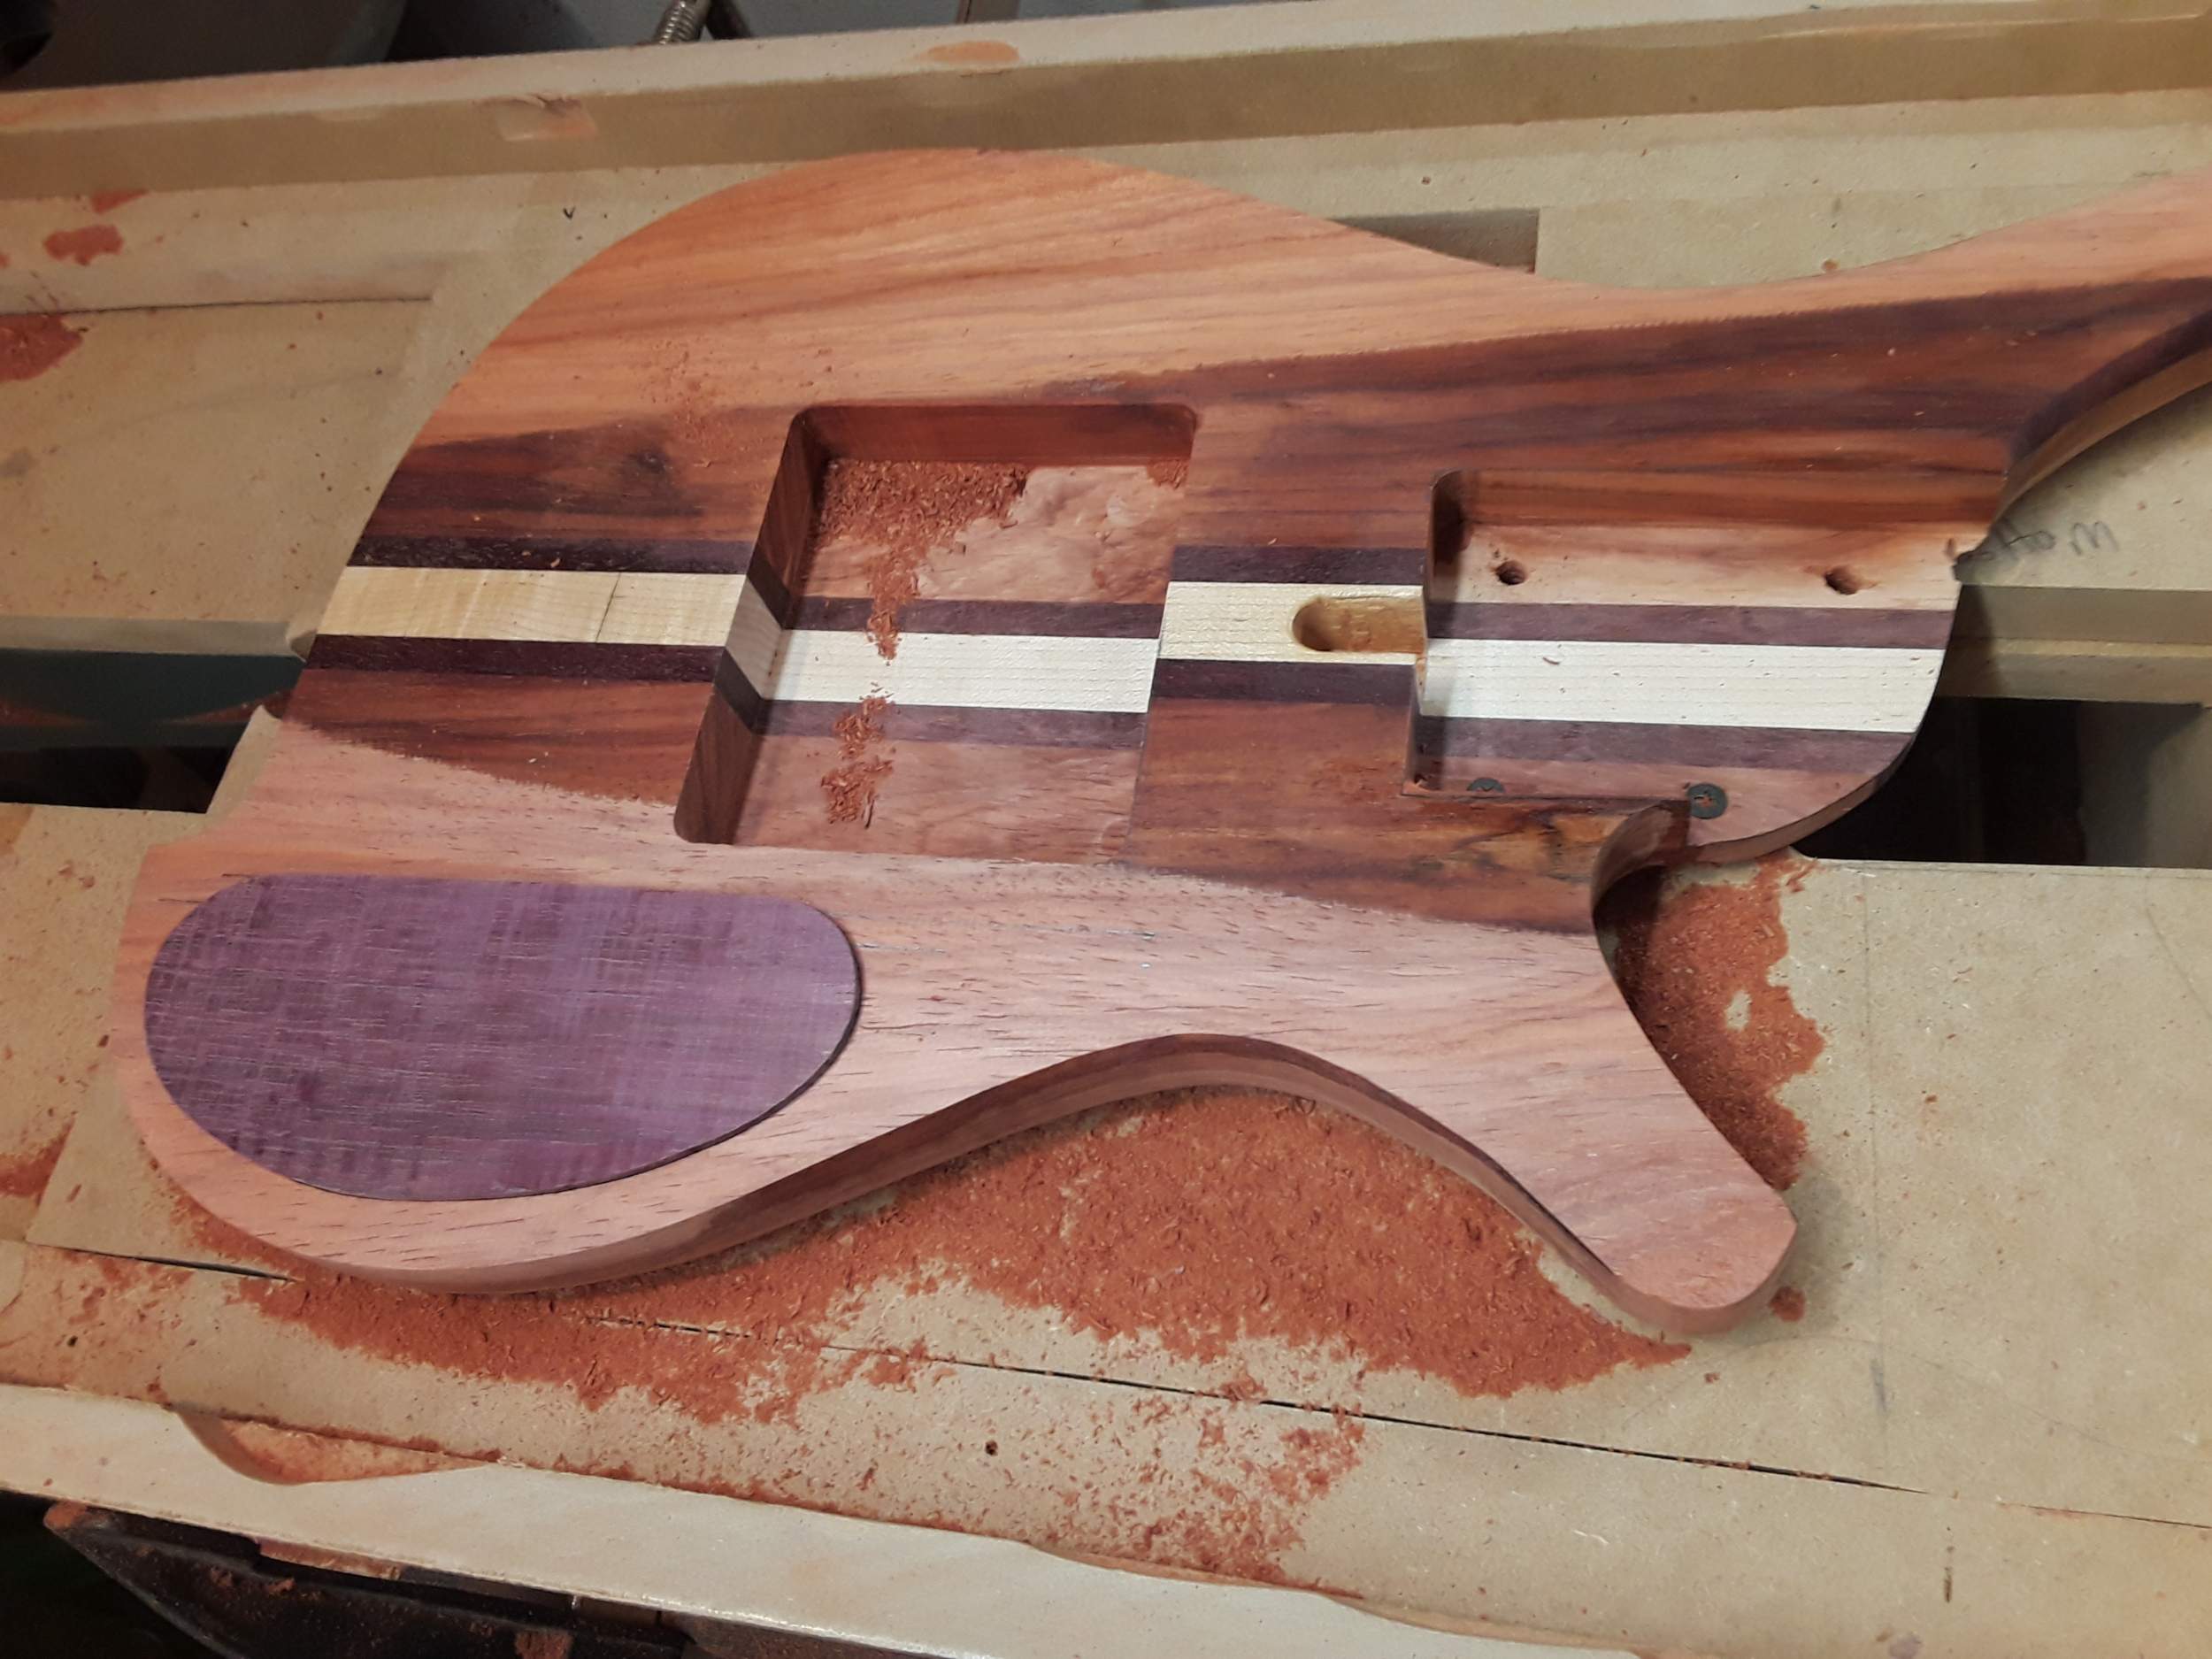
This let me start the radius on the top of the body. After it was mostly routed in, I mounted the negative template to the body with clamps.
And then routed it down to 5mm at it's deepest point. The control cover is 6mm thick at it's thinnest point, so this leaves it a bit proud in the deepest area and can be routed flush with the top.
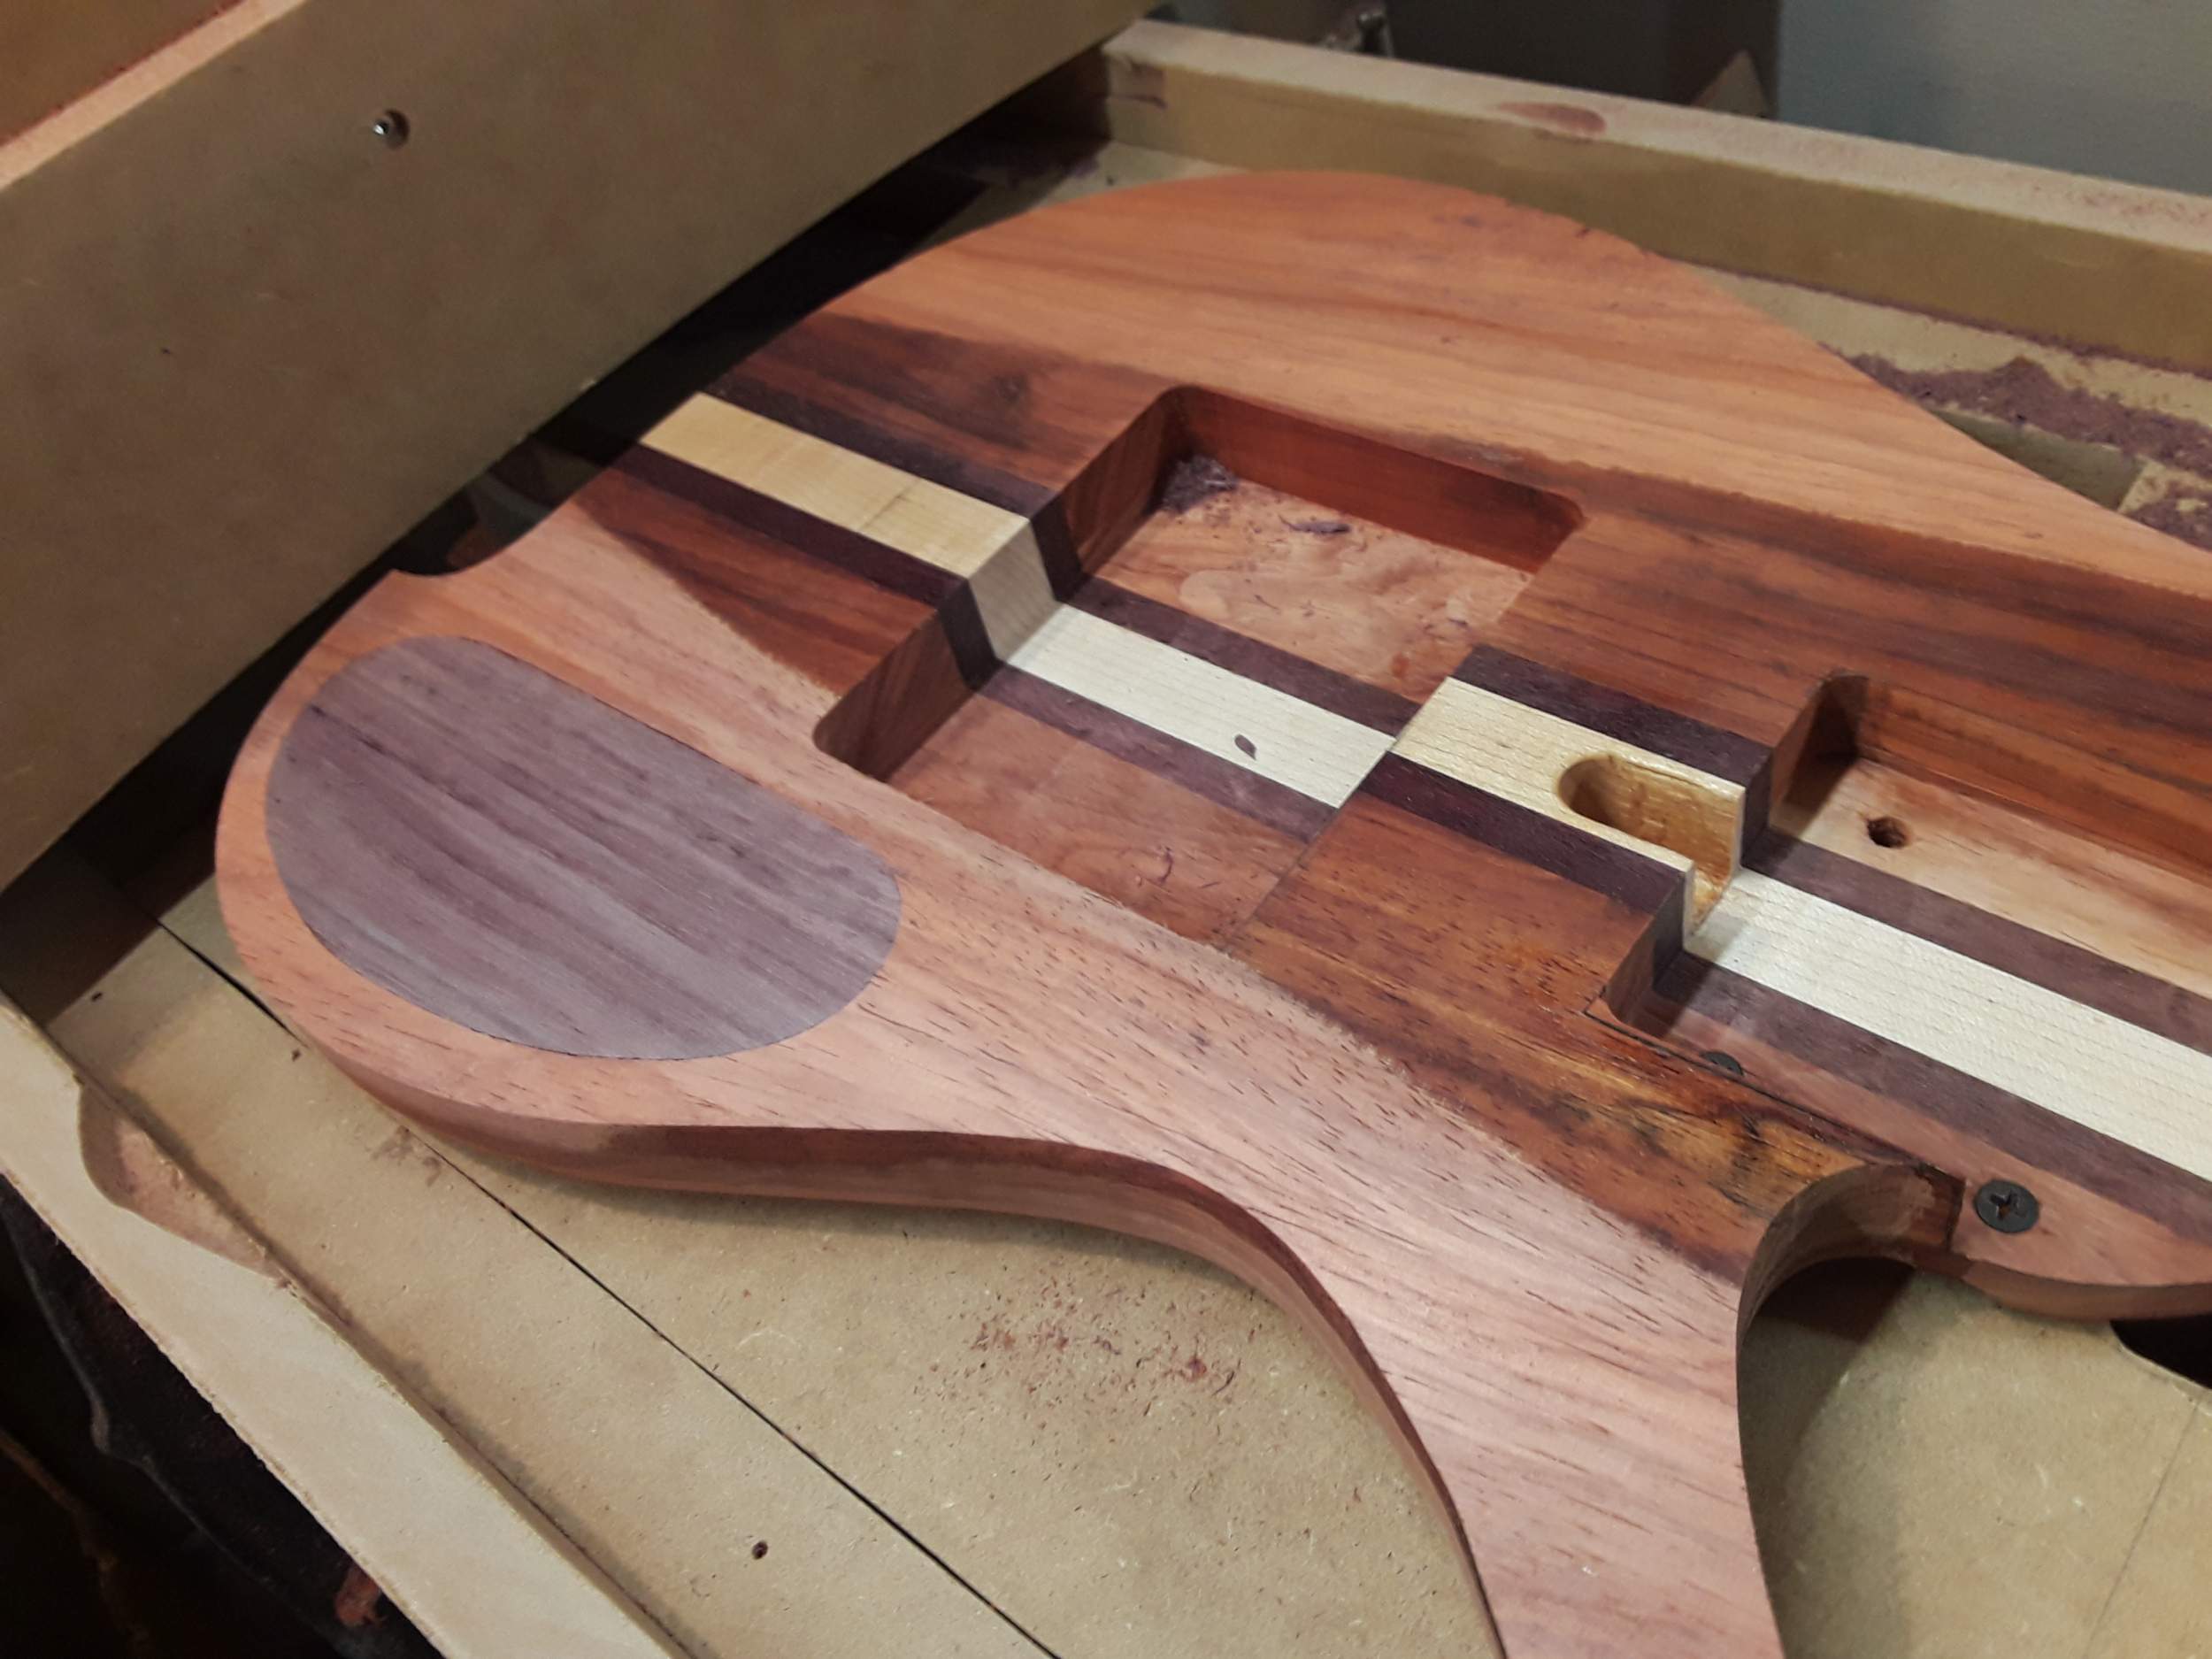
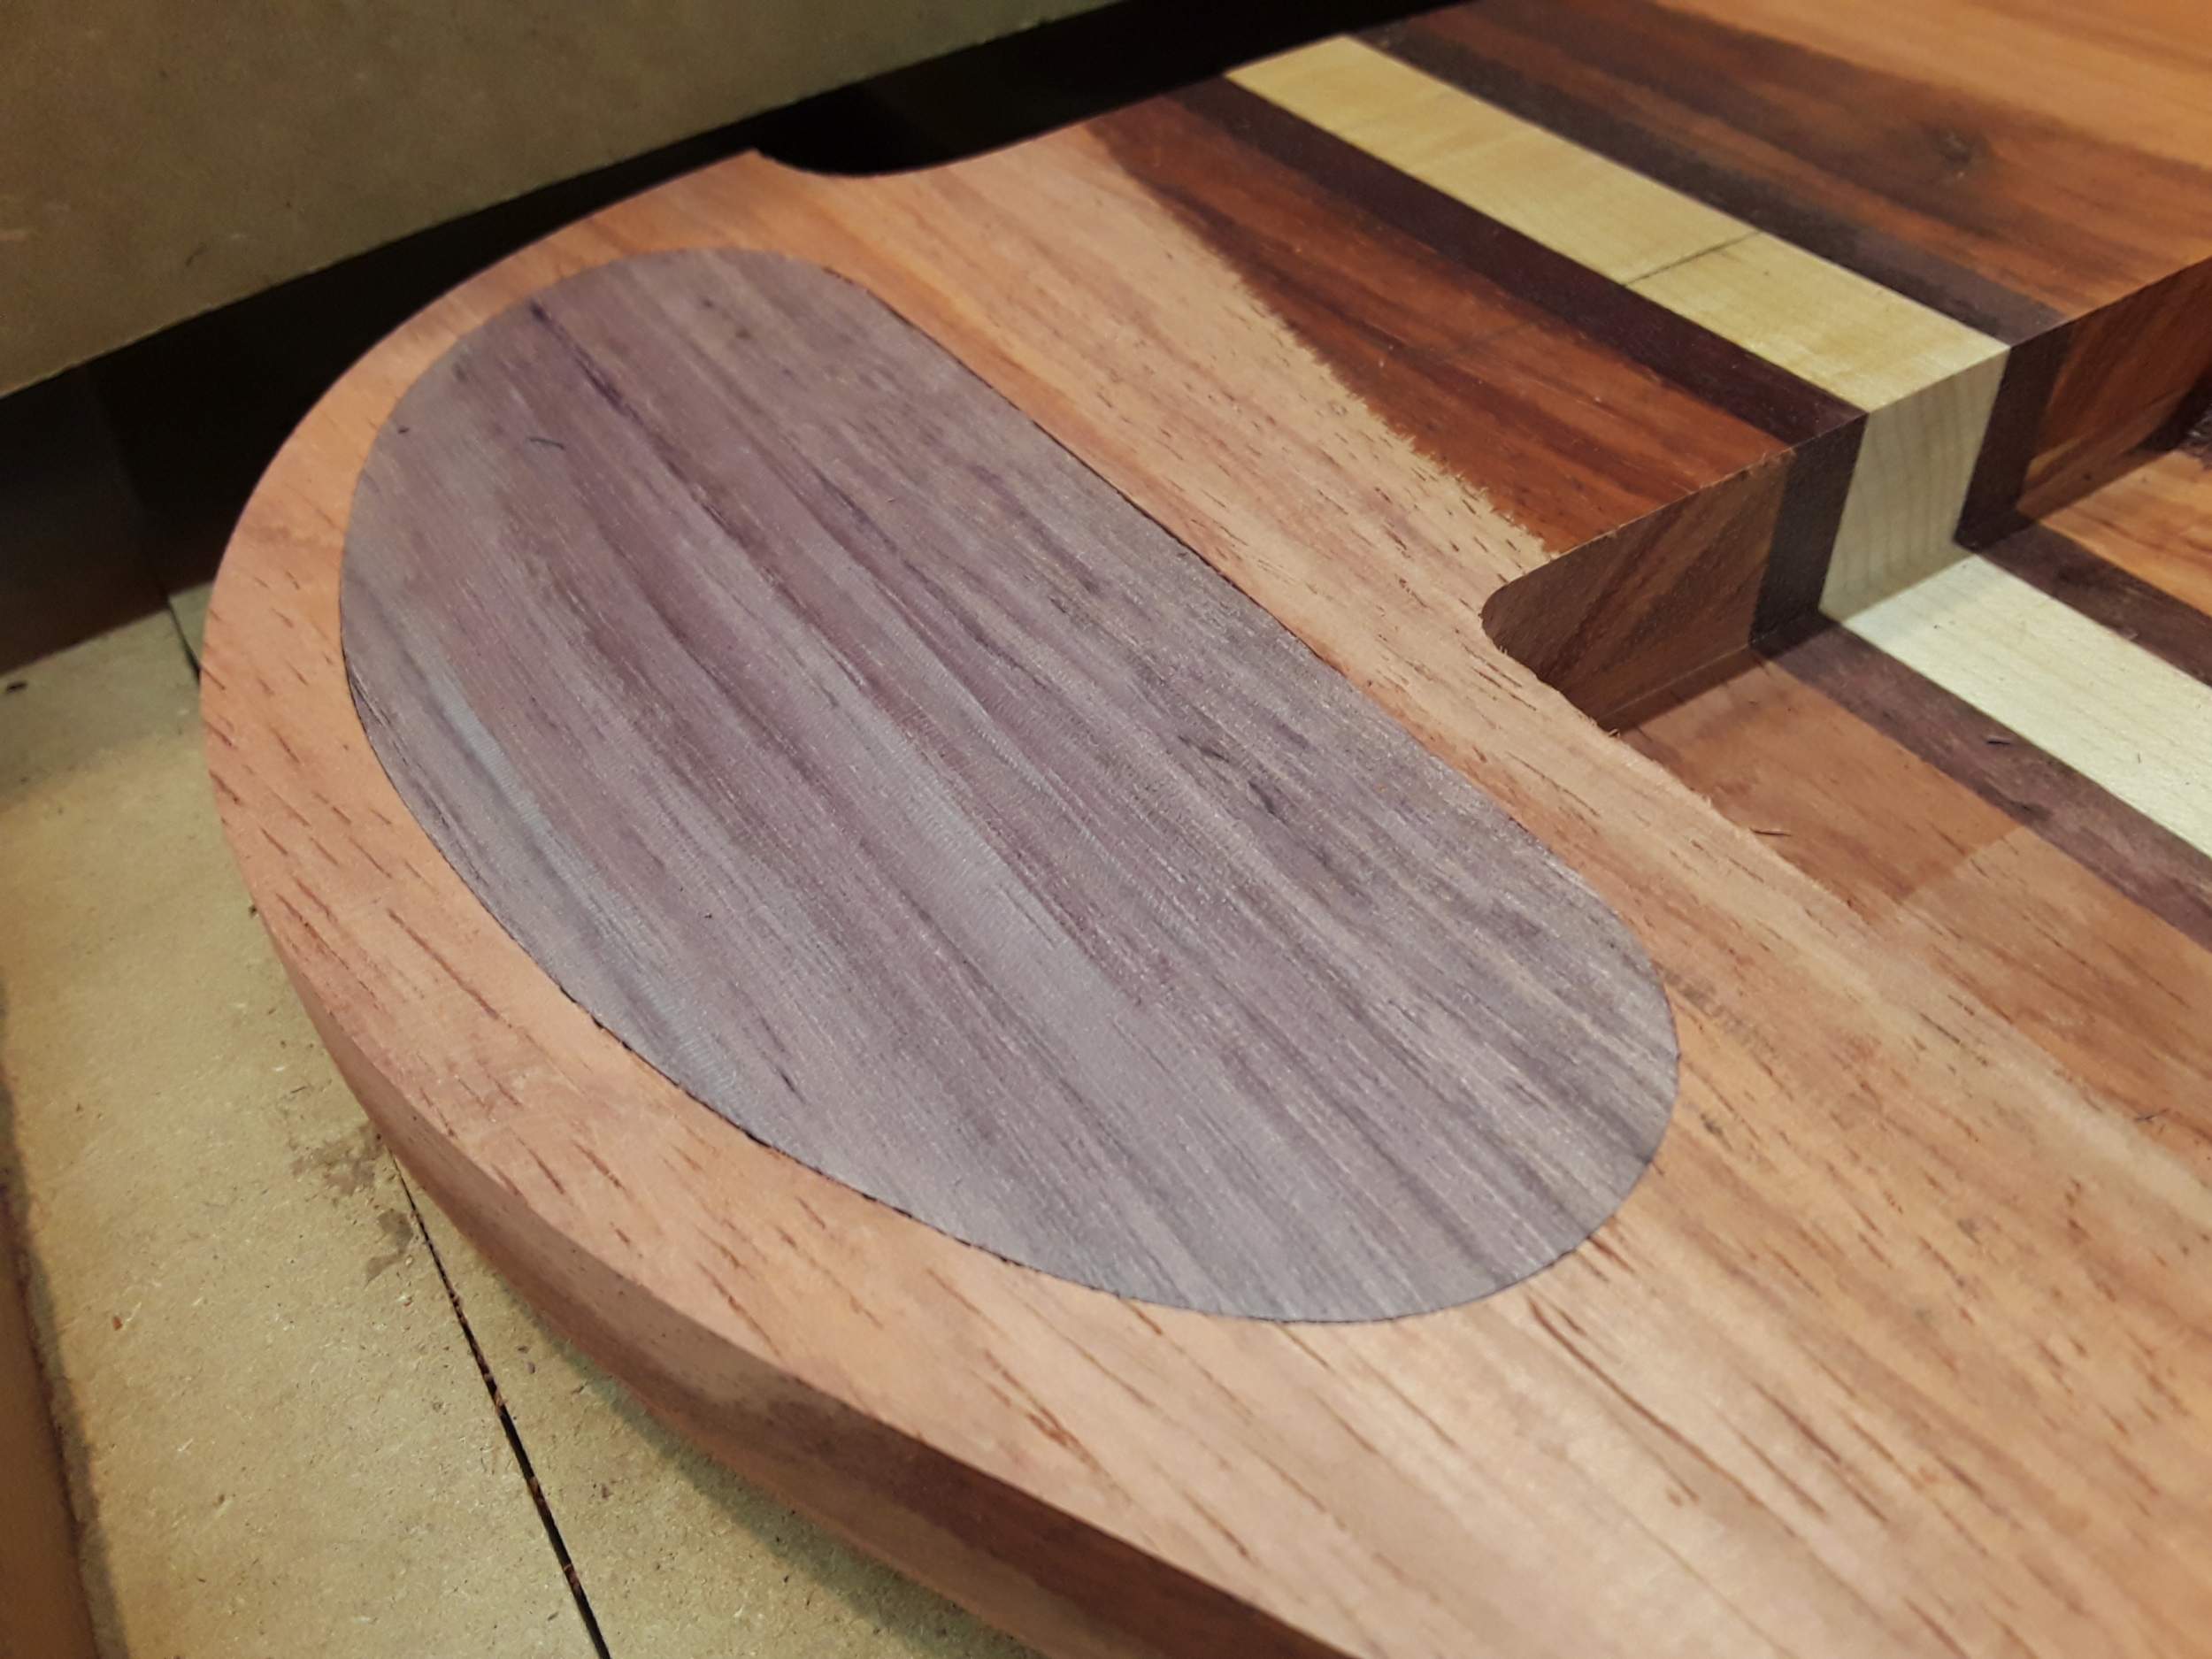
Then I stuck the cover on with a couple of drops of CA glue. It's a little proud here, but at inconsistent depths due to the radius top.
Then I went over the whole thing with the radius routing fixture and made it flush with the top.
After that I ramped up the neck area of the body to raise it up a little and did a little more radius routing. You can see in the pics above that the radius does not uniformly go from the tail to the neck. Lifting the neck area made this more consistent. However it appears I didn't take a pic.

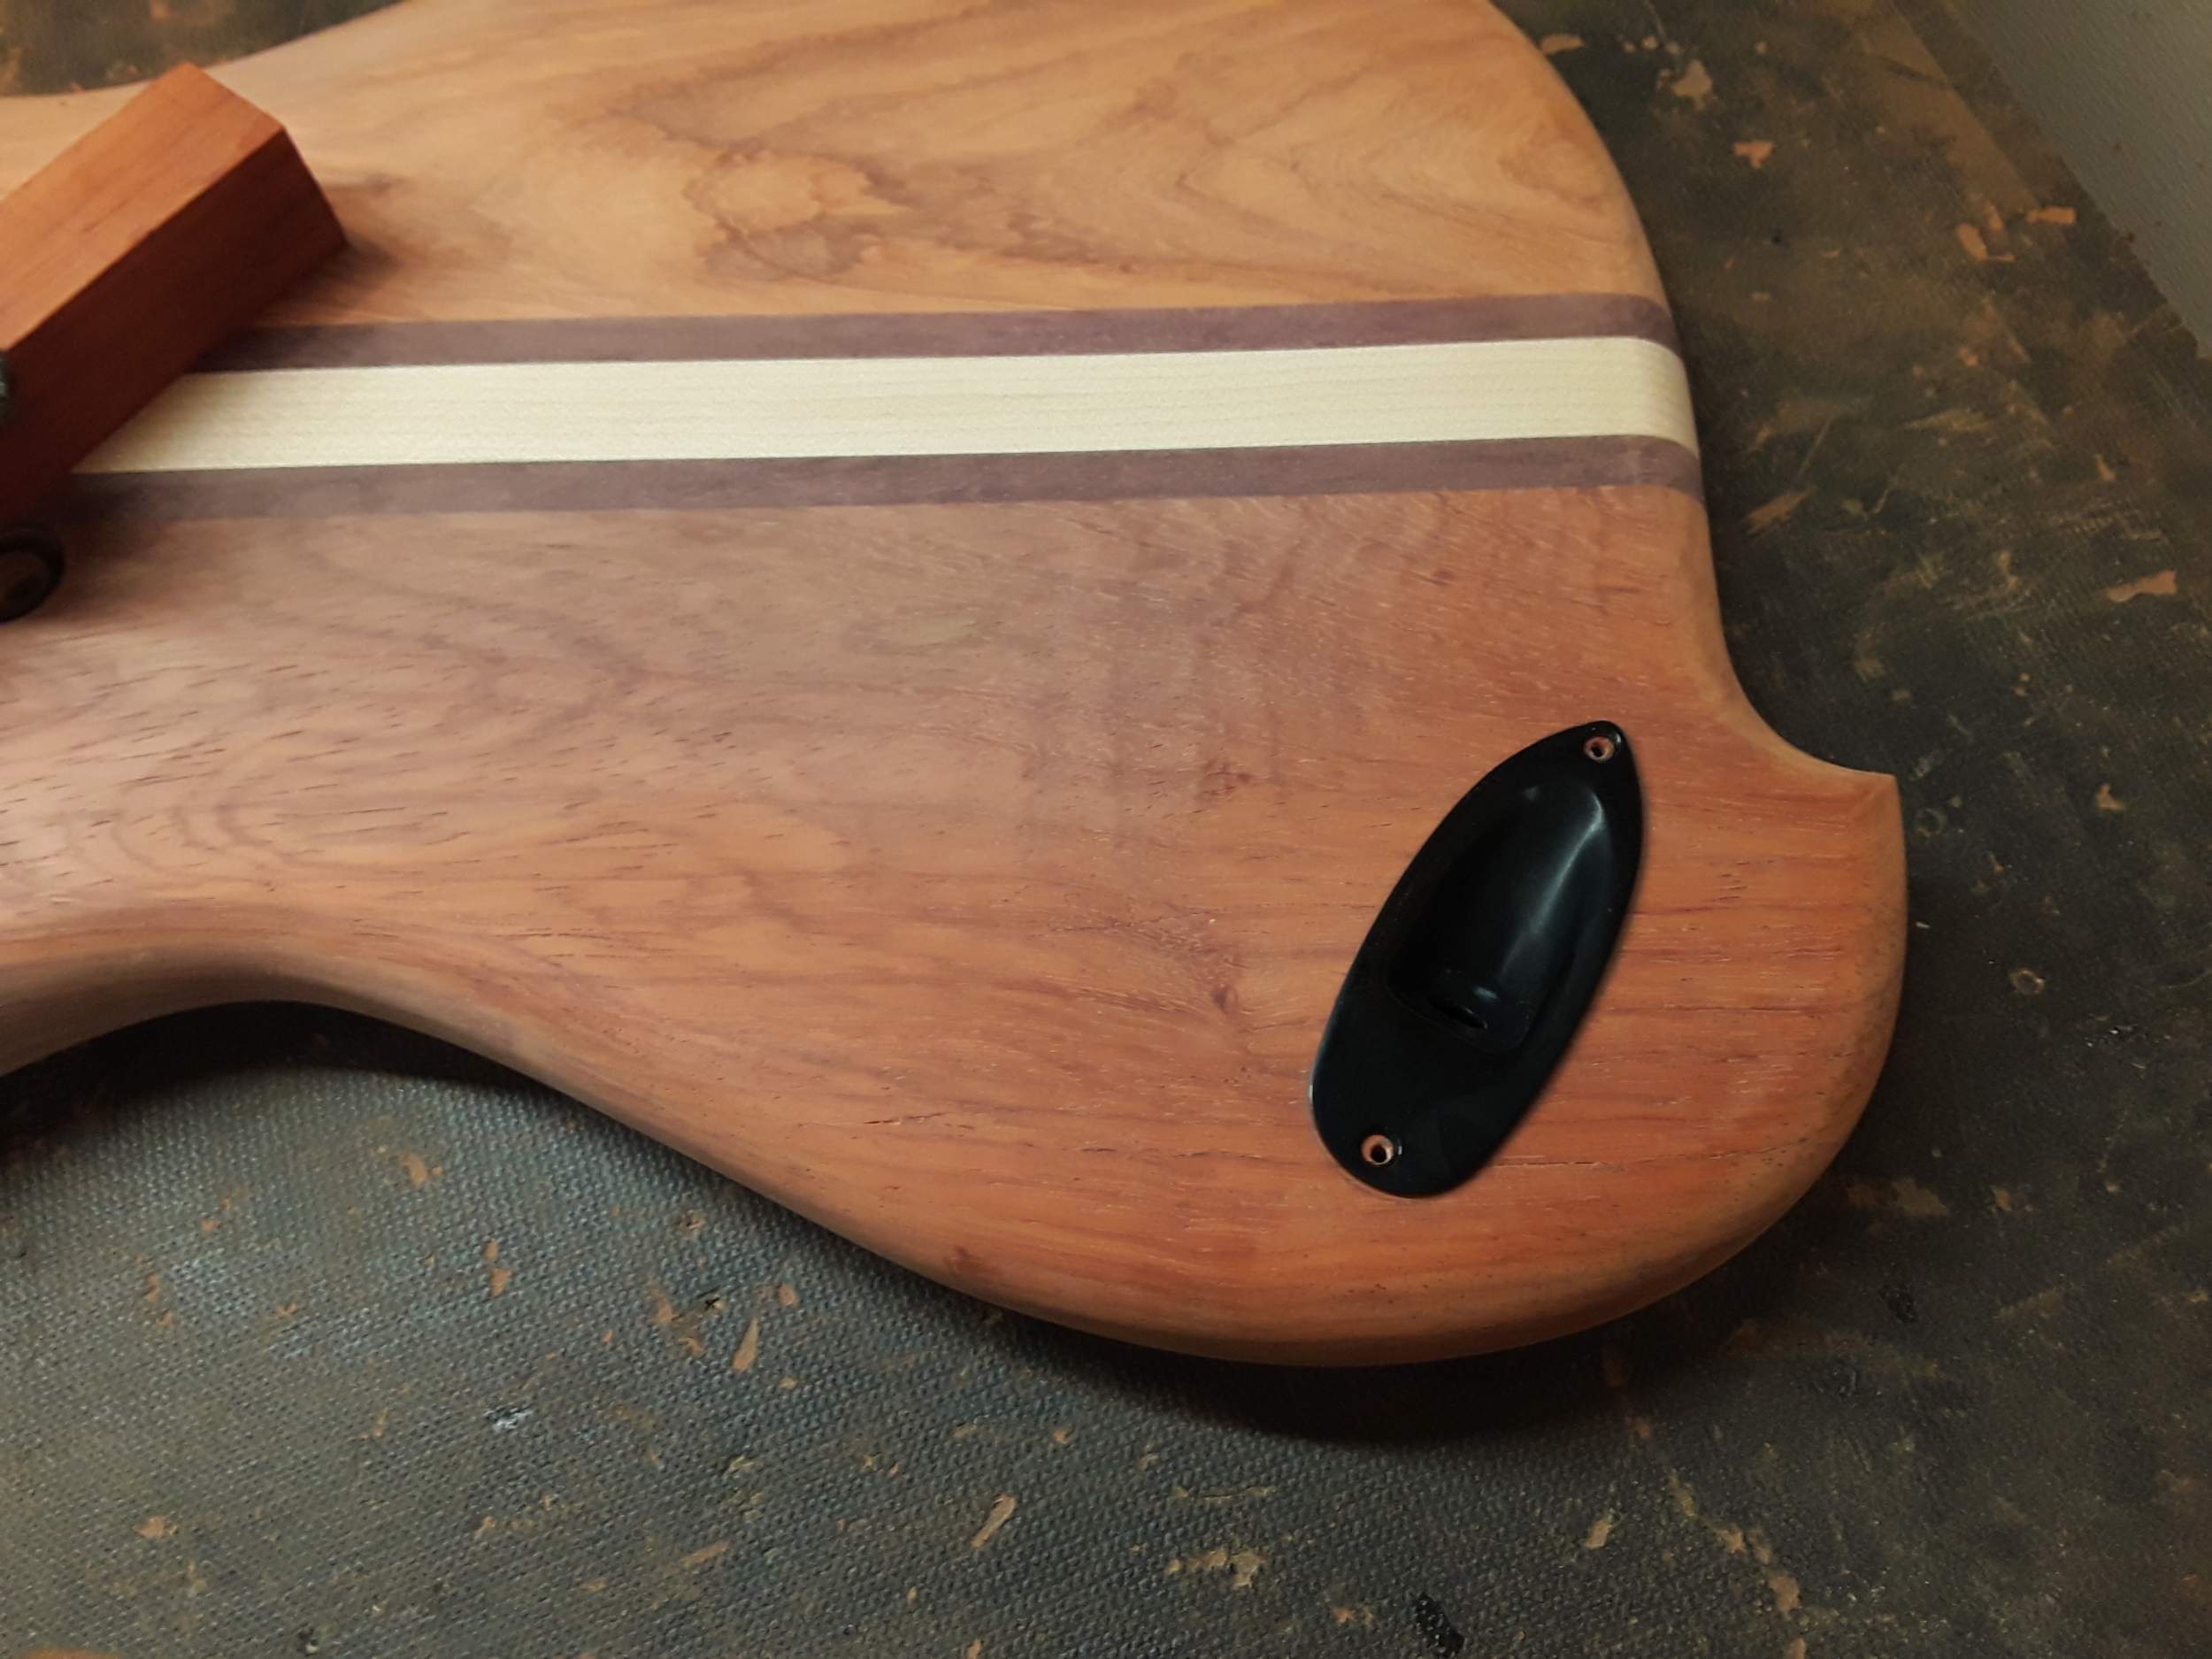
Last note, there is a hole in the back of the body that I pushed a long hex key through to pop the cover off. That hole will be routed out when I mount the strat jack on the back.