• TalkBass has been independent since 1998. Add your voice.
    Create a free account to reply to discussions, view embedded media, and browse with fewer display ads.
    Join freeLog in
    Want zero display ads or expanded classifieds tools? Compare plans.

Winter Build Off 2026 - 18 Years in the Making

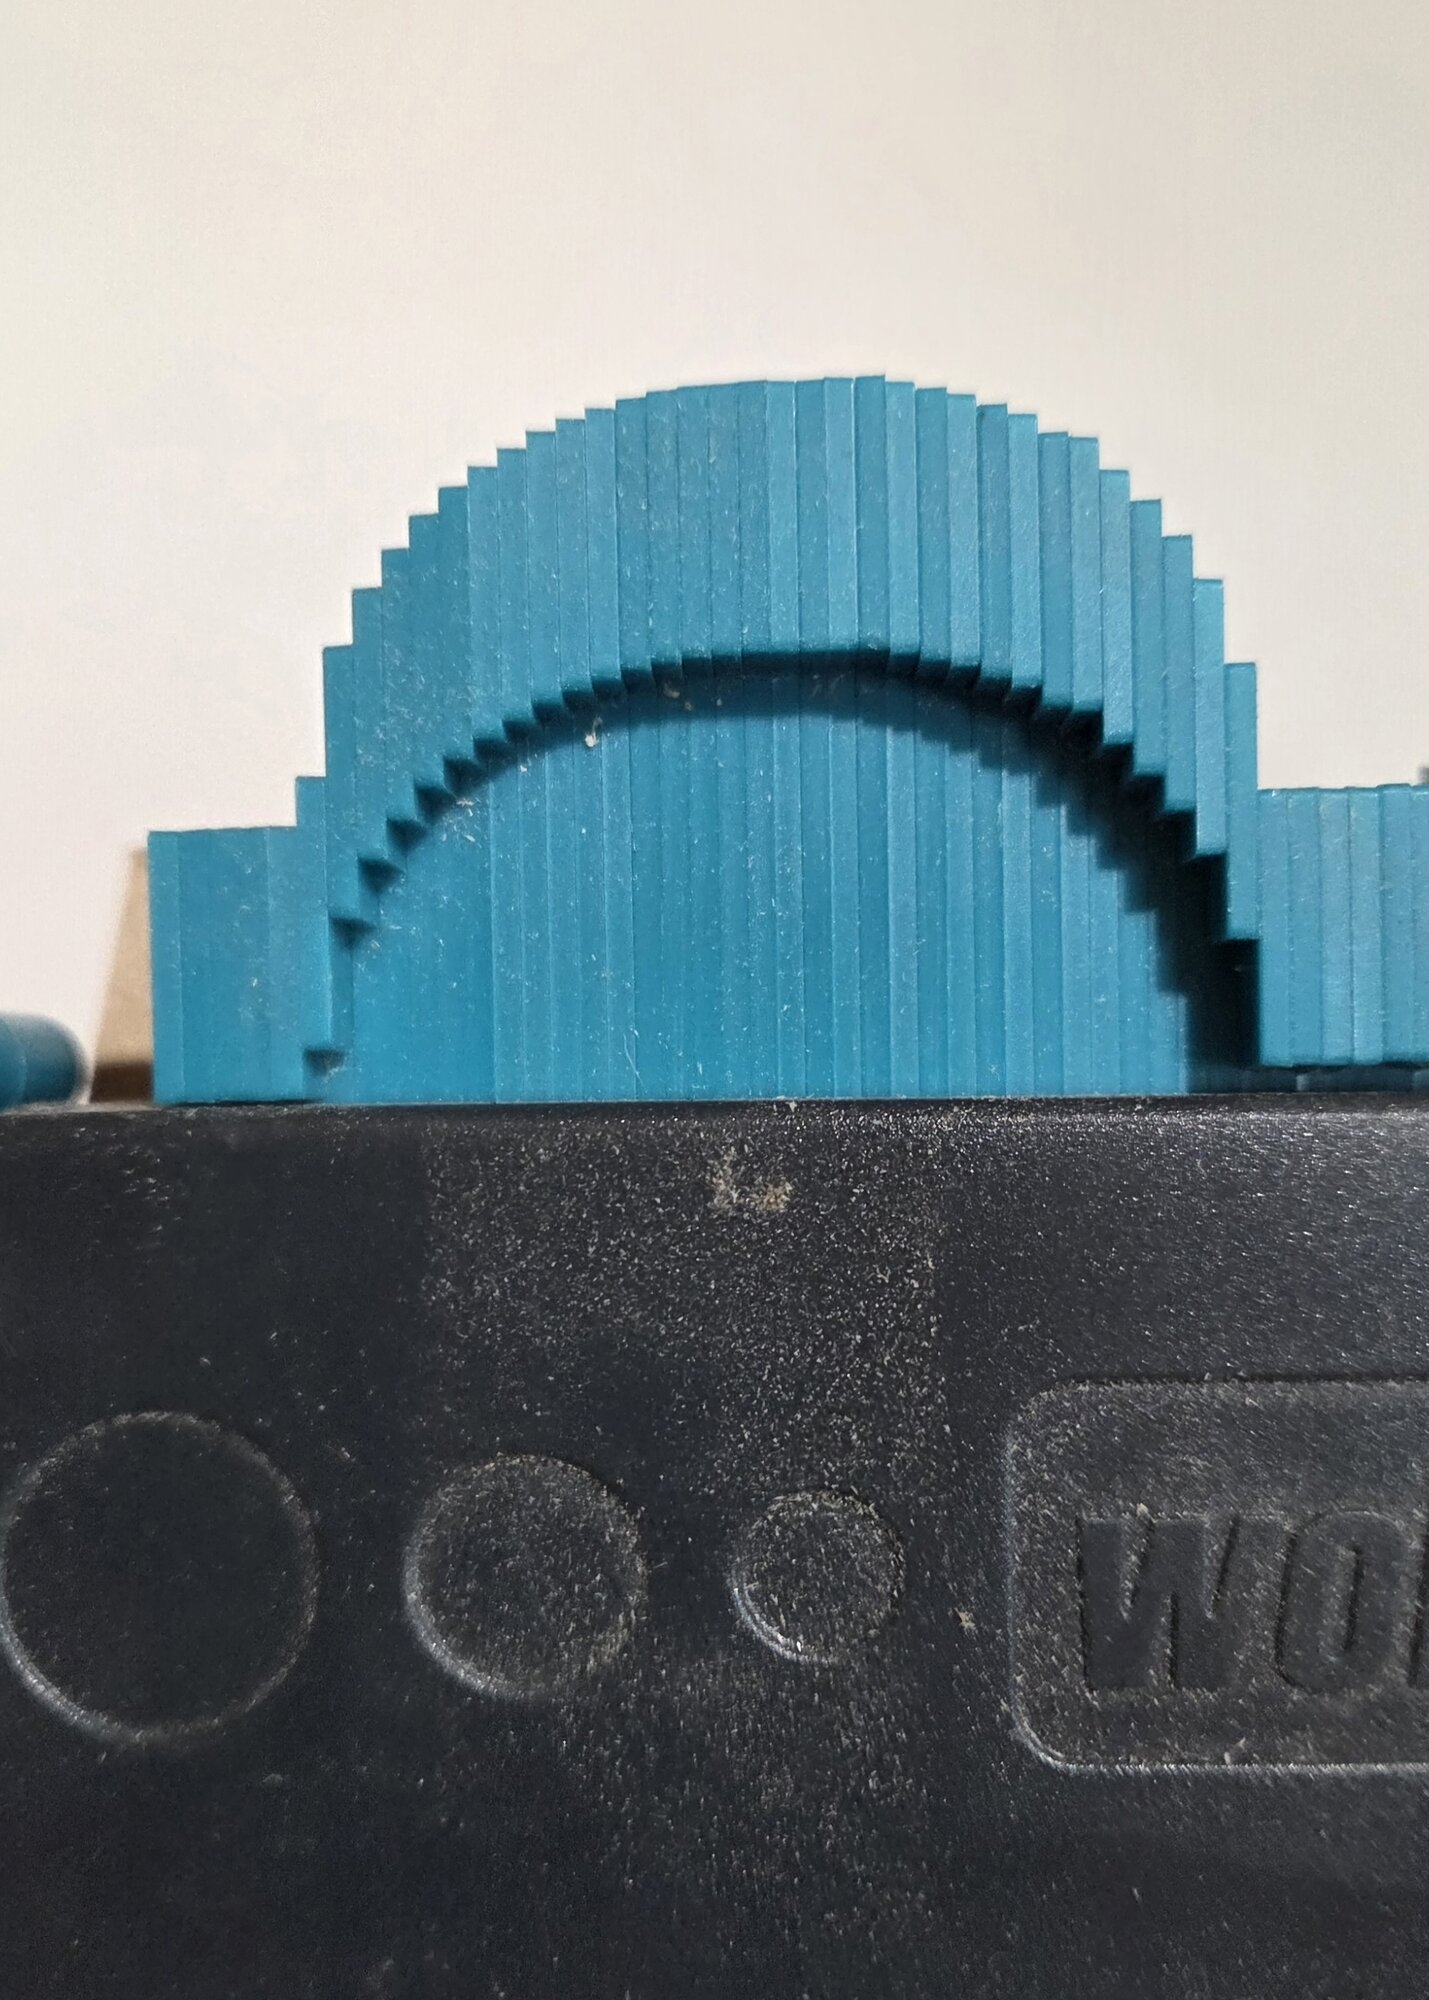
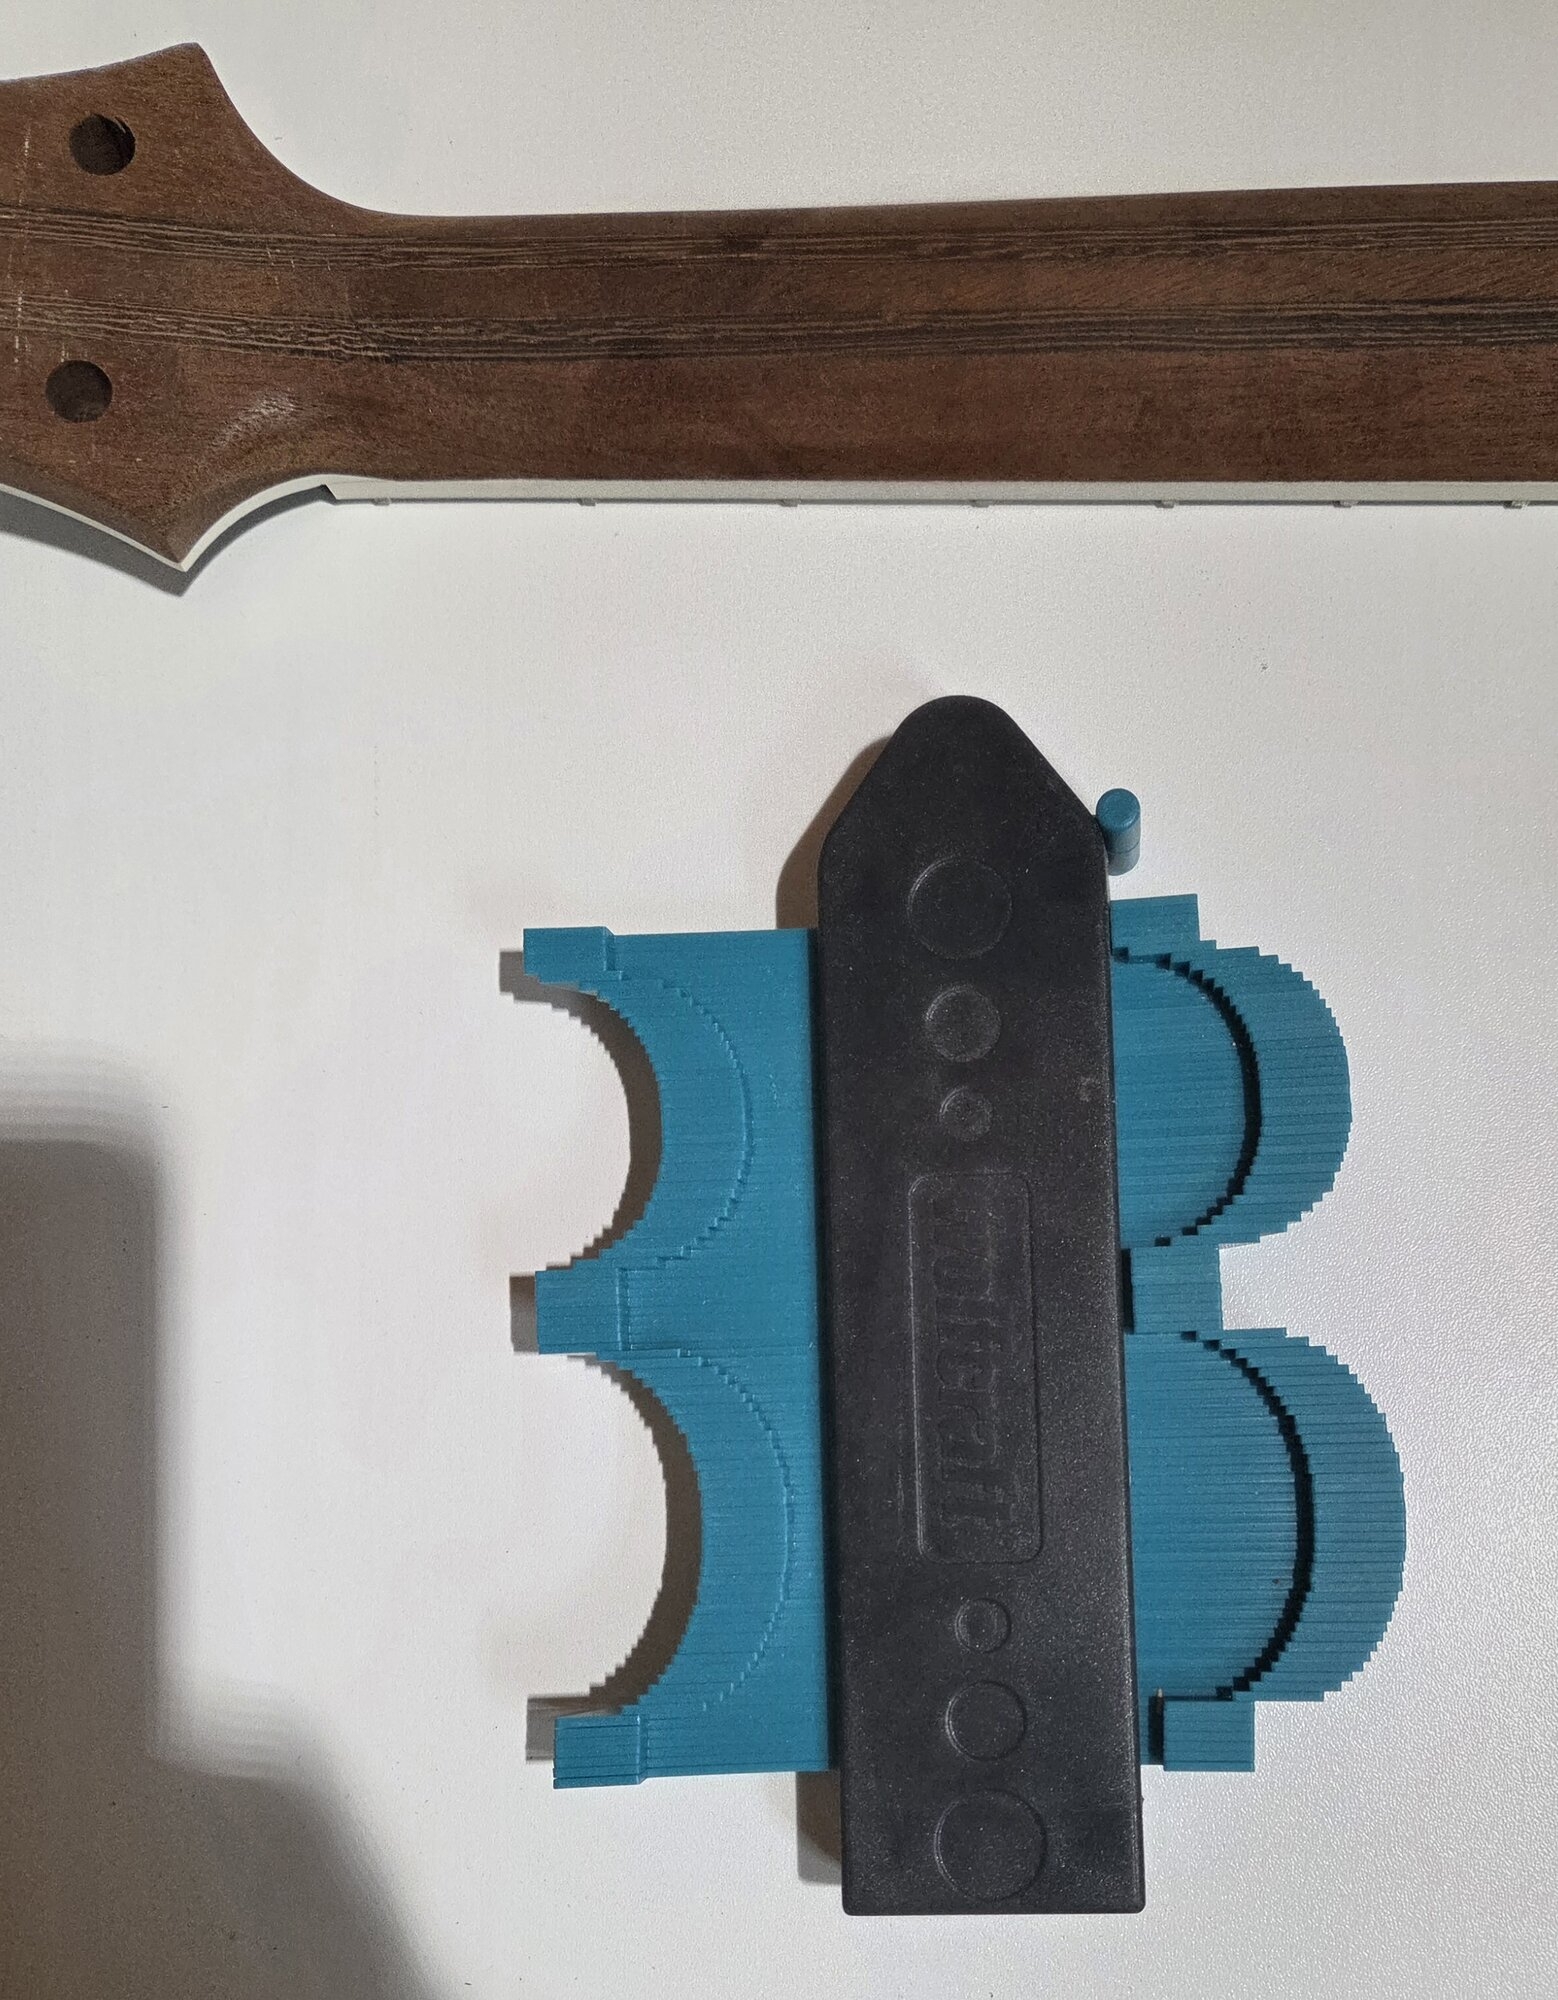
I also studied the neck a bit closer. It's kind of ready for final sanding. But there are a few issues.

The neck shape is quite nice at the 15th fret. However it's a bit too D for my taste at the first fret. The first fret shape is also not symmetrical. That does not really bother me though if the feel is nice. I'll propably remove a bit more on the fatter treble side.
20260121_211420.jpg

20260121_220210.jpg

The bound edges are mostly straight and perpendicular to the bottom of the fretboard. There's a bit of a corner where the binding meets the neck shaft. That needs to be rounded somewhat.

I also discovered a couple of mistakes. For some reason I have sanded the binding a lot thinner at the treble side around the third and fifth frets. At the worst it's about 2/5 thinner. The edge is also not quite straight. The same goes for the bass side but it's a lot less visible.

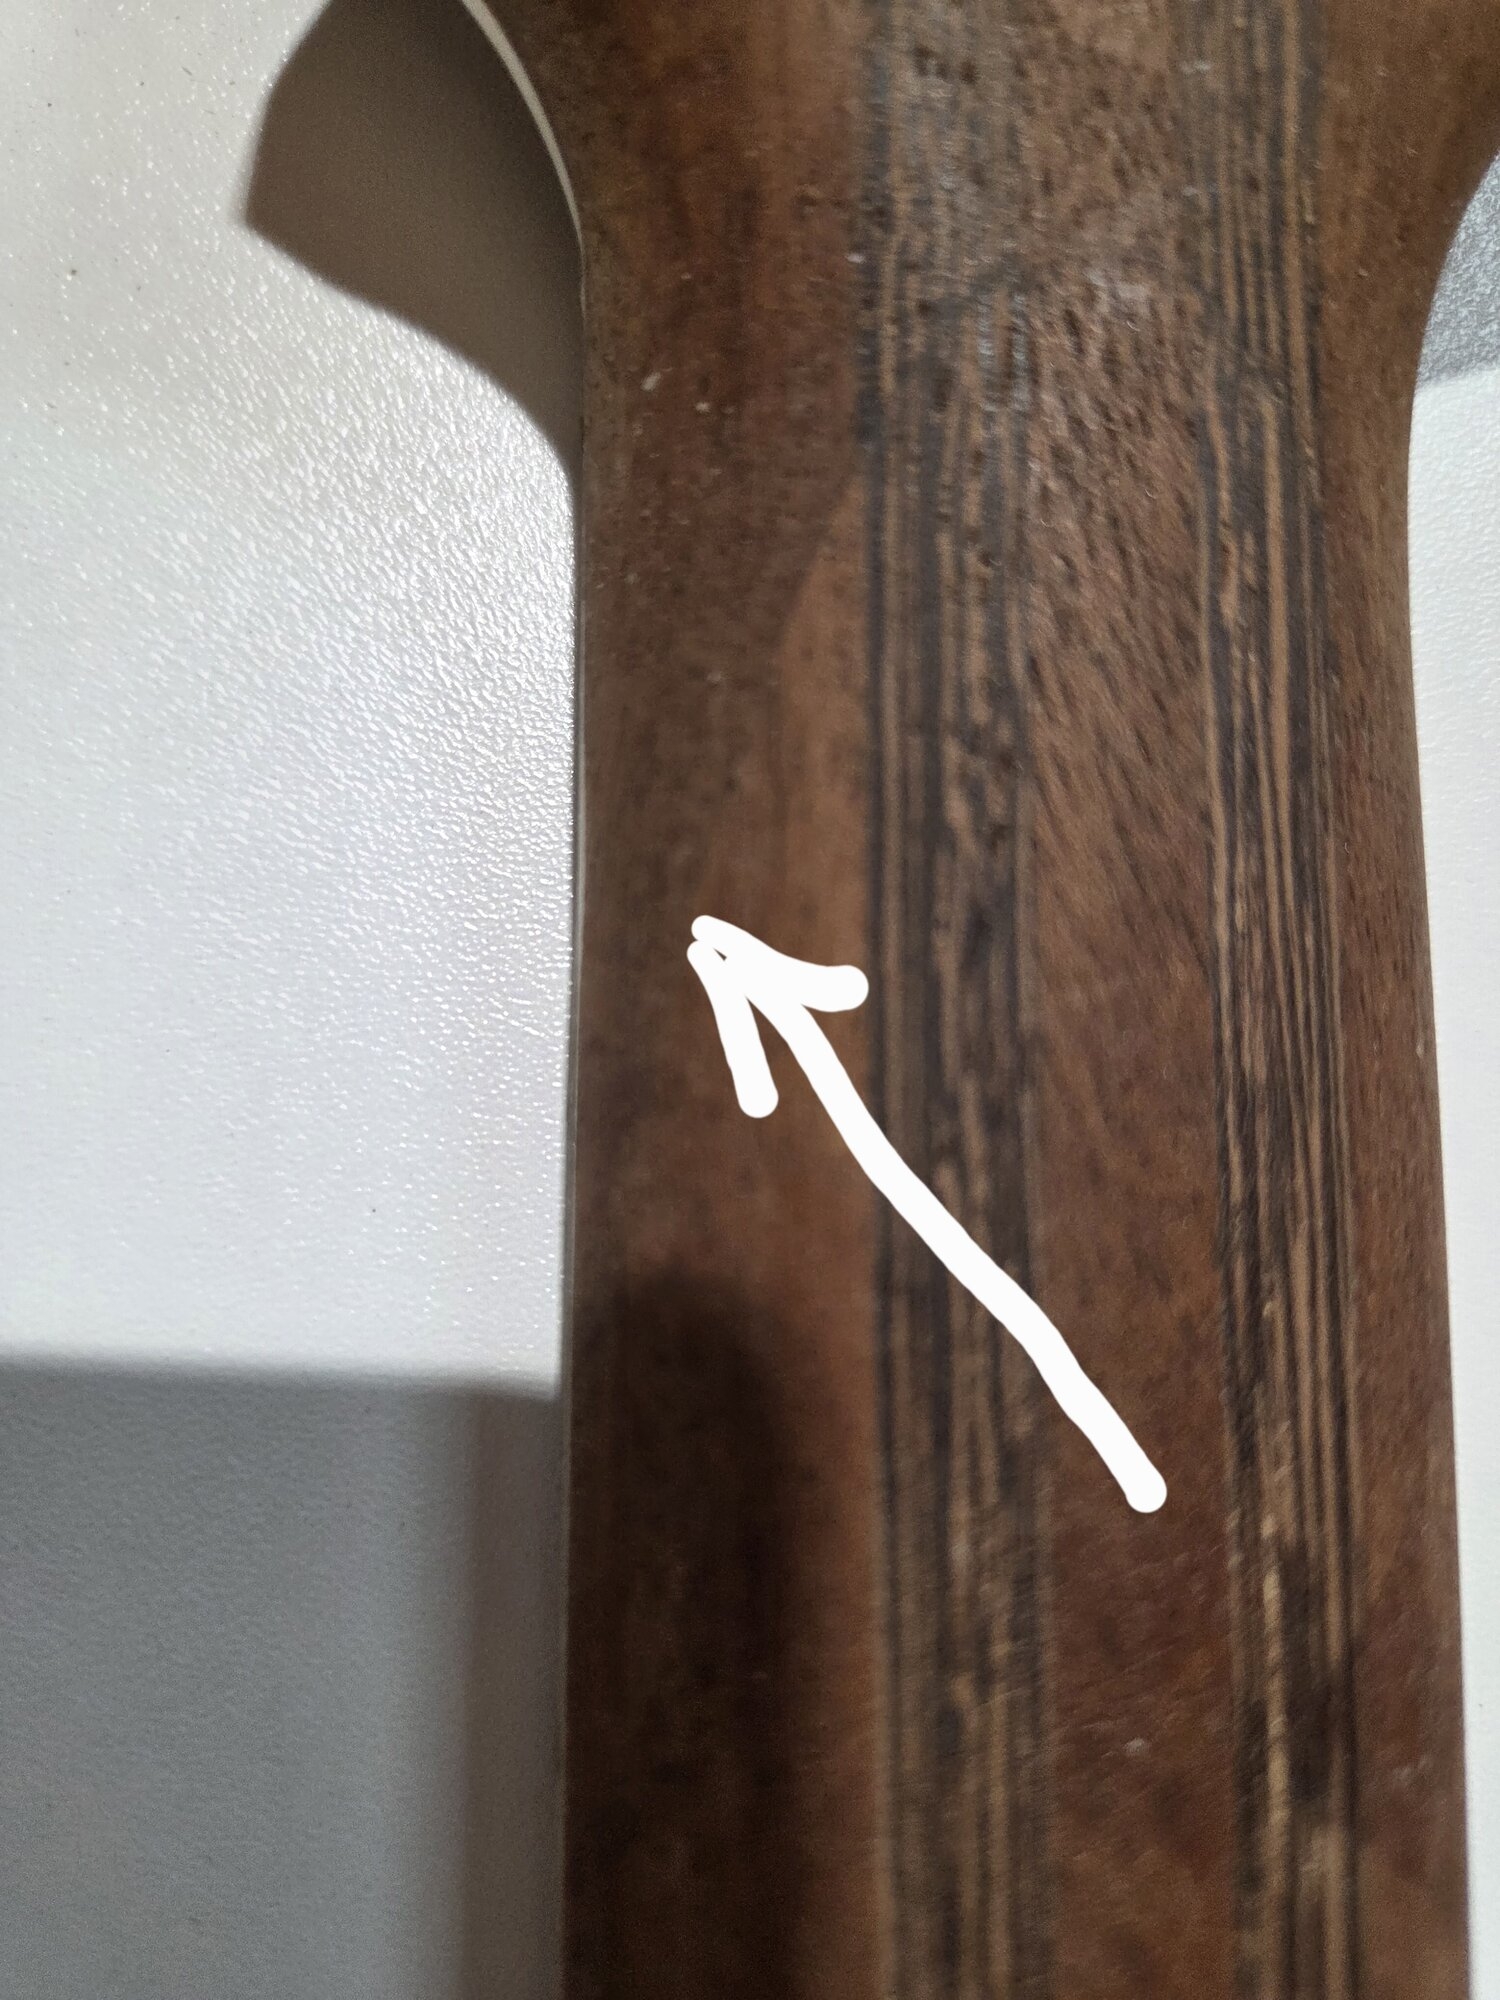
I also found I have a shallow pit on the treble side around the second fret. It seems it was done when shaping the nut end of the neck. I don'know if I haven't noticed this back then. Or if I was simply too cautious to do anything about it. It's not that obvious in the pictures but it's easy to spot live.
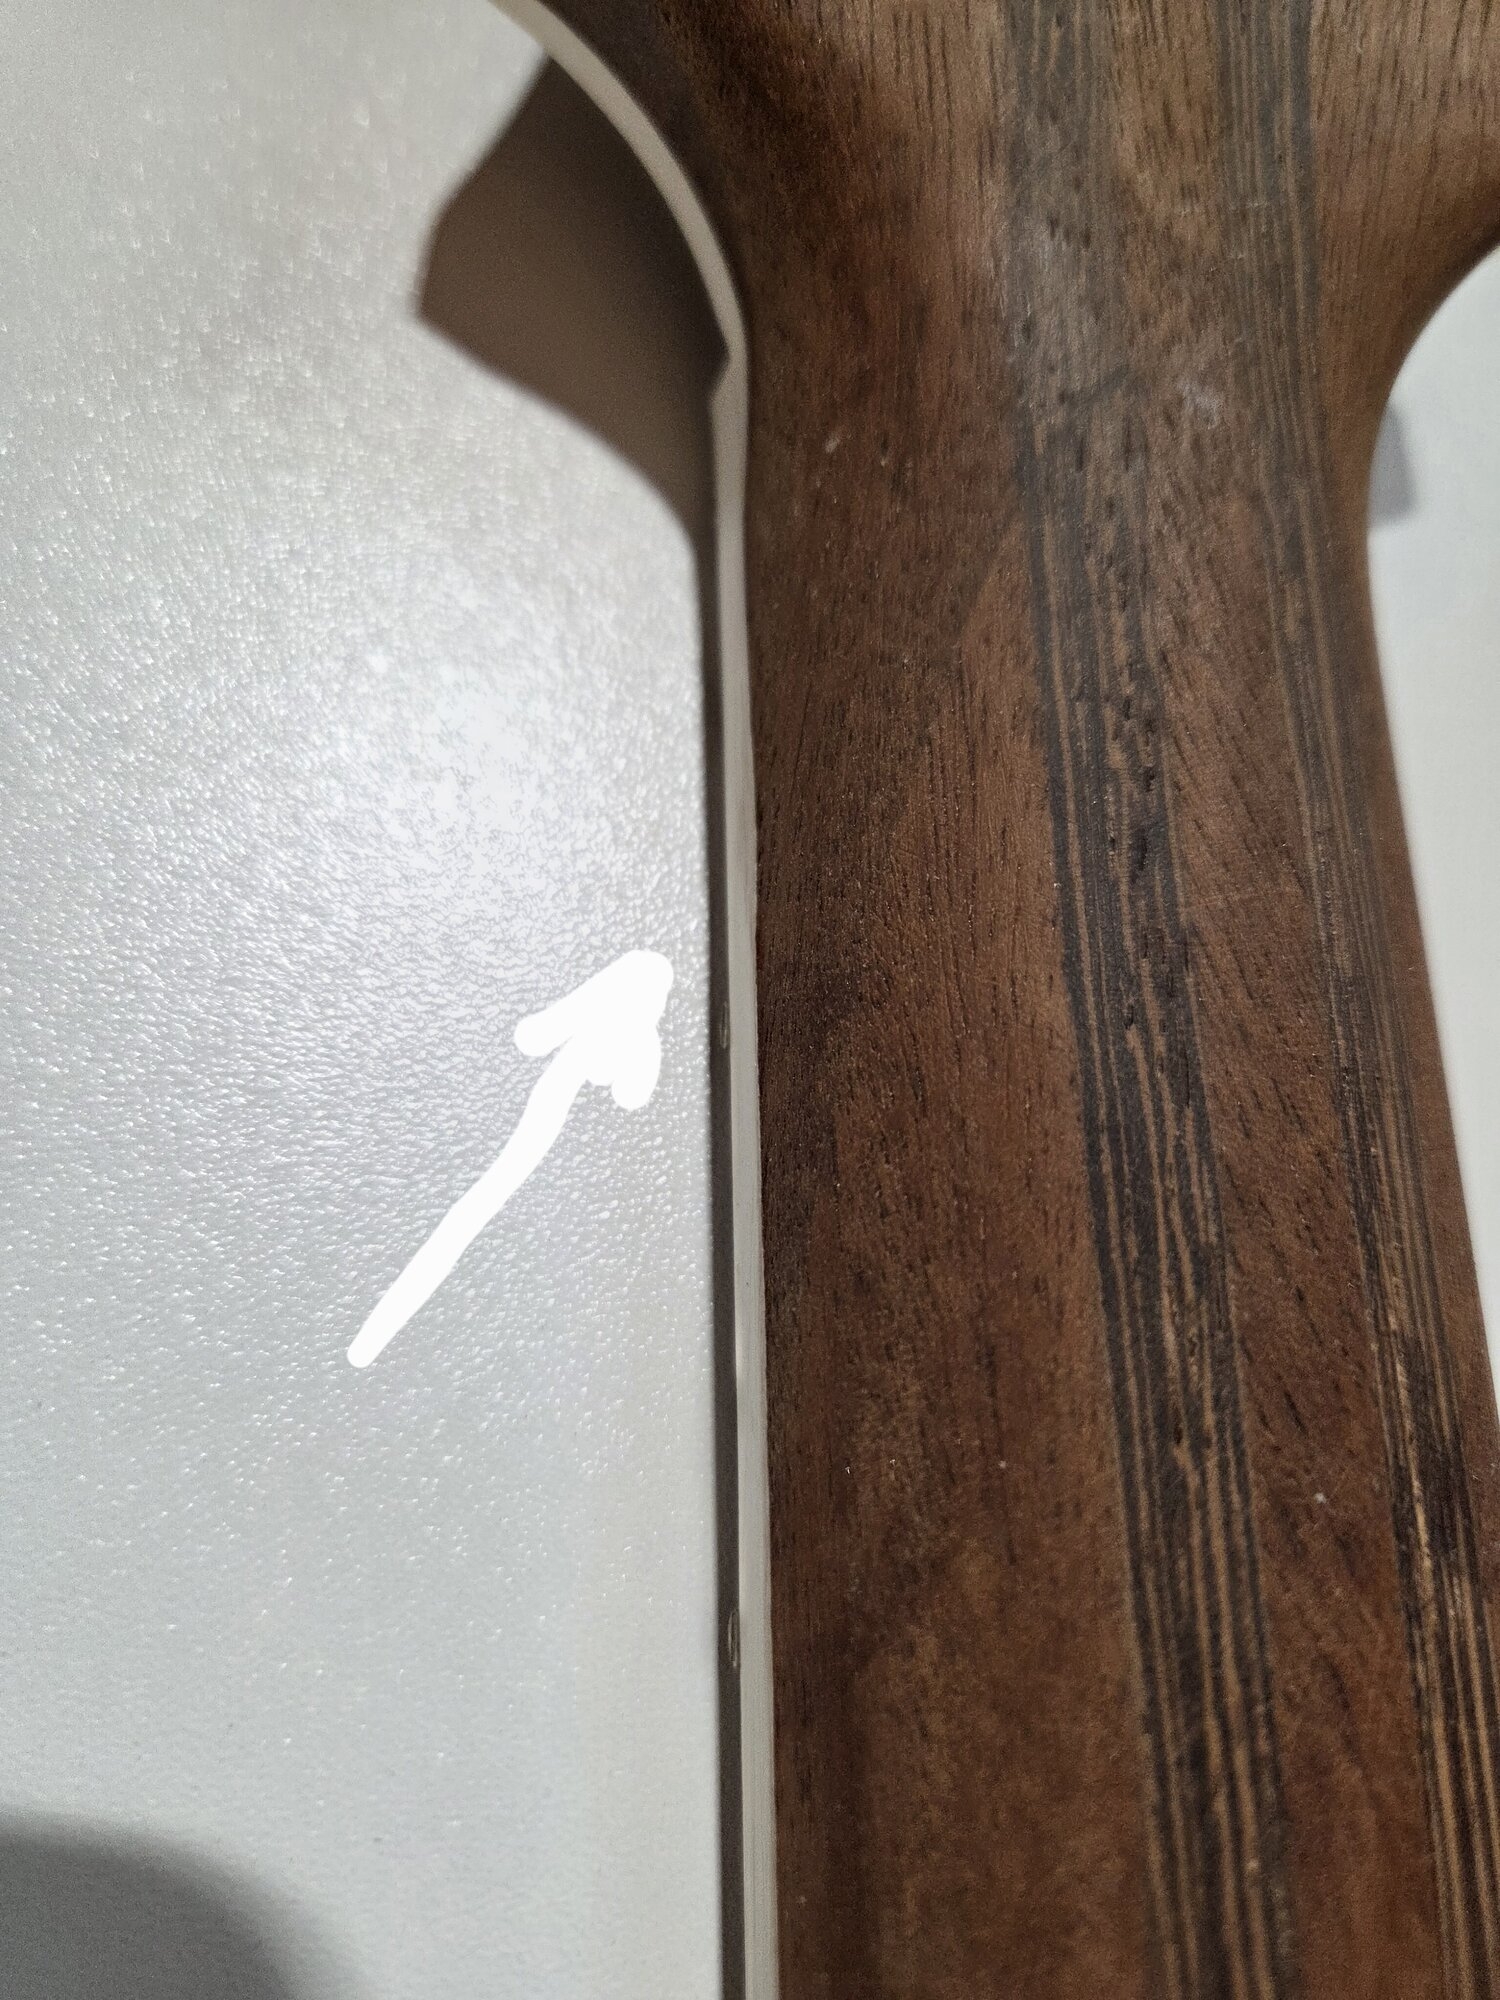
20260121_220420.jpg

20260121_220441.jpg

Now I believe I can work the issues out with proper sanding blocks and some 120 grit. I worry a bit about sanding through the binding at the bottom. But just a bit.

What worries me a bit more is the coloring of the wood. The khaya (or african mahogany) is a lot darker than when I sanded It the last time. I don't have experience on how deep in the wood the darkening goes. But I expect not deep enough. And I don't plan to take that much wood everywhere.

Oh well, it'll propably even out in the next few years. It's not like I'm in a hurry or anything.
 

Attachments

  • 20260121_220210.jpg
    20260121_220210.jpg
    934.2 KB · Views: 21
Last edited:
Hey there, Bonkersville. I just discovered this thread and I'm definitely following this interesting build.

I have a question: you say the neck isn't coplanar to either the top or the back, but somewhere in between. Does that mean the bridge is also not coplanar to the top? In other words, does the bridge stand higher above the top at the E side than at the G side? Because otherwise it seems to me the bridge would be out of whack with both the nut and the frets, and you'd have a much higher action on the G than on the E.

But perhaps none of this is a problem, and I'm just misunderstanding something.

Anyway, enjoy the build.
 
  • Like
Reactions: Reedt2000
Hey there, Bonkersville. I just discovered this thread and I'm definitely following this interesting build.

I have a question: you say the neck isn't coplanar to either the top or the back, but somewhere in between. Does that mean the bridge is also not coplanar to the top? In other words, does the bridge stand higher above the top at the E side than at the G side? Because otherwise it seems to me the bridge would be out of whack with both the nut and the frets, and you'd have a much higher action on the G than on the E.

But perhaps none of this is a problem, and I'm just misunderstanding something.

Anyway, enjoy the build.
Hi. Thaks for the comment. And if we're using names it's just Ville. And yes, it means that the neck is at an angle in all directions. I will propably use a wooden plate under the bridge. The bridge will have tune-o-matic style adjustment nuts to dial the final angle in. I will propably use the Schaller STM for this one.

I plan to continue the same angle through the pickup rings, bridge plate and the tailpiece. Been working on a jig to router plane those on the said angle. Should work fine. As it always should...
 
  • Like
Reactions: Flamingo21
You know how it is when it's late and your mind starts going places? (No, not those places.) Like you could be thinking about mounting a tailpiece in a floating manner. Like with some string, gut or cable. As has been done for a long time with violins, archtop guitars and other fancy instruments.

And then you remember you plan to combine it with a roller bridge. Like they use with them bigsbys and such. And you go like that's a fully functioning one way tremolo bridge right there. Exept that if you used a strong enough spring in the mix somehow...

Oh well, it's propably a bit too late.
 
From virtual tailpiece tremolos to actual sawdust! Well not saw particularly but dust anyway. I did a little reshaping on the neck. I planned on building a universal neck carving clamp-a-thingy but got lazy and used the two vices instead.
20260126_203357.jpg
I also built a couple of rounded sanding blocks with 80 and 120 grit yellow Mirka on them. There was some material to remove and the 80 grit got rid of it nicely in a controlled manner. In the about 30 minutes it took check-sand-repeat I remembered how much I like shaping necks.
20260126_204655.jpg

It seems the colouring of the wood goes deeper than I feared. I don't think there will any noticable issues after the neck is finished.
20260126_210315.jpg

The sanding blocks worked nicely. They're 3/4 or 19 mm mdf and about 70x180 mm or 2 3/4 × 7 1/4. I made the handles from a repurposed broom handle. When the paper needs changing I'll propably round at least one of the longer edges over.
20260126_210508.jpg

I'll likely dust and unclamp the neck tomorrow and inspect how this went. After that it's either finer grits or a bit of reshaping still. And first file strokes on the fret ends. Sounds a little like actual instrument building! It really has been too long.
 
Last edited:
And you go like that's a fully functioning one way tremolo bridge right there. Exept that if you used a strong enough spring in the mix somehow...
If you're not concerned with little details like bending all the strings the same amount, any guitar with enough space between the bridge and tailpiece will let you 'one way tremolo' by just pressing directly on the strings with your fingers or the edge of your hand.
 
True about the wiggling. There are some quite inventive players doing all kinds of weird playing with them guitars. I've never been one of them. But if it could be engineered to do the same thing... Now that I could wrap my head around.
 
I call the reshaping a success. I'd say it is close to a c shape but I'm not that familiar with what all the modern neck shape terminology actually means. But this feels nice and playable. So I made another sanding block to round the bound edge and blend it to the neck. No handles this time and 180 grit.
20260128_201714.jpg

20260128_202440.jpg

And when I was doing that I remembered I had done this before in the past. And like before, gotten the binding all dirty with the metal dust from the fret ends. And worn the paper out quite fast. So I changed to the proper tool and filed the fret ends.

(There are also a couple of frets that are not properly seated, like the 11th there. They need to be pressed or hammered in. Hopefully that'll be all I need to do.)
20260128_213925.jpg

I went just a little over to the binding with the file and changed again to the sanding block with some fresh paper. This time it worked a lot better.
20260128_215111.jpg

I cleaned the paper regularly with a knife and a brass brush. I like Mirka's gold paper for most sanding, especially finishes and mixed media. It doesn't clog or wear quite as fast. But of course I didn't have any, so I went with the regular yellow stuff.
20260128_215845.jpg

I'm happy this is a hobby and I don't have to worry about efficiency here. This kind of slow filing and sanding thing is quite relaxing. Happy time.

Anyways if I don't find anything else, I think this neck is ready for finish sanding. And I'll propably finish it too before the fretwork and gluing on (in?) the body. Must not forget about them improperly seated frets though.
 
Last edited:
So what to do when there's time, beer and need to be quiet? Time for some sketches! I've been wondering how I'll go about the bridge plate and tailpiece.
I'm not a designer and I always need time to process the ideas. So the earlier I start the better.
20260131_220020.jpg

Yes, I know. Not the same guitar. It would take me too long to copy the exact shape by hand. By the way it wasn't until I took this picture that I noticed it wasn't Darkness. Dem witty brewery boys. Great beer though.

Anyways a few more rounds and we're here:
20260131_222808.jpg

Not quite there yet. But maybe there's something there. I kinda want to have the bridge plate to resemble a flat top acoustic. Besides I don't have enough height to use the high and narrow archtop version.

But I might do something completely different. It would be awesome to be able to visualize these things instantly and simply then transfer the vision on paper. Don't quite work for me that way.
 
Don't go looking for problems, aye? Well I did and found this:
20260204_222144(1).jpg

The binding at the middle wasn't propably high enough and I've tried filling it with some diluted binding. Not quite filled yet. I tried to look for leftover pieces of the binding but couldn't find any.

I did find a piece of the original aspen body wood which can be used to test finishes. I also found a couple of bridges-to-be which might someday be used somewhere. Wouldn't bet on it.
20260204_222228.jpg

And I dug out this build off guitars' sibling, which I built simultaneously. I might finish it some day. Maybe when this build off theme is next in rotation. 37 years in the making..?
20260204_223104.jpg

20260204_223347.jpg

This was a commission build for a friend whose carage/workshop I used to borrow a lot back then. Haven't heard from him in at least 15 years. Maybe he'll get it on his 70th birthday. But again, wouldn't bet on it.
 
Last edited:
But what should I do with the binding at the end of the fretboard? As I said I don't have any left. I believe it's celluolid but am not 100% sure. Maybe not even 80%. To my understanding abs works similar.

I didn't find any white celluloid I can get easily. Abs I can. But can I use it to fix the issue if the original is celluloid?

I don't like the idea to bevel the end of the fretboard or any other ways I've come up to hide the mistake. All Ideas are welcome.
 
Can you fill the pits in the binding with super glue and baking soda? Or maybe white super glue? Gorilla makes a product that dries white.

Or maybe even a tiny amount of bondo?
 
  • Like
Reactions: Lo-E
If it were my problem I’d remove the binding on the end of the fretboard and do a roundover just on that edge. I’ve seen it on old (1940s) Vega archtop guitars and it looks pretty cool.
Thanks, but I'm not ready to go there yet. I'll propably try to hunt down some white celluloid. If it doesn't work out I can try out some other white filler or replace the whole end piece.

What an annoying little problem to have.
 
  • Like
Reactions: Lo-E
Can you fill the pits in the binding with super glue and baking soda? Or maybe white super glue? Gorilla makes a product that dries white.

Or maybe even a tiny amount of bondo?
Maybe. But superglue is very hard compared to the binding. And might be a pain to get the shape right.

I'm not sure we have white superglue available here. The diy market is not comparable to the US. I might be able to get some white putty (bondo?) that could do the trick.

Edit: I might actually try white acrylic paint. The stuff meant for arts is quite thick and can be thickened some still with controlled drying.
 
Last edited:
Maybe. But superglue is very hard compared to the binding. And might be a pain to get the shape right.

I'm not sure we have white superglue available here. The diy market is not comparable to the US. I might be able to get some white putty (bondo?) that could do the trick.

Edit: I might actually try white acrylic paint. The stuff meant for arts is quite thick and can be thickened some still with controlled drying.
I was figuring build it up with super glue (and baking soda) higher than it needs to be, and sand back to flush. White model acrylic is not a bad idea either, but you may still need to put on a little extra and work it back with sanding.