
Enjoy the benefits of a premium membership!
Upgrade Account
-
TalkBass has been independent since 1998. Add your voice.
Create a free account to reply to discussions, view embedded media, and browse with fewer display ads.
Join free Log in
Want zero display ads or expanded classifieds tools? Compare plans.
You are using an out of date browser. It may not display this or other websites correctly.
You should upgrade or use an alternative browser.
You should upgrade or use an alternative browser.
$100 Bass Challenge - Marceline's Axe Bass
- Thread starter mapleglo
- Start date
More options
Who Replied?

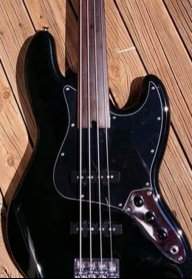
Here's the jig to make the jig for the body radius.
Bloody hell you are one clever individual. The stuff you have used and made up for this build leaves me shaking my head at my own complete lack of skills in this regard. Well done.
And get well quick.

Seriously though, so nice to live vicariously through a build like this.

Thanks for all the support and positive comments everyone. There's nothing that heals better than positive energy 
Worked a little more this morning. Getting there.
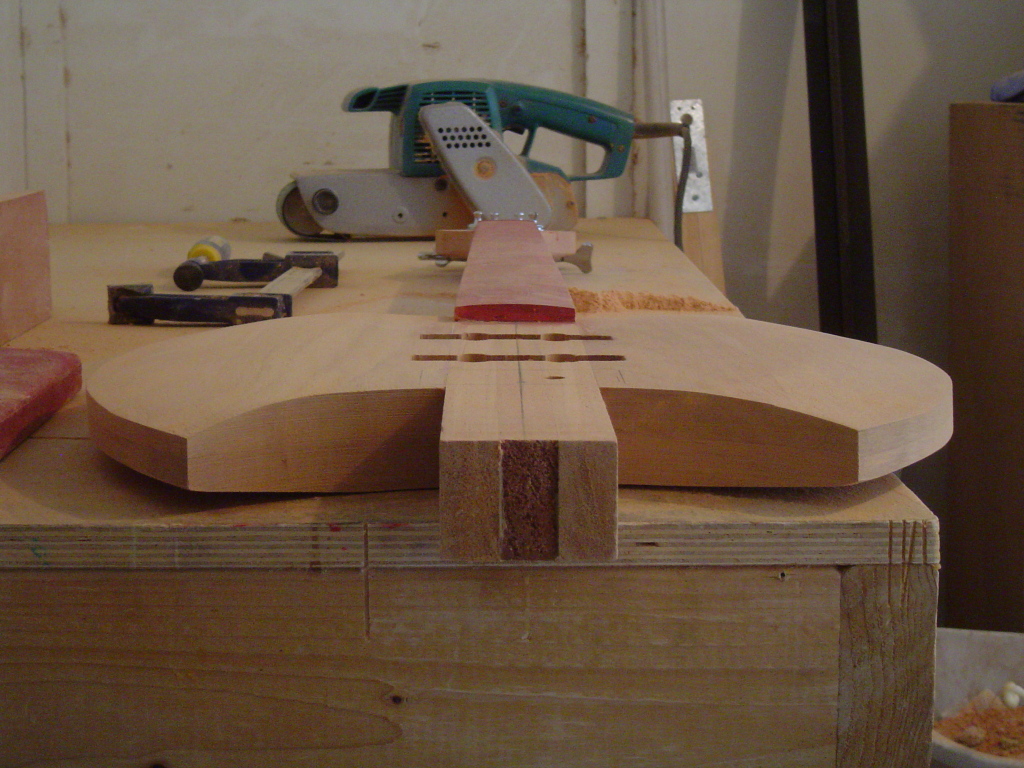
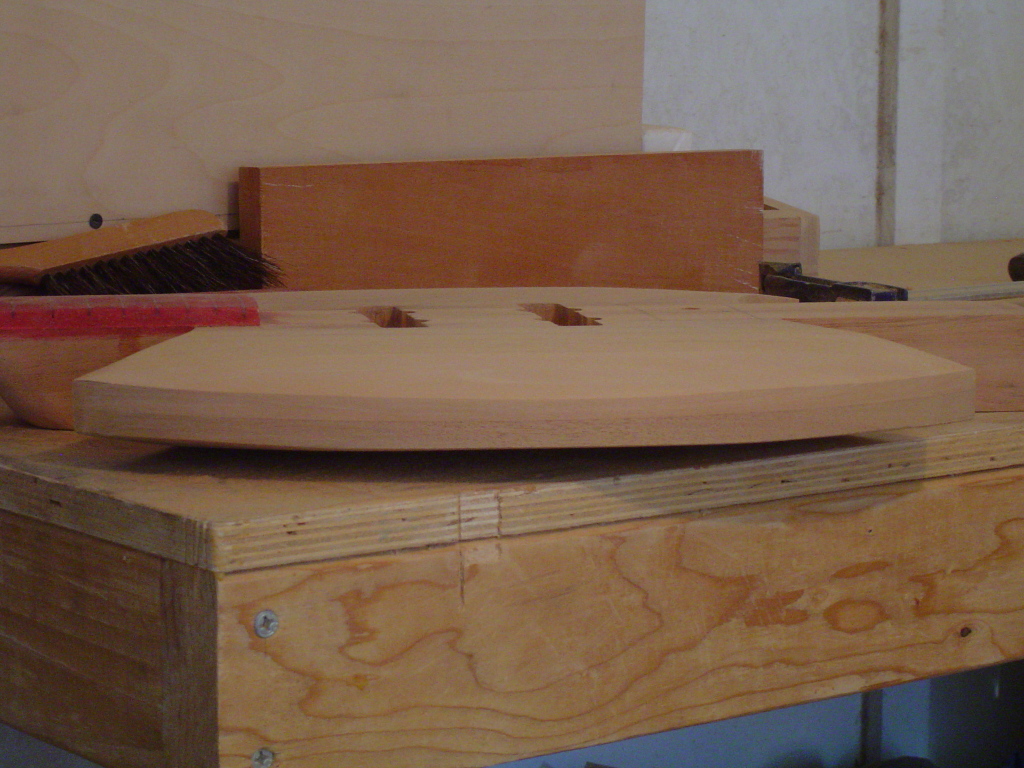
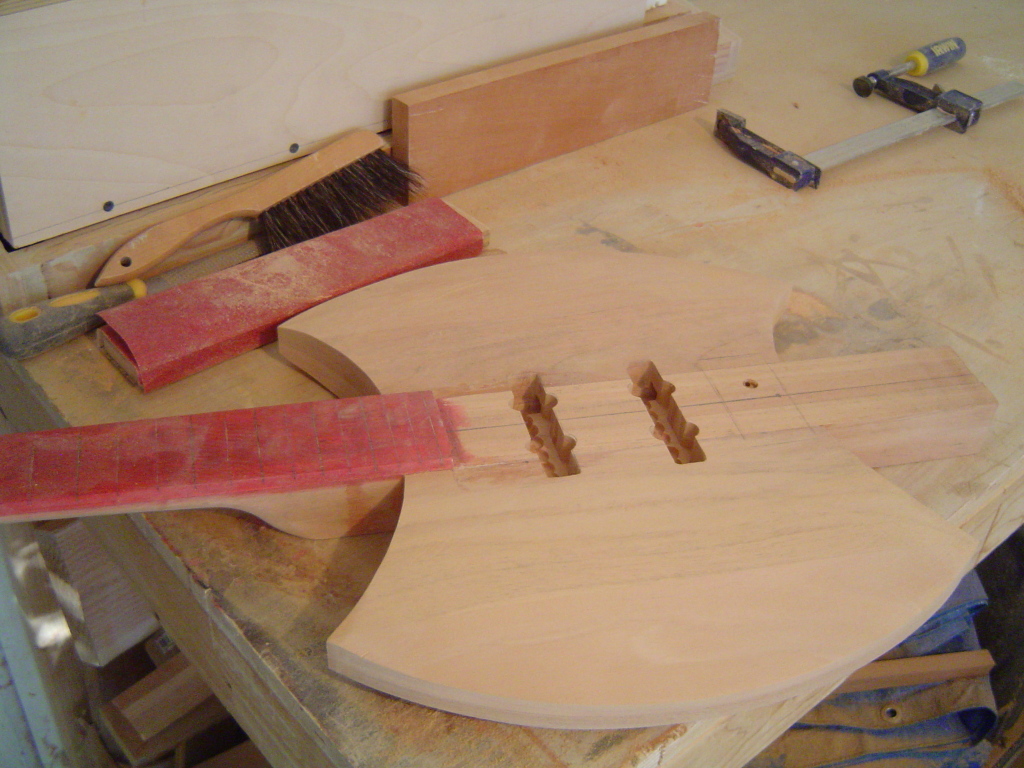
I swear, I must have sanded off a pound of wood. I'm not sure how perfect I want to make those edges as I may sand the edge down closer to a "blade". I'd want to do that fairly evenly around the edge of each blade, so I'm thinking about how I may achieve that.
Worked a little more this morning. Getting there.
I swear, I must have sanded off a pound of wood. I'm not sure how perfect I want to make those edges as I may sand the edge down closer to a "blade". I'd want to do that fairly evenly around the edge of each blade, so I'm thinking about how I may achieve that.
I'm not sure how perfect I want to make those edges as I may sand the edge down closer to a "blade". I'd want to do that fairly evenly around the edge of each blade, so I'm thinking about how I may achieve that.
Sorry - this would have been easier before your did the radius for marking the one part. The other part is same/same. Mark a line where you want the "blade edge" on the edge of the board - Your central glue-line will be your reference, but presumably you want 1/8" or more, not sharp-sharp. That's the one that would have been easier before, as you could have referenced the flat face. But you might be able to use pinstriping masking tape to make the mark and maintain a consistent width, and I think you were getting some of that anyway, IIRC. You can also use a pencil/marking gauge that's referenced to the table with the bass clamped down.
When happy with the general shape of the bulk of the body/blade, mark a line back from the edge on the face, to set the width of the bevel-edge -
Follow the lines - I'd use a plane, but I'm an [insert derogatory term of choice here] that doesn't much like excess dust or listening to power tools if I don't have to - belt sander or rasp or microplane will work as well. It's a specific application of the general process for making a chamfer. It will probably be more comfortable (and durable) if you don't make it a "flat' connection between the lines, but maintain a (smaller) convex (fat) curve.
Last edited:
Sorry - this would have been easier before your did the radius for marking the one part. The other part is same/same. Mark a line where you want the "blade edge" on the edge of the board - Your central glue-line will be your reference, but presumably you want 1/8" or more, not sharp-sharp. That's the one that would have been easier before, as you could have referenced the flat face. But you might be able to use pinstriping masking tape to make the mark and maintain a consistent width, and I think you were getting some of that anyway, IIRC. You can also use a pencil/marking gauge that's referenced to the table with the bass clamped down.
When happy with the general shape of the bulk of the body/blade, mark a line back from the edge on the face, to set the width of the bevel-edge -silverdarker red part.
Follow the lines - I'd use a plane, but I'm an [insert derogatory term of choice here] that doesn't much like excess dust or listening to power tools if I don't have to - belt sander or rasp or microplane will work as well. It's a specific application of the general process for making a chamfer. It will probably be more comfortable (and durable) if you don't make it a "flat' connection between the lines, but maintain a (smaller) convex (fat) curve.
Thanks, that sounds about right. I think I'd use the rasp - for me, it seems to offer the best control. The belt sander seems to have a mind of it's own.
I started thinking about mounting the body to a turntable, setting the blade edge to the exact radius of it's curve from the center of the turntable, and then mounting the belt sander with a fixed angle. Then just spinning the turntable. But your suggestion sounds a lot easier.
I was wondering if this crazy idea would work.
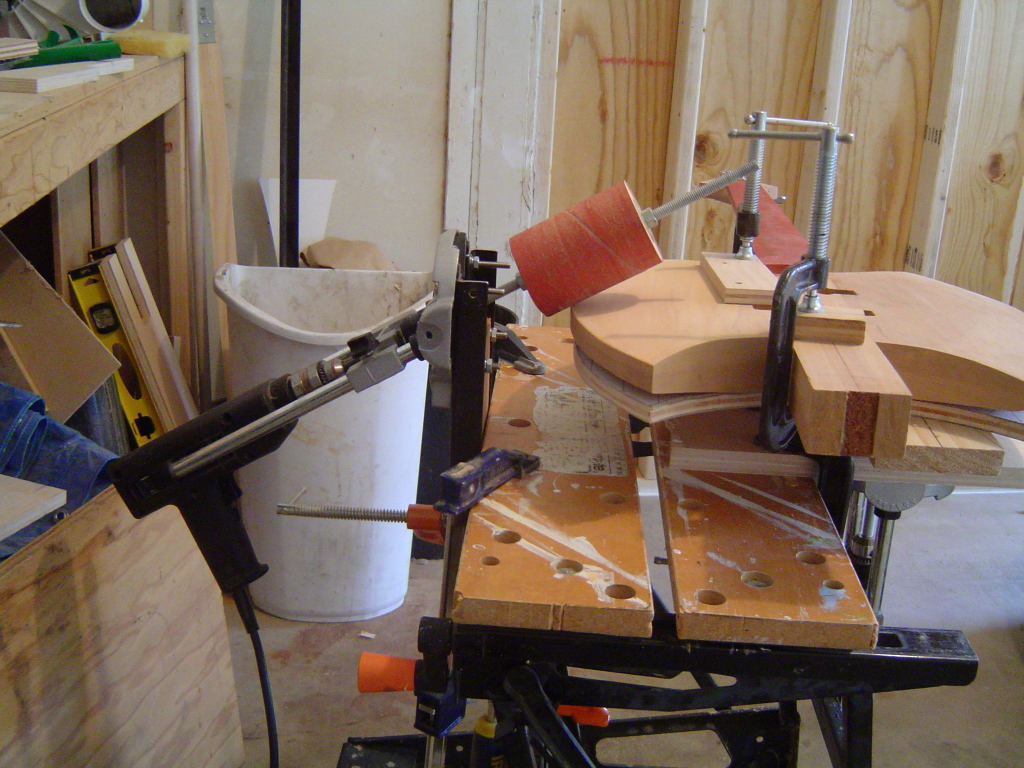
Actually seems to work ok.
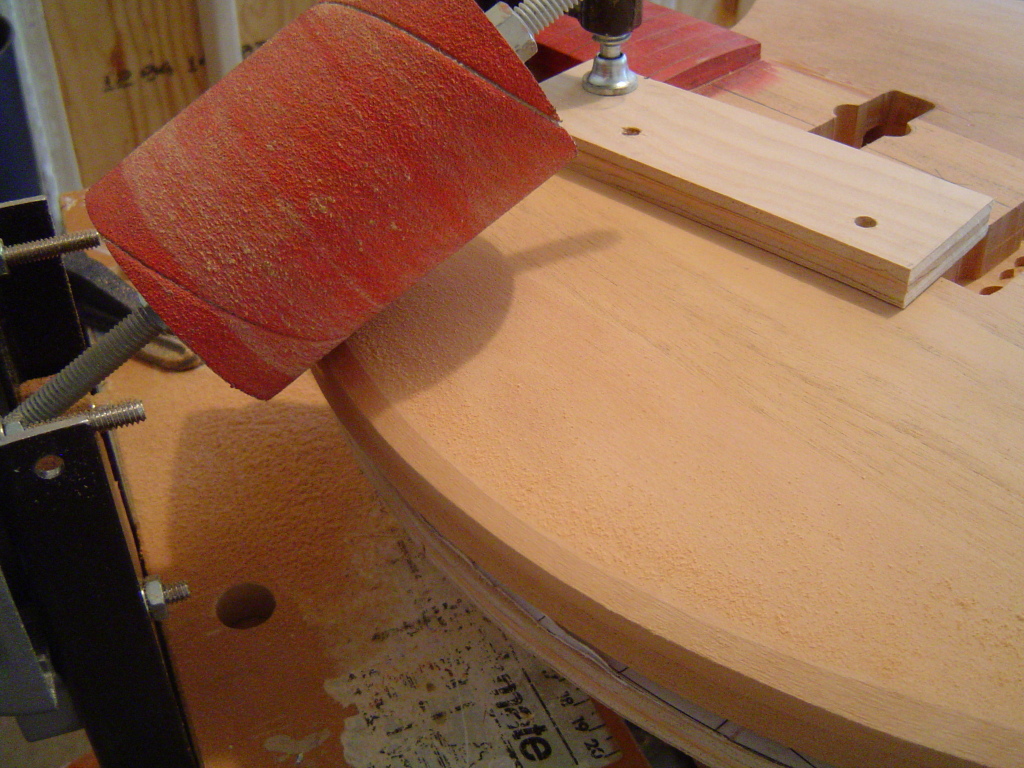
Problem is, the platform is a little wobbly, so the other side came out at a slightly different angle. I may play around with it a little more, or just go with the rasp.
Still in recovery mode, so just a little work each day.
Actually seems to work ok.
Problem is, the platform is a little wobbly, so the other side came out at a slightly different angle. I may play around with it a little more, or just go with the rasp.
Still in recovery mode, so just a little work each day.

- May 1, 2014
- 2,494
- 2,341
- 56
- Disclosures
- Owner Melodious Resonance Constructs


- Jun 30, 2010
- 49,620
- 222,155
- Disclosures
- musician/artist/owner - Gildaxe



Still in recovery mode, so just a little work each day.
It does my heart good to see an entry on this thread. Take your time, and make sure and recover fully. I enjoy your build threads so much!
I stuck a bar of metal under the turntable which kept it pretty stable, and finished up the bevels. Now it's just *lots* of sanding.

BassHappy
Supporting Member
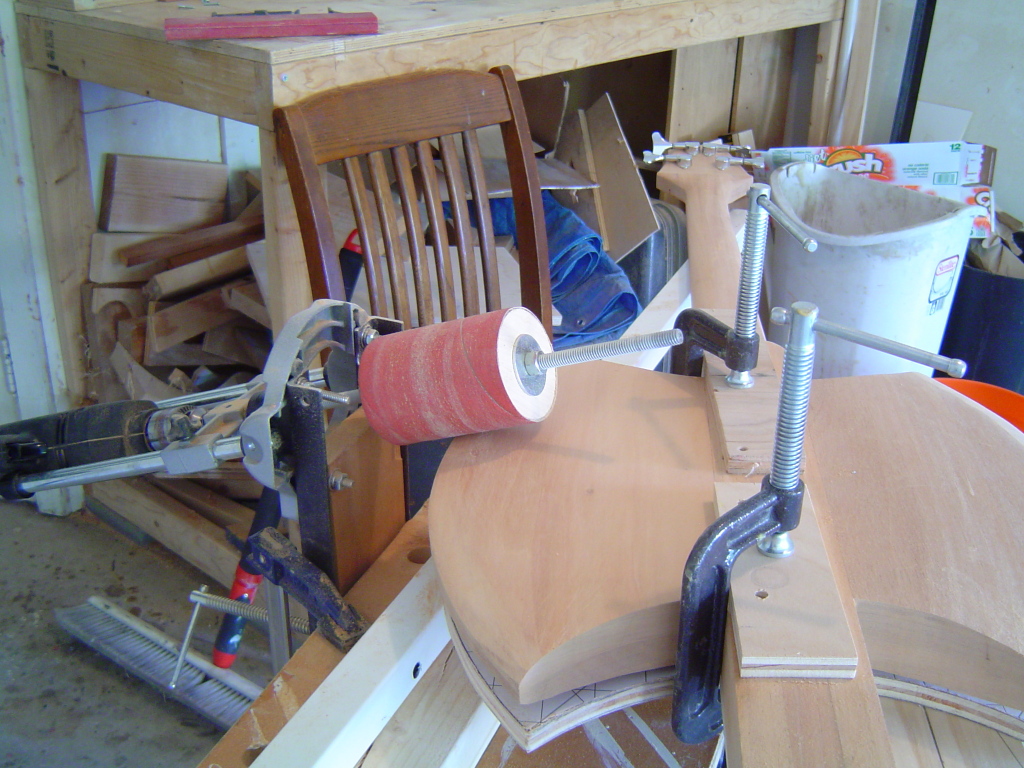
I stuck a bar of metal under the turntable which kept it pretty stable, and finished up the bevels. Now it's just *lots* of sanding.
Ingenious solution, as usual. So glad that you are feeling better and back after it some. We all missed your posts, that is for sure and I am anxious to see how this baby looks painted!
I did a little more work this morning, including lots of sanding. Then I cut off the lower extension and installed the giant spike tree.
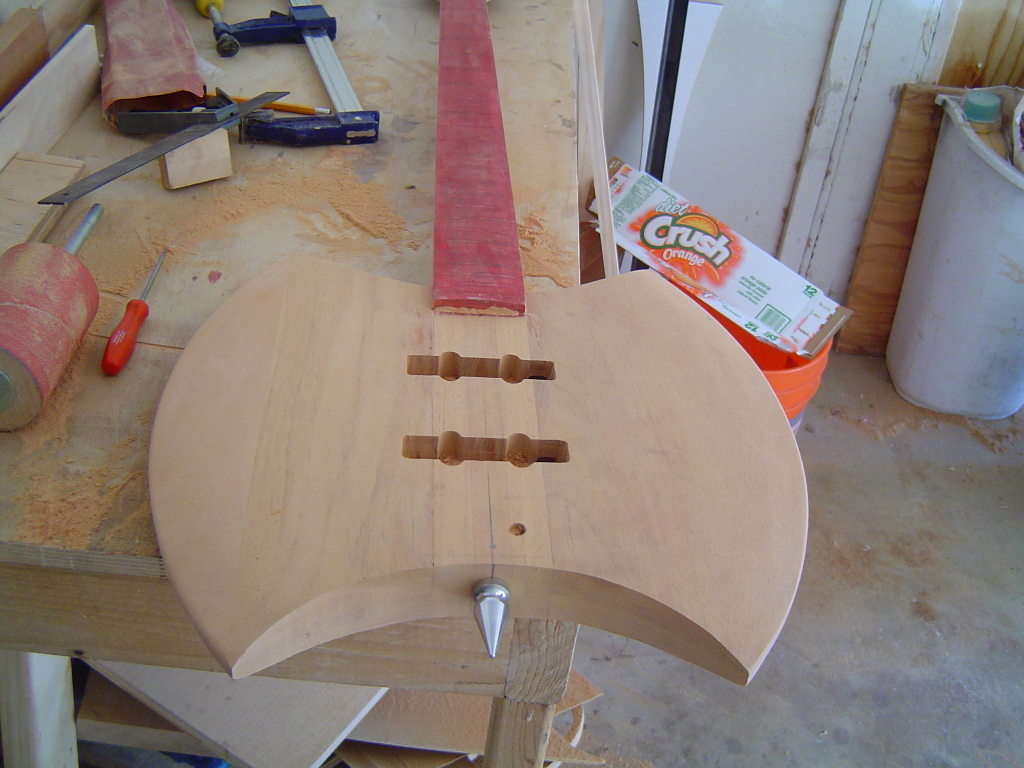
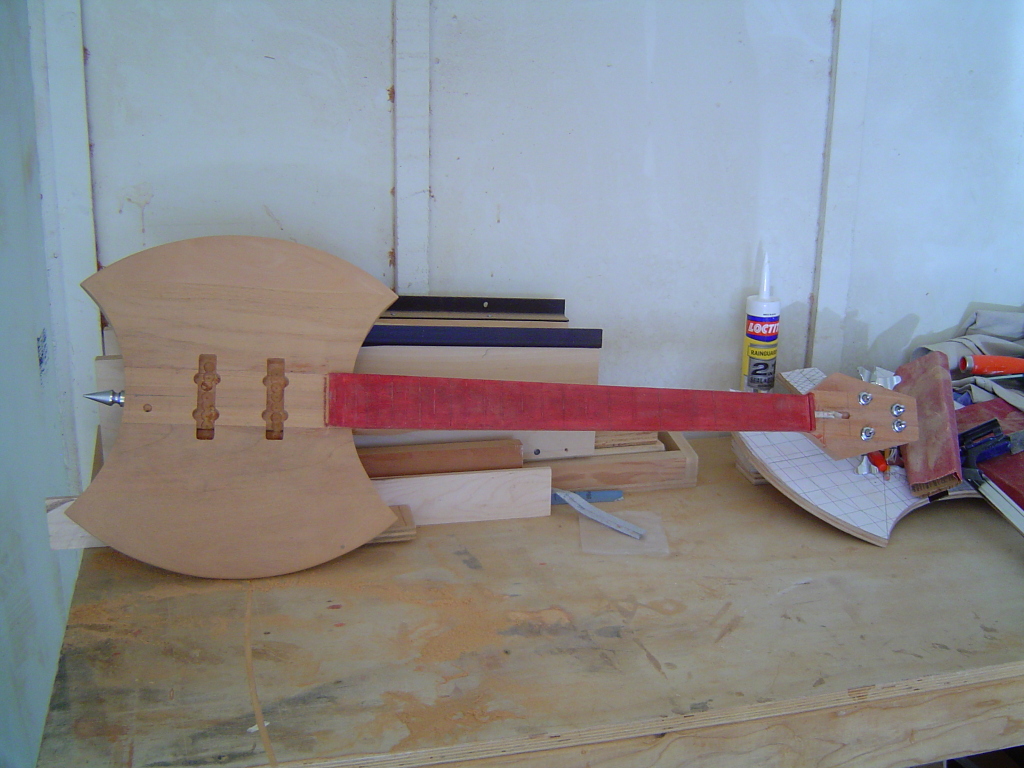
Then I started drilling the output jack hole.
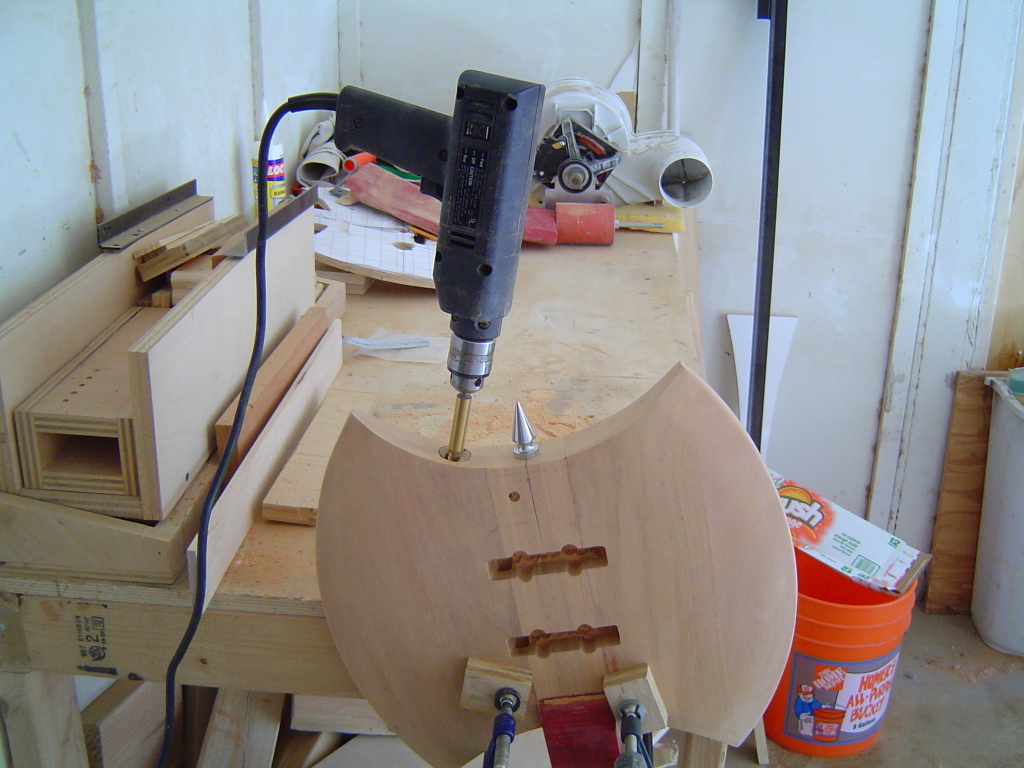
Had to switch drills about half way through. That little Black and Decker is really a home, light duty drill, and I've been making it work too hard, using it with the drum sander. I started smelling burnt wiring yesterday, and today it became much worse. I think it's seen its day, but has served me well over the years.
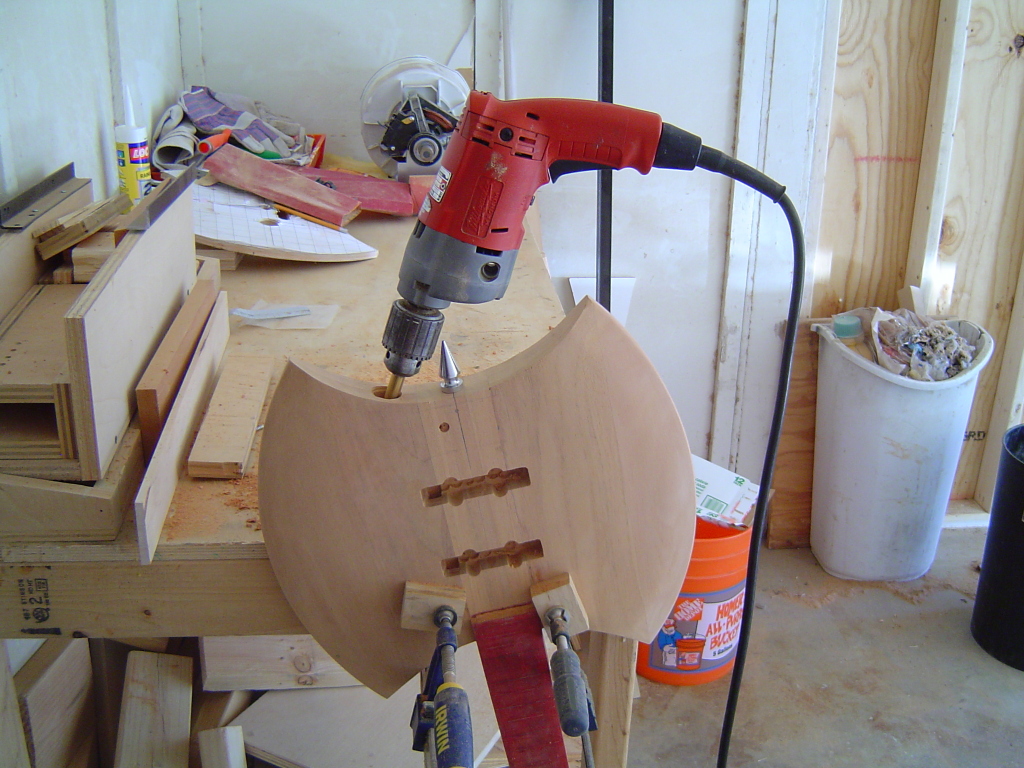
I drilled as deep as I could, in hopes that I can mount the two controls from the output jack hole, avoiding a control cavity and cover all together. The jack hole hit the channel I drilled earlier, before I glued up the body, so the bridge grounding hole, pickup channels, and jack hole are all connected.
Current weight as is, is about 6 and a half pounds on the bathroom scale. I'm hoping it will be 8 pounds or less once completed.
Then I started drilling the output jack hole.
Had to switch drills about half way through. That little Black and Decker is really a home, light duty drill, and I've been making it work too hard, using it with the drum sander. I started smelling burnt wiring yesterday, and today it became much worse. I think it's seen its day, but has served me well over the years.
I drilled as deep as I could, in hopes that I can mount the two controls from the output jack hole, avoiding a control cavity and cover all together. The jack hole hit the channel I drilled earlier, before I glued up the body, so the bridge grounding hole, pickup channels, and jack hole are all connected.
Current weight as is, is about 6 and a half pounds on the bathroom scale. I'm hoping it will be 8 pounds or less once completed.
[This invalid link has been removed]
Thanks for the link! I may try that. Perhaps it is only dirt and gunk.
Thanks for the link! I may try that. Perhaps it is only dirt and gunk.
You can get replacement brushes and armature as well. My dad was an electrical contractor, and I used to repair a bunch of his tools as young as 12. Don't start in on this stuff until the bass is finished, though. You might get me in trouble with your other fans.


