

Enjoy the benefits of a premium membership!
Upgrade Account
-
TalkBass has been independent since 1998. Add your voice.
Create a free account to reply to discussions, view embedded media, and browse with fewer display ads.
Join free Log in
Want zero display ads or expanded classifieds tools? Compare plans.
You are using an out of date browser. It may not display this or other websites correctly.
You should upgrade or use an alternative browser.
You should upgrade or use an alternative browser.
100 year old Pine P bass build
- Thread starter gitlvr
- Start date
More options
Who Replied?
I ABSOLUTELY love you guys and your craftsmanship. Making something for yourself, by hand, and giving an eye of attention to detail and precision is SO rewarding. One day I will build one for myself. NICE, NICE work.....
Chris
Chris
Wow I'm impressed--you sawed the face of the headstock by hand! I got a bit excited with the flamed wood on the neck then realized you glued a fingerboard over it. I was hoping: one-piece flamed maple neck. I dig it.
Wow I'm impressed--you sawed the face of the headstock by hand! I got a bit excited with the flamed wood on the neck then realized you glued a fingerboard over it. I was hoping: one-piece flamed maple neck. I dig it.
Thanks, Chuck. The neck blank is only 3/4" thick, so a one piece was not an option, unfortunately. I have more of the maple( at least 3 more necks), but no way to resaw it into fretboard blanks. If I did, you can bet I would've done a flamed fretboard.
However, my personal preference for the fretboard is Rosewood. I love the look and feel of it. But I'm not afraid of maple, especially nice looking maple, and would definately use it if I could.
Sorry it took so long to get back to this thread. Life has a way of making you do other things besides those you'd like.
So, when I left you last, the fretboard was in clamps. After the glue was dry, it was time to lay out the fret positions on the board. I normally size the board to the neck, and then work off of a center line. But this board has no taper, so I thought I'd take advantage of that and use it to square my fret lines.
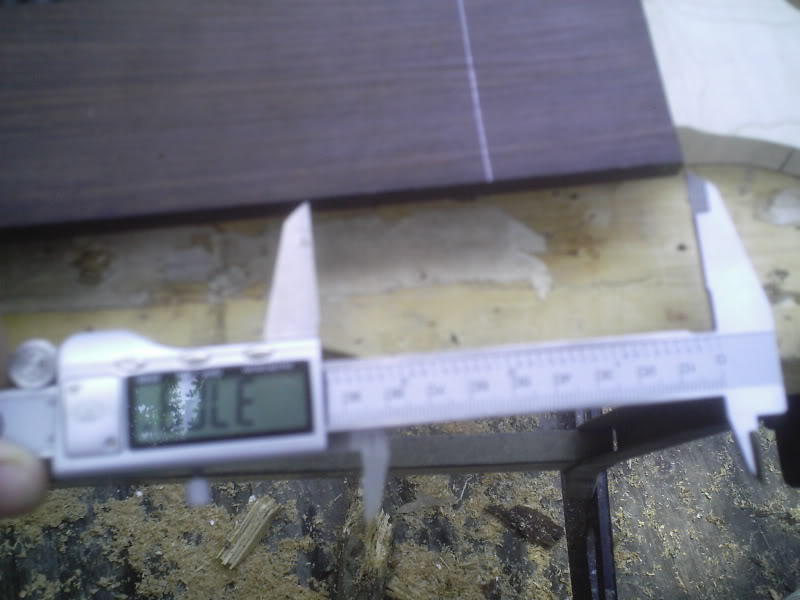
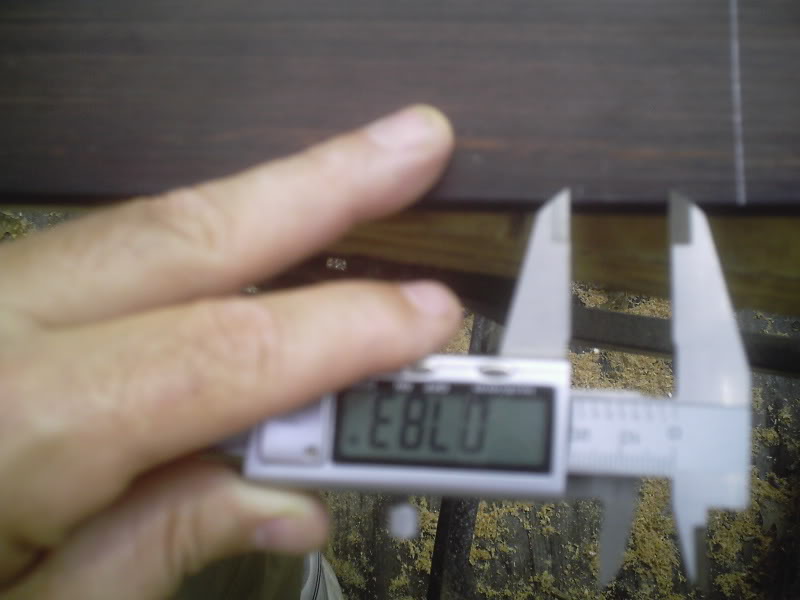
I use StewMac's fret calculator to determine the position of my frets. It gives fret distances from the nut, as well as fret to fret distance. I begin my measurements with the nut to fret positions, then fine tune with the fret to fret measurements. To begin, for the first 3 frets, it's a simple matter of using my calipers to mark the fret positions, like so:
After the 3rd fret, what I do is use a 35" rule to get to the whole inch, and then finish with the calipers. For example, the ninth fret is 13.783" from the nut. So using the 35" rule, I measure to 13", and place a little mark.
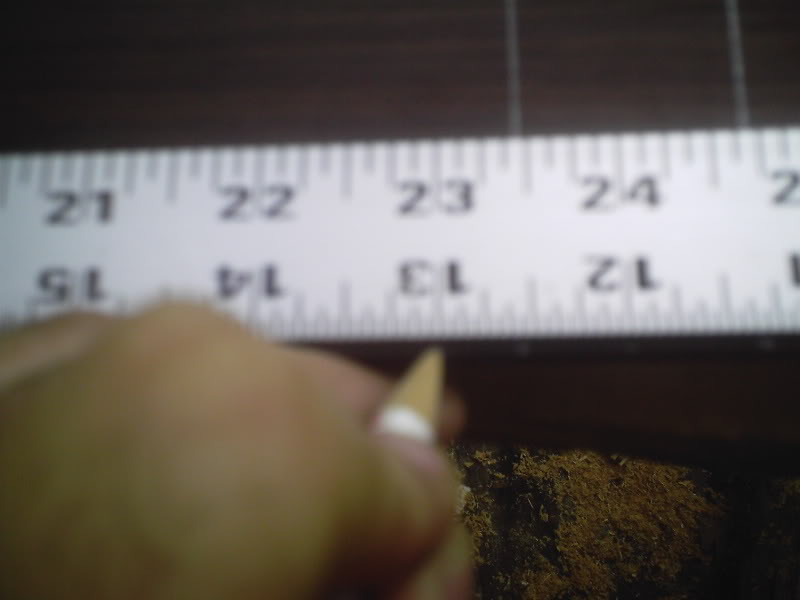
Then, i adjust my calipers to .783", screw down the locking screw, and, measuring from the 13" mark, I mark the final position of the fret.
I continue in this way until I have all the fret positions marked.
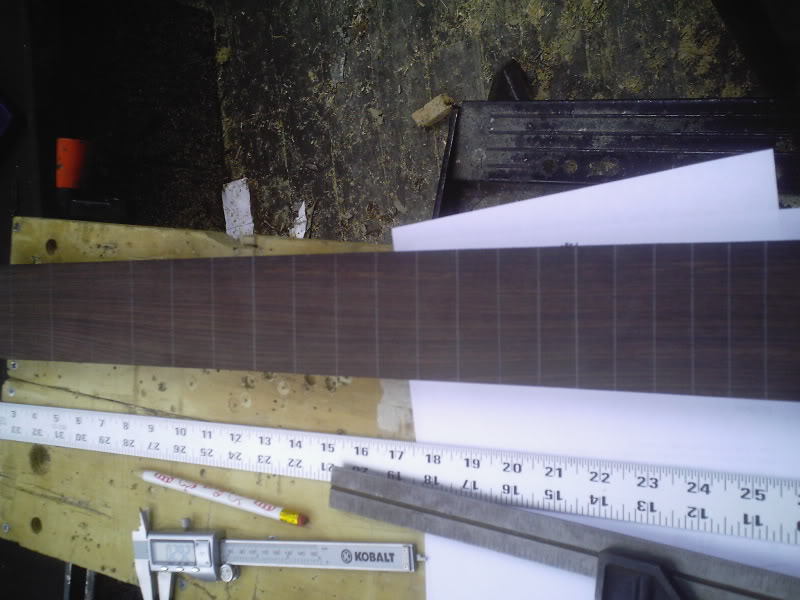
After which, I double check the fret positions by measuring the fret to fret distances provided by the fret calculator. I then scribe the fret positions with a razor, and trim the fretboard to fit the neck.
So, when I left you last, the fretboard was in clamps. After the glue was dry, it was time to lay out the fret positions on the board. I normally size the board to the neck, and then work off of a center line. But this board has no taper, so I thought I'd take advantage of that and use it to square my fret lines.
I use StewMac's fret calculator to determine the position of my frets. It gives fret distances from the nut, as well as fret to fret distance. I begin my measurements with the nut to fret positions, then fine tune with the fret to fret measurements. To begin, for the first 3 frets, it's a simple matter of using my calipers to mark the fret positions, like so:
After the 3rd fret, what I do is use a 35" rule to get to the whole inch, and then finish with the calipers. For example, the ninth fret is 13.783" from the nut. So using the 35" rule, I measure to 13", and place a little mark.
Then, i adjust my calipers to .783", screw down the locking screw, and, measuring from the 13" mark, I mark the final position of the fret.
I continue in this way until I have all the fret positions marked.
After which, I double check the fret positions by measuring the fret to fret distances provided by the fret calculator. I then scribe the fret positions with a razor, and trim the fretboard to fit the neck.
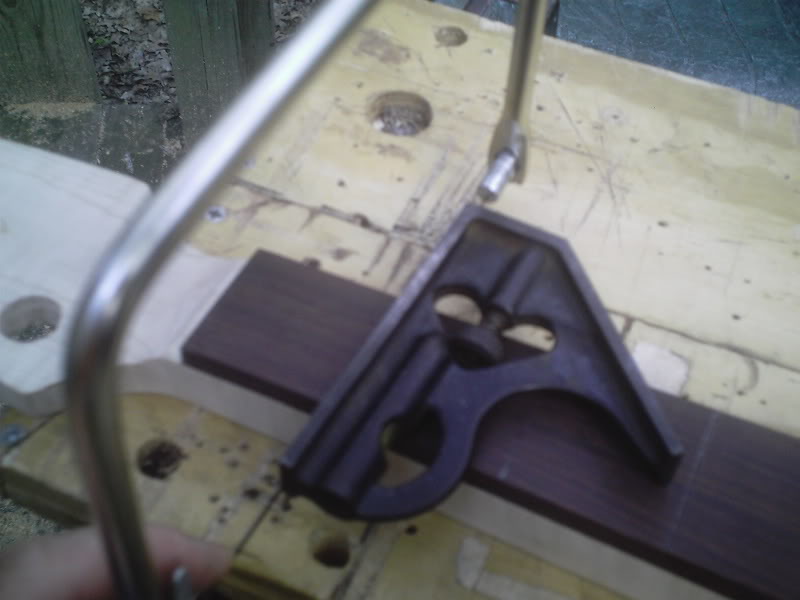
To cut the actual fret slots, i use a coping saw. What I did was find a coping saw blade that was .023" thick. Then I hammered out the kerf in the saw blade until it, too, was .023". This is the required size for the fret tangs.
I use a part off of a combination square a lot. I have taken to calling it "Thing". I helps me do "things" like drill straight holes. Or, in this case, saw a straight fret slot.
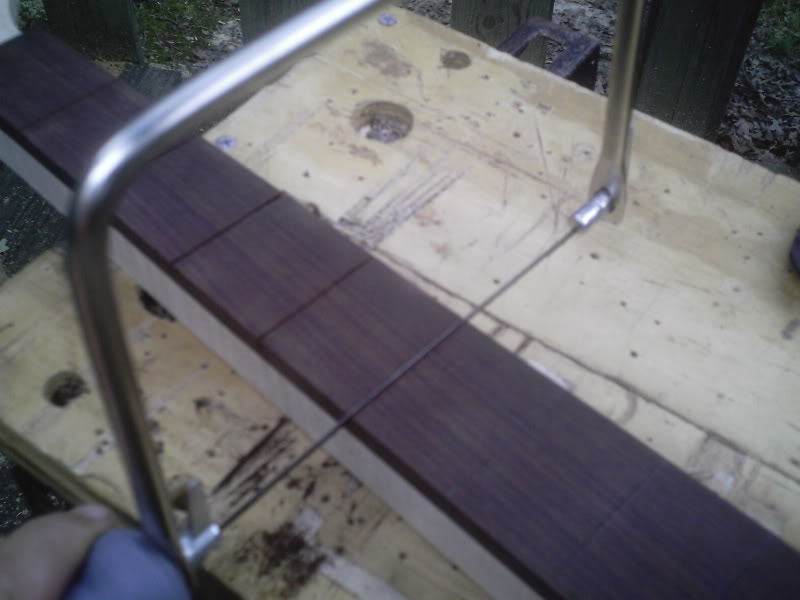
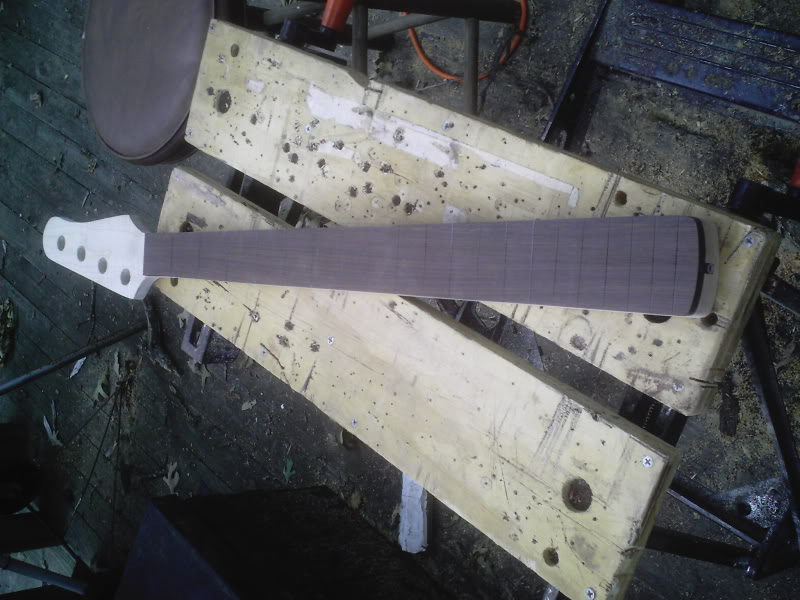
Here's a shot of the neck with the slots cut and the fretboard sanded to fit the neck.
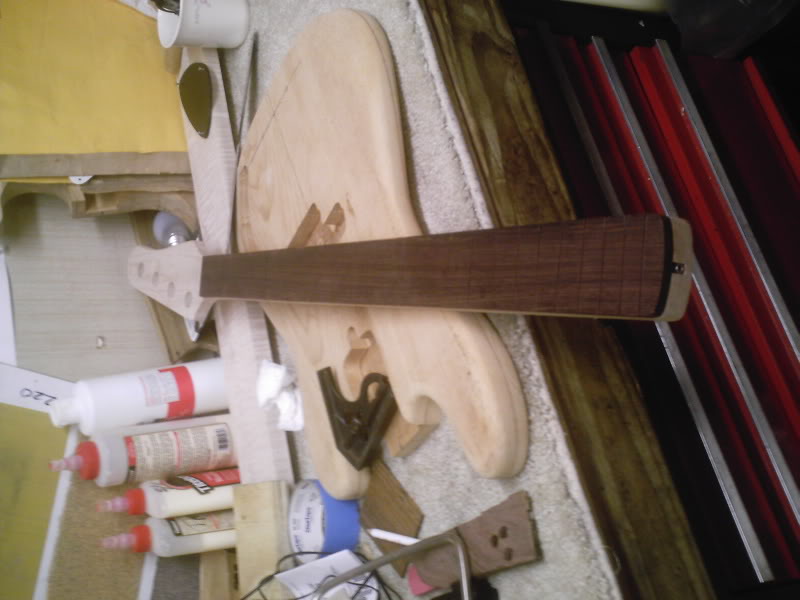
That's all for now. More to come.
I use a part off of a combination square a lot. I have taken to calling it "Thing". I helps me do "things" like drill straight holes. Or, in this case, saw a straight fret slot.
Here's a shot of the neck with the slots cut and the fretboard sanded to fit the neck.
That's all for now. More to come.


Thanks, guys! I'm glad you are enjoying this build. I'm having a blast as well.
Next up is radiussing the fretboard.
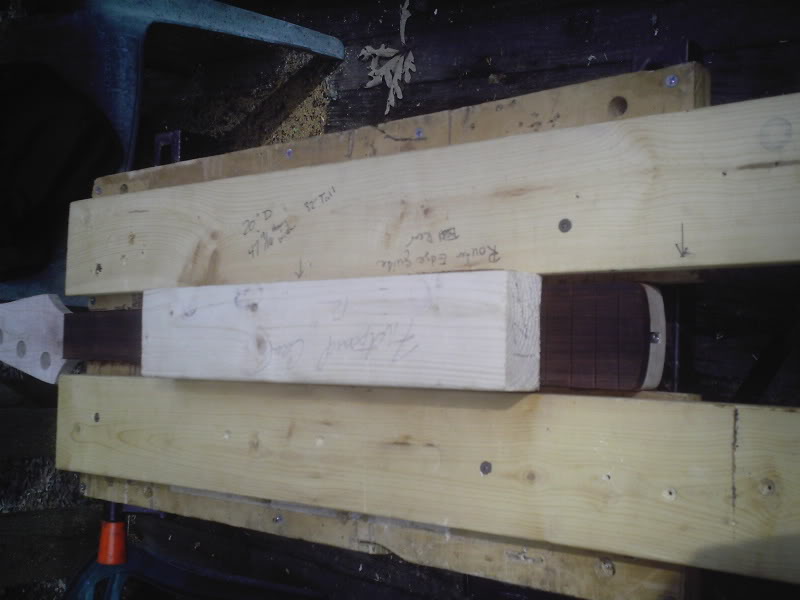
The two 1X4s you see I use to keep the long radius block straight. I made the block by taking a 4" sanding block I got from StewMac, sanding a convex radius in a 2X4, and using that to sand the radius into another 2X4. It was originally used as a fretboard caul, but now it's doing double duty. Radius is 12".
Done.
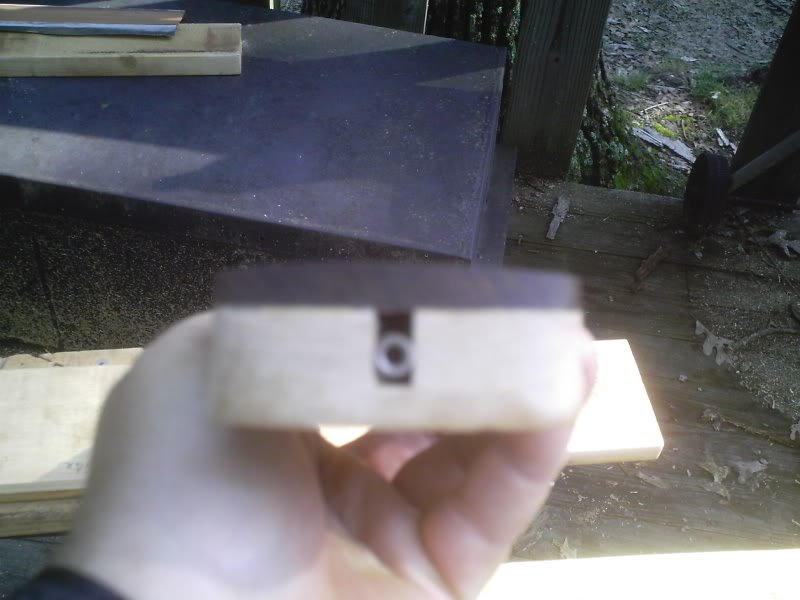
I sanded to 400 grit.
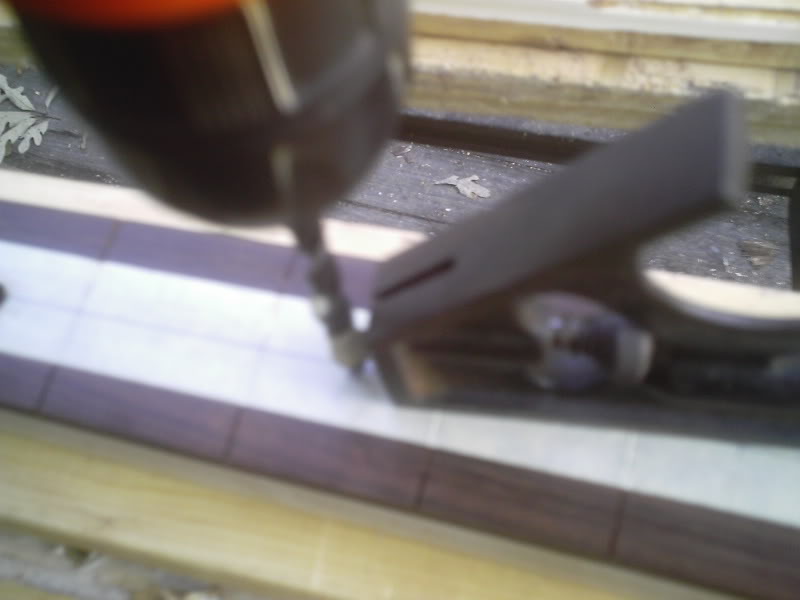
Drilling for fret markers.
Next up is radiussing the fretboard.
The two 1X4s you see I use to keep the long radius block straight. I made the block by taking a 4" sanding block I got from StewMac, sanding a convex radius in a 2X4, and using that to sand the radius into another 2X4. It was originally used as a fretboard caul, but now it's doing double duty. Radius is 12".
Done.
I sanded to 400 grit.
Drilling for fret markers.

Awesome! I just got done reading the thread and I'm already having update withdrawals  I can't wait to see how this turns out. Bravo!
I can't wait to see how this turns out. Bravo!
Ready to inlay.
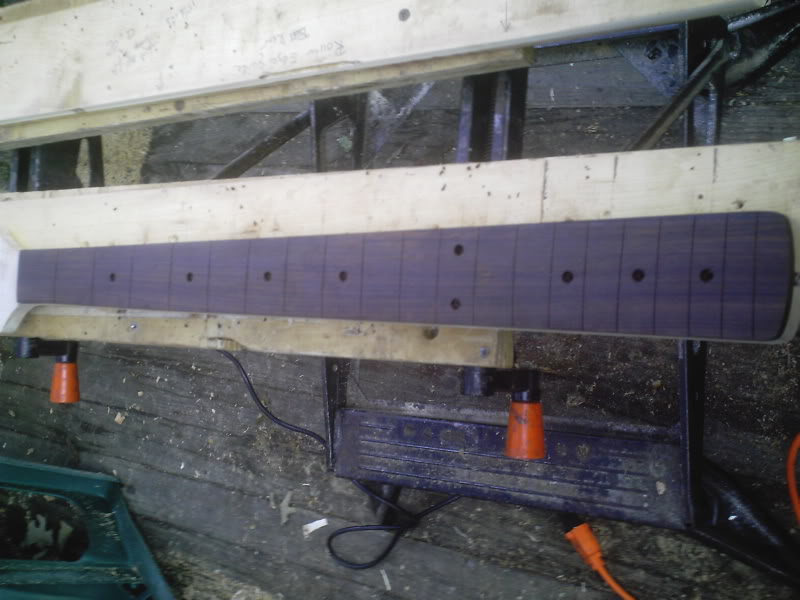
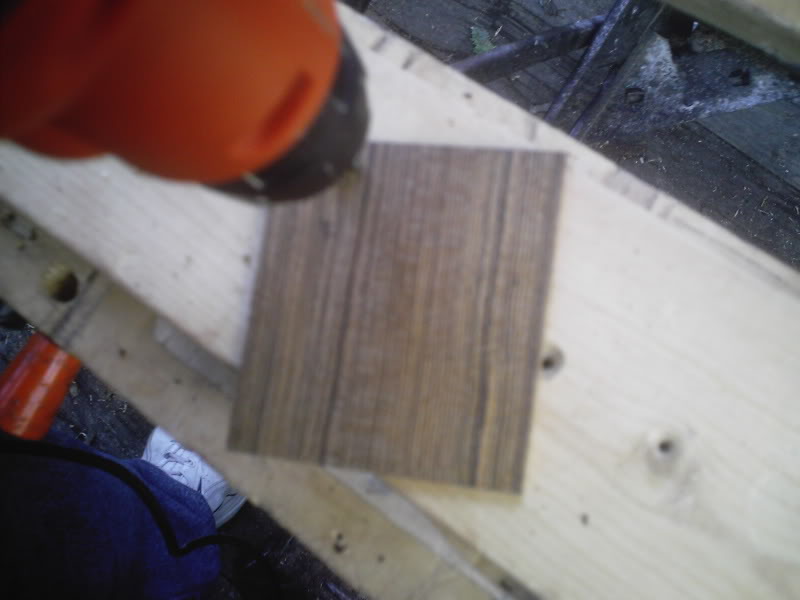
For markers I have a beautiful piece of Bocote a friend of mine gave me just laying around. I think it will make nice fret markers. Something a little different than the usual pearl.
And here they are installed.
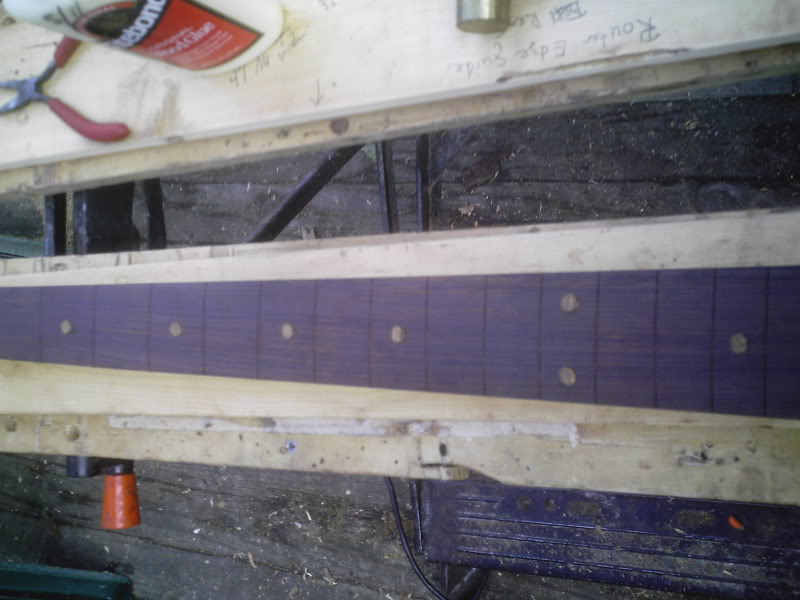
That's all for today. I ran out of light. I'll let these sit overnight and let the glue dry. Tomorrow I'll sand them flush to the board, and, hopefully, start hammering frets. Thanks for watching and sharing this with me.
For markers I have a beautiful piece of Bocote a friend of mine gave me just laying around. I think it will make nice fret markers. Something a little different than the usual pearl.
And here they are installed.
That's all for today. I ran out of light. I'll let these sit overnight and let the glue dry. Tomorrow I'll sand them flush to the board, and, hopefully, start hammering frets. Thanks for watching and sharing this with me.

Thank you all.
William, probably. But I'm still considering options. In the end, it will come down to cost(what's cheaper). All of my builds are built as cheaply as I can while still maintaining quality.
William, probably. But I'm still considering options. In the end, it will come down to cost(what's cheaper). All of my builds are built as cheaply as I can while still maintaining quality.
I think you should leave it the way it is to emphasize the uniqueness of the wood, but put a non glossy varnish on for protection.
If you paint it, then nobody will see the wood itself, and the wood wouldn't even matter anymore, you know?


