

Enjoy the benefits of a premium membership!
Upgrade Account
-
TalkBass has been independent since 1998. Add your voice.
Create a free account to reply to discussions, view embedded media, and browse with fewer display ads.
Join free Log in
Want zero display ads or expanded classifieds tools? Compare plans.
You are using an out of date browser. It may not display this or other websites correctly.
You should upgrade or use an alternative browser.
You should upgrade or use an alternative browser.
5 string Ricken-Musicman Bass.
- Thread starter Videojunkie
- Start date
More options
Who Replied?

Nah, the actual bookmarked side is taped together on the bottom. Trust me, I double checked...Ummmmm... I think you bookmatched the top the wrong way.
So will you be able to get at the preamp board once the top is glued on?
I tested it with a block of wood on top to make sure all the connections and cables fit. It's cozy, but not difficult. (Famous Last Words...)
I will probably wind up stuffing a tiny foam block in there to keep anything from rattling once it's installed. The velcro will make it too difficult to install and remove.
Stayed up late to work on the inlays. Are they perfect? Heck naw. But I'm pretty happy with them. I had enough material to layer 2 thicknesses of material (the shell is crazy thin!)
In hindsight, I should have done the inlays before I melted the trim around them. It would have come out a little cleaner.
But this just glows!


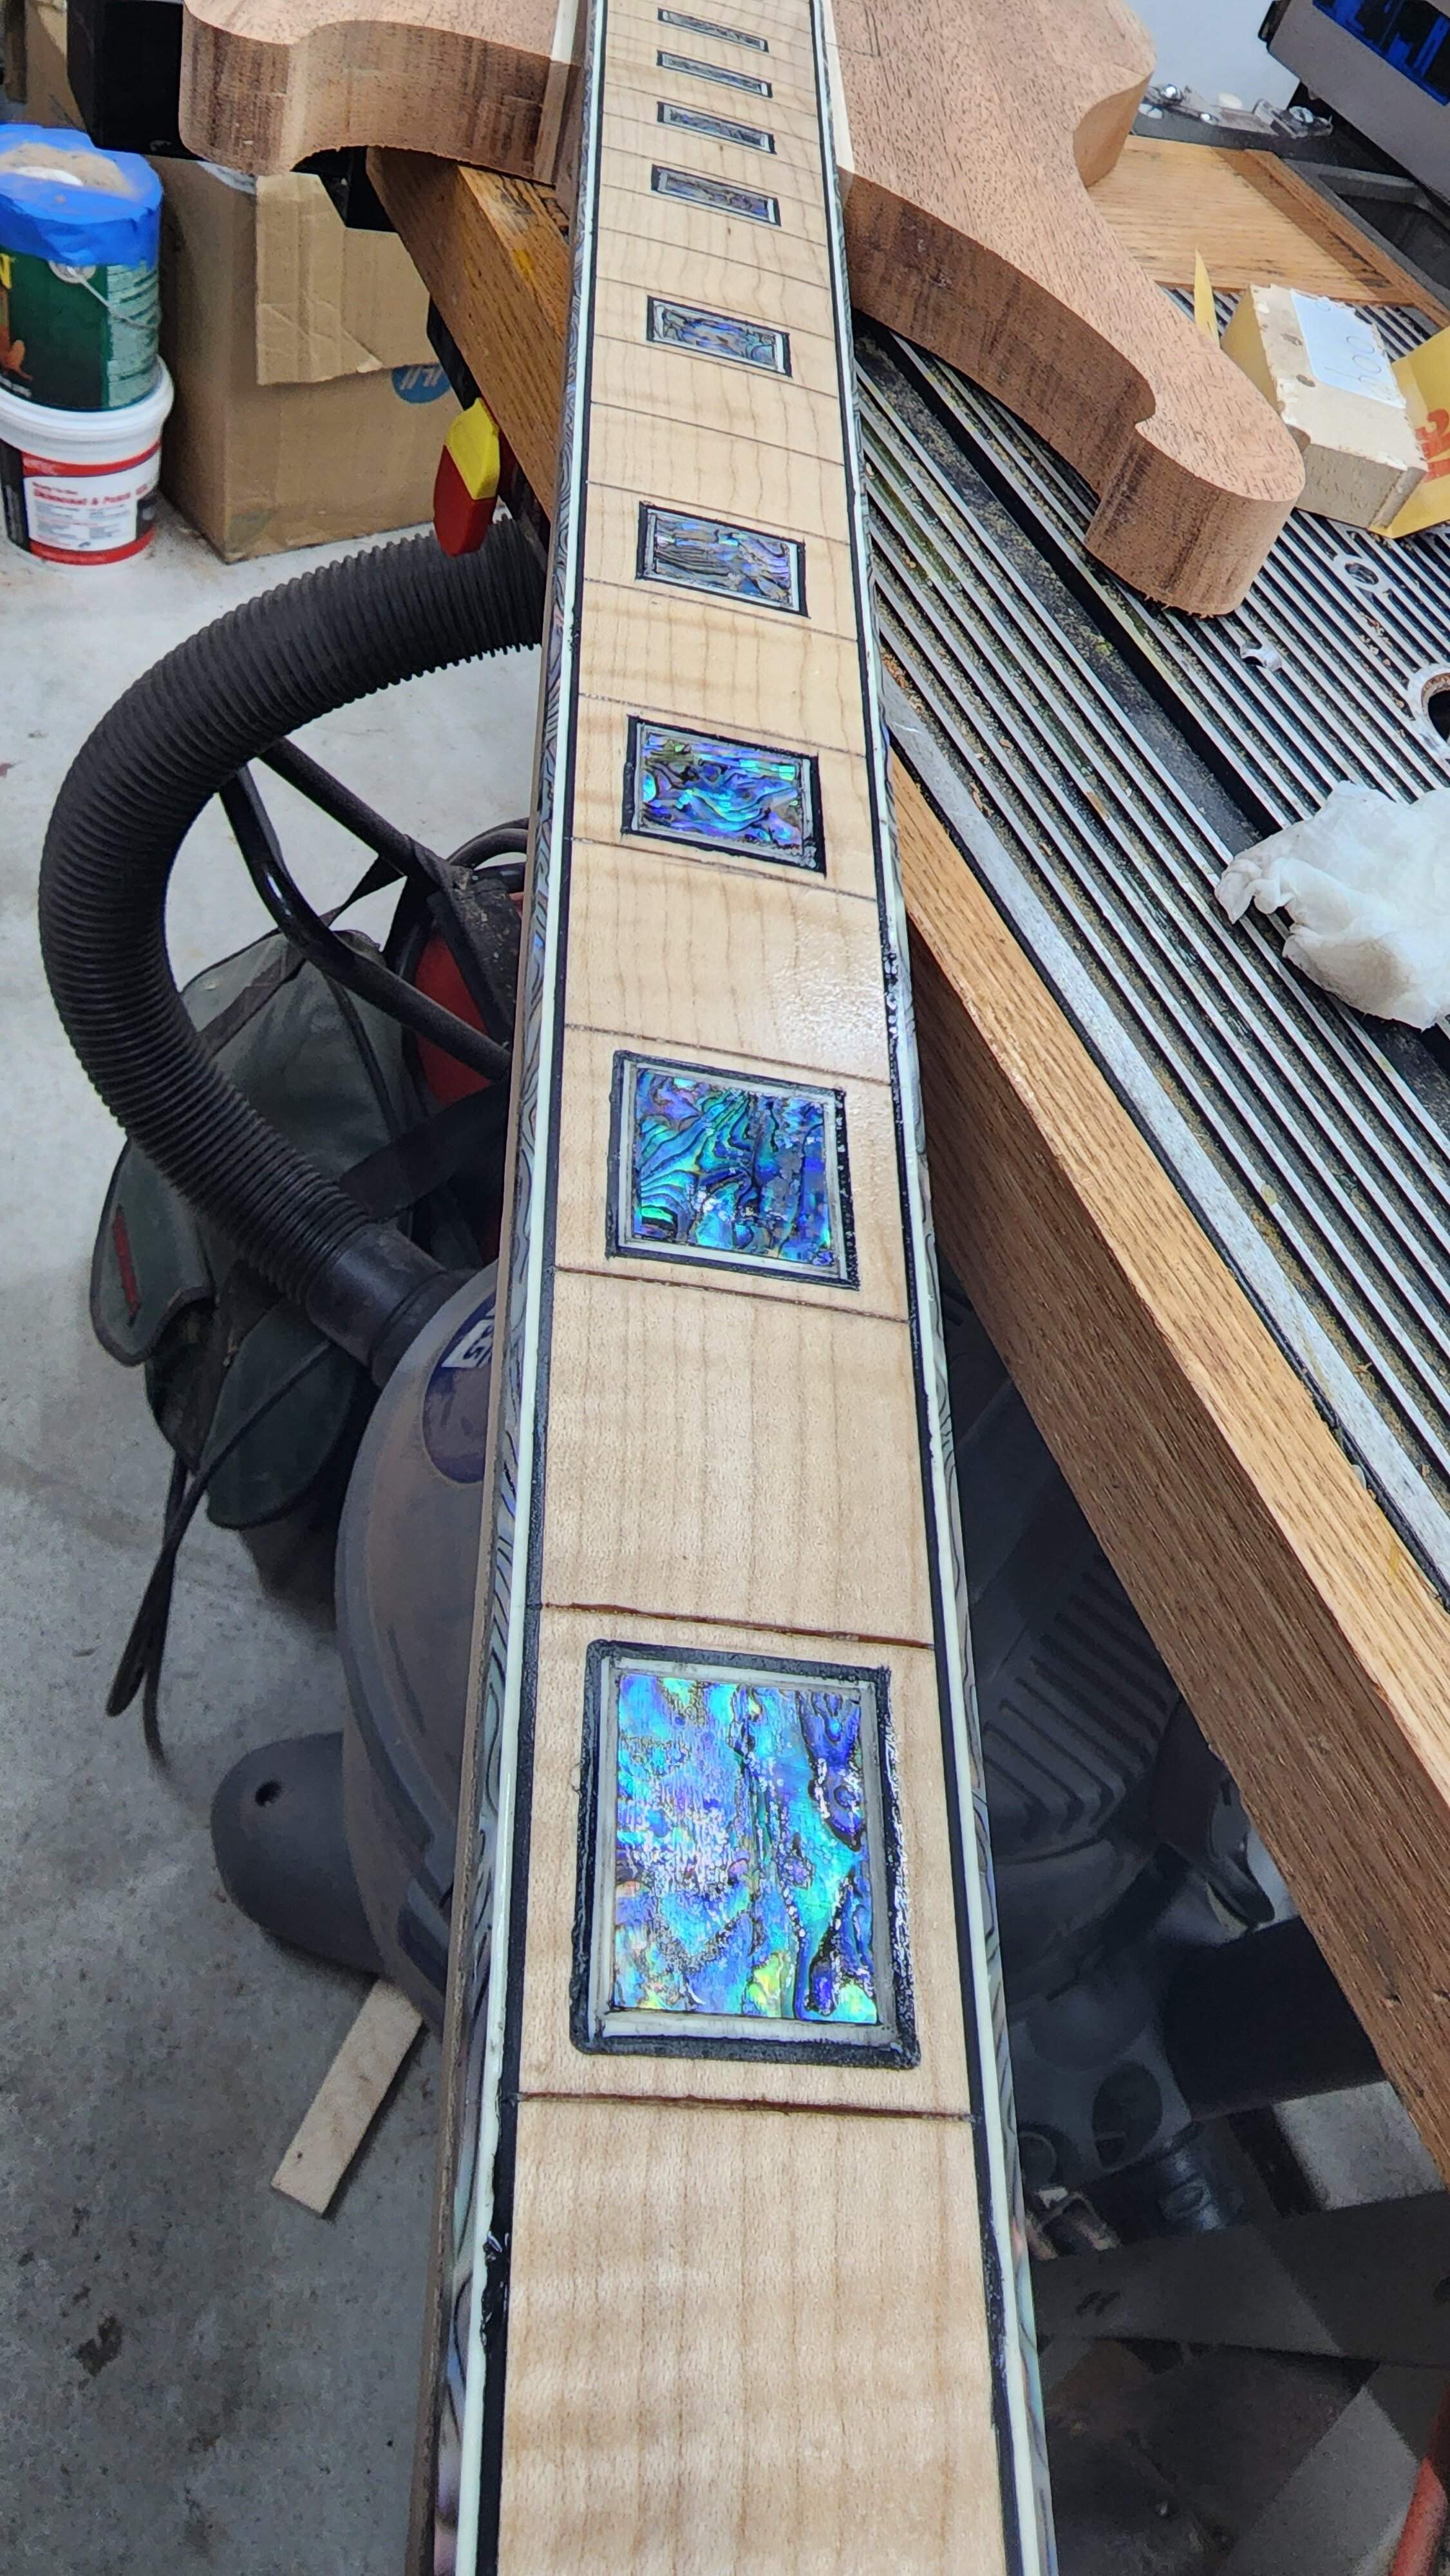
In hindsight, I should have done the inlays before I melted the trim around them. It would have come out a little cleaner.
But this just glows!
Last edited:

- Apr 18, 2008
- 16,011
- 1
- 31,720
- Disclosures
- I'm highly opinionated and extremely self-assured
Should I be concerned about this?
Running a straight edge between my saddles and the nut, the B and G strings will wind up just on the inside edges of the poles on the neck pickup.
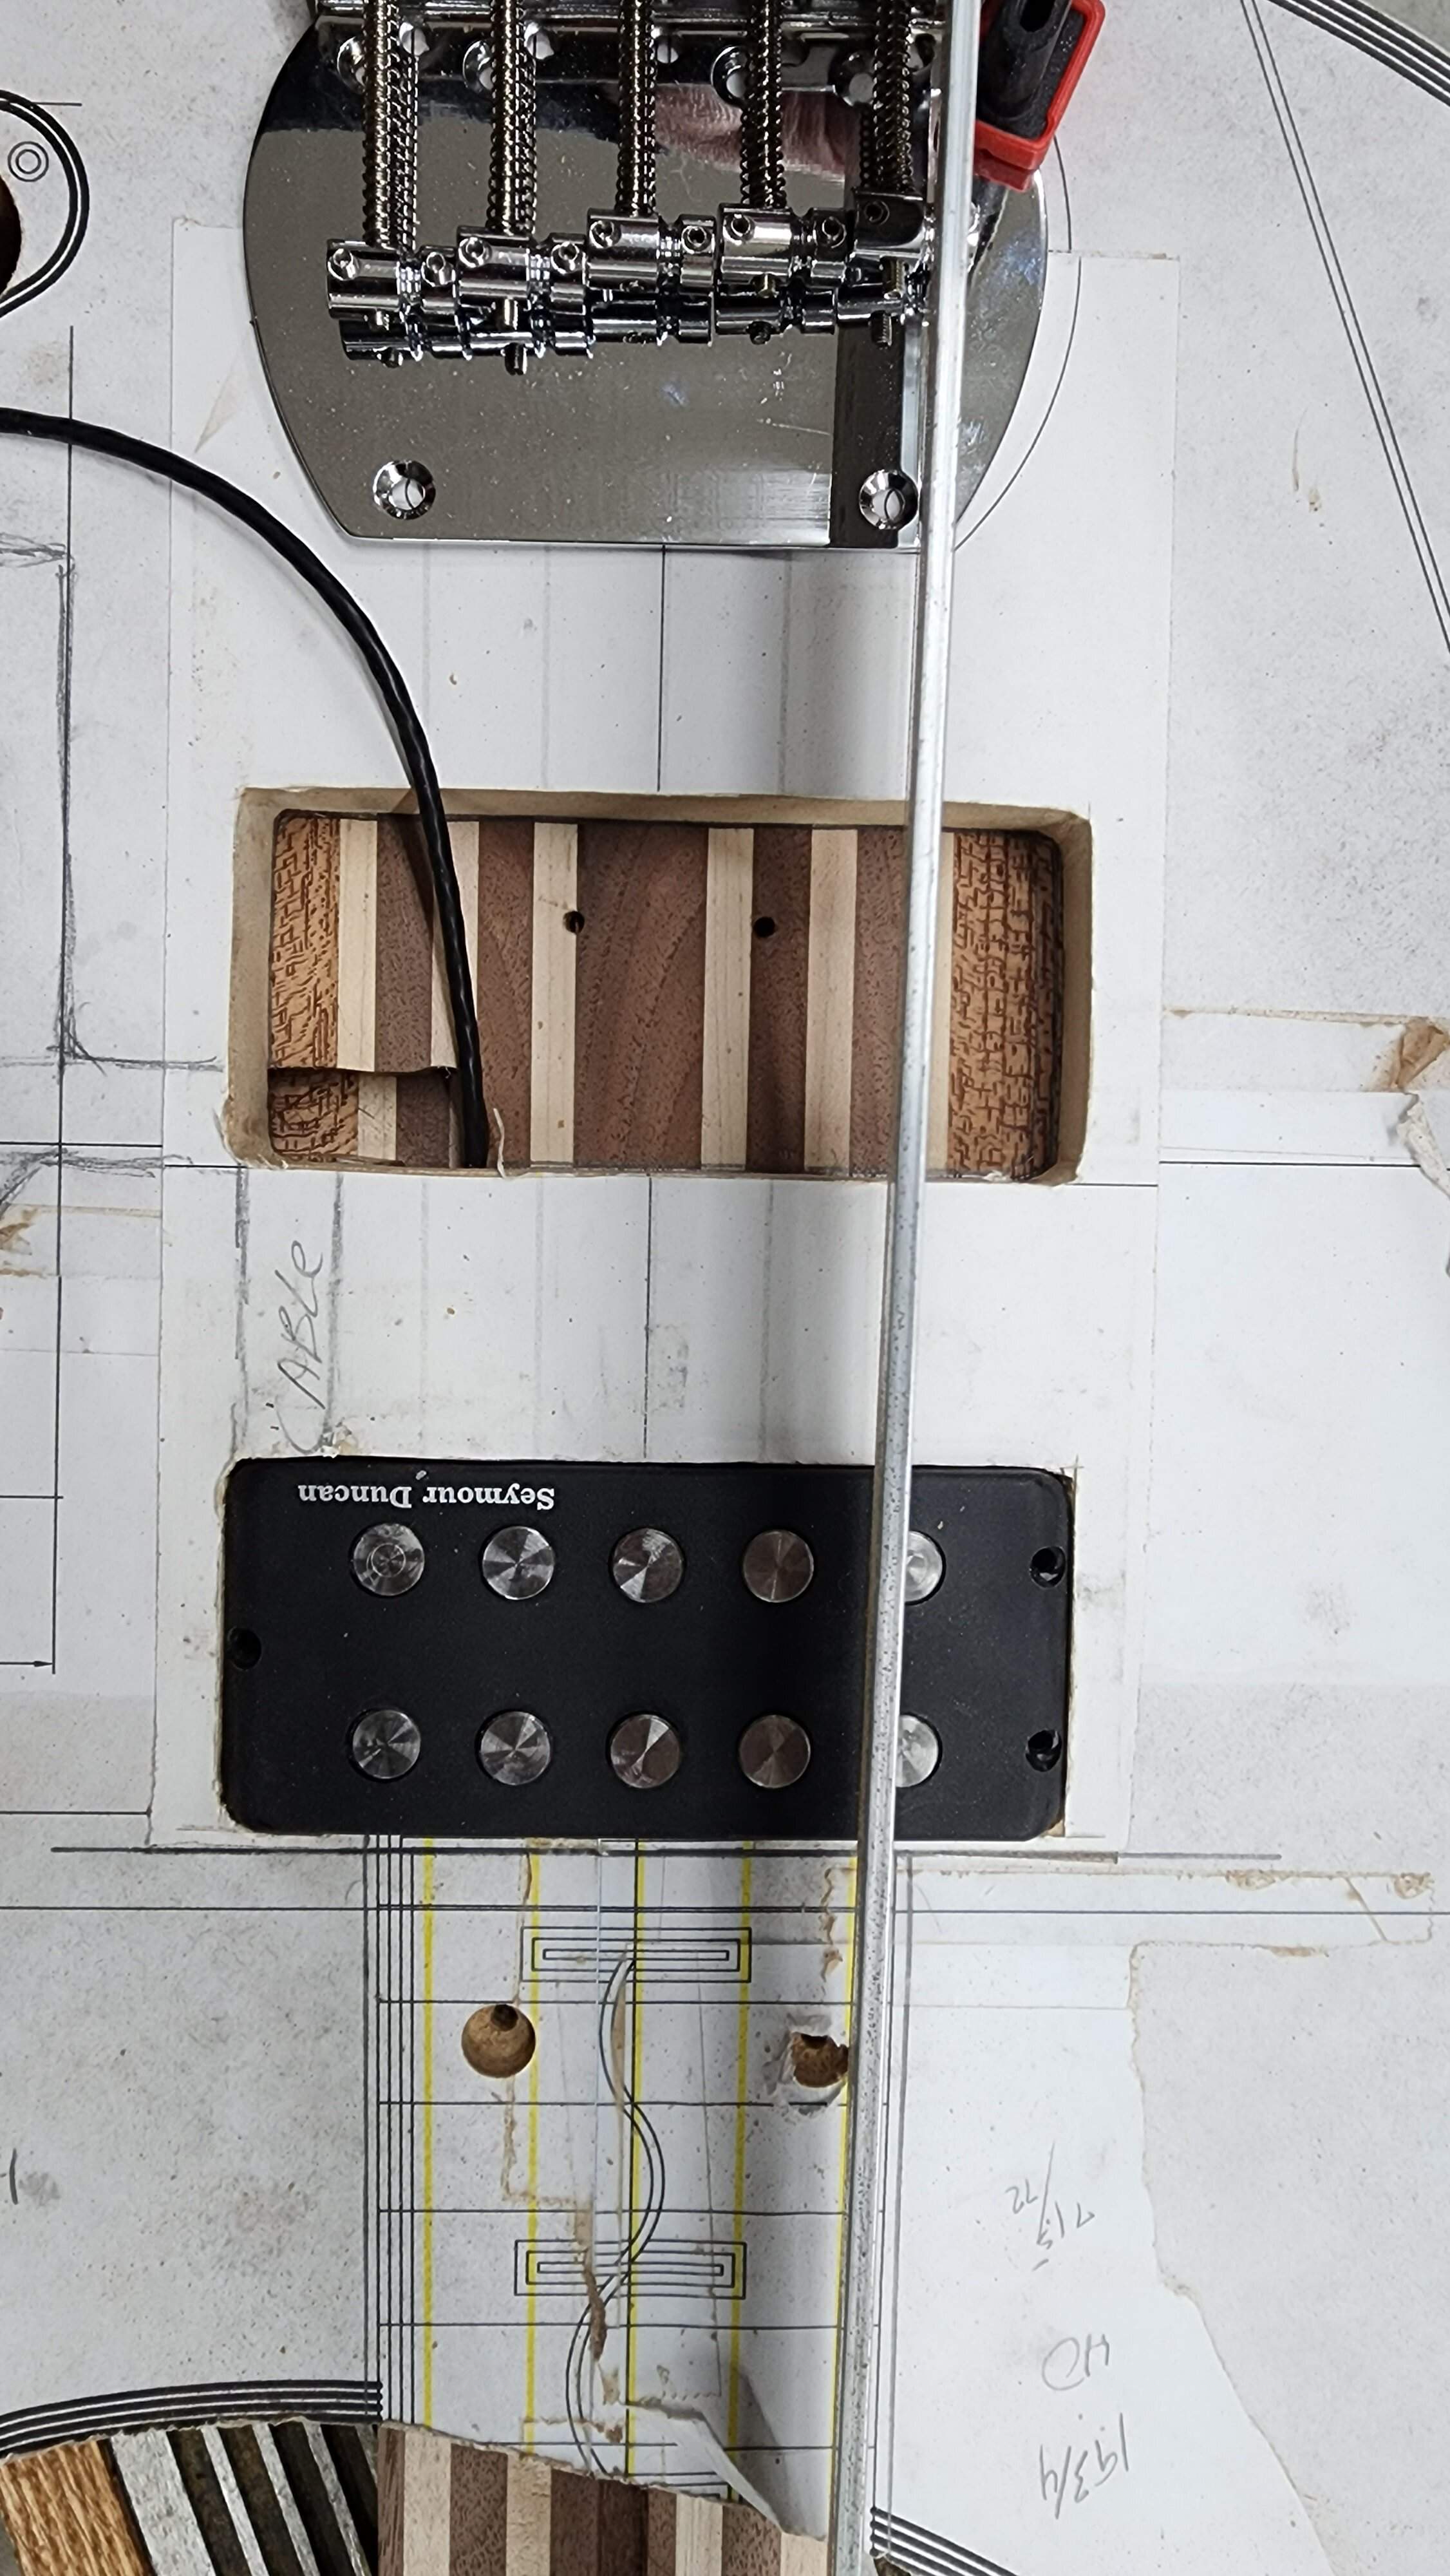
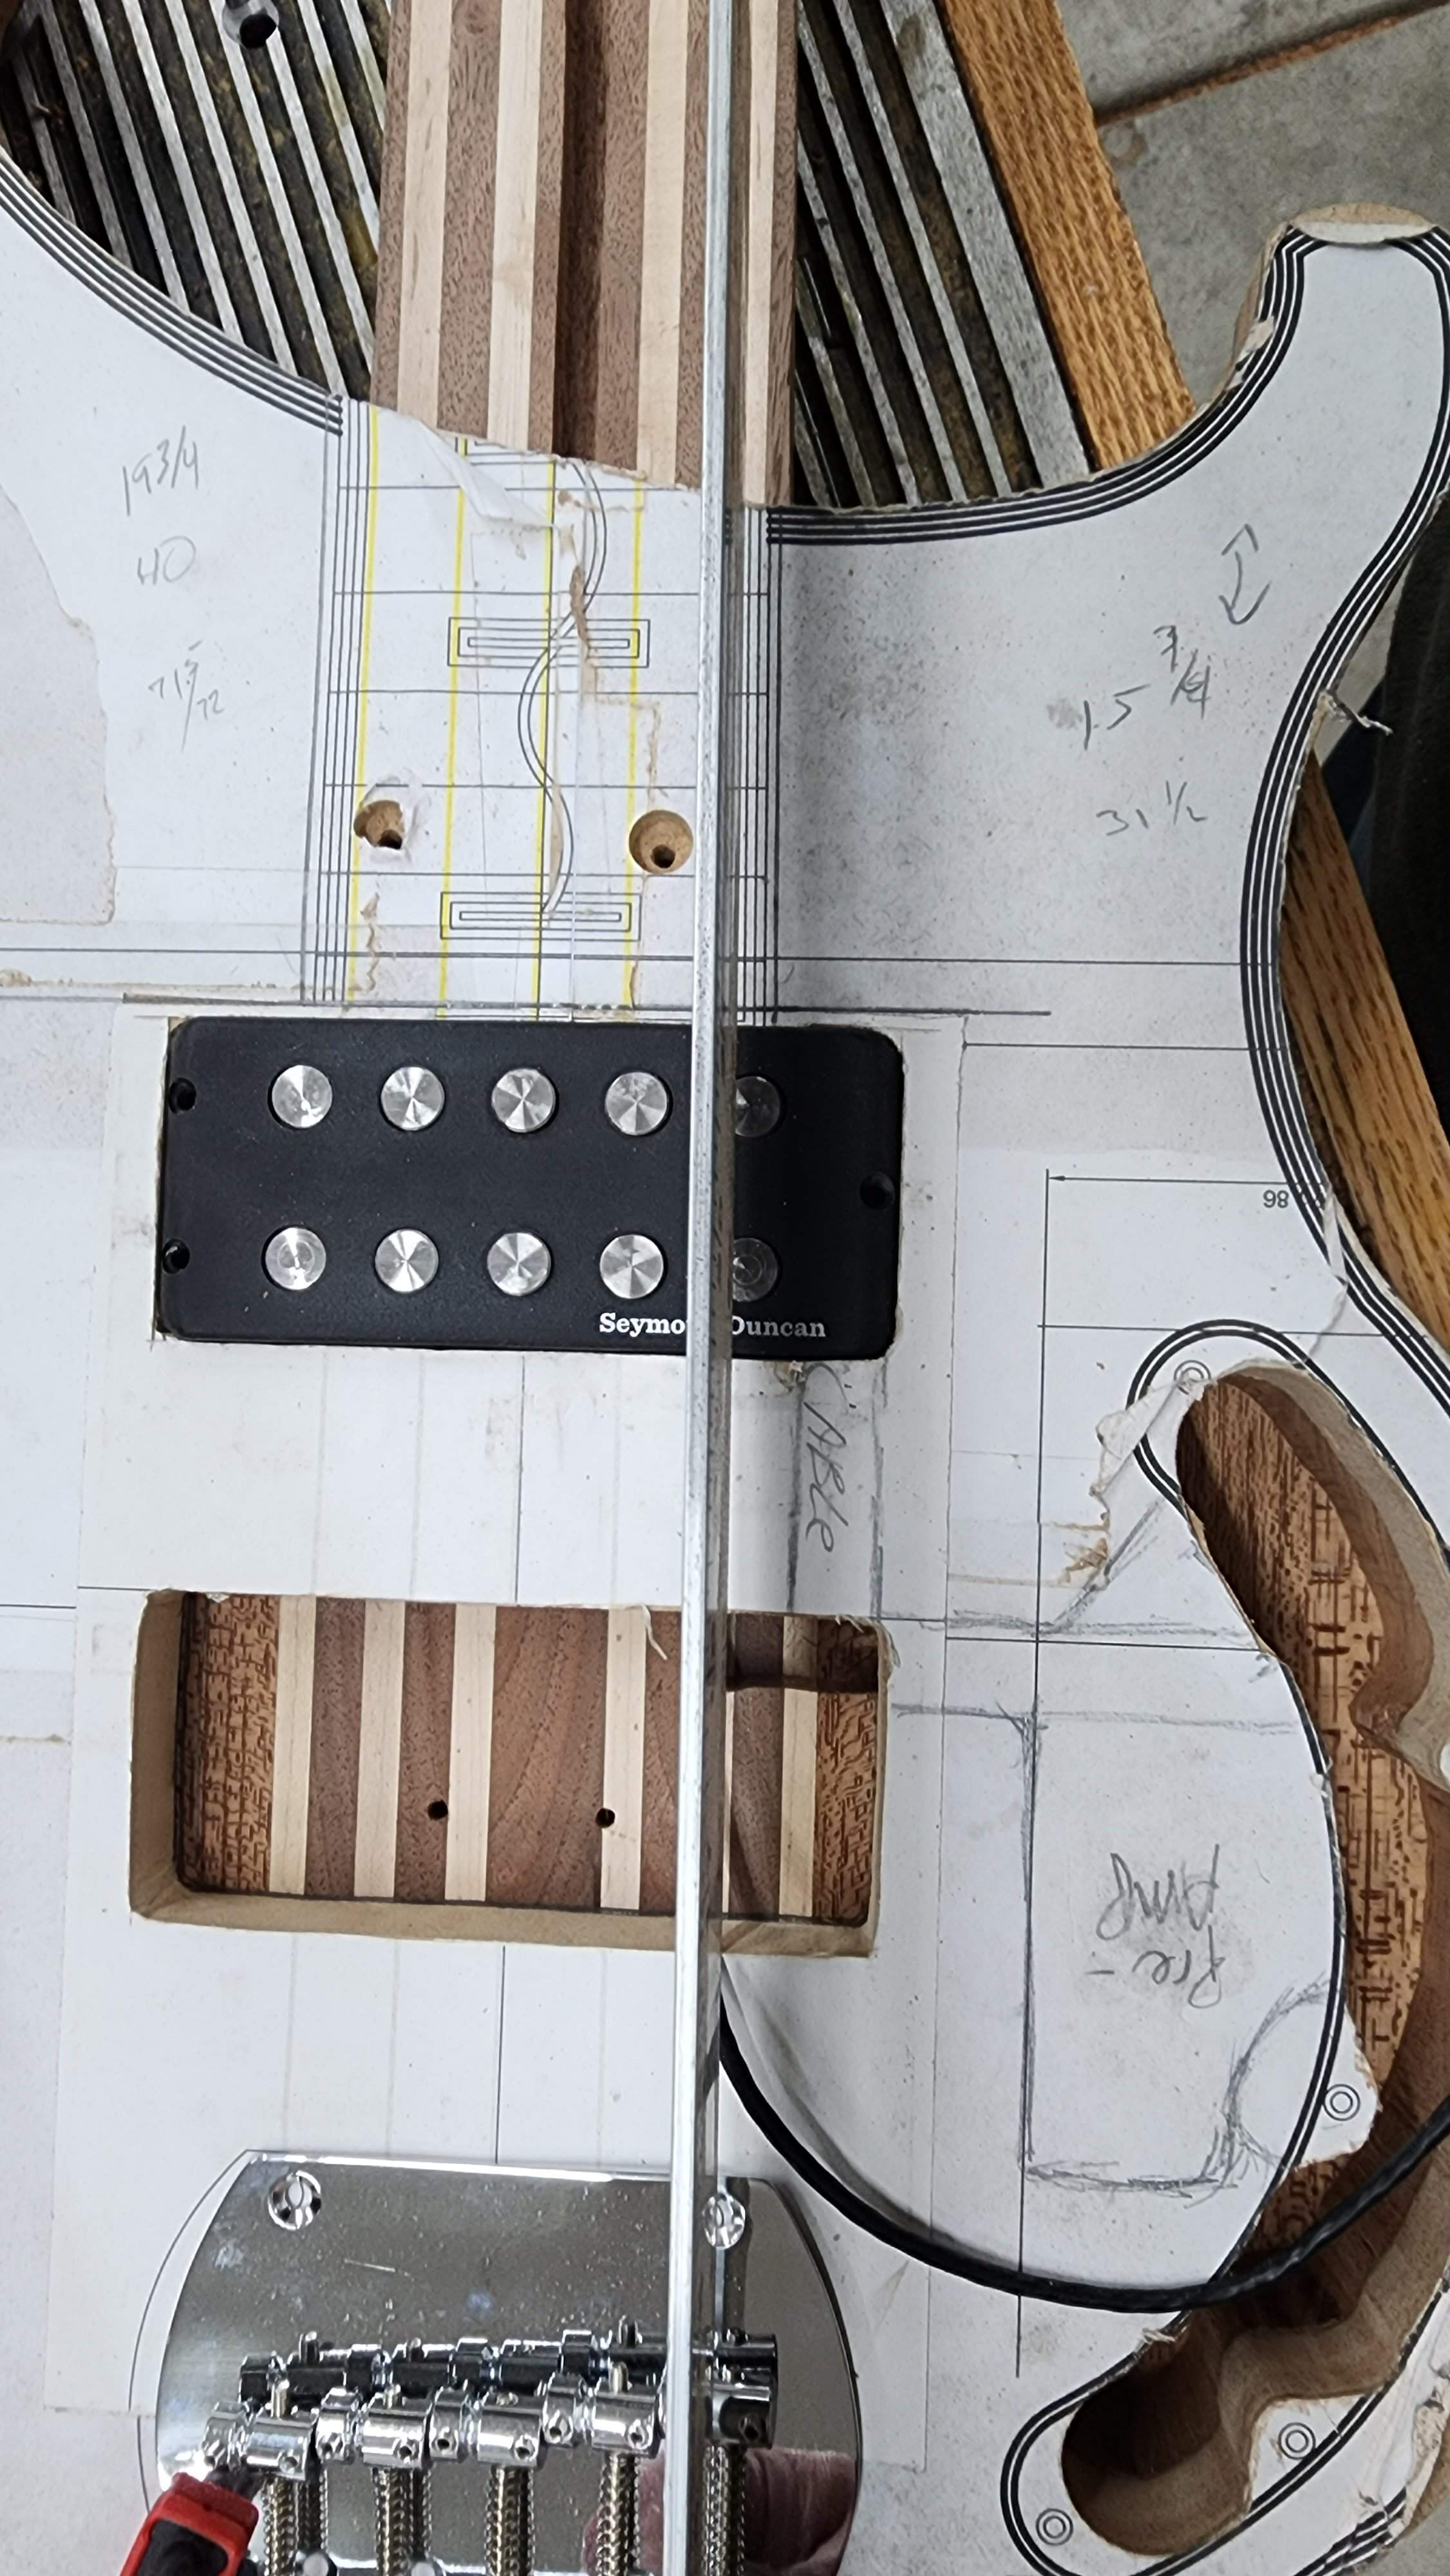
Running a straight edge between my saddles and the nut, the B and G strings will wind up just on the inside edges of the poles on the neck pickup.

No worries, you're fine. It's more than close enough to the pickup pole pieces.Should I be concerned about this?
Running a straight edge between my saddles and the nut, the B and G strings will wind up just on the inside edges of the poles on the neck pickup.
View attachment 4885464 View attachment 4885465
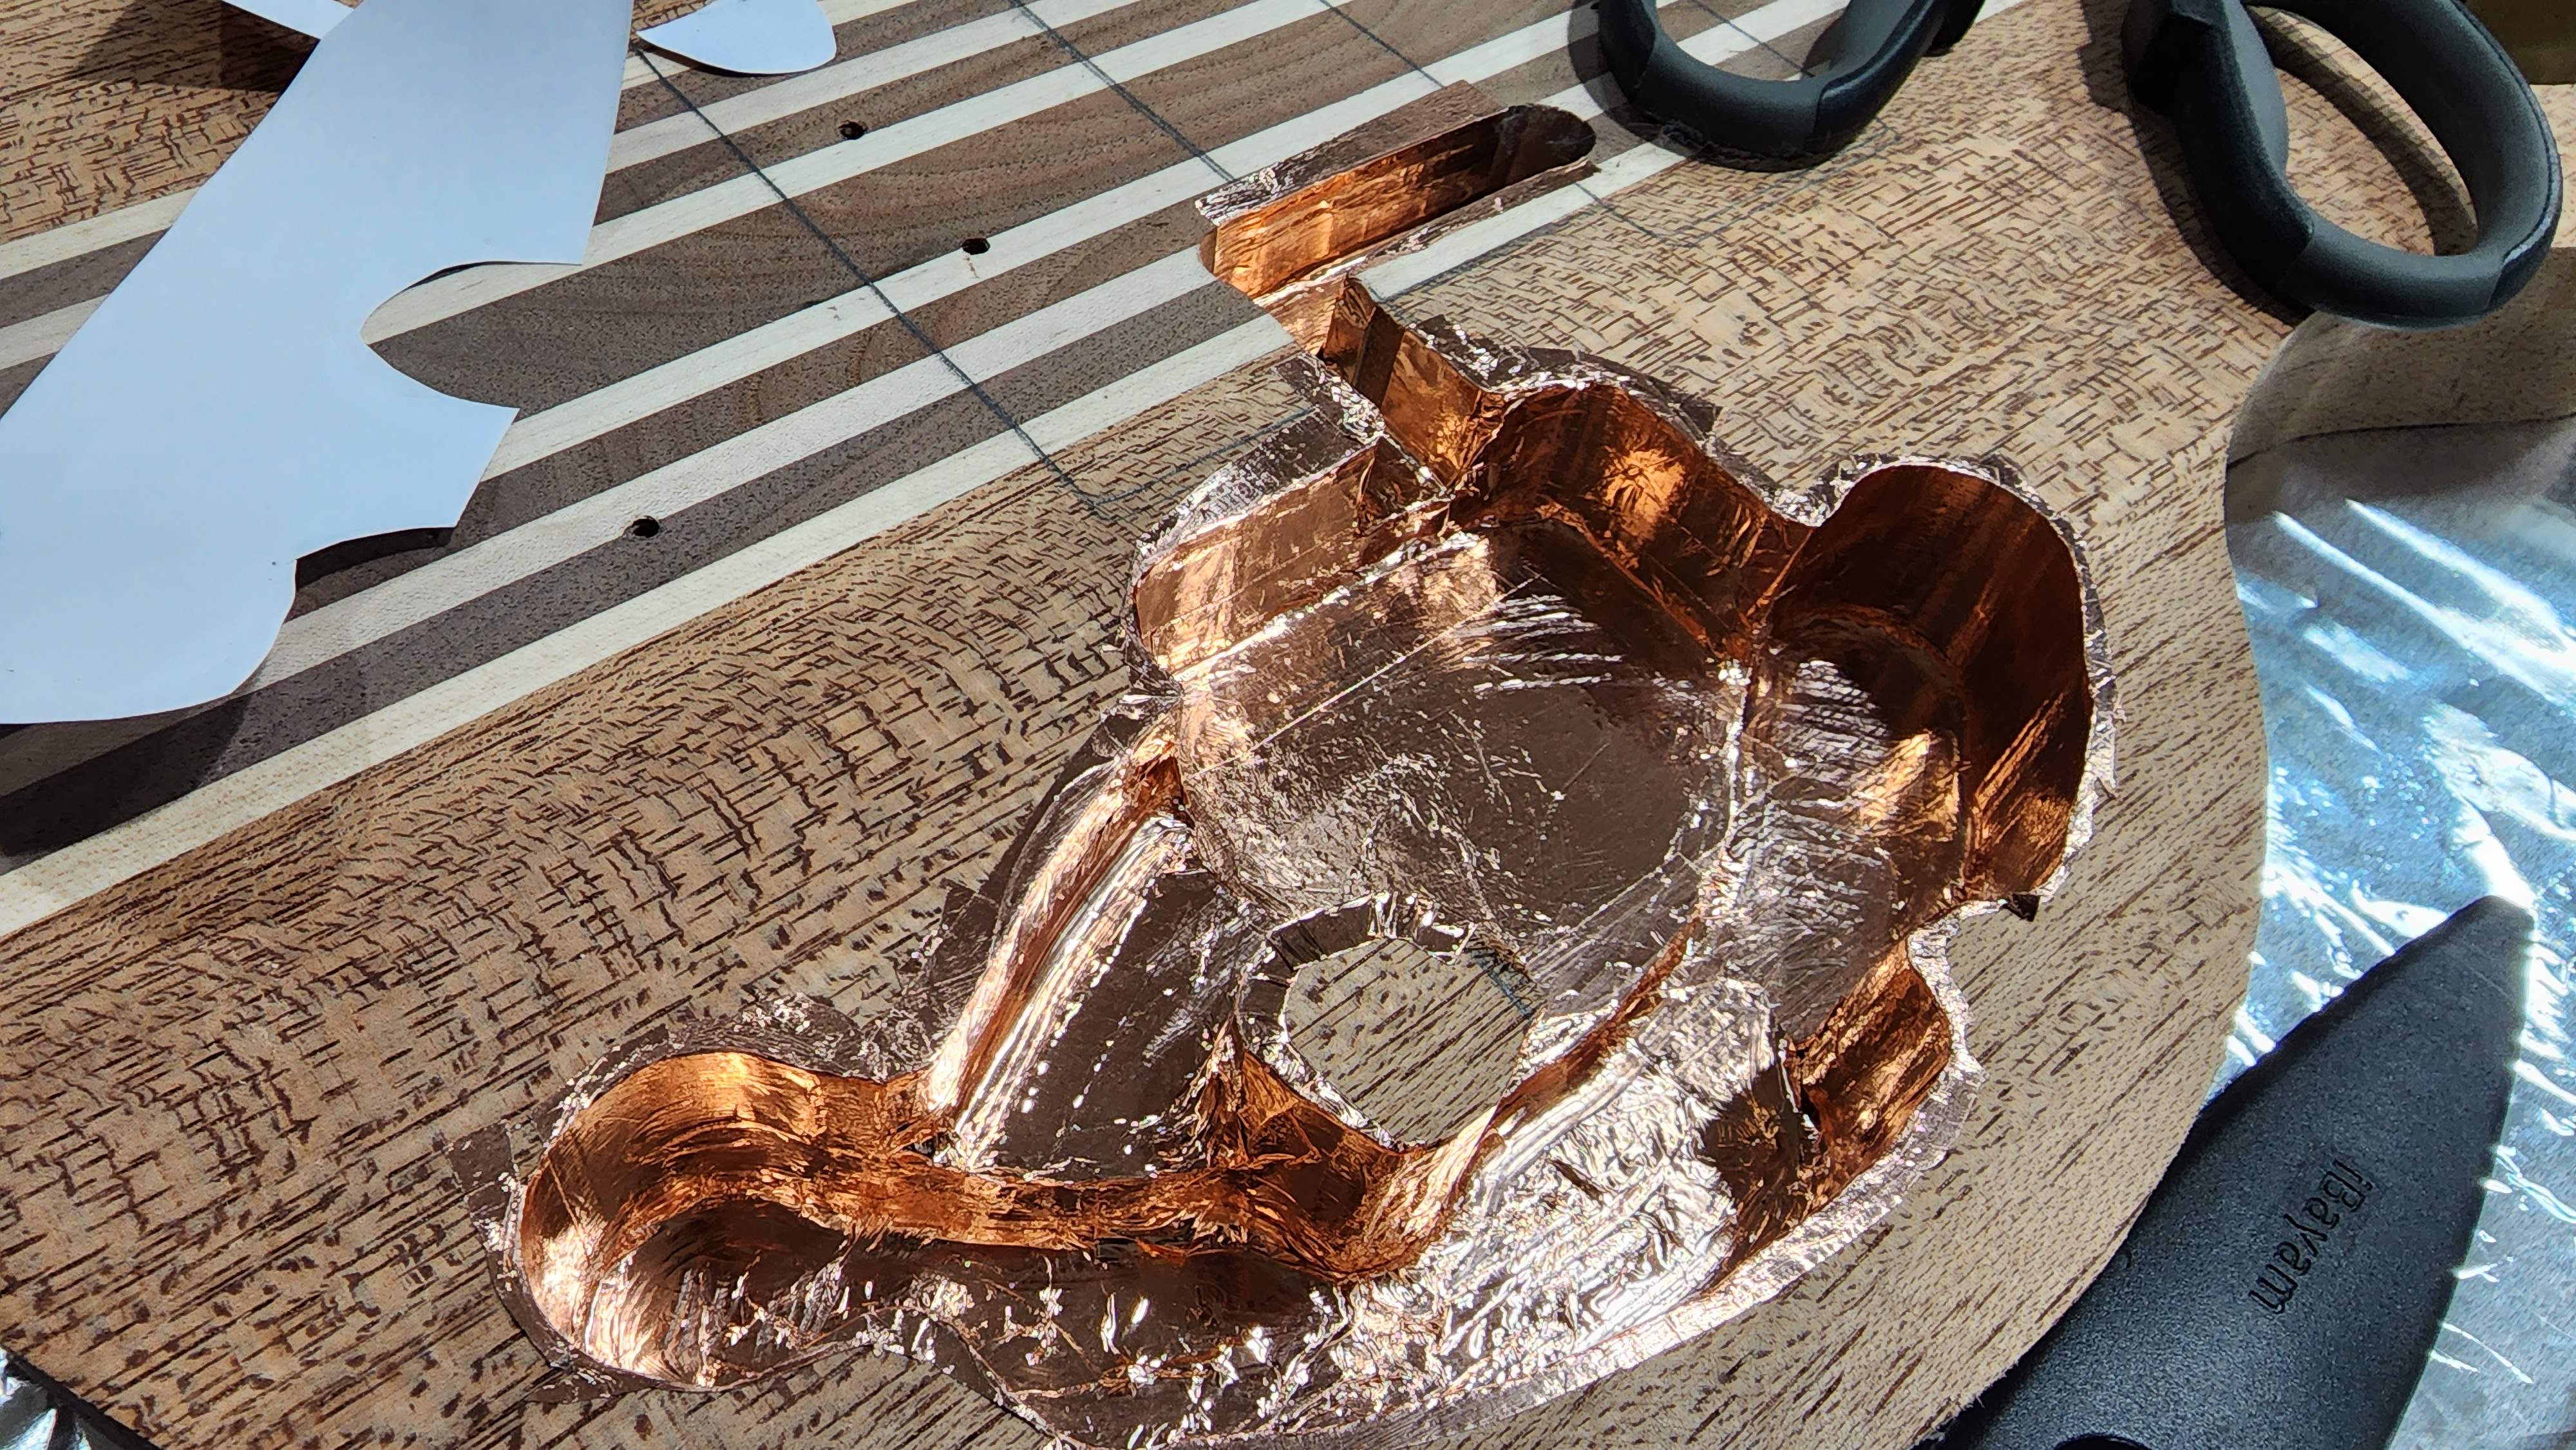
I'm all set for gluing up the top, except... the shielding tape hasn't arrived yet. 

It should be delivered today, so by the end of the day this will all be one piece!
I put a spacer in for the bindings so that in theory, I will only need 2 pieces of binding. One long one around the outside, and a shorter one on the inside of the cutaways.
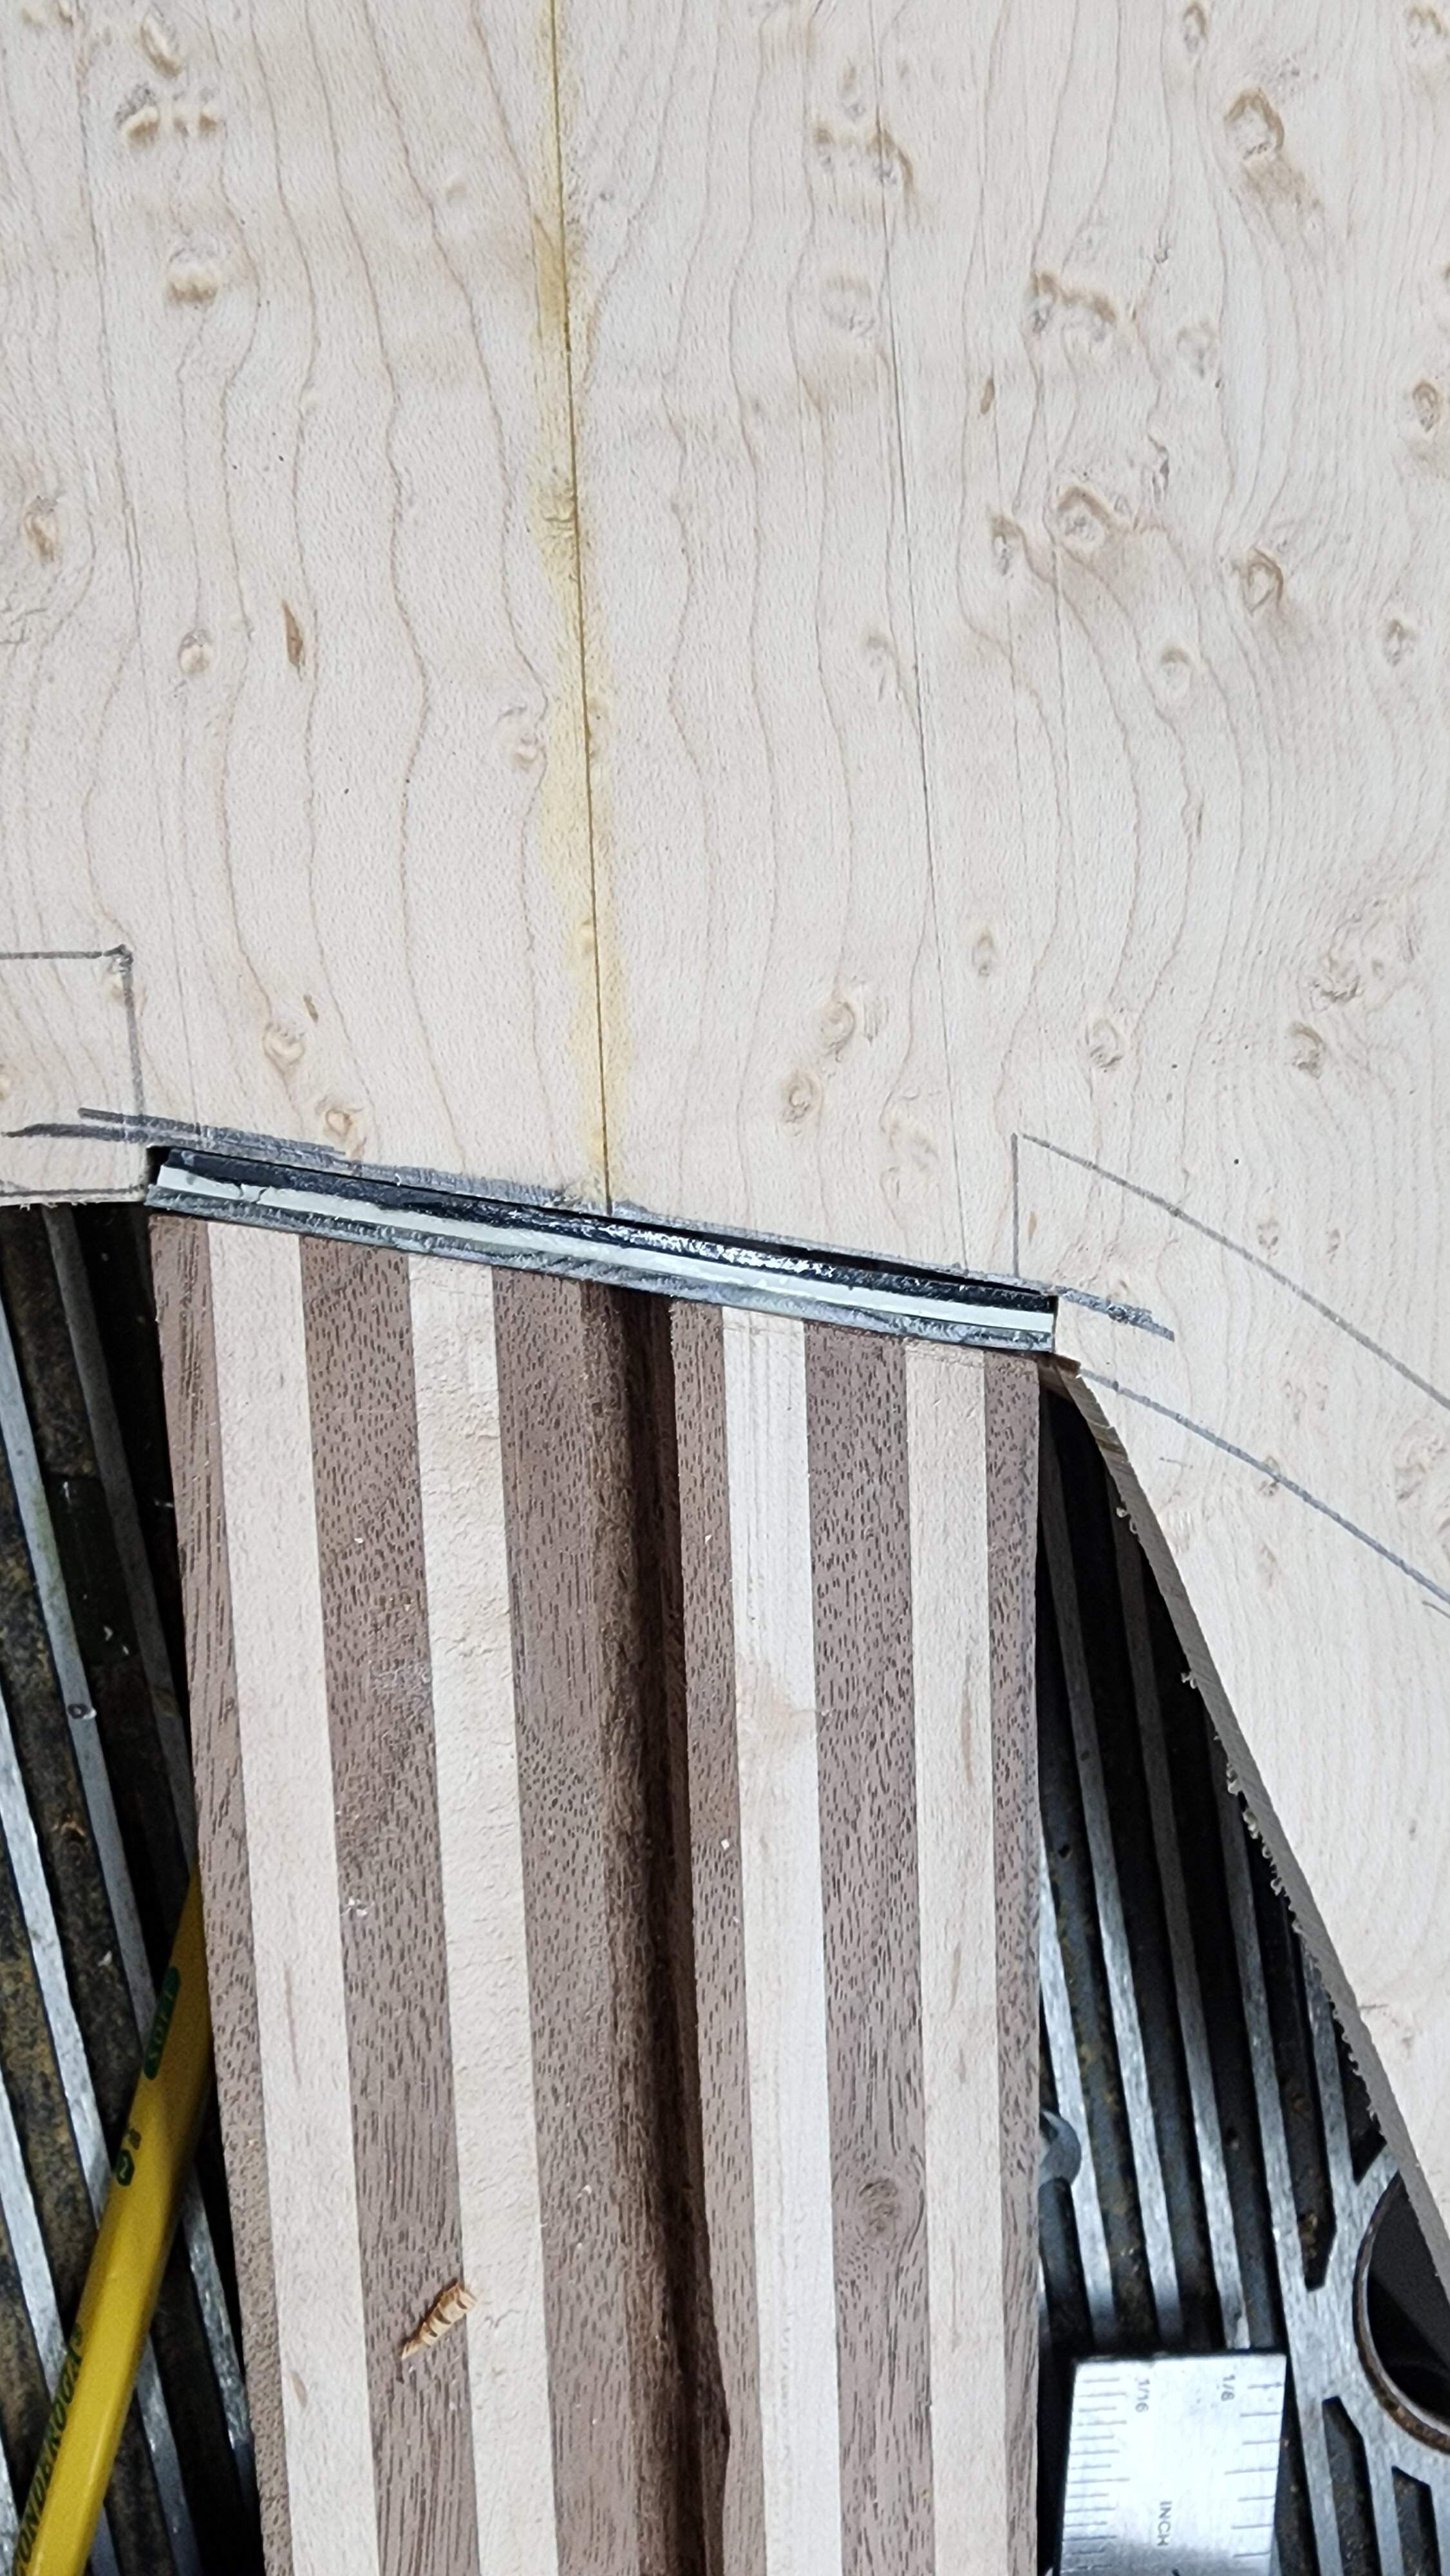
It should be delivered today, so by the end of the day this will all be one piece!
I put a spacer in for the bindings so that in theory, I will only need 2 pieces of binding. One long one around the outside, and a shorter one on the inside of the cutaways.

No worries, you're fine. It's more than close enough to the pickup pole pieces.
Thanks! I was afraid that I would have to swap pickups at the 11th hour...


I’ve had shielding tape start to come unstuck and lose continuity after a few years. That’s easy to fix on the back of a pick guard or in an open cavity, but it could be very difficult to fix in that blind cavity you’re creating. Wonder if paint would be a better solution in this case. Or at least buy better tape and do a better job of installing it than I did.I'm all set for gluing up the top, except... the shielding tape hasn't arrived yet.
I'm going with the tape, as it's what I've got. Used big pieces and burnished them together as best as I could in the cavity. I'll cover the "inside" of the top before I glue it in place,
While I was waiting for the tape, I got about half of the fretboard re-slotted. I also started the process of grinding down the tabs so that I can fret this bound fingerboard.
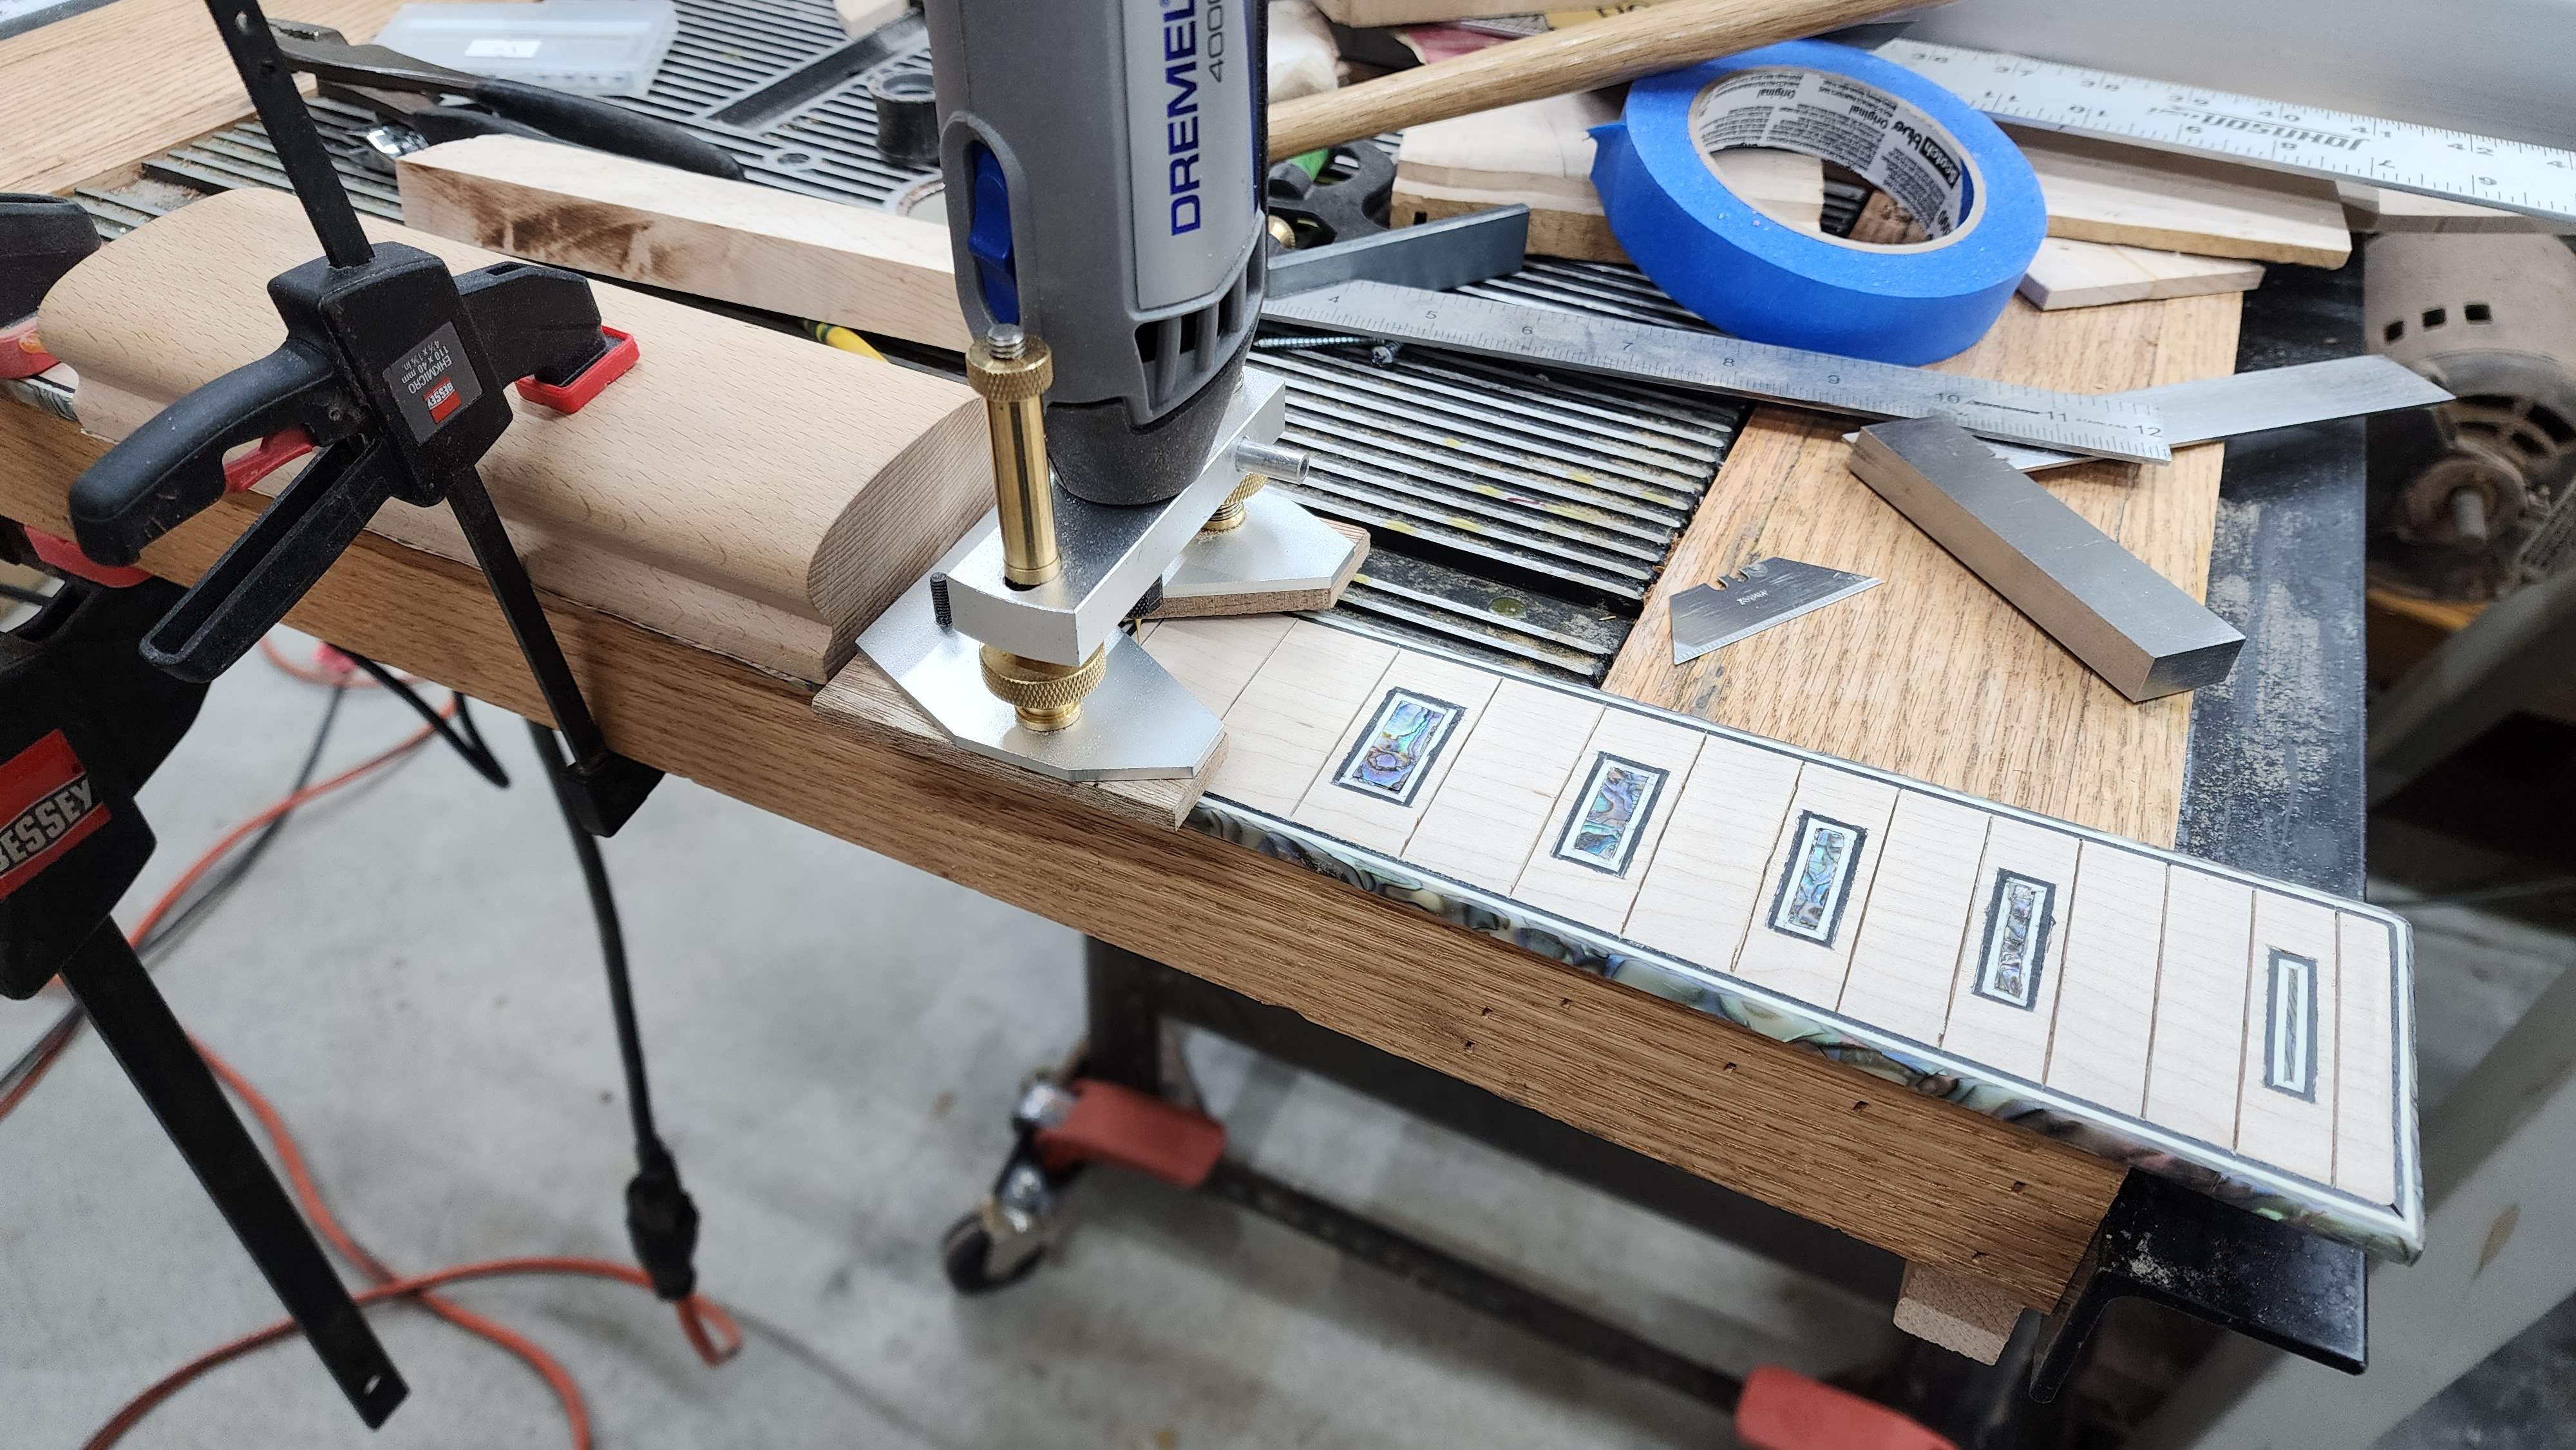
While I was waiting for the tape, I got about half of the fretboard re-slotted. I also started the process of grinding down the tabs so that I can fret this bound fingerboard.
- Apr 18, 2008
- 16,011
- 1
- 31,720
- Disclosures
- I'm highly opinionated and extremely self-assured
Go ahead and spot-solder the pieces of shielding tape to one another.
Obligatory forest of clamps picture. Using the template as a clamping caul.
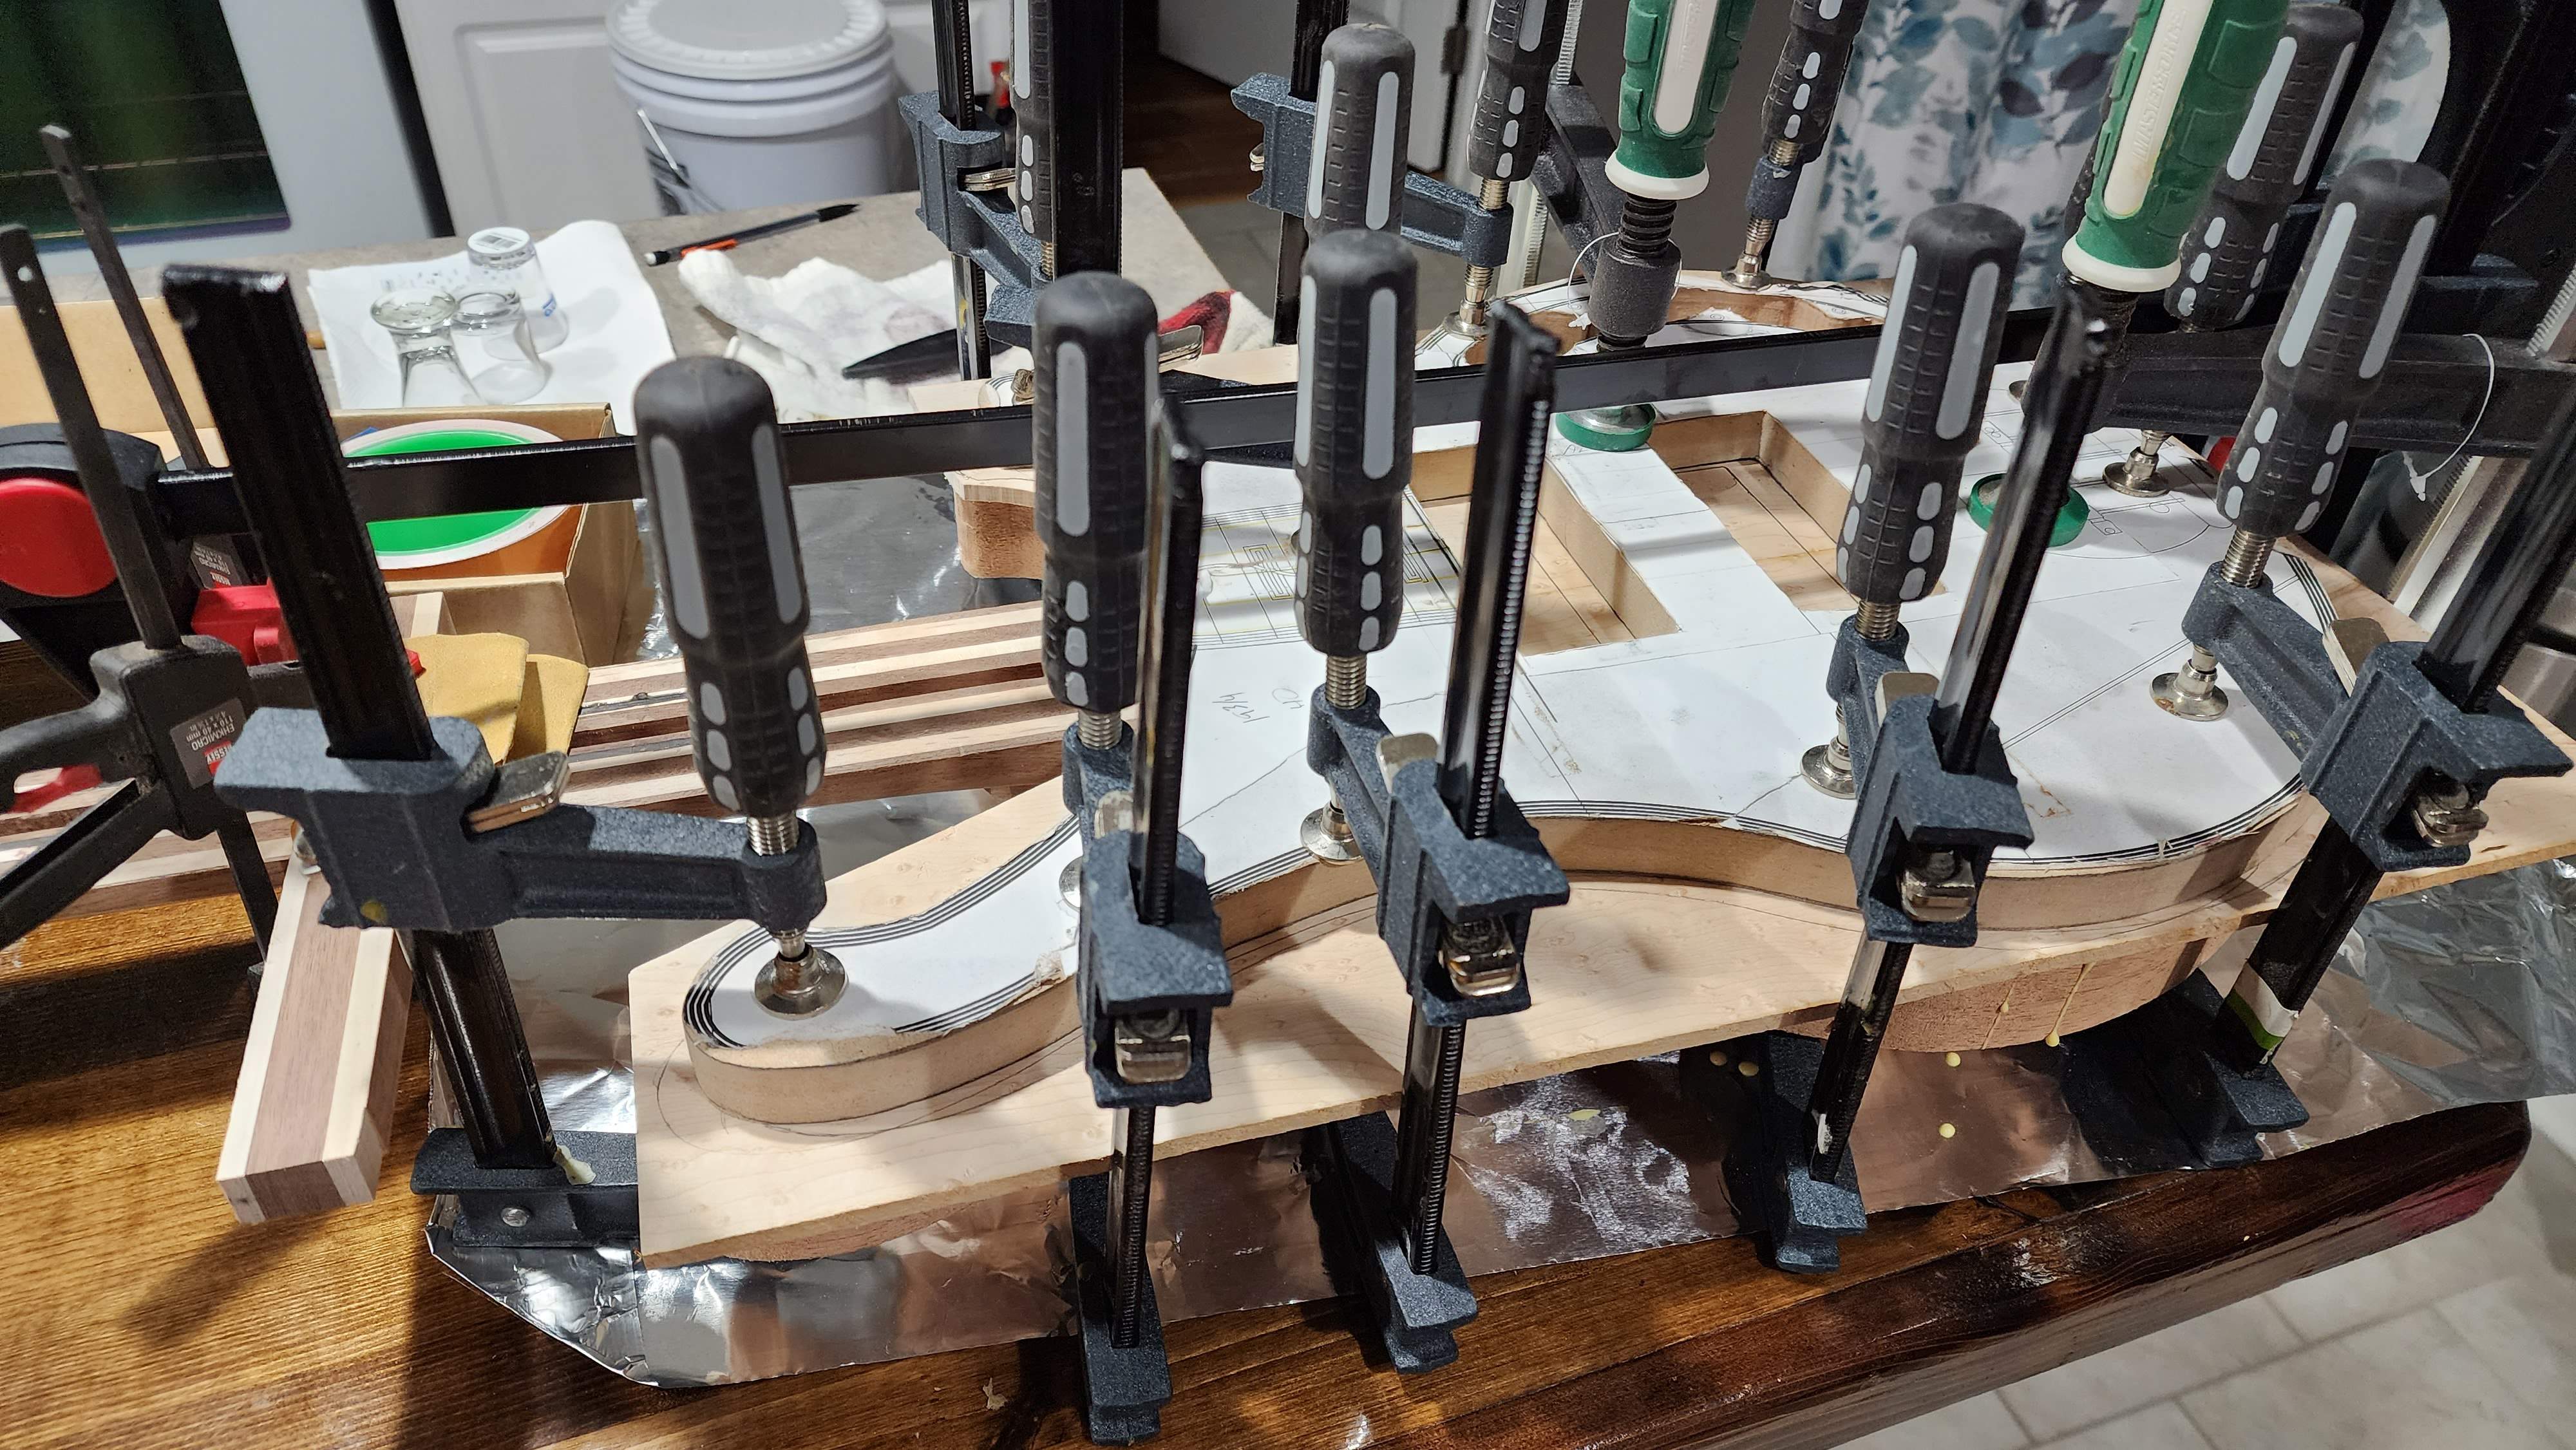
@ctmullins, thanks for the heads up, unfortunately I have burnished all of the seams together so well that I can't see them anymore. I'll just have to trust that this stuff doesn't suck, and hopefully it lasts a lifetime (at least mine anyway...)
@ctmullins, thanks for the heads up, unfortunately I have burnished all of the seams together so well that I can't see them anymore. I'll just have to trust that this stuff doesn't suck, and hopefully it lasts a lifetime (at least mine anyway...)
Process question.
I am 99% sure that I will CA glue the frets when I install them.
Set the frets, use thin CA and wick it under the ends and edges.
Since this is a maple fingerboard, do I need/ want to seal it with at least a seal coat of VU so the glue doesn't wick into the wood and discolor it?
I am 99% sure that I will CA glue the frets when I install them.
Set the frets, use thin CA and wick it under the ends and edges.
Since this is a maple fingerboard, do I need/ want to seal it with at least a seal coat of VU so the glue doesn't wick into the wood and discolor it?
I didn't get as much done on the bass as I'd hoped this weekend, but the top is in place, and roughly down to dimensions. It needs a quick trim with the router to finish that process.
I am considering doing the burst before I do any of the routing for the pickups and the controls. This will allow me to work on just the body shape without having to deal with openings. A few coats of finish to seal from damage, and I should be in good shape?
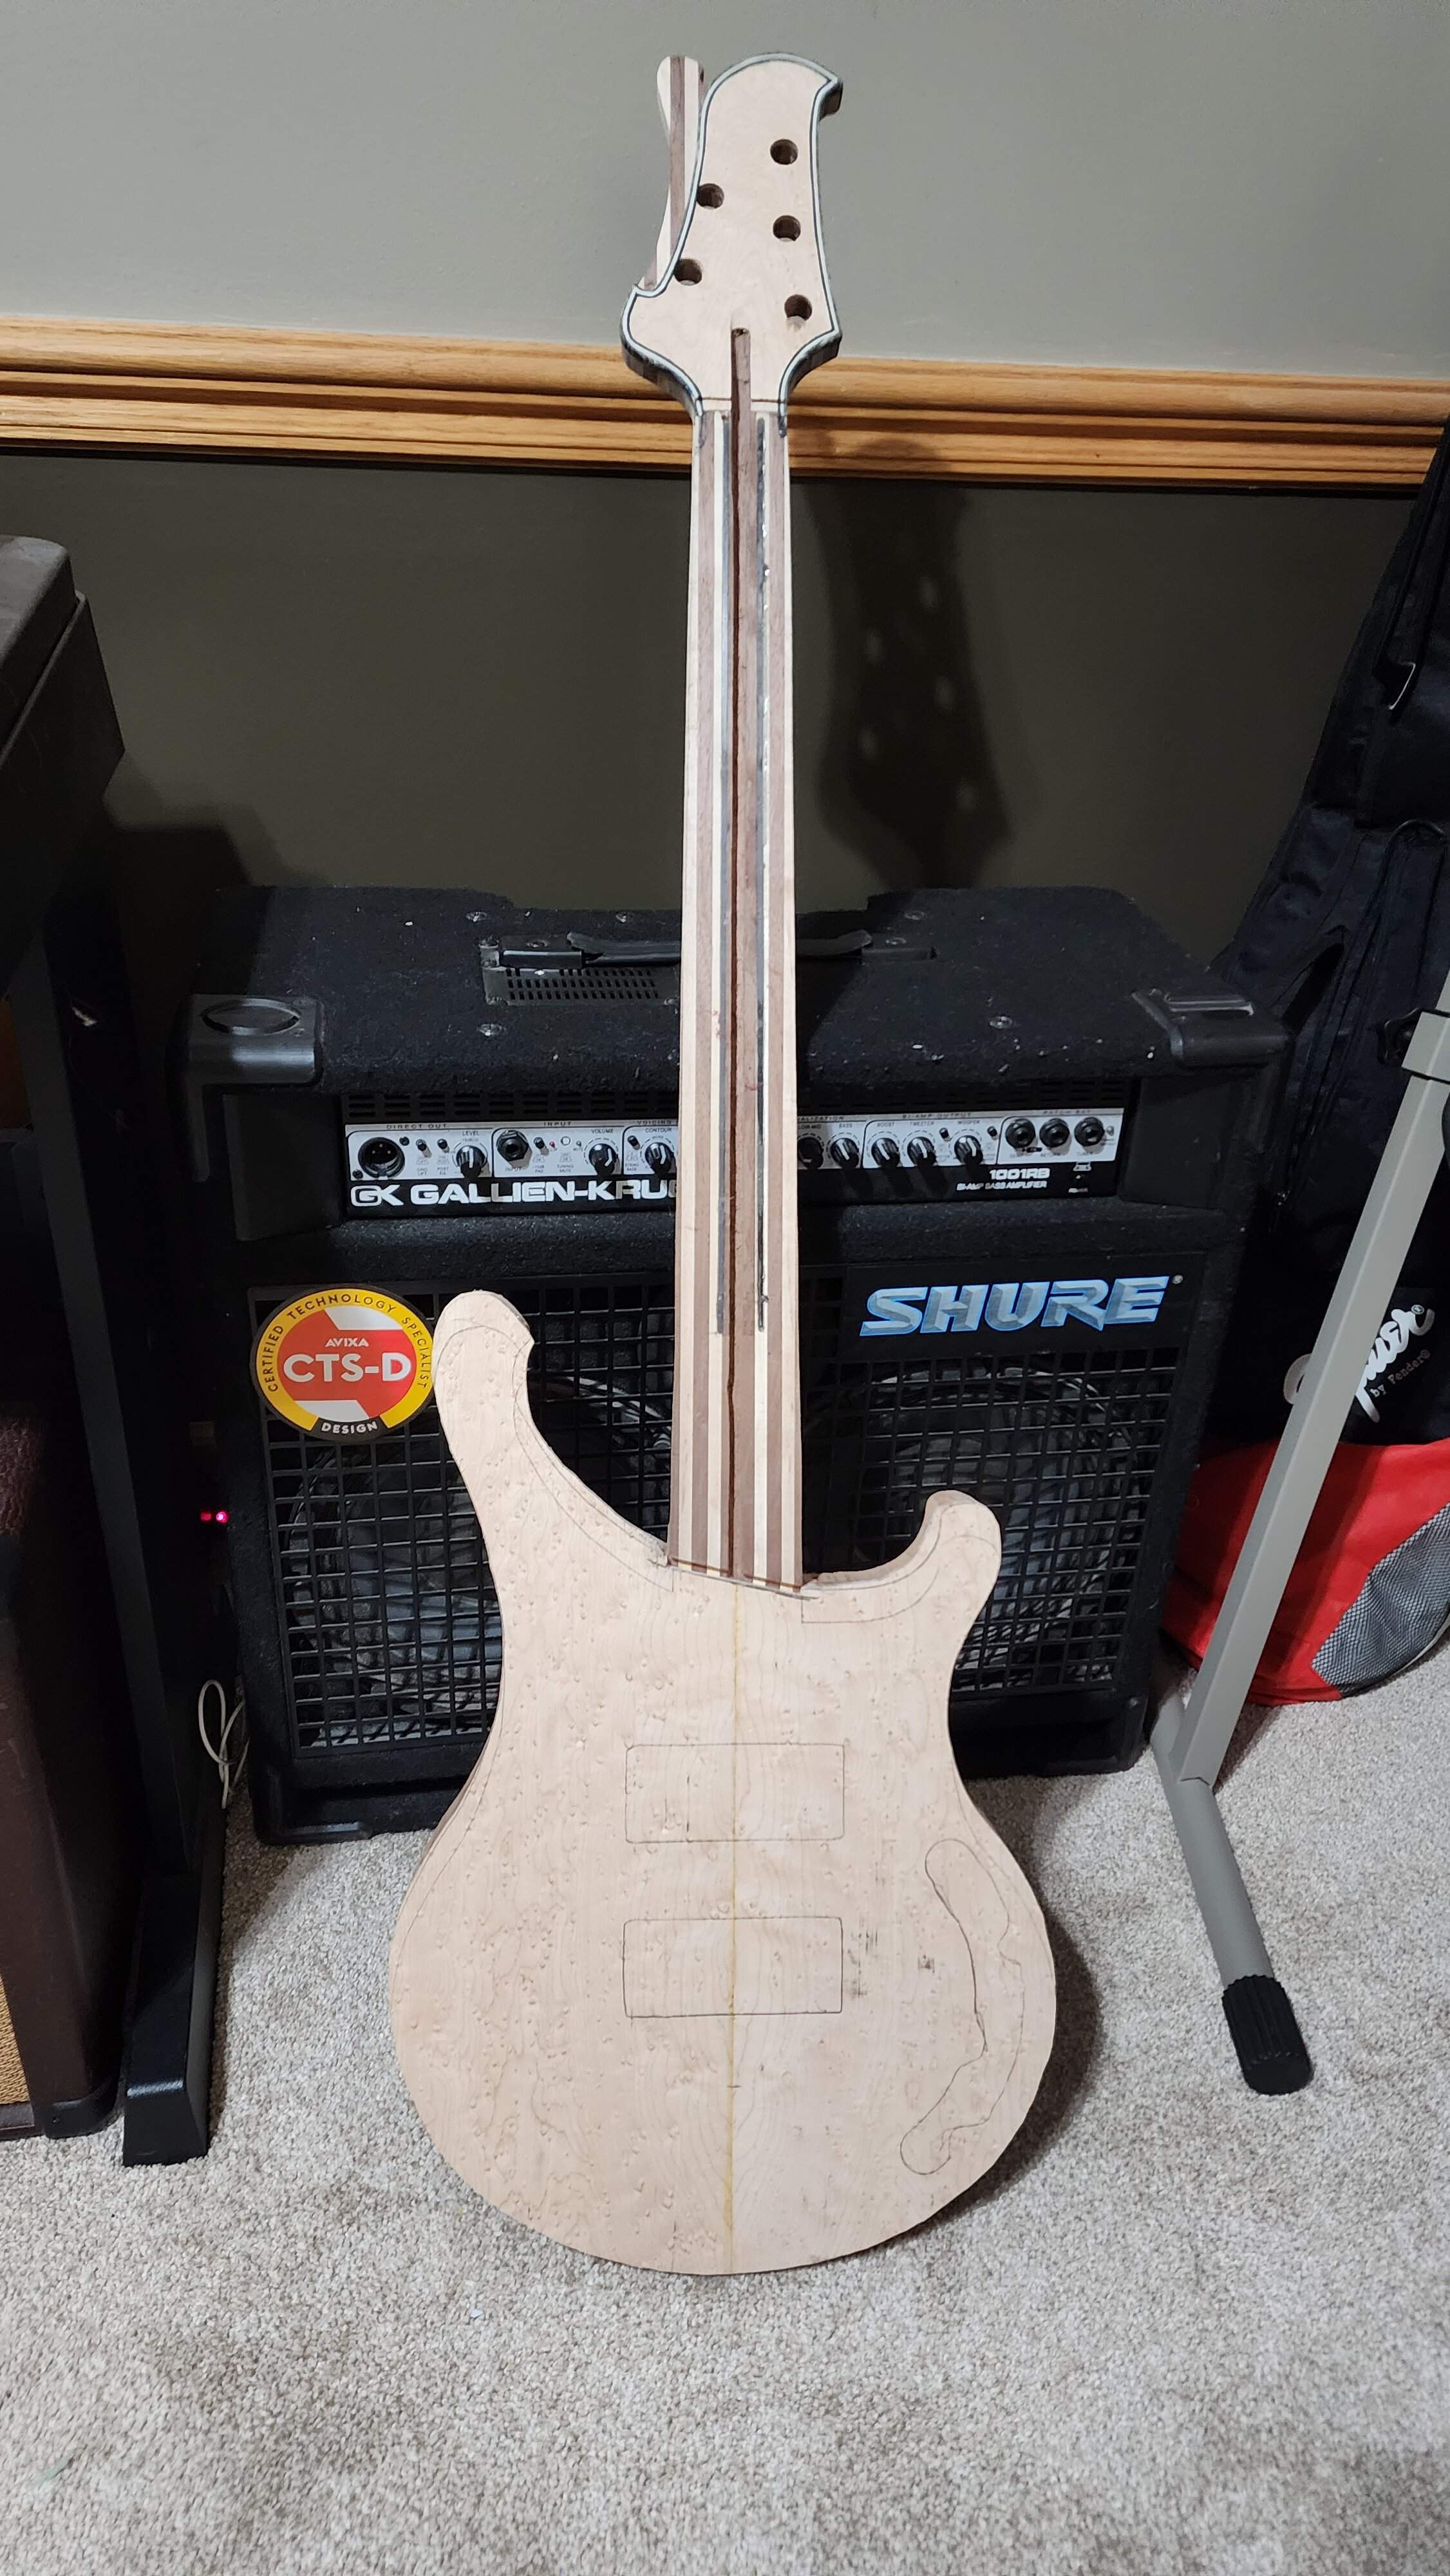
I am considering doing the burst before I do any of the routing for the pickups and the controls. This will allow me to work on just the body shape without having to deal with openings. A few coats of finish to seal from damage, and I should be in good shape?
Today's update, I actually have a BSO.
A quick trip around the edges with the laminate trimmer bit and a few minutes with the orbital sander and a scraper this is a really nice surface.
This may not qualify as a "10 Top" but it's some of the nicest birds-eye I've seen in a long time.
I have a bit of work around the edges and the back to do yet..
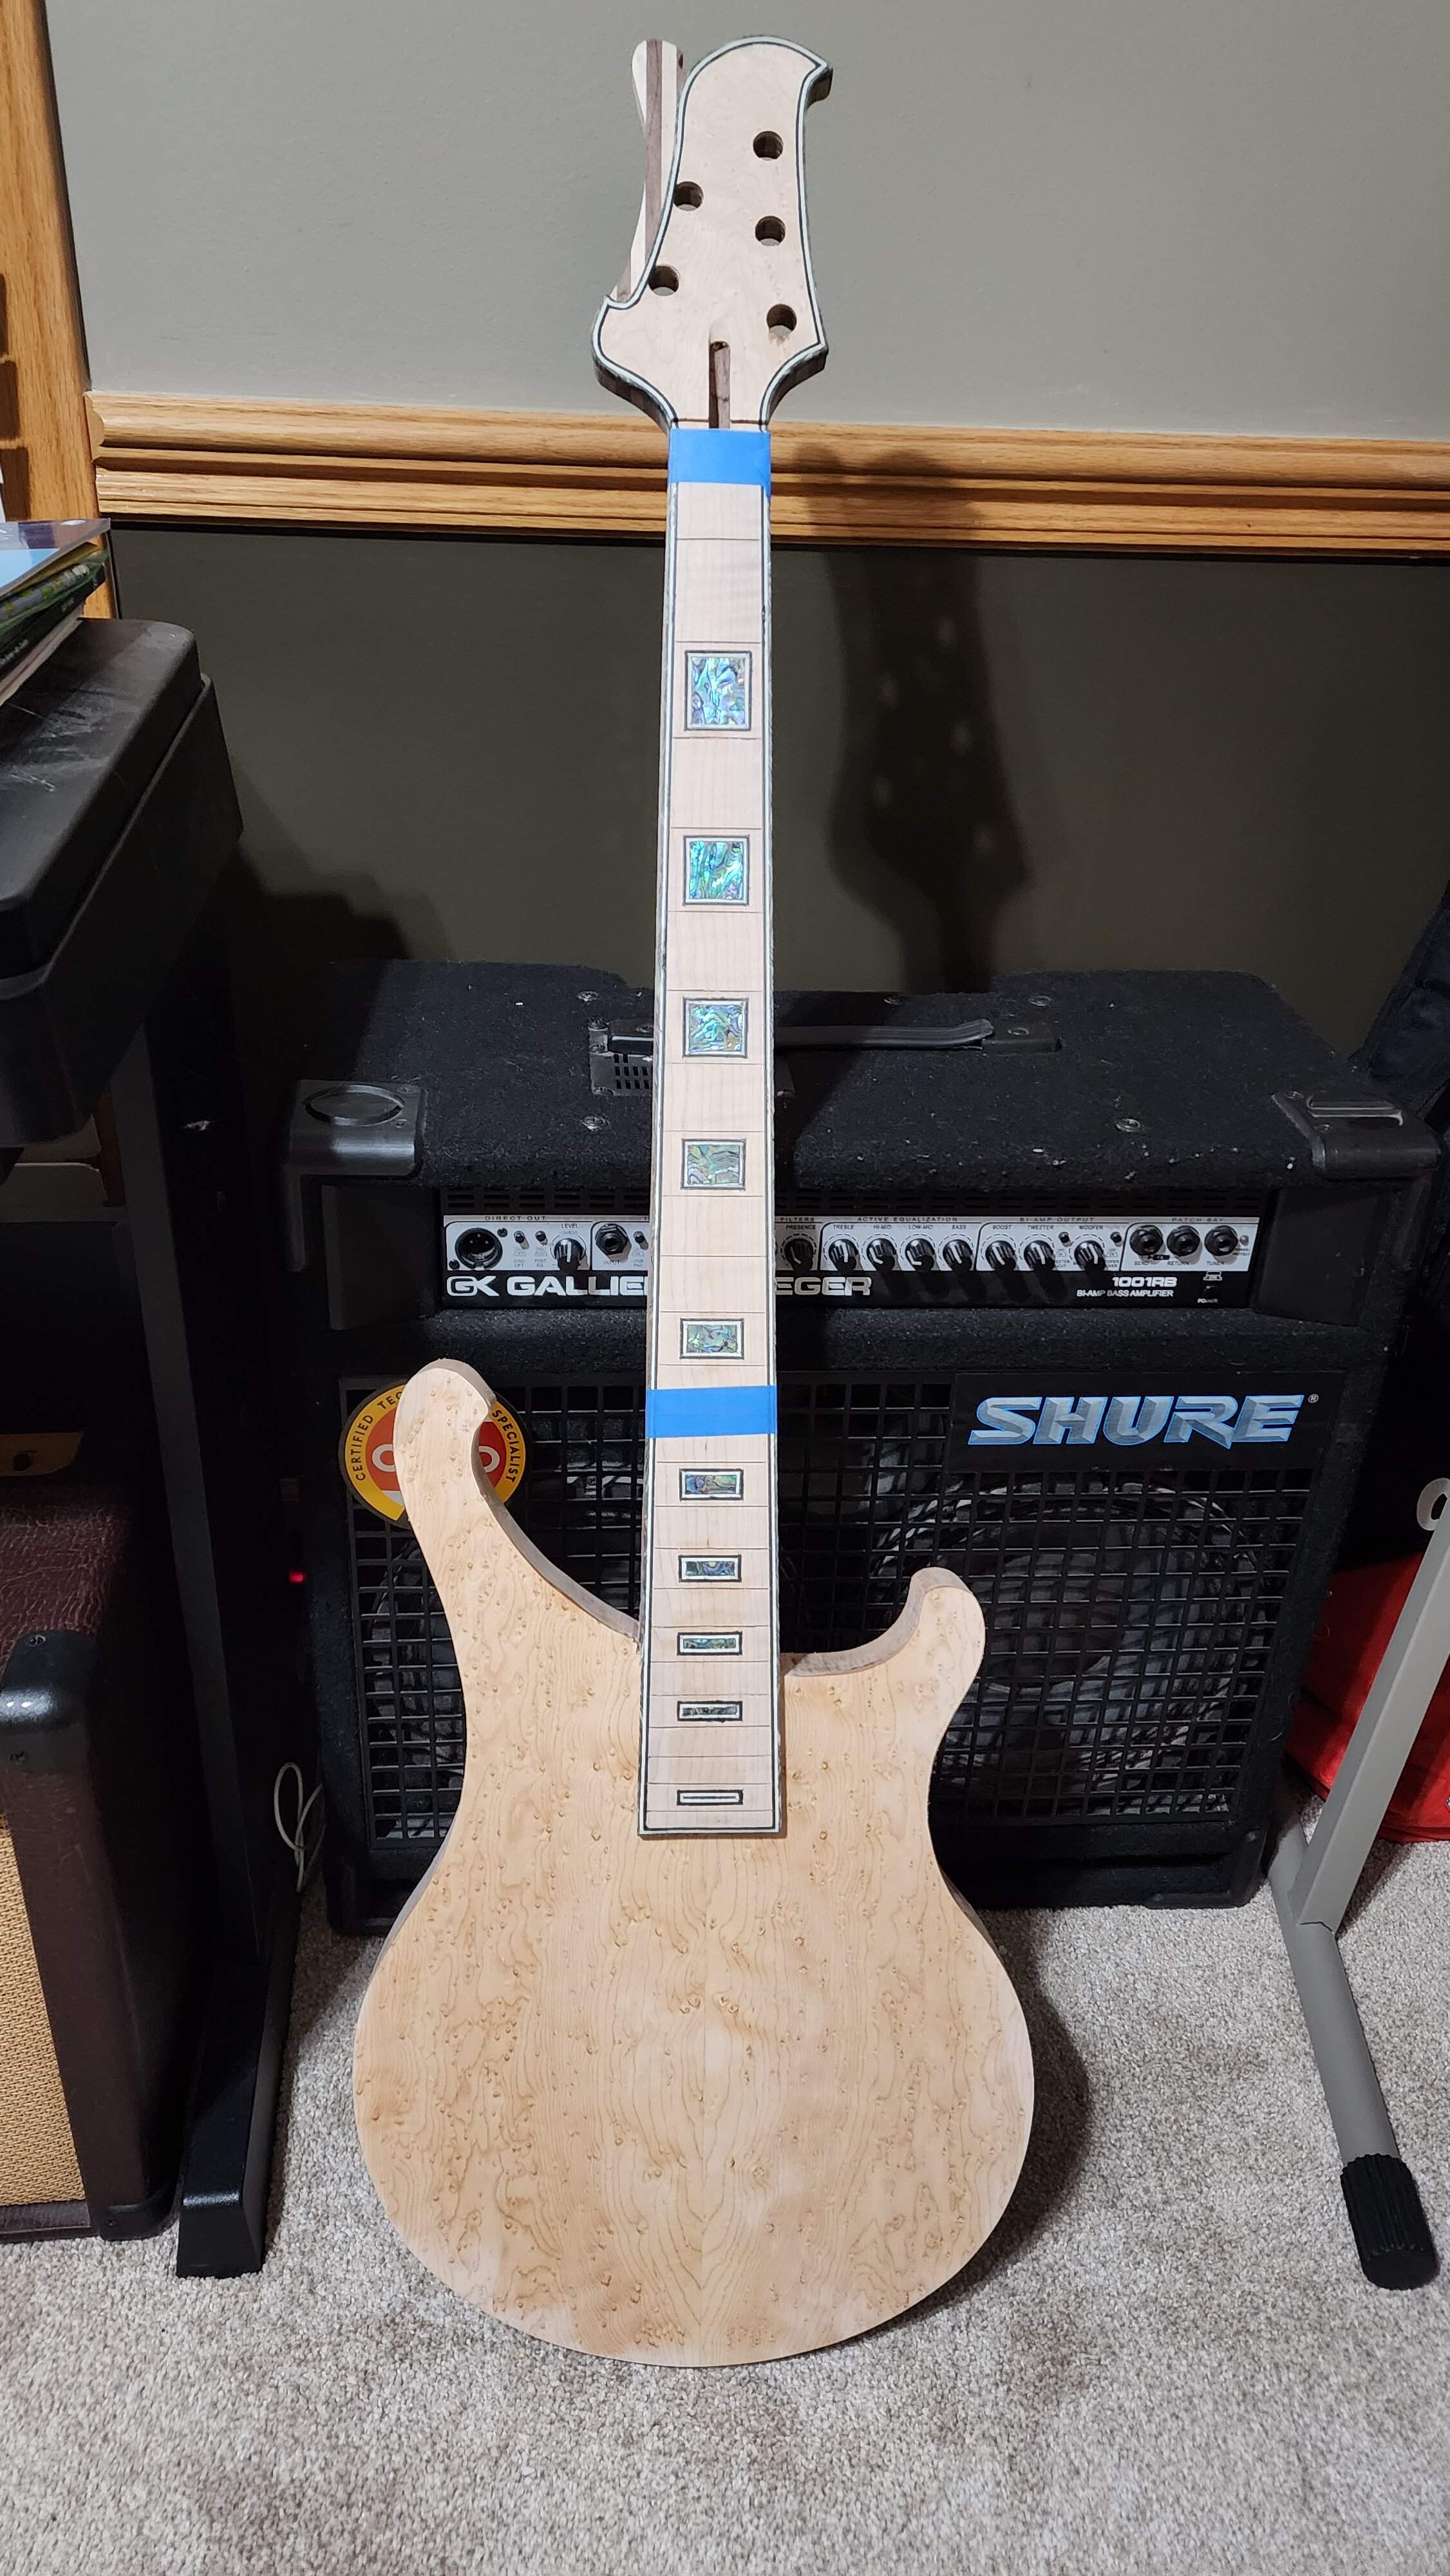
A quick trip around the edges with the laminate trimmer bit and a few minutes with the orbital sander and a scraper this is a really nice surface.
This may not qualify as a "10 Top" but it's some of the nicest birds-eye I've seen in a long time.
I have a bit of work around the edges and the back to do yet..
The top. Both of the blank spots in the 'hourglass' shape will be pickup locations...
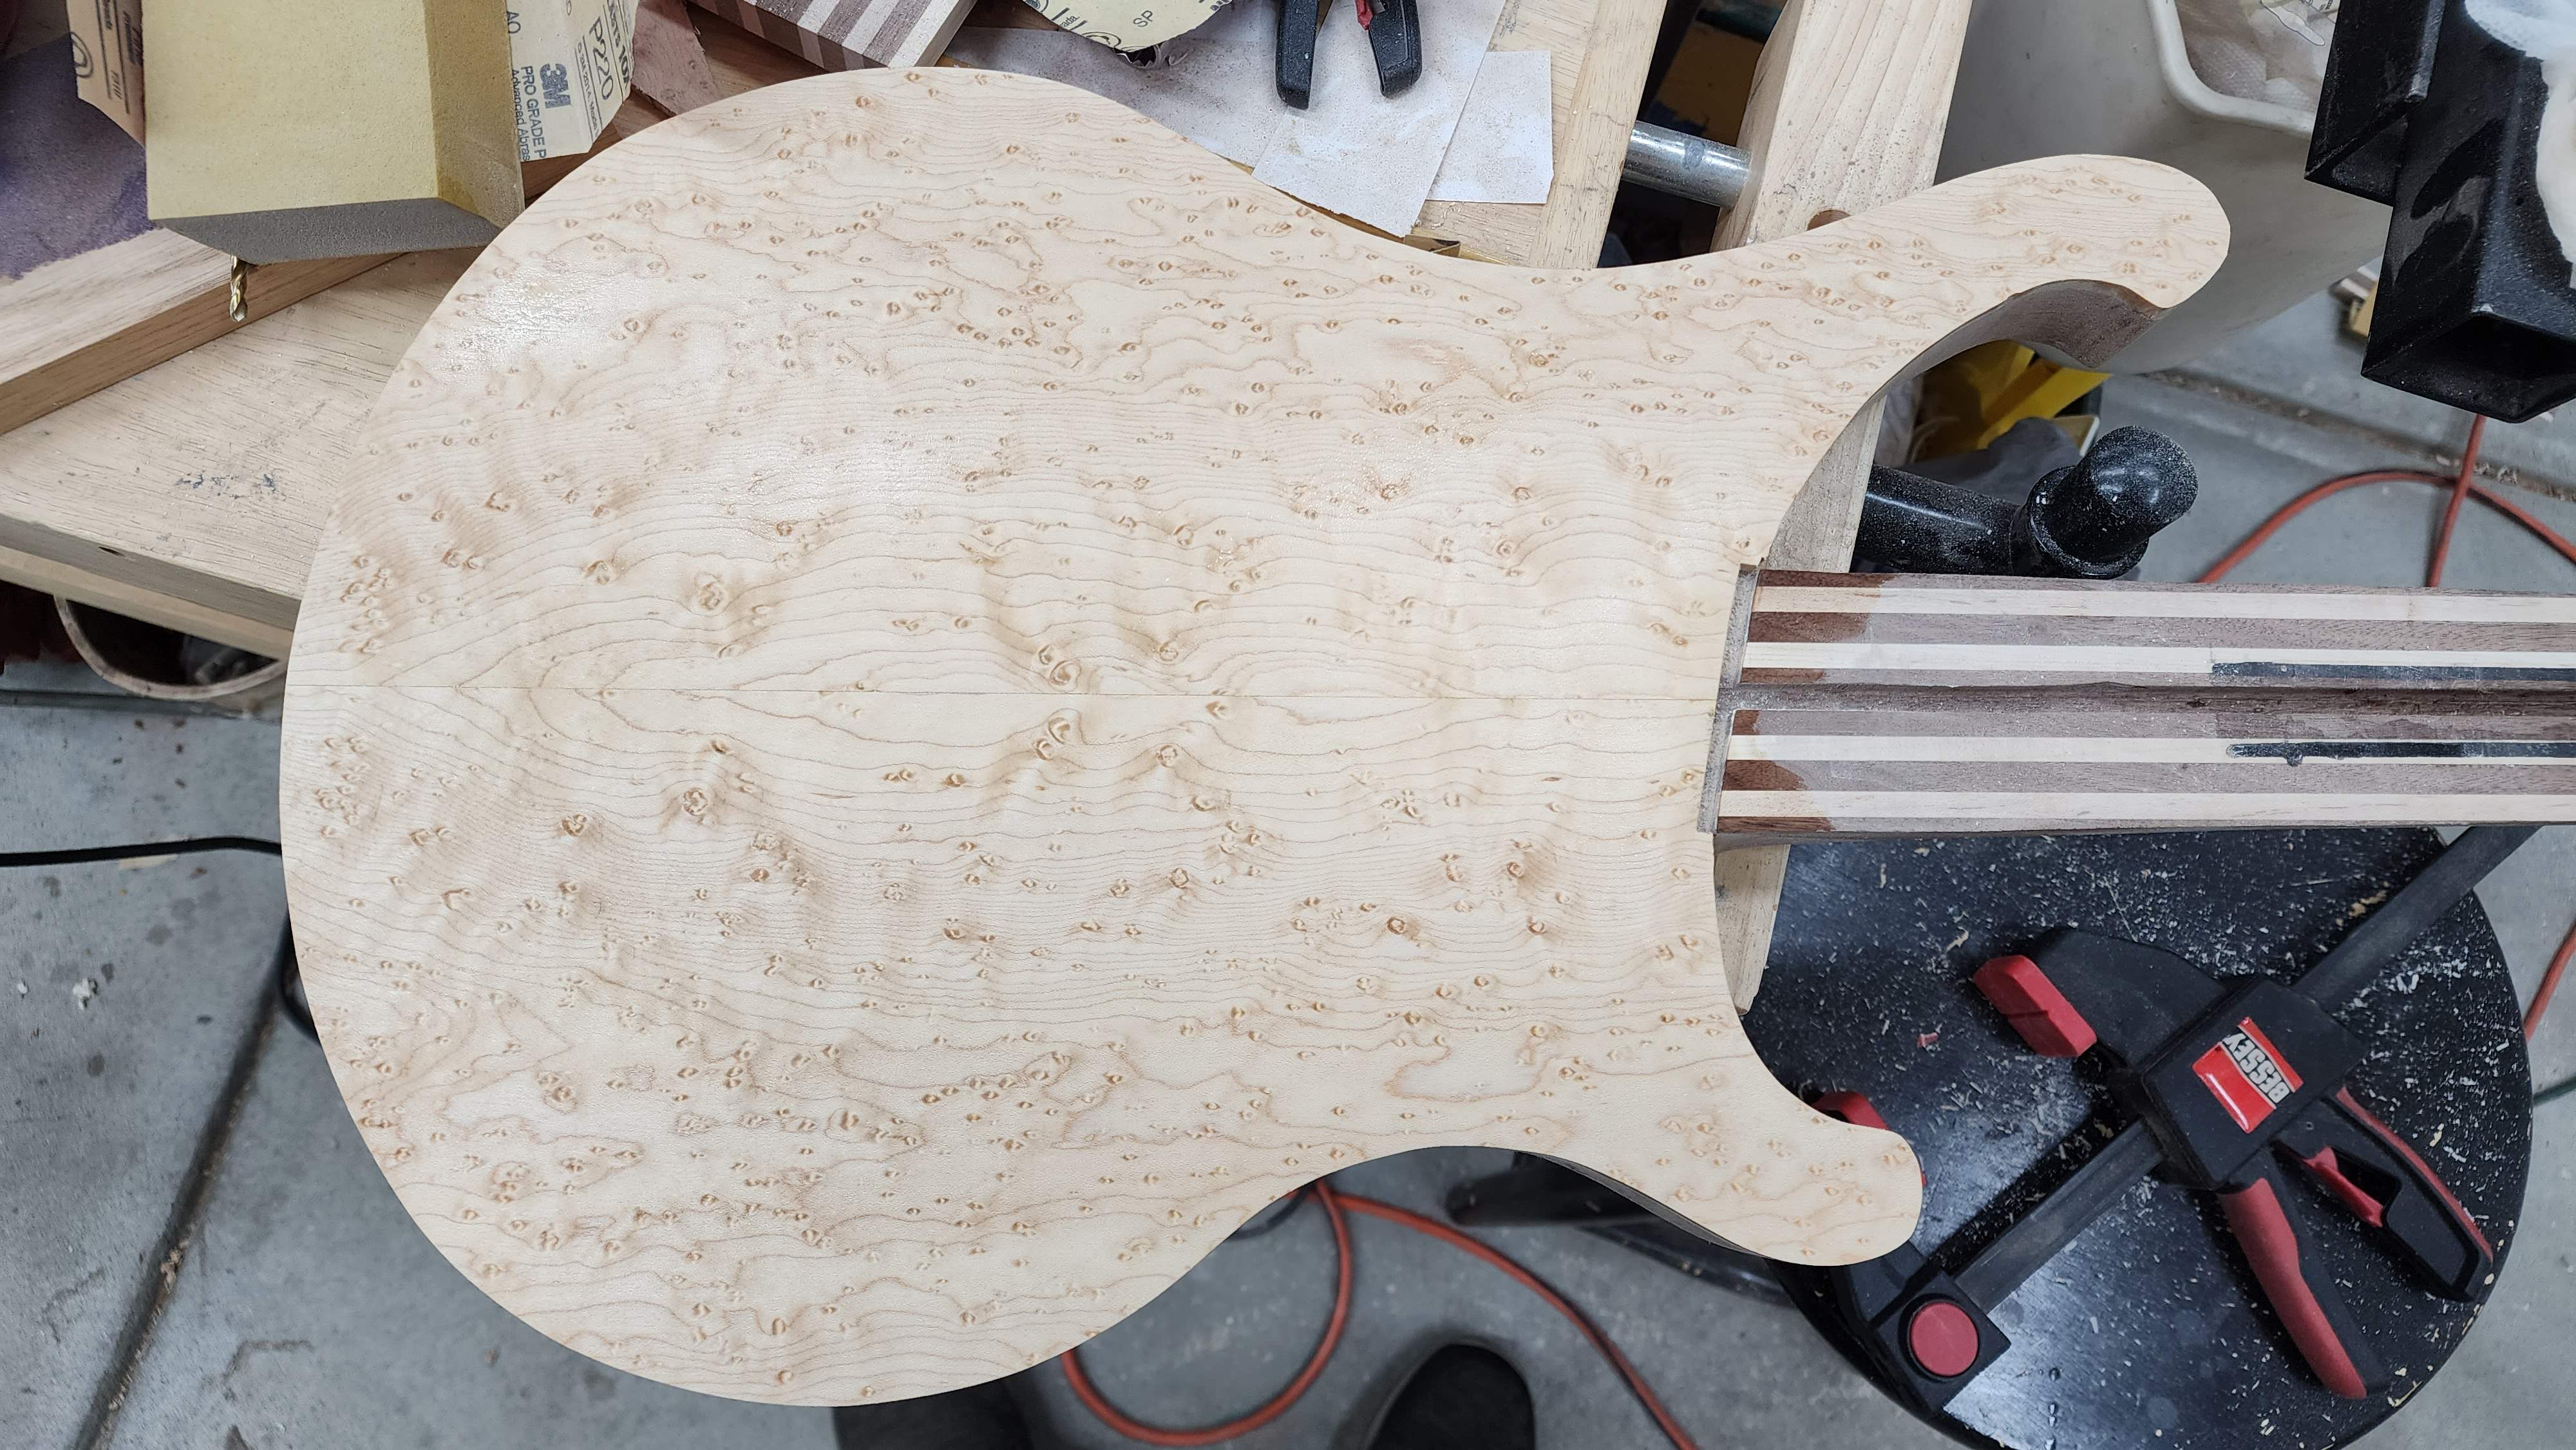
This feels about right for the belly curve.


Latest posts
-
 Would you play gigs with a band that doesn't have a great PA?
- Latest: Thumpin6string
-

-

-
-
