

Enjoy the benefits of a premium membership!
Upgrade Account
-
TalkBass has been independent since 1998. Add your voice.
Create a free account to reply to discussions, view embedded media, and browse with fewer display ads.
Join free Log in
Want zero display ads or expanded classifieds tools? Compare plans.
You are using an out of date browser. It may not display this or other websites correctly.
You should upgrade or use an alternative browser.
You should upgrade or use an alternative browser.
5 string Ricken-Musicman Bass.
- Thread starter Videojunkie
- Start date
More options
Who Replied?

Heh, "Unorthodox Clamping Methods" could be a good shoegazer band name... Although it could be like Hot Pink Turtle, and be a disco-funk, metal band...
Wait till you see the body! For as densely spotted as the piece started, surprisingly few birds-eye's wound up on this piece!
The birdseye on the headstock is lovely...
Wait till you see the body! For as densely spotted as the piece started, surprisingly few birds-eye's wound up on this piece!
Last edited:
Alignment question, I have positioned everything so that the bridge is set with 34" to the nut with the saddles near their furthest extension. It this where I want it, or should I move it forward say, 1/2" or so...
My concern is that it might throw off my pickup alignments..
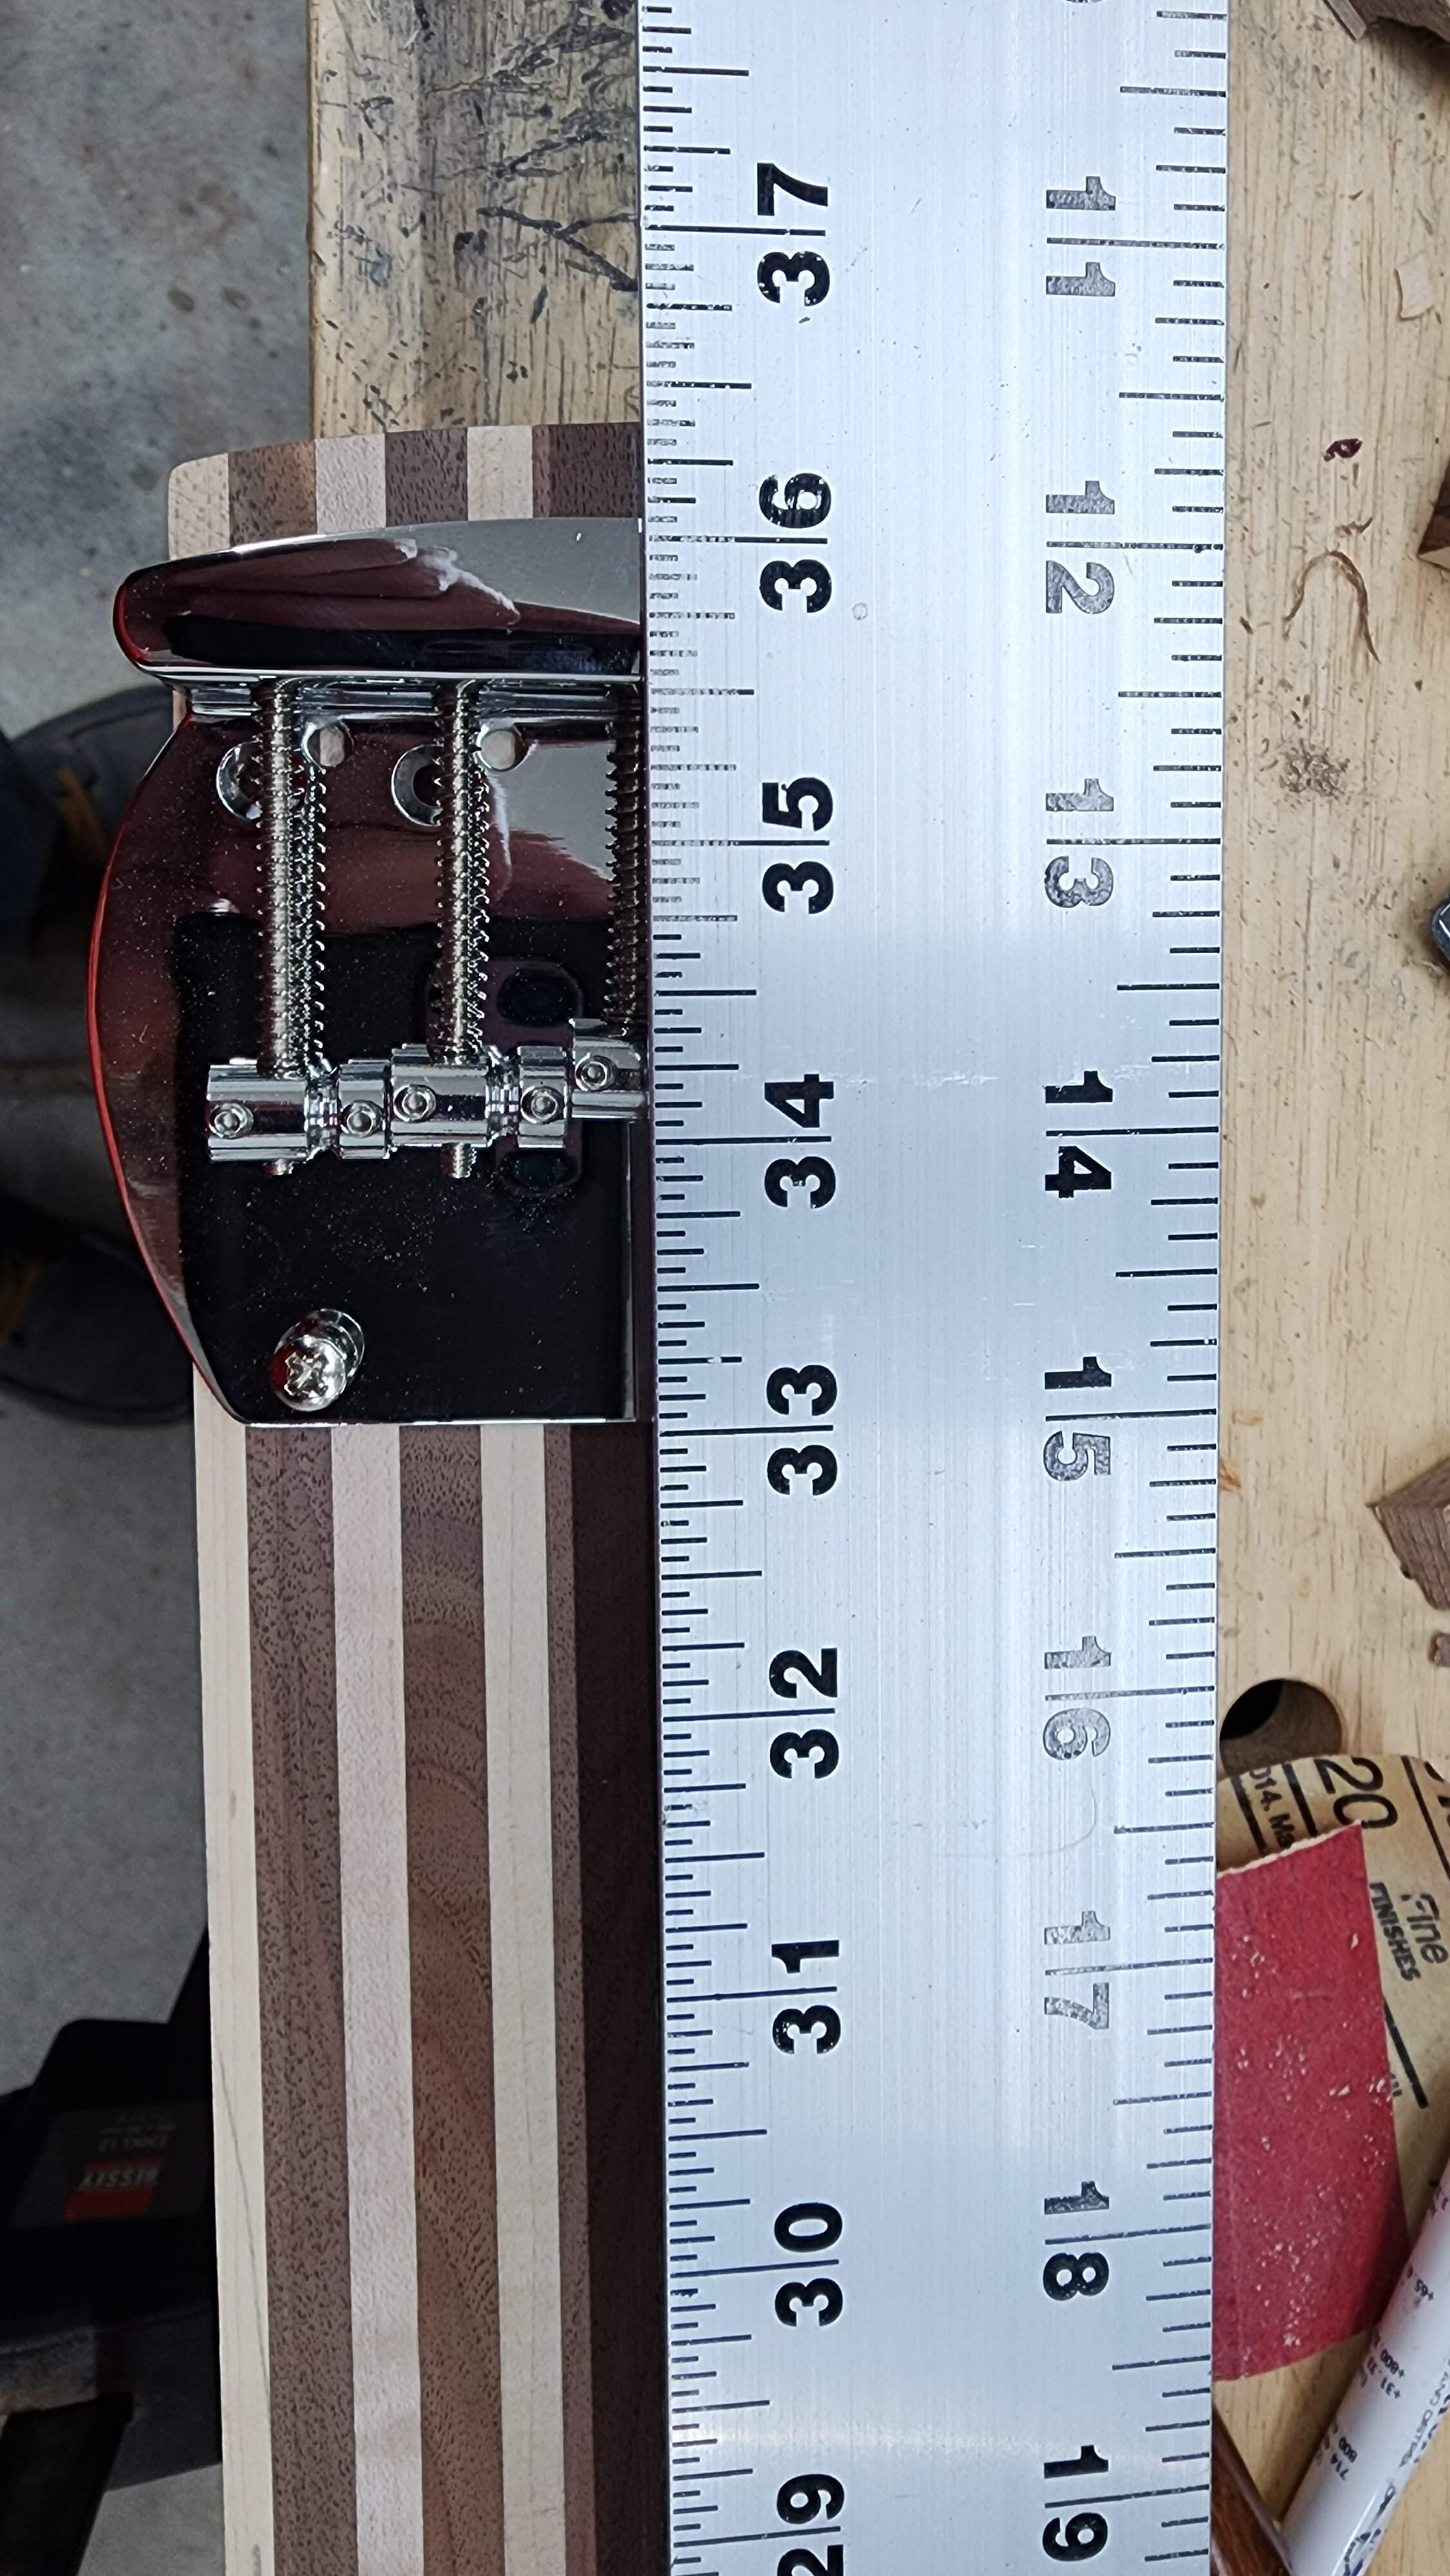
My concern is that it might throw off my pickup alignments..
Last edited:

- Apr 18, 2008
- 16,011
- 1
- 31,710
- Disclosures
- I'm highly opinionated and extremely self-assured
I based the pickup locations on the measurements from the bridge for the musicman spacing.That’s where you want it.
Don’t know what you mean by “pickup alignments”.
- Apr 18, 2008
- 16,011
- 1
- 31,710
- Disclosures
- I'm highly opinionated and extremely self-assured
The location of what part of the bridge? Hopefully the saddles, at the (theoretical) scale length. A few mm for intonation won't affect anything.
I forgot which thread I found the measurements from on TB, but it had some specific measurements from the scale length of the bass to the pickup pole position. With a 24 fret neck, the neck pickup is going to wind up right beside the end of the fretboard, and the other one is about 3" (I can get the exact measurement) from the 34" "bridge" location.
I think it was this one...Pickup Placement, measurements of specific basses
I think it was this one...Pickup Placement, measurements of specific basses

You should be good for intonation. Can’t really help on the pickup locations.
- Apr 18, 2008
- 16,011
- 1
- 31,710
- Disclosures
- I'm highly opinionated and extremely self-assured
I forgot which thread I found the measurements from on TB, but it had some specific measurements from the scale length of the bass to the pickup pole position. With a 24 fret neck, the neck pickup is going to wind up right beside the end of the fretboard, and the other one is about 3" (I can get the exact measurement) from the 34" "bridge" location.
I think it was this one...Pickup Placement, measurements of specific basses
Take the measurements from the nut and you'll be fine. Your bridge placement is correct, as you want to leave plenty of adjustment room for the saddles to go rearward, but not forward - nobody ever intonates their bass and winds up moving the saddles towards the nut from the theoretical scale length position.
nobody ever intonates their bass and winds up moving the saddles towards the nut from the theoretical scale length position.
Worst case I can probably find some longer screws... navigating McMaster-Carr isn't that difficult...

Pickup placement, especially the fine-tuning of it, is one of those things that people sometimes make too much of. A few percentage points difference isn't going to be discernible for anyone.
Here's a post from Bruce in the recent pickup locations thread:
Pickup locations
Here's a post from Bruce in the recent pickup locations thread:
Pickup locations
Last edited:
Pickup placement, especially the fine-tuning of it, is one of those things that people sometimes make too much of. A few percentage points difference isn't going to be discernable for anyone.
Here's a post from Bruce in the recent pickup locations thread:
Pickup locations
That was a great post and it makes a ton of sense. I try to read as many of Bruce's posts as I can find. His workshop and finishing threads are treasure troves of information!
I also understand that a maple/mahogany body with a maple/ walnut neck, maple fretboard is going to sound slightly different than an ash bodied, maple neck, ebony fretboard EBMM (which is what my friends bass was). But I also think that if I am trying to imitate the MM sound the pickups should be very close to the correct locations.
That said, the neck is starting to "ring" when tapped on, so I am pretty sure this bass is going to sing with a great voice when finished!
Last edited:
Next steps.
Past me was somewhat smart, and made the neck blank exactly the thickness of all the layers of the body. This also means that the top is within a few 0.00" of the 6mm binding. I have to make a choice on how to proceed.
Option 1.
Cut out around the fretboard creating an "island" that attaches the fretboard directly to the neck all the way to the end, and cutting the top wood around that island. I did this on the guitar I built, and it looks good, but achieving a seamless look is very difficult.
It also makes doing the binding on the insides of the horns tricky.
Option 2.
Cut the entire top area out, and glue the fretboard onto the top once it gets to the body.
This seems easier, as the only cut I have to get perfect is the 2 visible joints where the horns diverge from the neck. This solution also buries the end of the truss rod under the top at the body end.
Opinions? Thoughts?
Past me was somewhat smart, and made the neck blank exactly the thickness of all the layers of the body. This also means that the top is within a few 0.00" of the 6mm binding. I have to make a choice on how to proceed.
Option 1.
Cut out around the fretboard creating an "island" that attaches the fretboard directly to the neck all the way to the end, and cutting the top wood around that island. I did this on the guitar I built, and it looks good, but achieving a seamless look is very difficult.
It also makes doing the binding on the insides of the horns tricky.
Option 2.
Cut the entire top area out, and glue the fretboard onto the top once it gets to the body.
This seems easier, as the only cut I have to get perfect is the 2 visible joints where the horns diverge from the neck. This solution also buries the end of the truss rod under the top at the body end.
Opinions? Thoughts?
Attachments


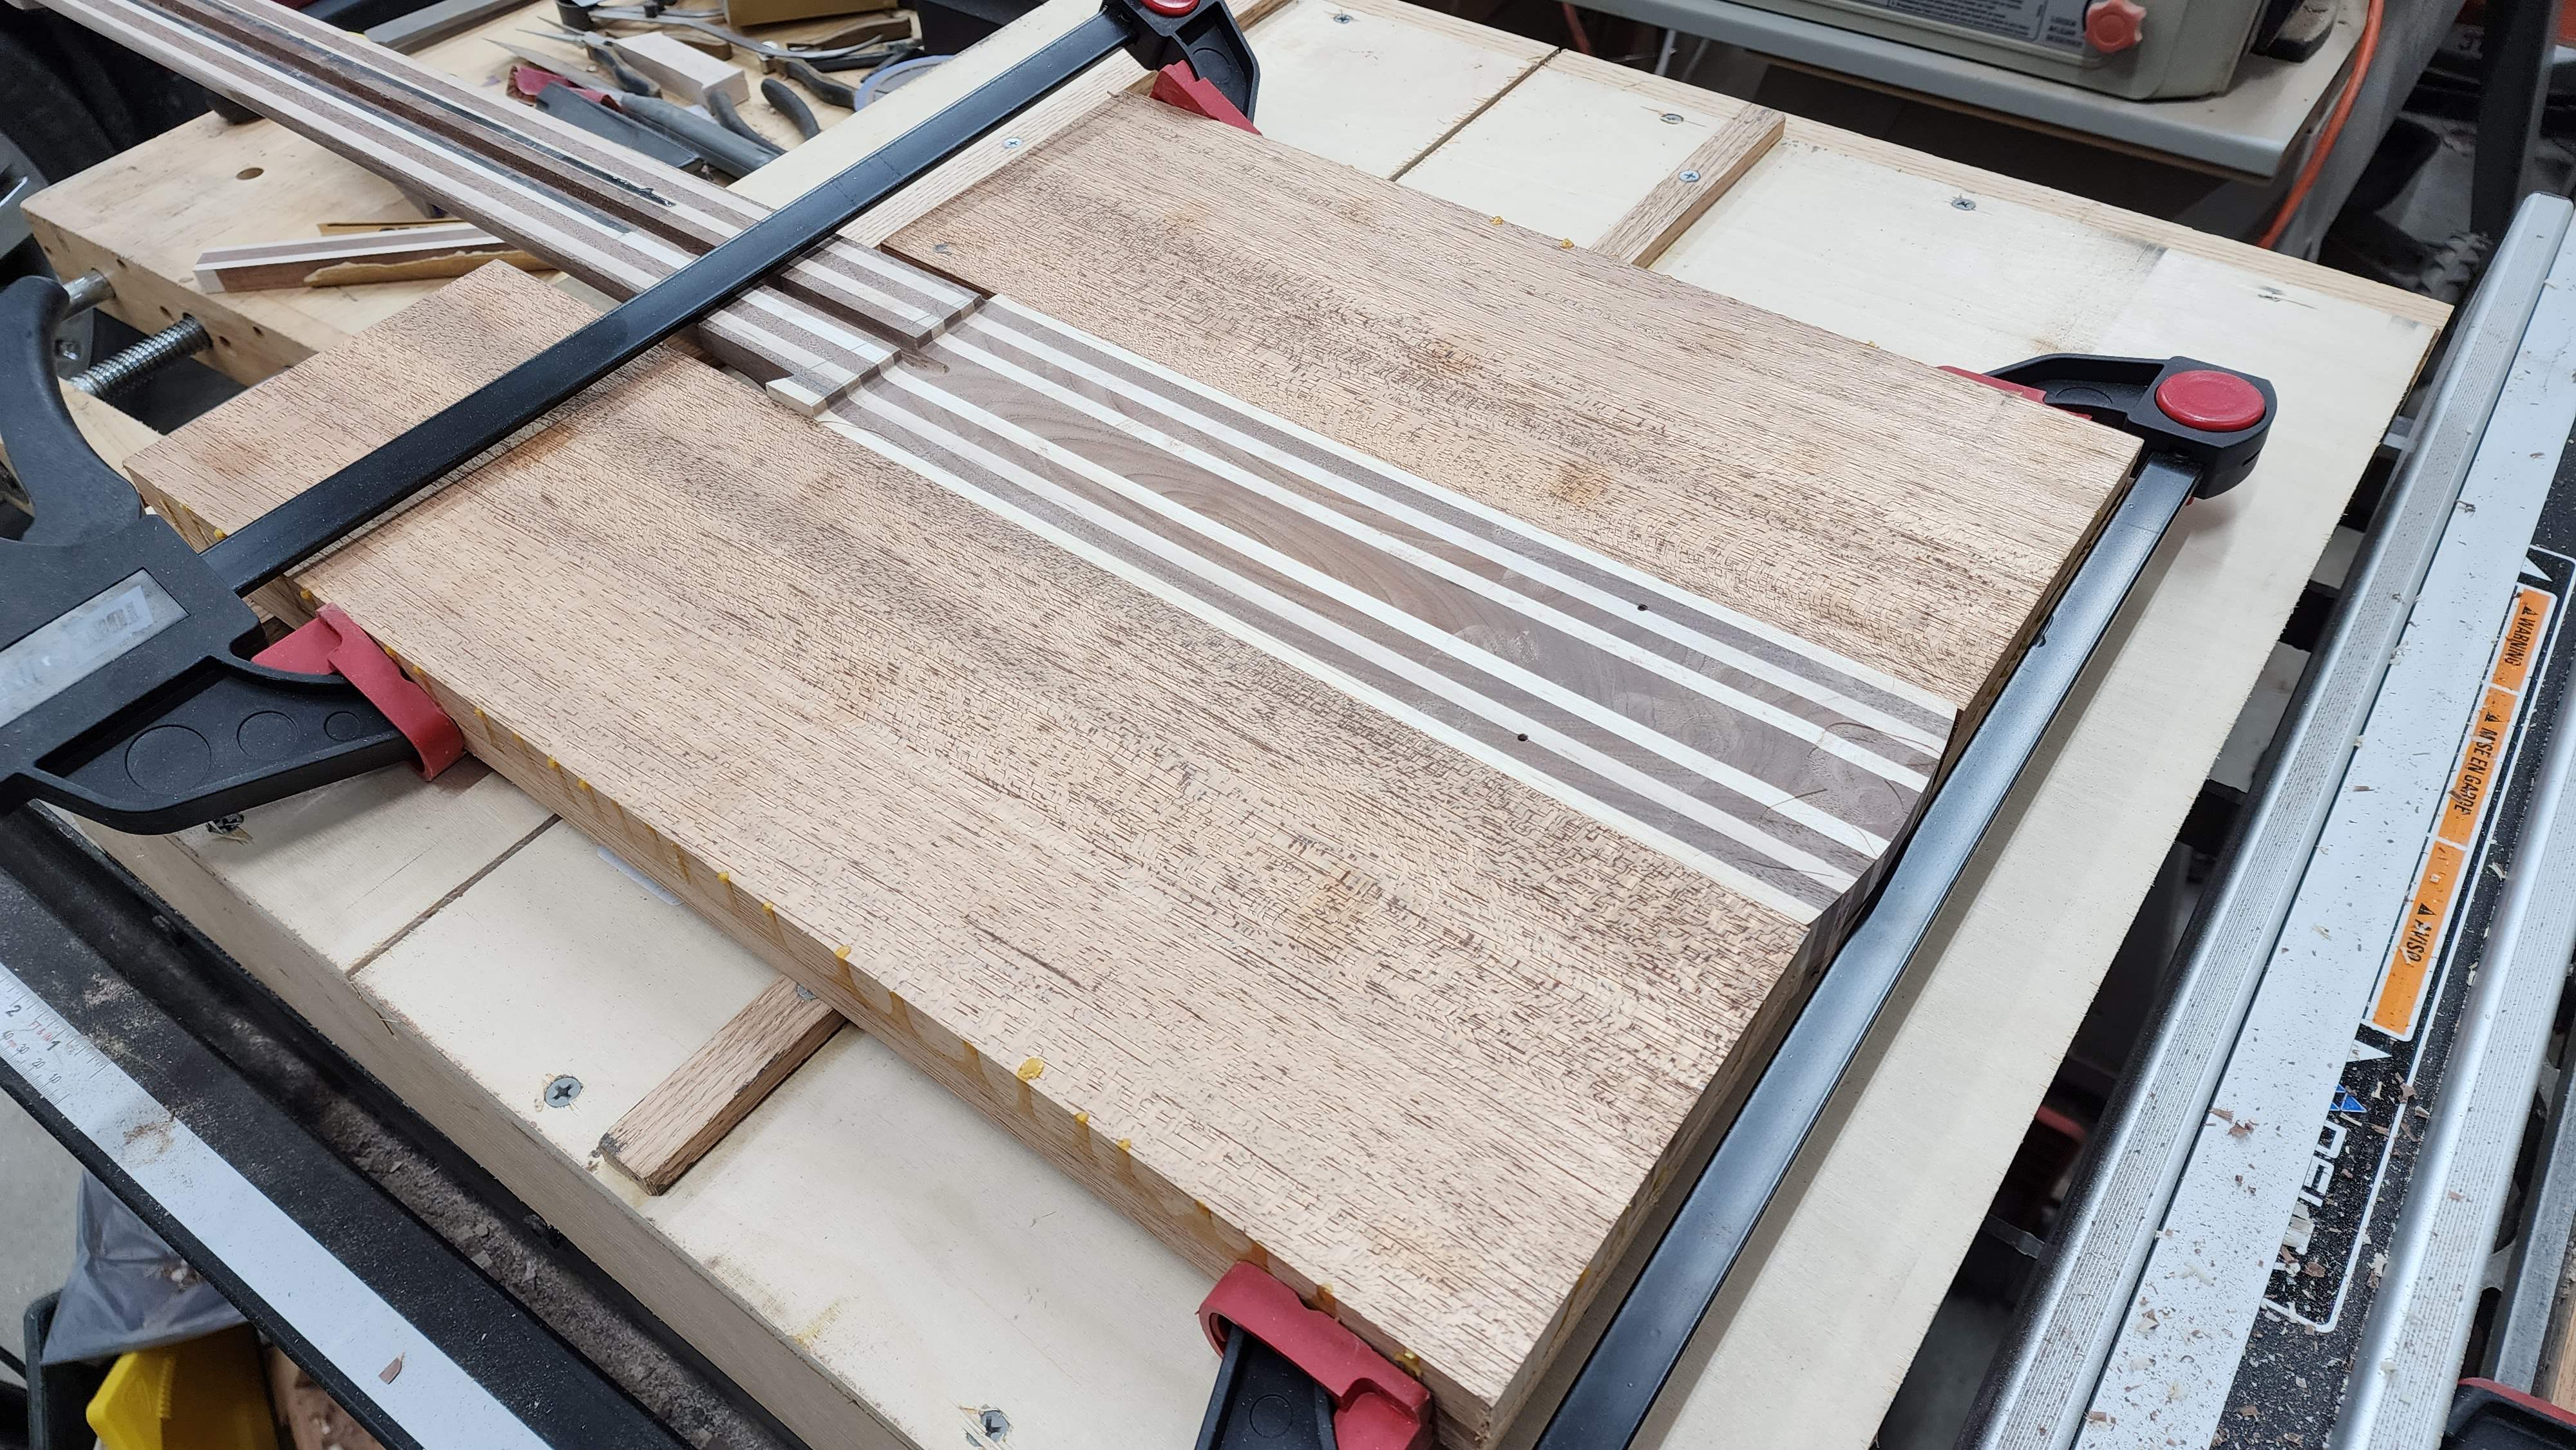
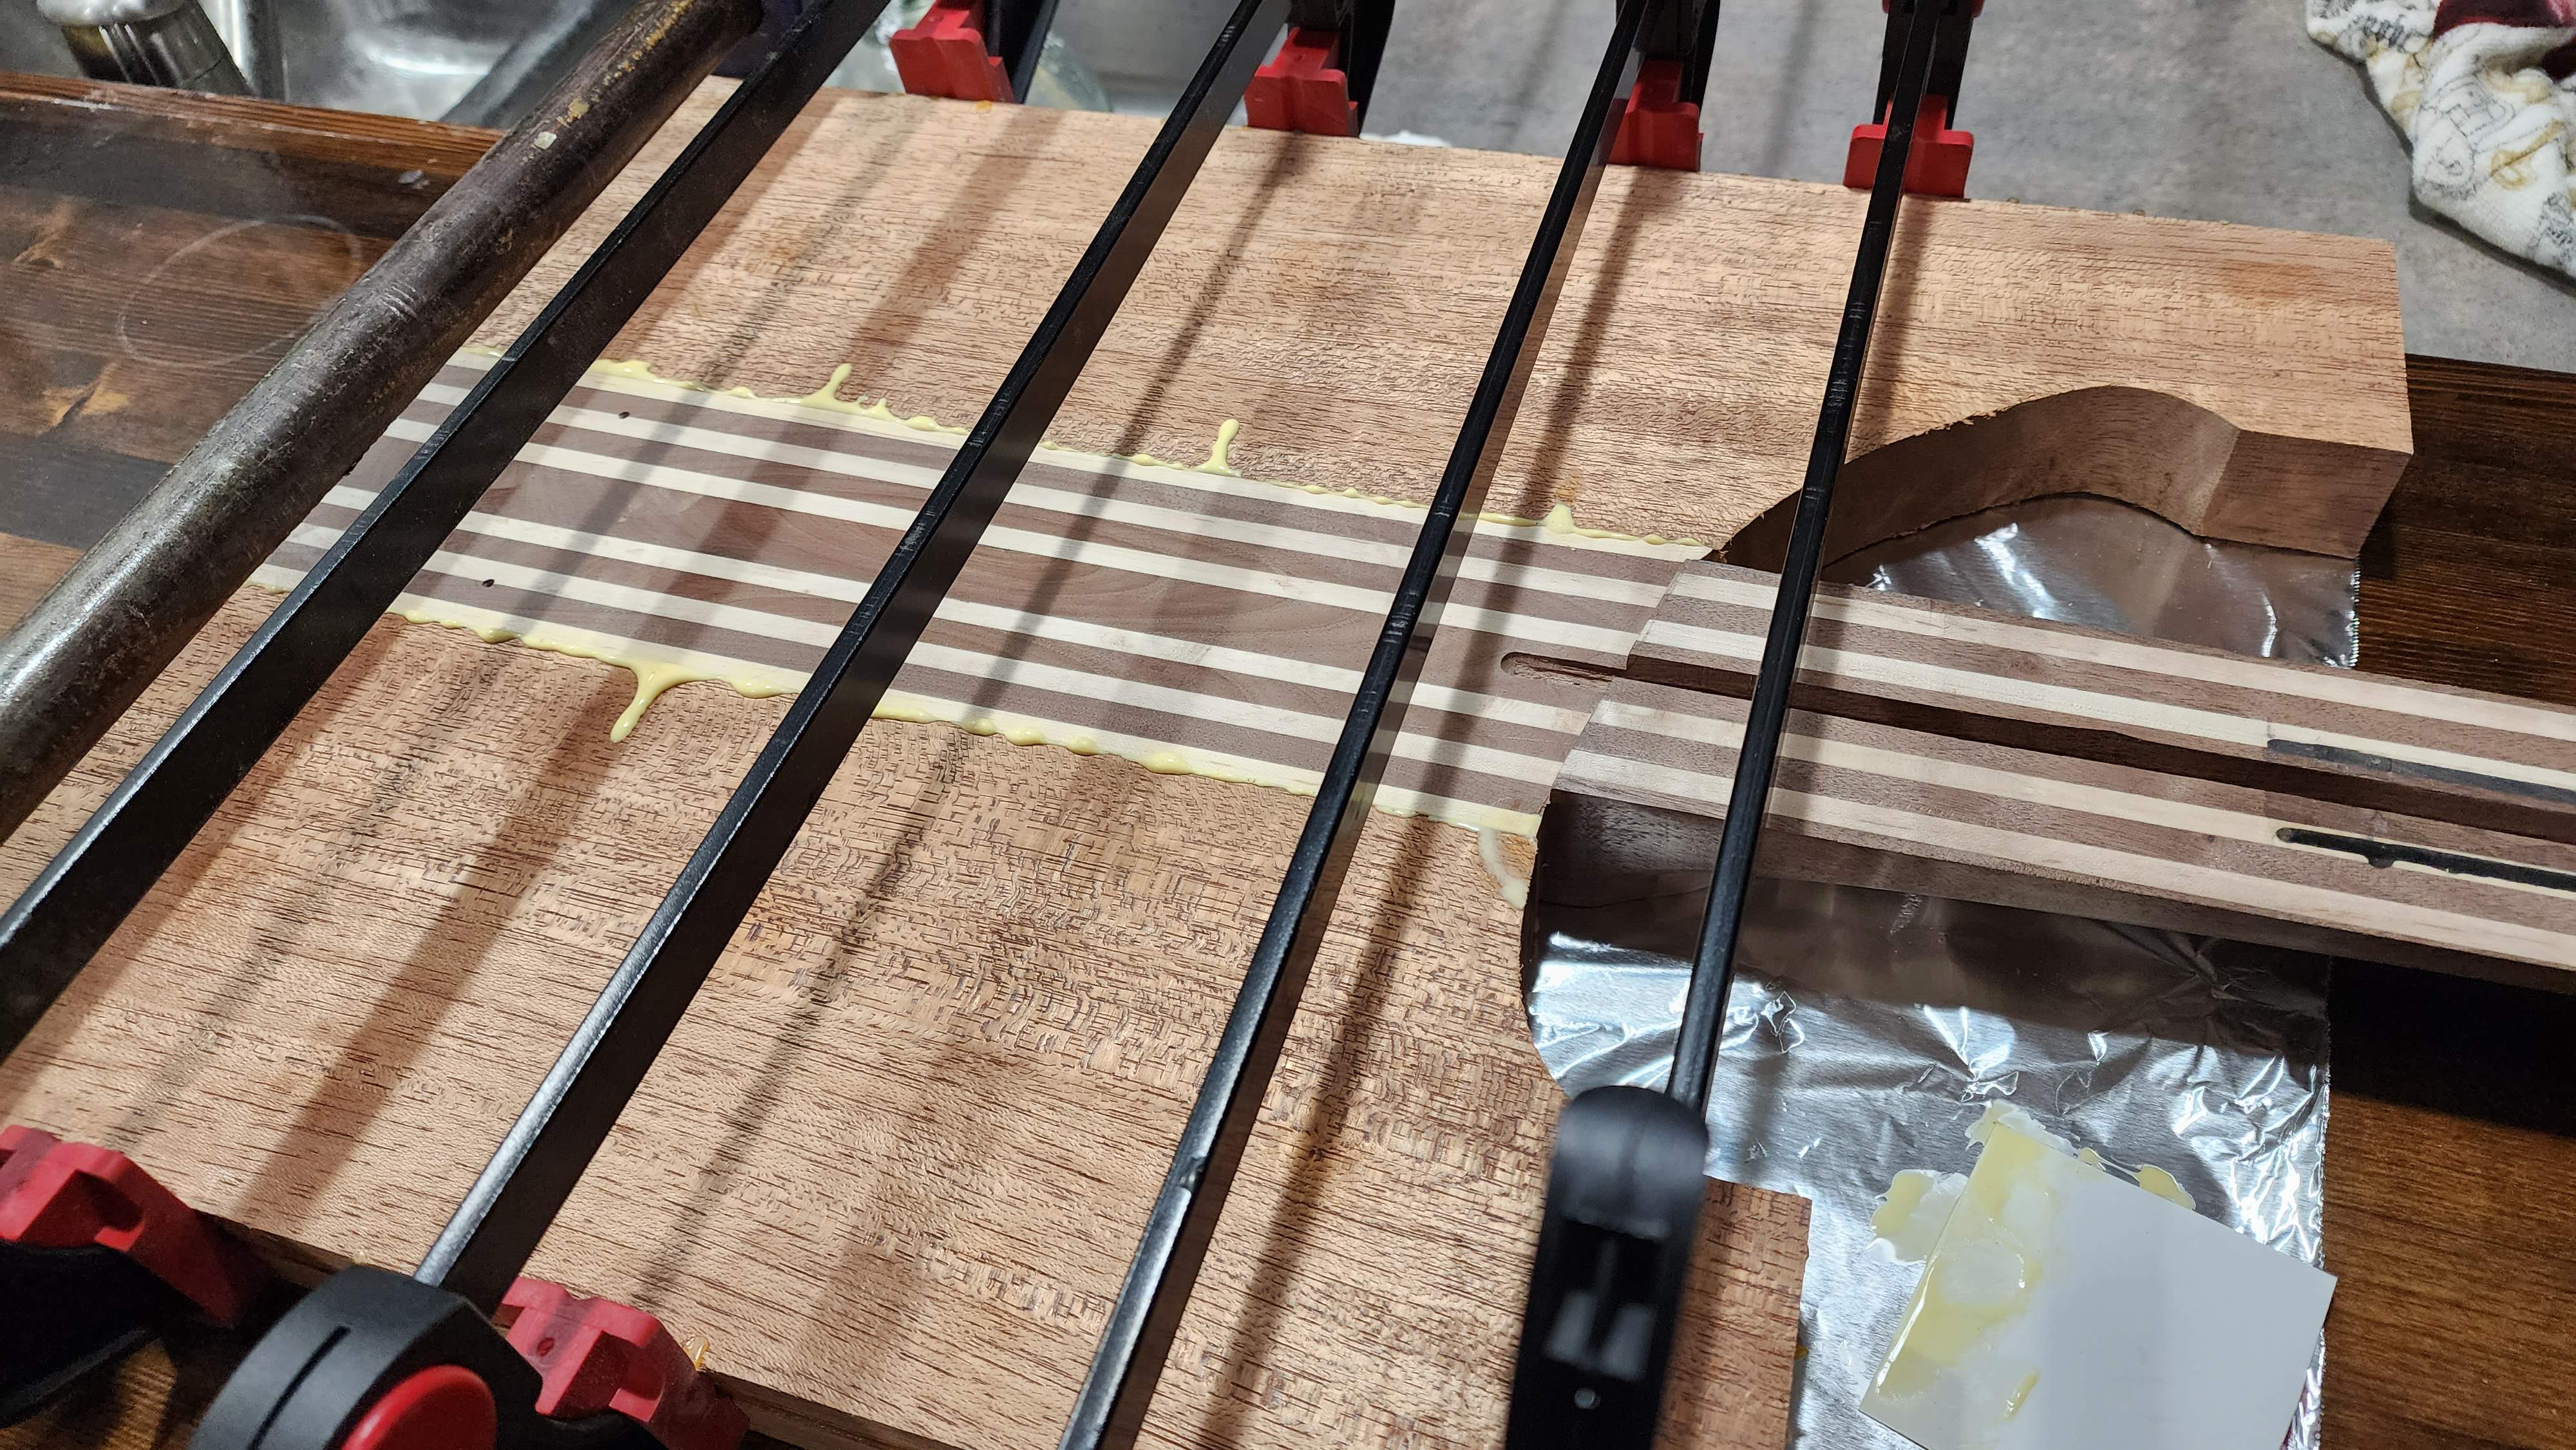
It's a lot of clamps, but I really want these to be glued well with as small a glue line as possible.
Both sides glued up. I went with option B. Some work on the router table and table saw to recess the top, and now the rear of the blank is the same thickness as the 2 side pieces.
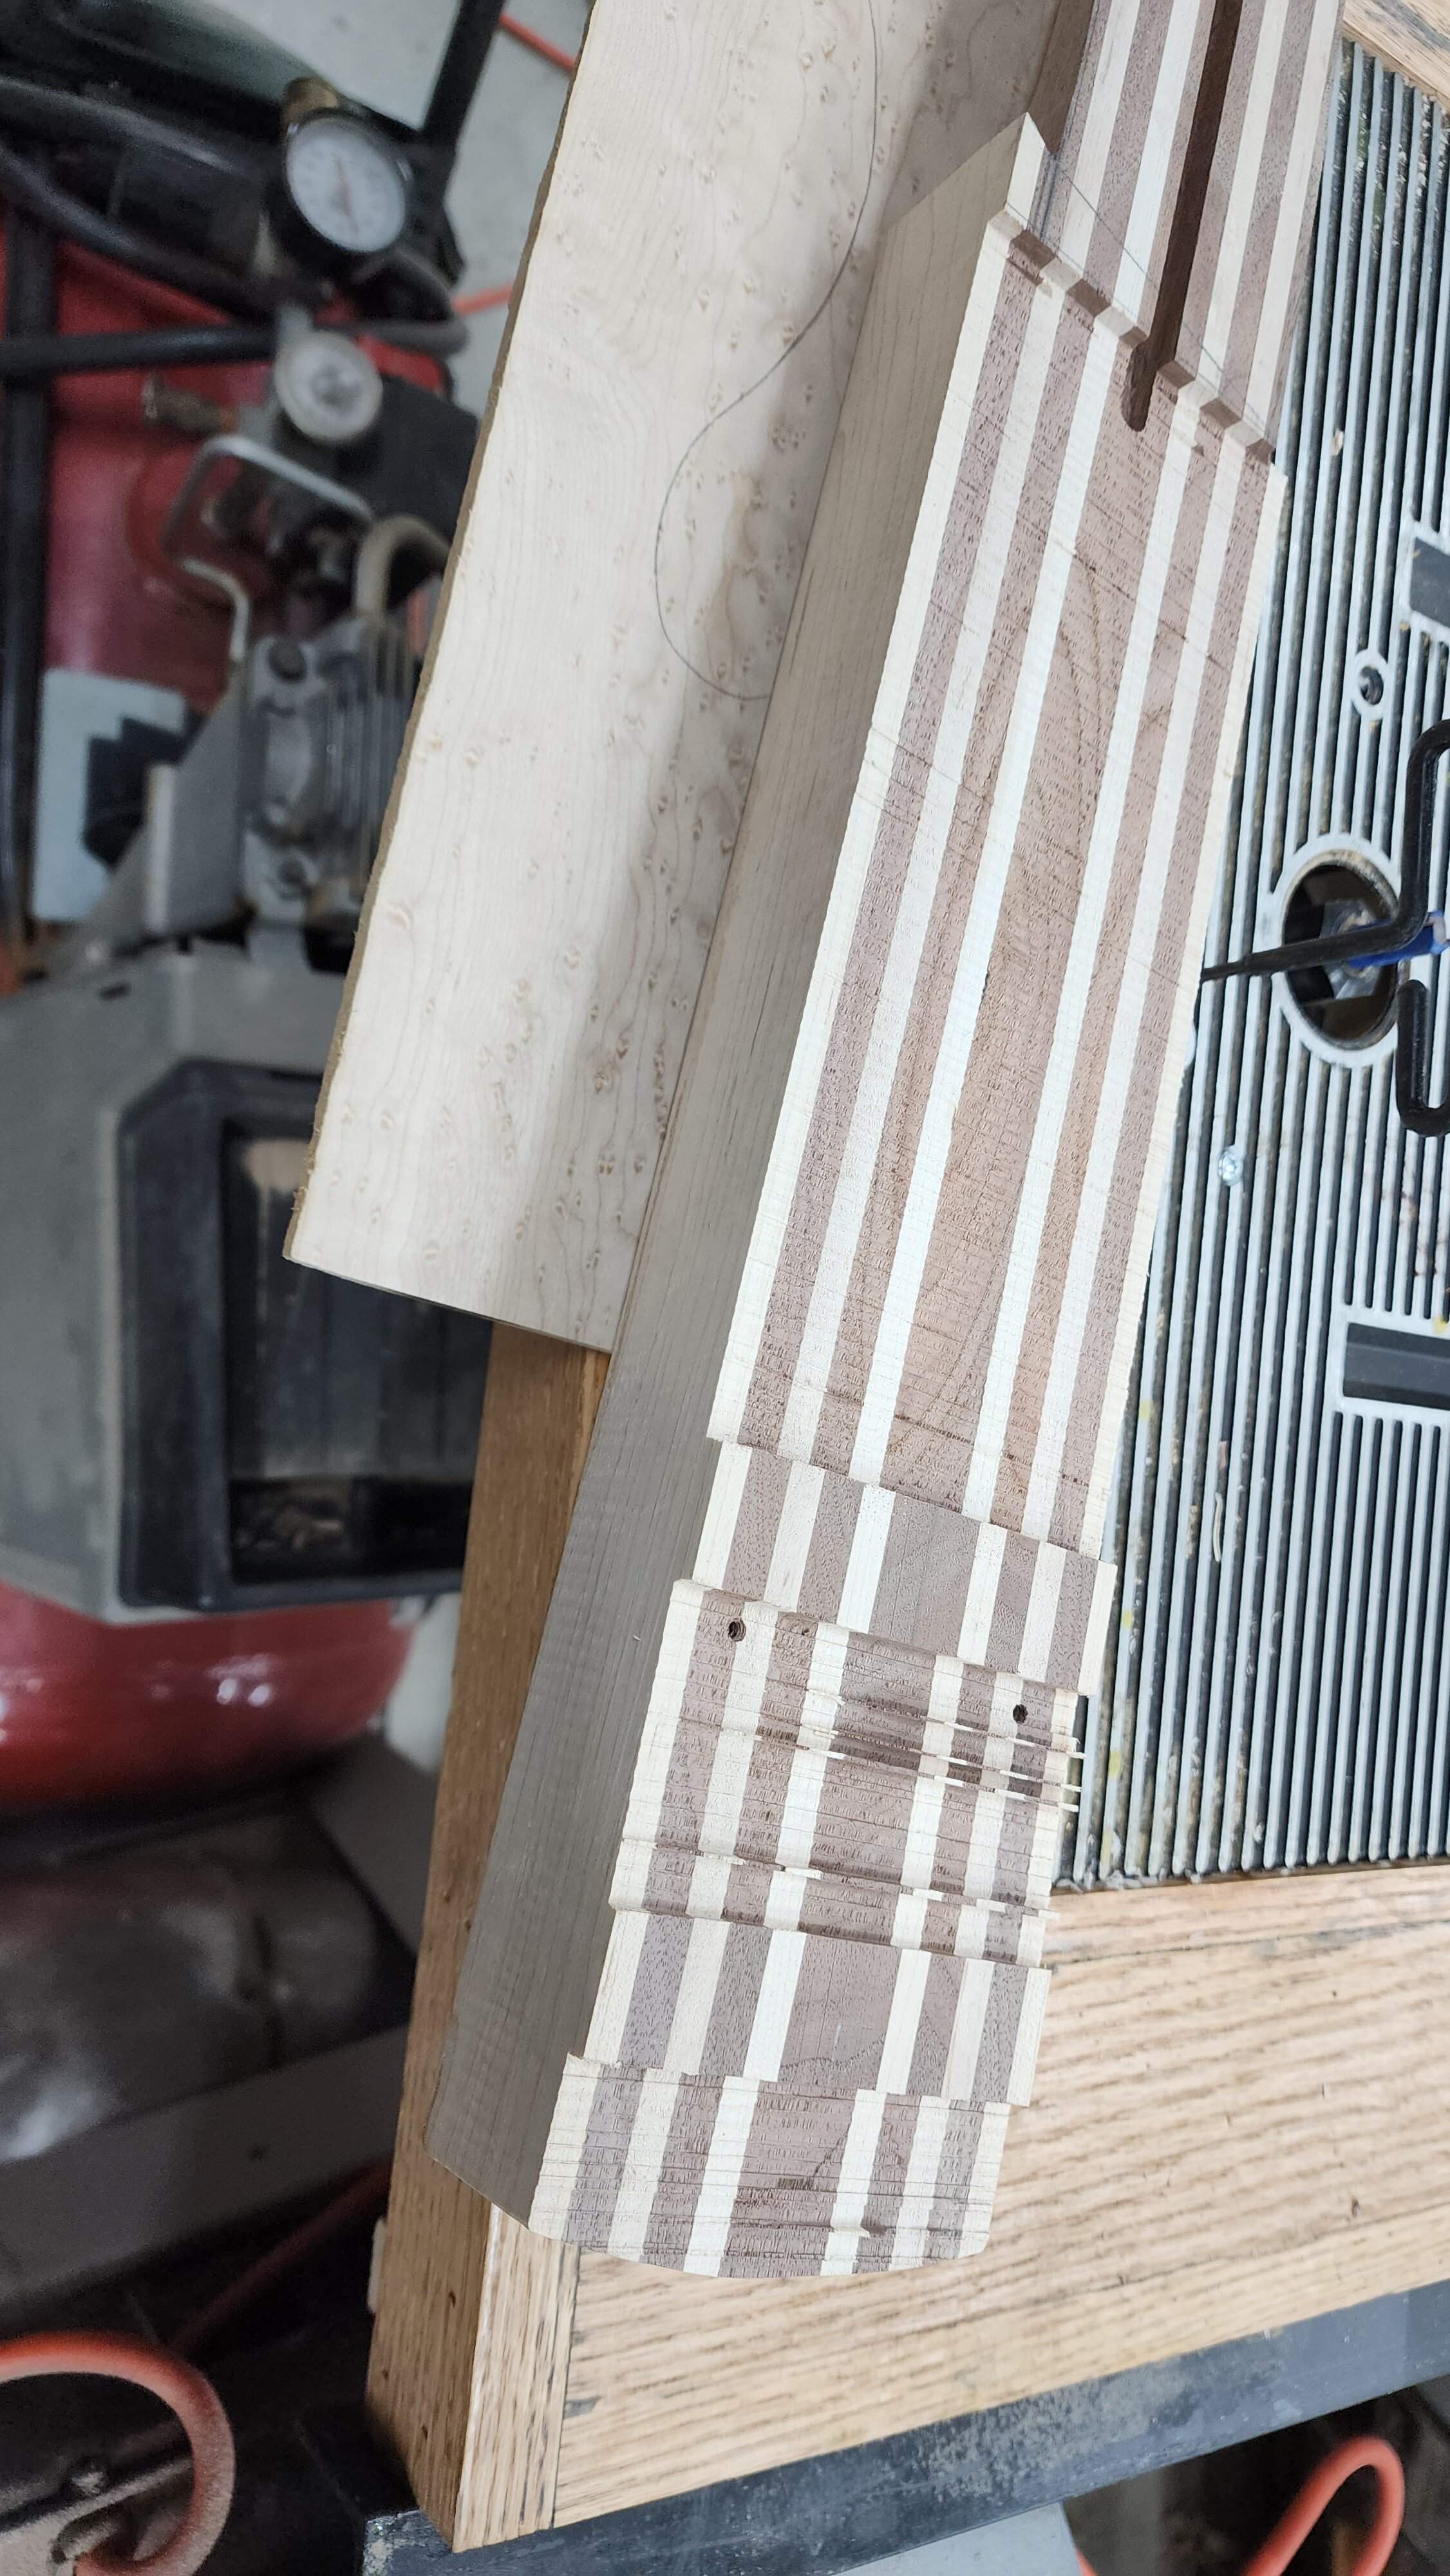
I realized that this was the best opportunity to remove the excess from the cutaway. So I did some cutting and sanding to get very close to the finished line.
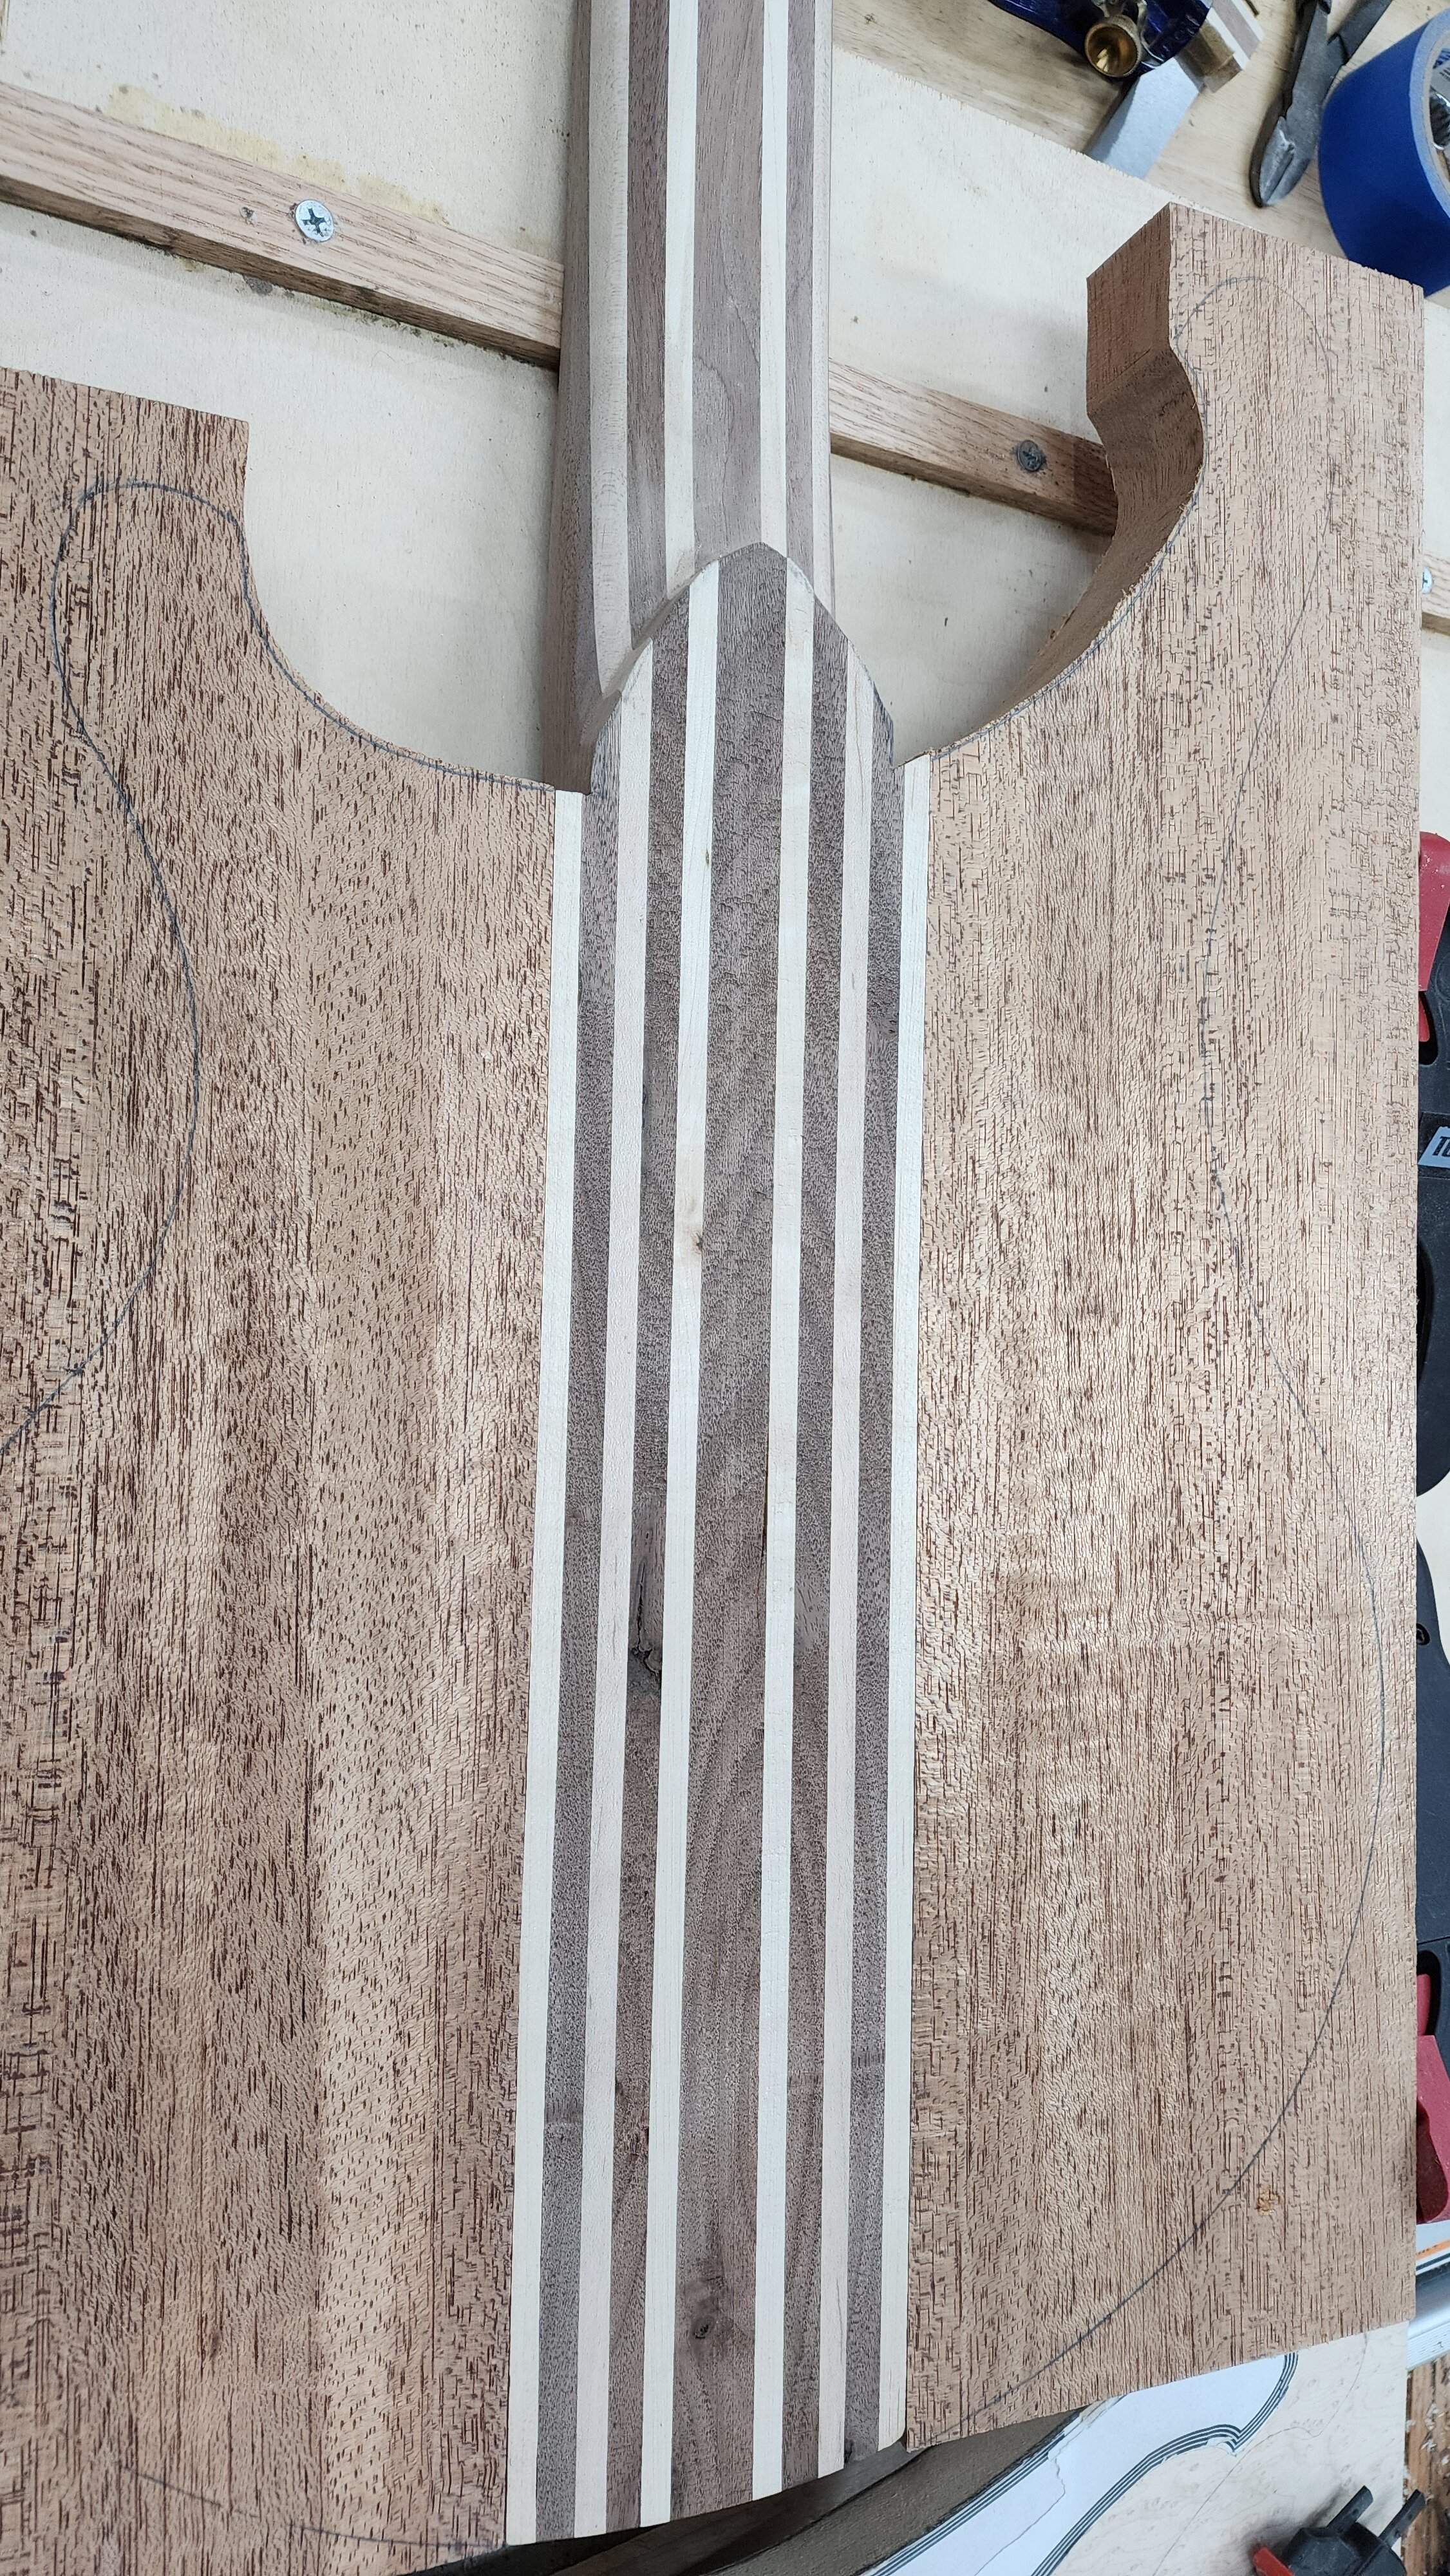
Very close to having a BSO...
I realized that this was the best opportunity to remove the excess from the cutaway. So I did some cutting and sanding to get very close to the finished line.
Very close to having a BSO...
Obligatory clamp pic...
Finished up the evening working on the template for the controls and the wiring.
Went smoothly, now I just need to cut the pickup cavities.
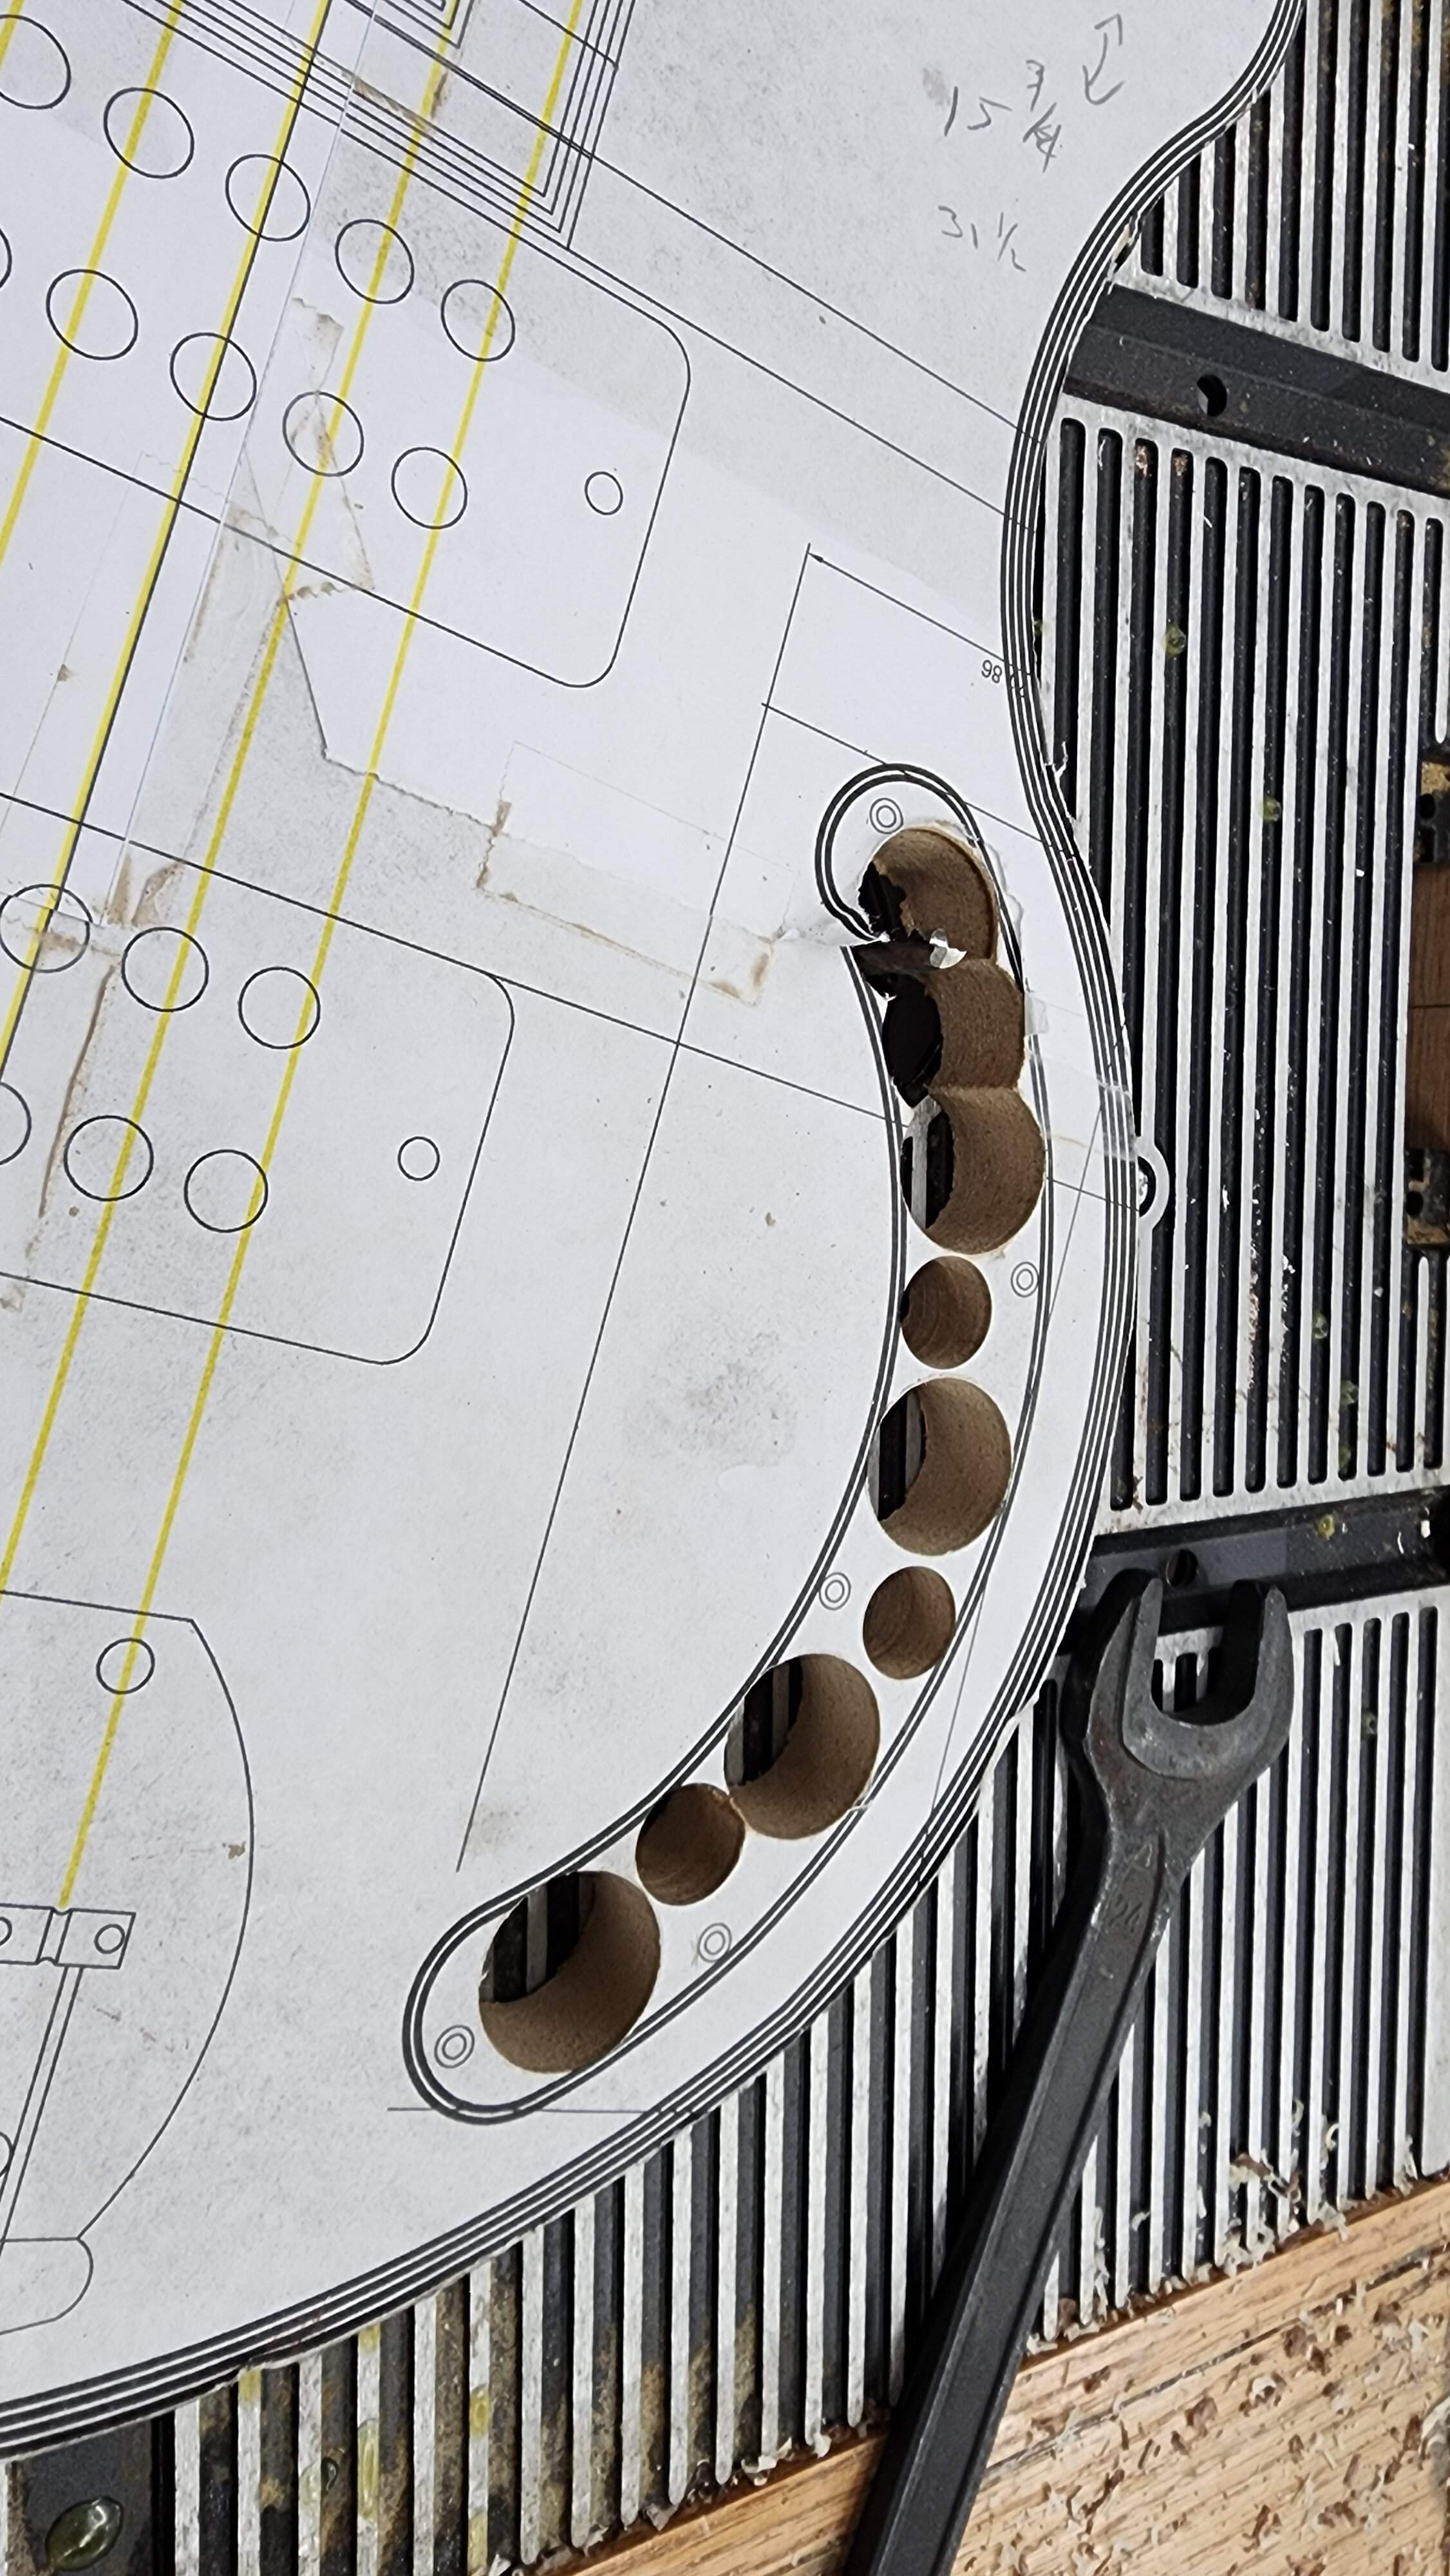
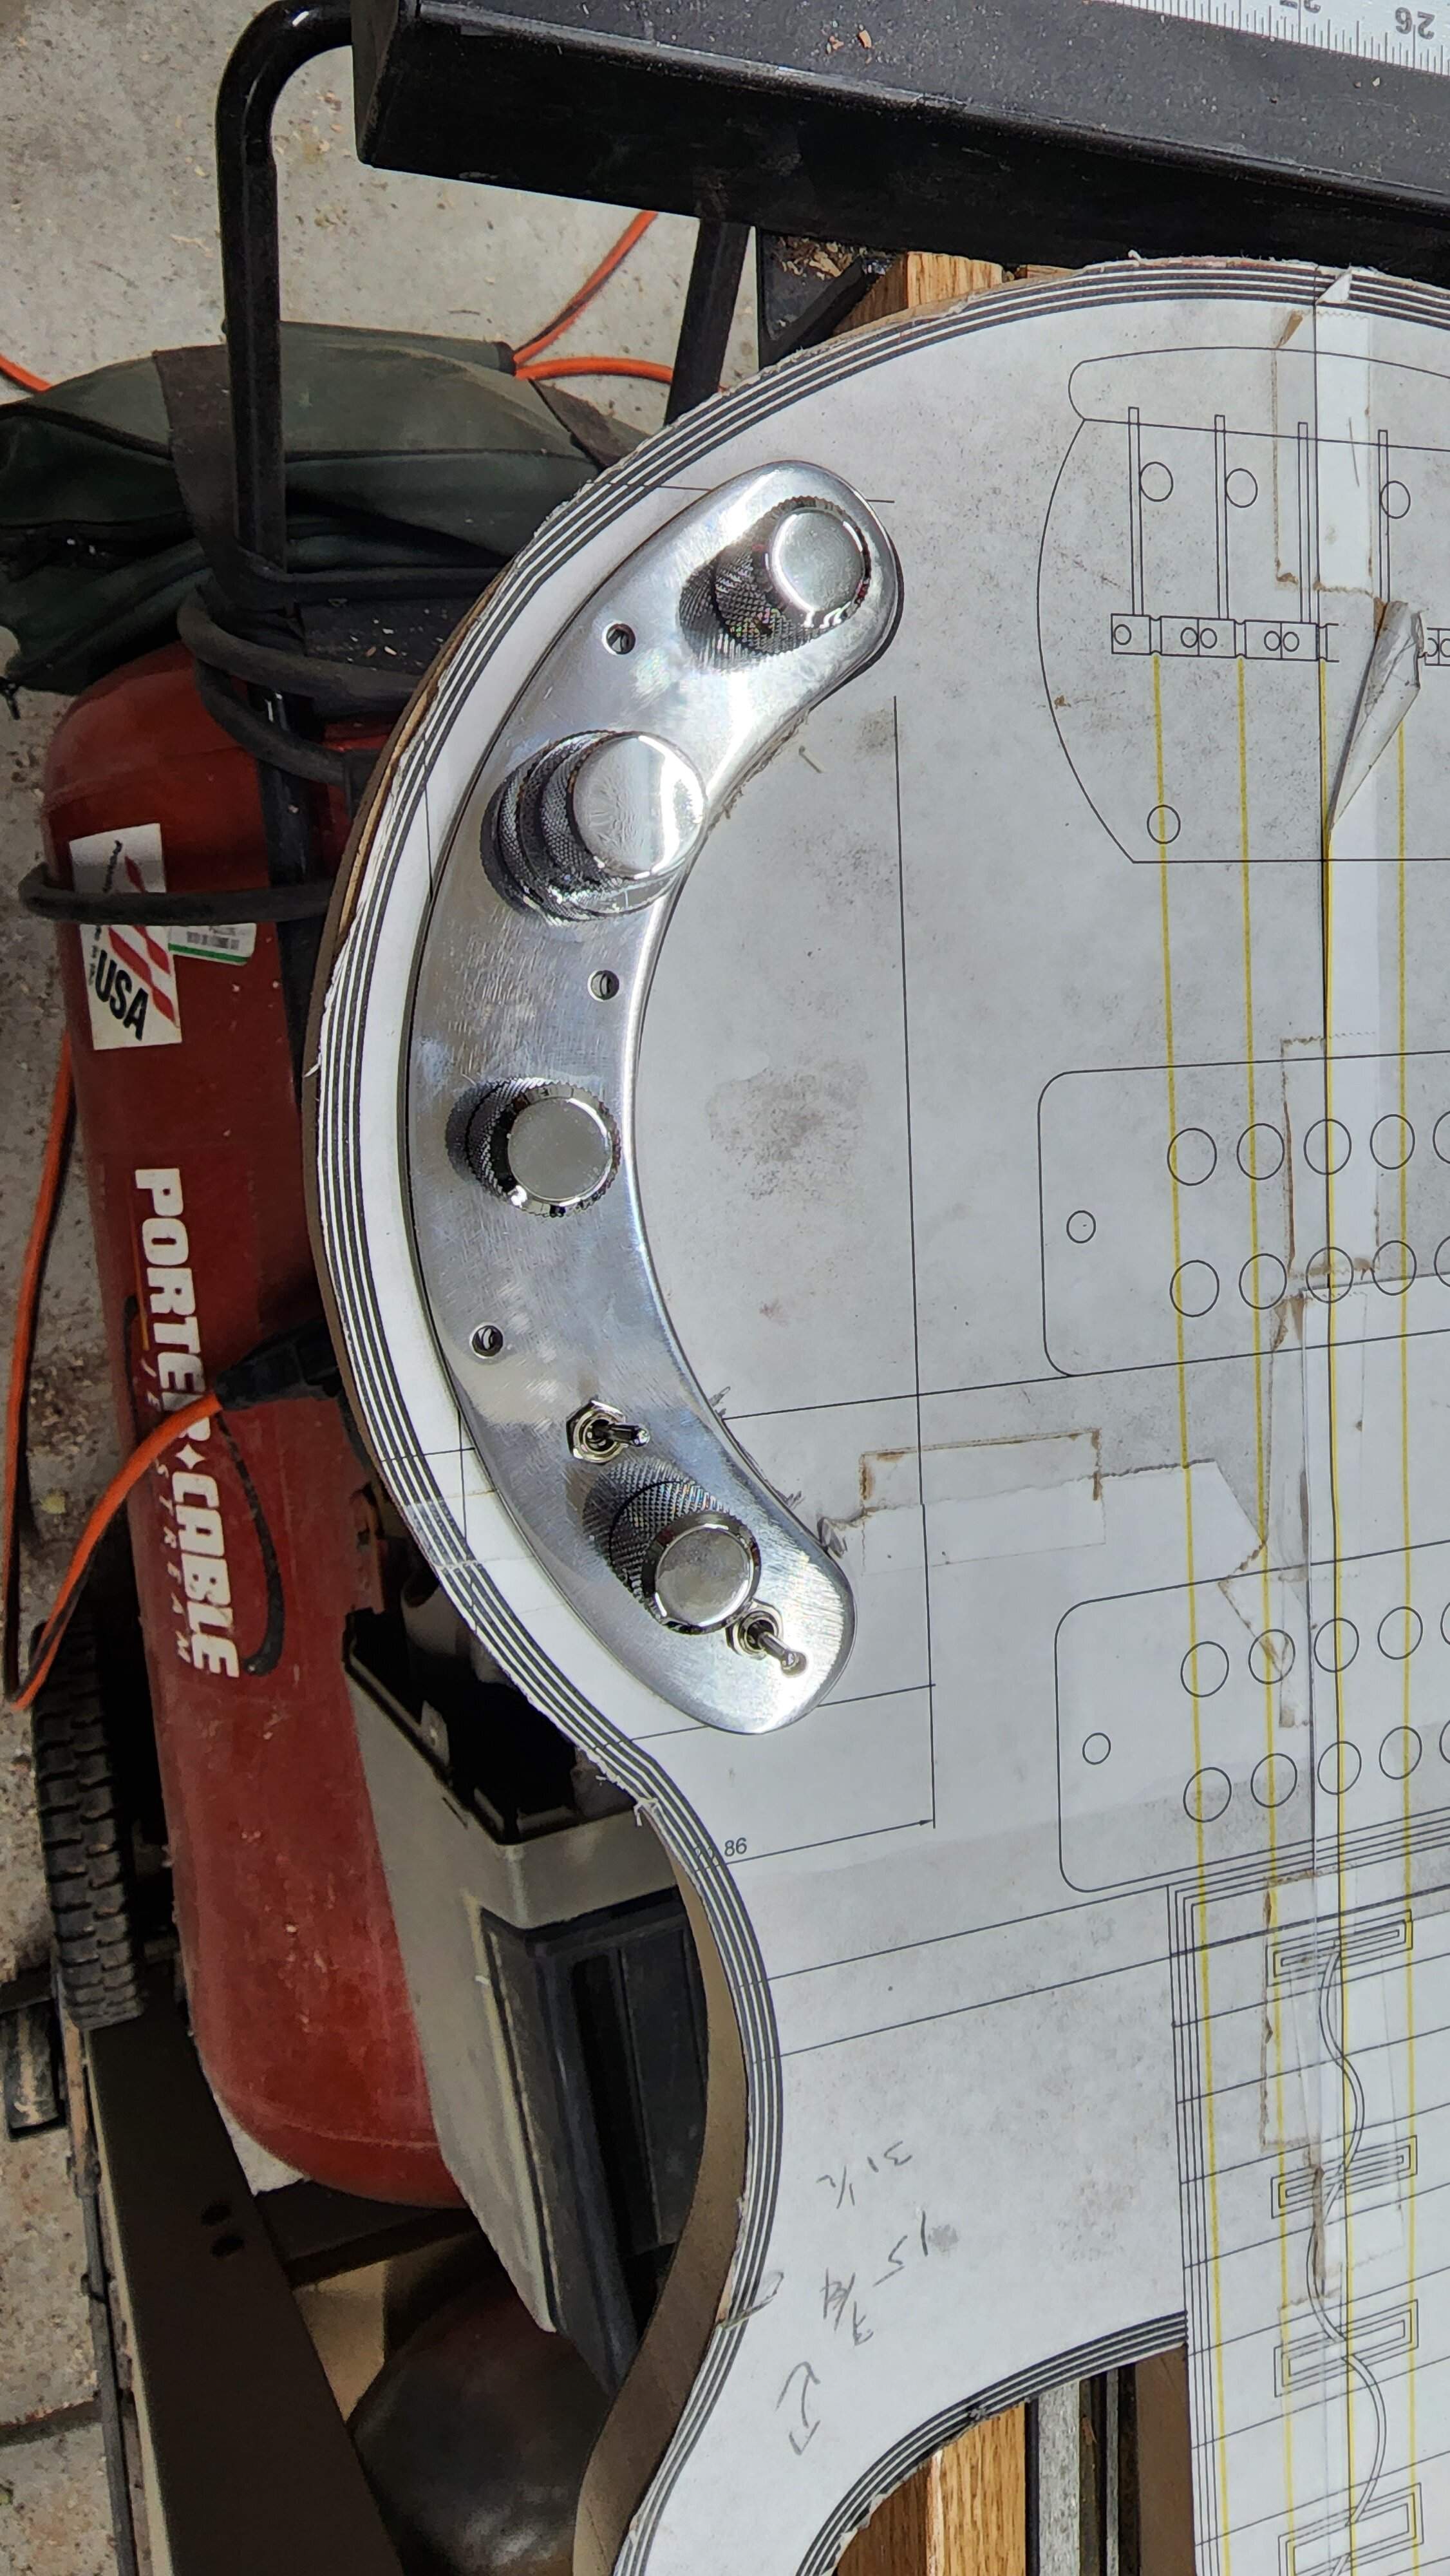
Went smoothly, now I just need to cut the pickup cavities.
Glue up went well, since I happened to be in the brewing kitchen, a rare image of my 2 most expensive hobbies.
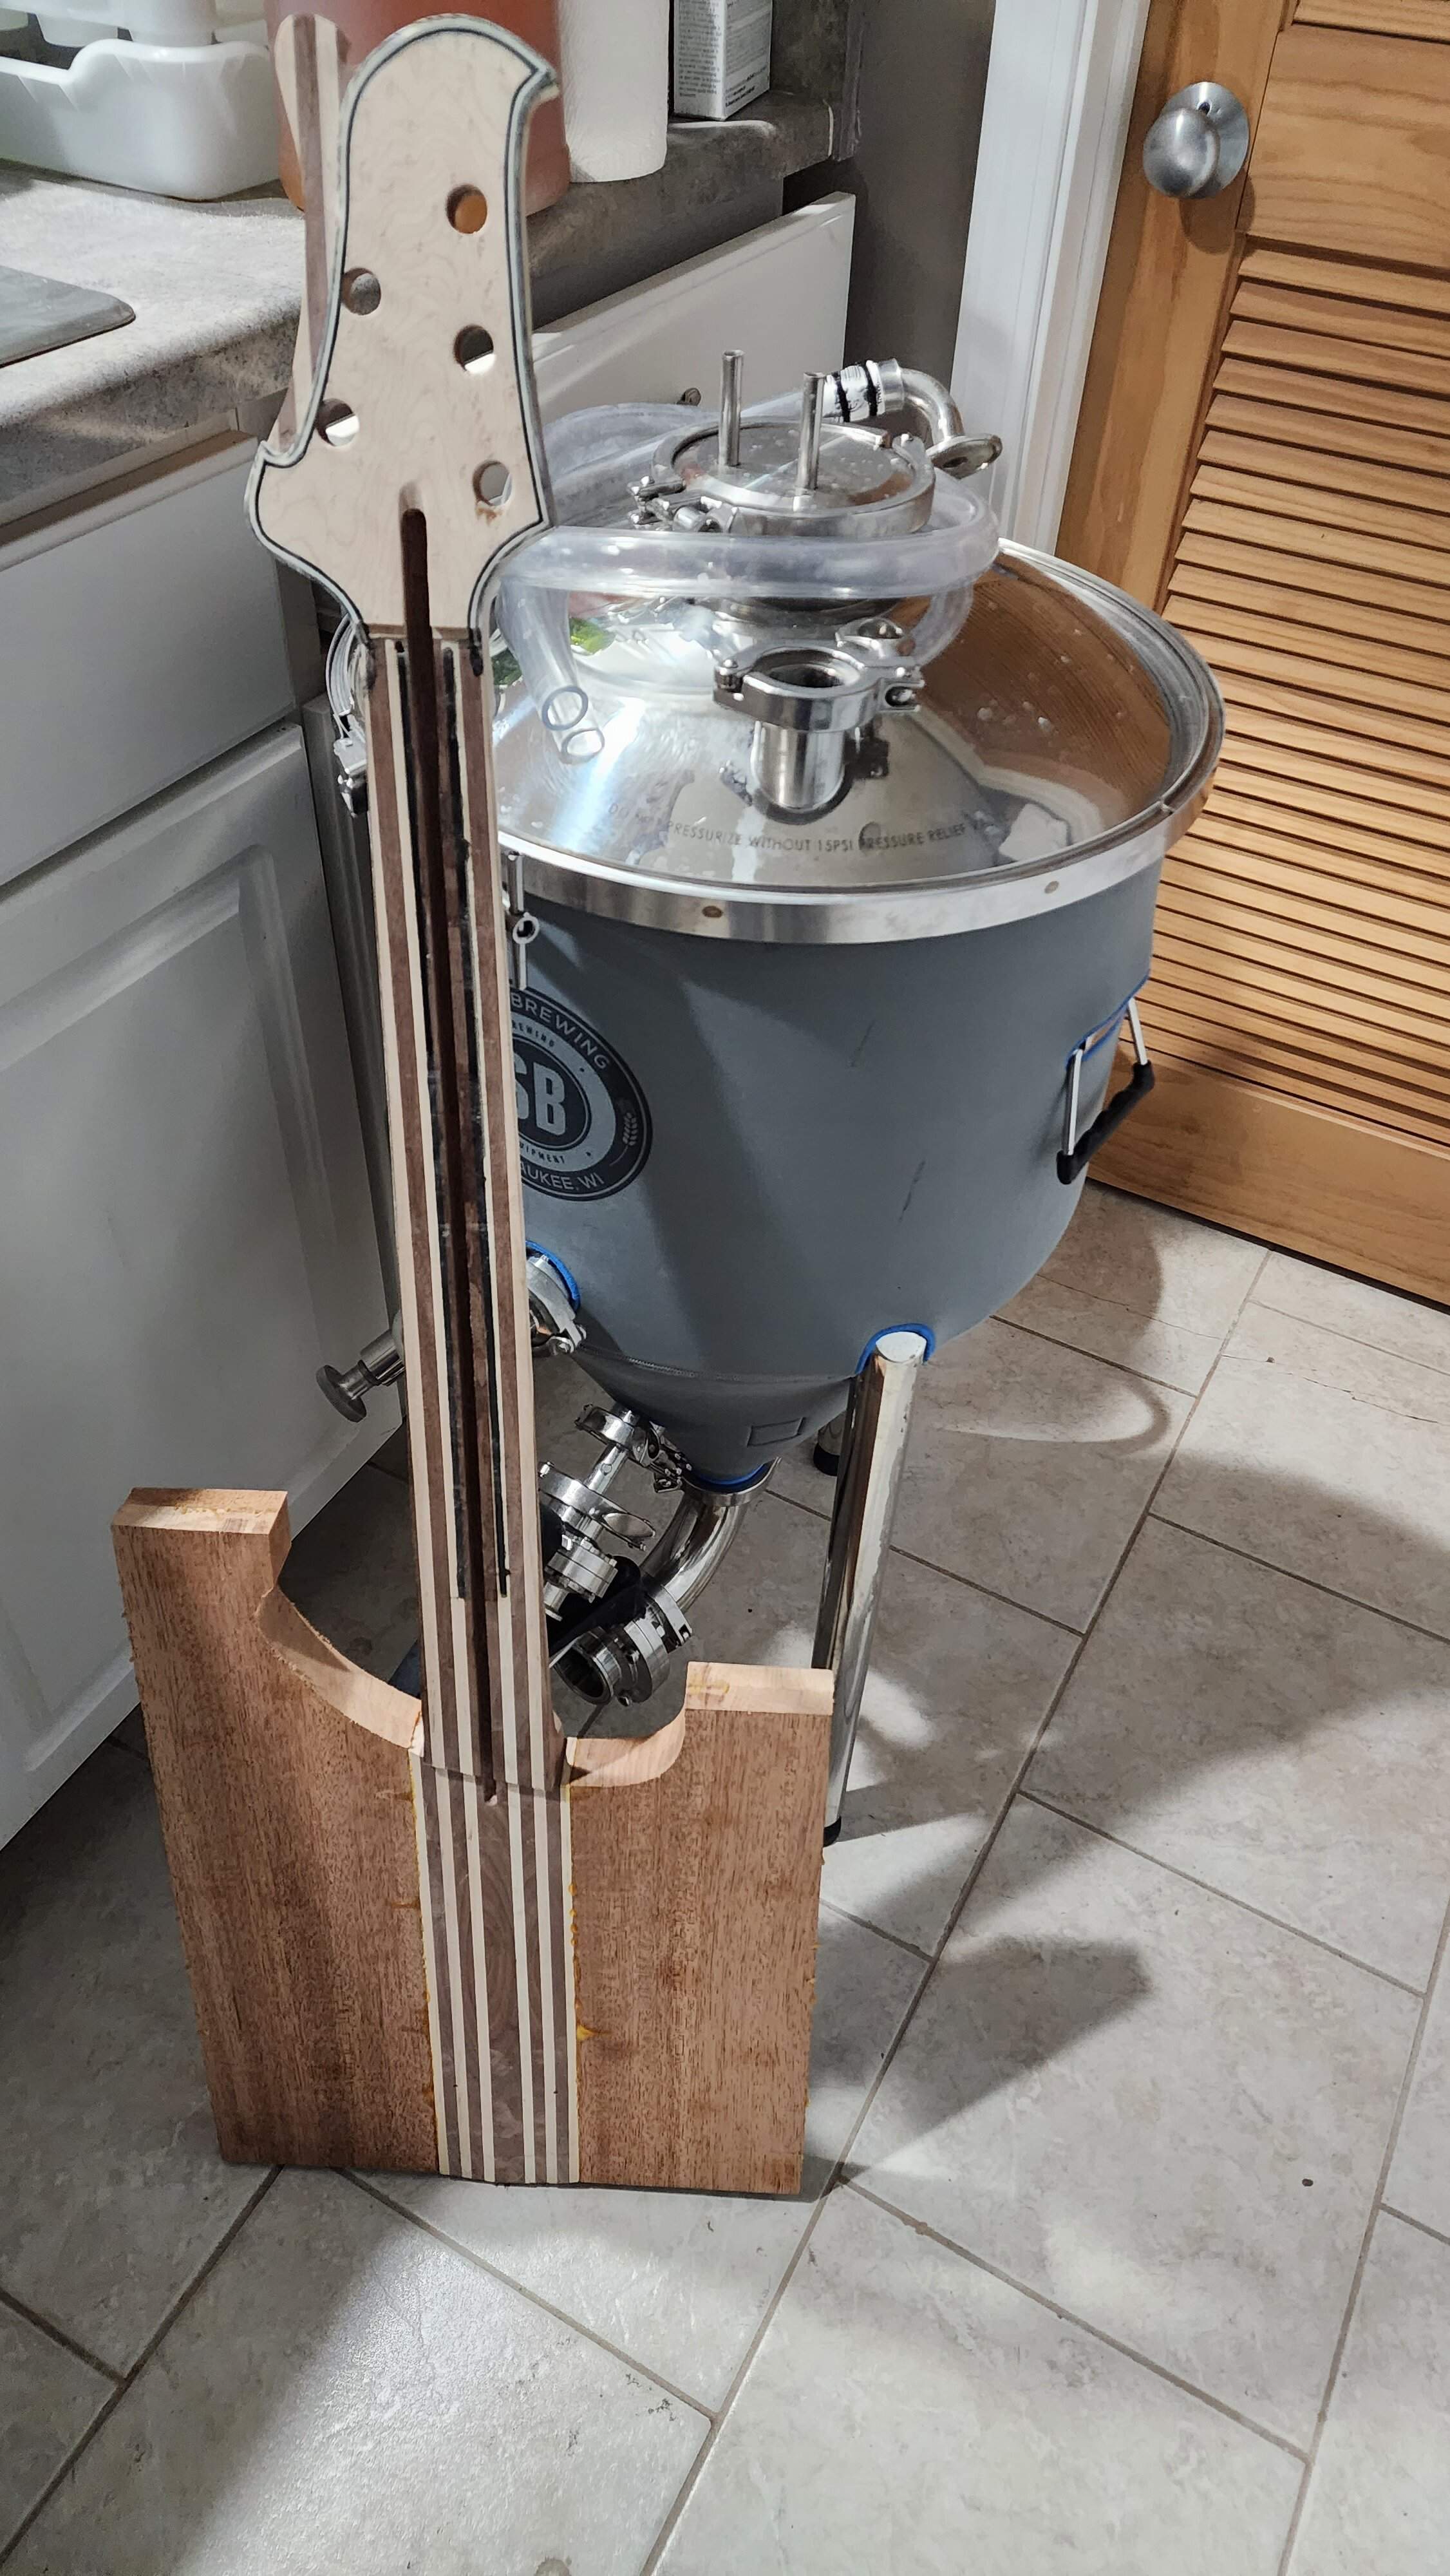
Threw it on a scale to see what it weighs. At 7 lbs 9 oz like this I think this will be close to the finished weight. Maybe add a few oz for tuners, pickups, etc, subtract some for the rest of the woodworking....
More to come...
Threw it on a scale to see what it weighs. At 7 lbs 9 oz like this I think this will be close to the finished weight. Maybe add a few oz for tuners, pickups, etc, subtract some for the rest of the woodworking....
More to come...
Yup. I had to go gluten free several years ago, and the only way to get good gluten free beer is to make your own. I also make meads.


