• TalkBass has been independent since 1998. Add your voice.
    Create a free account to reply to discussions, view embedded media, and browse with fewer display ads.
    Join freeLog in
    Want zero display ads or expanded classifieds tools? Compare plans.

5 string Ricken-Musicman Bass.

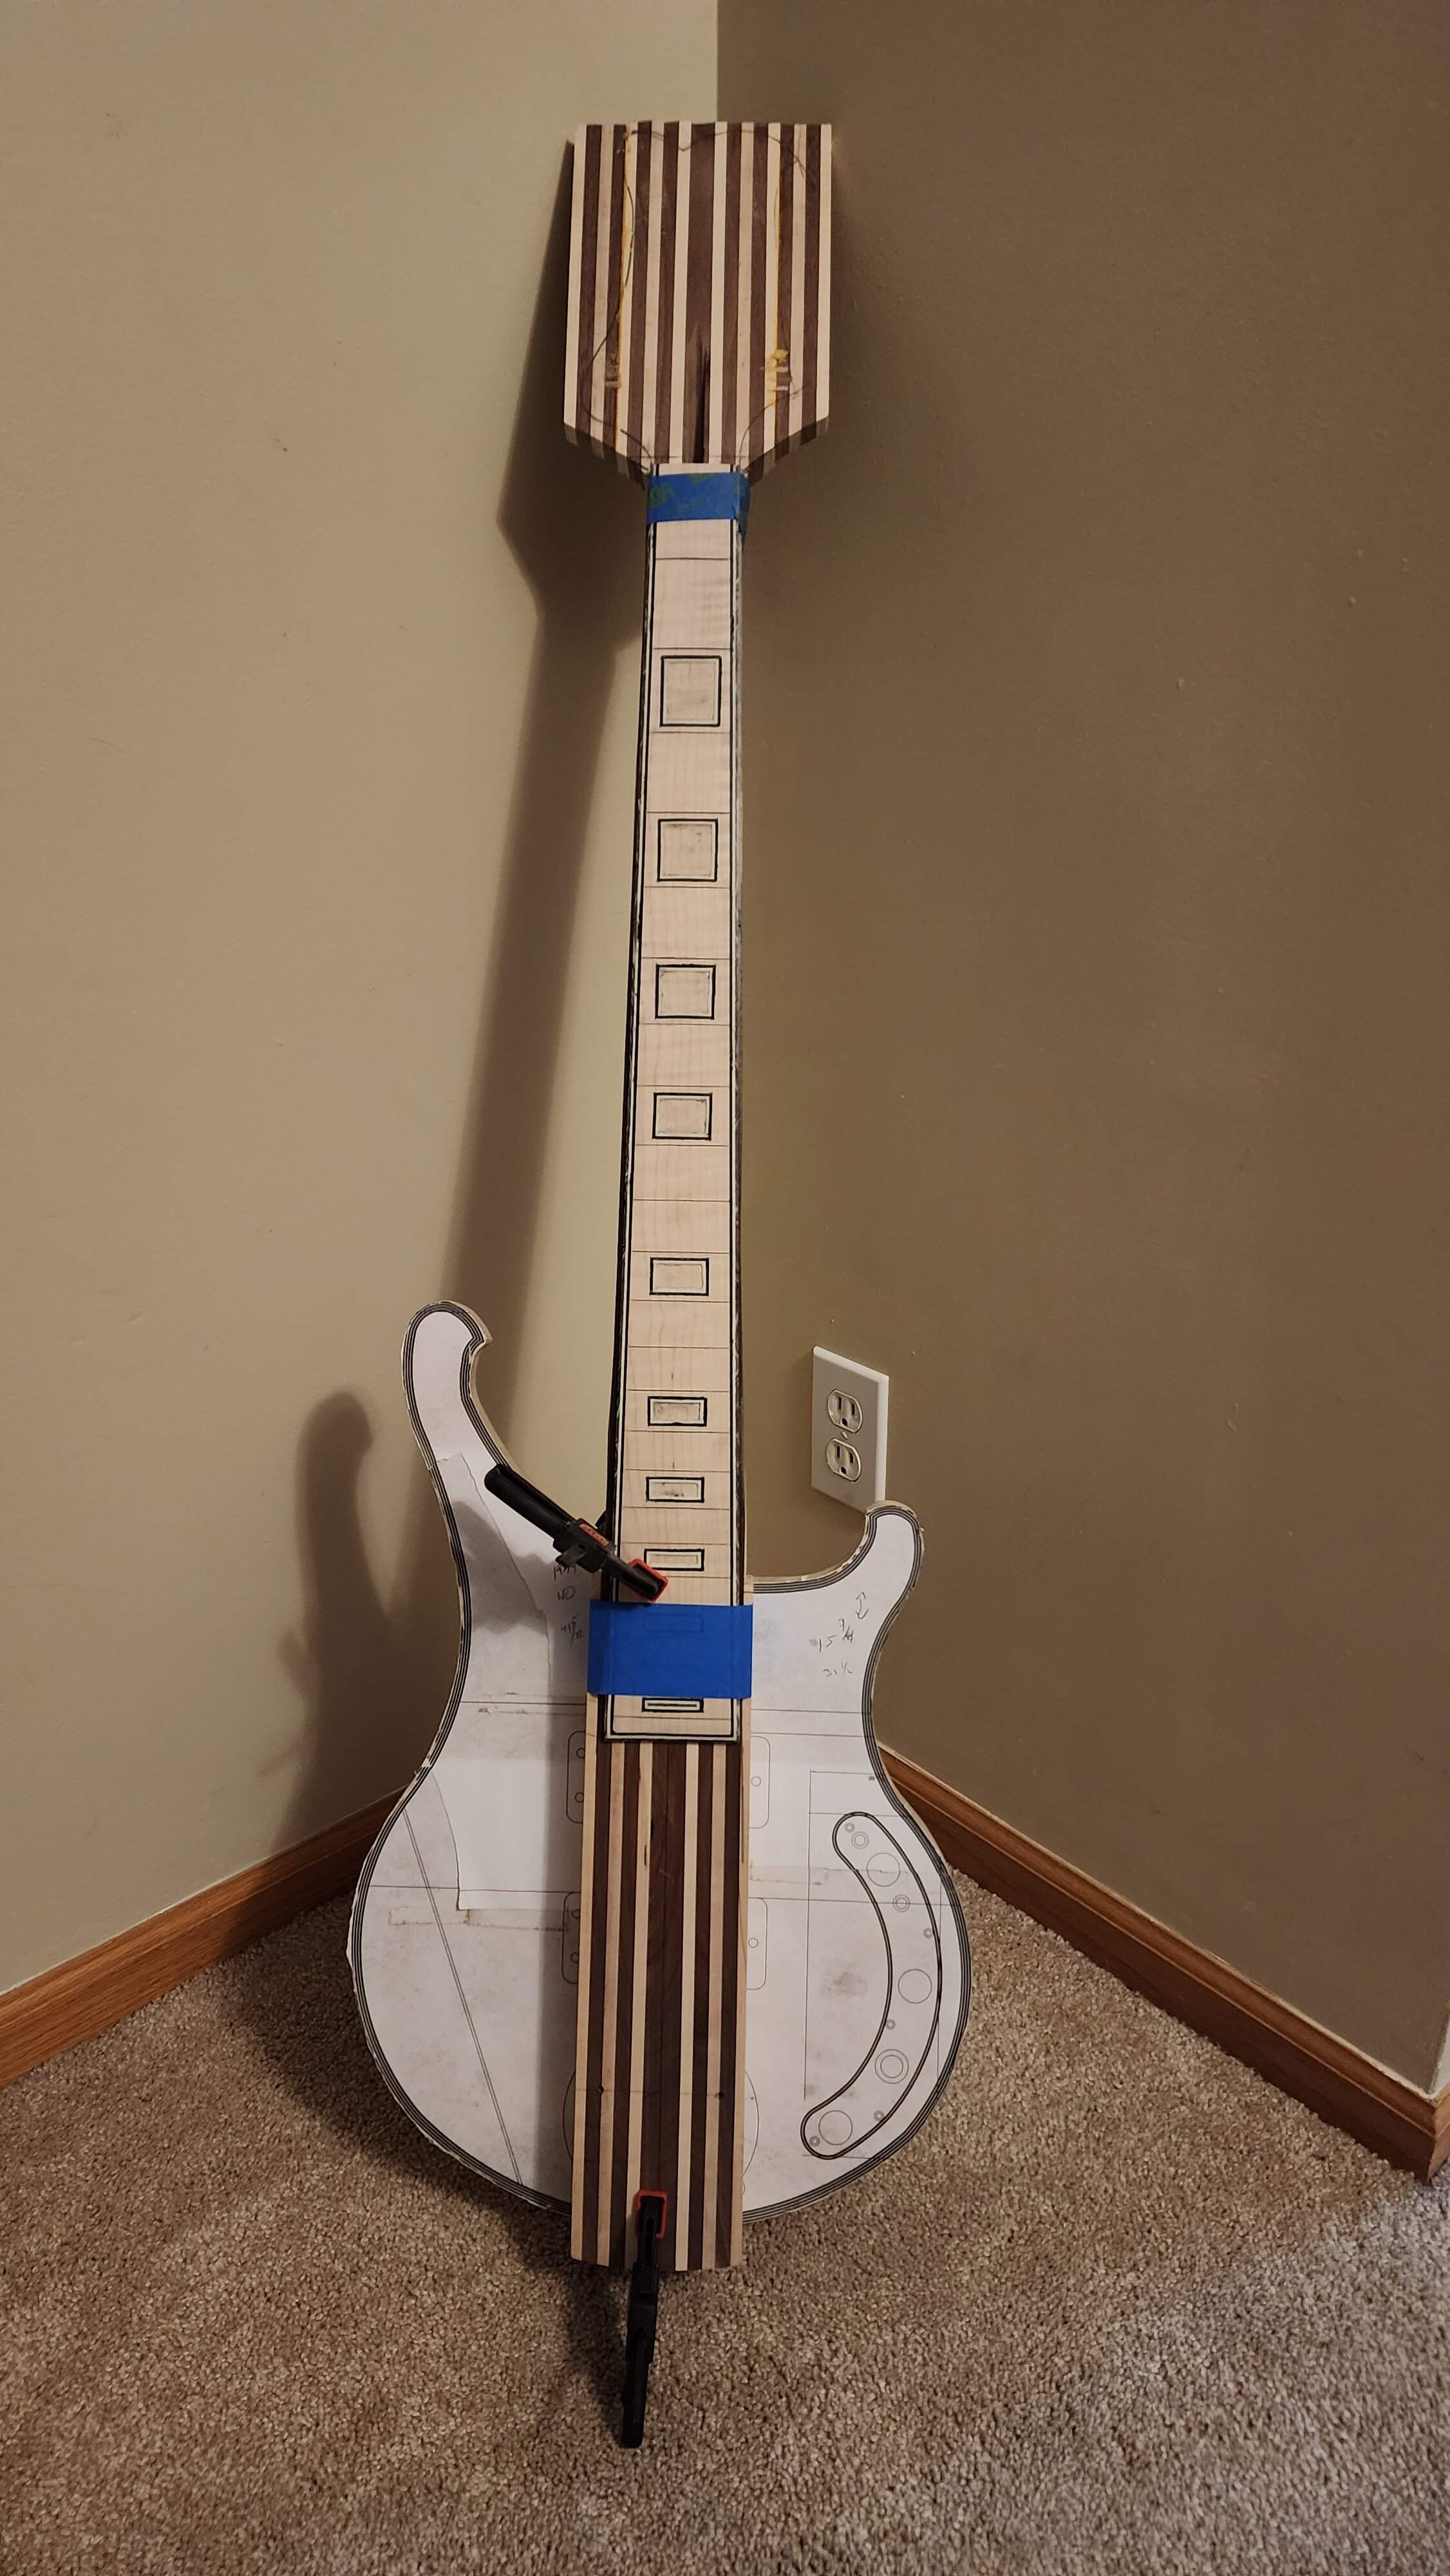
After some evening errands, I had some more time to work on the neck. To say I'm getting excited about this bass is an understatement!

It's starting to look like a thing...

20221111_211950.jpg
 
Took the time today to work on the headstock. Using a pattern bit terrifies me. :nailbiting:

I started with drilling the tuner locations. These allowed me to index my templates to the headstock.
20221113_145814.jpg


Using some dowels to hold the template, I took it over to my router table that I built onto the end of my table saw.
20221113_151724.jpg


The routing went OK. :help: I had a few places where the bit grabbed the wood and shattered it. I still have all my fingers, so, there's that!

A bit of cleanup and reattaching some bits with CA glue and voila, we have a headstock.
20221113_171013.jpg


Couldn't resist throwing the tuners on there. With the template for the body attached, it balances around the 18th fret. That will shift as I get the real body, hardware, etc. attached, but I am taking it as a good indicator that this won't be a neck diver...

Oh, I also got the carbon fiber rods epoxied in place, and the beginning of the volute at the headstock.

20221113_164656.jpg
 
Neck carving day!

One of my favorite instrument building activities! :hyper:

Started by setting the neck heel. It's a neck thru, but I like the idea of having a set neck heel like a rickenbacker would. Although I shaped it to my aesthetic persuasion...
20221114_090219.jpg


After the first set of bevels I did an initial sanding and tried it with the fretboard taped in place. This is going to be a fast neck! I am shooting for a D shaped neck like an Ibanez SG. So the back center will be mostly flat with a roll off towards the edges.

20221114_094246.jpg
 
Trying to get the volute done. I spent some time fitting the neck to the fretboard. This was a very delicate process as the fretboard is completely bound, and I didn't want to screw it up. Some blue tape gave me some early warning that I was getting too close.
20221114_131847.jpg


The end result looks pretty good.
20221114_132538.jpg


I am not in love with the volute... but I think it looks good. It's position stops my hand at the 1st fret so it's practical.

20221114_135434.jpg
 
but this thing already has a lot going on and yer killin it,

Thanks for the kind words. Definitely feeling a bit of imposter syndrome occasionally during this build. Especially looking at builds like that OM bass.. good grief who wouldn't!

I'll have to wander to the model making store locally and see if they have anything like that.
 
Felt good enough about where I was with the neck and headstock to glue the face piece on. This required cutting the already thin (3/16") piece of wood even thinner! I tried using my bandsaw, but the wood was curved slightly. I was able to cut a chunk of it to the proper thickness. I then used my jointer and sander to get to the rest of the way.

Lots of clamps holding it in place, but my next trick is to route the top lamination to final shape.

20221114_210536.jpg
 
Thinking through the next few processes.

Finish the headstock:
Trim to size, (flush sanding with the spindle sander)
Drill tuner locations to align templates
Route face recess :help::nailbiting::nailbiting:
Bind headstock (first time using the binding bit)
Bind recess
Restore truss rod access.

Body:
Mark and cut neck end around fretboard to the depth of the top wood.
Align and glue up the body wings
Route control cavity
Route wiring cavities
 
Started the finish of the headstock. I wanted to get this done before the body was attached and made the whole thing awkward to manhandle.

Using my tuner holes to align the template, I very carefully routed the recess on the front. Glad I bought that router bit set. I later cleaned it up to be even with the binding for the rest of the headstock.
20221115_124840.jpg
20221115_131839.jpg

Using that cool Amana bit, I routed the binding channel.

Then using a combination of hot water, acetone and CA glue, I affixed the binding to the headstock. It also required some ... unorthodox clamping methods...

20221115_134621.jpg

20221115_160039.jpg


Needs quite a bit of cleanup, but I'm pretty happy with the results.
20221115_160917.jpg
 
Started the finish of the headstock. I wanted to get this done before the body was attached and made the whole thing awkward to manhandle.

Using my tuner holes to align the template, I very carefully routed the recess on the front. Glad I bought that router bit set. I later cleaned it up to be even with the binding for the rest of the headstock.
View attachment 4874769 View attachment 4874770
Using that cool Amana bit, I routed the binding channel.

Then using a combination of hot water, acetone and CA glue, I affixed the binding to the headstock. It also required some ... unorthodox clamping methods...

View attachment 4874771
View attachment 4874772

Needs quite a bit of cleanup, but I'm pretty happy with the results.
View attachment 4874778


I was thinking the bass side tuners were a bit close to the edge of the headstock then I remembered and saw there’s a rebate and a second level to the headstock on that side. Very cool.
 

Latest posts