• TalkBass has been independent since 1998. Add your voice.
    Create a free account to reply to discussions, view embedded media, and browse with fewer display ads.
    Join freeLog in
    Want zero display ads or expanded classifieds tools? Compare plans.

My version of a back relief. I first used this on my four string I built in 1985. I guess it's kind of a signature thing now. I also have a version for the forearm relief but am not putting one on this bass. I am also waiting on some material to make arrow head fret position makers for in between the dots on the neck in this shot.
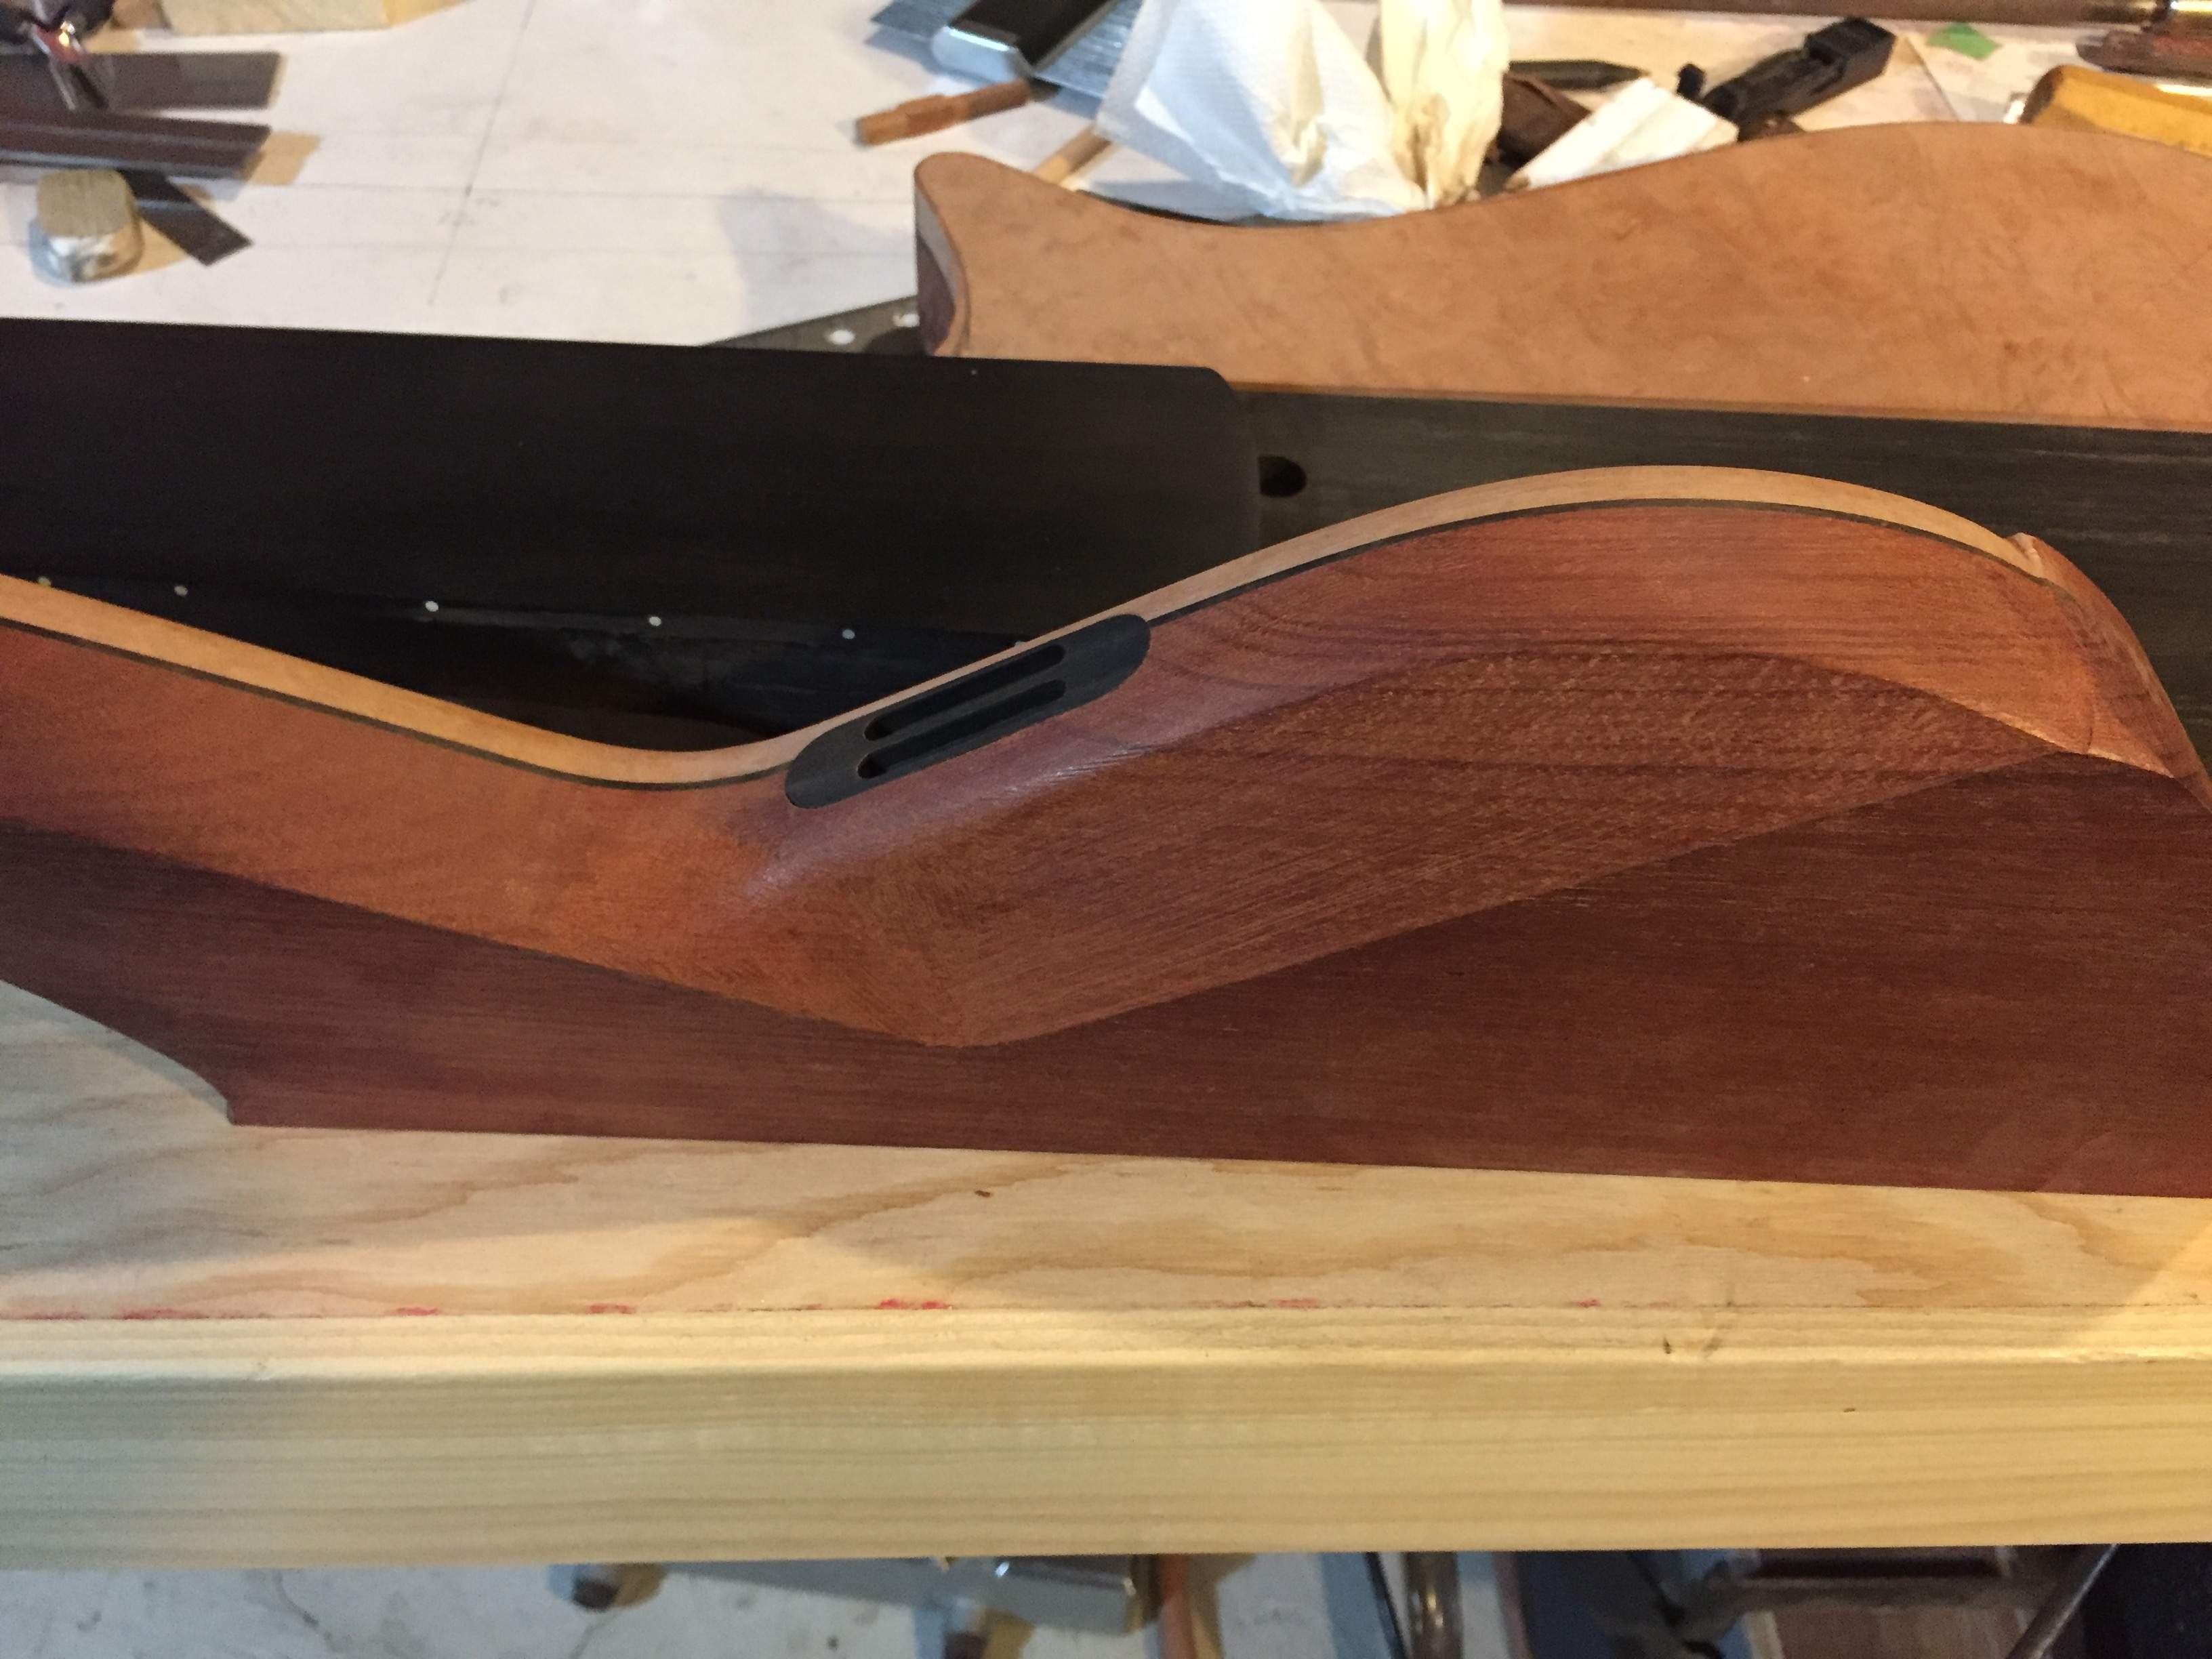
IMG_4682.JPG
 
Last edited:
Set up to drill the output jack.
IMG_4690.JPG
Hole drilled to right diameter for threading and smaller all the way through. The cable will cross under the bridge via the piezo wire access rout and head over to the EQ. Power in and signal out.
IMG_4691.JPG

Couldn't resist putting the wired jack in place. I need to tap the hole and the jack will screw in. When installing the wire can be rotated with the jack via the rout under the bridge. This will go in before the bridge is screwed in place.
IMG_4692.JPG
 
I have been a little distracted getting some fixer uppers ready to clear out. This is a shot to illustrate the slight angle back I put into my neck through builds. The angle depends on the bridge used and is set up on the neck blank before cutting the body section of the blank. I set up for really close action with the bridge having all saddles near the bottom. Then I can raise to playing height once the neck relief is set. I also do this with set neck and bolt-on. I rout the neck pocket at an angle depending on bridge height. I should add to this that the angle is also influenced by how proud of the body the neck sits. If a player likes his strings higher above the body then an angle may not be required.
IMG_4711.JPG
 
Last edited:
I have been a little distracted getting some fixer uppers ready to clear out. This is a shot to illustrate the slight angle back I out into my neck through builds. The angle depends on the bridge used and is set up on the neck blank before cutting the body section of the blank. I set up for really close action with the bridge having all saddles near the bottom. Then I can raise to playing height once the neck relief is set.
View attachment 3297745
I also do this with set neck and bolt-on. I rout the neck pocket at an angle depending on bridge height.
Really enjoying watching this built, it is looking great.

I've been interested to read about the whole 'neck angle' thing since I started lurking in this forum. I understand why you would do it (you explained it well in your post), but personally I imagine I would go for a straight neck and recess the bridge to achieve the same effect.

Am I missing something that means recessing the bridge would not work? Or is it just a matter of preference and you prefer to angle the neck?
 
  • Like
Reactions: Slidlow
Really enjoying watching this built, it is looking great.

I've been interested to read about the whole 'neck angle' thing since I started lurking in this forum. I understand why you would do it (you explained it well in your post), but personally I imagine I would go for a straight neck and recess the bridge to achieve the same effect.

Am I missing something that means recessing the bridge would not work? Or is it just a matter of preference and you prefer to angle the neck?
I guess recessing the bridge is a way to do it. From my view point sinking the bridge into the body is a fix and not the way it should be designed. Or stated another way (also in my opinion) it is not a professional way to set up an instrument especially a full on custom where attention to detail should be the primary factor. Also I feel the slight tilt back angles the neck towards your arm just a hair more then having the neck straight out. For some it may come down to what they think is easier. Have everything a flat slab and sink a bridge to get the action or take the extra time and effort to have the bridge sit nicely on the surface of the body? Of course another way is to raise the neck more proud of the body then it can be parallel to the surface of the body but that is just as much work. Here would be a solution for a client who likes more space between the strings and the body.
So to conclude if the instrument is for yourself do what you are comfortable with. If it is for others then the overall design, aesthetic and ergonomics should be carefully thought through and addressed. I hope that helps you.
All the best
 
  • Like
Reactions: wraub and 5tring
I guess recessing the bridge is a way to do it. From my view point sinking the bridge into the body is a fix and not the way it should be designed. Or stated another way (also in my opinion) it is not a professional way to set up an instrument especially a full on custom where attention to detail should be the primary factor. Also I feel the slight tilt back angles the neck towards your arm just a hair more then having the neck straight out. For some it may come down to what they think is easier. Have everything a flat slab and sink a bridge to get the action or take the extra time and effort to have the bridge sit nicely on the surface of the body? Of course another way is to raise the neck more proud of the body then it can be parallel to the surface of the body but that is just as much work. Here would be a solution for a client who likes more space between the strings and the body.
So to conclude if the instrument is for yourself do what you are comfortable with. If it is for others then the overall design, aesthetic and ergonomics should be carefully thought through and addressed. I hope that helps you.
All the best
Thanks for the reply, it's good to hear other people's thoughts. Food for thought for sure.

Lovin' your work
 
  • Like
Reactions: Slidlow
From the get go I have been warm to the madrone burl for the top on this bass. So today I slid the sides together with the neck (not glued yet) and put a coat of oil finish on to see. I am pleased. The figure shows nicely and with full finish it should look very deep and rich. It was a struggle initially choosing this board as it was just big enough to get the wings out of. No room to spare. Given this is probably the last ebony neck I will do I wanted the body to stand out as much as the ebony. My last ebony neck was built with non-figured padauk and is striking but lacking the extra dazzle of a figured top. I'm happy.
IMG_4718.JPG
 
Magnet - one less tiny little screw to lose while you're messing with the truss rod.

My $0.02...

INCREDIBLE build, BTW.

-----
Kurt
Thanks, I am leaning heavily towards a magnet. I have been reducing the screw count on this one. That would bring it down to 10 for now (six for the bridge). This should be my second last personal build (already having ideas for another one for myself. Teaser shot included...look closely!).
IMG_4723.JPG
 
Last edited:
I vote no cover - the ebony is so dark that the truss rod access hardly shows, and those clean lines look so awesome
Good to consider. As on my five string the material has a dull side and a shiny side. I used the dull side up so as to not stand out as much. I think mounting with magnets and not having a visible screw will make it even less conspicuous. I'll make it anyway and decide near the end. Got a lot to do yet.
IMG_4722.JPG
 
Good to consider. As on my five string the material has a dull side and a shiny side. I used the dull side up so as to not stand out as much. I think mounting with magnets and not having a visible screw will make it even less conspicuous. I'll make it anyway and decide near the end. Got a lot to do yet.
View attachment 3301890
Yes to be fair that does look really good!