• TalkBass has been independent since 1998. Add your voice.
    Create a free account to reply to discussions, view embedded media, and browse with fewer display ads.
    Join freeLog in
    Want zero display ads or expanded classifieds tools? Compare plans.

A short scale acoustic bass guitar experiment.

This is a support for the sides, held in a vice and with bits of double sided tape stuck to it.
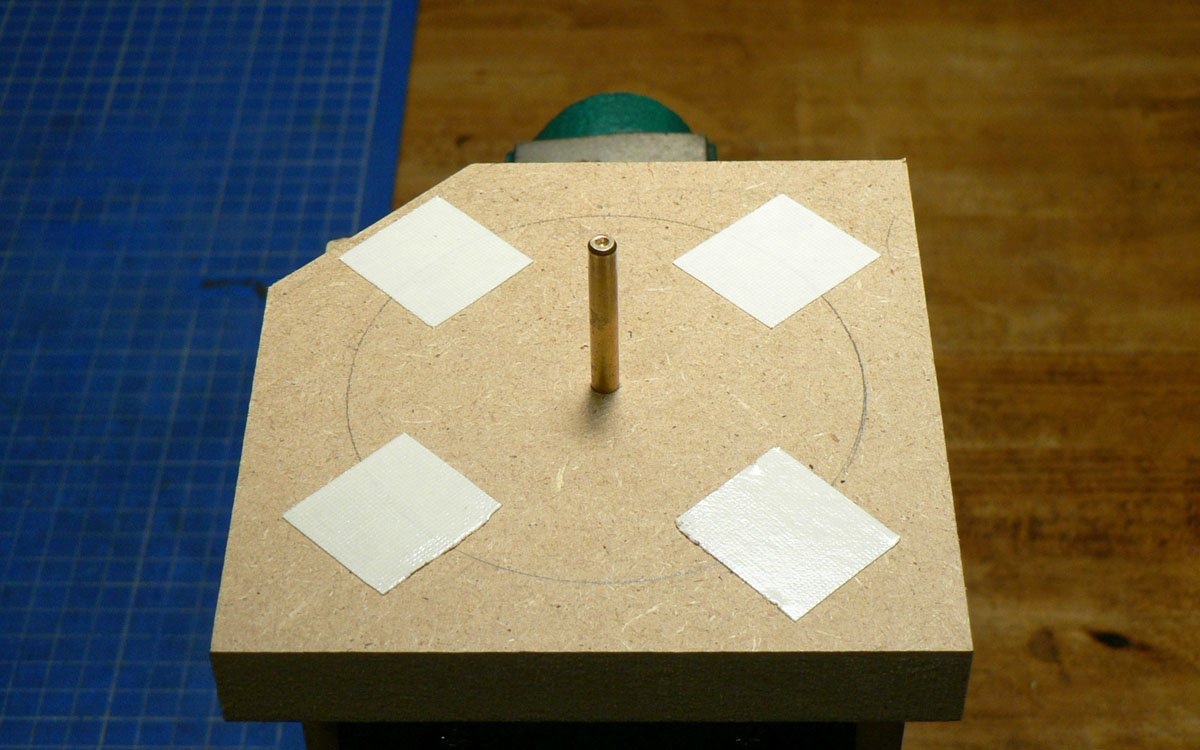
Body 069.JPG


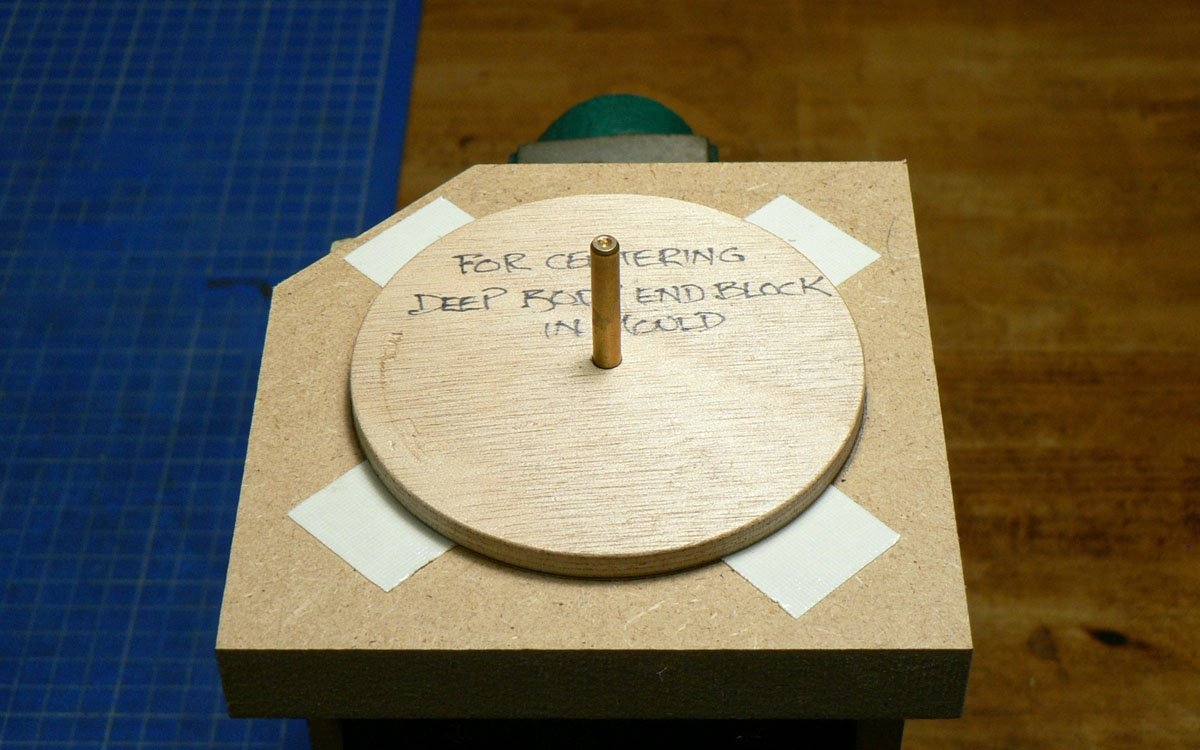
This plywood disc which is a snug fit in the tail block is now mounted on the support.
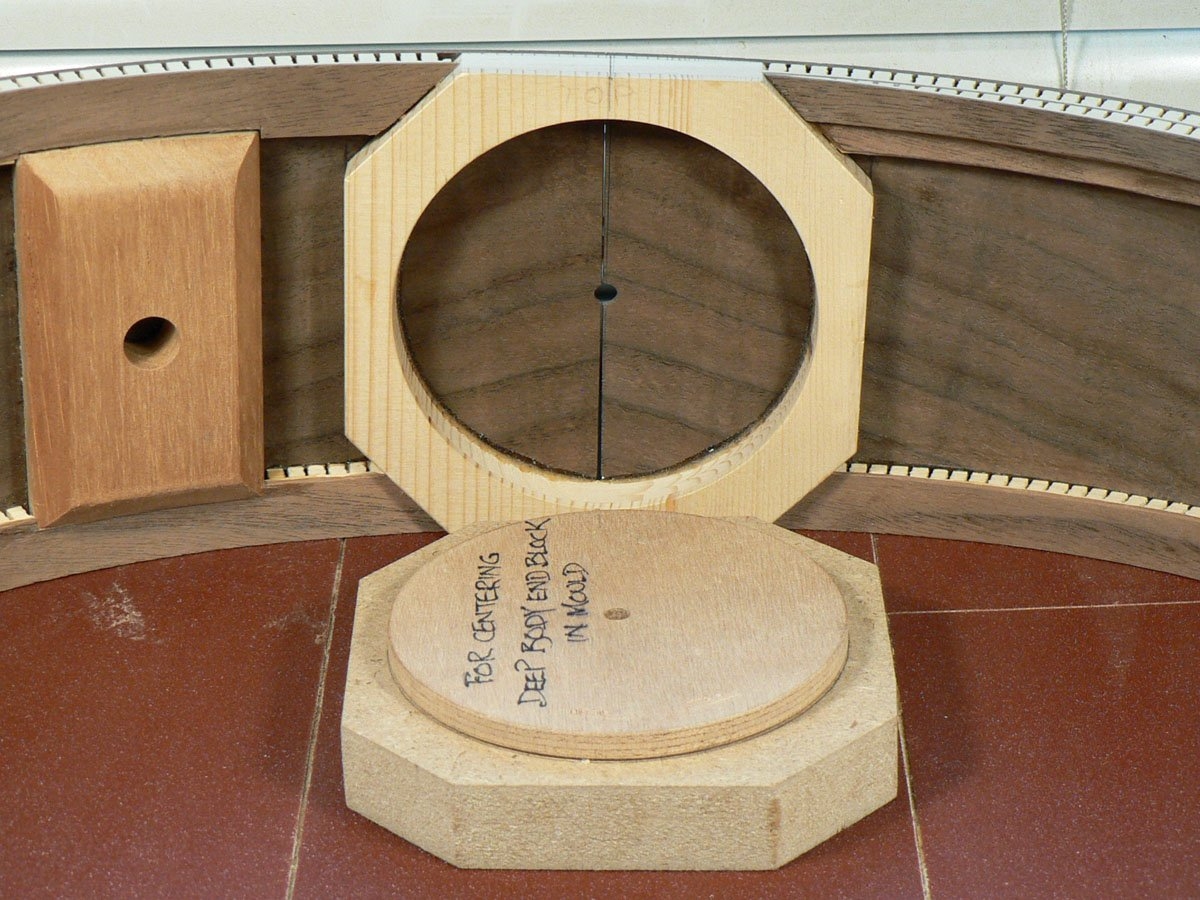
Body 070.JPG


Like so.

Body 071.JPG


The sides are now located on the plywood disc and another MDF disc added.
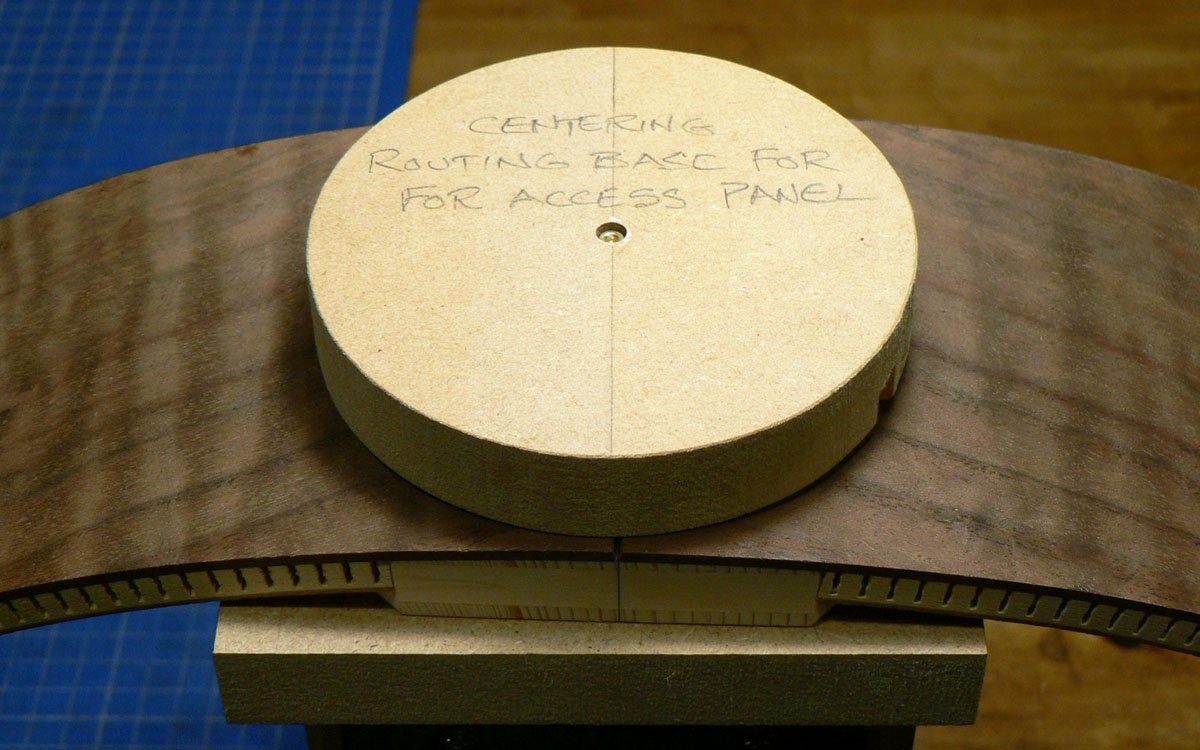
Body 072.JPG


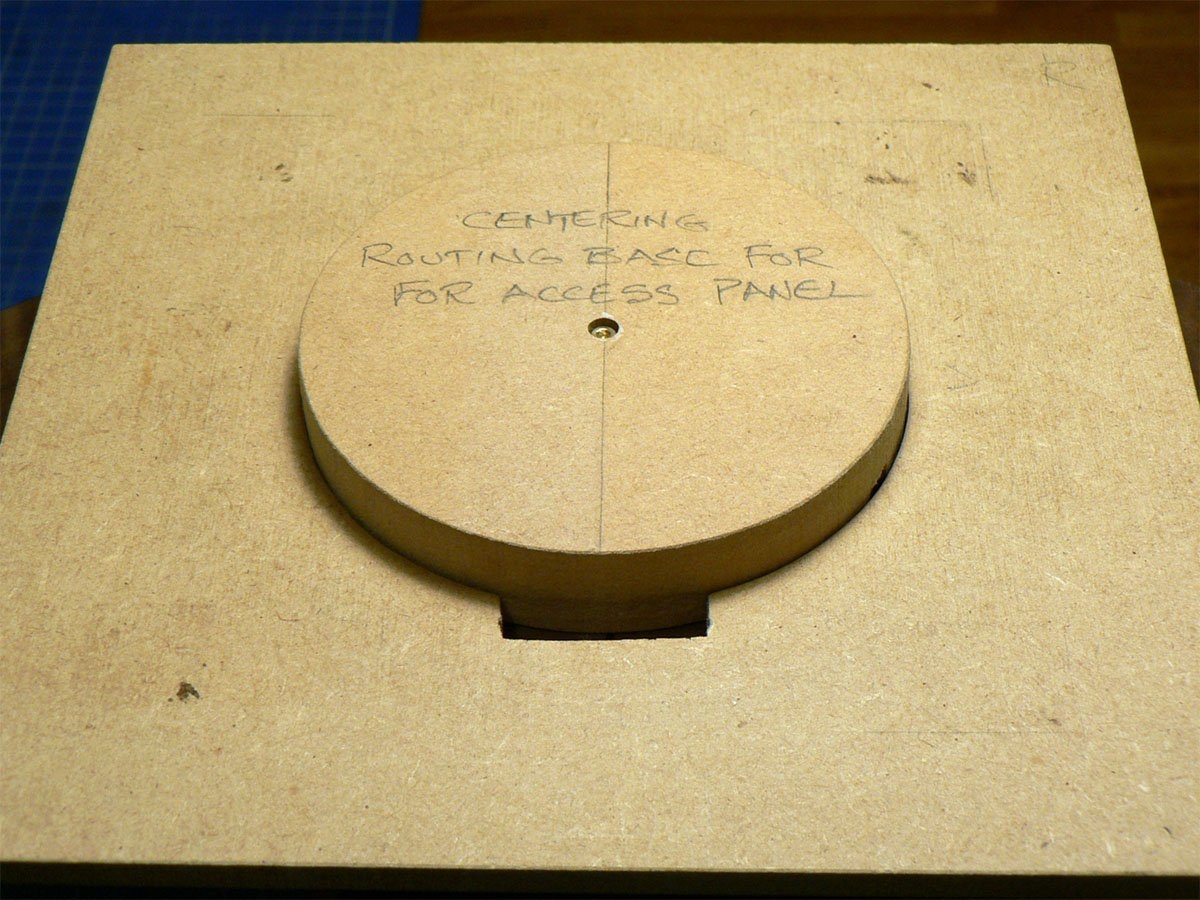
This is the base for the router to sit on when routing the hole for the panel. It will have double sided tape on the two bars to fix it to the sides.
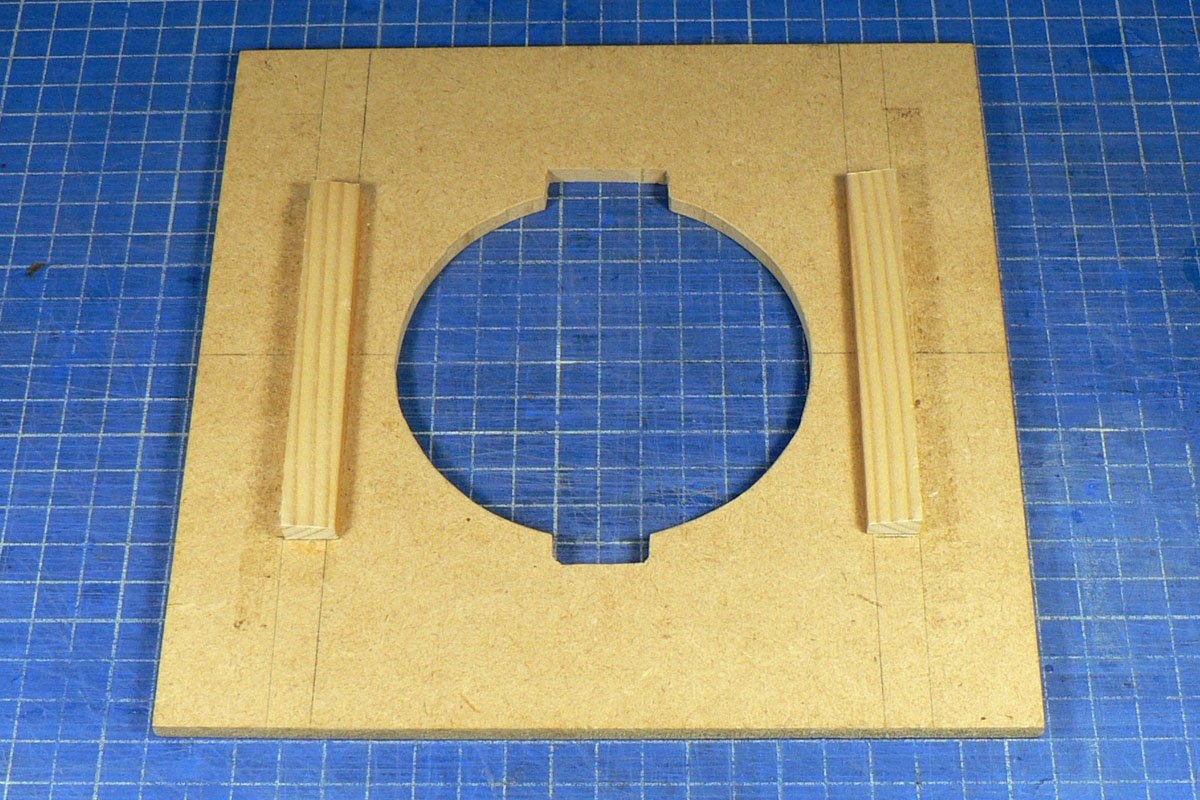
Body 073.JPG


Here it is in place.

Body 074.JPG


The MDF disc is removed (it was only there to position the router base) and I'm ready to route the hole.
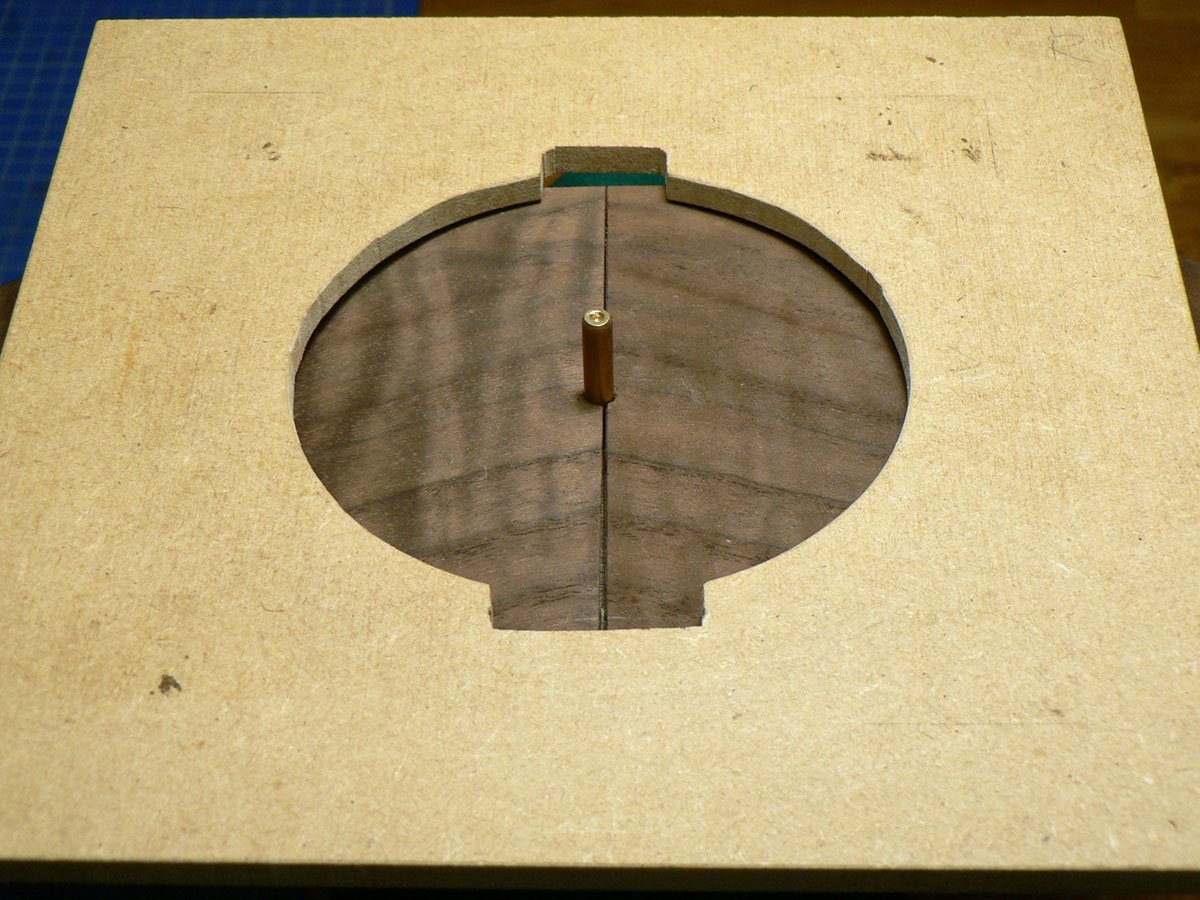
Body 075.JPG
 

Attachments

  • Body 069.JPG
    Body 069.JPG
    332.5 KB · Views: 21
Routing the hole. The home made circle cutting attachment works extremely well. The little thumbwheel is marked in increments of 0.05mm (0.002").

Body 076.JPG


The two pieces of the sides have dropped into the hole in the end block so I'm now effectively routing a counter-bore in the end block from the outside.

Body 077.JPG


When it's deep enough I keep measuring and increasing the diameter until the circular panel just slides in and it looks like this.

Body 078.JPG
 
I can now finally glue the wedge into the panel. As it's a tight fit and the holes have to line up, I line them up with a dowel pin and glue it in by wicking water-thin CA into the joint.

Body 079.JPG


The sides need to be notched to accept the wedge so the panel is held in place and the sides marked using a Stanley knife.

Body 080.JPG


I cut, just inside the marks, with a small Japanese saw (from Lidl, excellent) and chisel out between the saw cuts (but forgot to take the photo) and finish using a sanding stick until the whole panel fits.

Body 081.JPG


Here it is, finally in place. Obviously it's proud of the sides as the sides are curved and the panel is flat. I've also intentionally made it a bit proud of the sides at the centre as I didn't want to risk having to shave the sides flush with the panel.

Body 082.JPG
 
So I countersink the hole in the middle, put a piece of 18mm MDF in the vice and screw the panel and sides down onto it. Then I get the plane blade as sharp as I possibly can and set it to take the finest possible shavings and go to work. That's a lot of shavings for not very much wood but they're very thin. Not paper-thin, they're thinner than that. Just about transparent.

Body 083.JPG


It hasn't been sanded yet. It will be, together with the sides, later on. This is just as the plane left it.

Body 084.JPG
 
As I said earlier, I didn't want the panel to be held in place by the jack socket, so I've made provision for the socket to be elsewhere and the panel held in by a traditional-looking wooden strap button with a metal thread. But I like Schaller strap-locks. Years ago I had a bass that detached itself from the strap while I was playing on stage. Several times! Ever since, I've put strap-locks on just about everything I've made. So I'm going to make it possible to put two on this bass. I even like a strap when playing sitting down so making it possible to put them on this instrument seems like a good idea. Which is why I made this bit of wood (cedar off-cut again) for the strap button to screw into.

Body 085.JPG


Here it is notched into the linings and glued in place using epoxy. (There must be more professional word than 'notched', but I can't think what it might be.)

Body 086.JPG
 
The panel is held in place by a bar with a threaded insert in it and a strap button which screws into the bar. The bar is located by two little bridge pieces glued to the end block.

Body 086.JPG


You can see them better here.

Body 086a.JPG


Here are the separate components.

Body 087.JPG


The right-hand end of the bar is positioned first, which allows the left-hand end to be swung into place and the bar slid across to the left. This puts the threaded insert in line with the hole in the panel and the strap button is screwed in.

Body 088.JPG


Seen from the outside. I forgot to mention that I finished the hole for the jack socket in the side. I did it by using the brad point drill I used to drill the hole in the block. I drilled gently from the inside until the point started coming through and then finished by drilling from the outside.

Body 088a.JPG
 
That's just about everything done on the sides for the moment, so I can start on the back and front; starting with the front. Here it is with the two halves joined and sanded to a bit more than finished thickness, then roughly cut out and the bracing pattern marked out. (I didn't think about taking photos while I was doing all that).

Body 089.JPG


Before I start on the bracing and while it's still flat I have to install a rosette. On the left is a piece cut off the off-cut of quilted maple on the right, which I managed to band-saw through its thickness (about 7mm) and then book-match it and sand it to about 2mm thick.

Body 090.JPG


This is a piece of MDF fixed to the bench with double sided tape so it doesn't move around. The rosette square is fixed to the MDF with small pieces of tape in the area of the rosette and in the four corners. I don't want it to be able to move when the router cutter breaks through.

Body 091.JPG


Here it is cut out and still stuck to the MDF.

Body 092.JPG
 
The channel routed in the spruce front for the rosette is a little shallower than the thickness of the maple. It doesn't need to be a perfect fit as a groove will be routed round it for purfling.

Body 093.JPG


Glued in using Titebond and a little weight on top to keep everything nice and flat.

Body 094.JPG


The groove for the purfling being routed. I have to do this with the Dremel, as the 1/16" cutter is too small for the Bosch router. It's adjusted so that it just takes a skim off the inner and outer edges of the maple.

Body 095.JPG


Two pieces of thin black/white purfling and one piece of pear veneer just fit nicely into the groove. Here they are being bent into a circle.

Body 096.JPG


Before they are fitted, the groove gets a coat of shellac. The purfling is glued in by wicking in thin CA and the shellac stops the CA from soaking into spruce and staining it. I'm afraid I didn't take any photos of that. So here it is, glued in and scraped and sanded flush.

Body 097.JPG
 
Now I can turn it over and start on the bracing. The bracing pattern is one I've used on a couple of acoustic guitars and, as this is the same size body,it's the same bracing. It will probably even be over-braced as I think the four nylon-cored bass strings will be lower tension than six steel guitar strings. As a matter of interest it's basically the same as the bracing in the Paul Reed Smith acoustics. Steve Fischer, the luthier who developed the acoustics for PRS was very generous with advice and information when I asked for help.

The X-braces are 8mm thick with a lap joint (I think) so I made a pair of cauls at the angle I needed and milled a slot through them both using an 8mm cutter.

Body 098.JPG


Then clamped them together with a couple of the smaller braces, scribbled all over them, and sanded them to a 25ft radius. There's quite a bit of scribble left so they need a bit more sanding.

Body 099.JPG


Then they're glued to the top. The little blocks are to make sure that the top is firmly pushed down into the 25ft radius. It might not be necessary, but it can't do any harm.

Body 100.JPG