
Enjoy the benefits of a premium membership!
Upgrade Account
-
TalkBass has been independent since 1998. Add your voice.
Create a free account to reply to discussions, view embedded media, and browse with fewer display ads.
Join free Log in
Want zero display ads or expanded classifieds tools? Compare plans.
You are using an out of date browser. It may not display this or other websites correctly.
You should upgrade or use an alternative browser.
You should upgrade or use an alternative browser.
Acoustic Electric Bass
- Thread starter mapleglo
- Start date
More options
Who Replied?

My vote is to give into your OCD and fix them. Its easy enough with some auto body spot putty, which I wouldn't recommend on wood, but is perfect for fiber glass. I would give the whole shell a thin coat of filler and block it out with 120 grit followed by 220, then coat it with your black.
I'm a little concerned about weight, and there are some pretty large areas that need smoothing. I'm thinking that I'll assemble it, and see if it's worth putting the time, effort, and additional funds into making it pretty.
Or you could just go the "distressed" look route on the rest of the bass as well. Could look pretty cool.
Well, at least the shell is pretty distressed


Hopkins
Commercial User
Well, I'm going to go with my current plan. I'll let the shell paint fully cure - another 24 hours - and sand the top a little, then reassemble it fully. At that point, I'll live with it for a little while to see if it's worth putting any more time into it. Filling and sand the shell smooth, while labor intensive, won't cost too much. But working with that resin is not pleasant. The dust is very fine and gets everywhere, so I have to wear a dust mask and gloves. And looking at the transition from top to shell didn't come out as smooth as I had hoped, so I might want to do something with that too, if I'm moving forward with putting more time into finishing.
I did enjoy having the bass while in the previous shell, despite the weight. It was nice to be able to pick it up and play along with my iTunes library in the bedroom without any amp. And I really like that neck. For the money, and the little time spent dressing the frets, it was quite the bargain. I'll have to order a few more of those if there are any left in stock.
I also have to do something about the pickup cover - either use the previous one, or make a new one, perhaps out of maple for a better match.
As always, progress pictures to come.
I did enjoy having the bass while in the previous shell, despite the weight. It was nice to be able to pick it up and play along with my iTunes library in the bedroom without any amp. And I really like that neck. For the money, and the little time spent dressing the frets, it was quite the bargain. I'll have to order a few more of those if there are any left in stock.
I also have to do something about the pickup cover - either use the previous one, or make a new one, perhaps out of maple for a better match.
As always, progress pictures to come.

I did some light sanding on the top, and bolted on the neck for a final test. That took about an hour.
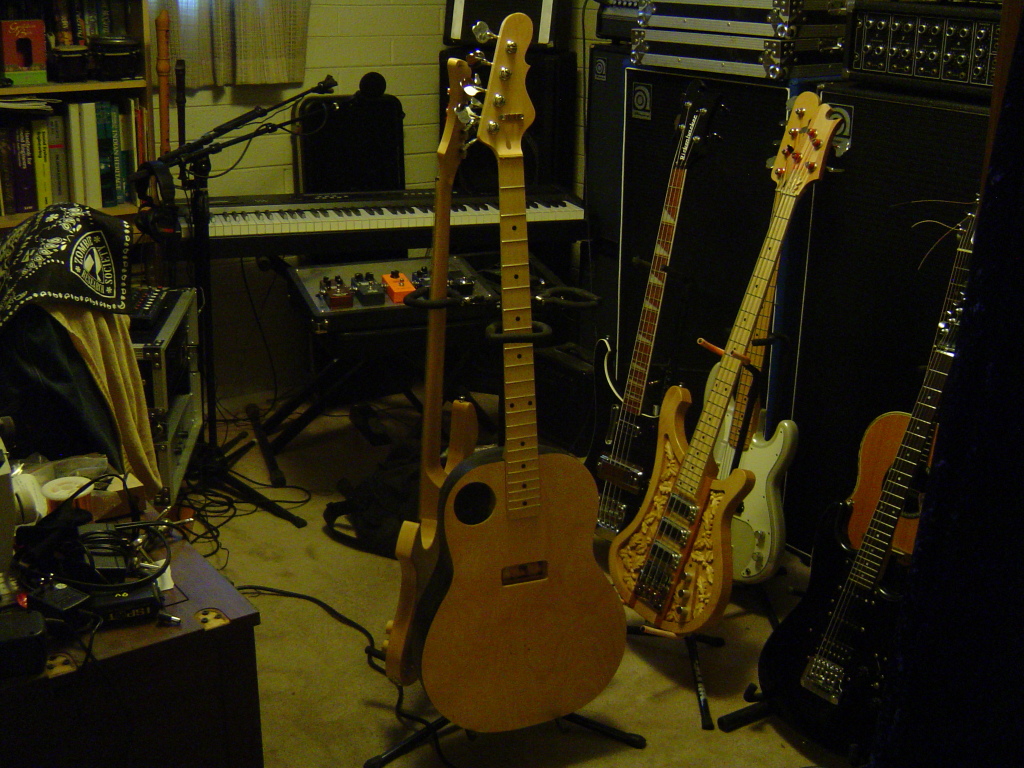
What idiot came up with the idea that I could bolt the neck on through the sound hole?
Oh yeah, that was me
Ouch.

It's a weird position, and the ratchet won't fit on the top most bolts, so I had to use a small wrench.
What idiot came up with the idea that I could bolt the neck on through the sound hole?
Oh yeah, that was me
Ouch.
It's a weird position, and the ratchet won't fit on the top most bolts, so I had to use a small wrench.
I just ordered a set of nut files from Philadelphia Luthier Tools and Supply off of eBay.
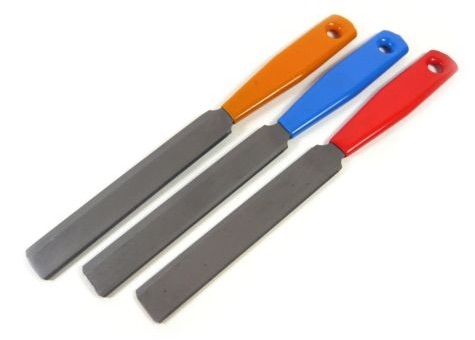
I'm going to need these to finish setting up the nut. They seemed about the same as the ones from StewMac, but less expensive.
I'm going to need these to finish setting up the nut. They seemed about the same as the ones from StewMac, but less expensive.

I did some light sanding on the top, and bolted on the neck for a final test. That took about an hour.
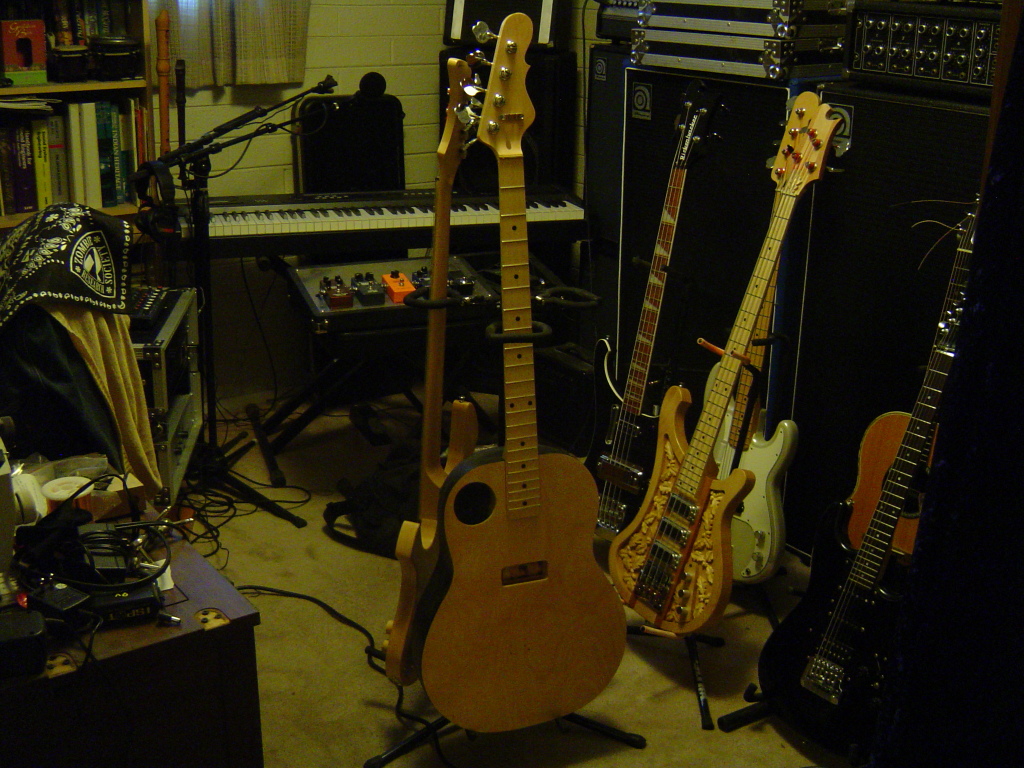
What idiot came up with the idea that I could bolt the neck on through the sound hole?
Oh yeah, that was me
Ouch.

It's a weird position, and the ratchet won't fit on the top most bolts, so I had to use a small wrench.
That sure is dedication.
So I spent some time this morning making a new pickup cover.
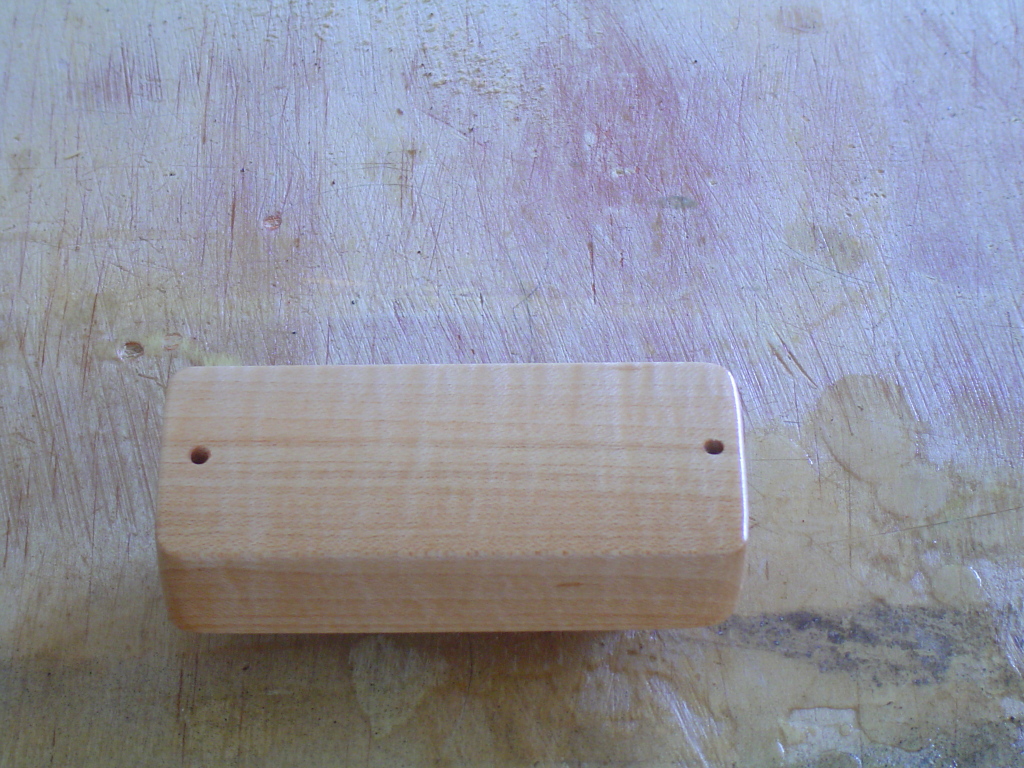
You know, it's always the easier parts that seem to take the longest. I must have spent 3 hours making this. I suppose a good part of that time was pulling the table saw out of the shed, setting that up, setting up the drum sander on the drill press, taking it down when I had to drill the mounting holes, and then putting it back when I was sanding it to size. Once I enclose the car port and convert it into the garage/work shop, I'd imagine these things should go a little more quickly.
In other news, there's a RIC 4003/W for sale in the classified. I almost pulled the trigger on that this morning. It's a really nice one, and at a reasonable price. After thinking about for a while, I realized that it wouldn't be that much different that my Jetglo in sound or function, and the ~1800.00 dollars would go much further for other areas. Maybe a bass synth, or mic, or even a dedicated recording computer. Of course, you know that these will be discontinued soon, and they'll double in price over the next 5 years. Gas, the bane of the bass player's existence...
You know, it's always the easier parts that seem to take the longest. I must have spent 3 hours making this. I suppose a good part of that time was pulling the table saw out of the shed, setting that up, setting up the drum sander on the drill press, taking it down when I had to drill the mounting holes, and then putting it back when I was sanding it to size. Once I enclose the car port and convert it into the garage/work shop, I'd imagine these things should go a little more quickly.
In other news, there's a RIC 4003/W for sale in the classified. I almost pulled the trigger on that this morning. It's a really nice one, and at a reasonable price. After thinking about for a while, I realized that it wouldn't be that much different that my Jetglo in sound or function, and the ~1800.00 dollars would go much further for other areas. Maybe a bass synth, or mic, or even a dedicated recording computer. Of course, you know that these will be discontinued soon, and they'll double in price over the next 5 years. Gas, the bane of the bass player's existence...
And while I'm waiting for that to cure, I soldered up the pickup, jack, and bridge ground wire.
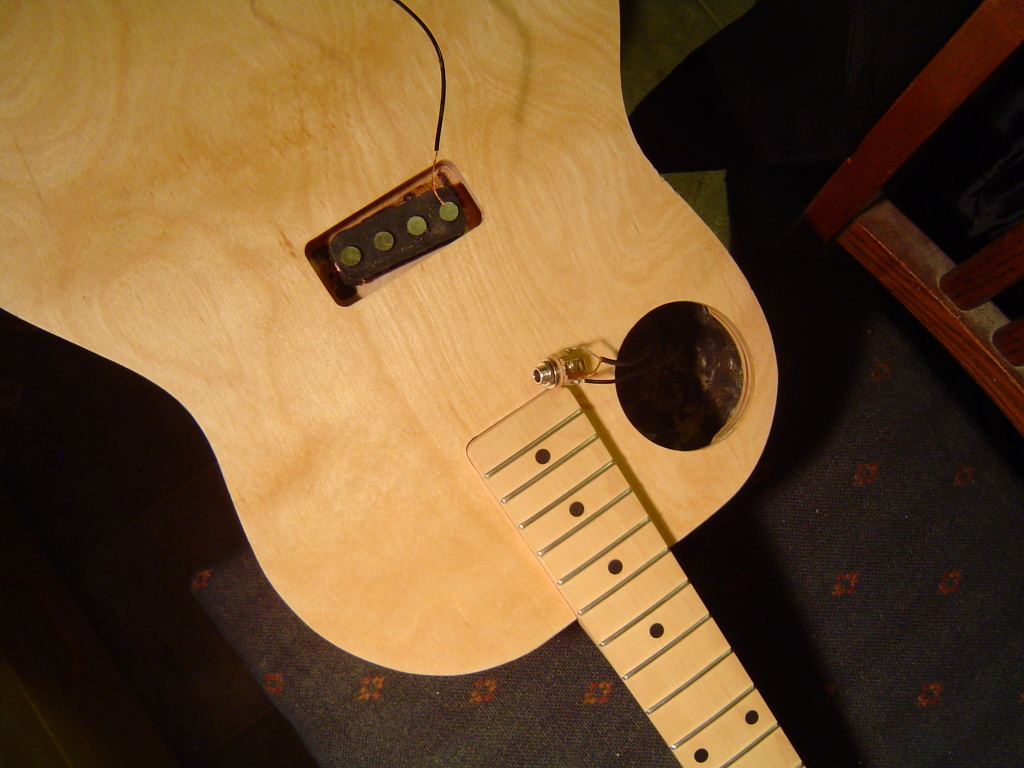
And drilled a hole for the output jack, and mounted it.
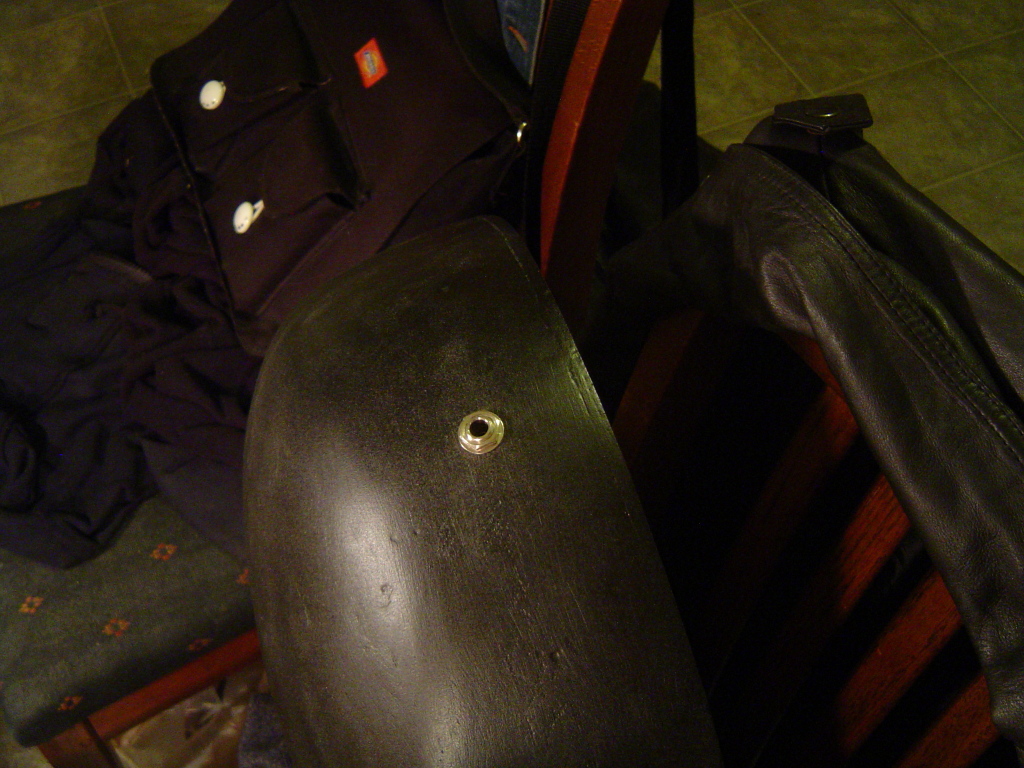
A process more difficult than one might imagine as my arm is too thick to reach that part of the interior through the sound hole.
And drilled a hole for the output jack, and mounted it.
A process more difficult than one might imagine as my arm is too thick to reach that part of the interior through the sound hole.
Looks like I'm going to have to rewind the pickup. One of the 44 gauge winding leads seems to have broken off, and I can't find the end. Of course, it's the end that started the winding, so it's buried under the 8500 windings, and everything is held tightly in place by the wax. I can't think of anything else to do but cut off the existing magnet wire, and just rewind the thing.
That said, it sounds pretty good acoustically. Spent a little time setting it up. I'm still waiting for the nut files I ordered, as that needs to come down a bit, but it plays pretty well. Current weight without the pickup is just about 9 pounds on the bathroom scale, which I think is acceptable.
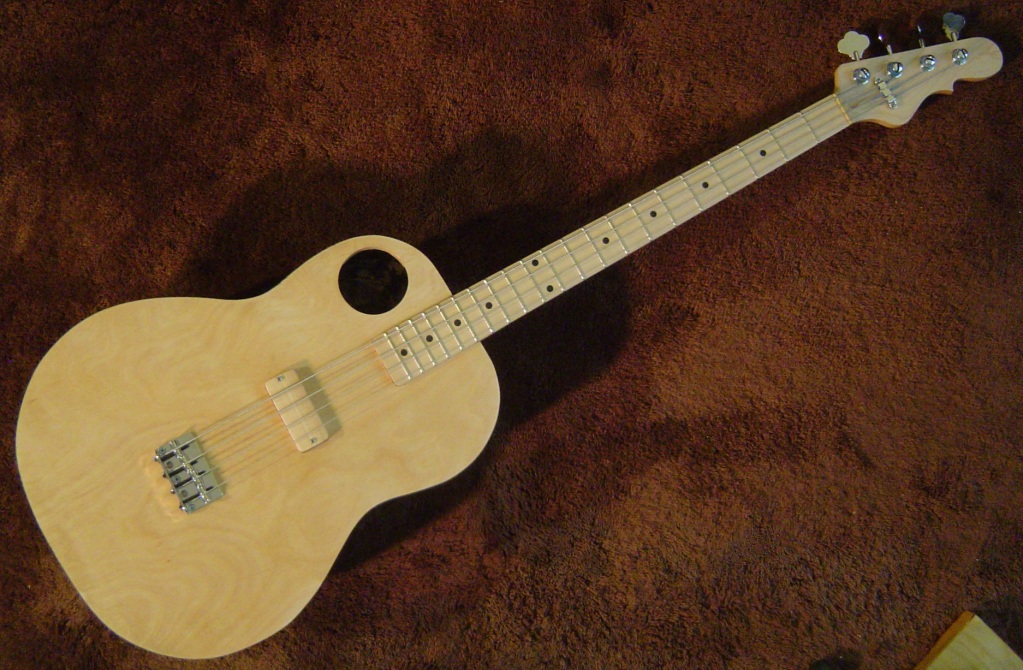
So we went out for a drink earlier and I brought my bass along. The bar was setting things up for that evening's DJ event so I took advantage of the photo op.


That's it folks, you saw it here first!
That said, I'll need to get a set of strap locks.
That's it folks, you saw it here first!
That said, I'll need to get a set of strap locks.

- Jun 30, 2010
- 49,591
- 221,980
- Disclosures
- musician/artist/owner - Gildaxe


For an acoustic style bass, is it not worth having a piezo pick up as well?
Fairly simple circuit to have a blend between both the magnetic and the piezo.
Fairly simple circuit to have a blend between both the magnetic and the piezo.
For an acoustic style bass, is it not worth having a piezo pick up as well?
Fairly simple circuit to have a blend between both the magnetic and the piezo.
I've never used a piezo pickup. Do they not require a preamp of some sort?
I've never used a piezo pickup. Do they not require a preamp of some sort?
Its probably best to describe them as needing extra amplification. So often they have an onboard preamp to bring it up to a similar level as a normal instrument.
However an external preamp works just as well, or if you have the room, turn up you normal amplifier (A lot of people prefer not to do that as its easy to forget you upped your volume for another instrument).
Its probably best to describe them as needing extra amplification. So often they have an onboard preamp to bring it up to a similar level as a normal instrument.
However an external preamp works just as well, or if you have the room, turn up you normal amplifier (A lot of people prefer not to do that as its easy to forget you upped your volume for another instrument).
I'll have to do some research on them. I don't like having to use batteries, but if an outboard preamp will work, that is acceptable for me.


