• TalkBass has been independent since 1998. Add your voice.
    Create a free account to reply to discussions, view embedded media, and browse with fewer display ads.
    Join freeLog in
    Want zero display ads or expanded classifieds tools? Compare plans.

Build number 2: at R-V

Well I think it's about time I start a thread on my current build(s). I am currently attending Roberto-Venn, and it is a blast so far. Right now I am working on two instruments. I am building a short scale acoustic six string piccolo bass with narrow string spacing...but I won't go into that here. :D This thread is for the bass.

Here are the specs:

34" scale
4 string
jazz style neck - hard rock maple
jazz pups (bartolini? I haven't decided)
Alder body w/ flamed walnut top
Ebony fingerboard - 24 frets
destined owner... myself! :hyper:

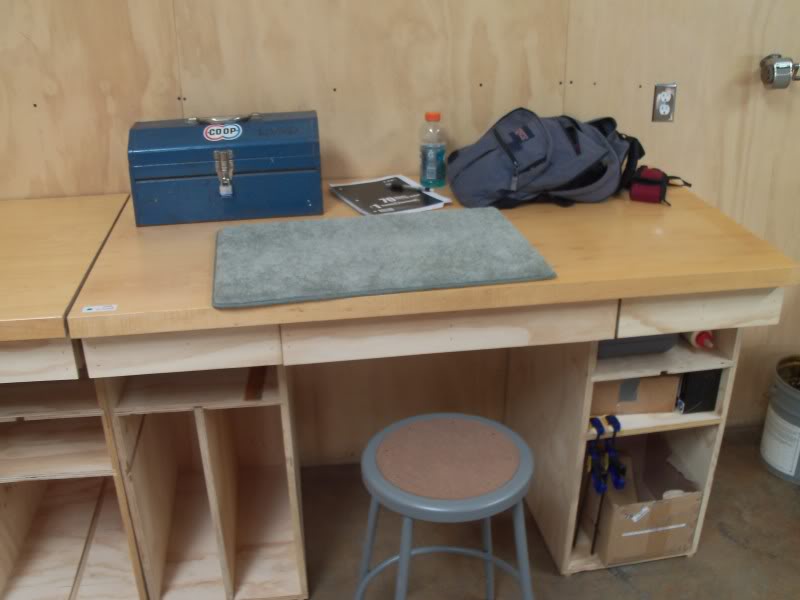
Here is my tidy workbench at R-V. It is spacious compared to the garage I built my brother's guitar in...
100_6132.jpg


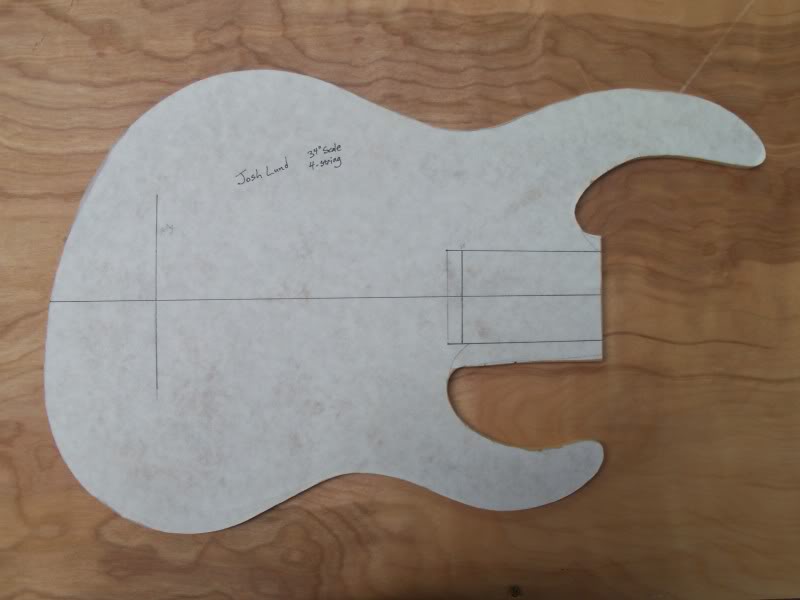
Body template
100_6152.jpg


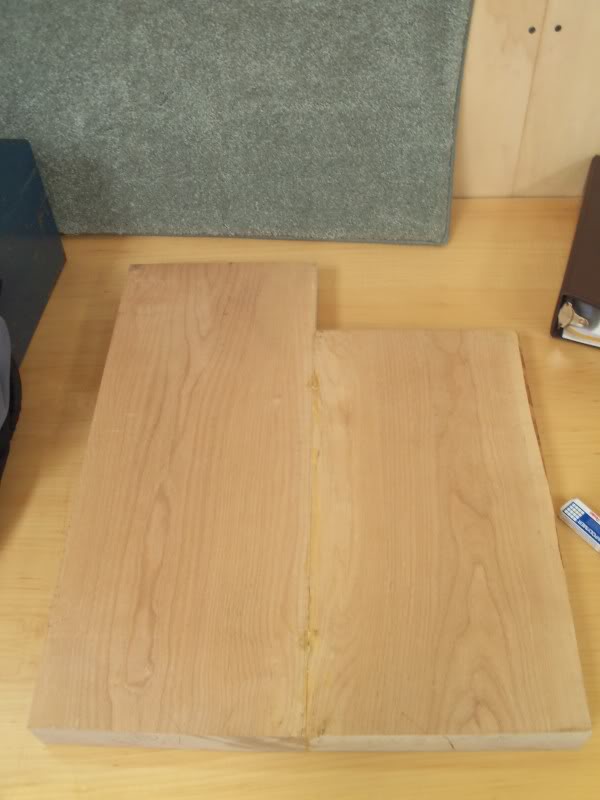
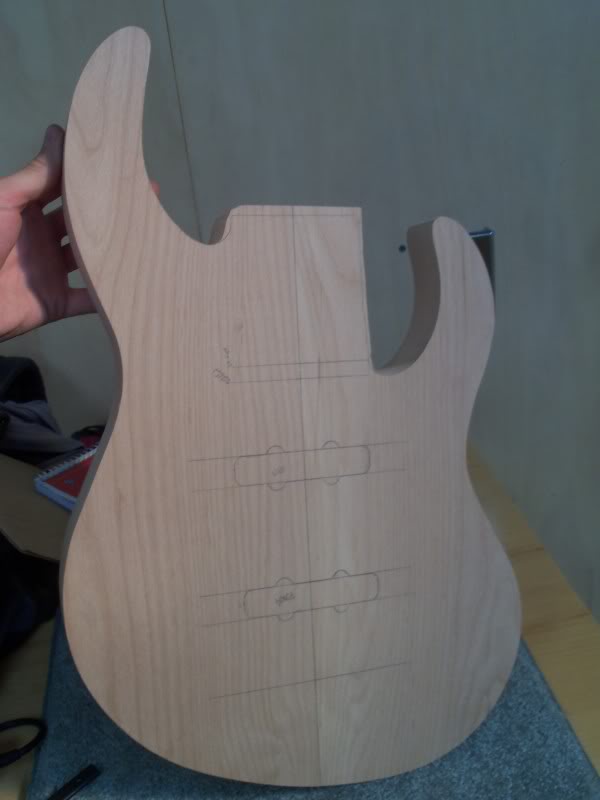
Alder body blank
100_6169.jpg


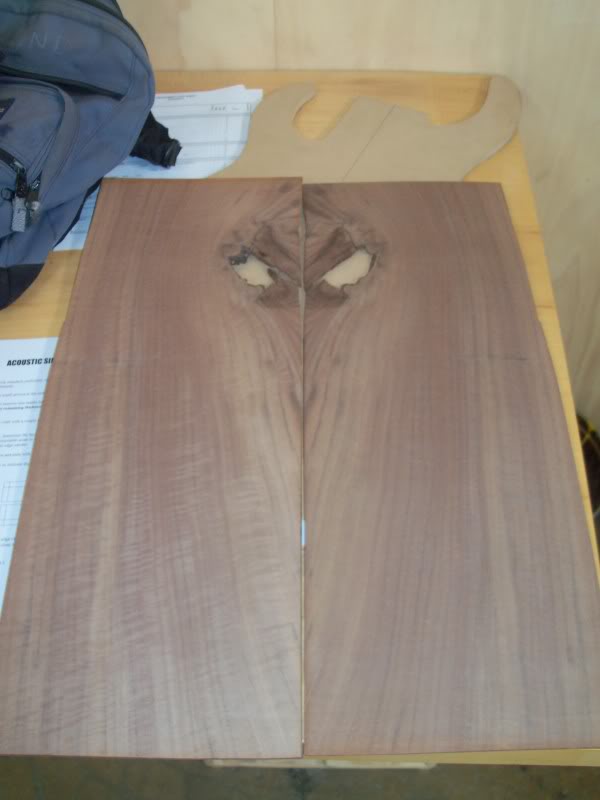
Nice flamed walnut top
100_6174.jpg


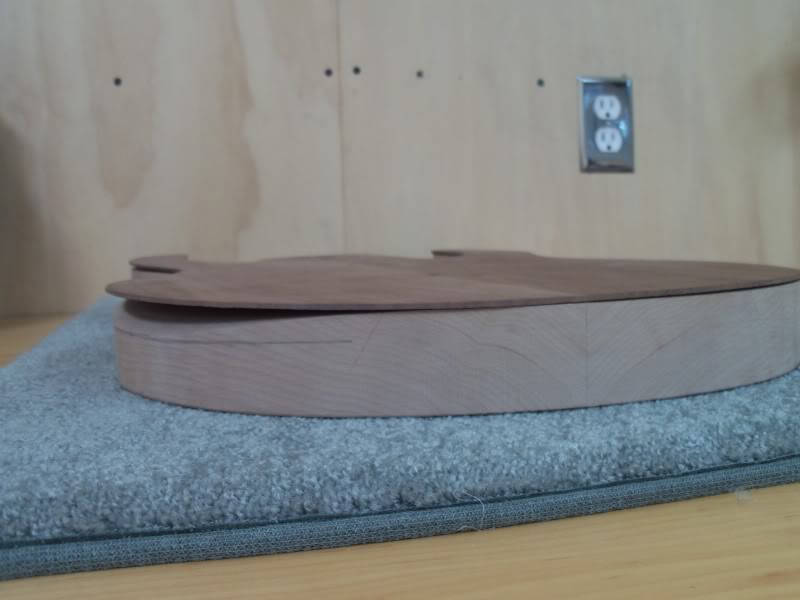
Body cut out on band saw and cleaned up with disc sander and spindle sanders
100_6190.jpg


Forearm comfort carve formed on the edge sander
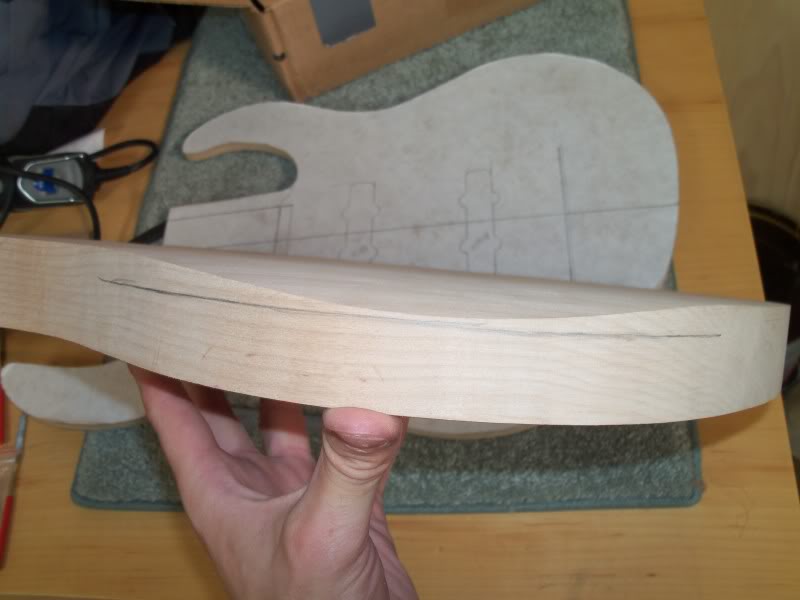
100_6191.jpg


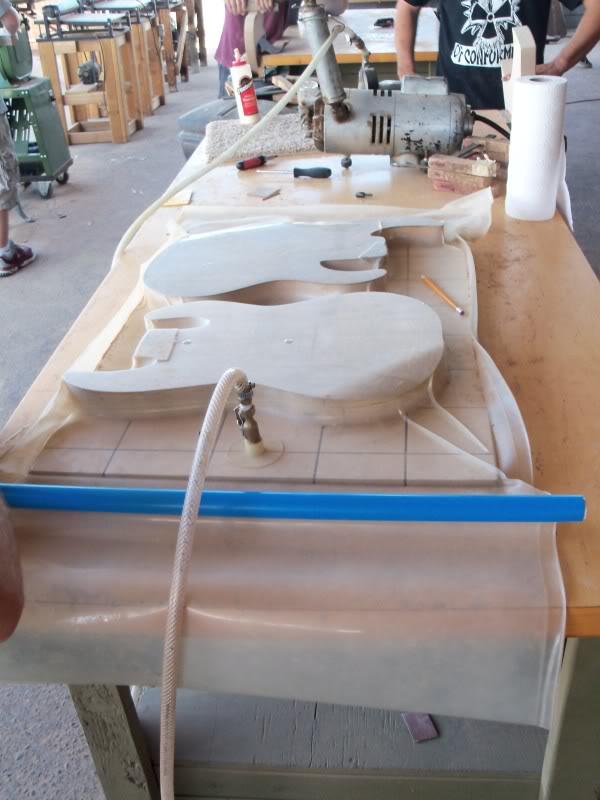
Getting the top ready for gluing...
100_6195.jpg


Top glued using a vacuum!
100_6204.jpg


Body all glued up - it turned out really well
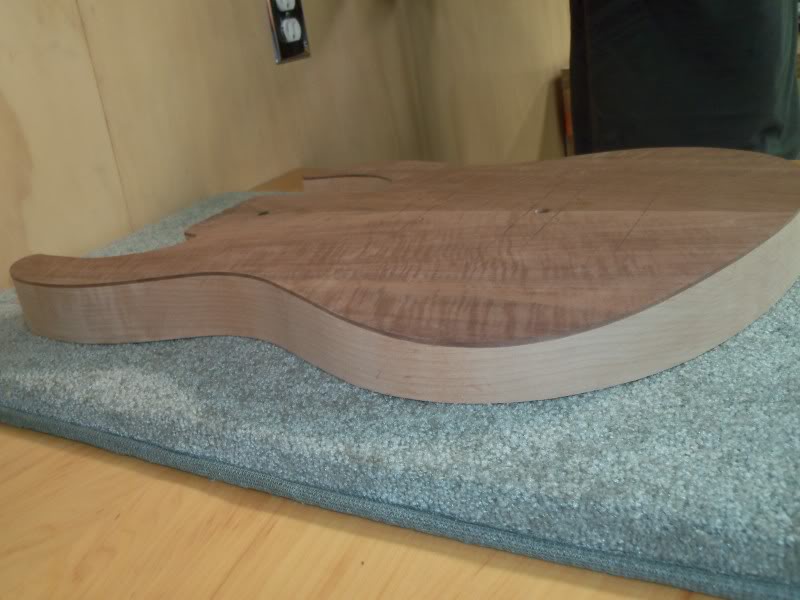
100_6212.jpg
 
Getting ready to cut fret slots on a gnarly table saw jig - much handier than a hand saw...
100_6214.jpg


Scarf joint cut and glued. I'm kind of bummed they won't let us use neck laminates or any flamed maple...but I guess they have had a lot of experience with people ruining necks during the carving process.
100_6228.jpg


Head cap created from scrap walnut
100_6238.jpg


One of the students made awesome stickers for everybody, so I decked out my toolbox.
100_6226.jpg


Truss rod slot routed and fretboard registered to the neck using 1/16" brass rod. (Pay no attention to the acoustic g****r neck).
100_6288.jpg


Made myself a neck rest during my free time. Took about half an hour.
100_6314.jpg


Walnut head cap getting glued on
100_6309.jpg
 
I had some pretty extensive plans for the fretboard inlays on both instruments...but they kind of got shut down. The instructors just want us to make well executed instruments, not necessarily the most flashy. So I redesigned the fretboard inlays for the bass. Instead of having a large phoenix that spanned several frets, I went with some classy fret markers using a design inspired by my initials.

100_6331.jpg


12th Fret marker. "JL"
100_6334.jpg


24th Fret marker - a little bit different expressions just for fun.
100_6335.jpg


I received the inlay material so I am getting really pumped about this. Black pearl and abalone
100_6341.jpg


Managed to squeeze all the inlays out of about a quarter ounce of abalone - good news for my wallet!
100_6346.jpg


Headstock design with logo - I went for a little bet more embellished look by adding the circle. Ring of white pearl, ebony center, abalone letters.
100_6348.jpg


That's all for now. More updates soon!
 
Looks like one of Basscycles shapes. Cant wait to see how the inlay comes out!

It is a pretty standard shape - somewhat Michael Tobias Growler-esque. However, the shape was free-drawn so it is unlikely that is an exact copy of anything. I am looking forward to seeing how it feels and making modifications on the design for future builds.

Love the JL / s-curve blend for the 12 and 24. That should be your main logo.

Glad you like the 12th and 24th ideas. It's kind of funny because I spent so many hours working on all the other inlay ideas, and this one sort of fell together. I don't know if I want to scrap my original logo just yet, though. These fret markers are just a way for me to uh... claim my territory? :rolleyes:
 
It's been a while since I've updated, but there has been a ton of progress. Firstly, I completed the fretboard inlays and headstock logo (not without some difficulties). Admittedly, it is frustrating when things don't work out the way I want them to...but I am embracing every repair situation as a learning experience.

All the pieces cut out and filed
100_6403.jpg


Laying them out on the fretboard
100_6409.jpg


Gluing in with two-part epoxy and sawdust
100_6430.jpg


Complete! ...almost
100_6445.jpg


One squiggle misbehaved during the gluing process, so the right side was sanded through. Repair time.
100_6448.jpg


Dremeled out a portion
100_6451.jpg


Without boring you to death...I found a piece of abalone that blended visually, cut and filed (and filed and filed) until it fit just right. Ta-da!
100_6473.jpg


Headstock inlay: ebony circle inlayed first, then MOP ring, then JL in abalone.
100_6474.jpg


There was a tiny bit of slop around the edge of the MOP ring that was unintentionally filled with ebony dust, so I came up with the bright idea of trying to repair it. I thought I could carefully chisel out the black spots, fill it with walnut dust and wick superglue over the top to create an invisible seam. Well...guess what color superglue and walnut makes.
100_6516.jpg


Black! Bleh... I should have tested my brilliant idea on a piece of scrap. So before going any further, that is exactly what I did. In a spare piece of walnut, I drilled a few holes for testing. I tried walnut and alder dust with superglue and with epoxy. My results showed that superglue + any dust = black; epoxy + any dust = gray. :rollno:

After I made this discovery, I decided to come up with a design that would hide my mistakes a little better. I settled on something like this:
100_6517.jpg


The end result is not perfect, but it looks much better than a messy circle, in my opinion. The "fins" were cut from black pearl, and I used alder dust to fill the gaps (so you can see what I was talking about with the color change). I gave it a wipe with naptha, and I believe the walnut will darken enough to make the fill less distinguished.
100_6524.jpg


This concludes the inlay portion of the update.
 
So as you probably noticed in the previous post, the neck and fretboard are now one unit. First, I registered the fretboard to the neck then rough cut the neck taper with the band saw. Then I installed the truss rod (spiral wrapped in electrical tape - the instructors insist that it won't prevent the rod from functioning, but i am skeptical...) and glued the fretboard on. After the fretboard was glued, I routed the neck shape to the fretboard. This was another skeptical moment for me, because we did it with a router table with with a top bearing 1" diameter flush-cut bit. With the radiused fretboard against the table, there was plenty of wobble in this operation - not to mention plenty of danger. If it was me, I would've waited to radius the fretboard until after it was glued to the neck and they were routed to shape.

Pissing and moaning aside, I've done a lot of work on the body. After cleaning up the neck a little, I carefully lined up the neck on the body and got the pocket routed.

Bass on stilts.
100_6458.jpg


Neck pocket cut; a fairly snug fit.
100_6461.jpg


It looks like a bass!
100_6463.jpg


Showing off the tight fit of the neck pocket and the little squiggly I did on the fretboard end.
100_6470.jpg


1/2" roundover; nice and comfortable
100_6477.jpg


Tummy carve for my enormous belly.
100_6482.jpg


Unfortunately, after I released the body from the vice after carving the tummy cut, the bass swiftly fell to the asphalt. Okay folks... it's that repair time again!

Aaargh....
100_6527.jpg


Josiah, assistant instructor, showing me how to perform magic.
100_6529.jpg


Alakazam!
100_6532.jpg


I also routed the pickup cavities and am starting to do the control cavity. I was toying with the idea of doing recessed knobs, but after some experimentation, I chose not to.

Drawing up ideas.
100_6549.jpg


Two templates created.
100_6551.jpg


Holes for pots drilled. Volume, Blend, Tone, Tone.
100_6554.jpg


For those of you who are interested in the acoustic portion, this picture shows all of the progress I have made in the course up to this point. It's a good feeling seeing everything I have accomplished.
100_6544.jpg


Thumpin_P has been posting in good detail about the acoustic build for those of you who are interested.
 
A word of warning, then, if I may. Passive tone controls interact since there's no active buffering before the signal gets summed in a blend control, so turning one tone down will affect the sound of both.

For reference, look at this wiring from a 60s Fender Jazz with two volumes and two tones:
FenderJVVTT.jpg


The knobs are stacked so it might be a bit tough to see, but if you imagine each stack as a separate volume and tone, you'll see that the Volume and Tone for each pickup act normal - up until the output (the central, wiper lug of the volume pot). The 220k resistor on the wiper tab acts to isolate the tone controls from one another so dialing one pickup's tone down doesn't affect the other.

Edit: This should work as a proper schematic. The pickup signal goes through the tone circuits first (red and blue), blends (to purple) and then you control the volume with the master pot and out the jack (inner ring is tip/signal/hot, outer ring is ring/earth/ground). Naturally, solder all ground connections together.

bass.png