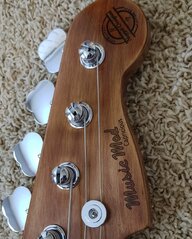
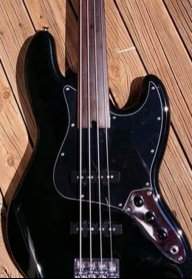
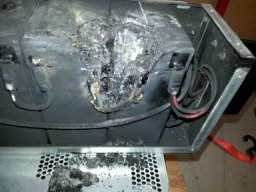
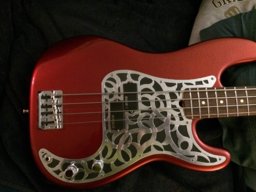
After playing with my Status-esque fretless I decided to dive deeper in the world of Status. I’m shamelessly taking the shapes and lines of Status Streamline and make my version of it.

First I made a plug. I used alder as it’s easy to carve and finish. I brushed two coats of epoxy on the plug. Before taking a mold I sprayed PVA release film over the plug. This pic is after taking the mold and there are loose flakes of PVA film over the plug.
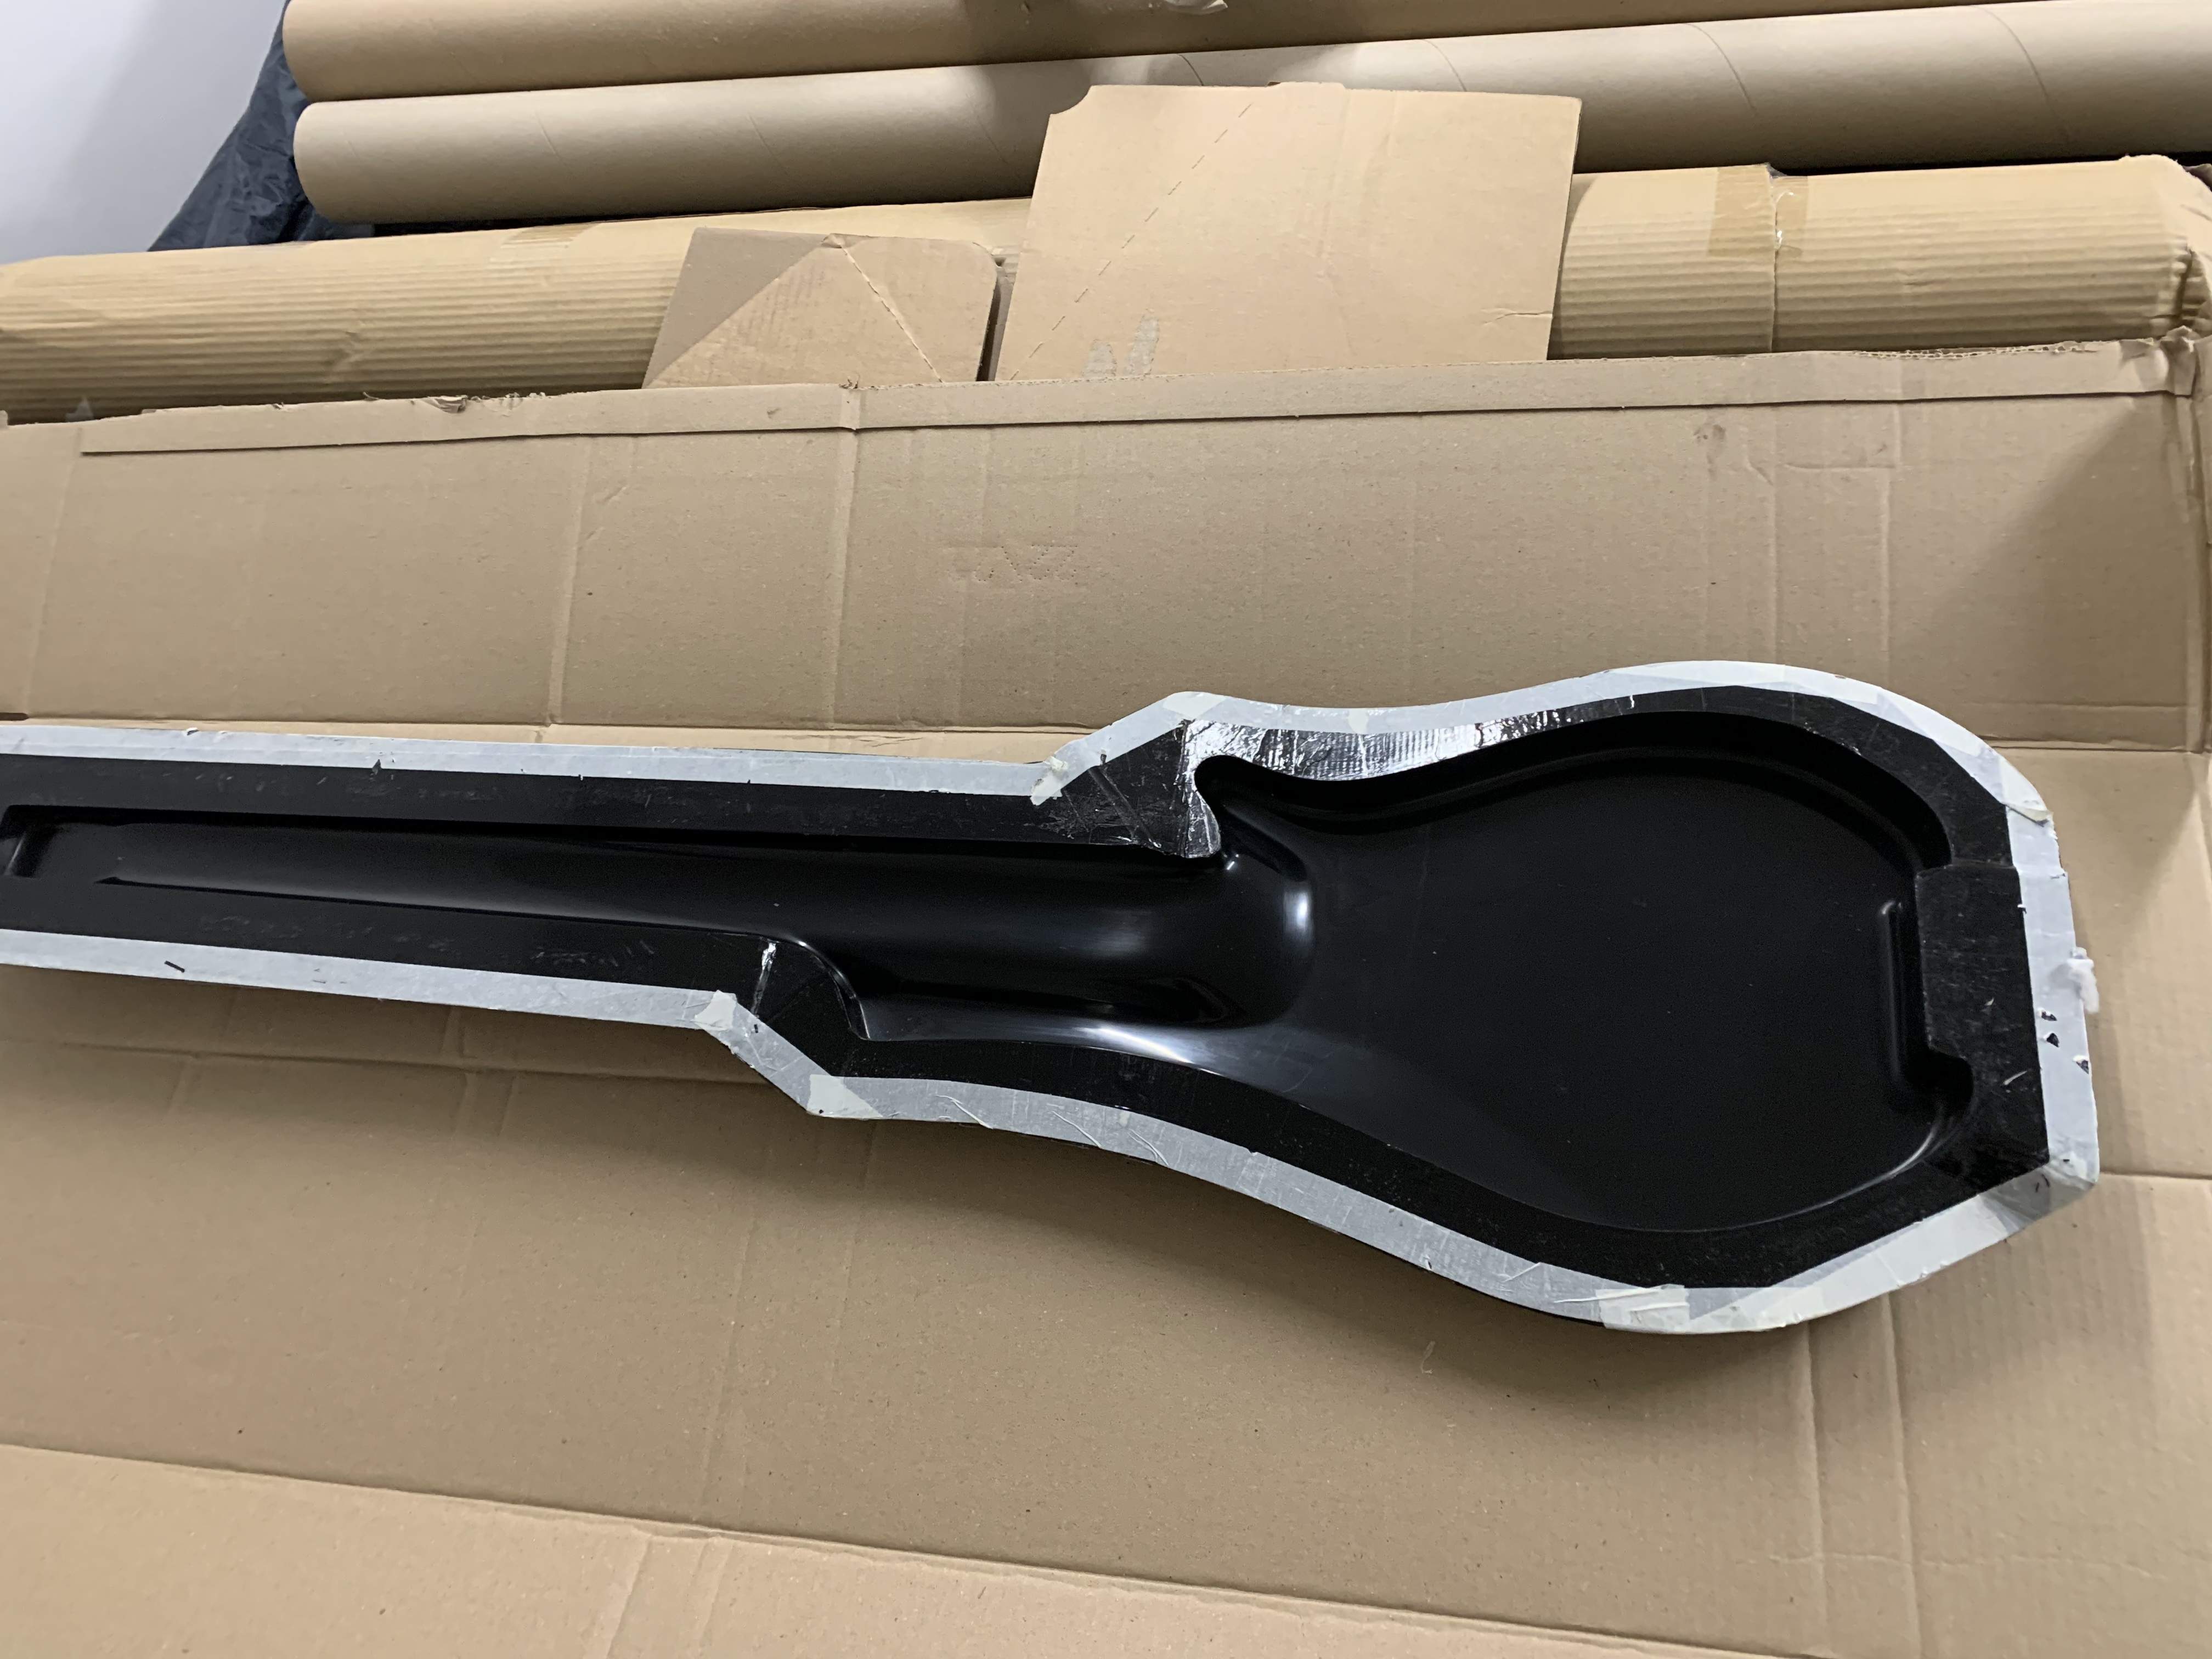
I took two molds. One for the back and one for the top. I used vinyl ester resin because it does work with epoxy and shrinks less than polyester resin. I wet sanded the mold to 2000 grit and polished it.
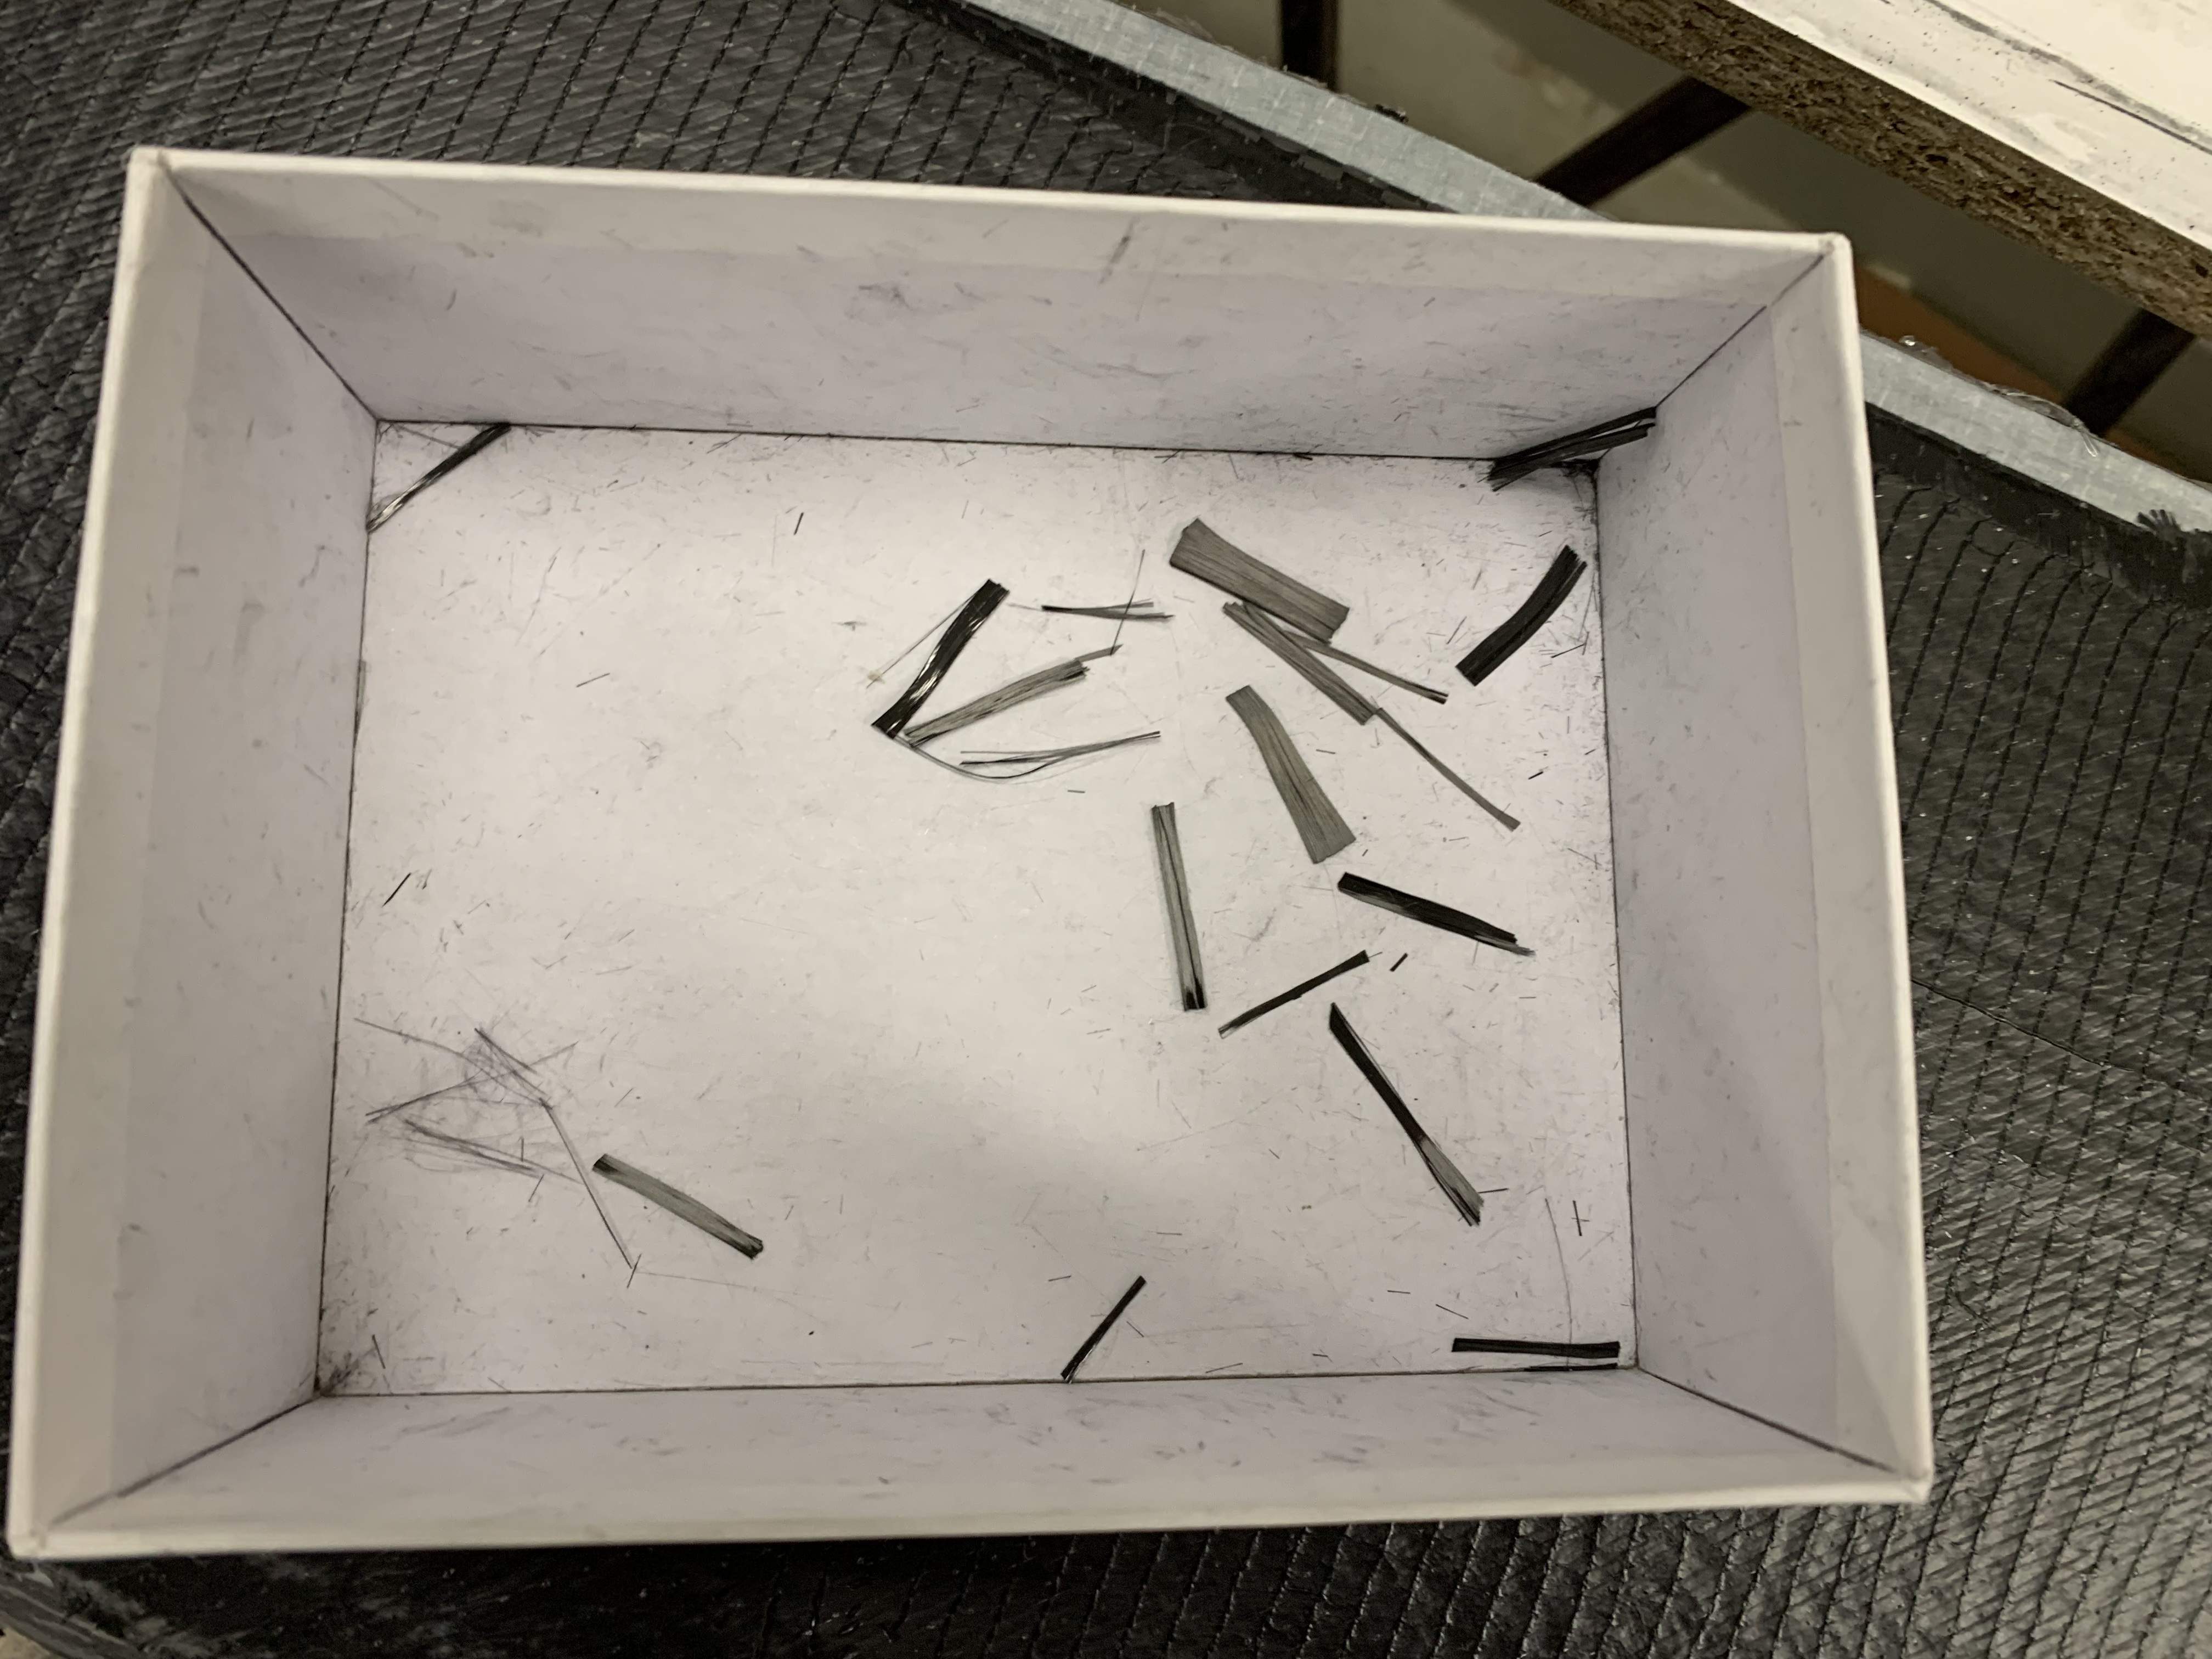
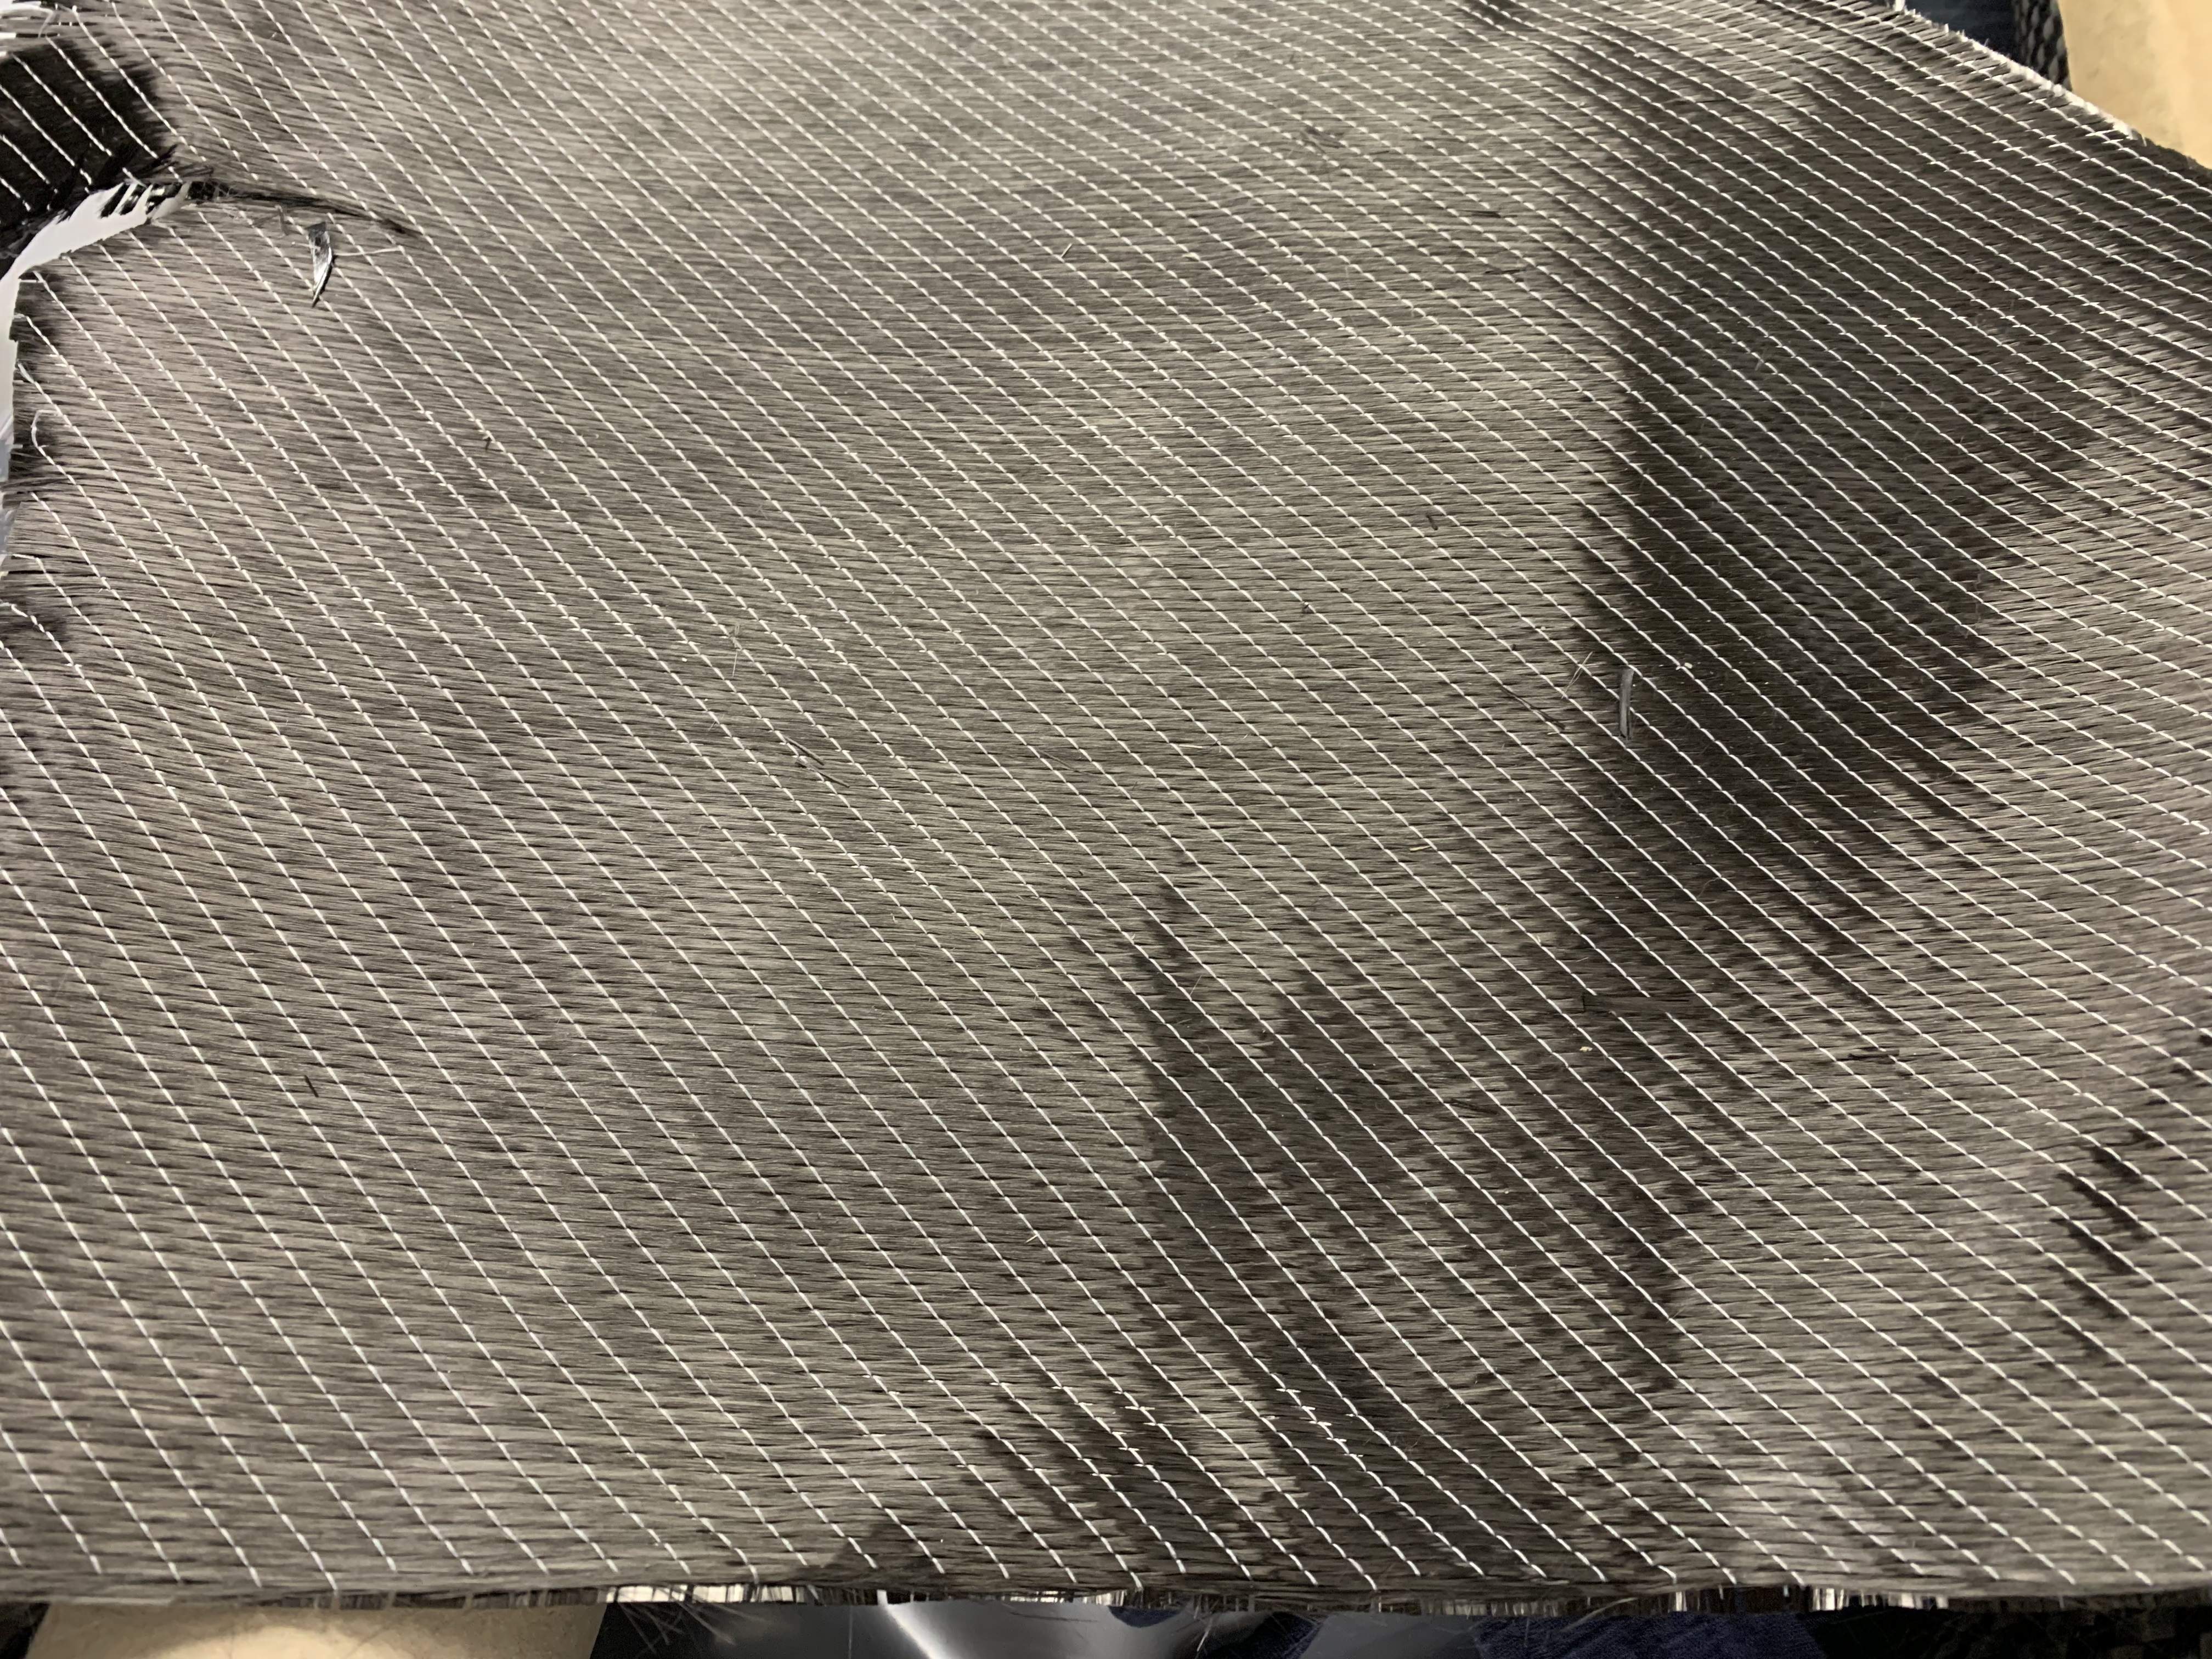
After several coats of mold release wax on the mold it was time for the bass. First coat is clear epoxy-compatible polyerter gelcoat. When that coat had cured I sprayed a light coat of Infutac spray adhesive over the gelcoat. Then I laid the chopped carbon tow over the tacky layer. Here’s what’s left but you can see the size of the cf tow used. I used a full box of this chopped tow. I got a blister on my finger when cutting the tow with scissors.
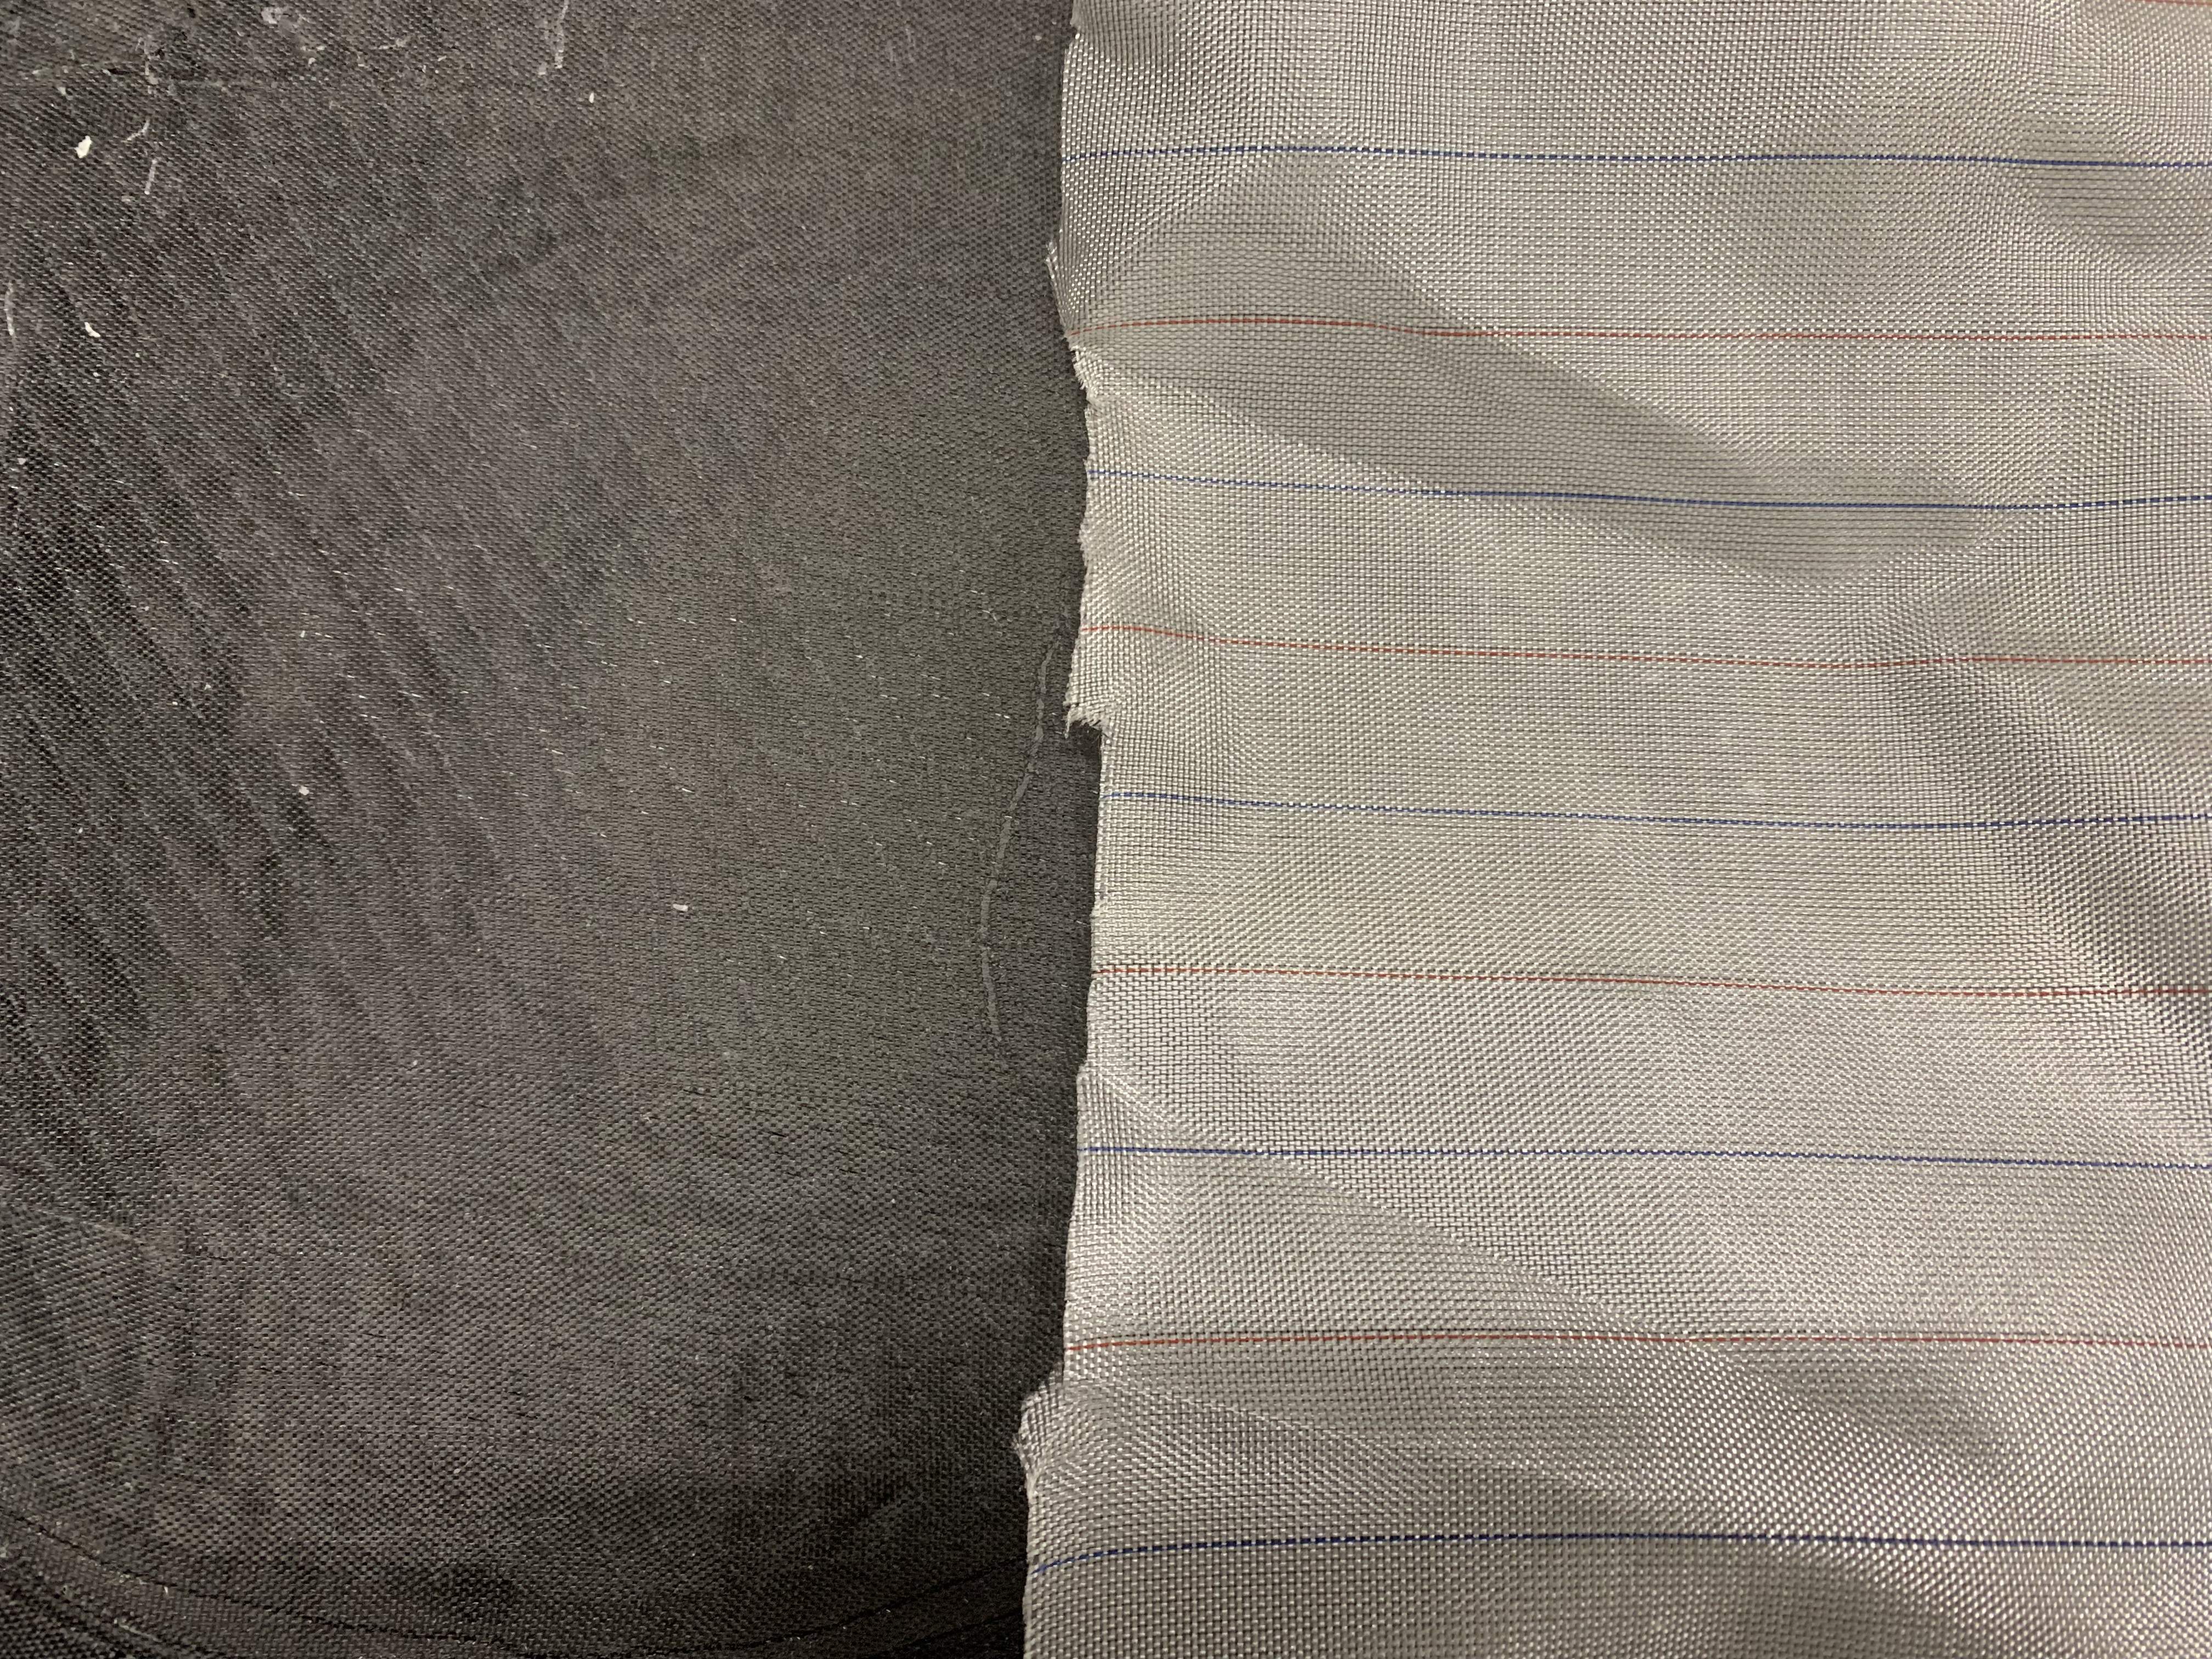
The last layer after layers of biaxial carbon fiber saturated with epoxy is peel ply. There’s two reasons for peel ply. It makes the surface of the laminate ready for gluing parts without sanding and keeps bleed cloth and vacuum bag from sticking to laminate.
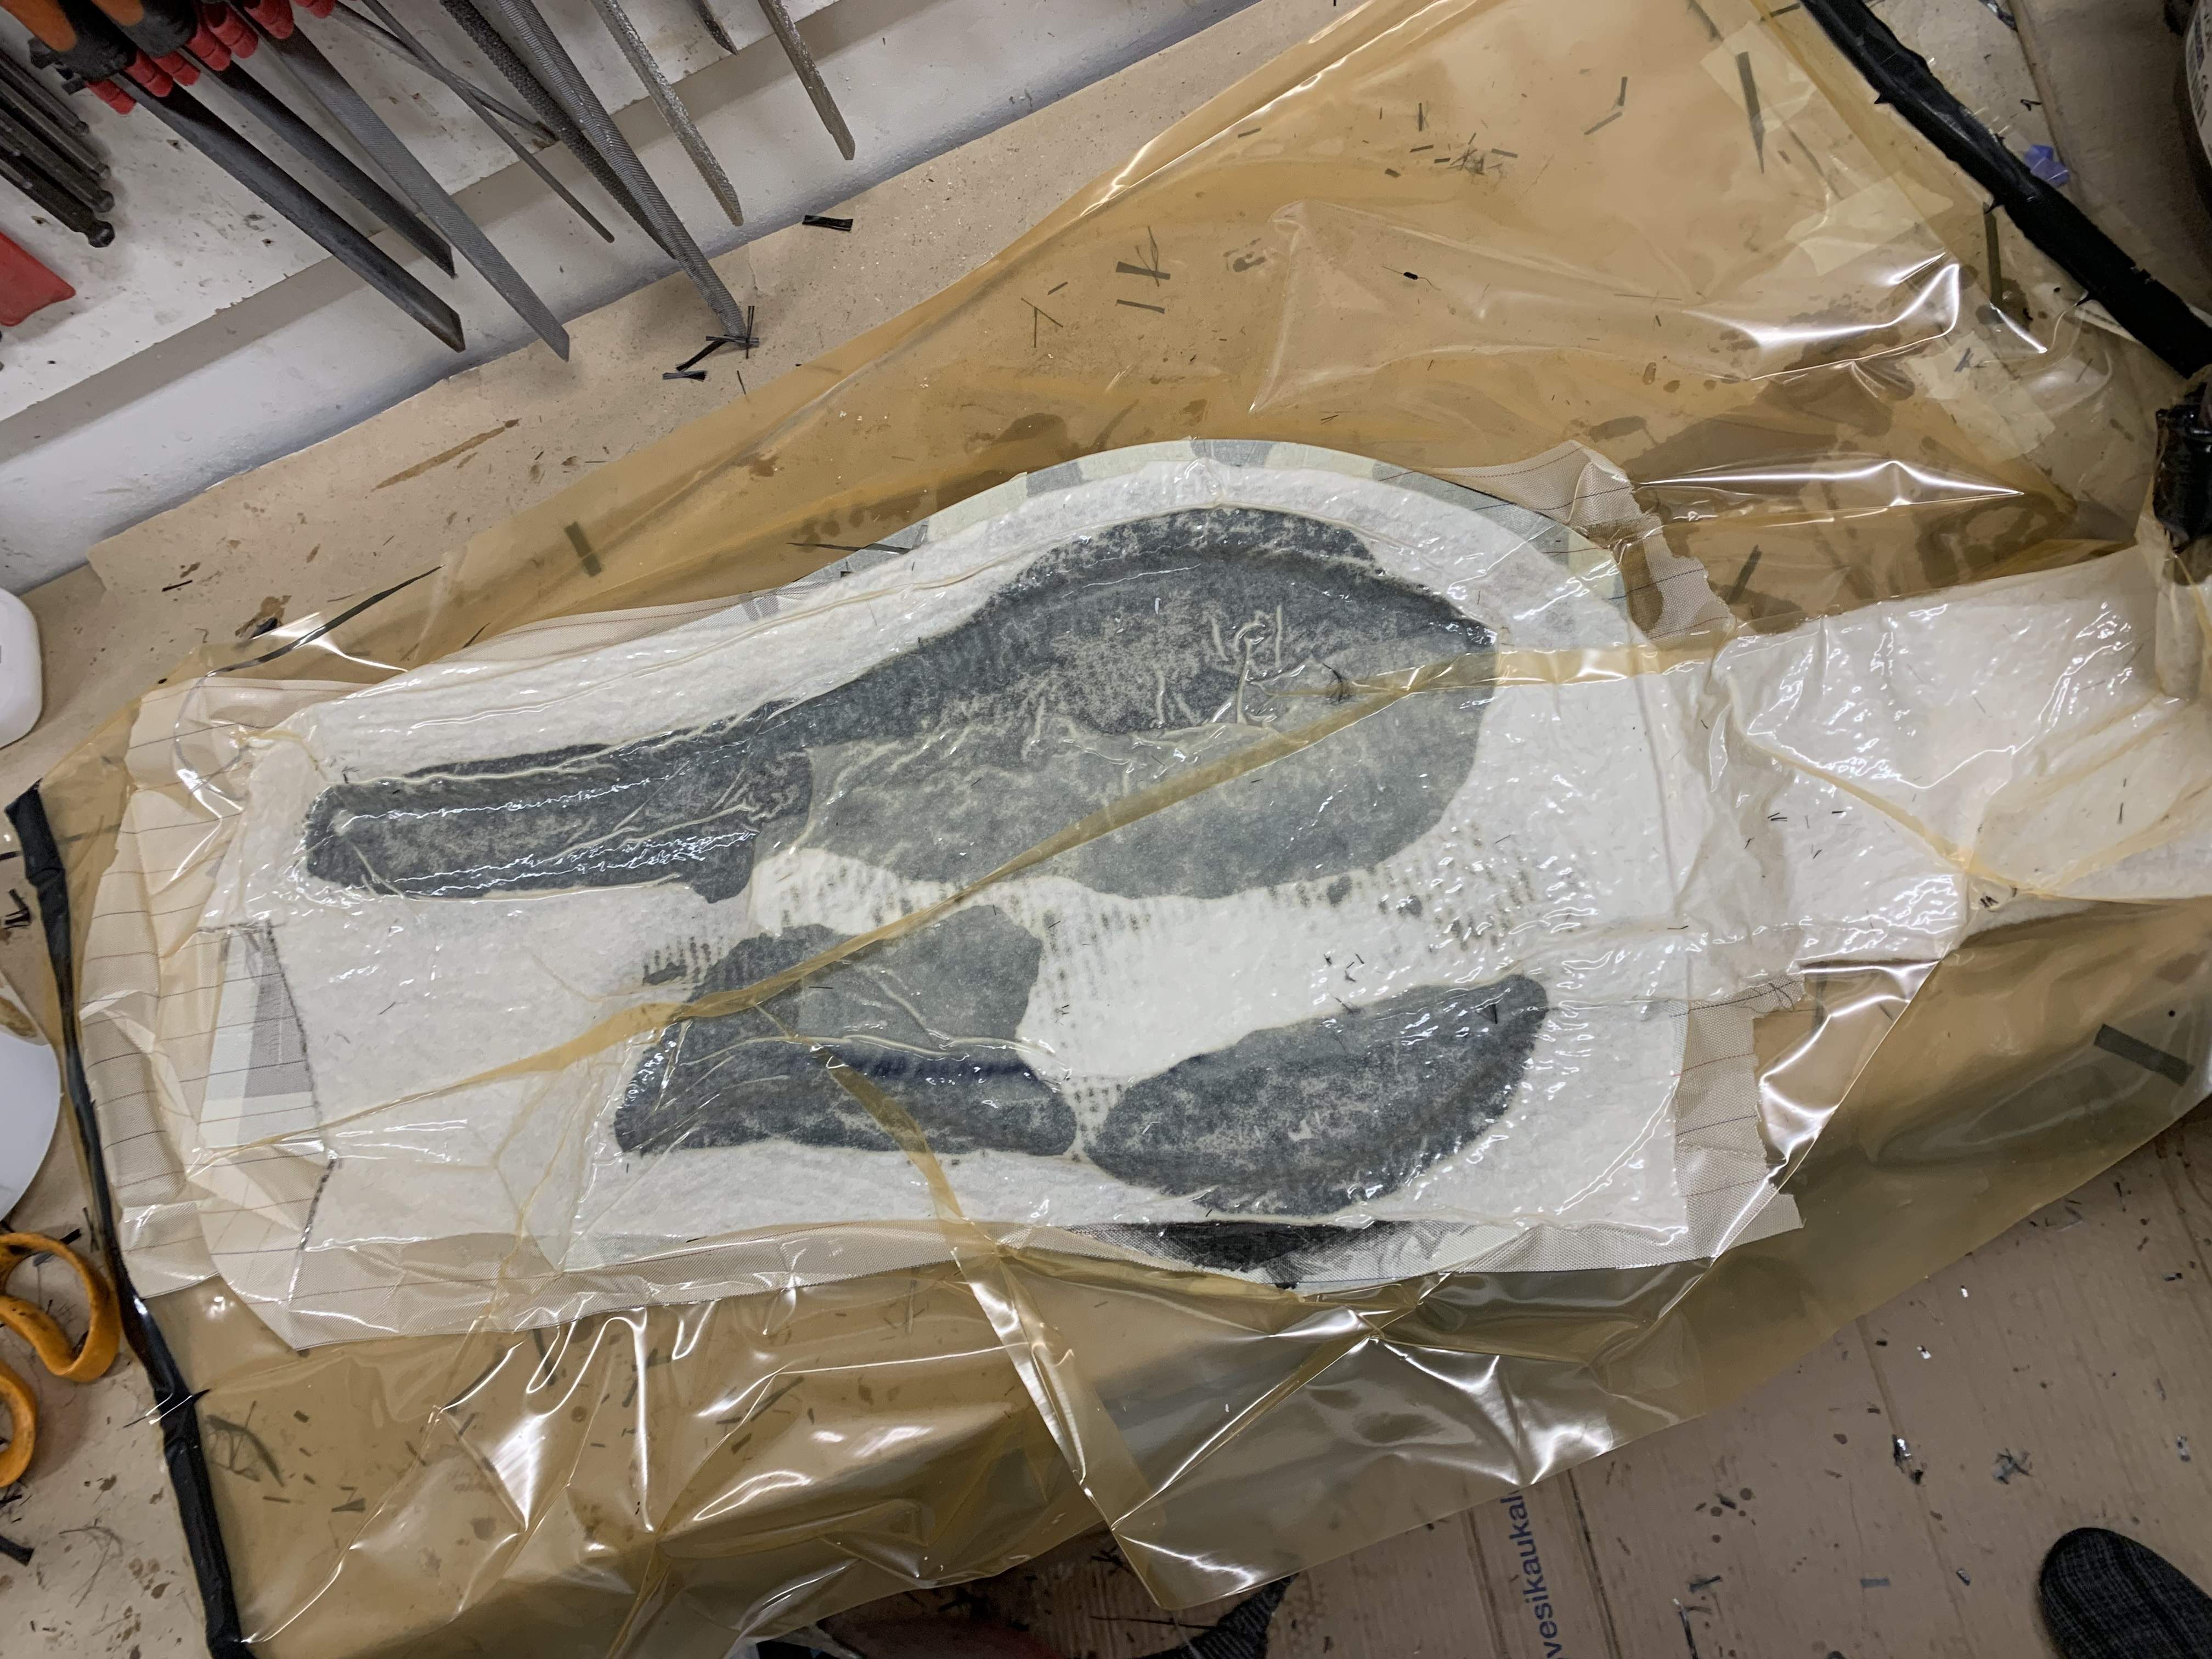
After laying the bleeder cloth over the laminate the whole package goes to vacuum bag. This is the top mold and laminate.

Here’s my vacuum pump. A refridgerator compressor with vacuum gauge and vacuum switch.

Back piece out of mold. The top is curing at the moment. Then it’s time for fitting the back and top together, truss rod channel and center beam. More to come…
First I made a plug. I used alder as it’s easy to carve and finish. I brushed two coats of epoxy on the plug. Before taking a mold I sprayed PVA release film over the plug. This pic is after taking the mold and there are loose flakes of PVA film over the plug.
I took two molds. One for the back and one for the top. I used vinyl ester resin because it does work with epoxy and shrinks less than polyester resin. I wet sanded the mold to 2000 grit and polished it.
After several coats of mold release wax on the mold it was time for the bass. First coat is clear epoxy-compatible polyerter gelcoat. When that coat had cured I sprayed a light coat of Infutac spray adhesive over the gelcoat. Then I laid the chopped carbon tow over the tacky layer. Here’s what’s left but you can see the size of the cf tow used. I used a full box of this chopped tow. I got a blister on my finger when cutting the tow with scissors.
The last layer after layers of biaxial carbon fiber saturated with epoxy is peel ply. There’s two reasons for peel ply. It makes the surface of the laminate ready for gluing parts without sanding and keeps bleed cloth and vacuum bag from sticking to laminate.
After laying the bleeder cloth over the laminate the whole package goes to vacuum bag. This is the top mold and laminate.
Here’s my vacuum pump. A refridgerator compressor with vacuum gauge and vacuum switch.
Back piece out of mold. The top is curing at the moment. Then it’s time for fitting the back and top together, truss rod channel and center beam. More to come…
Attachments

Last edited:



 Great stuff, man.