• TalkBass has been independent since 1998. Add your voice.
    Create a free account to reply to discussions, view embedded media, and browse with fewer display ads.
    Join freeLog in
    Want zero display ads or expanded classifieds tools? Compare plans.

Carl Factor 6 Fretless

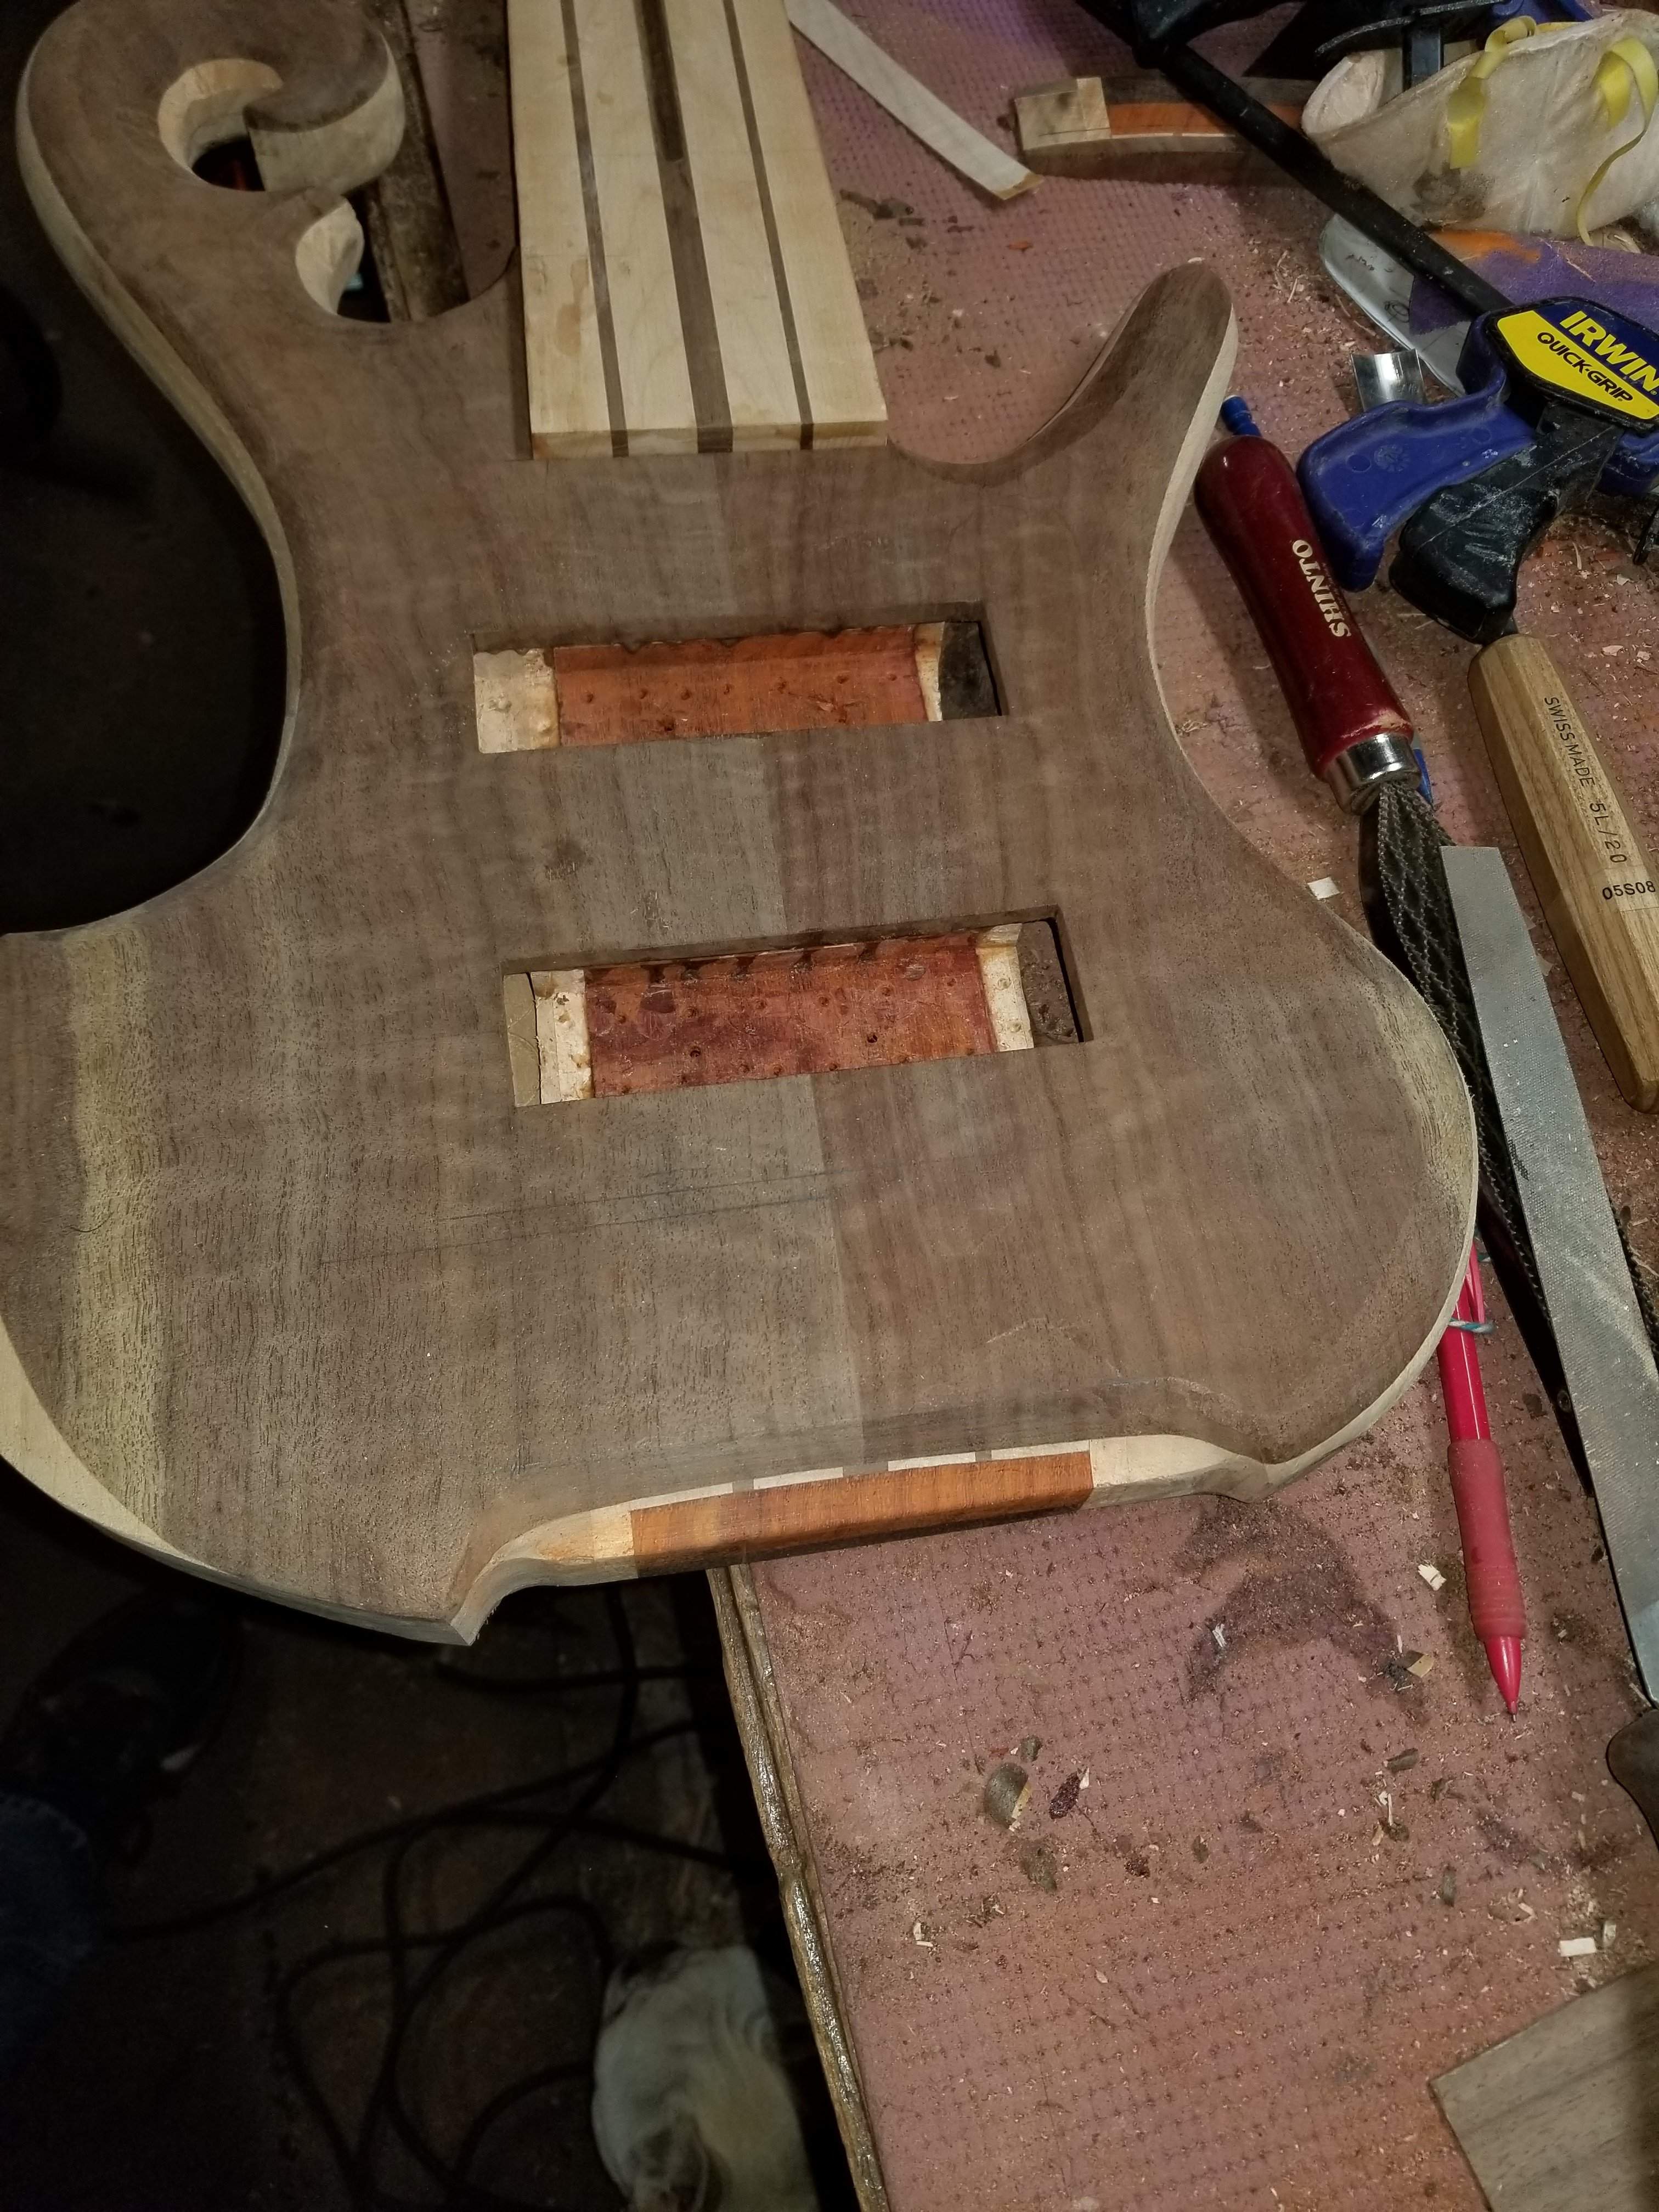
A little lunch time work on the back end/tuner clearance, it's just roughed in now, I need to balance the two ends out a bit and smooth everything out. I really like the look of the wenge/padauk and just a peek at the neck woods (although once the tuners/bridge is in place you won't see much of this). I've got to take a little material off on the back on the bass side.
20190412_131555.jpg

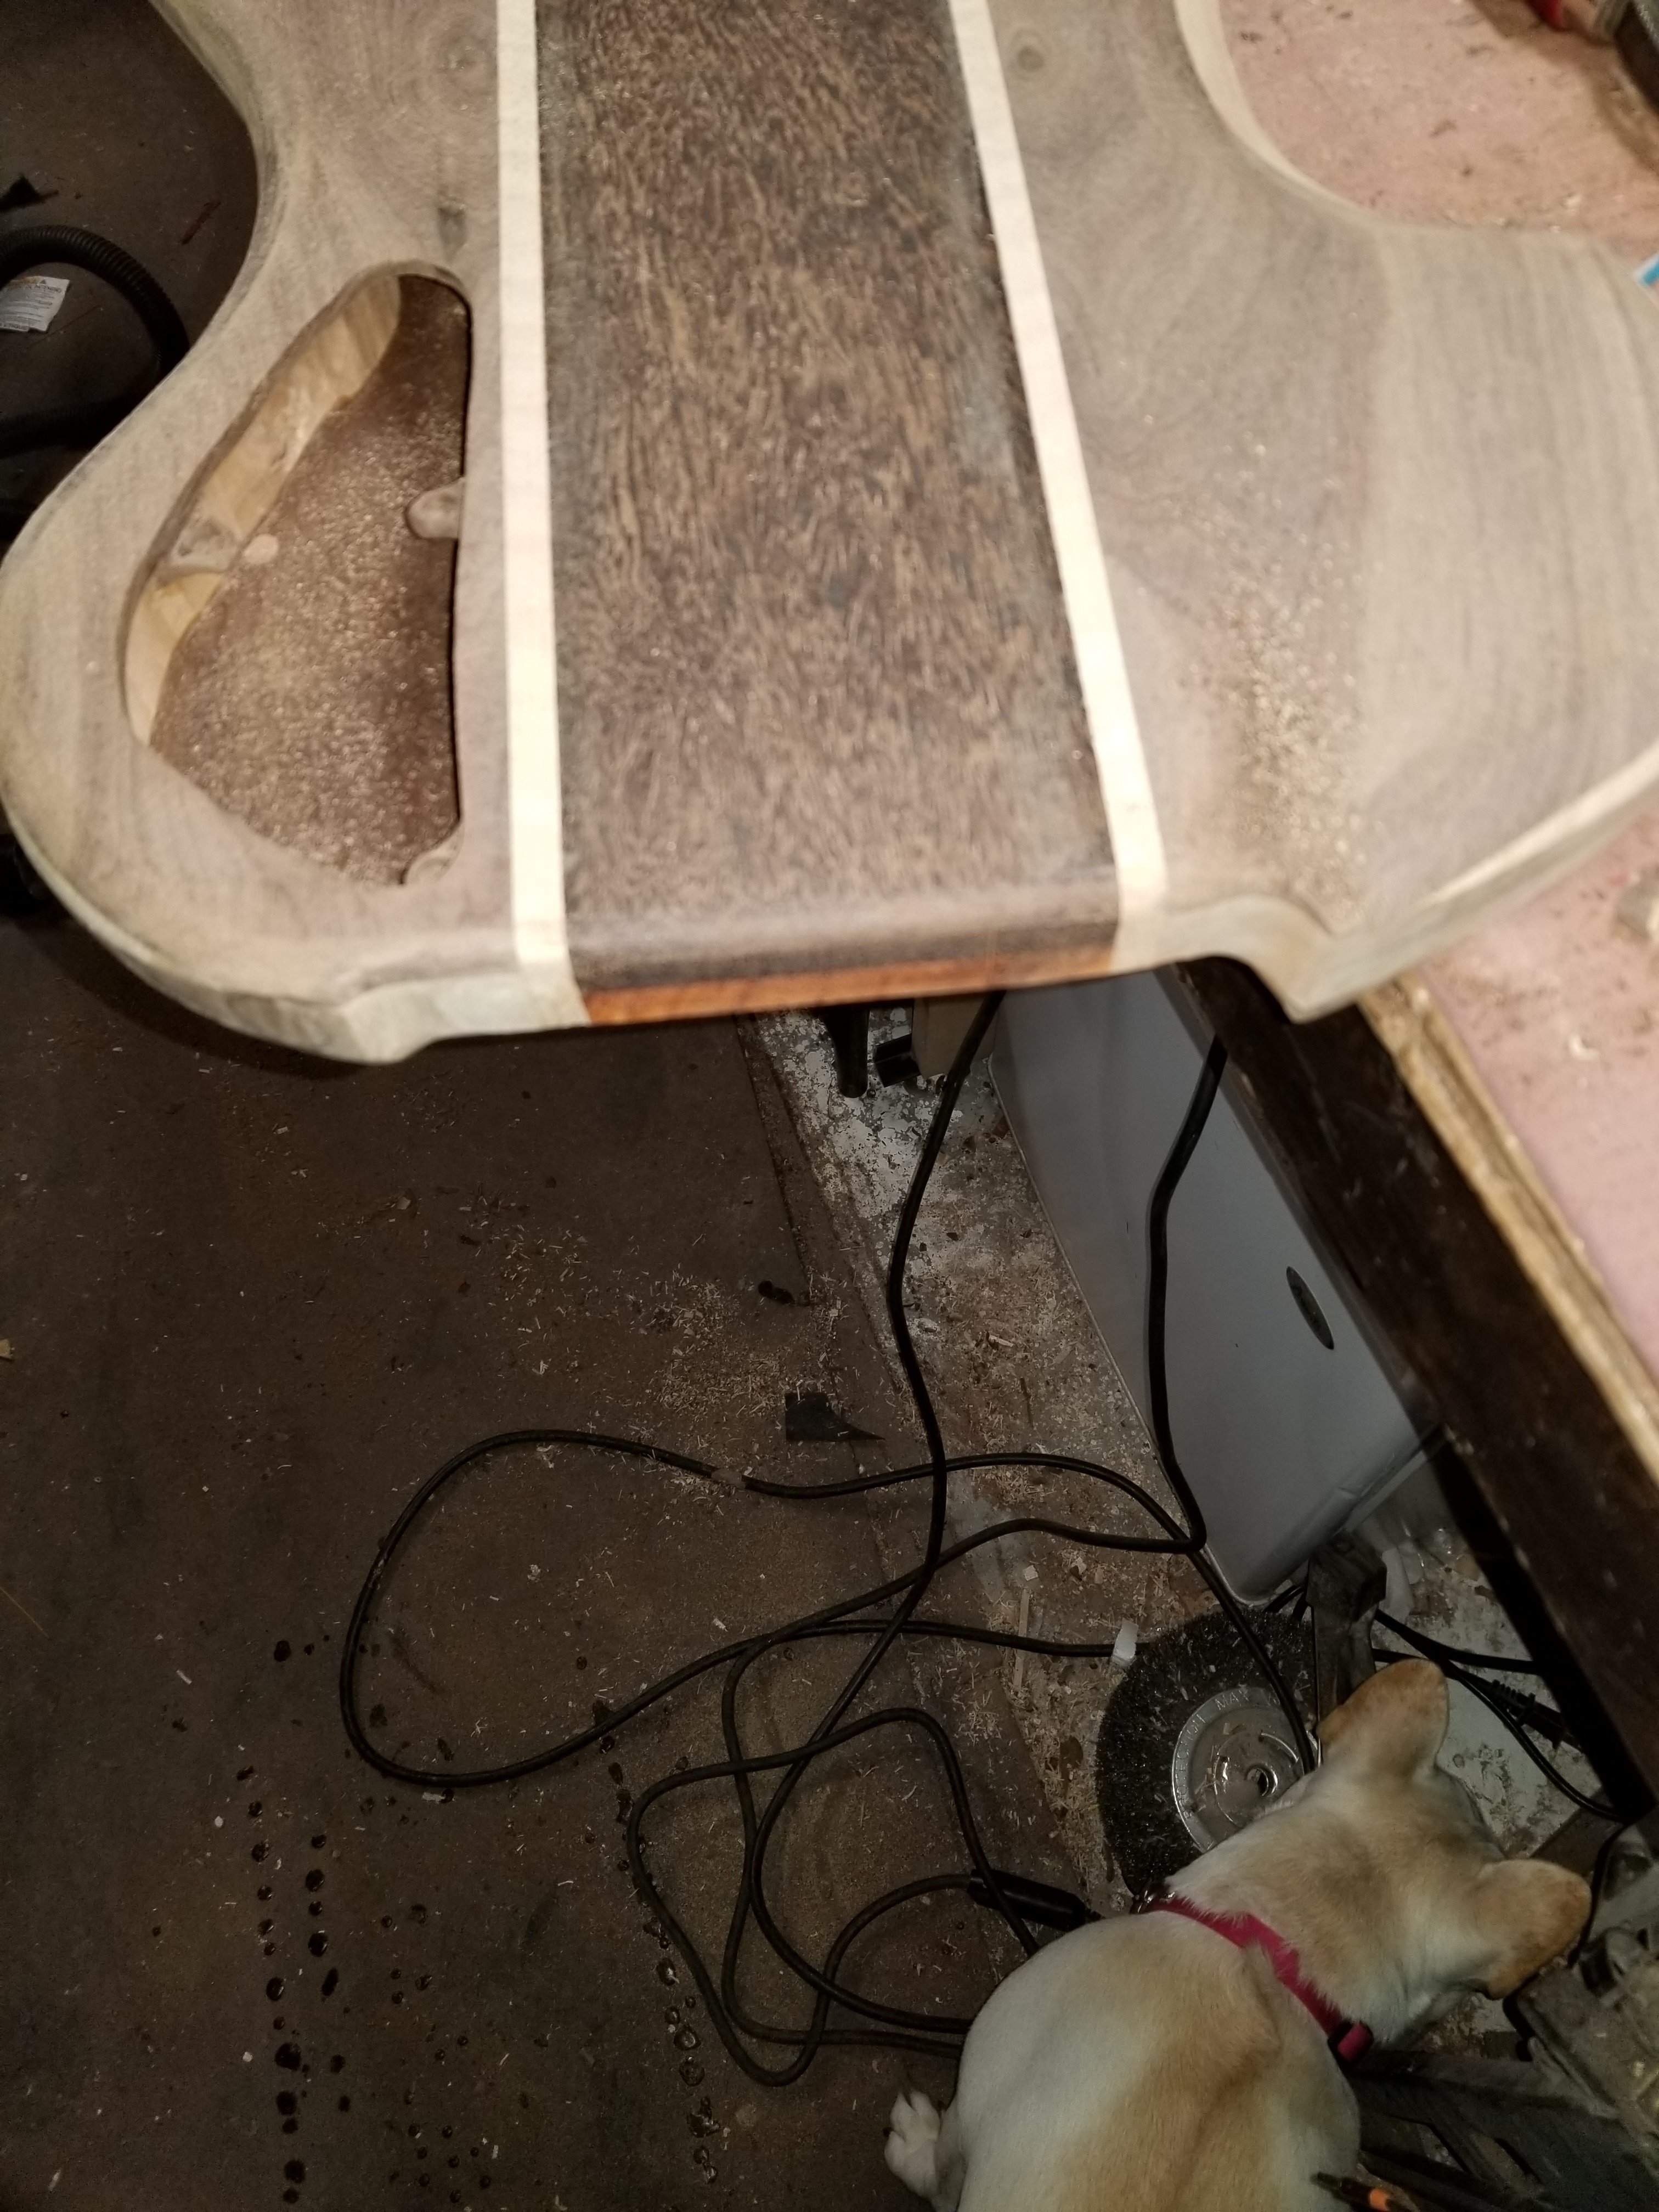
And from the bottom - I guess my phone wanted to focus on my dog, not on the bass.
20190412_131542.jpg
 
Another Saturday morning, more rain, at least it's relatively warm out. Hopefully get out for a ride this afternoon.

Last night I glued on the fingerboard.
20190413_074328.jpg
Came out this morning, looking good.
20190413_074547.jpg
So let's carve the neck - we're doing a flat D on this one. This is my favorite profile and I think it's what I'll do on all my necks going forward unless someone asks for something else. I've tried to go rounder on some of the semi-hollow bodies, it seems like that's what should be on a semi-hollow body, but I find them a lot less comfortable to play. I do neck work on the Workmate. First facets cut.
20190413_081841.jpg

And magically now it's smooth. It's a starting point, I'll do some more editing/fine tuning. After the facets are cut I sit on the body while I fine tune the neck.
20190413_092701.jpg

I've got more work to do on the transition, but it's getting close. I used the shinto, gouge, chisel and scrapers to get to this point.
20190413_092708.jpg

This is about how much sawdust I made this morning. It's pretty amazing how much lighter the bass is after the body and neck are carved. I'd love to do a before/after weigh in, I don't have a scale though. I spent a good 15 minutes cleaning up the shop, I've had my head so buried in this build I haven't been keeping up.
20190413_093054.jpg
 
I got the bottom of the fingerboard done and flattened it out as well. It was surprising how much I had to sand off to make this flat considering I just glued two flat boards together. The fact that I'm using 320 grit sticky paper probably didn't help. This fingerboard wood is beautiful. It will look great with CA on it, though I'm not at all looking forward to applying it.
20190413_114639.jpg
 
I'm sure some of you have noticed that even though this is a headless bass, the neck blank still has a head on it. The commissioner hangs his basses when playing live, so we had to figure something out, he suggested something Carl Thompson-ish. I scaled down the CT headstock to come up with this design.
20190414_074621.jpg

I cut it out
20190414_170048.jpg

Which then created another problem - a standard hex key wouldn't work considering the location of the headpiece and the truss rod nut. The long side of regular hex wrench would potentially reach, but you surely wouldn't have enough leverage to turn it.

I found a T handle hex key on Amazon that is long enough while retaining enough leverage to turn the the nut. As I was going to put a veneer on top I figured I'd just route a channel, but then I'd be left with a D shaped hole at the top of the headstock. I figured I'd try a hole first, if it didn't work I'd do the channel (just hoping I didn't poke through the back). I clamped it upright next to my workbench and did my best to drill straight (fore/aft and side to side). It seemed to work out perfectly. Brad point drills are great for this kind of thing.
20190414_170343.jpg

Before I glued on the cap, I wanted to make sure it would work. There was a moment of terror when I couldn't get the wrench in the truss rod. It turned out that there was a dab of glue in the nut, whew.

I went to the piece of walnut I used on the top of the body, in my memory there was a lot of it left over (I always keep the extra parts just in case). It turns out I had exactly one piece that was bookmatched and big enough for the headstock, no pressure! I planed it down to about 3/32", but lifting the the headpiece by that amount was dangerously close to making the strings too high. I could either plane down the headstock or cut a hole in the bookmatch to recess the headpiece. I did the latter. The headpiece fits very tightly. I'll likely have to clean up glue after it dries.
20190414_172230.jpg

I'll get it sanded down flush to the outline shape in the morning.
 
The headstock looks good, I'm happy with it. I probably have a bit more work to smooth out the hole for the hex key. I tested it and it's no problem to access the truss rod or turn it, there's plenty of leverage. I put a mark on the hex wrench with a file so you can be sure you've got it fully engaged before turning it. I guess I took this picture before I did any sanding on the headstock. The string headpiece fits in perfectly. I checked the string paths and all is good.
20190415_083010.jpg

I sanded the front and back in, I did take a pic of the back after forming and sanding.
20190415_103516.jpg
I did a lot of forming and sanding on the scroll, I have pretty much worked from the front or back up until now. I took a look at the front and back and matched it up, made everything symmetrical. It's looking good.
20190415_103502.jpg

I know none of this looks different, but I spent a lot of time on the heel and wing transitions to make them even and smooth. I'm finding the half round file is the tool for smoothing all these contours out. I can't recall if I used that on the last one. You just have to be careful about the end hitting something and that you don't angle it too steep so it leaves a gouge.
20190415_103509.jpg

I'm going to do the control cavity cover magnets now. Then I have probably another couple of hours of sanding before I do the fingerboard CA coating. It's fairly warm here today, so maybe I can do that outside this afternoon.
 
Last edited:
I'm not sure what it is with me and neck heels, but I always think they are done, then go back and do some serious editing, this one is no exception. I took a lot of material off the back of the heel. It looks so much better, more flowy and less lumpy. Of course there's a lot more final sanding now, but I feel much better about it.
20190415_120737.jpg

I got the control cavity cover mounted with magnets, the walnut on the back was proud by 1/32nd or so, I didn't realize how much that would mess with the grain. I think it still looks great, but the grain doesn't match perfectly.
20190415_113052.jpg
and I put a little dot where you press to open it up.
20190415_120748.jpg

I'm going to take a break for a bit, maybe more progress this afternoon.
 
I feel badly for not posting today. I had a busy day biking and honey listing, but I got the output jack settled, finished the round over around the jack and made more knobs. I think I've got twice the knobs I need. I'll do the CA coating on the fingerboard in the morning
We forgive you for not posting today - just don't let it happen again. :smug: I totally agree with your comment above about flat D neck profiles.
 
This morning I tackled the CA on the fingerboard. I started by checking the flatness again, it hasn't changed since last time, of course. It's a beautiful day today so I opened up the hatchway door and set up the fan to blow that way. It worked great to keep the fumes at bay.
IMG8908500394980832017.jpg

I cut the fingers off rubber gloves and use them to spread the glue. I drip the glue on the fingerboard and spread it with the covered finger. I've tried using a whole glove, but the fingers end up getting stuck together and they become impossible to control.
IMG8319054031796005487.jpg

Once the glue is almost dry I run my hand over it, I can squish out some of the ridges, at that point the glue isn't sticky, so an uncovered hand is fine. I put 2 or 3 coats and let it dry for 20 minutes or so then sand it back using 220 on my sanding bar. I repeat that process a few times until it's "thick enough". I ordered more thin viscosity CA the other day, which is good because I emptied the bottle I have on this board.

I've sanded through plenty of times, even after it's thick enough.

I use Abralon pads from 500 up to 4000 to buff it up. After buffing this one up the first time I wasn't happy with one spot, so I went back to 220 to flatten it out more (this is where sand through happens). Luckily I didn't sand through. I went back to the Abralon pads then finished with polishing compound. I can get them much glossier with anti-swirl, but I like the semi-gloss look.

So that step is done. It was really not bad at all with the fan sitting right there and the door open, I don't think I shed a single tear.
20190417_101422.jpg

The bottle I was using had a leak in the top apparently, peeling this off will give me something to do this afternoon.
IMG2122684596929921808.jpg
 
I cut the fingers off rubber gloves and use them to spread the glue. I drip the glue on the fingerboard and spread it with the covered finger. I've tried using a whole glove, but the fingers end up getting stuck together and they become impossible to control.
View attachment 3389509
My proctologist uses the same technique.