Enjoy the benefits of a premium membership!
Upgrade Account
-
TalkBass has been independent since 1998. Add your voice.
Create a free account to reply to discussions, view embedded media, and browse with fewer display ads.
Join free Log in
Want zero display ads or expanded classifieds tools? Compare plans.
You are using an out of date browser. It may not display this or other websites correctly.
You should upgrade or use an alternative browser.
You should upgrade or use an alternative browser.
Chris Cole Slant 212 Build Thread
- Thread starter Freekmagnet
- Start date
More options
Who Replied?

I know you've got your own plan, but I think a 1/2"-radius round-over is too large, even on 3/4" material. I would think 1/4" radius is plenty; YMMV 
Edit: Oops...I was thinking this project was being built with 1/2" material. I still think 1/2" radius is kind of wide; I use 3/8". But it's not the disaster I was picturing with a 1/2" round-over on 1/2" plywood. Carry on.
Edit: Oops...I was thinking this project was being built with 1/2" material. I still think 1/2" radius is kind of wide; I use 3/8". But it's not the disaster I was picturing with a 1/2" round-over on 1/2" plywood. Carry on.
Last edited:


I know you've got your own plan, but I think a 1/2"-radius round-over is too large, even on 3/4" material. I would think 1/4" radius is plenty; YMMV
Edit: Oops...I was thinking this project was being built with 1/2" material. I still think 1/2" radius is kind of wide; I use 3/8". But it's not the disaster I was picturing with a 1/2" round-over on 1/2" plywood. Carry on.
The chrome corner pieces I have are 1/2” radius (I actually have to double check that, but my eyeball guesstimate says it’s 1/2”. For now, or until I double check, I’ll refer to that radius as 1/2”).
Last edited:
Gotcha. What's PL adhesive, do you mean PU?
It’s a PU adhesive apparently, but it says PL on the tube. It’s made by Loctite.
I know you've got your own plan, but I think a 1/2"-radius round-over is too large, even on 3/4" material. I would think 1/4" radius is plenty; YMMV
Edit: Oops...I was thinking this project was being built with 1/2" material. I still think 1/2" radius is kind of wide; I use 3/8". But it's not the disaster I was picturing with a 1/2" round-over on 1/2" plywood. Carry on.
OK - after closer examination, I think you are right about 1/2” being too big. I found some 7/8” doweling I have laying around, and it fit perfectly within the chrome corner. 7/16” seems like a weird radius size, but maybe 3/8” with the covering will be perfect. I don’t have a 3/4” dowel here. Either way, thx for pointing that out.
If you putting a full bullnose on the edge, 1/4" for 1/2" and 3/8" for 3/4", pretty obvious. What kinda corner pieces do they supply for the 1/2" ply? Might run a test roundover on the back of the cab to see how far it runs over the edge.
If you putting a full bullnose on the edge, 1/4" for 1/2" and 3/8" for 3/4", pretty obvious. What kinda corner pieces do they supply for the 1/2" ply? Might run a test roundover on the back of the cab to see how far it runs over the edge.
On the website, they indicate “Penn Metal Chrome 1824c”. I could do a search and look up the radius. I have plenty of scrap wood set aside for just this occasion, so I can do a few tests before I round over the cabinet edges.
I think that corner is for a 1/2" radius -- it's definitely worth checking with an actual roundover on a piece of scrap.
Guessing from the pic on Speaker Hardware, it's probably for a 3/8 roundover, for use with 3/4" ply. Worse case if it is, do a 3/8 around the outside of the box then just sand the inner edge of the baffle opening to remove the sharp edge.
Gotcha. What's PL adhesive, do you mean PU?
Polyurethane.
Check the drawing for the Penn Elcom corners. I'm not sure which ones you have because the number you posted doesn't correspond with the part numbers exactly. But they usually provide that information in the drawing.
Another way to rout the front edge is to rout the sides and back, then measure where the edge of the router base is in relation to the edge of the plywood. Then, you could screw a piece of straight scrap ply on that mark to your box and just make sure your router base stays in contact with your straightedge.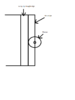
Another way to rout the front edge is to rout the sides and back, then measure where the edge of the router base is in relation to the edge of the plywood. Then, you could screw a piece of straight scrap ply on that mark to your box and just make sure your router base stays in contact with your straightedge.
Check the drawing for the Penn Elcom corners. I'm not sure which ones you have because the number you posted doesn't correspond with the part numbers exactly. But they usually provide that information in the drawing.
Another way to rout the front edge is to rout the sides and back, then measure where the edge of the router base is in relation to the edge of the plywood. Then, you could screw a piece of straight scrap ply on that mark to your box and just make sure your router base stays in contact with your straightedge. View attachment 4042131
Are you proposing looking up the part number on the internet, finding the specified radius on the manufacturer’s website, and henceforth clearing up any mystery as to what this radius should be? That’s far too easy a solution. I refuse to do it.
All kidding aside, a quick search for Penn Elcom 1824c got me to this web page:
Invalid Link Removed
Their part number is C1824, but I’d say it’s pretty safe to assume that Penn Elcom 1824c and Penn Elcom C1824 are one and the same.
According to this page, 1/2” radius it is. Thx for your suggestion.
Last edited:
Rounding the edges, I used the suggestion posted here. I toe-nailed a little strip into the cab as a running surface for the router base. In itself, the routing process wasn’t too bad, but I did have a couple of minor setbacks. First of all, I had some tear out:
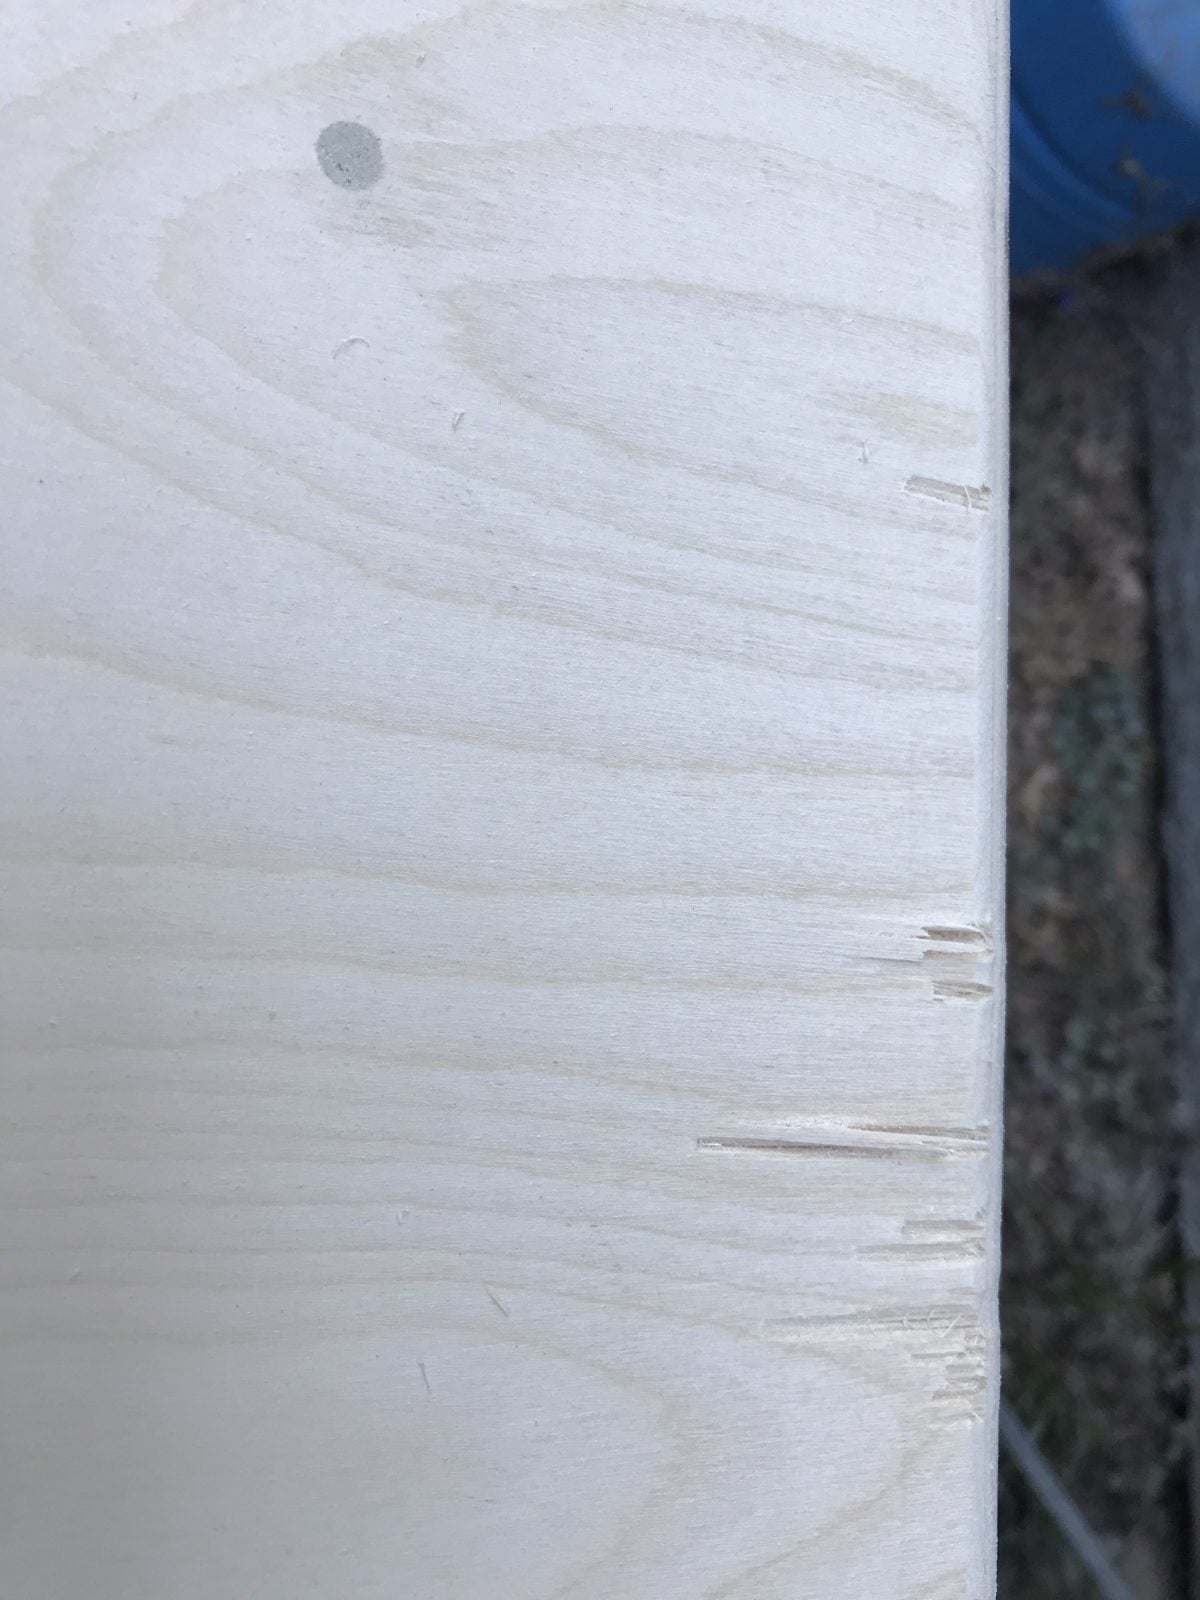
Additionally, I found out that this so-called “void-free” plywood ain’t all that void-free!
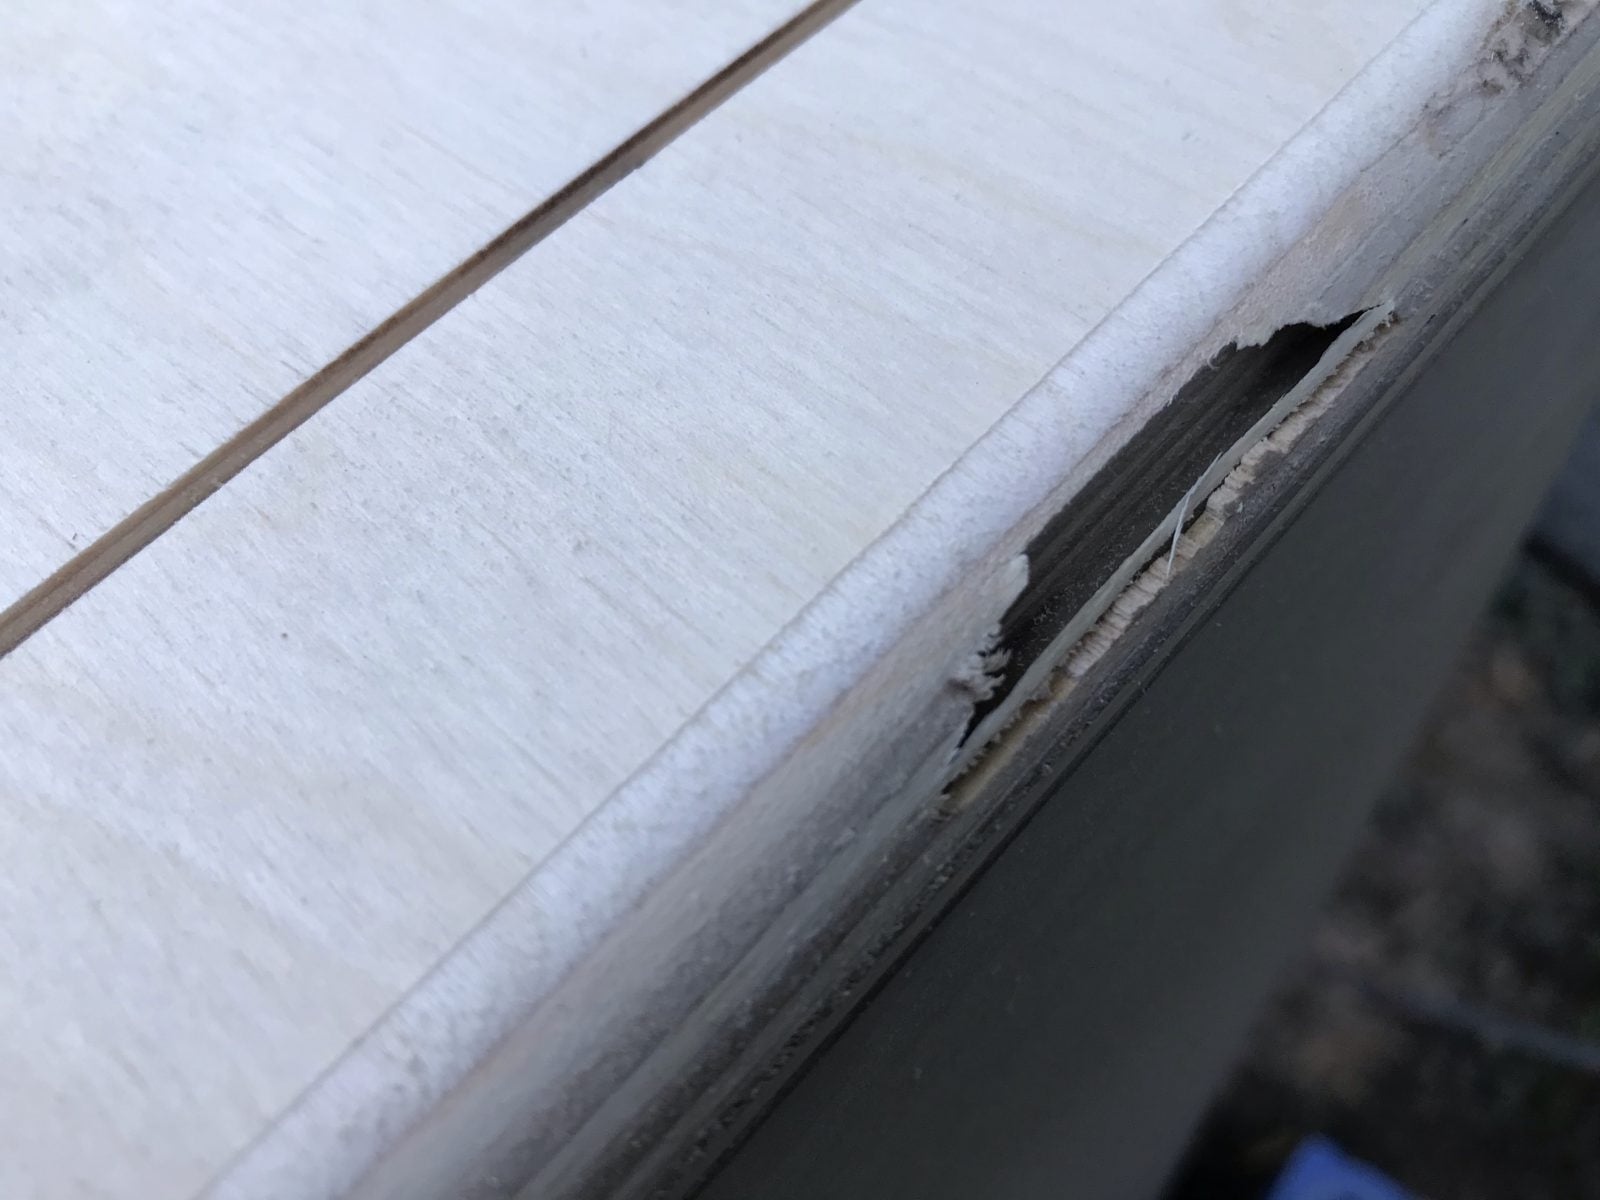
Basically, I patched the holes and the tear out with some sawdust mixed in epoxy. There were two holes, and I packed as much epoxy as I could into them.
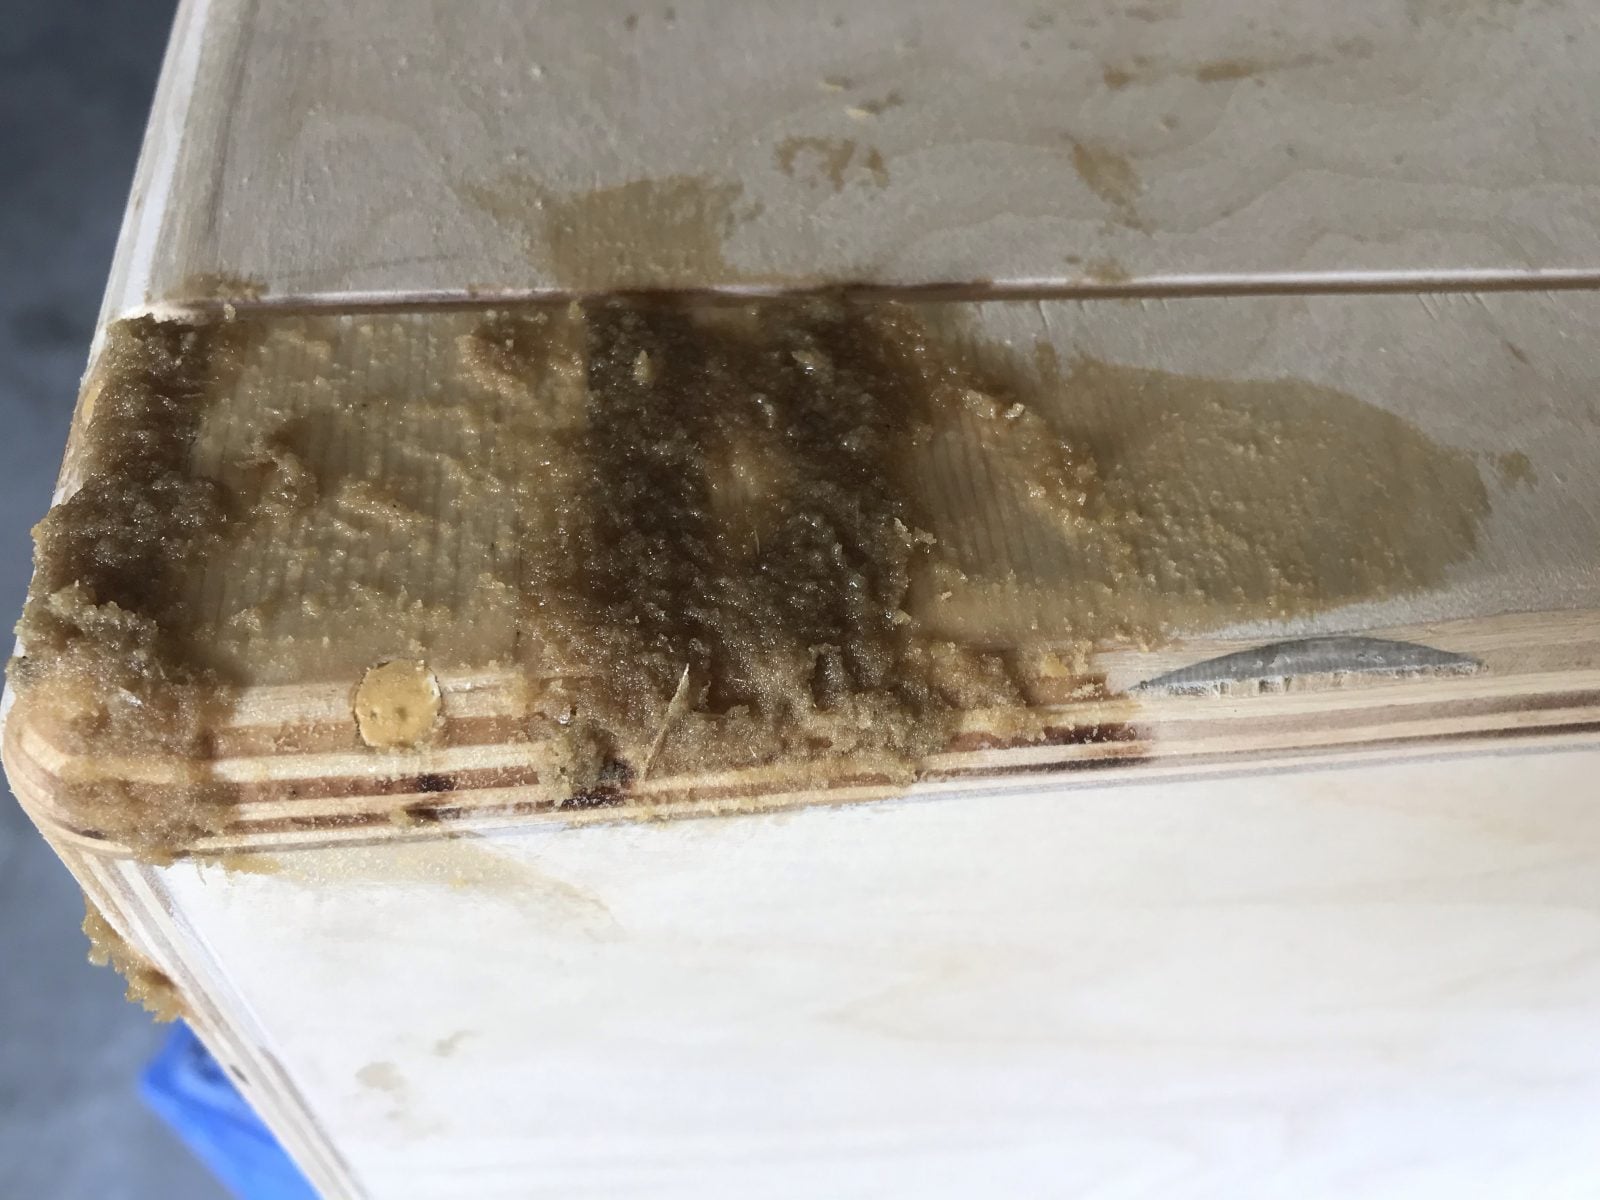
With a little work from the bastard file, the cured epoxy/sawdust flattened out pretty well. I love this stuff ‘cuz it really stabilizes the splintered wood.
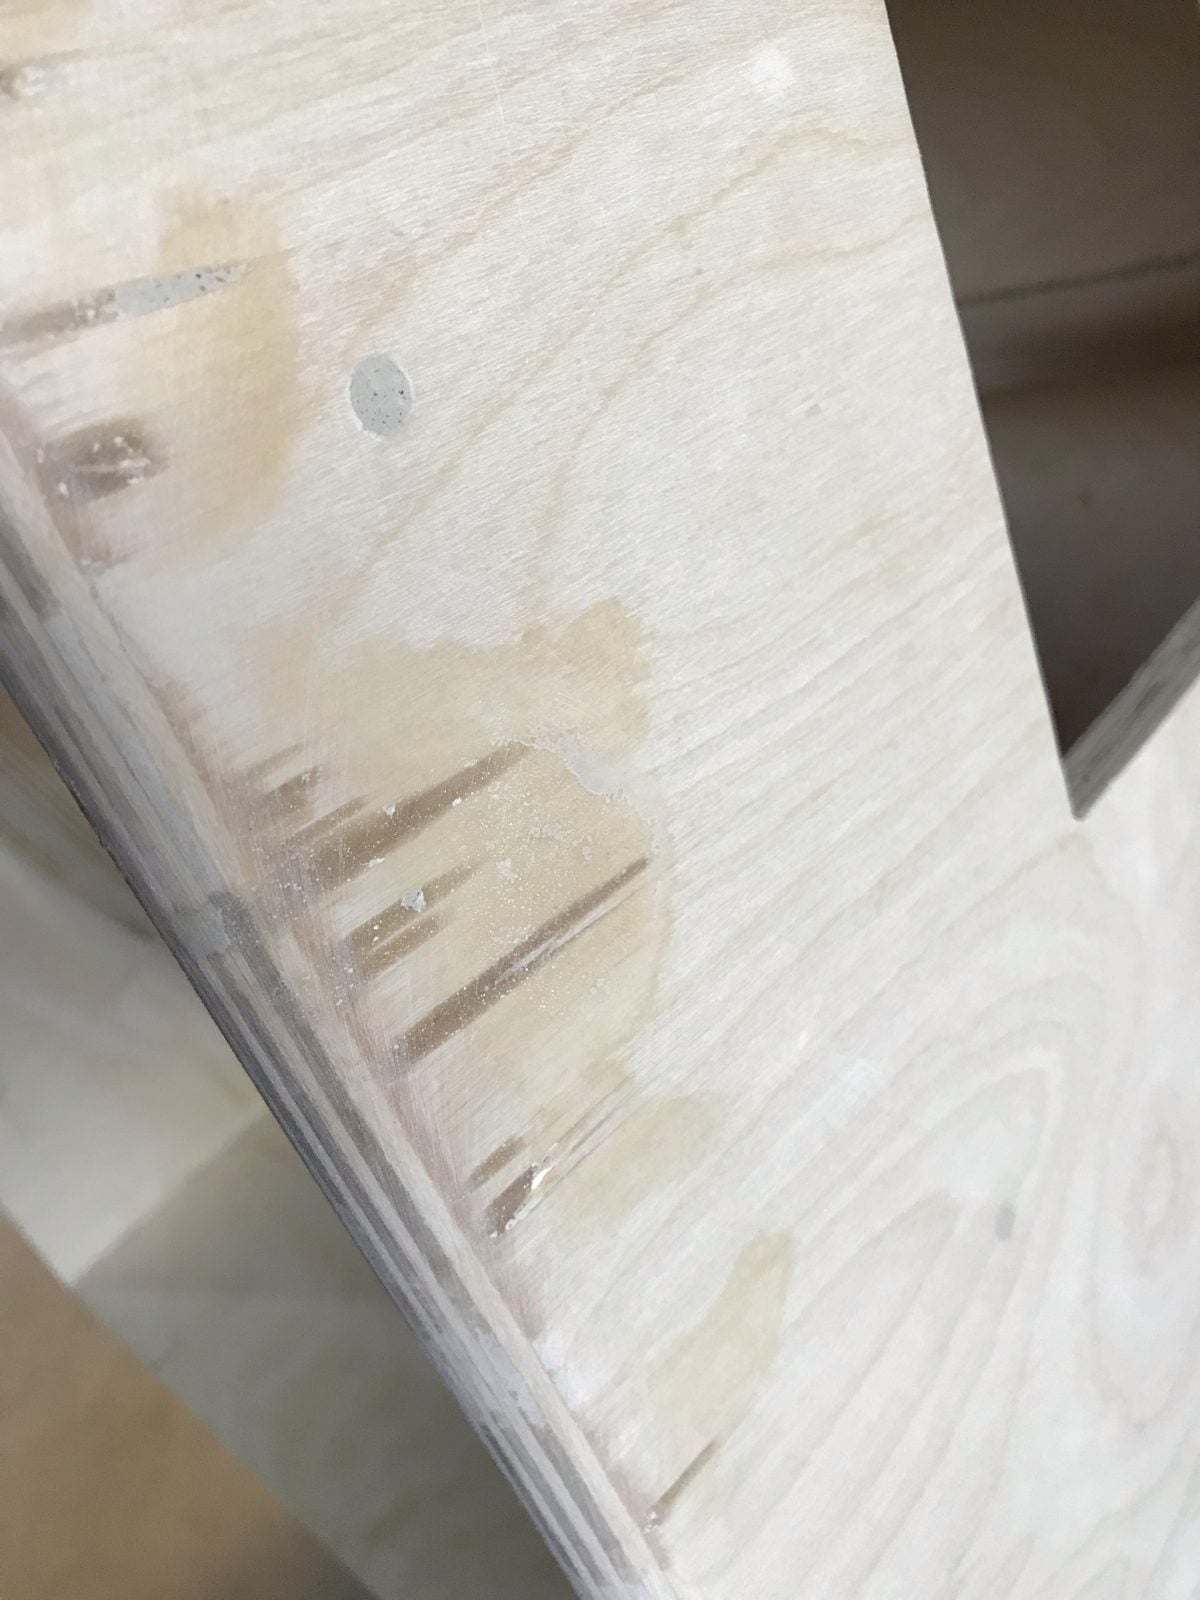
Once it’s all covered, nobody will ever know.
I sanded the box to 120 with my palm sander. I used a leveling beam to sand the curved edges. Looks pretty good so far!
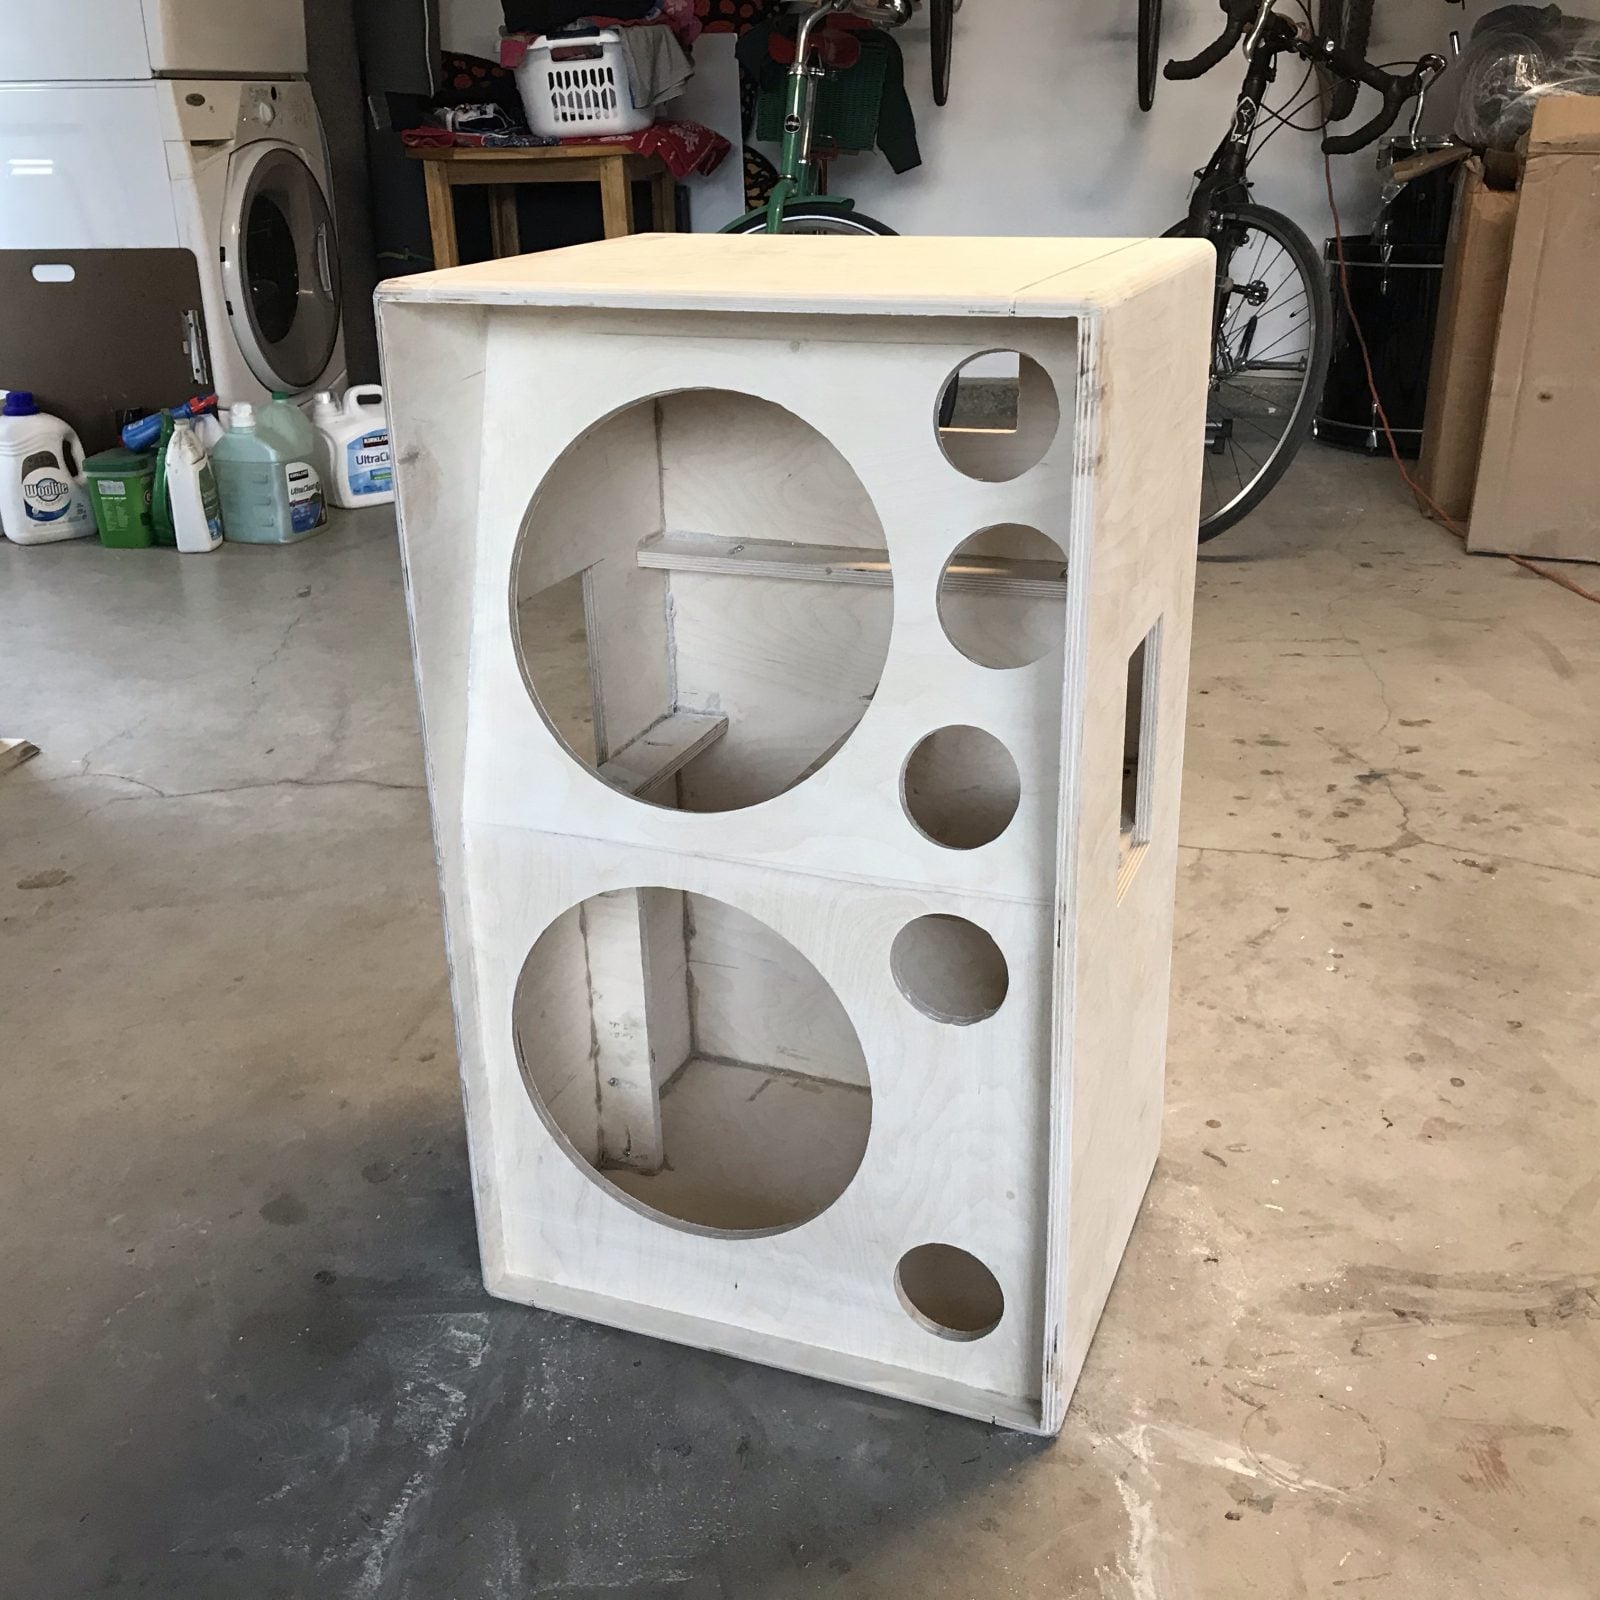
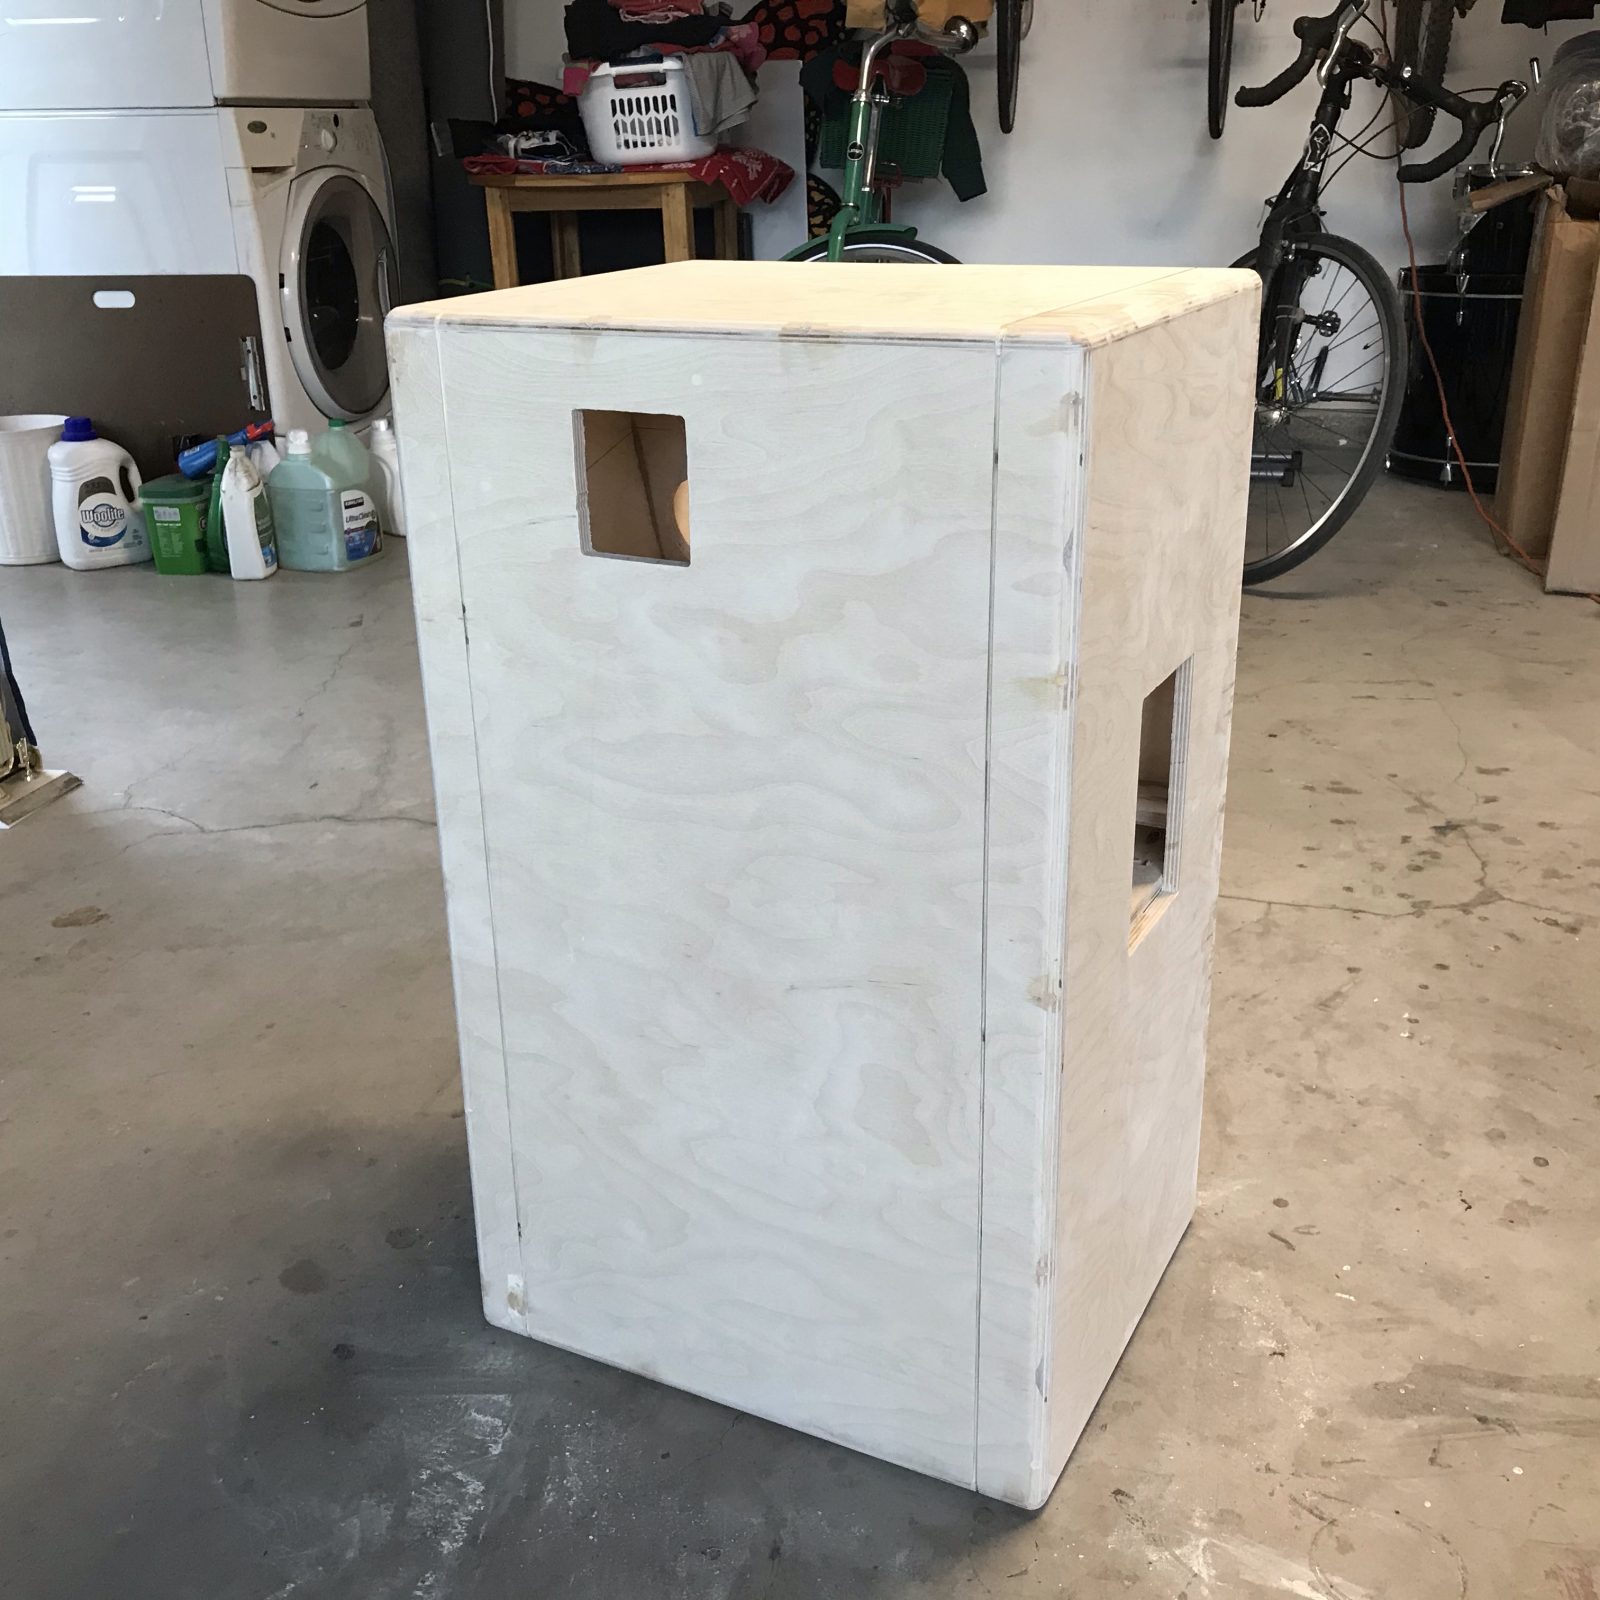
Next, I have to:
1) Spray paint the front black.
2) Make a frame for the speaker grill cloth and figure out how to mount it.
3) Tolex the cab.
Covering and grill cloth came in the mail the other day. I’ll post it when I get closer to covering the box with it.
Additionally, I found out that this so-called “void-free” plywood ain’t all that void-free!
Basically, I patched the holes and the tear out with some sawdust mixed in epoxy. There were two holes, and I packed as much epoxy as I could into them.
With a little work from the bastard file, the cured epoxy/sawdust flattened out pretty well. I love this stuff ‘cuz it really stabilizes the splintered wood.
Once it’s all covered, nobody will ever know.
I sanded the box to 120 with my palm sander. I used a leveling beam to sand the curved edges. Looks pretty good so far!
Next, I have to:
1) Spray paint the front black.
2) Make a frame for the speaker grill cloth and figure out how to mount it.
3) Tolex the cab.
Covering and grill cloth came in the mail the other day. I’ll post it when I get closer to covering the box with it.
Kinda hard to avoid tear out, brand new bits help and I found going with the rotation of the router helps, all be it a little unruly. I use drywall mud to fix that stuff if it's going to be covered, easy to apply and sand. If it's real bad, Bondo. Looking good dude! 
Kinda hard to avoid tear out, brand new bits help and I found going with the rotation of the router helps, all be it a little unruly. I use drywall mud to fix that stuff if it's going to be covered, easy to apply and sand. If it's real bad, Bondo. Looking good dude!
Thx! I’m almost to the point of getting stoked about this cabinet. Once I get the covering on, I think I’ll start being excited about it. I just bought an Aguilar TH500 for it, too.
I thought about climb-cutting with the router, but even with that guide I installed, it was pretty awkward. I only do climb-cuts when I’m feeling pretty confident I can keep things under control. This definitely was not one of those situations!
Bondo or drywall compound both work. I just happened to have epoxy. I always have some around because I use epoxy for pretty much everything.
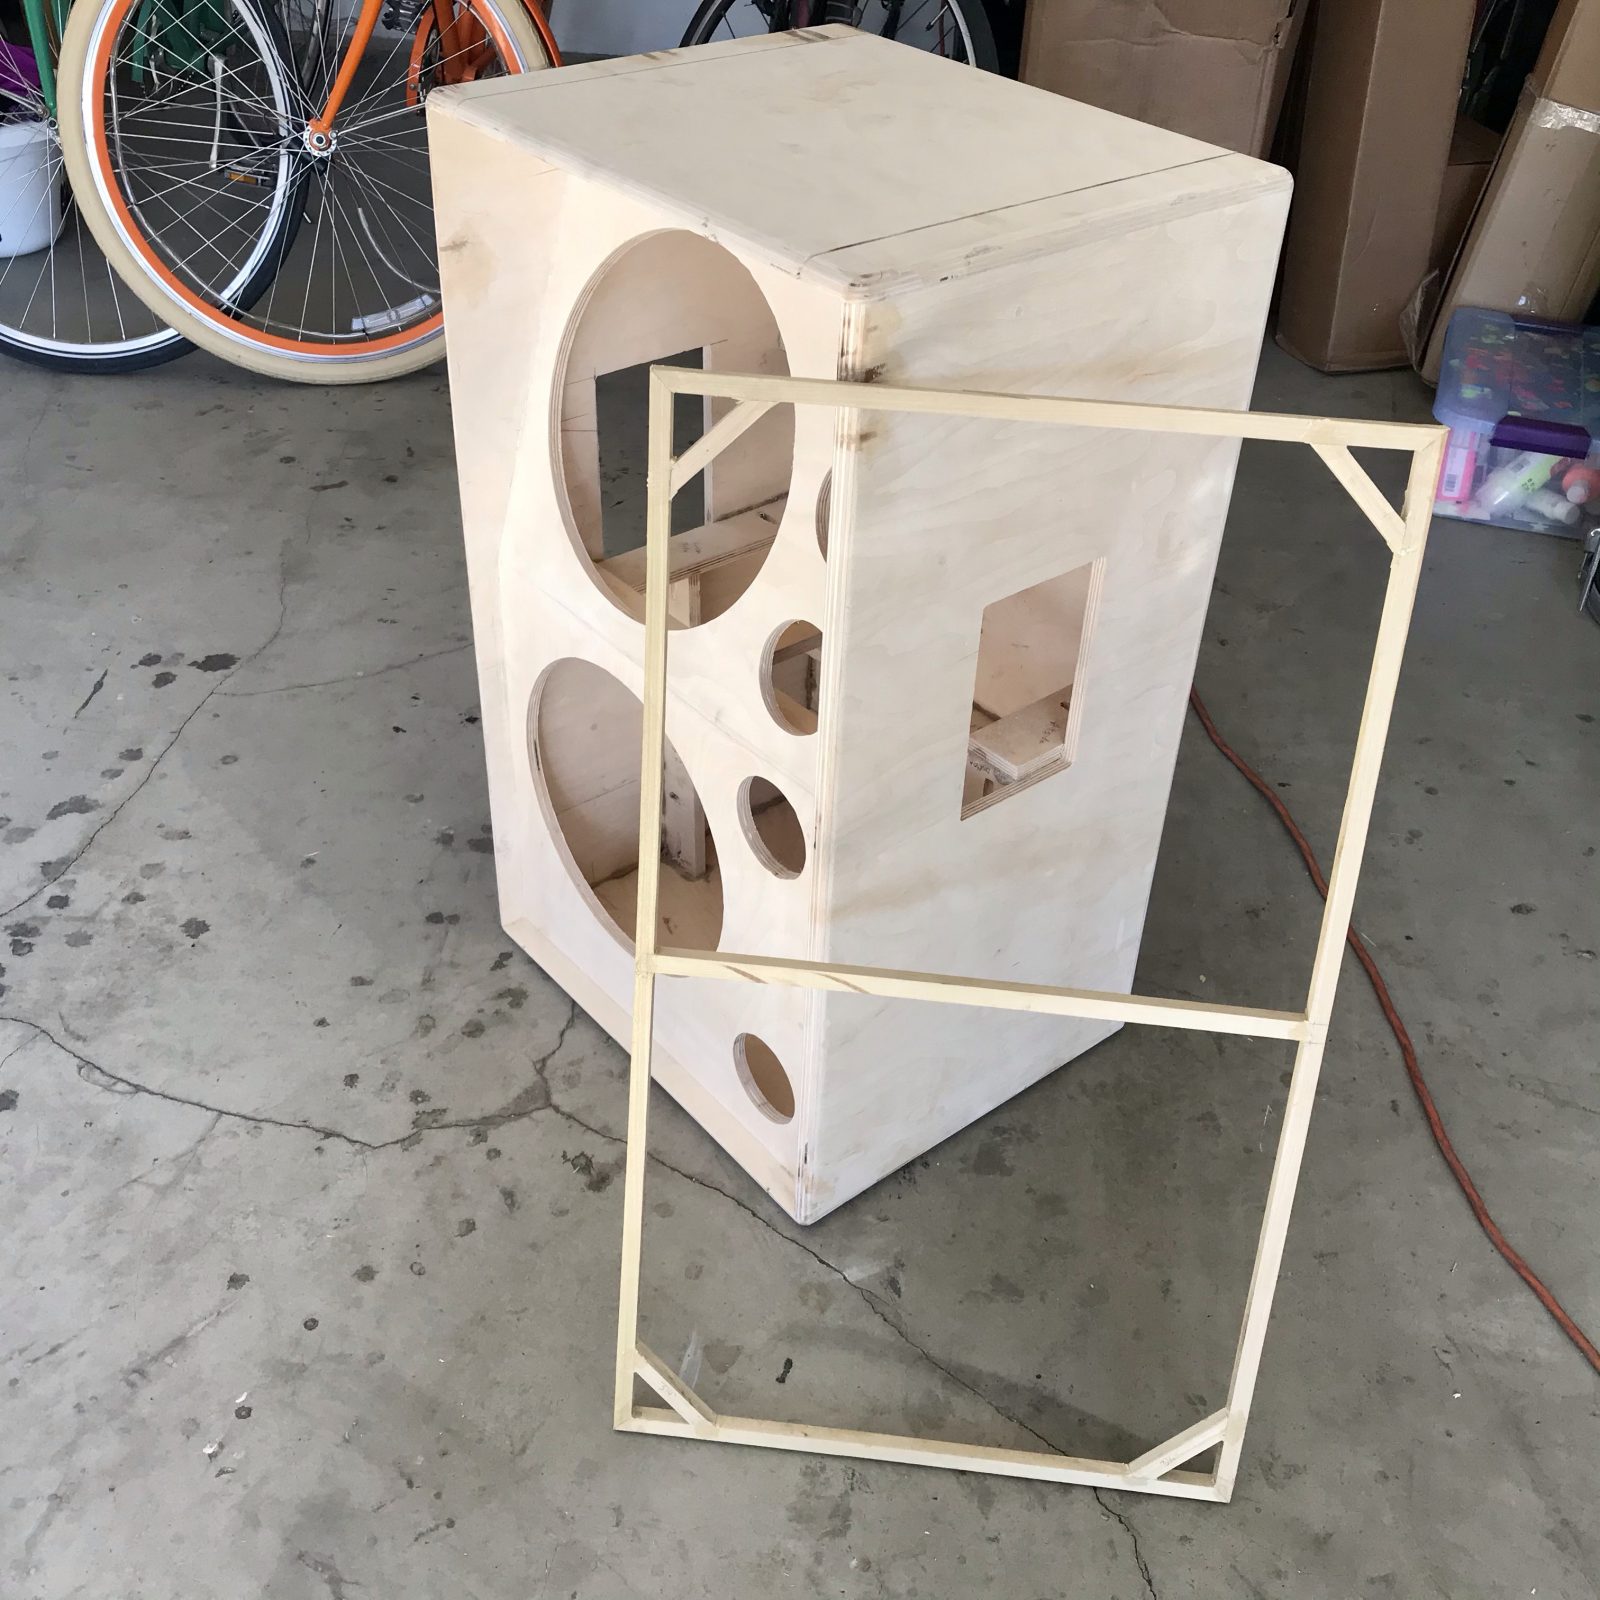
I built this little frame for the grill cloth last night. I used 1/2” strips of poplar and glued it together with Gorilla Glue.
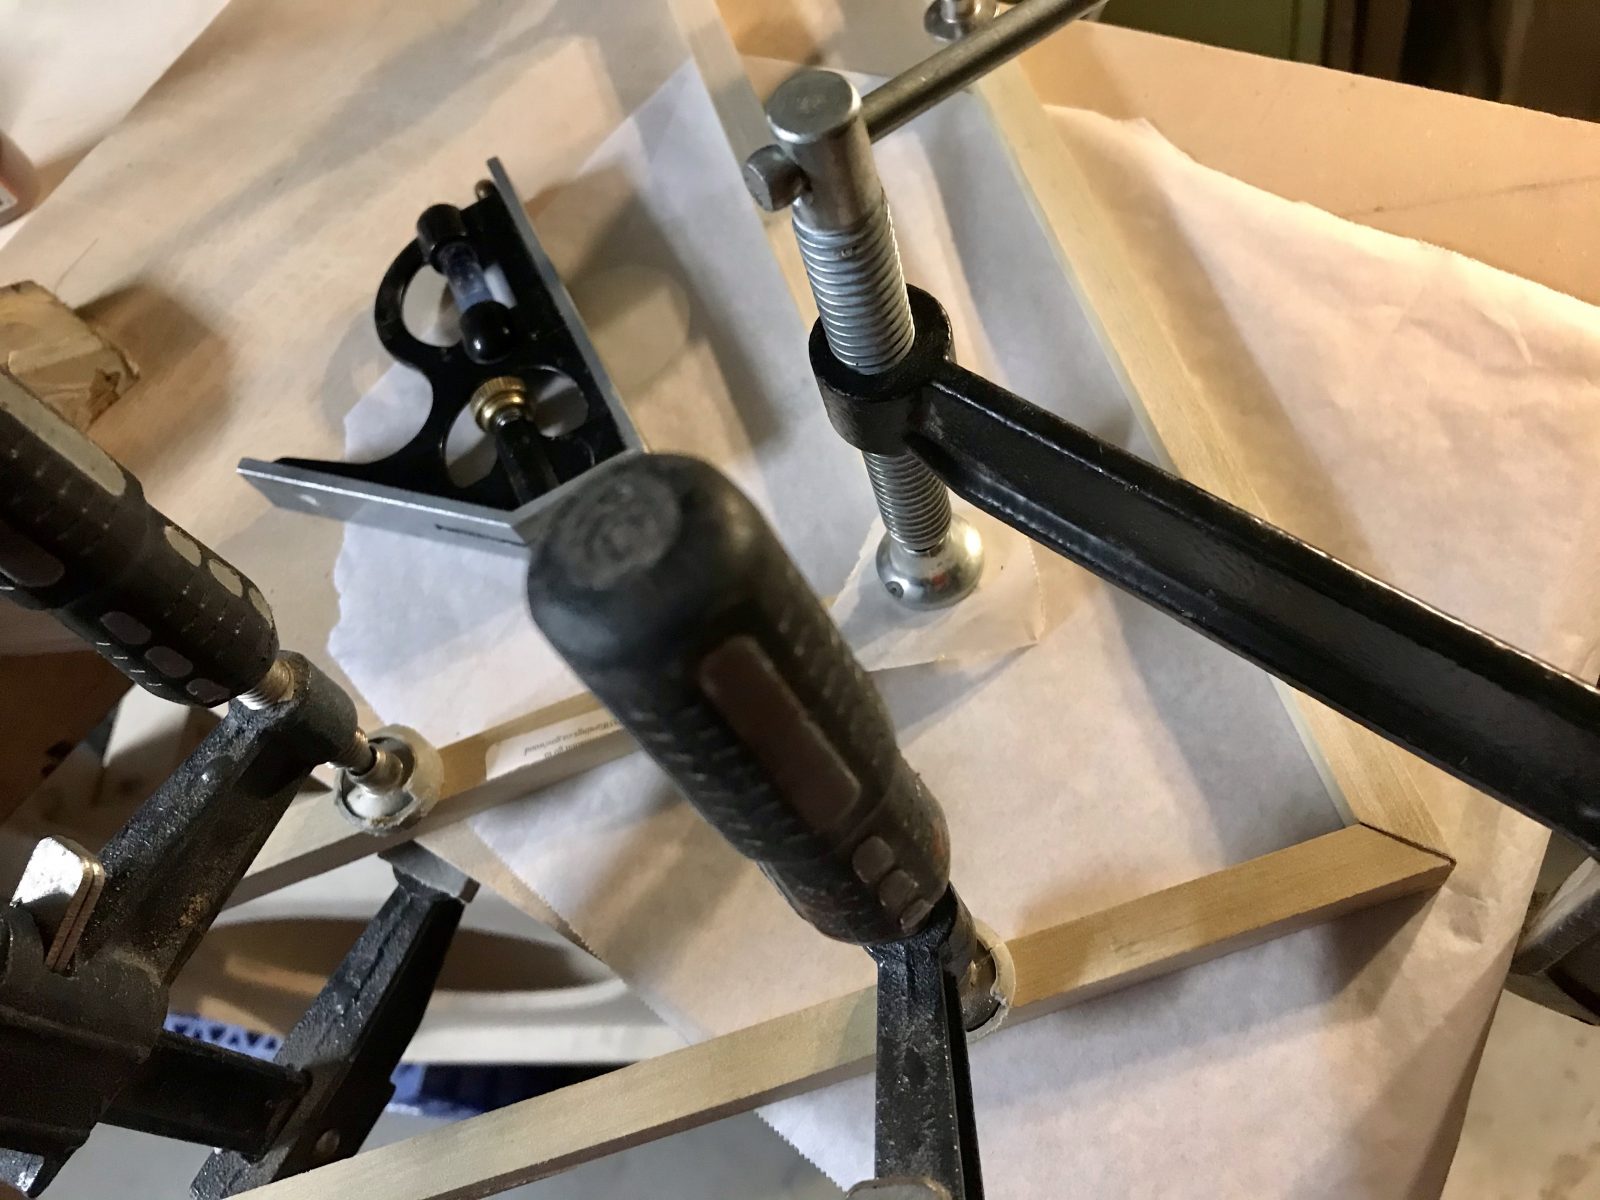
I don’t have any right-angle clamps, so I used a piece of MDF as a level surface to do my clamping and gluing. I like the Gorilla Glue in this circumstance ‘cuz it expands and fills the cracks.
I was super proud of this structure for some reason. Maybe because it wasn’t very difficult to build. Hopefully it will be strong enough to provide at least some protection if the front takes a hit. The structure is rigid and the poplar is pretty strong. I’m thinking if I secure the piece within the box with Velcro along the entire perimeter, it will provide some extra support. I’ll add a little piece on the center bar that rests against the speaker baffle.
I did a few tests and the poplar is soft enough to take staples without splitting.
Next, I need to glue a lip inside the box to hold the grille frame. I’m kind of stalling on the Tolex phase for some reason, but I think once I paint the baffle and staple the grille cloth onto the grille frame, I’ll be ready to go.
I don’t have any right-angle clamps, so I used a piece of MDF as a level surface to do my clamping and gluing. I like the Gorilla Glue in this circumstance ‘cuz it expands and fills the cracks.
I was super proud of this structure for some reason. Maybe because it wasn’t very difficult to build. Hopefully it will be strong enough to provide at least some protection if the front takes a hit. The structure is rigid and the poplar is pretty strong. I’m thinking if I secure the piece within the box with Velcro along the entire perimeter, it will provide some extra support. I’ll add a little piece on the center bar that rests against the speaker baffle.
I did a few tests and the poplar is soft enough to take staples without splitting.
Next, I need to glue a lip inside the box to hold the grille frame. I’m kind of stalling on the Tolex phase for some reason, but I think once I paint the baffle and staple the grille cloth onto the grille frame, I’ll be ready to go.
More progress from the last few days...
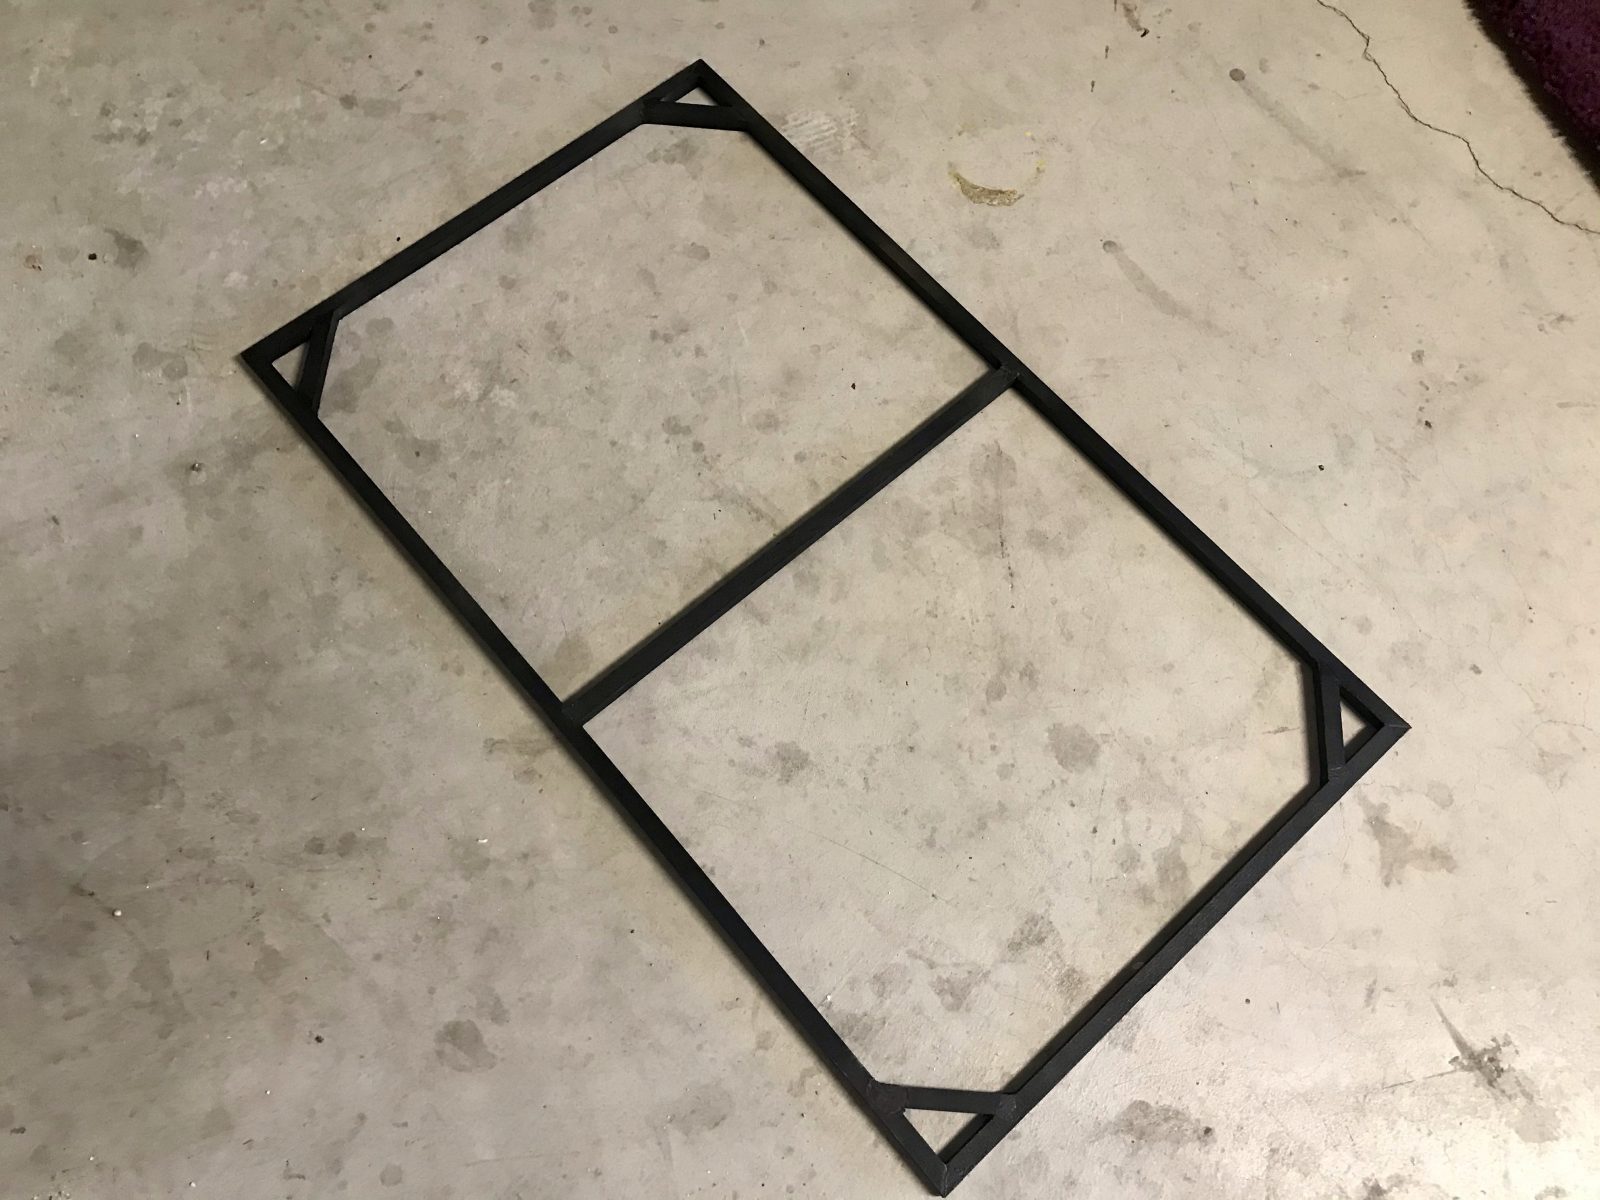
First thing, I spray-painted the frame for the grill cloth black.
The next order of business was to stretch the fabric over the frame and staple it along the edges.
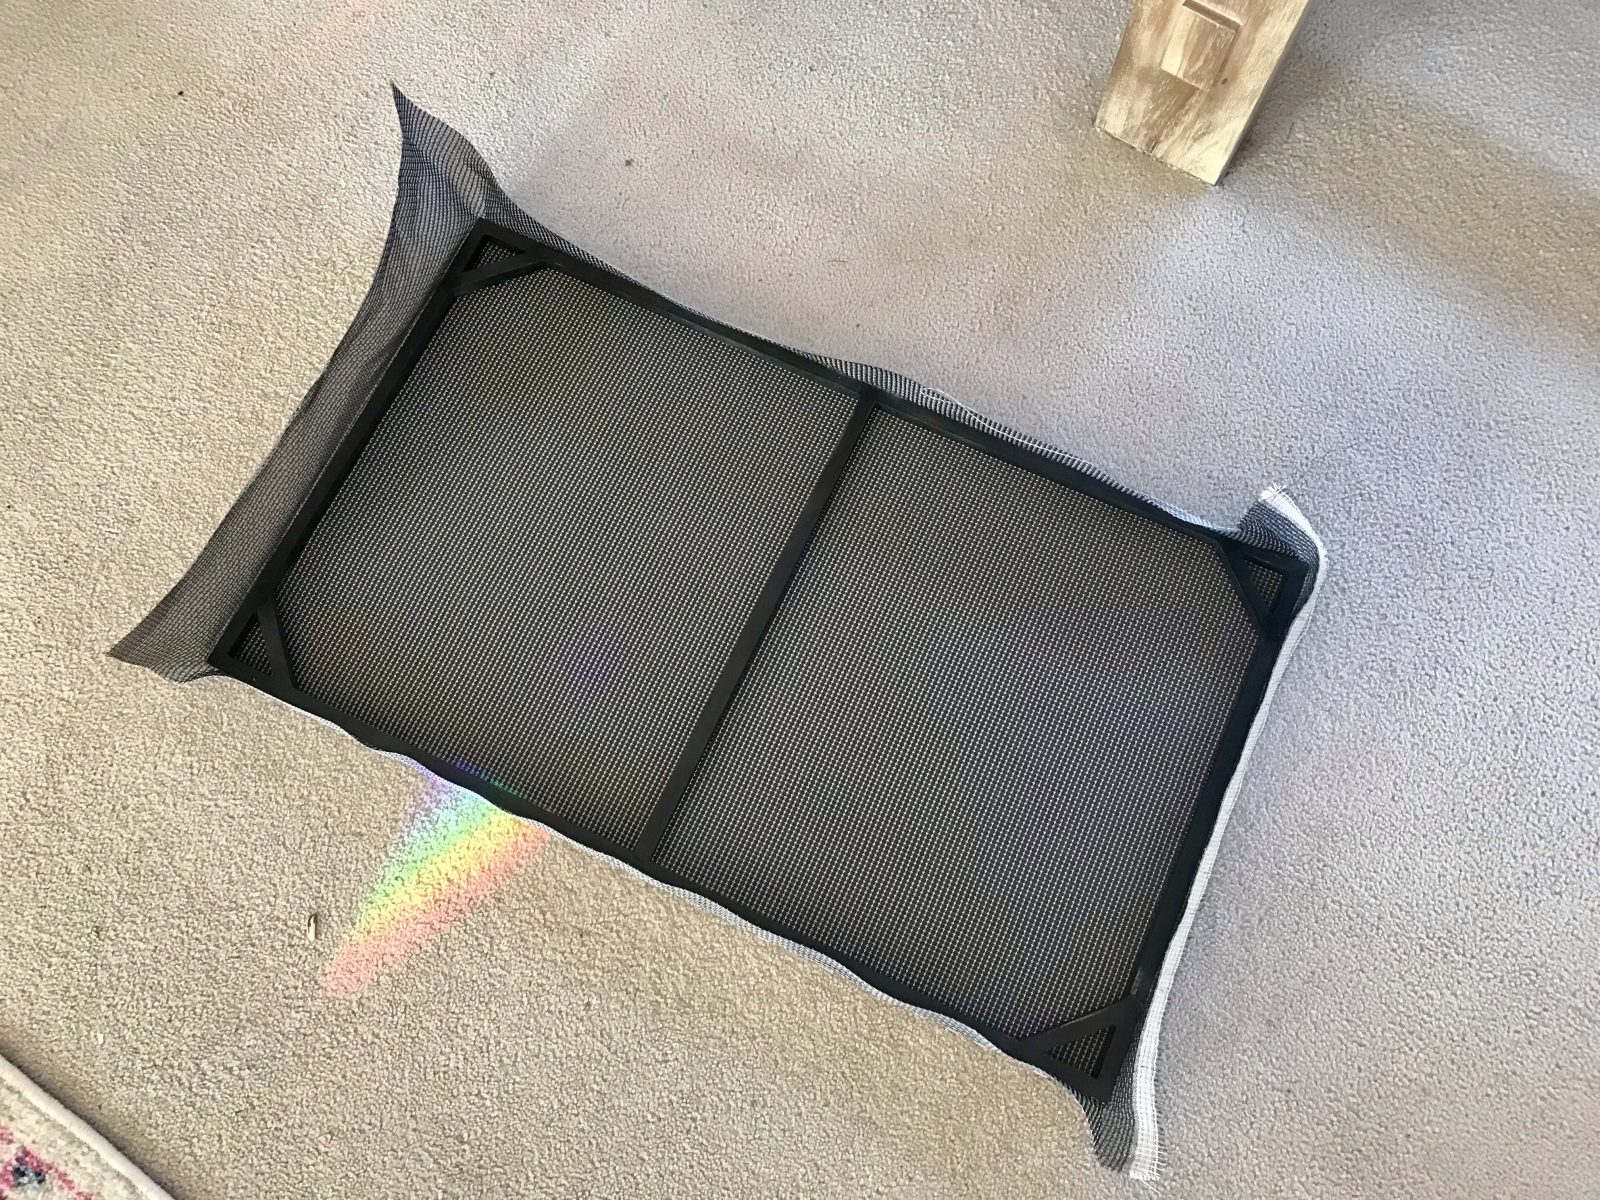
This was actually the hardest part of this project I’ve done so far. Lining up the fabric is tough and stretching taught at the same time was difficult. I ended up doing it twice. As an added challenge, the frame is pretty thin, so it would tend to flex a little once I got it into the box. That would make the fabric loose in some places. I sort of had to finesse it so the covered frame would go in easily.
Anyway, after stapling, I trimmed the excess off with a utility knife.
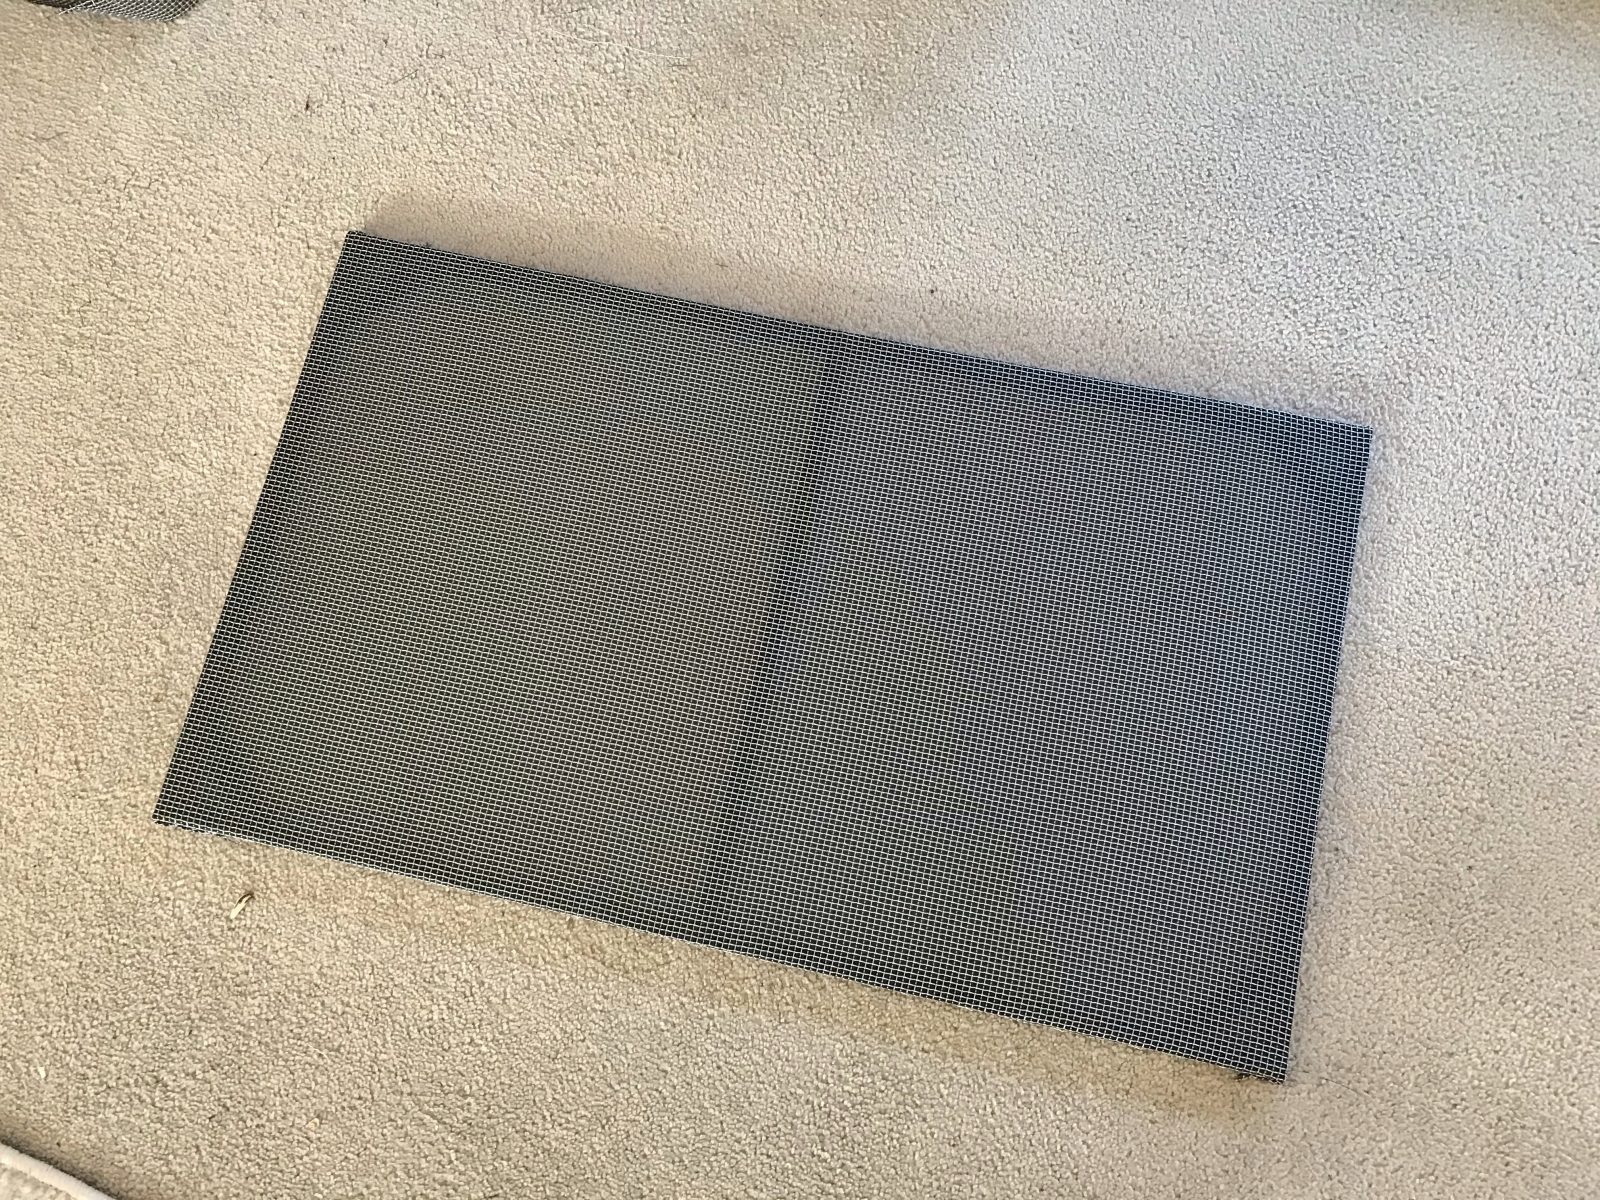
And here it is placed in the box!
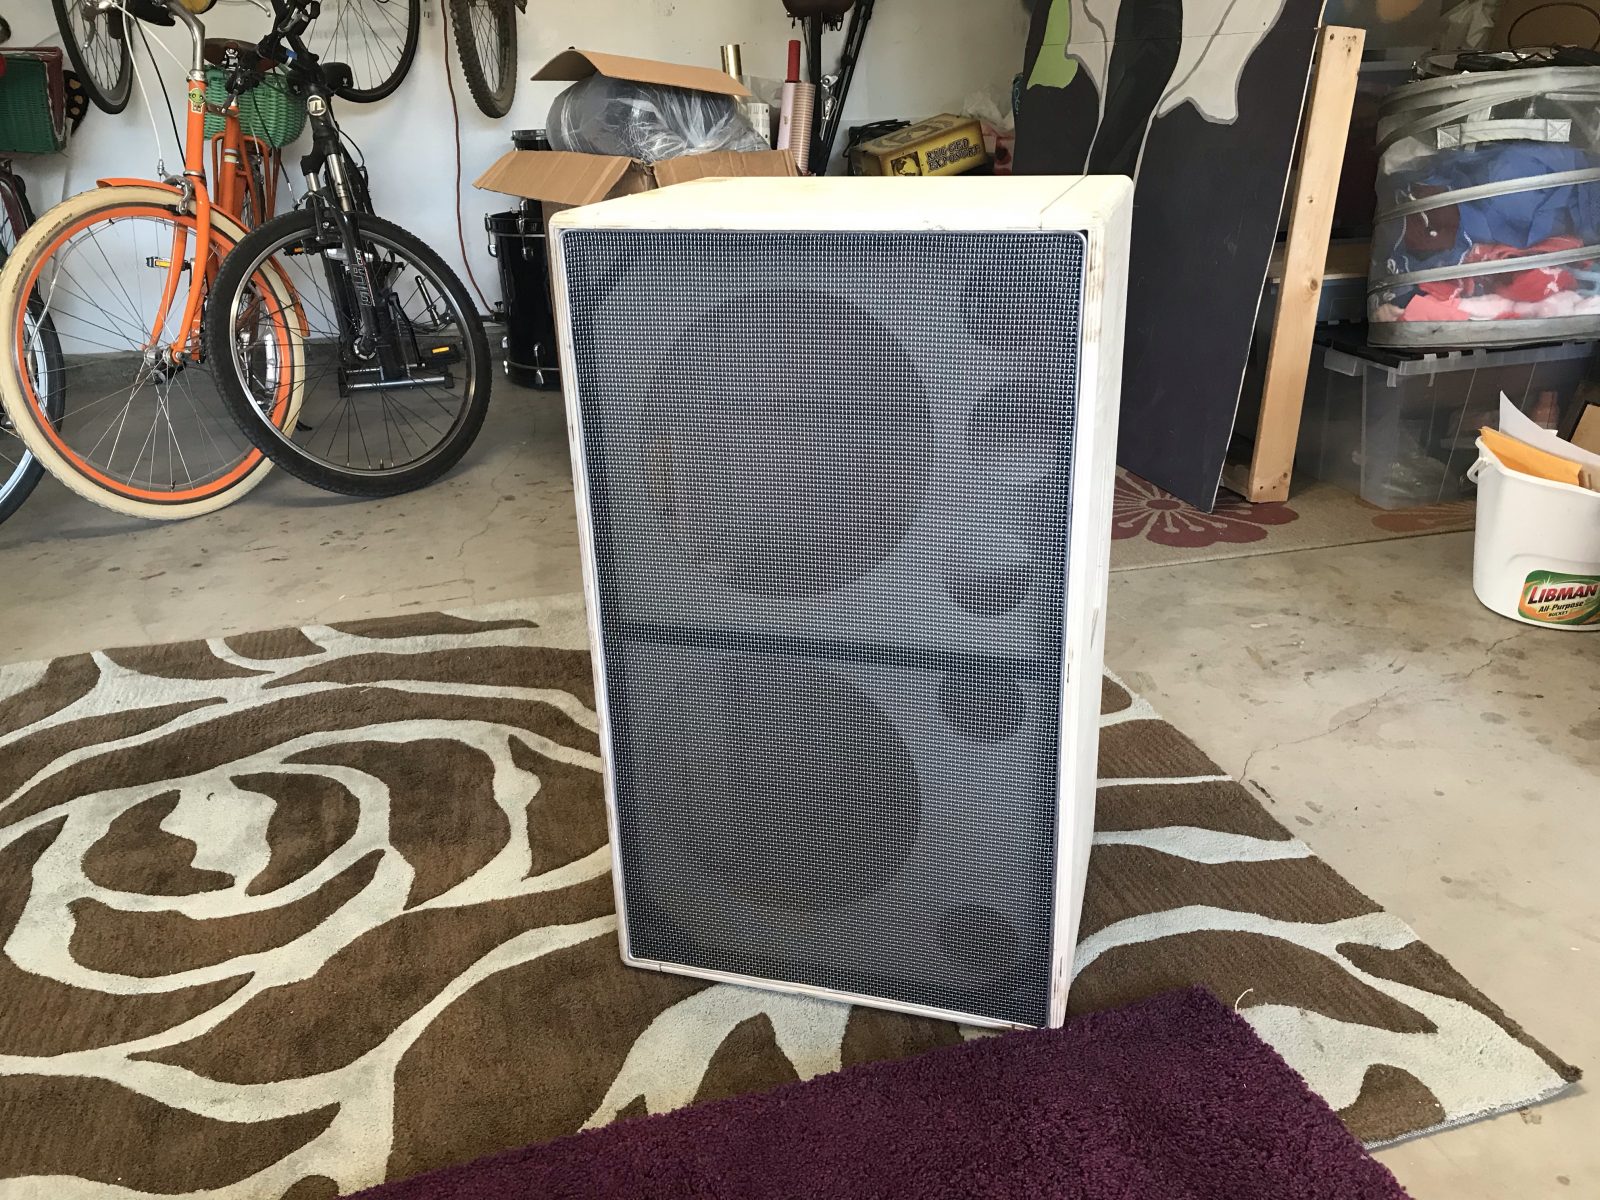
I need to point out that the picture on the MojoTone website showed a completely different fabric than the one I received. I was expecting and off-white cloth with black and silver accents. Instead, I got a black cloth with silver accents. It was sort of their “dollar bin” grill fabrics - it was $16/yard instead of the median price of $26/yard they were asking for the other fabrics. I decided that the black with silver would be OK and that it would too much trouble to send it back. I think it will look good against the red and white Tolex.
First thing, I spray-painted the frame for the grill cloth black.
The next order of business was to stretch the fabric over the frame and staple it along the edges.
This was actually the hardest part of this project I’ve done so far. Lining up the fabric is tough and stretching taught at the same time was difficult. I ended up doing it twice. As an added challenge, the frame is pretty thin, so it would tend to flex a little once I got it into the box. That would make the fabric loose in some places. I sort of had to finesse it so the covered frame would go in easily.
Anyway, after stapling, I trimmed the excess off with a utility knife.
And here it is placed in the box!
I need to point out that the picture on the MojoTone website showed a completely different fabric than the one I received. I was expecting and off-white cloth with black and silver accents. Instead, I got a black cloth with silver accents. It was sort of their “dollar bin” grill fabrics - it was $16/yard instead of the median price of $26/yard they were asking for the other fabrics. I decided that the black with silver would be OK and that it would too much trouble to send it back. I think it will look good against the red and white Tolex.
The next bit was to make a frame inside the box for the grill to attach. That was really just a matter of cutting wood strips and gluing them into the sides of the box. I used some leftover poplar and some Titebond.
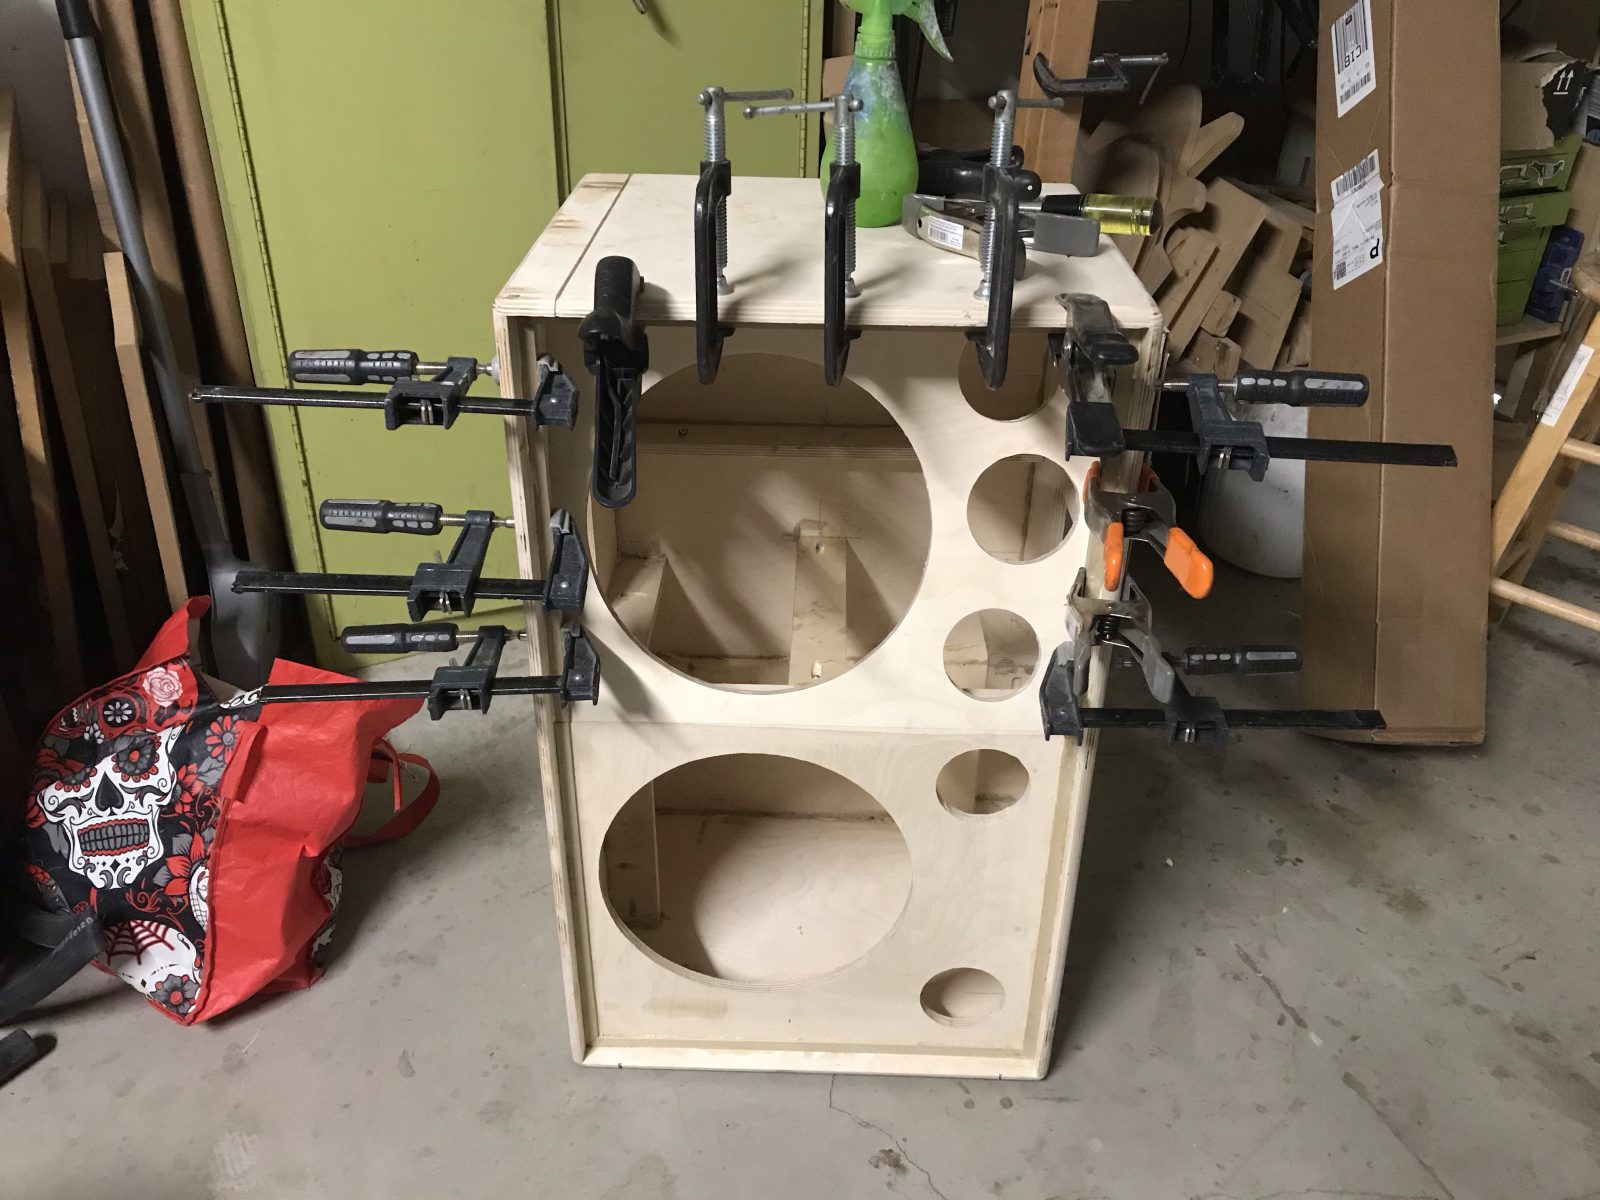
Then I spray-painted the face of the box black so that it wouldn’t show through the grill cloth. I started by masking off the lip where the Tolex will be glued.
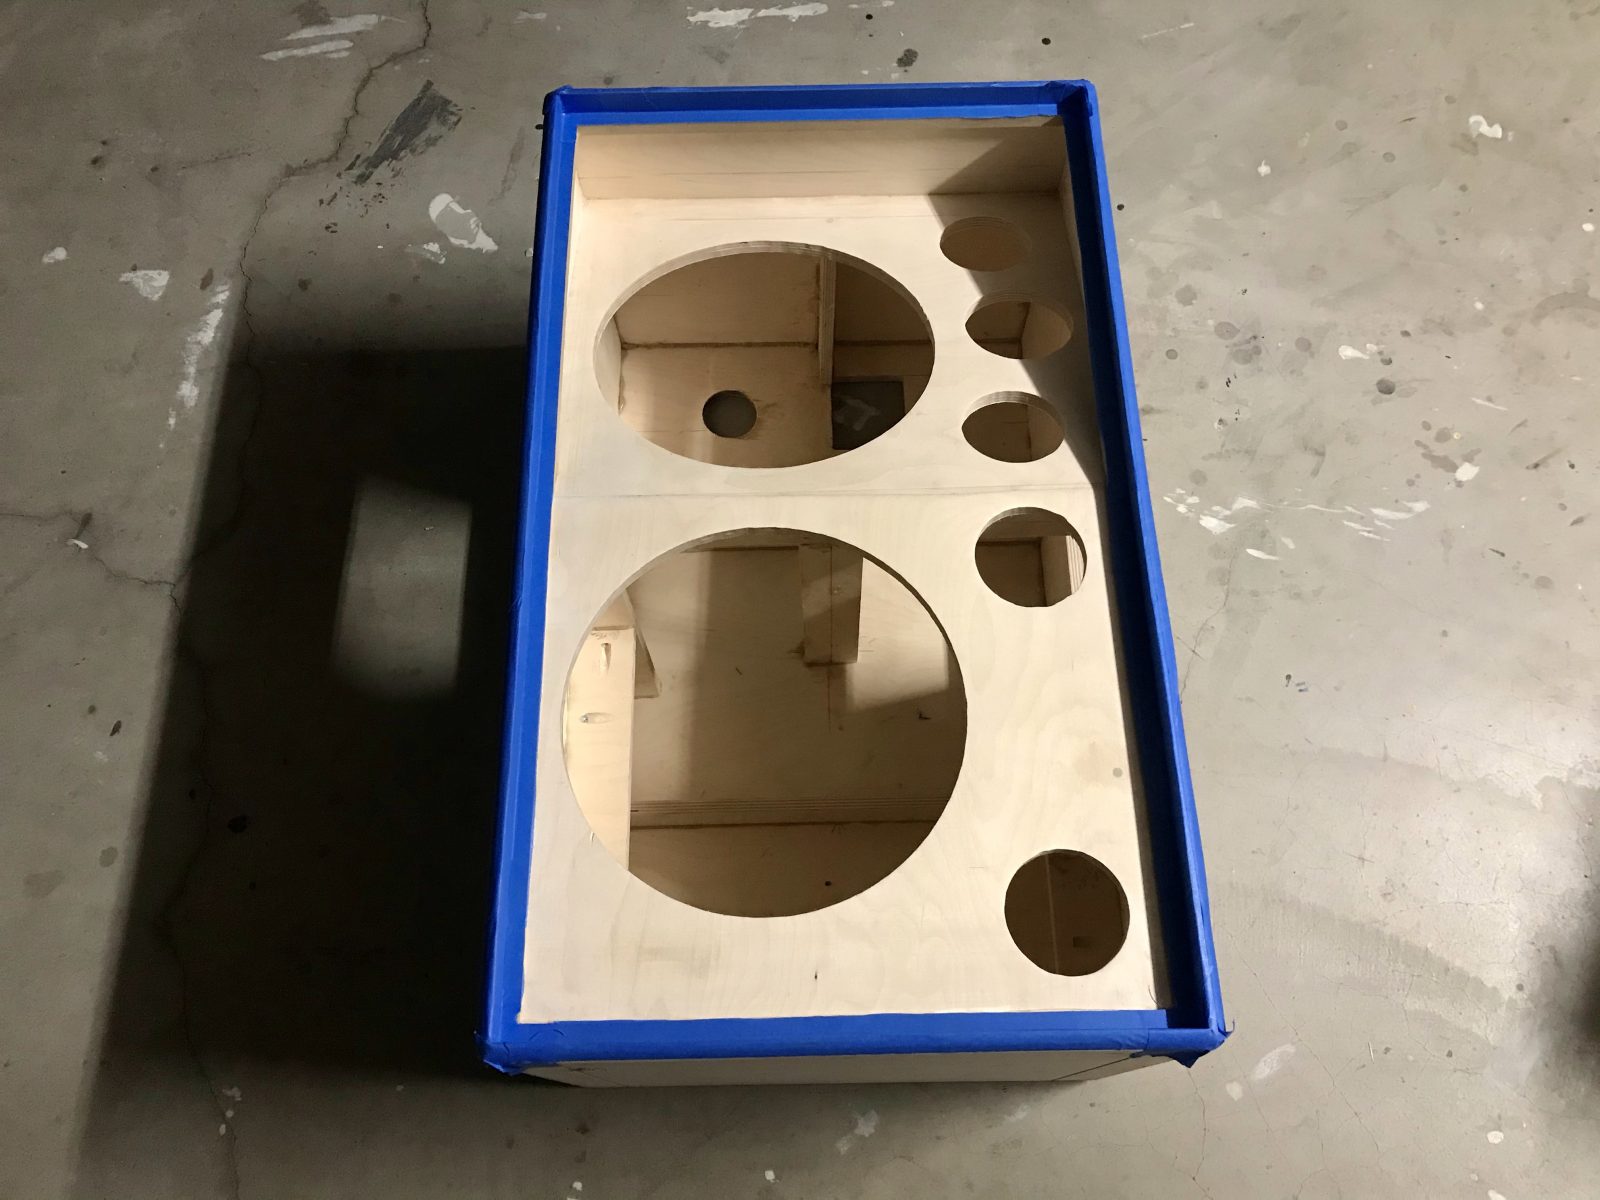
Then, I sprayed it.
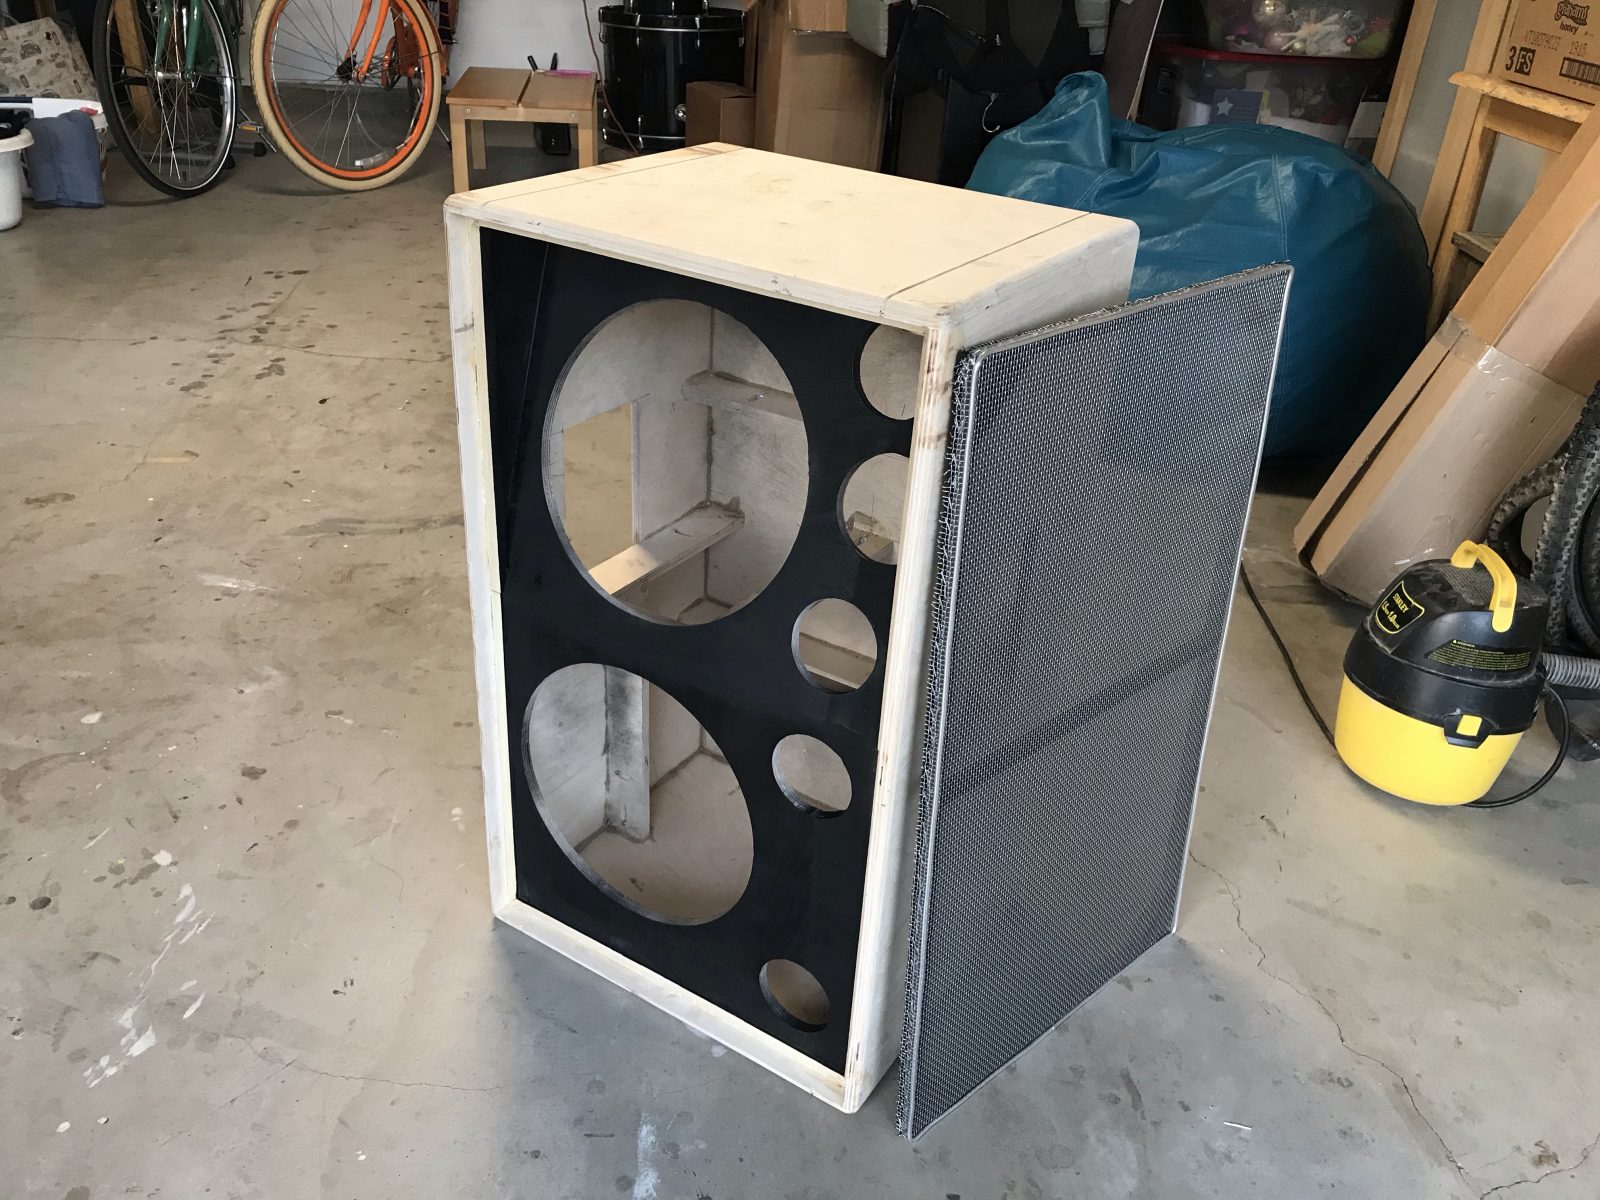
And that’s pretty much it before I wrap it in Tolex. I’m hoping to do that over the Thanksgiving weekend. But, tonight, I think I’ll pre-drill all the holes that will go into the outside of the box. From past experience, it seems that Tolex does not enjoy being drilled.
In any case, I hope everyone has a great pandemic Thanksgiving!
Then I spray-painted the face of the box black so that it wouldn’t show through the grill cloth. I started by masking off the lip where the Tolex will be glued.
Then, I sprayed it.
And that’s pretty much it before I wrap it in Tolex. I’m hoping to do that over the Thanksgiving weekend. But, tonight, I think I’ll pre-drill all the holes that will go into the outside of the box. From past experience, it seems that Tolex does not enjoy being drilled.
In any case, I hope everyone has a great pandemic Thanksgiving!