• TalkBass has been independent since 1998. Add your voice.
    Create a free account to reply to discussions, view embedded media, and browse with fewer display ads.
    Join freeLog in
    Want zero display ads or expanded classifieds tools? Compare plans.

Claro Walnut 5 String

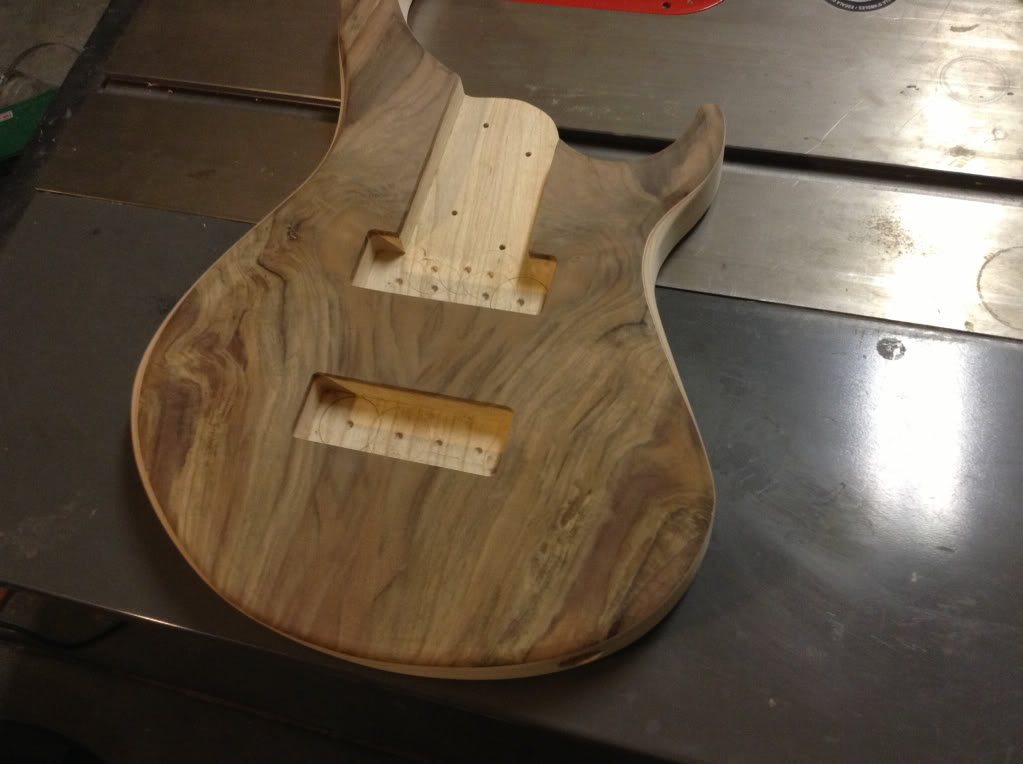
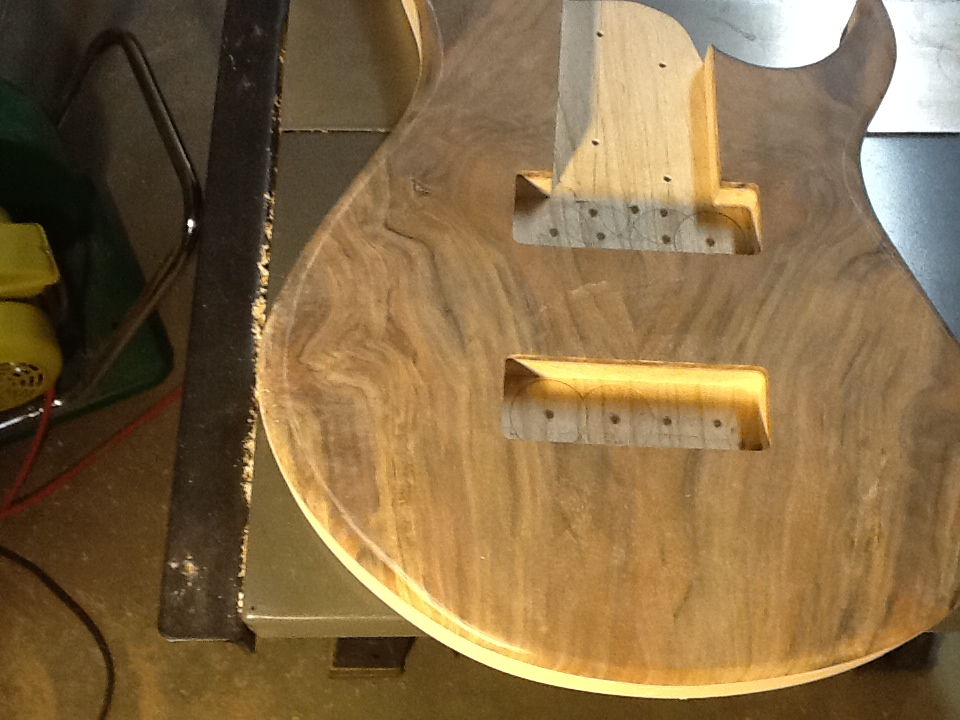
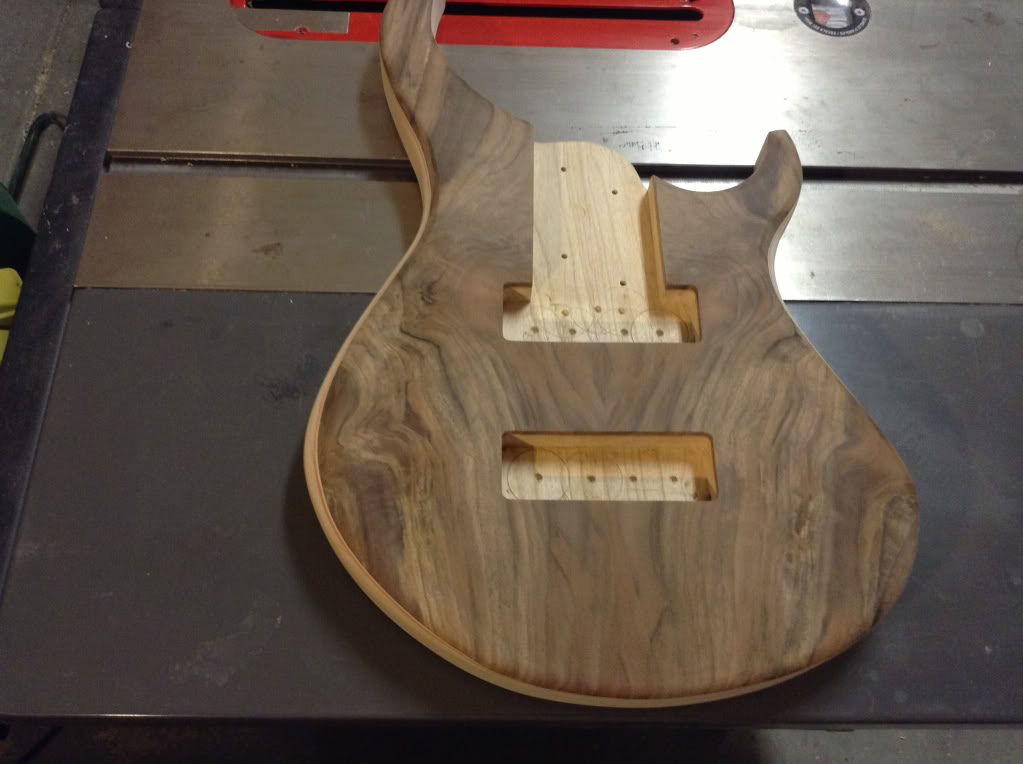
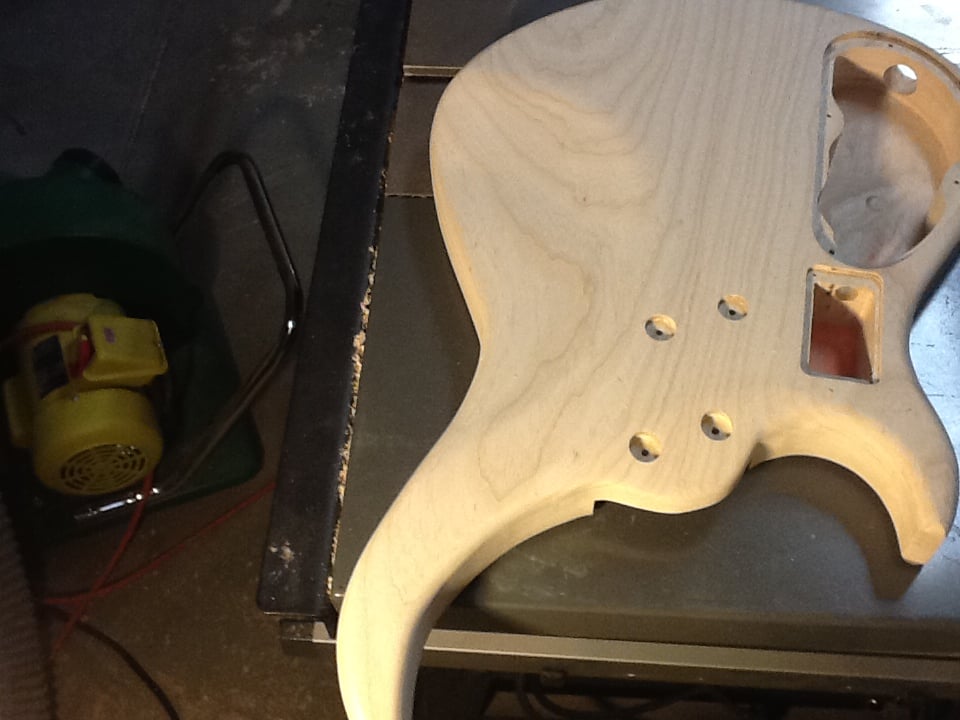
Body contours are done. I opted for a more subtle contour on the top this time around. Drawing them on with a chalk pencil, then using a couple different rasp and files the wood came off quickly. Followed it up with a RO sander and a sanding block.
7472dea1e3371d854a11afbade8661ca.jpg


e4f0c5961d63f7bbf7fb7f8f3f05c776.jpg


0cccd637561a2ace986e936839744fae.jpg


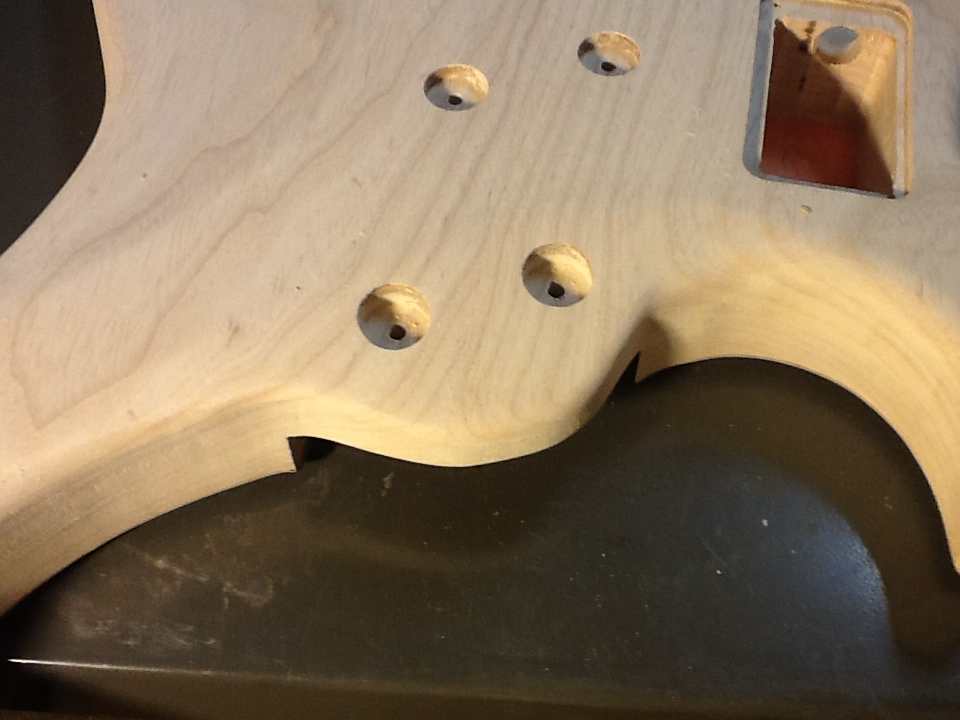
The rear contour for the heel was done in the same manner.
2528be57bd10fc26344a7e413560c429.jpg


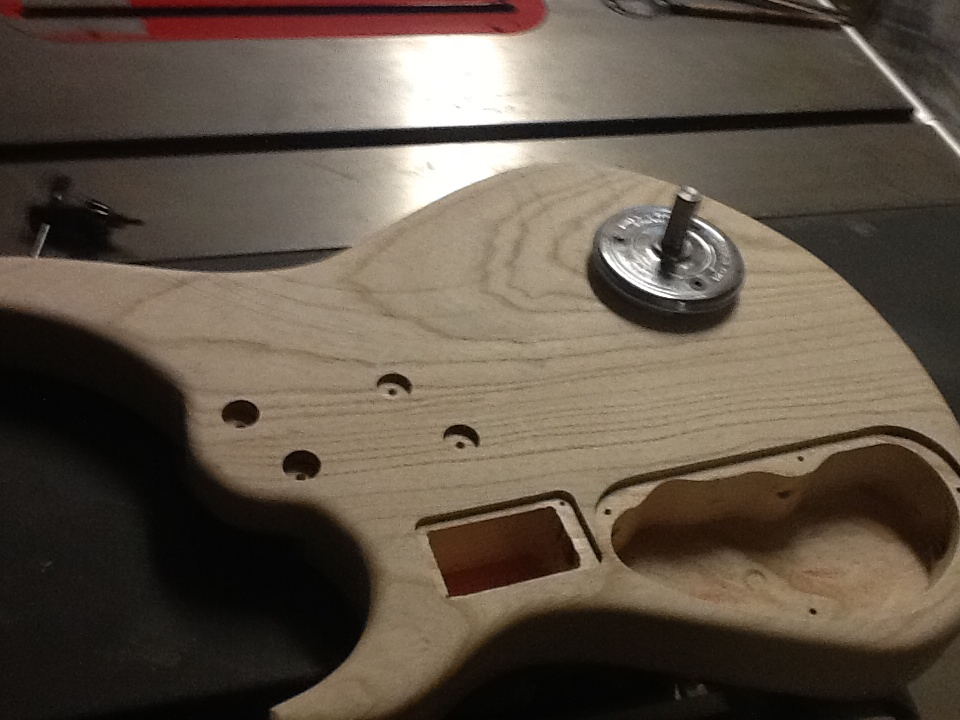
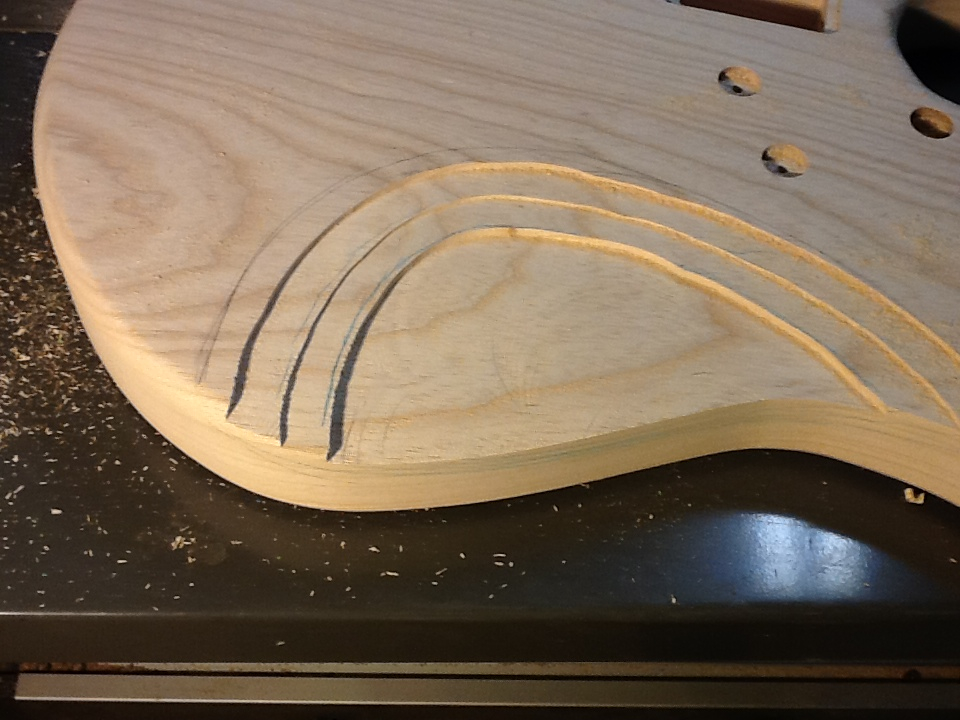
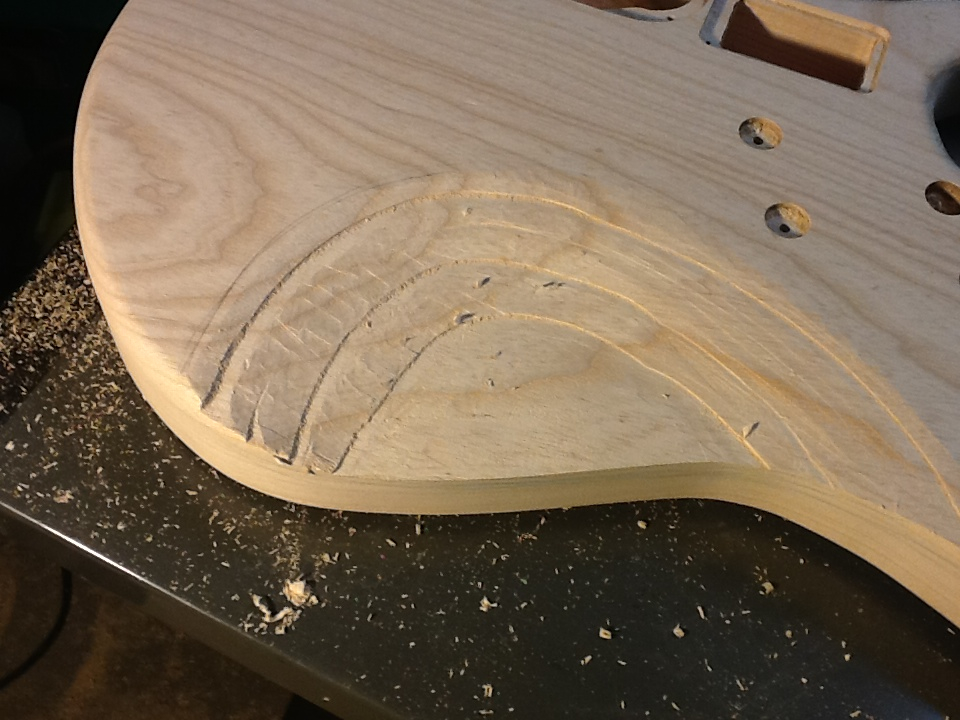
The tummy contour was done using a safety planer in the drill press. I drew on the contour lines and planed terraces into the body at 1/8th in depths.
ae2f37c4b314bfbc441a6cfd0ed94b28.jpg


e5cc7d424fbdef51d27d83de8d5a07ea.jpg


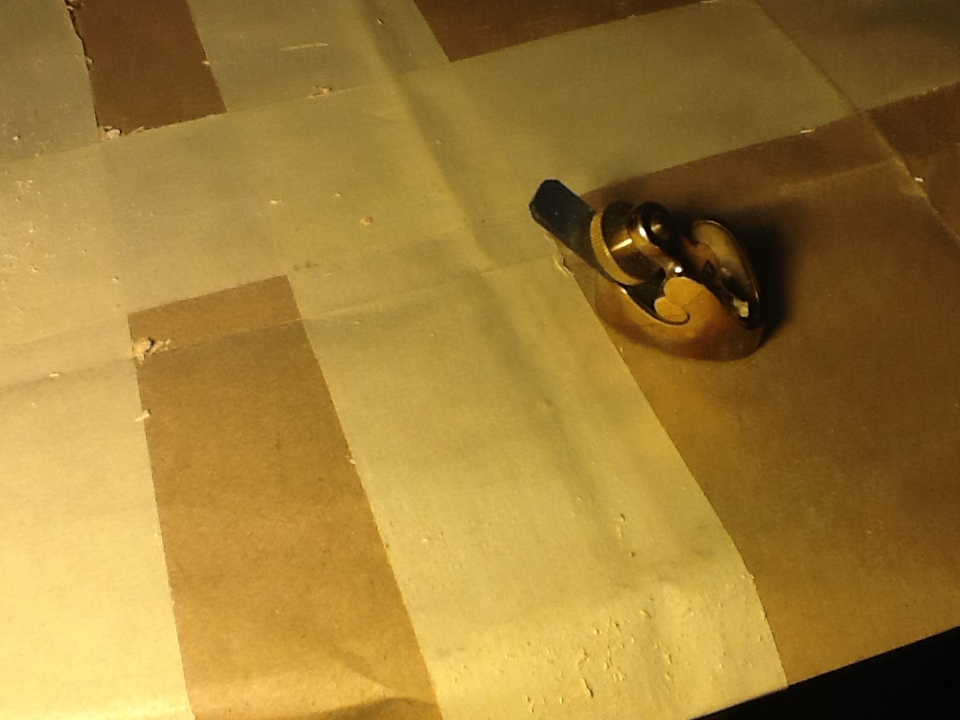
Then used a ibex plane to carve a bit of a transition.
dd340e92713f0d07a70fa18abbcb4c1a.jpg


I took this photo in the middle of carving. I looks a bit messy but in the end after hitting it with a sander it all smooths out nicely.
ad1f3ba5165f63aebf6cd5dcd3a44348.jpg


811f3e0d8b43d7a6679f9032aab84776.jpg
 
Thanks guys! Nice of you to say.

I'm making a bit of progress each day and am happy to report I'm nearly ready to start the pore filling and finish. I've decided to continue with using clear nitro (Cardinal Luthierlac from LMII).

First, here is a pic of the neck cap. I started by making a block the exact same height as the neck and fretboard. The used an MDF template with a hole large enough to cover the end of the neck. I used a neck pocket template because it had a straight edge I could line up with the end of the FB. I set the depth stop on my router for the same thickness as the piece and took a couple light passes.

f74ffc79f99803ceecb3d2170a5c5b67.jpg


Then I routed a short truss rod access in middle and cut the cap piece close to the same size as the end of the neck. After gluing it on and leaving it clamped overnight I turned the neck on its FB and routed everything flush with a pattern bit.

bd7dc10b51093d4da157123071b9bb32.jpg


2013-10-21141646.jpg


Fingerboard radius is 16" at the zero fret and goes to 20". I used blocks and a straight edge to check my progress. I'll be making a jig for this before I do it again. Also used a fret tang nipper to remove a bit of tang before installing the frets and trimming off the excess wire over-hang.

bdc5023f6b13dc201726b1300cb90591.jpg


bab35653d4d854f6bab8ec99b486e122.jpg


Thanks again for watching!
 
If you don't mind my asking, why did you decide on the Jescar Gold?

I was looking for a change in Fretwire. Gold evo is supposedly more durable than nickel/silver but won't ruin your tools like Stainless Steel. Plus I felt the color would add a nice touch paired with the wenge FB.
 
It looks amazing. I might want to try this out on one of my builds someday.

So far I love it. It's available from LMII and a few other places on the web. You can buy it directly from Jescar as well. I wanted to try it out before I bought a bunch of it so I got 12 ft of it from LMII.
 
I think it looks really good with that fretboard. I used some on my last guitar too, along with gold hardware and liked it a lot.

I agree. I'll be using it again for sure. I'm not sure how it would look on a maple FB but it definitely will compliment anything that's darker than maple.
Have you found that it doesn't wear as quickly as nickel/silver? That's the claim and I'm curious to know if people who have used this stuff before find it to e true.
 
A bit more to sand and go over anything I may want to tweak and its ready for finish. I'll sand the whole thing and do a couple coats of sealer then pore fill with Zpoxy (like Maurizio does) to give it a good level surface. There is a spot on the front that I need to fill with Zpoxy to level the surface. It was a flaw in the wood and one of the reasons I haven't drilled the holes for the preamp yet.

6b2d072bcf713c97ff429b30c643eacd.jpg


3cf7610a00ea95f732778d3231f7bb11.jpg
 
Looks fabulous! Incredibly clean and precise work, I love how it all has come together.

The figuring on that walnut looks very similar in many ways to a redwood burl top I finished over the summer. Just like on your bass, there were a few voids and swirls around the area of the control cavity that made me a little nervous in terms of stability, so I opted to reinforce the inside floor of the cavity with a thin sheet of polycarbonate from Home Depot to give it some extra strength and ensure any loose spots in the burl had something rock-solid to adhere to.

Something to consider if you're at all concerned about the structural rigidity of that walnut!

Lonnybass