

Enjoy the benefits of a premium membership!
Upgrade Account
-
TalkBass has been independent since 1998. Add your voice.
Create a free account to reply to discussions, view embedded media, and browse with fewer display ads.
Join free Log in
Want zero display ads or expanded classifieds tools? Compare plans.
You are using an out of date browser. It may not display this or other websites correctly.
You should upgrade or use an alternative browser.
You should upgrade or use an alternative browser.
EUB project
- Thread starter JIO
- Start date
More options
Who Replied?

- Jun 30, 2010
- 49,612
- 222,128
- Disclosures
- musician/artist/owner - Gildaxe
I would suggest keeping your body shape (love it) but making it bigger all around.
Good call - I did take that into consideration after studying the pics, to take more advantage of the wood character. But also want to keep it minimal as far as weight and moving around. A bit bigger wouldn't hurt.

- Jun 30, 2010
- 49,612
- 222,128
- Disclosures
- musician/artist/owner - Gildaxe
More drawing led to something asymmetric allowing the character in the grain to have more space around it. Sperzel tuners fitted, shop time tomorrow. Tuners clear the hs - just doesn't look that way in this shot.


- Jun 30, 2010
- 49,612
- 222,128
- Disclosures
- musician/artist/owner - Gildaxe


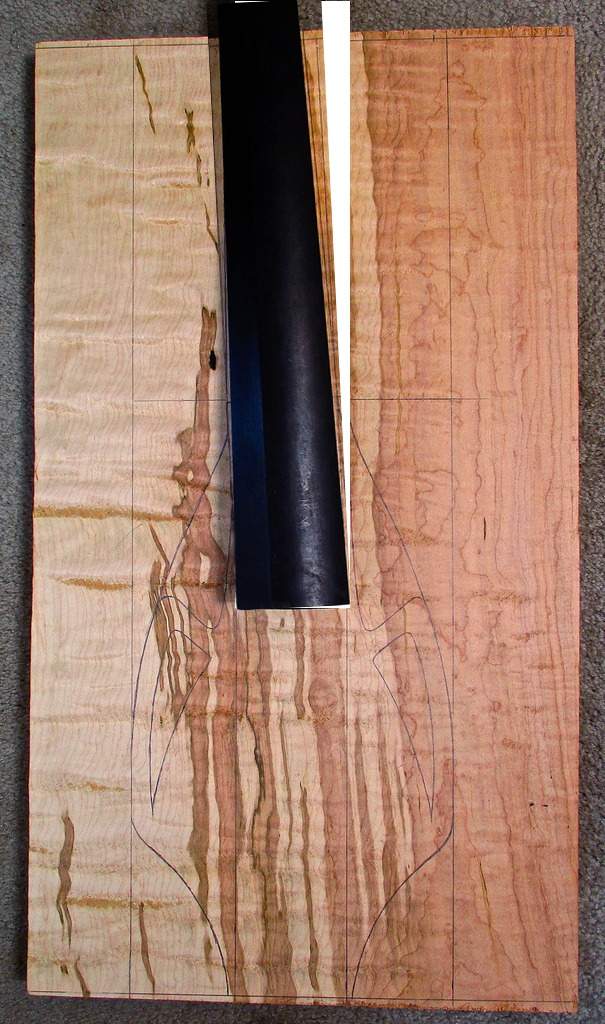
I like both body shapes, but I keep seeing the fingerboard and centerline a few degrees counterclockwise. To my eye, it feels like it should line up vertically with the streaks below it. Knowwhaddimean? I did a terrible photochop of what I'm getting at below:
- Jun 30, 2010
- 49,612
- 222,128
- Disclosures
- musician/artist/owner - Gildaxe
I like both body shapes, but I keep seeing the fingerboard and centerline a few degrees counterclockwise. To my eye, it feels like it should line up vertically with the streaks below it. Knowwhaddimean? I did a terrible photochop of what I'm getting at below:
View attachment 845708
It's really nice to have old pals @charlie monroe and @Beej add their 2cents on my foray into this project… I see what you've graphically done Beej
 and understand your concern but I was keying off of the left-most grain 'flow' for vertical direction cues. The center area under the neck will have sufficient dynamic visually verticality because of the stings, pu's and bridge. As you can see in my revised sketch, the slight misalignment at the center right is more than off-set by the predominate left side vertical alignment, so that the deliberate off-set elsewhere creates a non-static balance - especially when considering an overall organic design. Love your interest - please keep it coming!
Random ramblings:
- I'd love to see herringbone binding or violin purfling on this. At least to accent the "F" holes if not whole body.
- Are you going to radius the top?
- I know the price was right, but can't you make better use of light weight tuners than on a bass with a floor peg?
- Control layout? I don't think I want to see knobs on the front of the body on this one. Maybe thumb wheels in the F hole?
- I'm thinking Black Cherry Burst stain, maybe Brownburst - but that might be a little too traditional
Very interesting. A long scale UREBG (rather than an EUB) is a strong contender for my next build. I hadn't really considered making it bowable, just cause that's foreign to me, but after watching some of the NS Omni videos I'm intrigued. I'm especially intrigued about seeing some of the p-bass pickups on such small radius necks - since a 5-string P is one of the other driving goals. (I'm also not sure about trying to fret such a small radius, but I kinda need my frets.)
- Jun 30, 2010
- 49,612
- 222,128
- Disclosures
- musician/artist/owner - Gildaxe
Random ramblings:
I could keep going, but I think that's enough cannon fodder to get us started, lol.
- I'd love to see herringbone binding or violin purfling on this. At least to accent the "F" holes if not whole body.
- Are you going to radius the top?
- I know the price was right, but can't you make better use of light weight tuners than on a bass with a floor peg?
- Control layout? I don't think I want to see knobs on the front of the body on this one. Maybe thumb wheels in the F hole?
- I'm thinking Black Cherry Burst stain, maybe Brownburst - but that might be a little too traditional
Binding sounds interesting… will definitely consider. The body will be arched by cutting it into 3 (angled) vertical sections and shaping once re-attached. The maple is only an inch thick so I will figure out a way to mount the controls on the back within the hollow formed by the arch so the front will stay clean. Still need to figure out the pu arrangement but I wanted to get the body done first. As far as using the Sperzel tuners, I see what you are saying but I'm using them because of their functional/aesthetic qualities even if weight isn't critical - they are just damn nice tuners! I like the paddle shape, the simplicity of their non-wrap locking posts and small footprint. Finish is open but whatever it would be will be translucent. Since the neck is pretty devoid of flaming etc, I may gild it and have have Marty do a dark trans-tobacco so you can see the gilding through it in brighter light. Maybe a subtle honey-burst ala Les Paul on the body face, especially if using cream binding. With this in mind I could have the tobacco continue over the back of the body and possibly fade over the edge. The mind reals...
Last edited:
- Jun 30, 2010
- 49,612
- 222,128
- Disclosures
- musician/artist/owner - Gildaxe
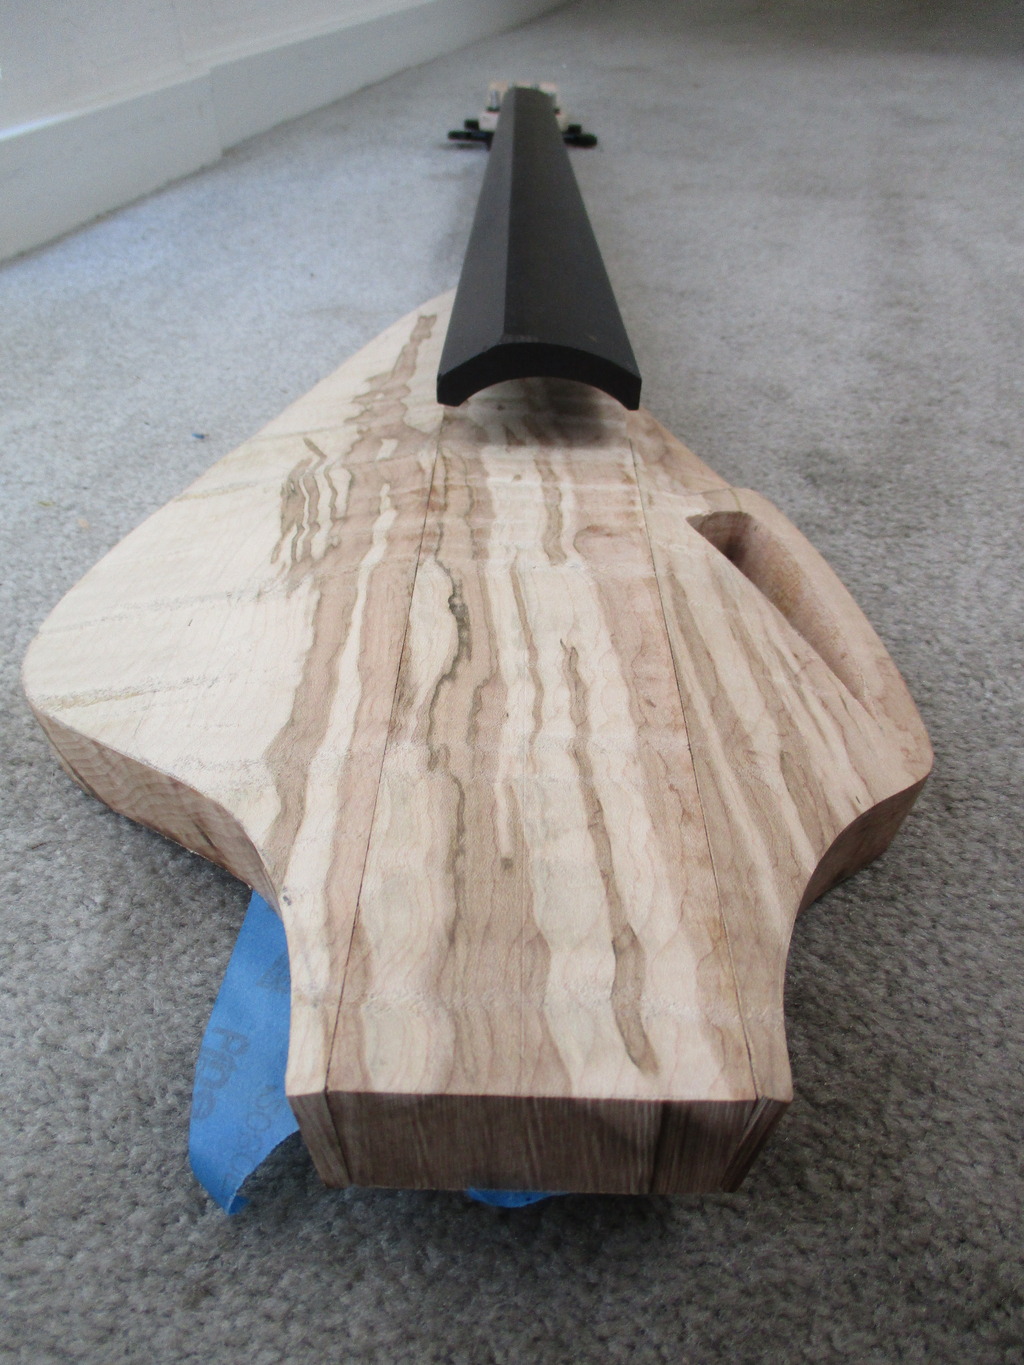
A couple hrs in the shop got me to this point - body pieces cut out, 'slash' hole removed, a bit of routing, some sanding and a start on sculpting. Maple is a hard wood in general but this blank is very hard/heavy. I want to connect the body pieces, fb to neck and neck to body before I do much more sculpting. Probably want to do binding routing before assembly also. So far so good.


I taped together the pieces for this shot - a gentle curve is what I was after.
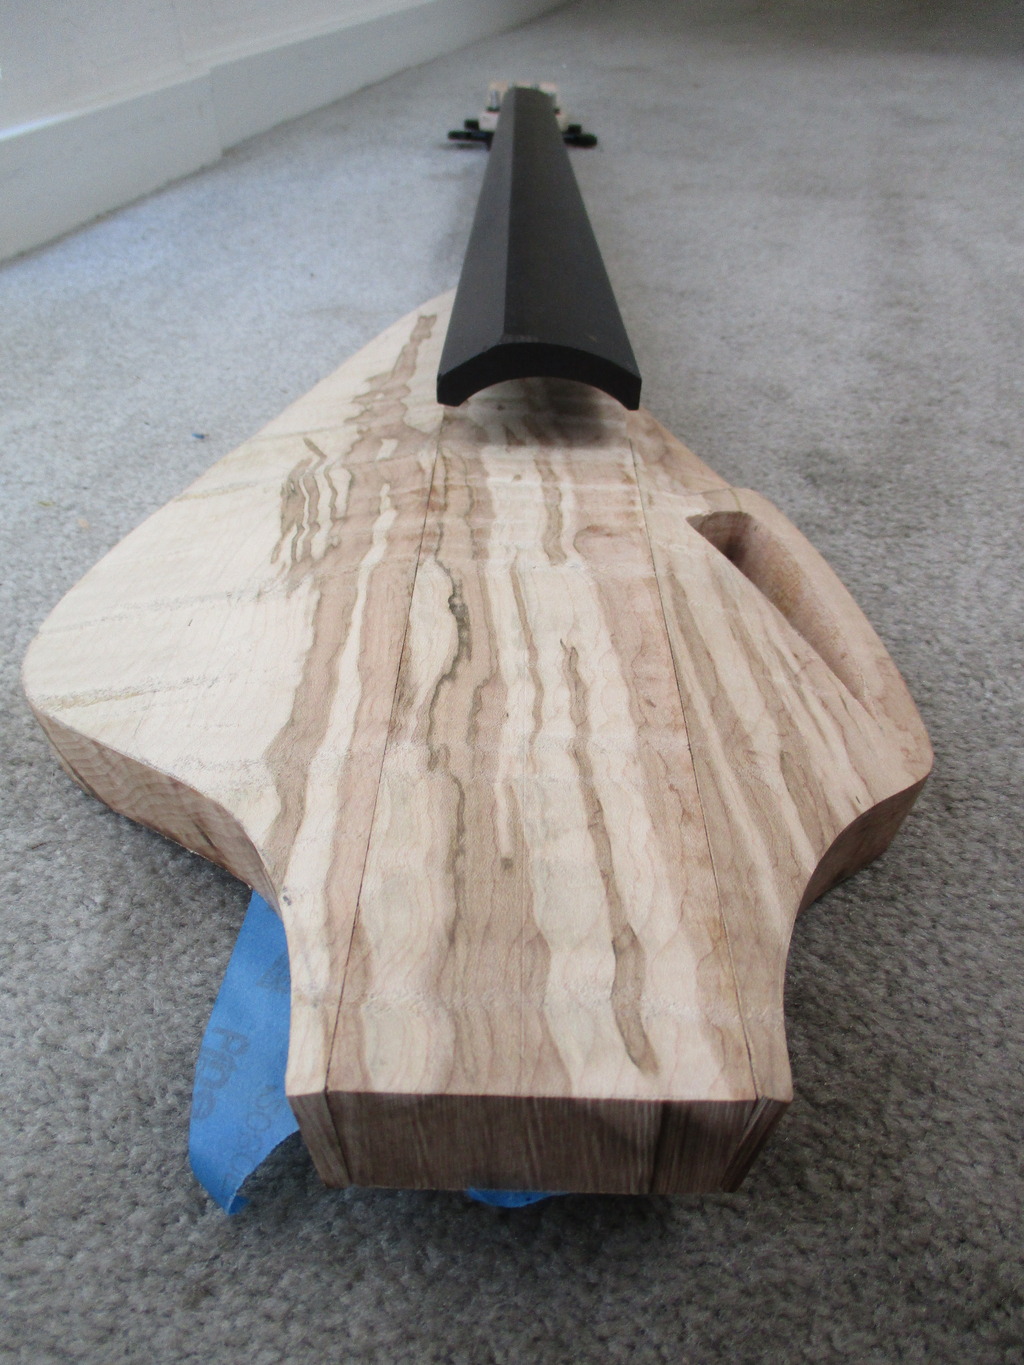
I taped together the pieces for this shot - a gentle curve is what I was after.

A couple hrs in the shop got me to this point - body pieces cut out, 'slash' hole removed, a bit of routing, some sanding and a start on sculpting. Maple is a hard wood in general but this blank is very hard/heavy. I want to connect the body pieces, fb to neck and neck to body before I do much more sculpting. Probably want to do binding routing before assembly also. So far so good.


I taped together the pieces for this shot - a gentle curve is what I was after.
That is elegant!
I was checking out your pics again, and a bird of prey jumped out at me.



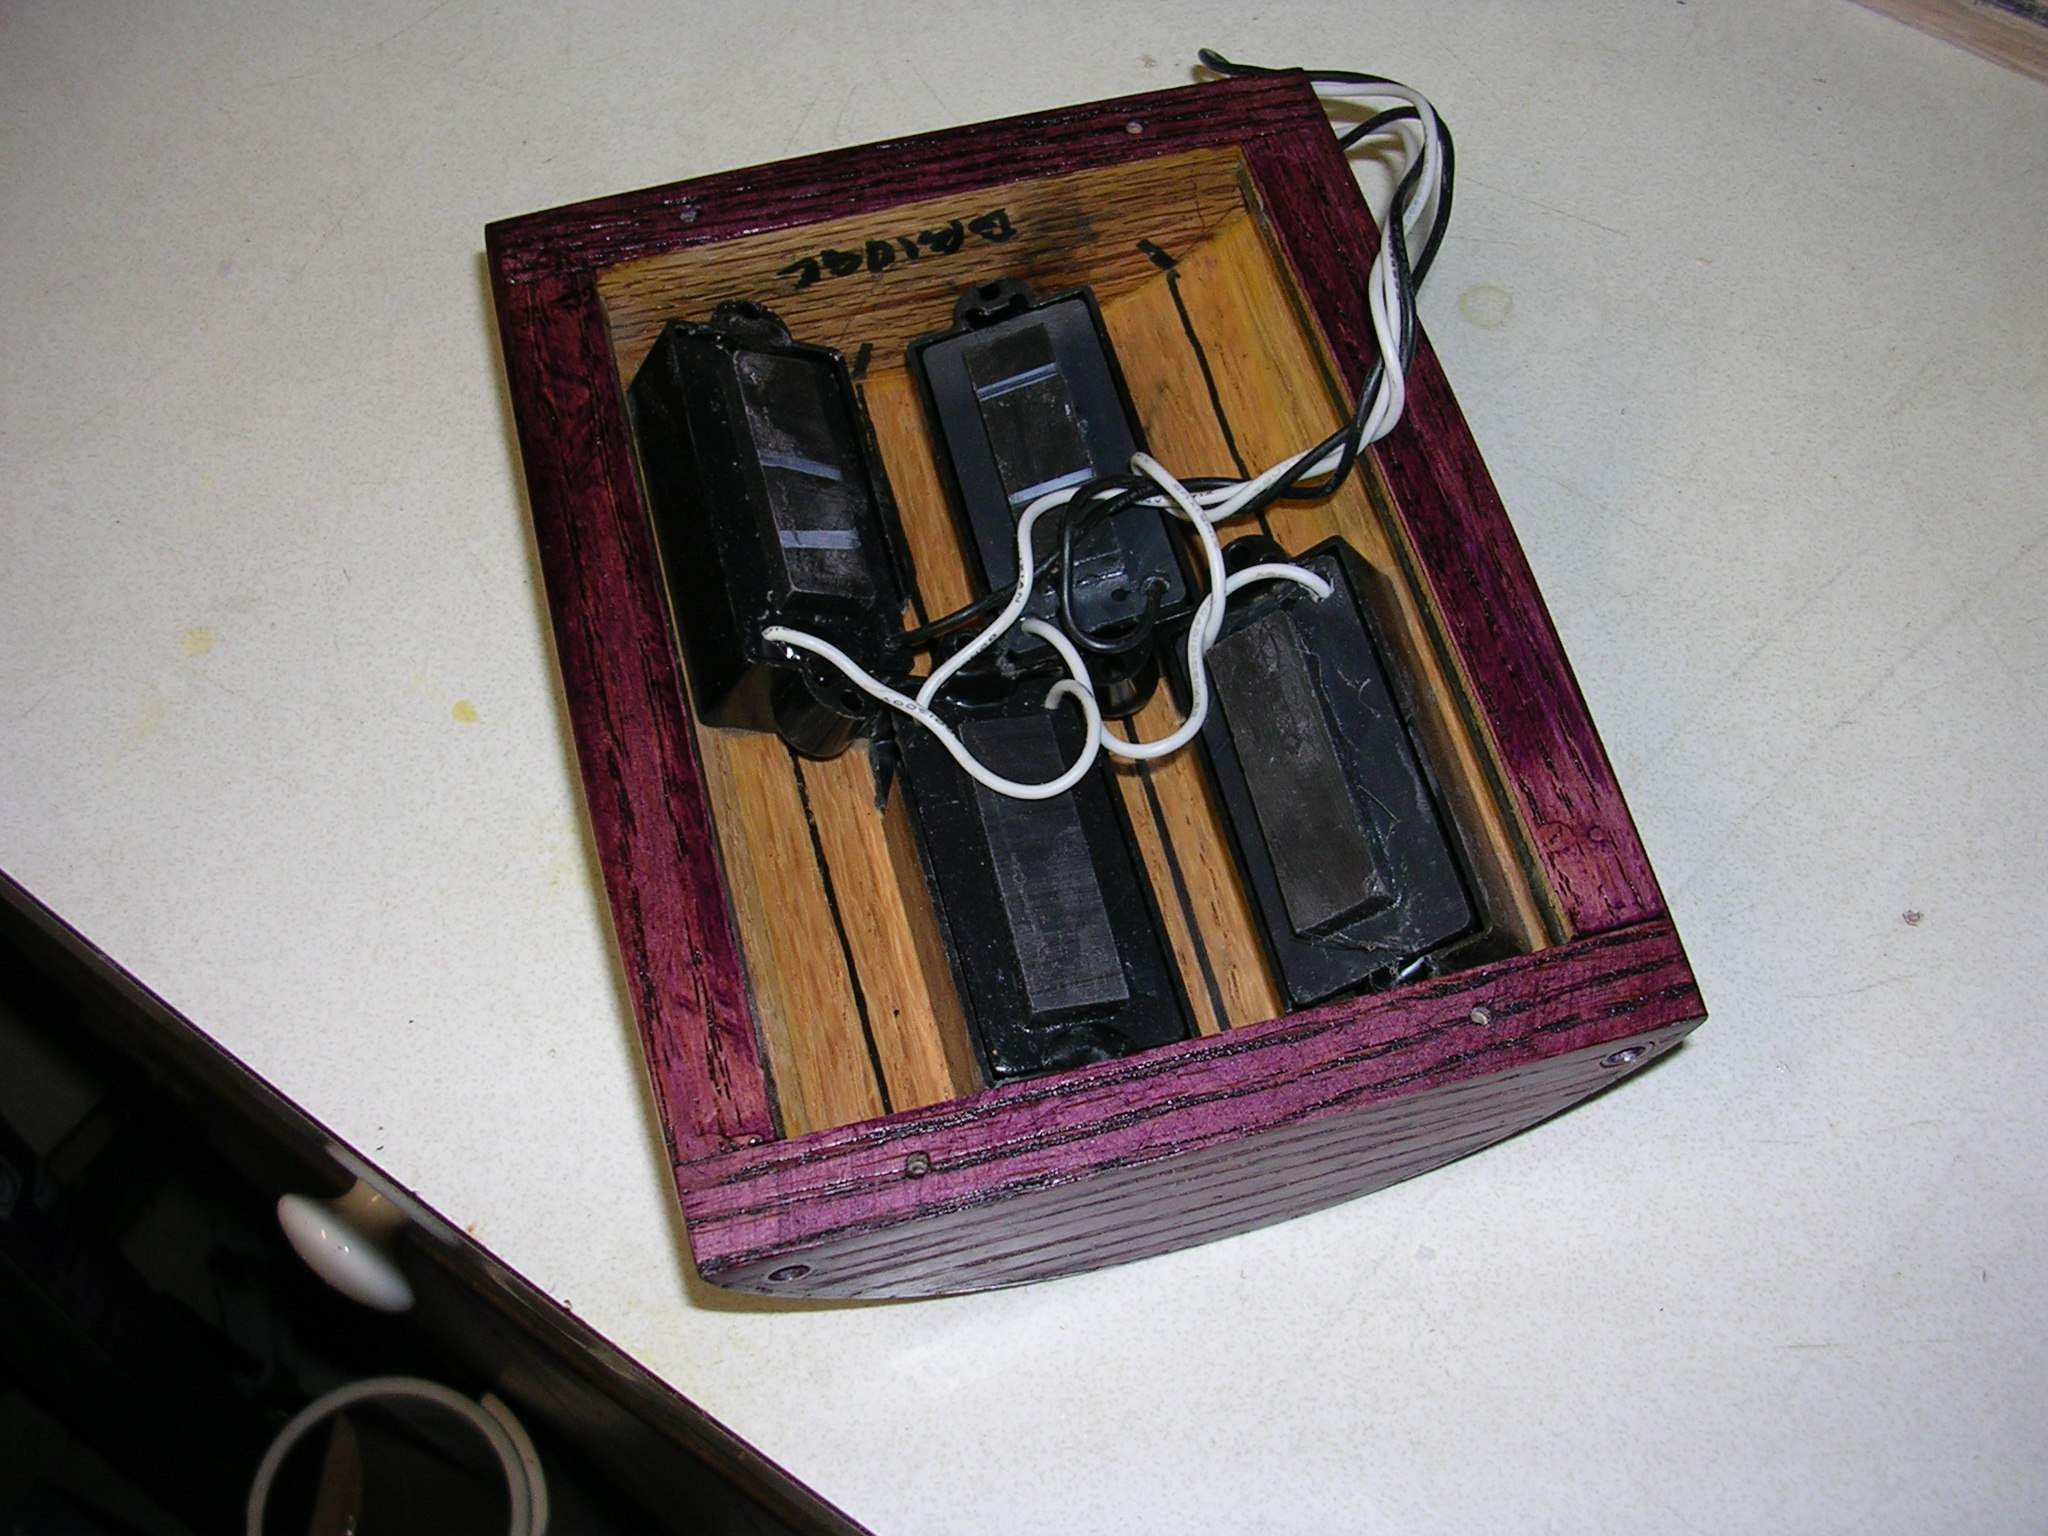
I don't know if this will be helpful at this point in your build...maybe a little too late. Earlier in this thread, Jisch mentioned that I am making an EUB, and using steam bent wood to make a pickup assembly. Here it is. Spoiler alert on the color of my bass (if I ever start a build thread).
I cut some thin (~3/32" thick) oak sections from some oak flooring for the pickup cover. It took four pieces (approx. 1.5" wide x 6" long x 3/32" thick) to make the cover. I steamed them and clamped them inside a PVC pipe to get the proper curvature to match my fingerboard (2.5" radius). I glued the four curved sections side by side onto the "D" shaped end pieces of this pickup assembly. The "D" pieces are held together with some 1/4" diameter tubing for structural purposes.
The pickups are cheapo Fender P-bass copies ($15 for both sets). I used small dabs of silicone RTV to hold them in place. I want to be able to remove them if the pickups are no good. The two sets have very different DC resistances (poor quality control), so I may have to change them out for something better when my bass is all assembled and tested.

- Jun 30, 2010
- 49,612
- 222,128
- Disclosures
- musician/artist/owner - Gildaxe
I was checking out your pics again, and a bird of prey jumped out at me.
View attachment 846547
View attachment 846541
EUBird?
I don't know if this will be helpful at this point in your build...maybe a little too late. Earlier in this thread, Jisch mentioned that I am making an EUB, and using steam bent wood to make a pickup assembly. Here it is. Spoiler alert on the color of my bass (if I ever start a build thread).
I cut some thin (~3/32" thick) oak sections from some oak flooring for the pickup cover. It took four pieces (approx. 1.5" wide x 6" long x 3/32" thick) to make the cover. I steamed them and clamped them inside a PVC pipe to get the proper curvature to match my fingerboard (2.5" radius). I glued the four curved sections side by side onto the "D" shaped end pieces of this pickup assembly. The "D" pieces are held together with some 1/4" diameter tubing for structural purposes.
The pickups are cheapo Fender P-bass copies ($15 for both sets). I used small dabs of silicone RTV to hold them in place. I want to be able to remove them if the pickups are no good. The two sets have very different DC resistances (poor quality control), so I may have to change them out for something better when my bass is all assembled and tested.
Not too late - I've not yet focused on pu's. So one 1/2 of a P for each string… interesting. The result would be a response much like a standard P-bass set-up but I wonder if it will create something different being doubled like that. I'm going to look for the small Mustang/Musicmaster style P pu's if I can find them. I like your idea for a stealthy cover - using a veneer would work also with a support/base of some sort. I think I would attach/mount the pu's to the bass, and attach the cover over them. Do keep us informed with your progress and thanks for posting.
EUBird?
Not too late - I've not yet focused on pu's. So one 1/2 of a P for each string… interesting. The result would be a response much like a standard P-bass set-up but I wonder if it will create something different being doubled like that. I'm going to look for the small Mustang/Musicmaster style P pu's if I can find them. I like your idea for a stealthy cover - using a veneer would work also with a support/base of some sort. I think I would attach/mount the pu's to the bass, and attach the cover over them. Do keep us informed with your progress and thanks for posting.
I had originally thought about mounting the pickups to the body. Then I realized it would be tough to get them to fan out radially from some central axis. Mounting to the curved cover positions the pickups nicely, and gets them closer to the strings, I think...YMMV. Unfortunately, there is a lack of adjustability.


