• TalkBass has been independent since 1998. Add your voice.
    Create a free account to reply to discussions, view embedded media, and browse with fewer display ads.
    Join freeLog in
    Want zero display ads or expanded classifieds tools? Compare plans.

Fanned frets 4 string

Let's give the dye a try.

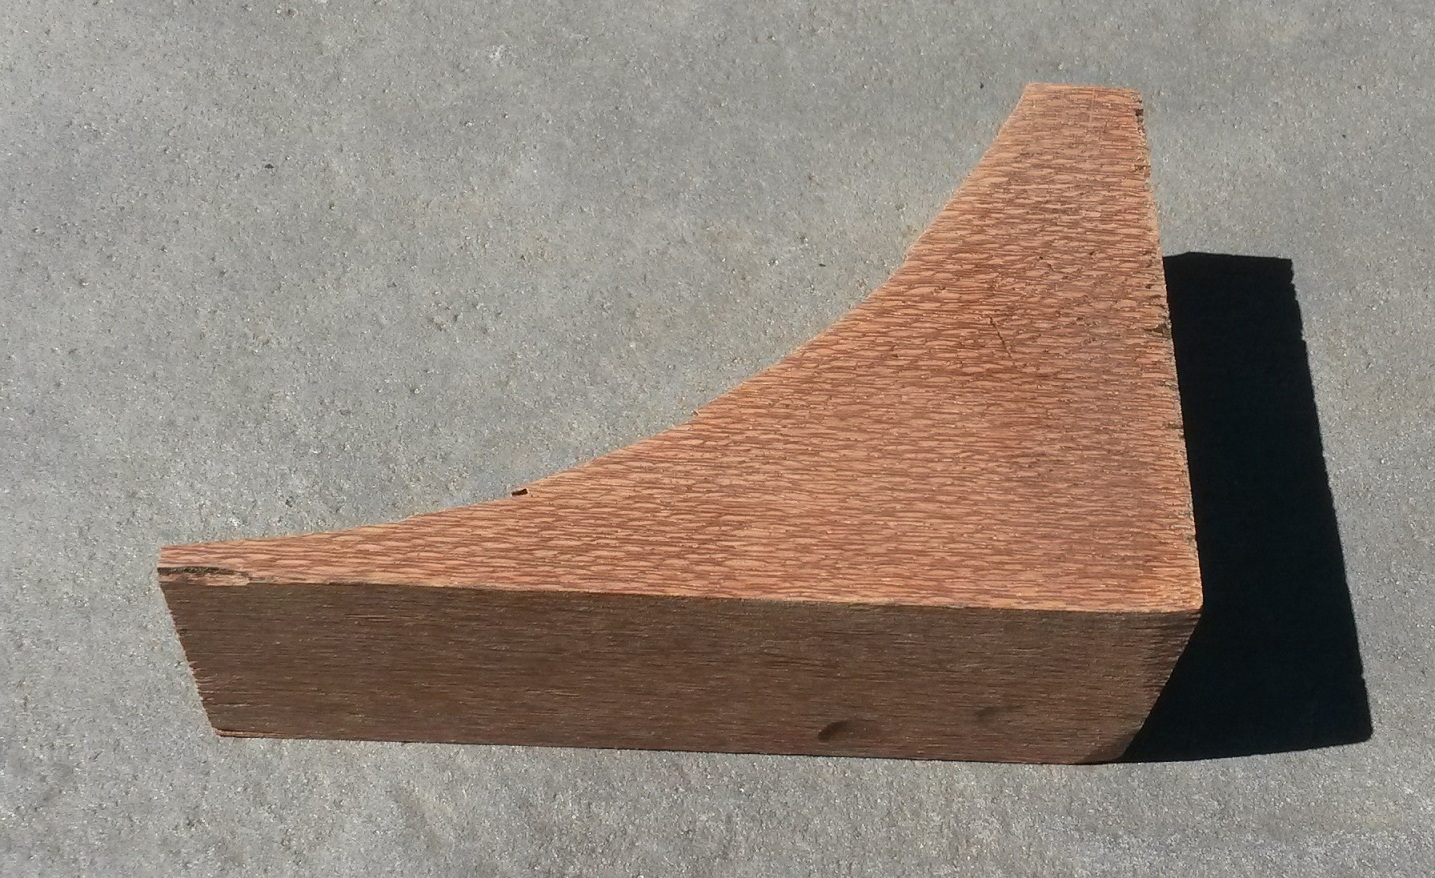
A piece of lacewood and some black dye:
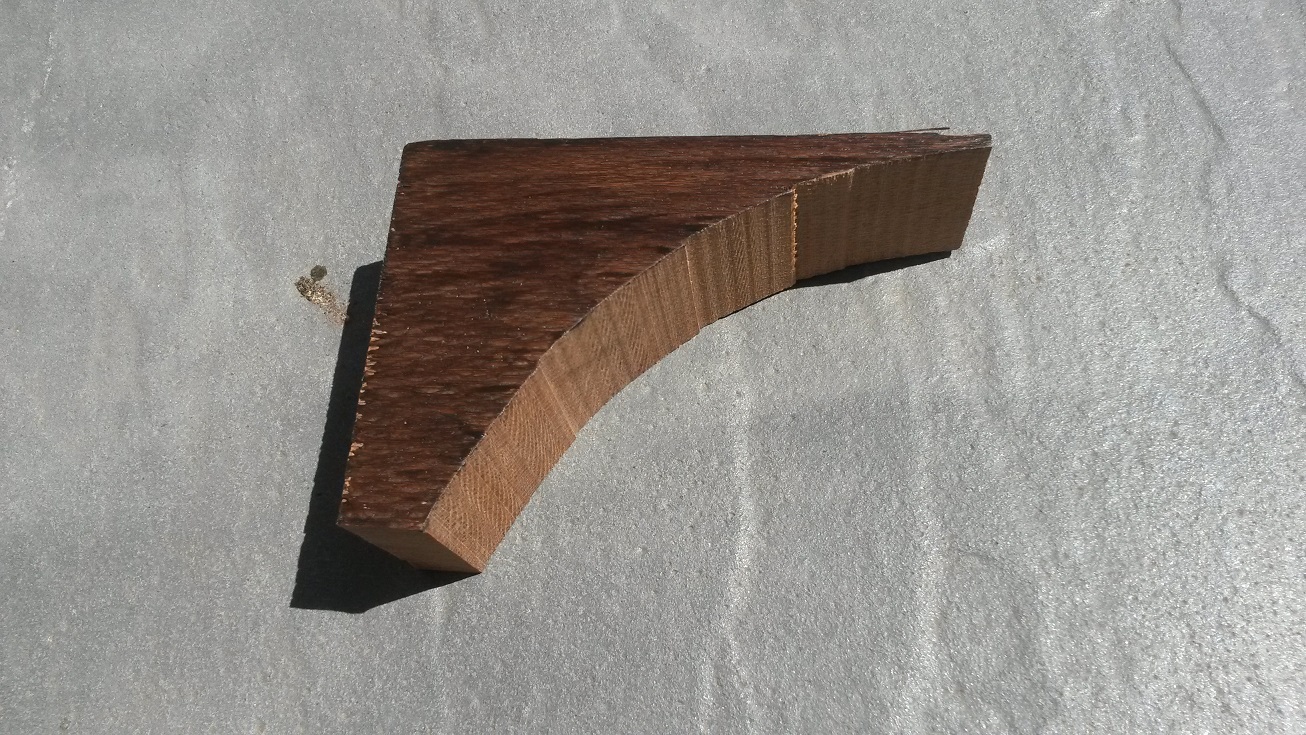
FFB60.jpg

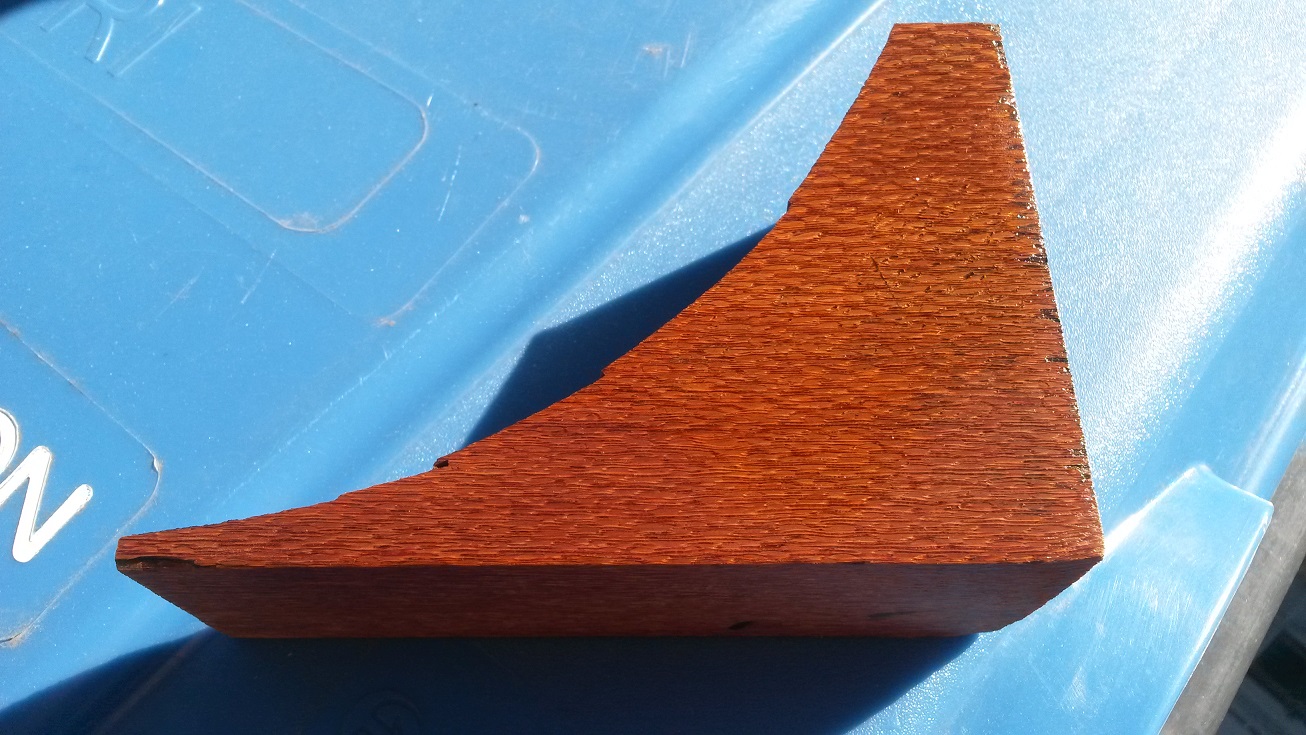
And sanded back:
FFB61.jpg

With some clearcoat:
FFB62.jpg


That didn't turn out very well. I think I sanded it to hard :banghead:
 
Last edited:
When I applied the radius on the fretbaord the centre line disappaered.

So I had to draw it again to set out the position of the inlays. I also made a little hole with a "pricker" as a guide for the drill.

FFB65.jpg


FFB66.jpg


Then after drilling the holes for the inlays, I glued the black positions markers with super glue (gel).

FFB68.jpg


And the side dots:

FFB69.jpg


Let the glue cure and then I can sand them down.
 
This evening I had some time to work on the bass.
I sanded down the position inlays and the side dots. I also levelled the fretboard, drilled a hole for the trusrodd (access), a hole for the wiring of the bridge and I made a cover for the electronics cavity of lace wood.

FFB71.jpg


FFB72.jpg


FFB74.jpg


FFB70.jpg


Now I have a ground wire for just 1 of the solo rail bridge.

Suggestions, idea's for how to ground the four solo rail bridges are welcome!
 
  • Like
Reactions: S-Bigbottom
This evening I had some time to work on the bass.
I sanded down the position inlays and the side dots. I also levelled the fretboard, drilled a hole for the trusrodd (access), a hole for the wiring of the bridge and I made a cover for the electronics cavity of lace wood.

View attachment 3072096

View attachment 3072097


View attachment 3072098

View attachment 3072099

Now I have a ground wire for just 1 of the solo rail bridge.

Suggestions, idea's for how to ground the four solo rail bridges are welcome!

Use a metal nut or a metal string retainer that touches all strings on the headstock.
 
  • Like
Reactions: floydman
Use a metal nut or a metal string retainer that touches all strings on the headstock.

Thanks!

A brass nut has crossed my mind, but I am not a fan of brass nuts. On the other hand I do need string retainers, they probably do the trick.

From another project I have these bars for a string retainer.

I can do 1 perpendicular or 2 slanted.

FFB75.jpg


FFB76.jpg


I haven't decided yet ;).
Or I need a longer bar type restrainer.
 
Until now I used my column drill as a fret press, with the help of a fret press caul.
But I don't know if that could damage the column drill.

Anyway a few weeks ago at a garage sale, I bought a piece of equipment (stand?) that turns your normal electric drill into a column drill for just 1 euro!

Let's try to convert that into a fret press with the fret press caul that I already have:

FFB77.jpg


FFB78.jpg

FFB79.jpg


Maybe it will work.
 
Last edited:
Until now I used my column drill as a fret press, with the help of fret press caul.
But I don't know if that could damage the column drill.

Anyway a few weeks ago at a garage sale, I bought a piece of equipment (stand?) that turns your normal electric drill into a column drill for just 1 euro!

Let's try to convert that into a fret press with the fret press caul that I already have:

View attachment 3072739

View attachment 3072740
View attachment 3072742

Maybe it will work.
That is a fantastic idea! I see those go for cheap all the time around me...definitely going to pick one up... :)
 
  • Like
Reactions: TonH
Yeah, those old "conversion" drill presses can often be found for cheap at flea markets. They don't have a lot of leverage, but it should be enough for a fret press. And you can even mount an old junker electric drill in it to function as the spindle. Having the chuck at the bottom is handy for changing attachments.
 
  • Like
Reactions: TonH
Until now I used my column drill as a fret press, with the help of a fret press caul.
But I don't know if that could damage the column drill.

Anyway a few weeks ago at a garage sale, I bought a piece of equipment (stand?) that turns your normal electric drill into a column drill for just 1 euro!

Let's try to convert that into a fret press with the fret press caul that I already have:

View attachment 3072739

View attachment 3072740
View attachment 3072742

Maybe it will work.
A bargain at 1 Euro!

I use one of those, with a suitable adaptor, as a valve spring compressor for classic car engines. I have found that you need to lubricate the column otherwise the friction makes it difficult to get enough pressure on to compress a valve spring. I suspect this will be the same for a fret press.
 
A bargain at 1 Euro!

I use one of those, with a suitable adaptor, as a valve spring compressor for classic car engines. I have found that you need to lubricate the column otherwise the friction makes it difficult to get enough pressure on to compress a valve spring. I suspect this will be the same for a fret press.

What do you iuse for lubrication. I cleaned and lubricated this one with WD40, not sure if it stays lubricated.
 
What do you iuse for lubrication. I cleaned and lubricated this one with WD40, not sure if it stays lubricated.
Whatever is in my oil can, I usually drain engine oil containers into it, so a mix of 20/50 (as used in most classic cars) and modern 5/30. Any light/medium mineral oil should be suitable, I'm not sure about grease, it might be a bit too viscous.

WD40 wouldn't be my first choice but is probably ok for the limit use that a fret press gets. It tends to evaporate and leave a sticky film so you would need to reapply it periodically. If it starts to get harder to pull the handle down give it another shot.
 
  • Like
Reactions: TonH
It is very hot here in Europe and I didn't do much on the bass. I did some work in the evening in the shadow outside the house.

First I made a nut (bone not bleached).

FFB85.jpg


And installed it with super glue (gel)

FFB86.jpg


FFB87.jpg


After sanding the neck and fretboard, I gave them some clear coat:

FFB89.jpg


Now I can see what the color is going to be and the fretboard is protected from dirt.

It gives me also the oppertunity to try my new tool that I made from a nail.
With the nail I can scrape the clear coat from the frets. Pushing the nail over the fret seems to work the best.

FFB88.jpg
 
The last couple of weeks I had time to work on my bass. I finished the bass with clear coat and after curing sanded and polished the bass (body and neck).

Here are some pictures. The sun isn't shining so the pictures are not that good but they give an impression.
FFB90.jpg


FFB91.jpg


FFB92.jpg


FFB94.jpg


FFB96.jpg


FFB95.jpg


I made the cover for the electronics cavity from a piece of lacewood.

And for the volume I use a push pull pot so I can switch to single coil. With the help of a little magnet the cover sticks to the volume pot.

FFB97.jpg


FFB98.jpg


FFB99.jpg


FFB100.jpg


FFB101.jpg


FFB102.jpg


FFB103.jpg


FFB104.jpg


FFB105.jpg


FFB106.jpg


FFB108.jpg


FFB109.jpg


It just needs a nameplate or transfer for the headstock.

Playing it feels very natural, just above the 12th fret you have to get used to the fanned frets.
 

Latest posts