• TalkBass has been independent since 1998. Add your voice.
    Create a free account to reply to discussions, view embedded media, and browse with fewer display ads.
    Join freeLog in
    Want zero display ads or expanded classifieds tools? Compare plans.

First build. 4 string fretted, neck through (wenge/maple), body (wenge/ash/maple)

Body lamination
The body wings will consist of 6 layers.

Top - 5,0mm wenge
- 2 layers of veneer 0,6mm wenge and ash
Core - 29,5 mm ash
- 1 layer of veneer 0,6 mm wenge
Back - 5,0mm maple

This makes a total of approx. 4,1 cm (1 5/8’’) body thickness

Body lam 01.jpg


Body lam 05.jpg


Body lam 08.jpg

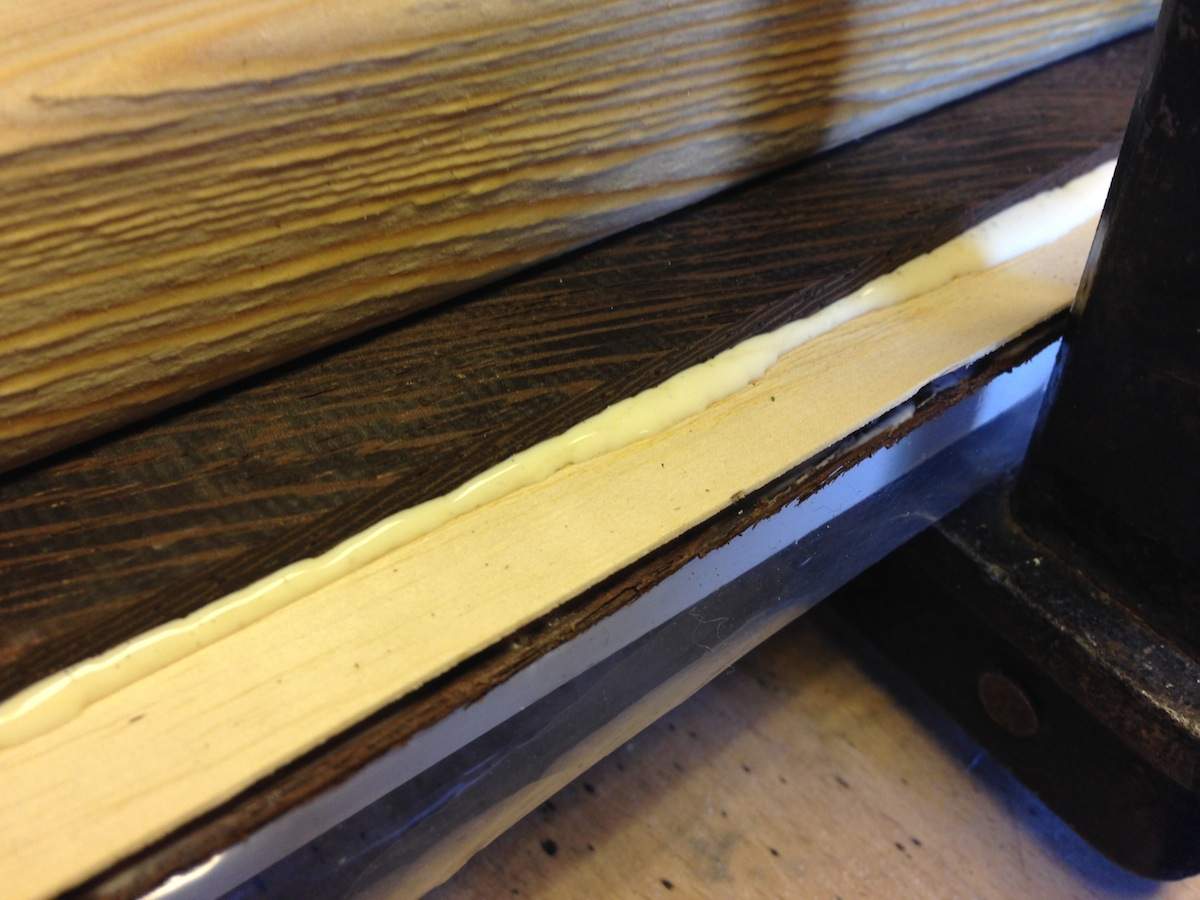
Body lam glue squeeze 01.jpg

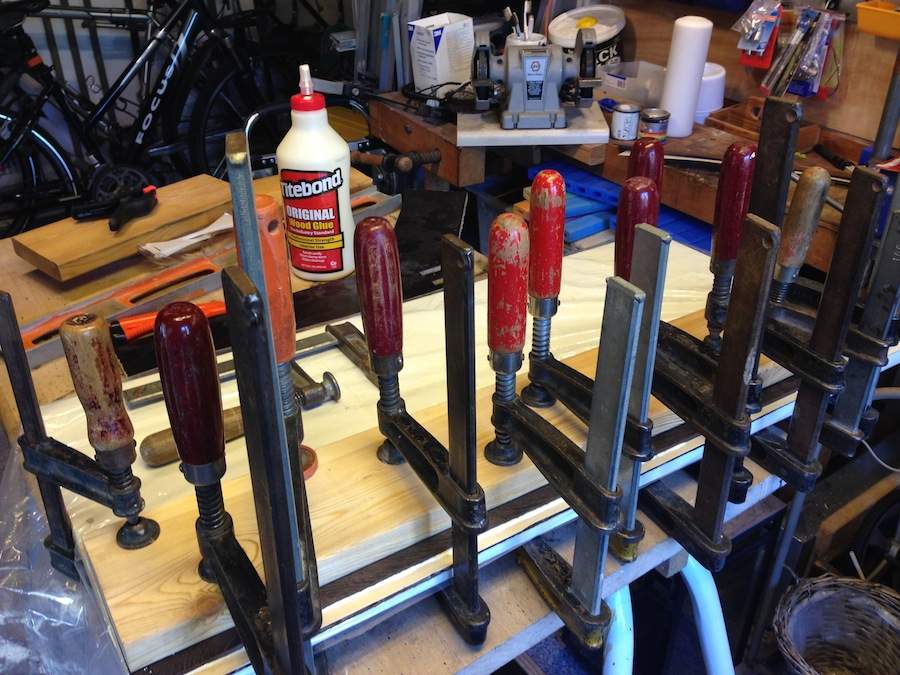
Clamp forest 01.jpg


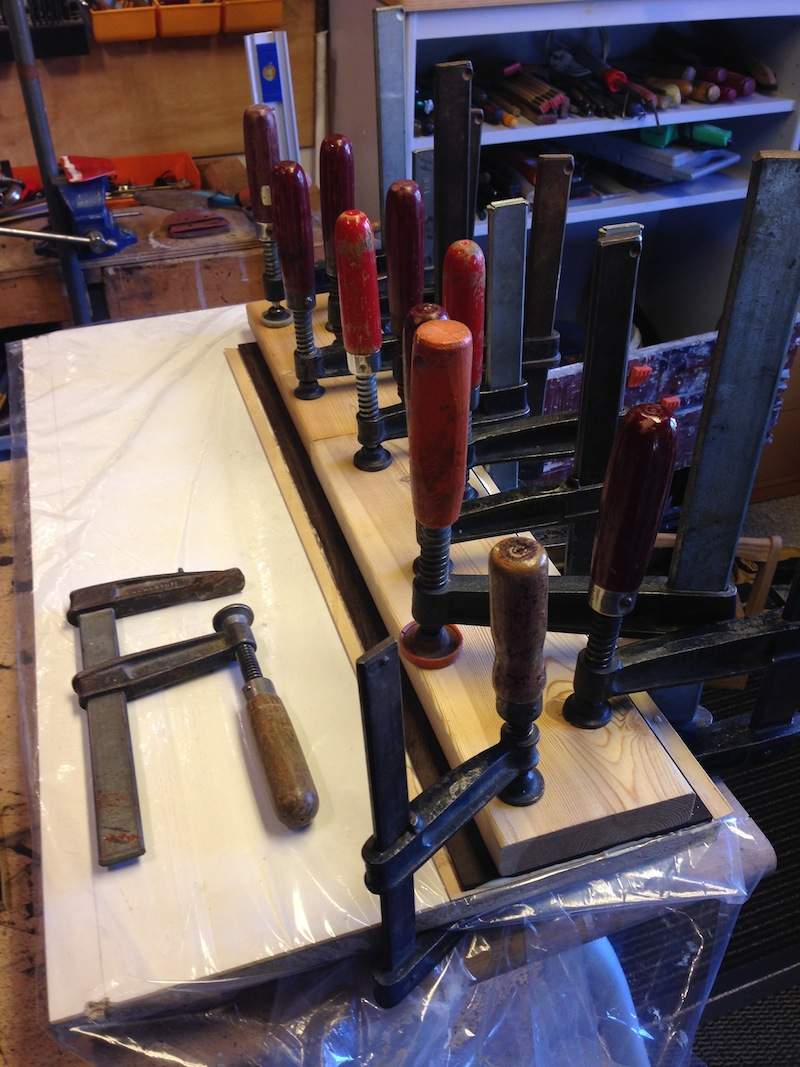
I started out laminating one of the top sides (bass side wing) with the veneers, before joining it with the core. I did this so I could avoid to glue-up too many slippery layers at a time. I clamped it up really good, but when I removed the clamps (24h later), the board settled quite a bit skewed after some time. I’m not too worried about this since I have no problem pushing it down, and the core will hold it when glued together.

I have put it back in the clamps (and it's been there for a month now!), and will first take it out when I'm about to glue up the entire bodywing.
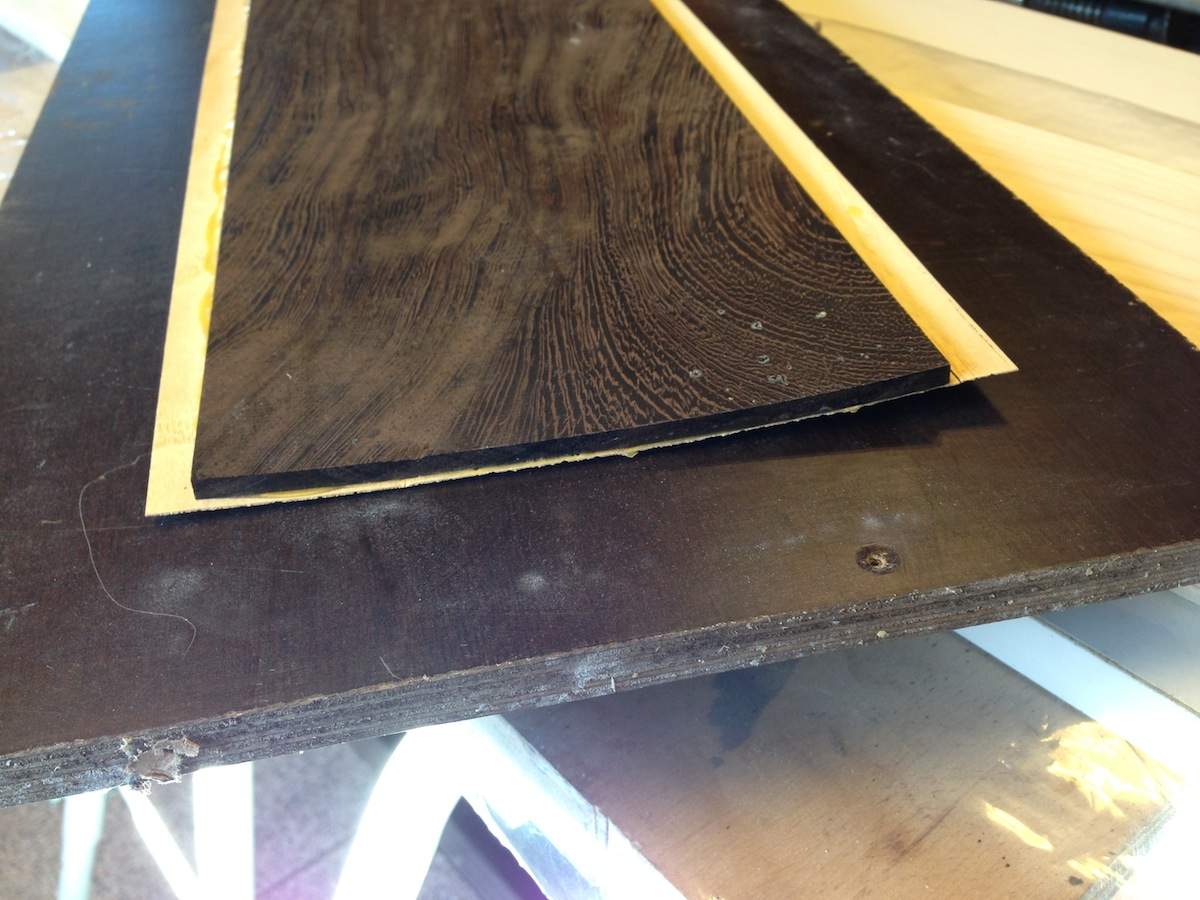
IMG_5377.jpg


I will bandsaw each "part" to almost right size (just outside the lines) and then glue them up.
 
Random pictures of the wood while waiting for a bandsaw
I have just ordered a bandsaw today - Hurrah! A Metabo BAS 260 Swift. Really can’t wait :)

Top wenge
Custom_bass-7603.jpg


Body core ash
Custom_bass-7616.jpg


Back Maple
Custom_bass-7605.jpg


Veneers
IMG_5066.jpg


IMG_5407.jpg


The Birdseye Maple veneer was just a sample the company sent me. I have made small laminates that I plan using for pickup covers - but not on this build.
 
  • Like
Reactions: joselorellano
Great work so far! I really like the new design too. Somewhere in between a single cut and not which I think is awesome!

Thanks. I was actually inspired by some single-cut builds, and a hybrid between a tele and jazz (like "the bastard").

Where are you getting the veneers? I'm looking for some to put in a neck. I can make my own, but that would probably produce more waste than product.

@Jisch - I'm from Denmark and have bougth them from a company called "finerkontoret" (the veneer-office!!!) :). I can't see from your profile info where you're from, but if not in DK it's probably easier to source locally.

//Hasse
 
Lid for control room cavity + wing assembly
I used a handheld scroll saw (don’t know the right term!) to cut out the control lid from the back.

hh scroll saw.jpg

Something like this one.

I really wanted to use the cut-out for the lid, so it was crucial to get this right.

I drilled a series of 4 or 5 small holes (the smallest drill bit I had) close to each other and cut a small slide that I could insert the blade through and attach on the other side. My saw is a kind’a cheap one, so I had to use pliers to tighten the screws to hold the blade. But I made it through.

Now I only need some cleaning up the edges and so forth.

*******

Update on this. It’s been 4 months since I cut the cover, and since then I have become a father
to a son :)

Last week I once again visited my fathers workshop and resumed the work after baby hiatus.
In rear sight at this point I made a mistake. :banghead:

I have recently received my bandsaw and was pretty excited to free the body from its prison. So therefore that’s what I did. The original bandsaw blade was a seriously bad quality. It cut the first 5 cm and then it just started “burning” its way through the body core (30 mm ash). This was hell. I had bought one extra original blade which did the exact same!!! Got me in a really bad mood. Decided to continue and eventually “burned" my way all the way around - not pretty, but nothing that can’t be cleaned up since I left enough space outside the line. Those two cuts costed me two blades at around a total of 80$. Sucks!

20151108_132345.jpg

(my handheld scroll saw is hanging on the wall in the back)


Called a high-end tool supplier who carries different blades for the bandsaw (not the supplier that I bought from) and asked if this was really the case for the bandsaw quality. He almost laughed and said that the original blades were really sh**ty and not worth a penny. He carried them at triple the price of other brands to keep people from buying them. He had to carry them as spare parts for the bandsaw which is good quality for the money. So now I have bought a few other ones that will be tried out soon. Different sizes and brands to test.

Back to my mistake. After having liberated the body I got too eager on “assembling" the body, and when glueing up the wings I completely forgot that I hadn’t yet cleaned up the edges of the control lid and the maple backwood that I cut it from. Not good, but hopefully nothing I can’t fix. It’s probably gonna take a much longer time to get a nice and smooth result, but I will have to wait and see till I get it out of the clamps.

Billede 28-11-2015 10.54.54.jpg

Laminated the top and the veneers first to avoid six layers of slippery gluing up. Several weeks/months between glue-ups....

Billede 28-11-2015 10.55.24.jpg


***
Billede 28-11-2015 11.49.25.jpg

All pieces freed from their prisons

Billede 28-11-2015 11.44.52.jpg


20151128_162508.jpg

Neck and wings before gluing the wings

20151128_174111.jpg

Hiding the constellation chambering :crying:

20151128_171701.jpg

Those are the edges (control room) I forgot to clean up before gluing.

Billede 21-12-2015 10.37.34.jpg

In the clamps

One thing I did remember was to route channels for wiring from the control room to pickup cavities. On purpose I didn’t make the channel for grounding the bridge. We discussed it and decided to wait till we are bit further in the progress. Closer to seeing were the wings will hit the neck.

Next couple of steps that I have identified:
Building a router jig for radiusing the fretboard
Routing the truss rod channel in my freshly made router sled jig (inspired from TB builds)
Routing for carbon fiber rods
Start profiling the neck
Profiling the body (arm contour, belly, knee…. and rounding other edges)

So lots to put my time into, but not nearly enough time…

Merry christmas to everyone
 
Router jig + radius jig inspired from TB
I have build this router sled jig inspired from lbridestine (the first thread I saw it in) but I have since seen many others in different variations. Thanks for the inspiration :)

It is build from scrap. Only bought the threaded rods and some nuts.

20160327_154650.jpeg


20160327_154743.jpeg


I'm going to use it in a couple of weeks to route for CF rods and trussrod.

This weekend I used it for the first time to route some channels in my TB inspired radius jig. No picture of that, but the plexi-glass is routed into the wood.

Fil 27-03-2016 17.05.59.jpeg


Fil 27-03-2016 17.05.06.jpeg


Fil 27-03-2016 17.04.36.jpeg


Fil 27-03-2016 17.04.24.jpeg


The radius of the arch is 11,5'' so I should get 11'' (MM style) with the bit 0,5'' below the arch. I made the arch with the router fastened to a piece of plexi, and pivoted around a screw.

Billede 29-11-2015 11.55.44.jpeg


//Hasse
 
  • Like
Reactions: lbridenstine
A couple of weeks ago I tried out the radius jig. My first attempt gave some hints about what not to do - e.g. do not put to much pressure on the router - the bottom (plexiglass) is not rigid enough for that and it will make marks that needs to be sanded away afterwards.

Here's some pictures of the process and the final result for the trial run. The birdseye maple is soon "going under" and I will be extra careful...

Fil 16-05-2016 18.34.00.jpeg

Centerline established - fretboard clamped - ready set GO

Fil 16-05-2016 18.34.15.jpeg

Looking good

Fil 16-05-2016 18.34.45.jpeg

Too much pressure... easily sanded away


Fil 16-05-2016 18.34.59.jpeg

Had to move the fingedboard a couple of times towards the end as my sled isn't quite long long enough. The above marks were the worst ones, and they were easily sanded away. Look worse than they are.
But I still changed strategy and made a kind of ramp that I could slide the fingerboard inside. This way I could only route a couple of inches at a time, but the result was way more uniform an the process controlled.


Fil 16-05-2016 18.36.14.jpeg

The quickly improvised ramp.
1. Clamp the board - route - adjust 2 inches and clamp again - REPEAT


Fil 16-05-2016 18.37.15.jpeg

The final result of this tryout. Two maple fingerboards 11'' in radius and 7,2 mm thick. Sanded to 400.


I'm ready for the birdseye :woot:
 
If I may - and I realize this has the potential to complicate things - but I would suggest using sanding blocks on the Birdseye rather than the radius jig.


I built a radius jig myself, and love how easy it makes the process, but I've learned to be especially careful of certain figured boards that are more prone to tear out. Birdseye is one such species that this can happen to. In fact, Luthiers Mercantile will not radius Birdseye boards in the shop for this very reason...it all has to be done by hand.

I'm working a highly figured Birdseye board myself right now, and it's all being done by hand because the chances of a nasty gouge are just too scary.

Lonnybass
 
Hi Lonnybass
Thanks for the 'heads up'. I know the risk of tear outs on figured boards is greater, and have also noticed that lmii doesn't do it on birdseye.

I have searched broadly and found that I can minimize the risk of tear out by soaking the board before routing (just a tiny bit of deminilarized water). Will try this.

The minute I have a tear out I will pull my hair, cry a little bit and turn to making a sanding block.
 
Last edited: