It's been a little while, but I've gotten some things done - however small they might appear. I've realized, as this project continues, that this project is much less a task of efficiency as it is an exercise in thriftiness and craftsmanship...
Anyway, so first of all, I altered the body template very slightly to get rid of the unsightly tear-out in the body. I re-routed with a template bit, and everything looks great now! I guess I don't have pictures to post of that now, but I will post some after the body gets routed and sanded.
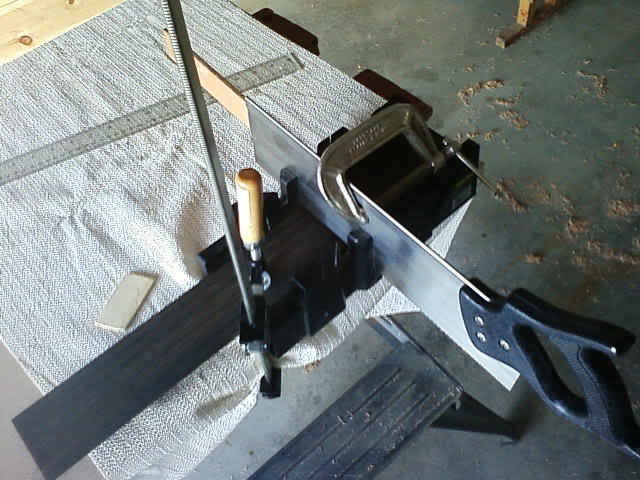
Next, I finalized the fretboard template and began slotting. I'm using a standard miter box and saw to cut the slots...and having a terrible time. I've already screwed up at least two slots, so I'll have to fill those in with glue and sawdust and re-cut them. Are there any suggestions for a better manual way to cut fret slots?
Then I needed to plane down the back of the neck. So I did a little jig and made the neck flat! I am very pleased with how well this worked for me.
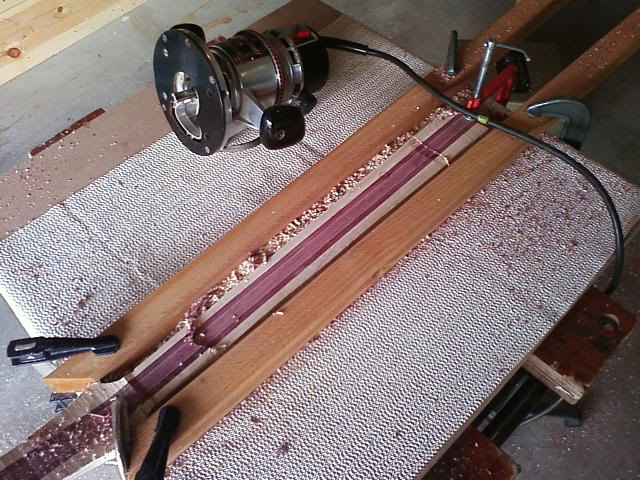
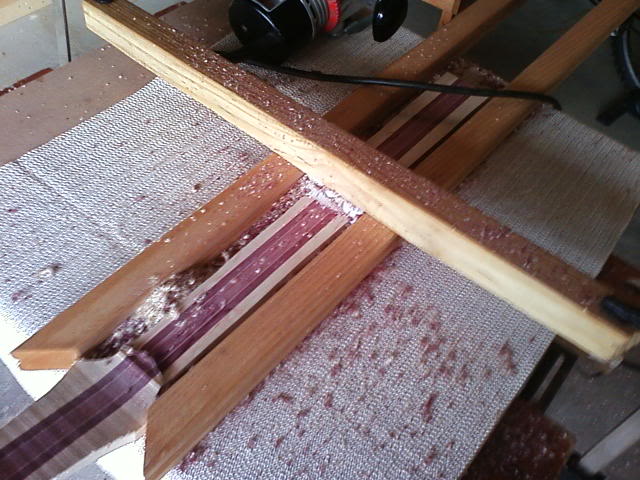
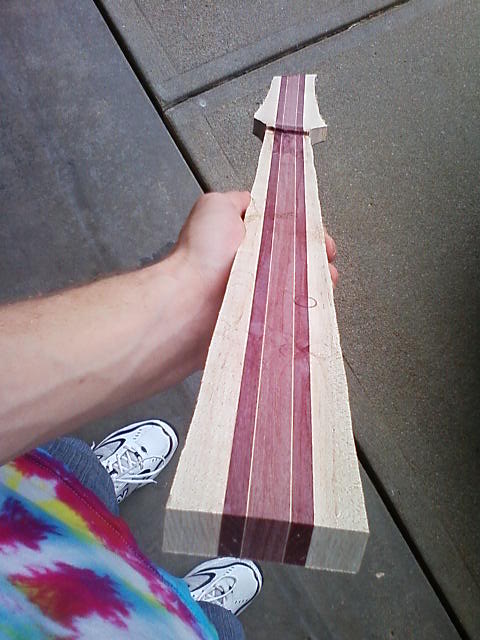
This shot makes the neck look crooked, but that's just because it is rough tapered. However, the back is very much flat.
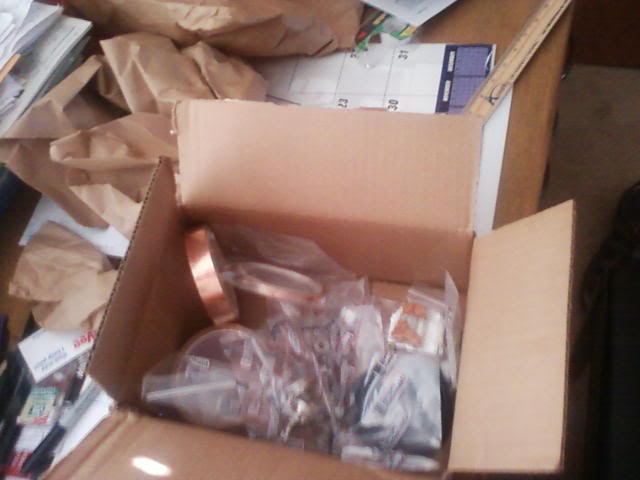
The rest of my parts came in the mail!! WOOHOOO!!!
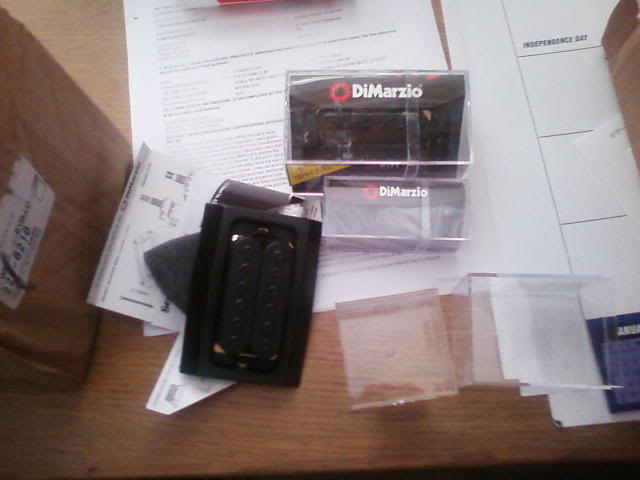
Received my DiMarzio pups from MF too. They're gonna sound sweet.
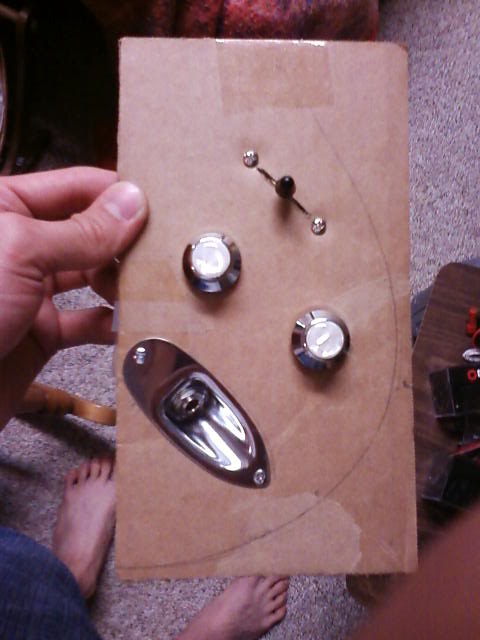
I started working on the electronics, just for a change of pace, so I made a cardboard template of a rough idea of how it all will be laid out.

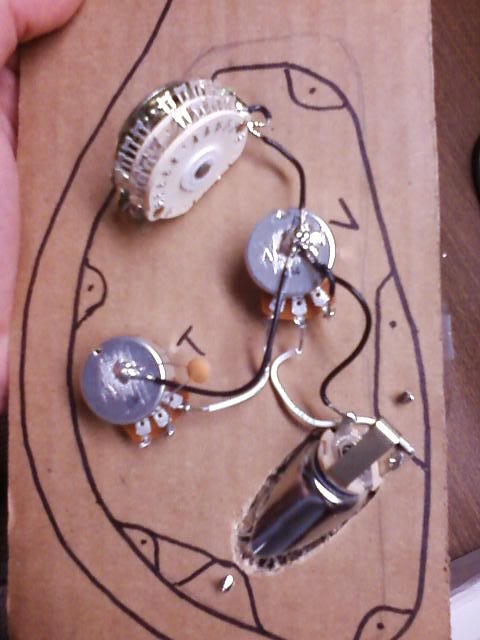
Doing what I can with the soldering. I did all the wires except those from the pups and bridge (13 to be exact).
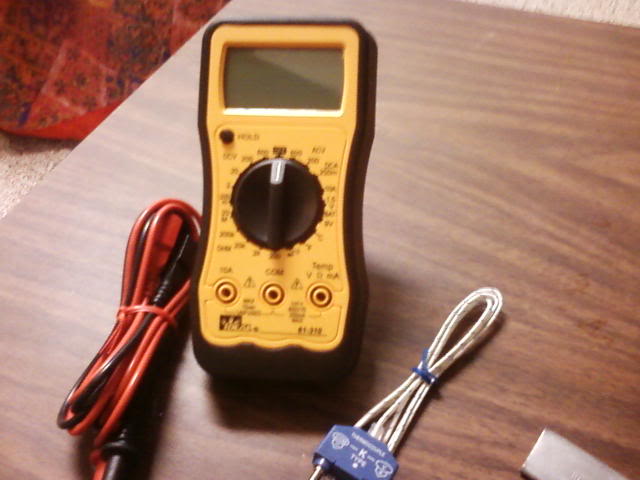
I bought another toy to help me out with this side of the build. I can just picture my high school physics teacher smiling down on me.
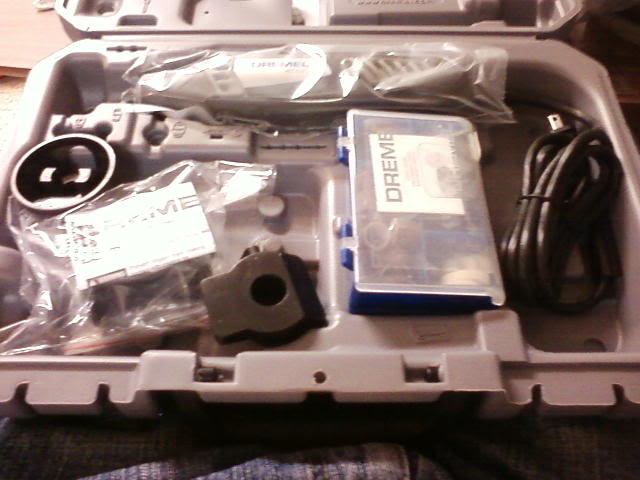
I also finally purchased a Dremel. I've already used it a bit for cutting and sanding, and I plan to use it for inlaying eventually. I'm very excited to have this.
After looking at the pickups for a while, being a bass guy, I didn't realize that a pickguard or pickup rings are actually necessary for their installation. Woops.
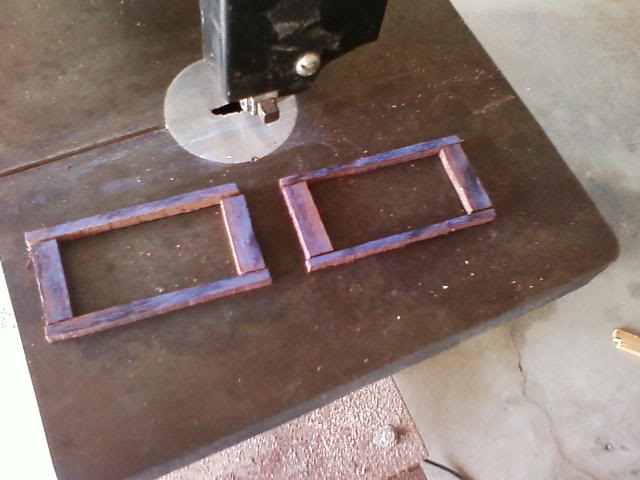
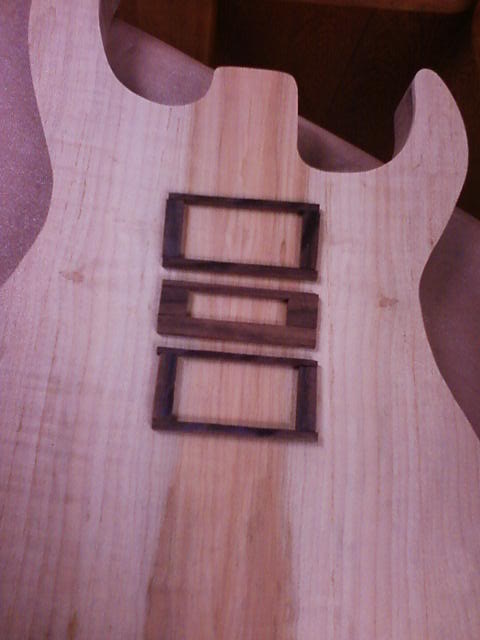
Never fear! I was giving a small piece of East Indian Rosewood that I discovered was the perfect size to make 3 pickup rings. So I began the work.
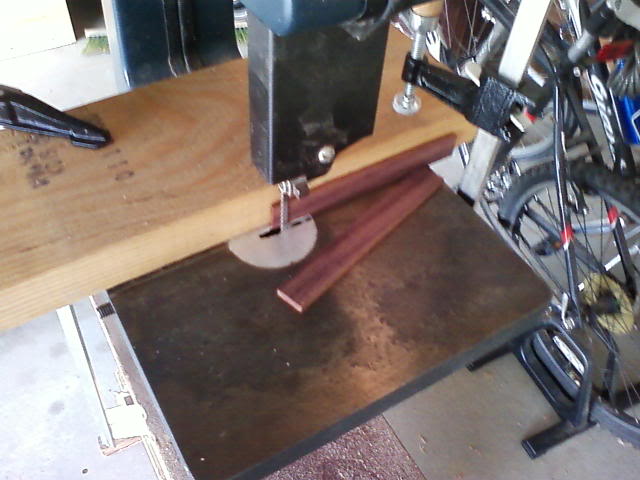
I marked the lines with a scribe (utility knife) and filled them with blue marking chalk so I could see the lines better while cutting.
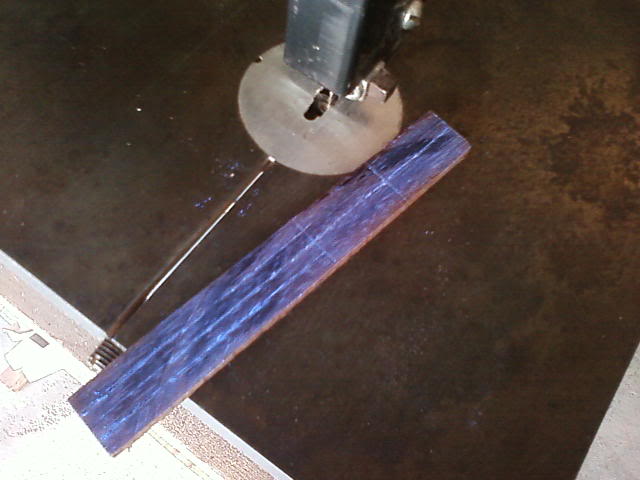
The center single-coil will be sanded out to match the outline of the pup - that's why it appears to have less width than the others.
That's all for me now. Thanks for looking! More suggestions, please.
Anyway, so first of all, I altered the body template very slightly to get rid of the unsightly tear-out in the body. I re-routed with a template bit, and everything looks great now! I guess I don't have pictures to post of that now, but I will post some after the body gets routed and sanded.
Next, I finalized the fretboard template and began slotting. I'm using a standard miter box and saw to cut the slots...and having a terrible time. I've already screwed up at least two slots, so I'll have to fill those in with glue and sawdust and re-cut them. Are there any suggestions for a better manual way to cut fret slots?
Then I needed to plane down the back of the neck. So I did a little jig and made the neck flat! I am very pleased with how well this worked for me.
This shot makes the neck look crooked, but that's just because it is rough tapered. However, the back is very much flat.
The rest of my parts came in the mail!! WOOHOOO!!!
Received my DiMarzio pups from MF too. They're gonna sound sweet.
I started working on the electronics, just for a change of pace, so I made a cardboard template of a rough idea of how it all will be laid out.
Doing what I can with the soldering. I did all the wires except those from the pups and bridge (13 to be exact).
I bought another toy to help me out with this side of the build. I can just picture my high school physics teacher smiling down on me.
I also finally purchased a Dremel. I've already used it a bit for cutting and sanding, and I plan to use it for inlaying eventually. I'm very excited to have this.
After looking at the pickups for a while, being a bass guy, I didn't realize that a pickguard or pickup rings are actually necessary for their installation. Woops.
Never fear! I was giving a small piece of East Indian Rosewood that I discovered was the perfect size to make 3 pickup rings. So I began the work.
I marked the lines with a scribe (utility knife) and filled them with blue marking chalk so I could see the lines better while cutting.
The center single-coil will be sanded out to match the outline of the pup - that's why it appears to have less width than the others.
That's all for me now. Thanks for looking! More suggestions, please.


 I found that writing "older brother" is different from writing "elder brother" (which is what I have inlayed). In any case, it will work for this purpose.