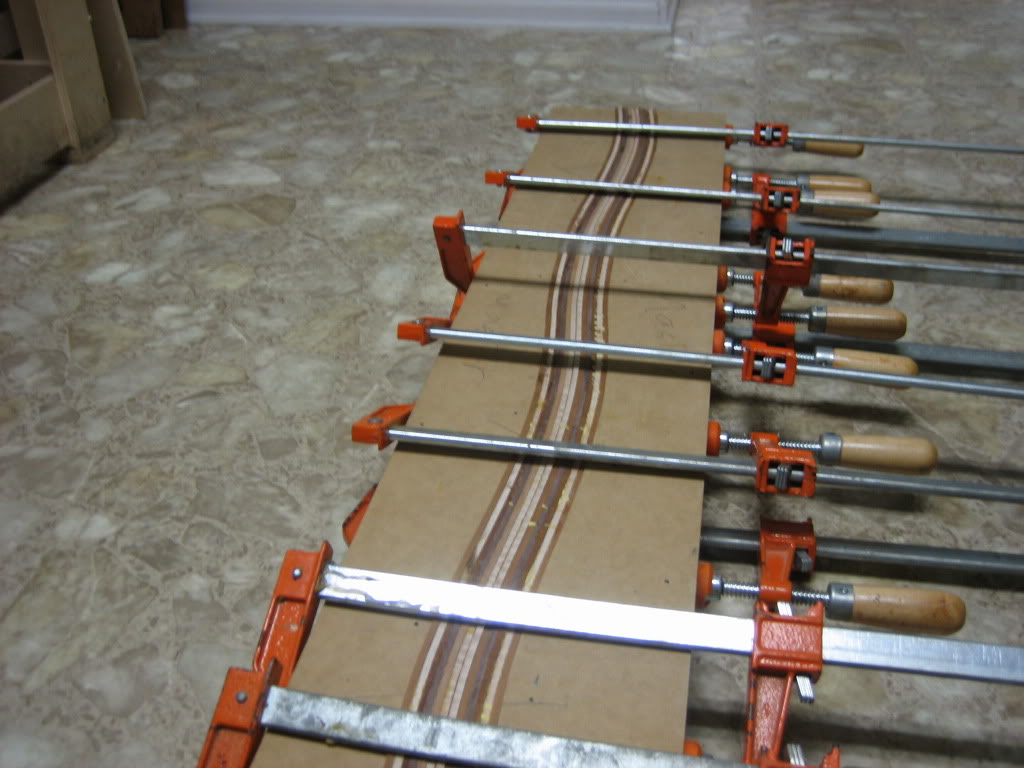
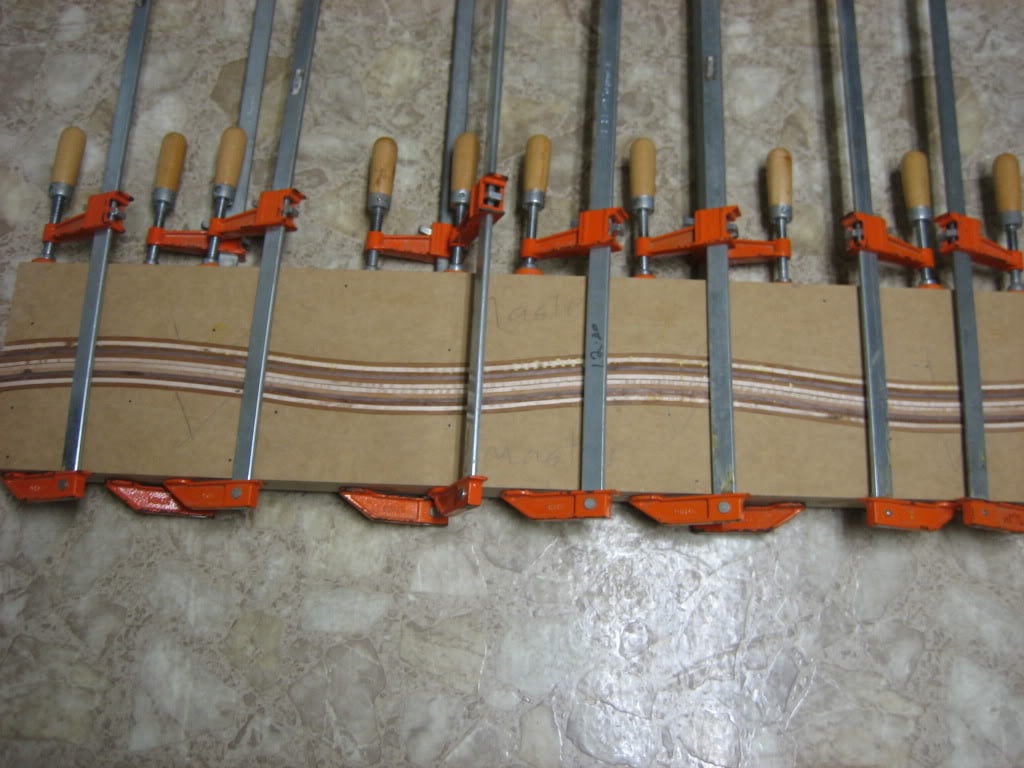
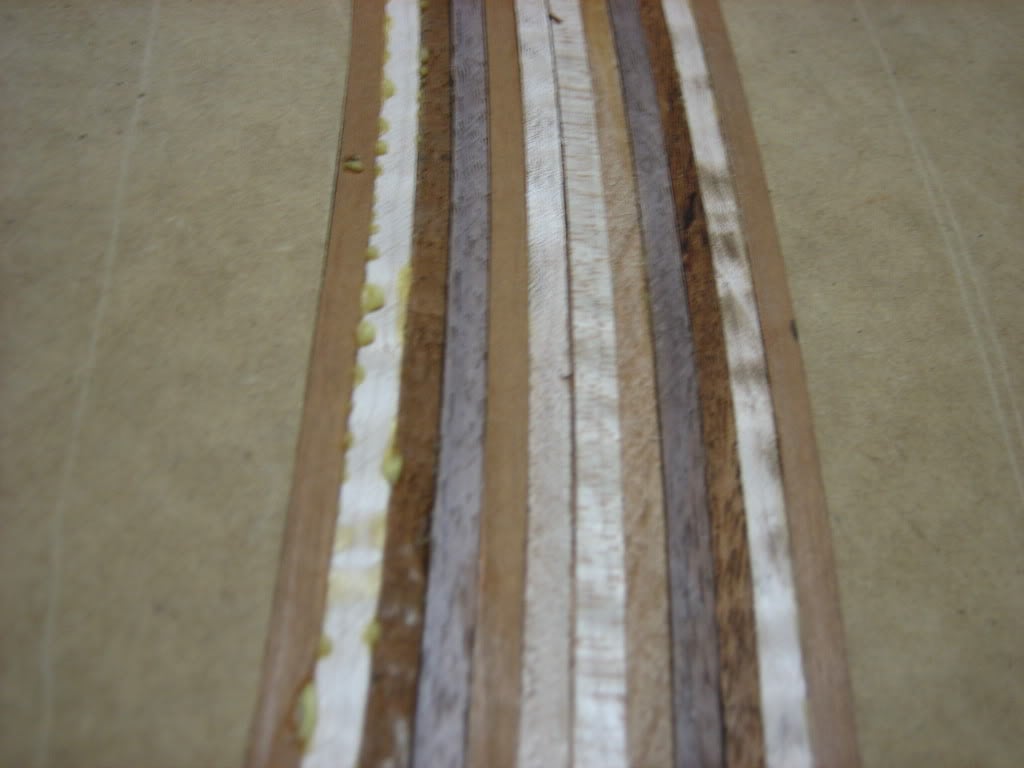
Lab Journal #6: I am here with updated pics as this experiment grows in the petri dish. For ease of reference (and maybe for looks ) I glued a strip of mahogany veneer between two strips of maple as a centerline, then continued to glue in a pattern of maple, cherry, walnut and mahogany. The pattern starts at the centerline and goes out in a mirror image as Pilotjones suggested. (great idea) The centerline will make a great reference point for laying out the truss rod/support rod placement and overall body and neck layout. Here are pics so far as glue dries in the mould.
And the view thru the microscope
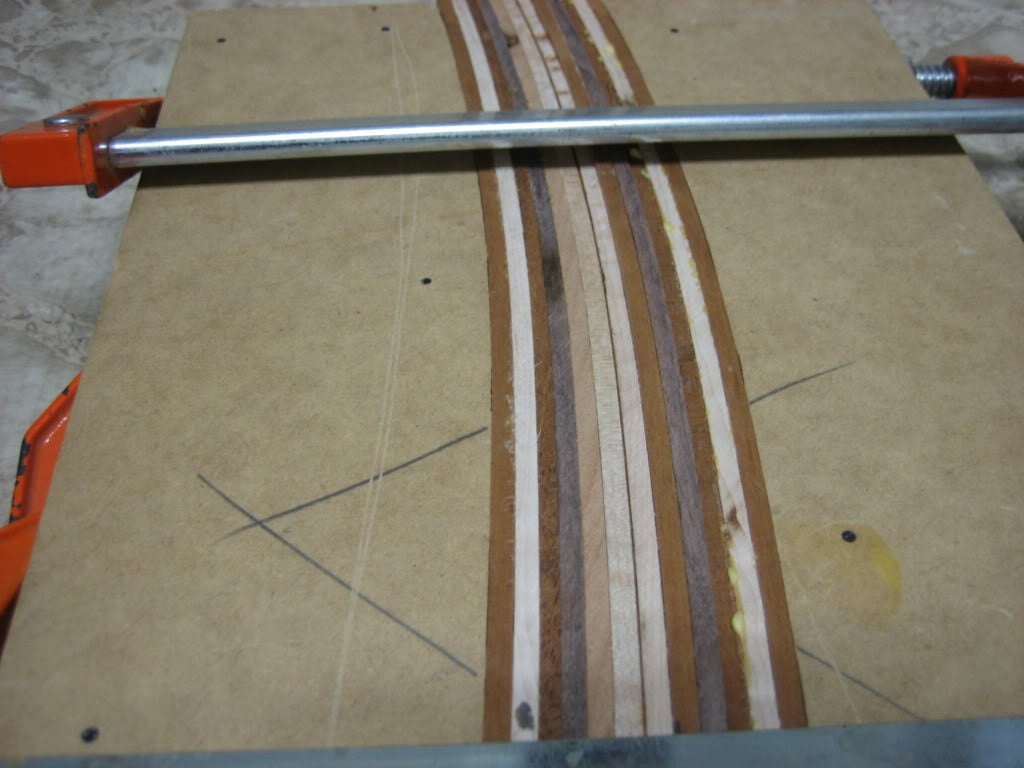
Now that I can see the color scheme of the laminates I have searched through the woodpile and narrowed it down to two choices for the top and fingerboard. I chose the combinations because I feel they compliment each other well in color and figure.
Combo #1- Camphor Burl top with Ziricote fingerboard
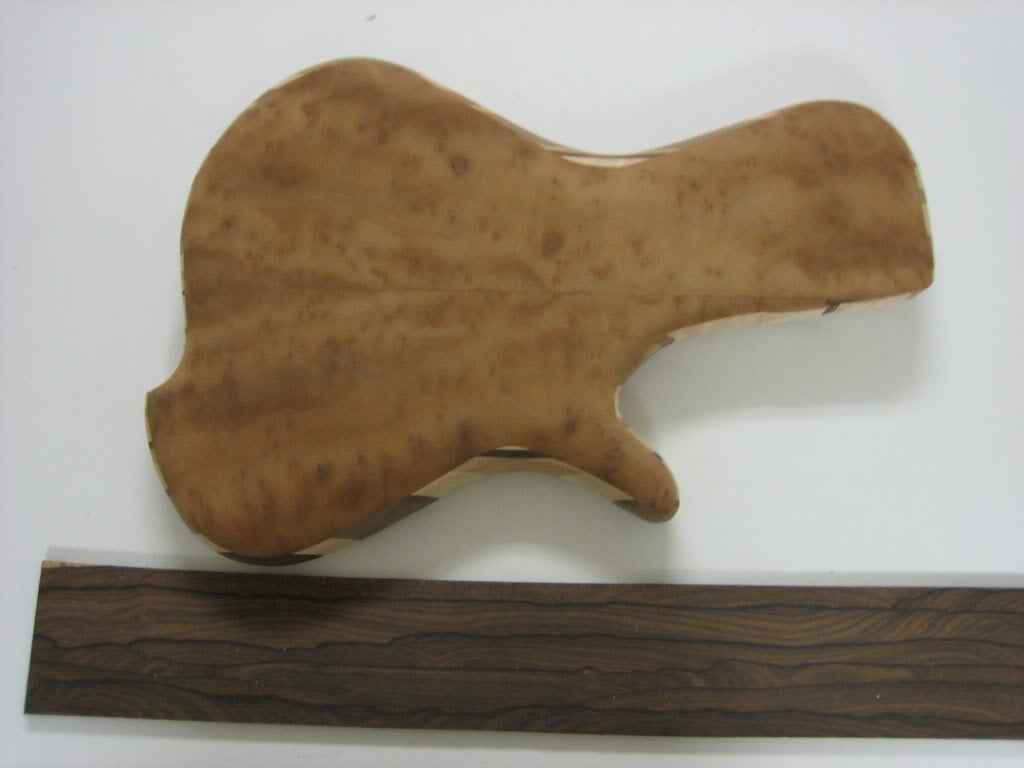
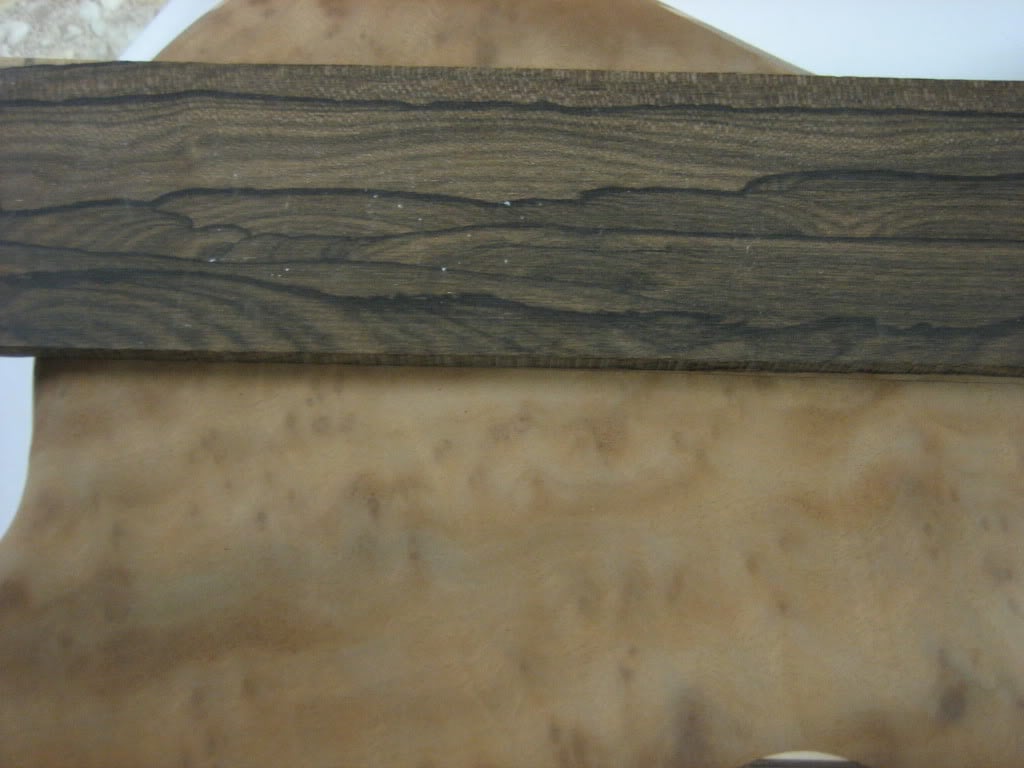
This particular body uses a similar laminate design with a solid top. This is the body shape I will be using and gives a good idea of how much of the laminates will be seen from the front. Here is a closer pic to show the contrast of grain and color.
Combo #2- Ziricote top with black and white (Pale Moon to the poetic) Ebony.
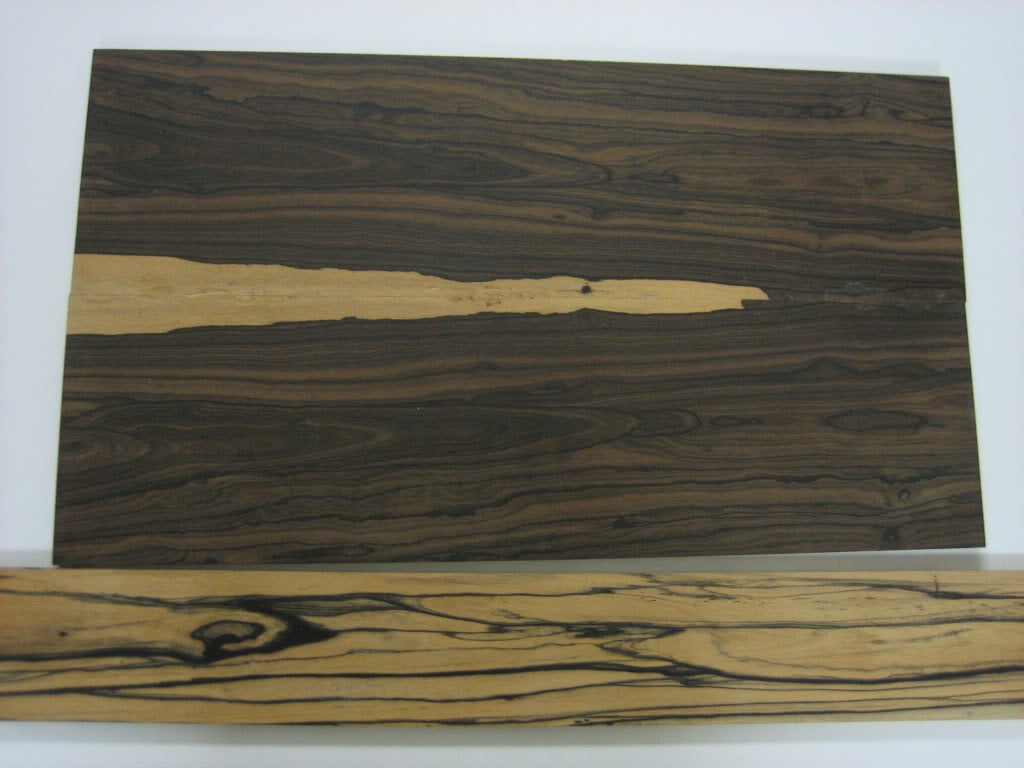
and a closer pic.
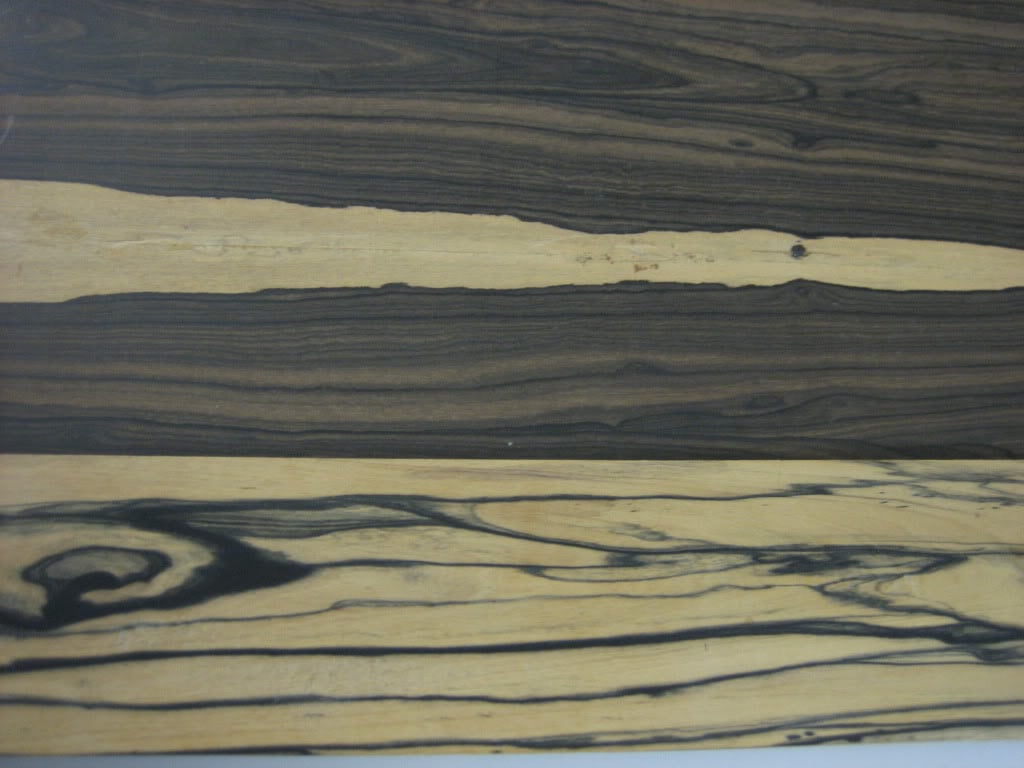
Unlike the contrast of Ziricote and Camphor, these two woods have very similar grain with an almost photonegative color scheme. I find myself drawn to #2. Ziricore is my personal favorite wood and I also see at least 1 Ziricote fingerboard in the competition so I hate to step on anyone else's toes. If I go with the Camphor I can always get another dark board but I would like to keep it in the current woodpile if possible. Thoughts? Suggestions?
) I glued a strip of mahogany veneer between two strips of maple as a centerline, then continued to glue in a pattern of maple, cherry, walnut and mahogany. The pattern starts at the centerline and goes out in a mirror image as Pilotjones suggested. (great idea) The centerline will make a great reference point for laying out the truss rod/support rod placement and overall body and neck layout. Here are pics so far as glue dries in the mould.And the view thru the microscope
Now that I can see the color scheme of the laminates I have searched through the woodpile and narrowed it down to two choices for the top and fingerboard. I chose the combinations because I feel they compliment each other well in color and figure.
Combo #1- Camphor Burl top with Ziricote fingerboard
This particular body uses a similar laminate design with a solid top. This is the body shape I will be using and gives a good idea of how much of the laminates will be seen from the front. Here is a closer pic to show the contrast of grain and color.
Combo #2- Ziricote top with black and white (Pale Moon to the poetic) Ebony.
and a closer pic.
Unlike the contrast of Ziricote and Camphor, these two woods have very similar grain with an almost photonegative color scheme. I find myself drawn to #2. Ziricore is my personal favorite wood and I also see at least 1 Ziricote fingerboard in the competition so I hate to step on anyone else's toes. If I go with the Camphor I can always get another dark board but I would like to keep it in the current woodpile if possible. Thoughts? Suggestions?


 .
. .
.



 )
)