
Enjoy the benefits of a premium membership!
Upgrade Account
-
TalkBass has been independent since 1998. Add your voice.
Create a free account to reply to discussions, view embedded media, and browse with fewer display ads.
Join free Log in
Want zero display ads or expanded classifieds tools? Compare plans.
You are using an out of date browser. It may not display this or other websites correctly.
You should upgrade or use an alternative browser.
You should upgrade or use an alternative browser.
Fretless five competition: Mad scientist edition
- Thread starter Big B.
- Start date
More options
Who Replied?
This is going to be the antiMothbass. Can't wait till it's done so I can put a pic in another thread...
What is the Mothbass? I have heard it mentioned on TB but I have not found it anywhere.

What is the Mothbass? I have heard it mentioned on TB but I have not found it anywhere.
sorry to stain an awesome thread!! but you asked . . .


Musiclogic
Commercial User
- Aug 6, 2005
- 6,505
- 73
- 60
- Disclosures
- Owner/Builder: HJC Customs USA, The Cool Lute, C G O


sorry to stain an awesome thread!! but you asked . . .
The wasted gift of life...

Yep. Do you now appreciate my compliment?
Though there are some here who would proudly rock the beast that is the Mothbass (AKA the MothMan Bass and other variations).
Hell, I'll give anything a shot once. Well... except for the model in the picture. Some things are best left alone.

This bass is going to be SO awesome.
I can't wait to see the pattern in the neck when its cut out
I can't wait to see the pattern in the neck when its cut out
Lab Journal #9: So I spent most of last night dreaming of the best way to carve this chunk of wood into a bass. This is a very different build than my usual neck thru so you will be figuring it out with me as we go. Step 1 is to get a square width of neck to work with. I drew 2 lines parallel to the centerline of the neck, at the widest width of the headstock. Using a trued neck black as a guide I routed each edge of the neck straight. The router stops short of where the wings meet the body so the curved glue lines can be maintained.
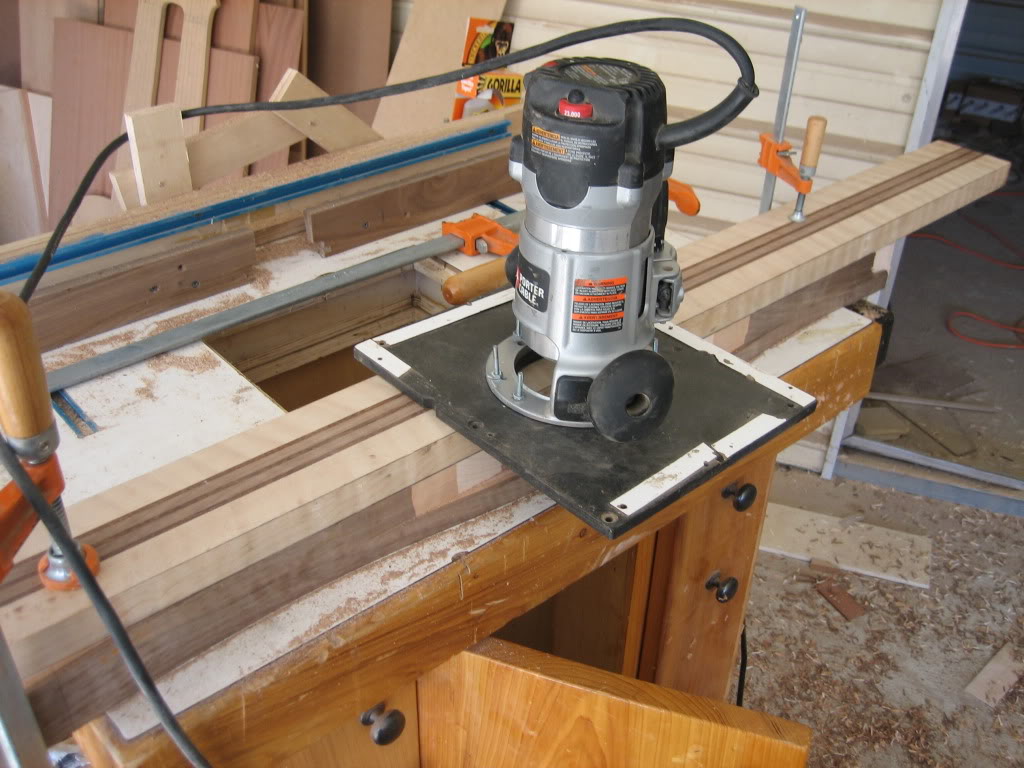
And the business end:
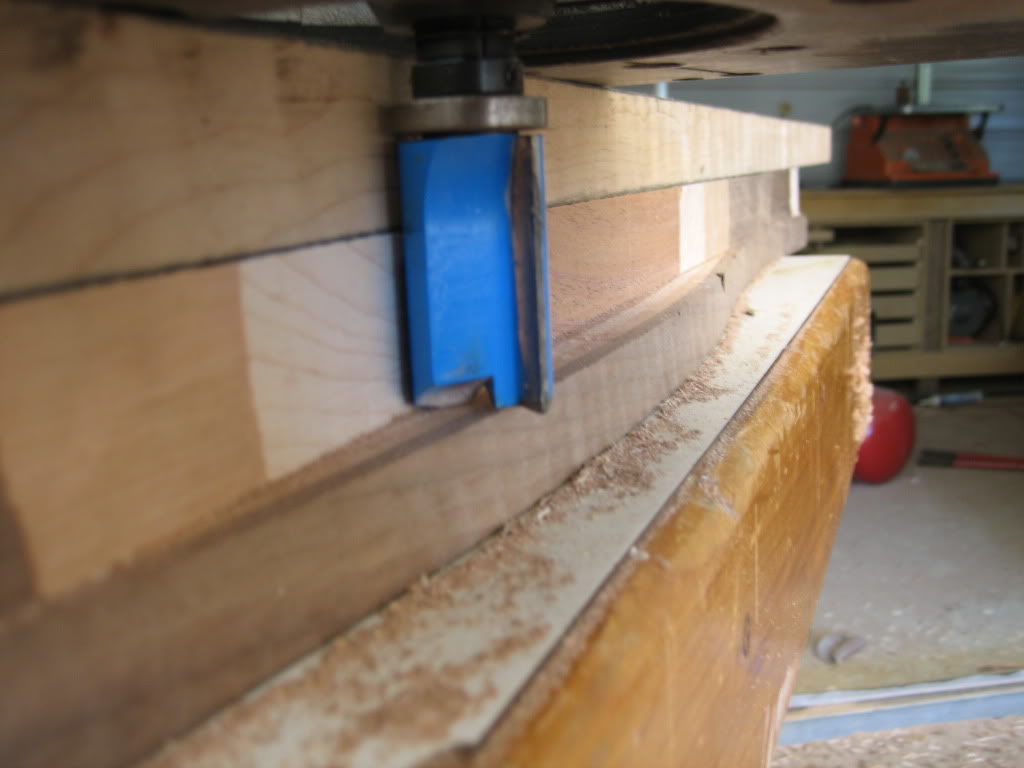
The other side of the neck:
Once the first cuts are made I switch my weapon and flip the blank over to trim the rest of the cut flush.
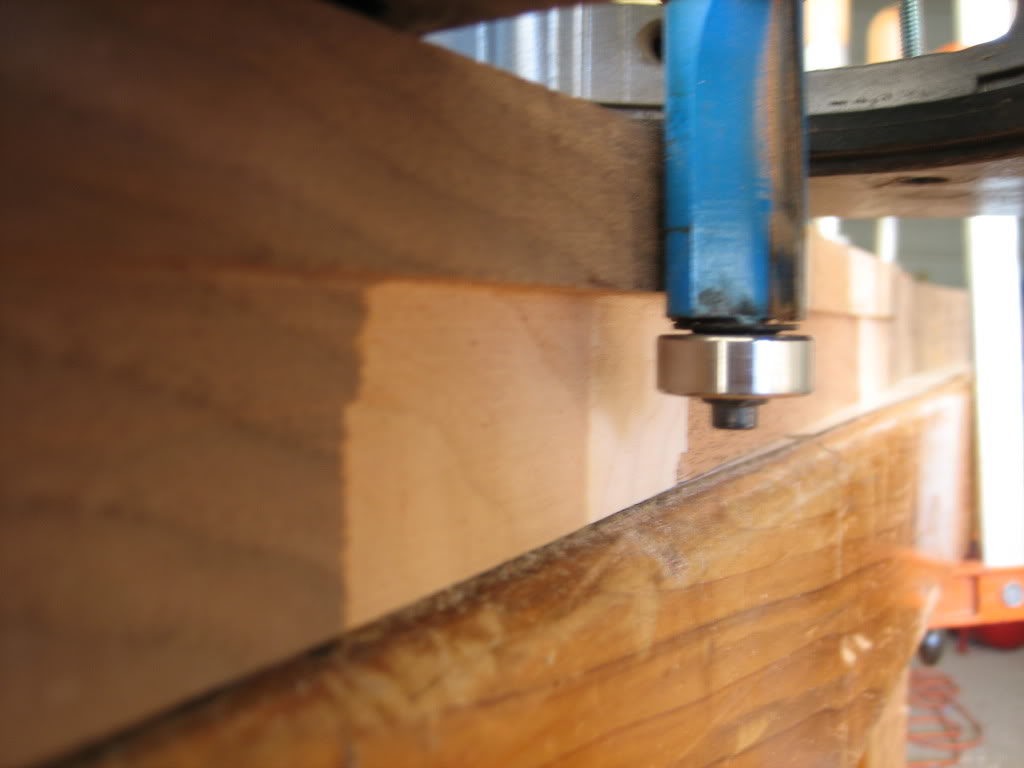
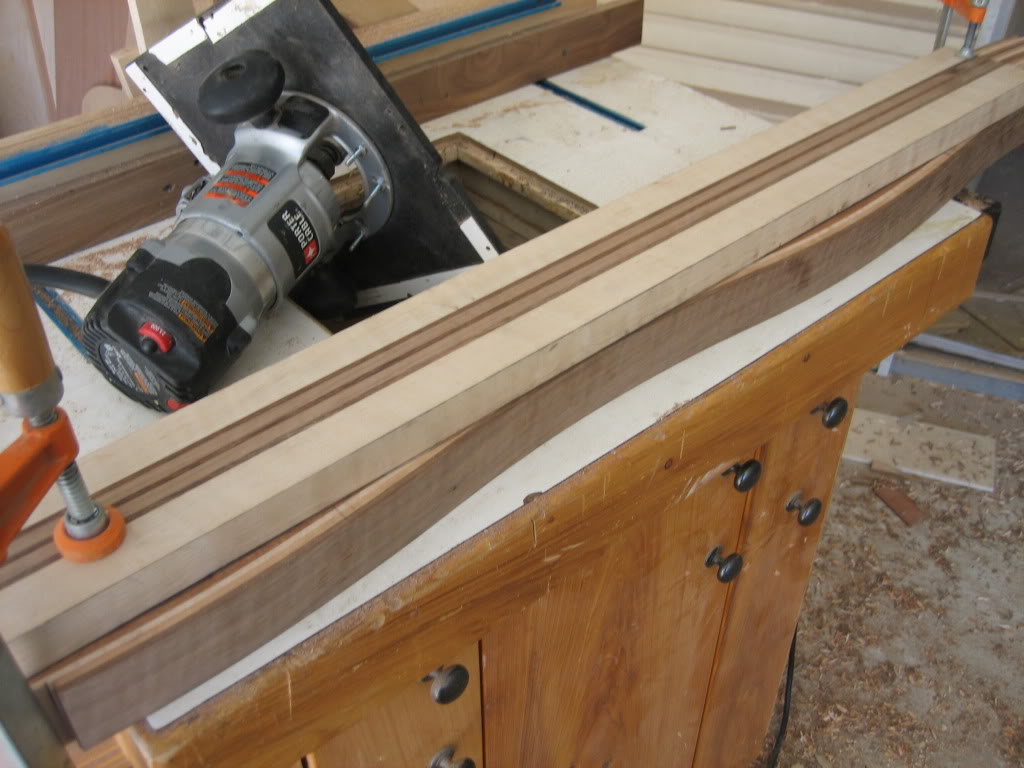
Now that I have straight edges to work with it is much easier to to use my guide to cut the angle of the headstock with the router.
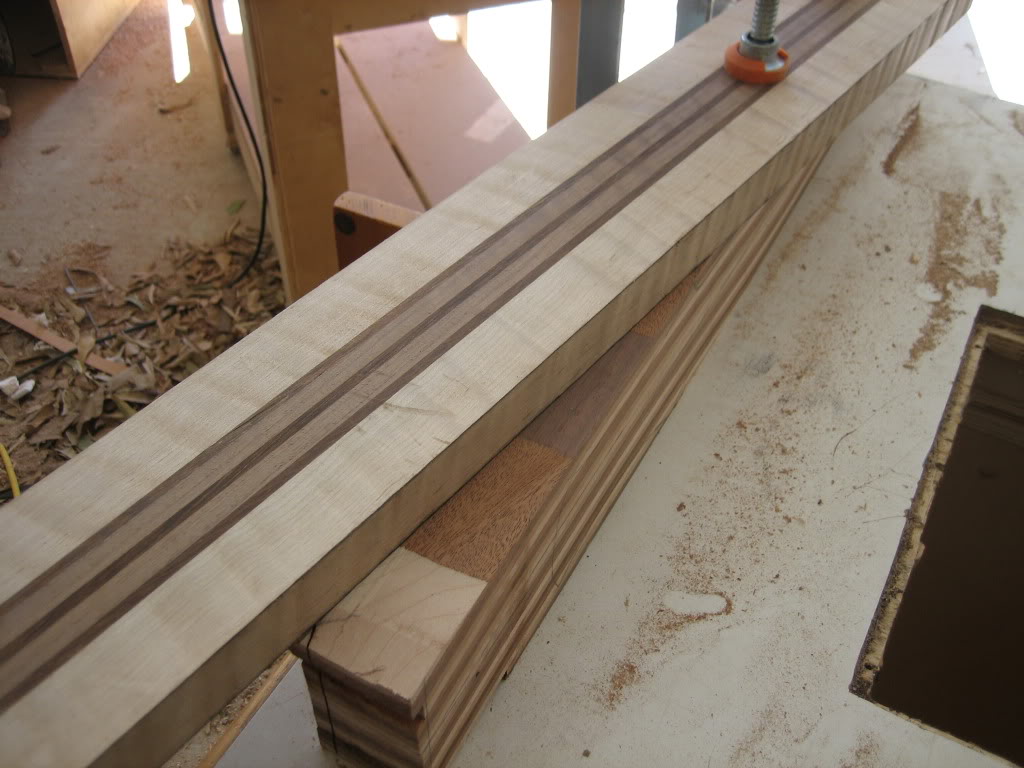
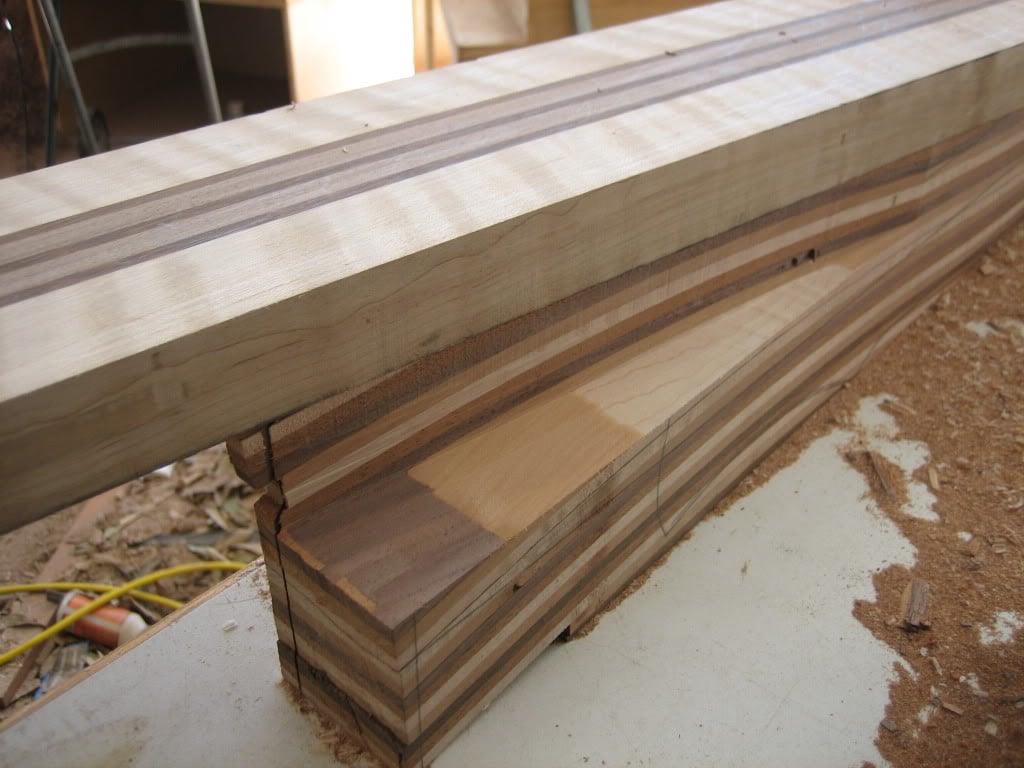
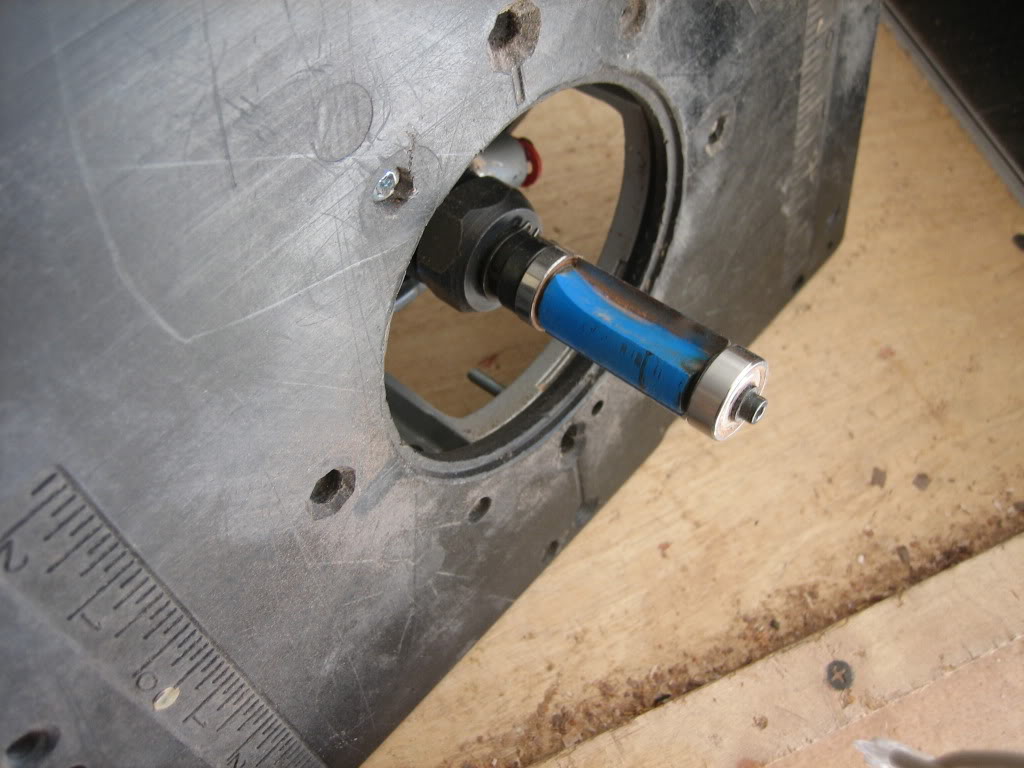
Once I have gone as deep as I can I drop the router into the table and trim the rest of the cut flush.
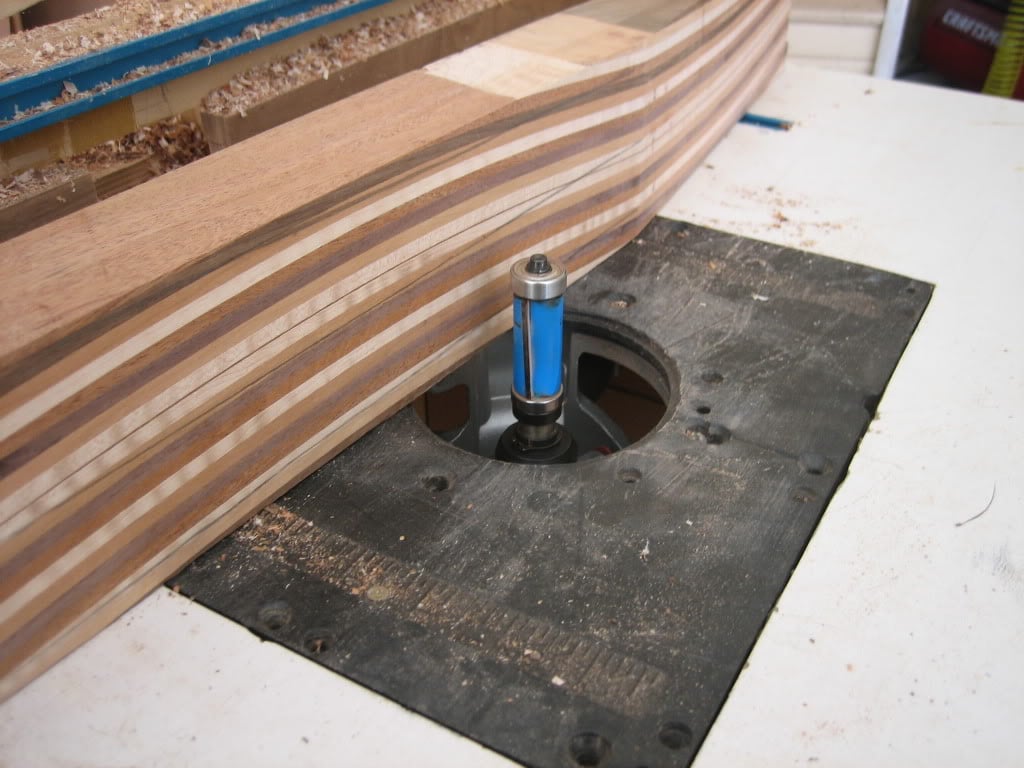
I prefer a scarf joint for my necks but this bass needs a continous headstock to leave the wave pattern unbroken. I feel this design is inherently weaker than a scarf joint and I dislike the feel of volutes. To make up for this I installed the carbon fiber support bars further up the neck than normal so they would run through the short grain and help strengthen the headstock angle as well as stiffen the rest of the neck. I didnt take pics while routing the channels but here are pics after the bars were installed.
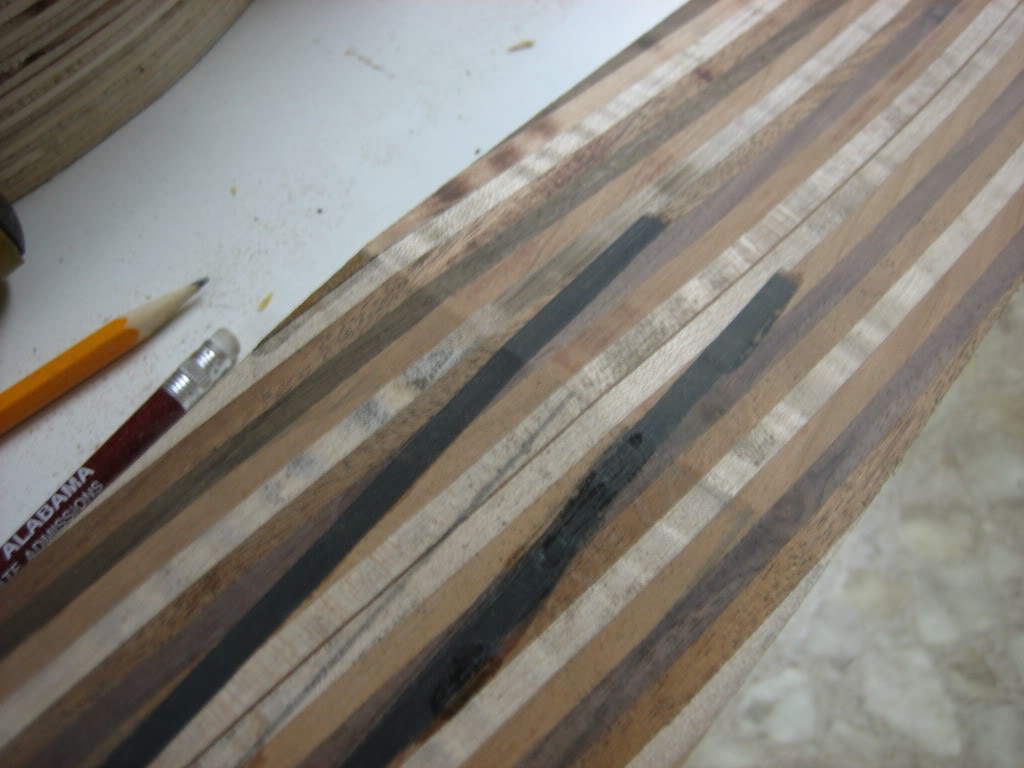
Once the headplate veneer is glued on the support bars will be covered. Hope you guys don't mind the abundance of pictures. I have already learned a lot from watching everyone else's builds and I hope I can offer the same. Not to mention that I would like to remember how the hell I did it all in case I start feeling crazy again and build another one.
And the business end:
The other side of the neck:
Once the first cuts are made I switch my weapon and flip the blank over to trim the rest of the cut flush.
Now that I have straight edges to work with it is much easier to to use my guide to cut the angle of the headstock with the router.
Once I have gone as deep as I can I drop the router into the table and trim the rest of the cut flush.
I prefer a scarf joint for my necks but this bass needs a continous headstock to leave the wave pattern unbroken. I feel this design is inherently weaker than a scarf joint and I dislike the feel of volutes. To make up for this I installed the carbon fiber support bars further up the neck than normal so they would run through the short grain and help strengthen the headstock angle as well as stiffen the rest of the neck. I didnt take pics while routing the channels but here are pics after the bars were installed.
Once the headplate veneer is glued on the support bars will be covered. Hope you guys don't mind the abundance of pictures. I have already learned a lot from watching everyone else's builds and I hope I can offer the same. Not to mention that I would like to remember how the hell I did it all in case I start feeling crazy again and build another one.
Lab Journal #10: Back into the lab where the heat is on and no rain is falling.
These are pics of gluing the bookmatched headstock veneer. I clamp cauls on each side of the matched pieces to align the seam and then clamp from the outside edges. Once the seam is tight, snug up the clamps that hold the cauls.
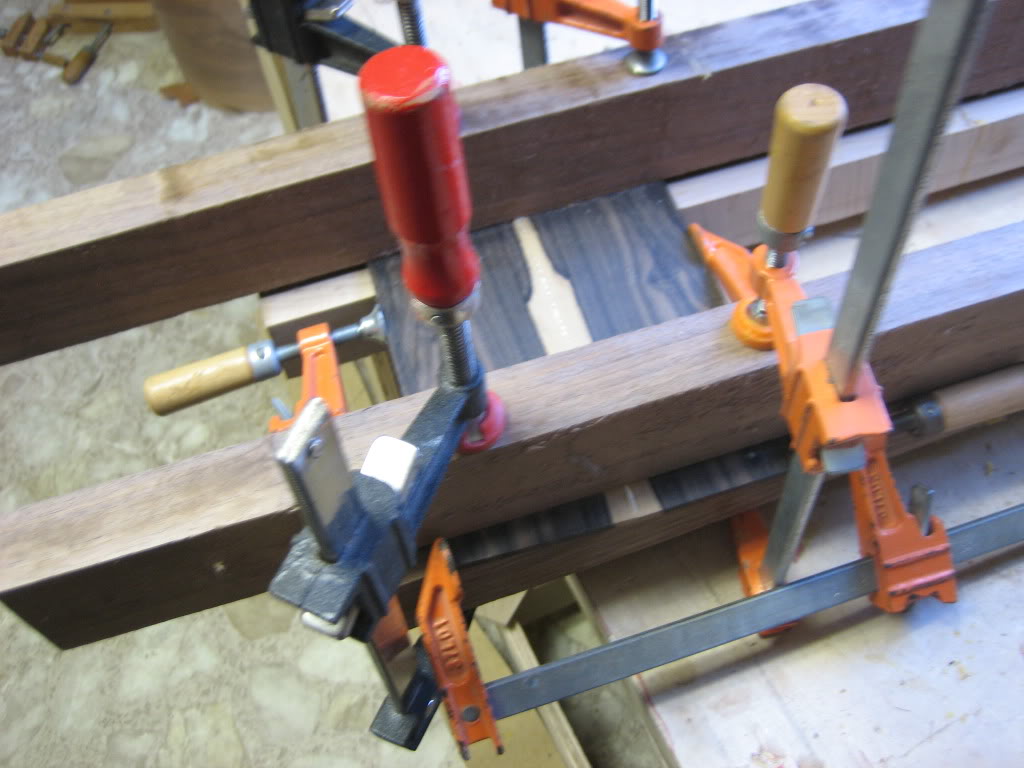
As long as the cauls are straight and on a flat surface your seams should line up and your panel should glue up flat. I glue my bookmatched tops the same way, just with larger clamps and cauls.
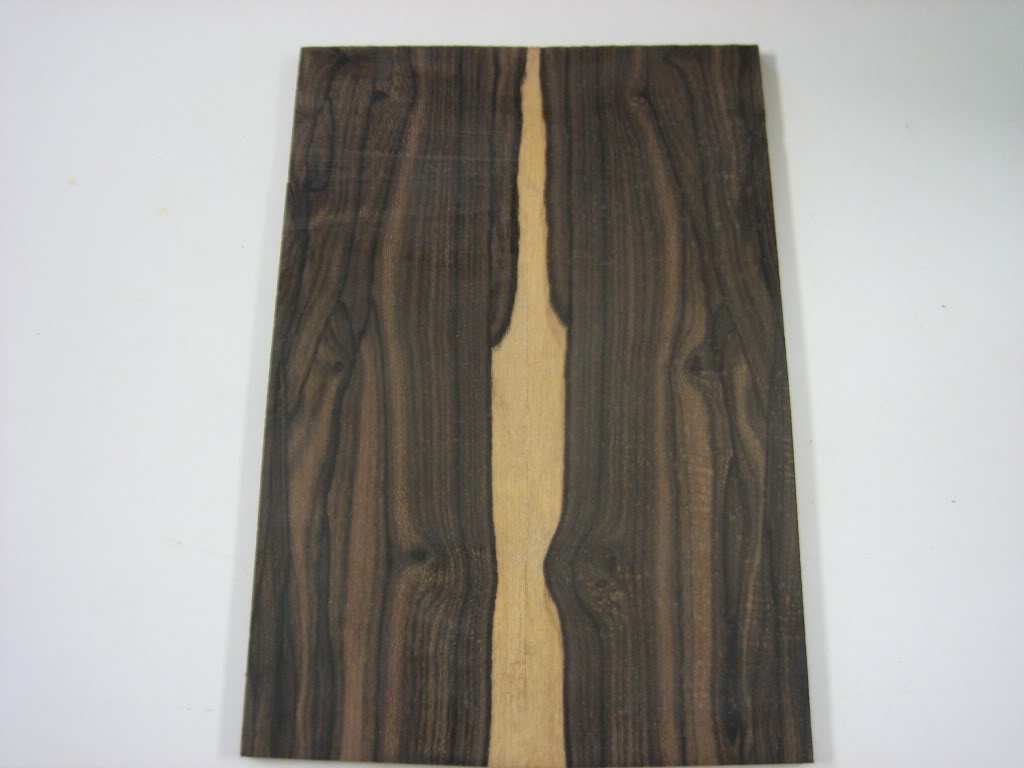
And now, what we all really want after a long day of making, swallowing and sweeping woodchips; Wood porn!
Headstock veneer:
Top, fingerboard and Headstock:
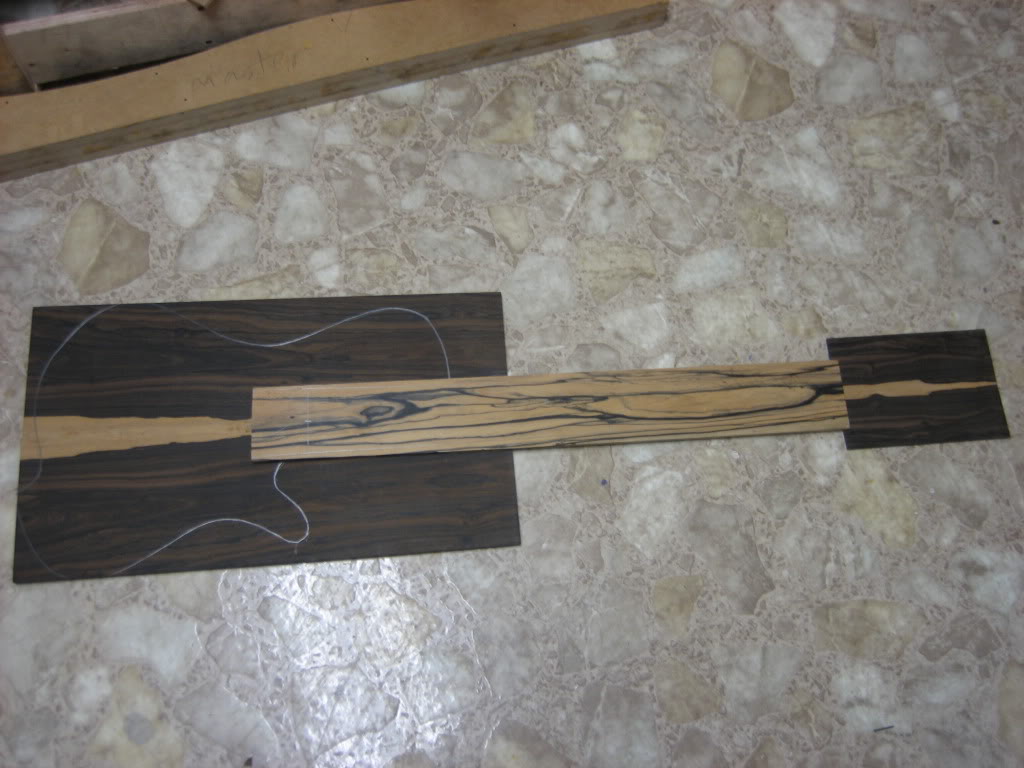
I dont use computers well so all of my designs end up drawn on mdf templates stacked around my shop. Funny thing is, I always end up with a new set of templates every time I build a new instrument. The design even seems to change as I build each instrument. I guess you should expect as much from a mad scientist...
These are pics of gluing the bookmatched headstock veneer. I clamp cauls on each side of the matched pieces to align the seam and then clamp from the outside edges. Once the seam is tight, snug up the clamps that hold the cauls.
As long as the cauls are straight and on a flat surface your seams should line up and your panel should glue up flat. I glue my bookmatched tops the same way, just with larger clamps and cauls.
And now, what we all really want after a long day of making, swallowing and sweeping woodchips; Wood porn!
Headstock veneer:
Top, fingerboard and Headstock:
I dont use computers well so all of my designs end up drawn on mdf templates stacked around my shop. Funny thing is, I always end up with a new set of templates every time I build a new instrument.
The design even seems to change as I build each instrument. I guess you should expect as much from a mad scientist...Looking at the pictures of the neck makes my eyes play tricks on me. It honestly looks really warped. I cannot wait to see this thing get finished.
lowsound
lowsound

For a sec, I thought your headstock angle was curved..
..must be so hard to not go crazy while aligning those rods.
That's sweet!! Even better than I imagined it would be :scowl: Think gold hardware would look good on that, or maybe black if you want to keep it subtle
.
For a sec, I thought your headstock angle was curved..
..must be so hard to not go crazy while aligning those rods.
That's sweet!! Even better than I imagined it would be :scowl: Think gold hardware would look good on that, or maybe black if you want to keep it subtle
Oh yes. Normally you can eyeball certain things at least as a starting point but with this bass everything must be laid out and followed exactly. It is very easy to get confused if you stare at it for too long. I have considered using satin chrome hardware for this bass. I will use either gold or satin, but I have yet to make up my mind.
Oh yes. Normally you can eyeball certain things at least as a starting point but with this bass everything must be laid out and followed exactly. It is very easy to get confused if you stare at it for too long. I have considered using satin chrome hardware for this bass. I will use either gold or satin, but I have yet to make up my mind.
Satin chrome!
Thats so much more classy than gold.
And it would nicely contrast the Top Woods.

man; i didnt know u were doing the whole body like that; you should be careful, you might get a bit of vertigo workin on that thing!
Musiclogic
Commercial User
- Aug 6, 2005
- 6,505
- 73
- 60
- Disclosures
- Owner/Builder: HJC Customs USA, The Cool Lute, C G O
Latest posts
-

-
 Double Bass What is the learning curve like as a new upright bassist?
- Latest: Danukenator
-

-

-
