• TalkBass has been independent since 1998. Add your voice.
    Create a free account to reply to discussions, view embedded media, and browse with fewer display ads.
    Join freeLog in
    Want zero display ads or expanded classifieds tools? Compare plans.

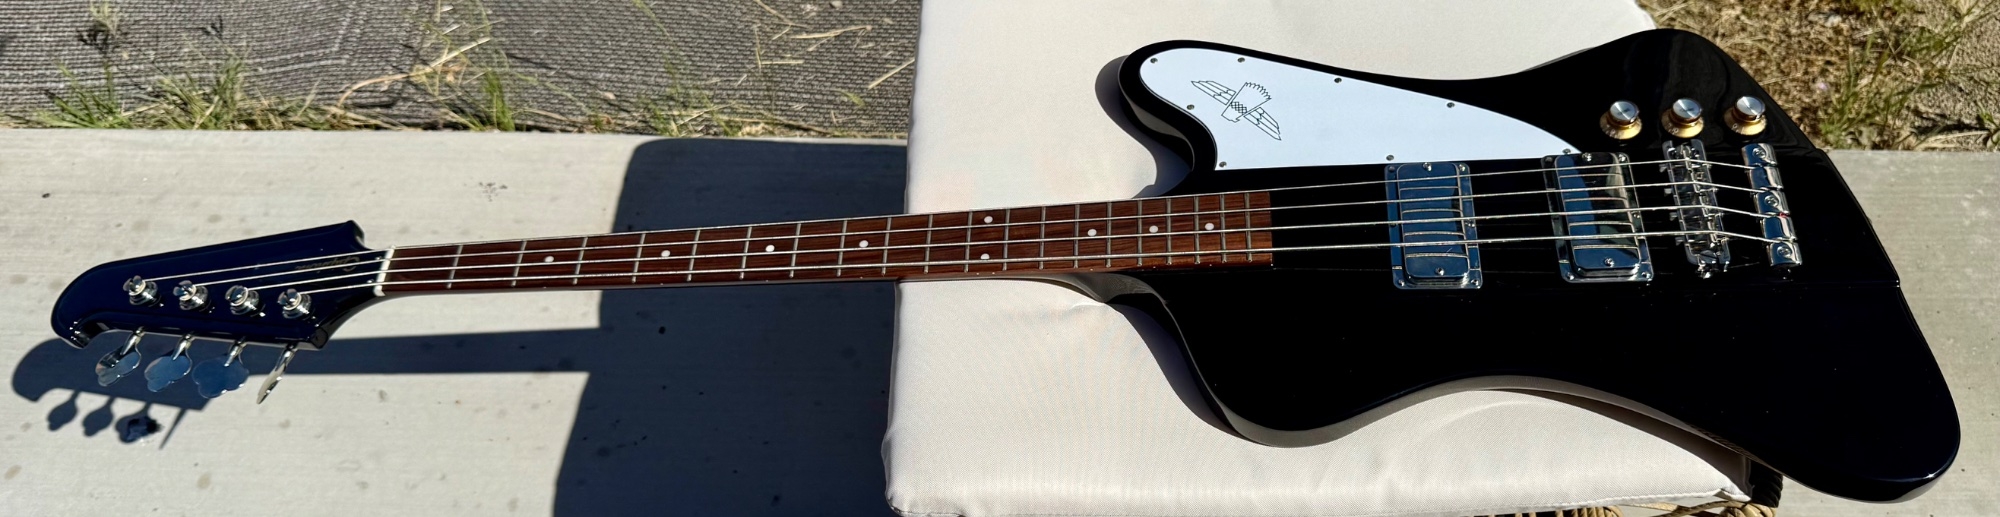
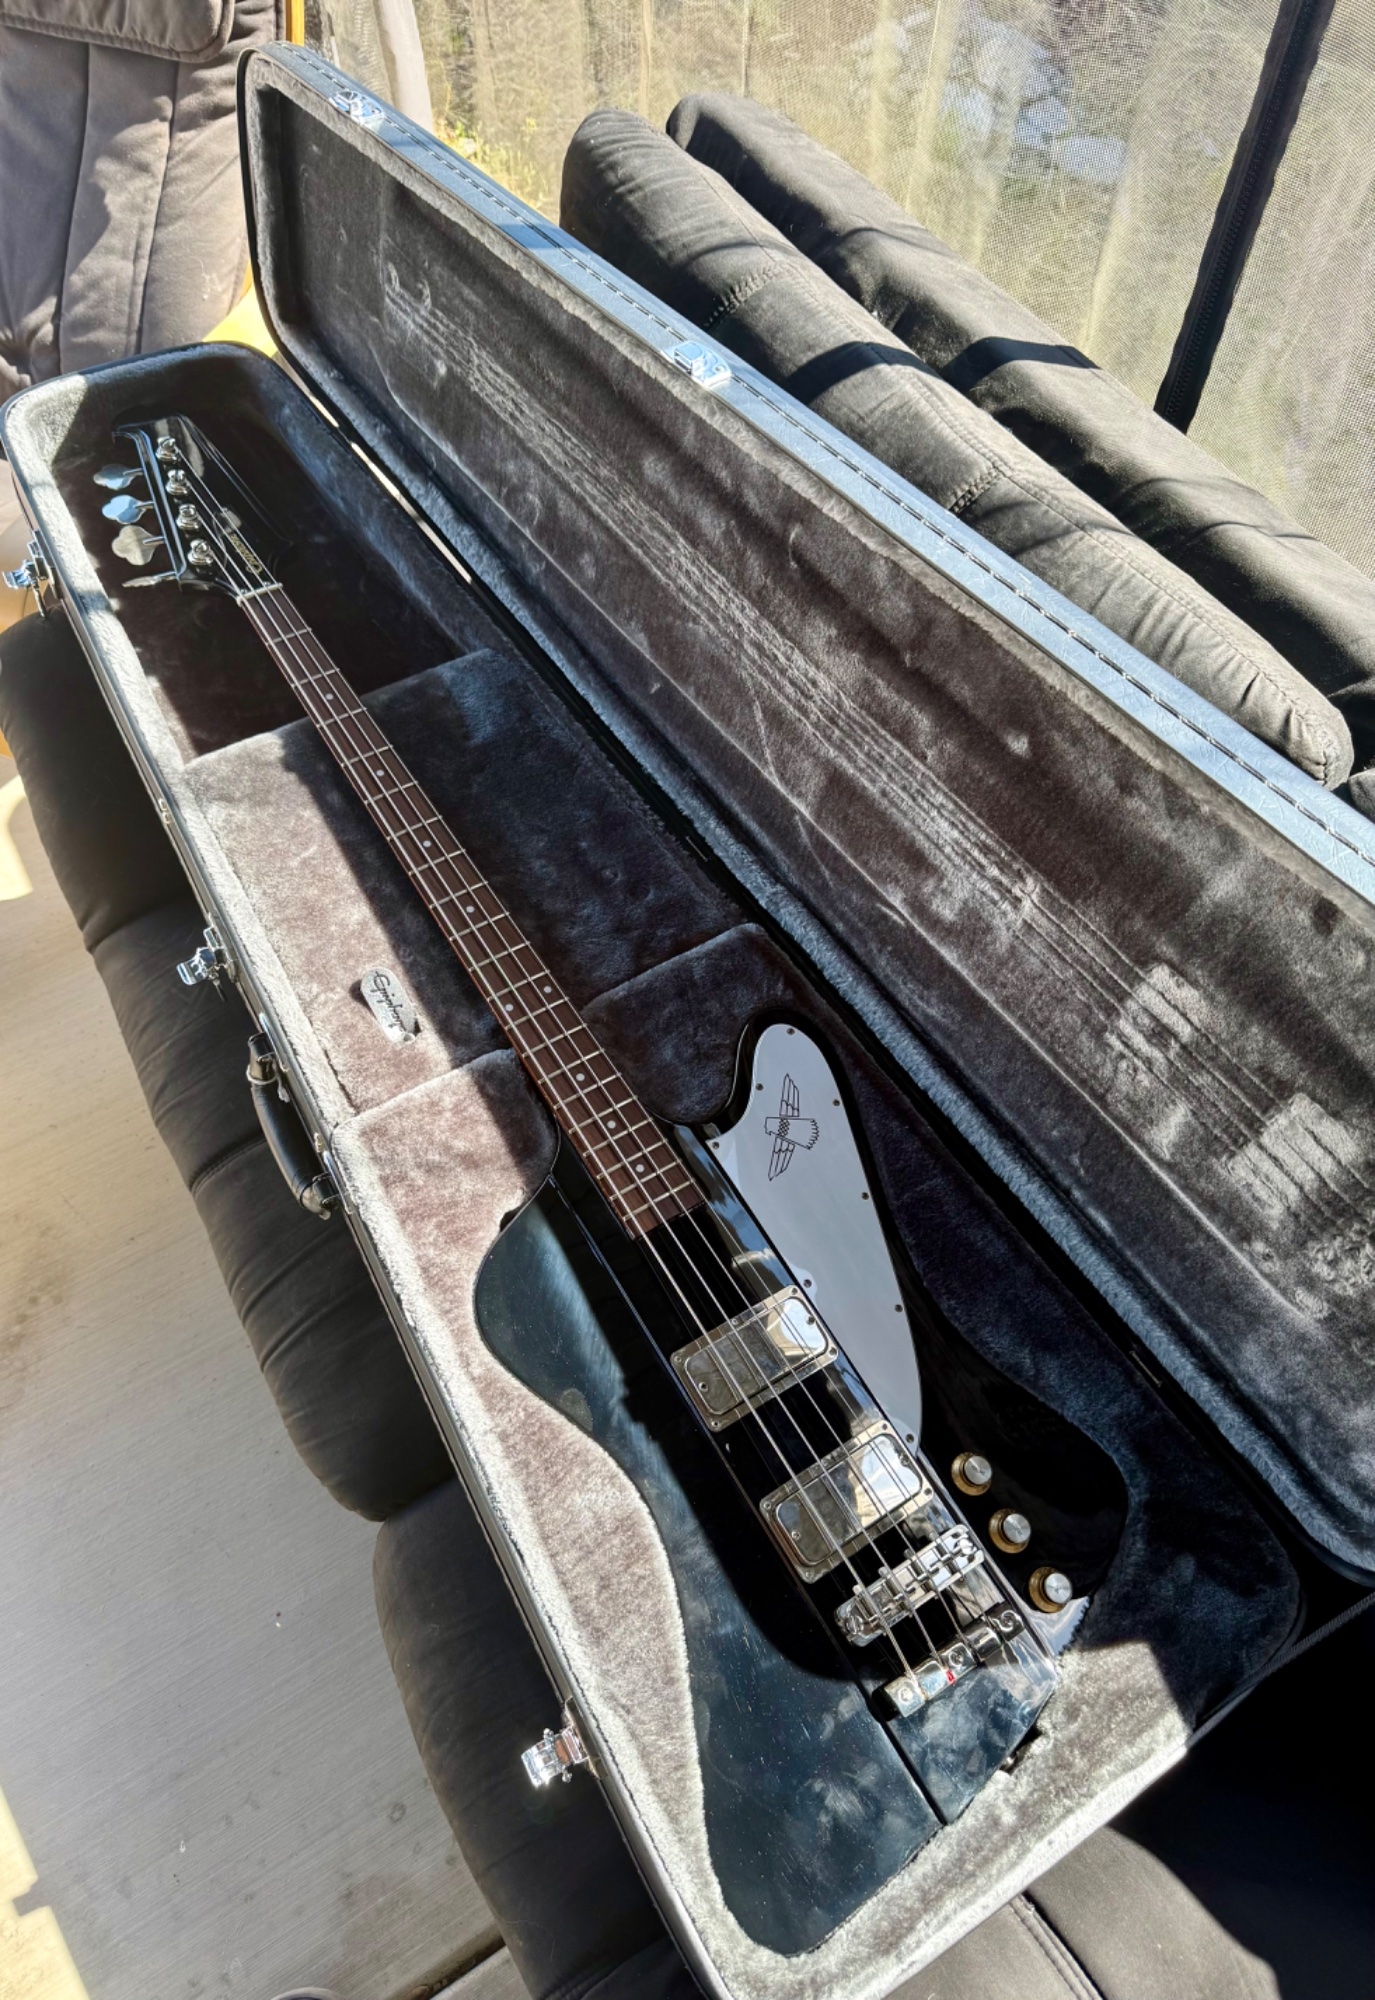
NBD: 2019 Epiphone Vintage Pro Thunderbird

/\/\3phist0

Sweet Treets by Ray
May 7, 2007
12,302
34,040
61
Palm Springs adjacent near Salton Sea
Posted first to the Thunderbird club:

Always loved the classic MCM / automotive vibe of a Thunderbird. Never got around to it for one reason or another.

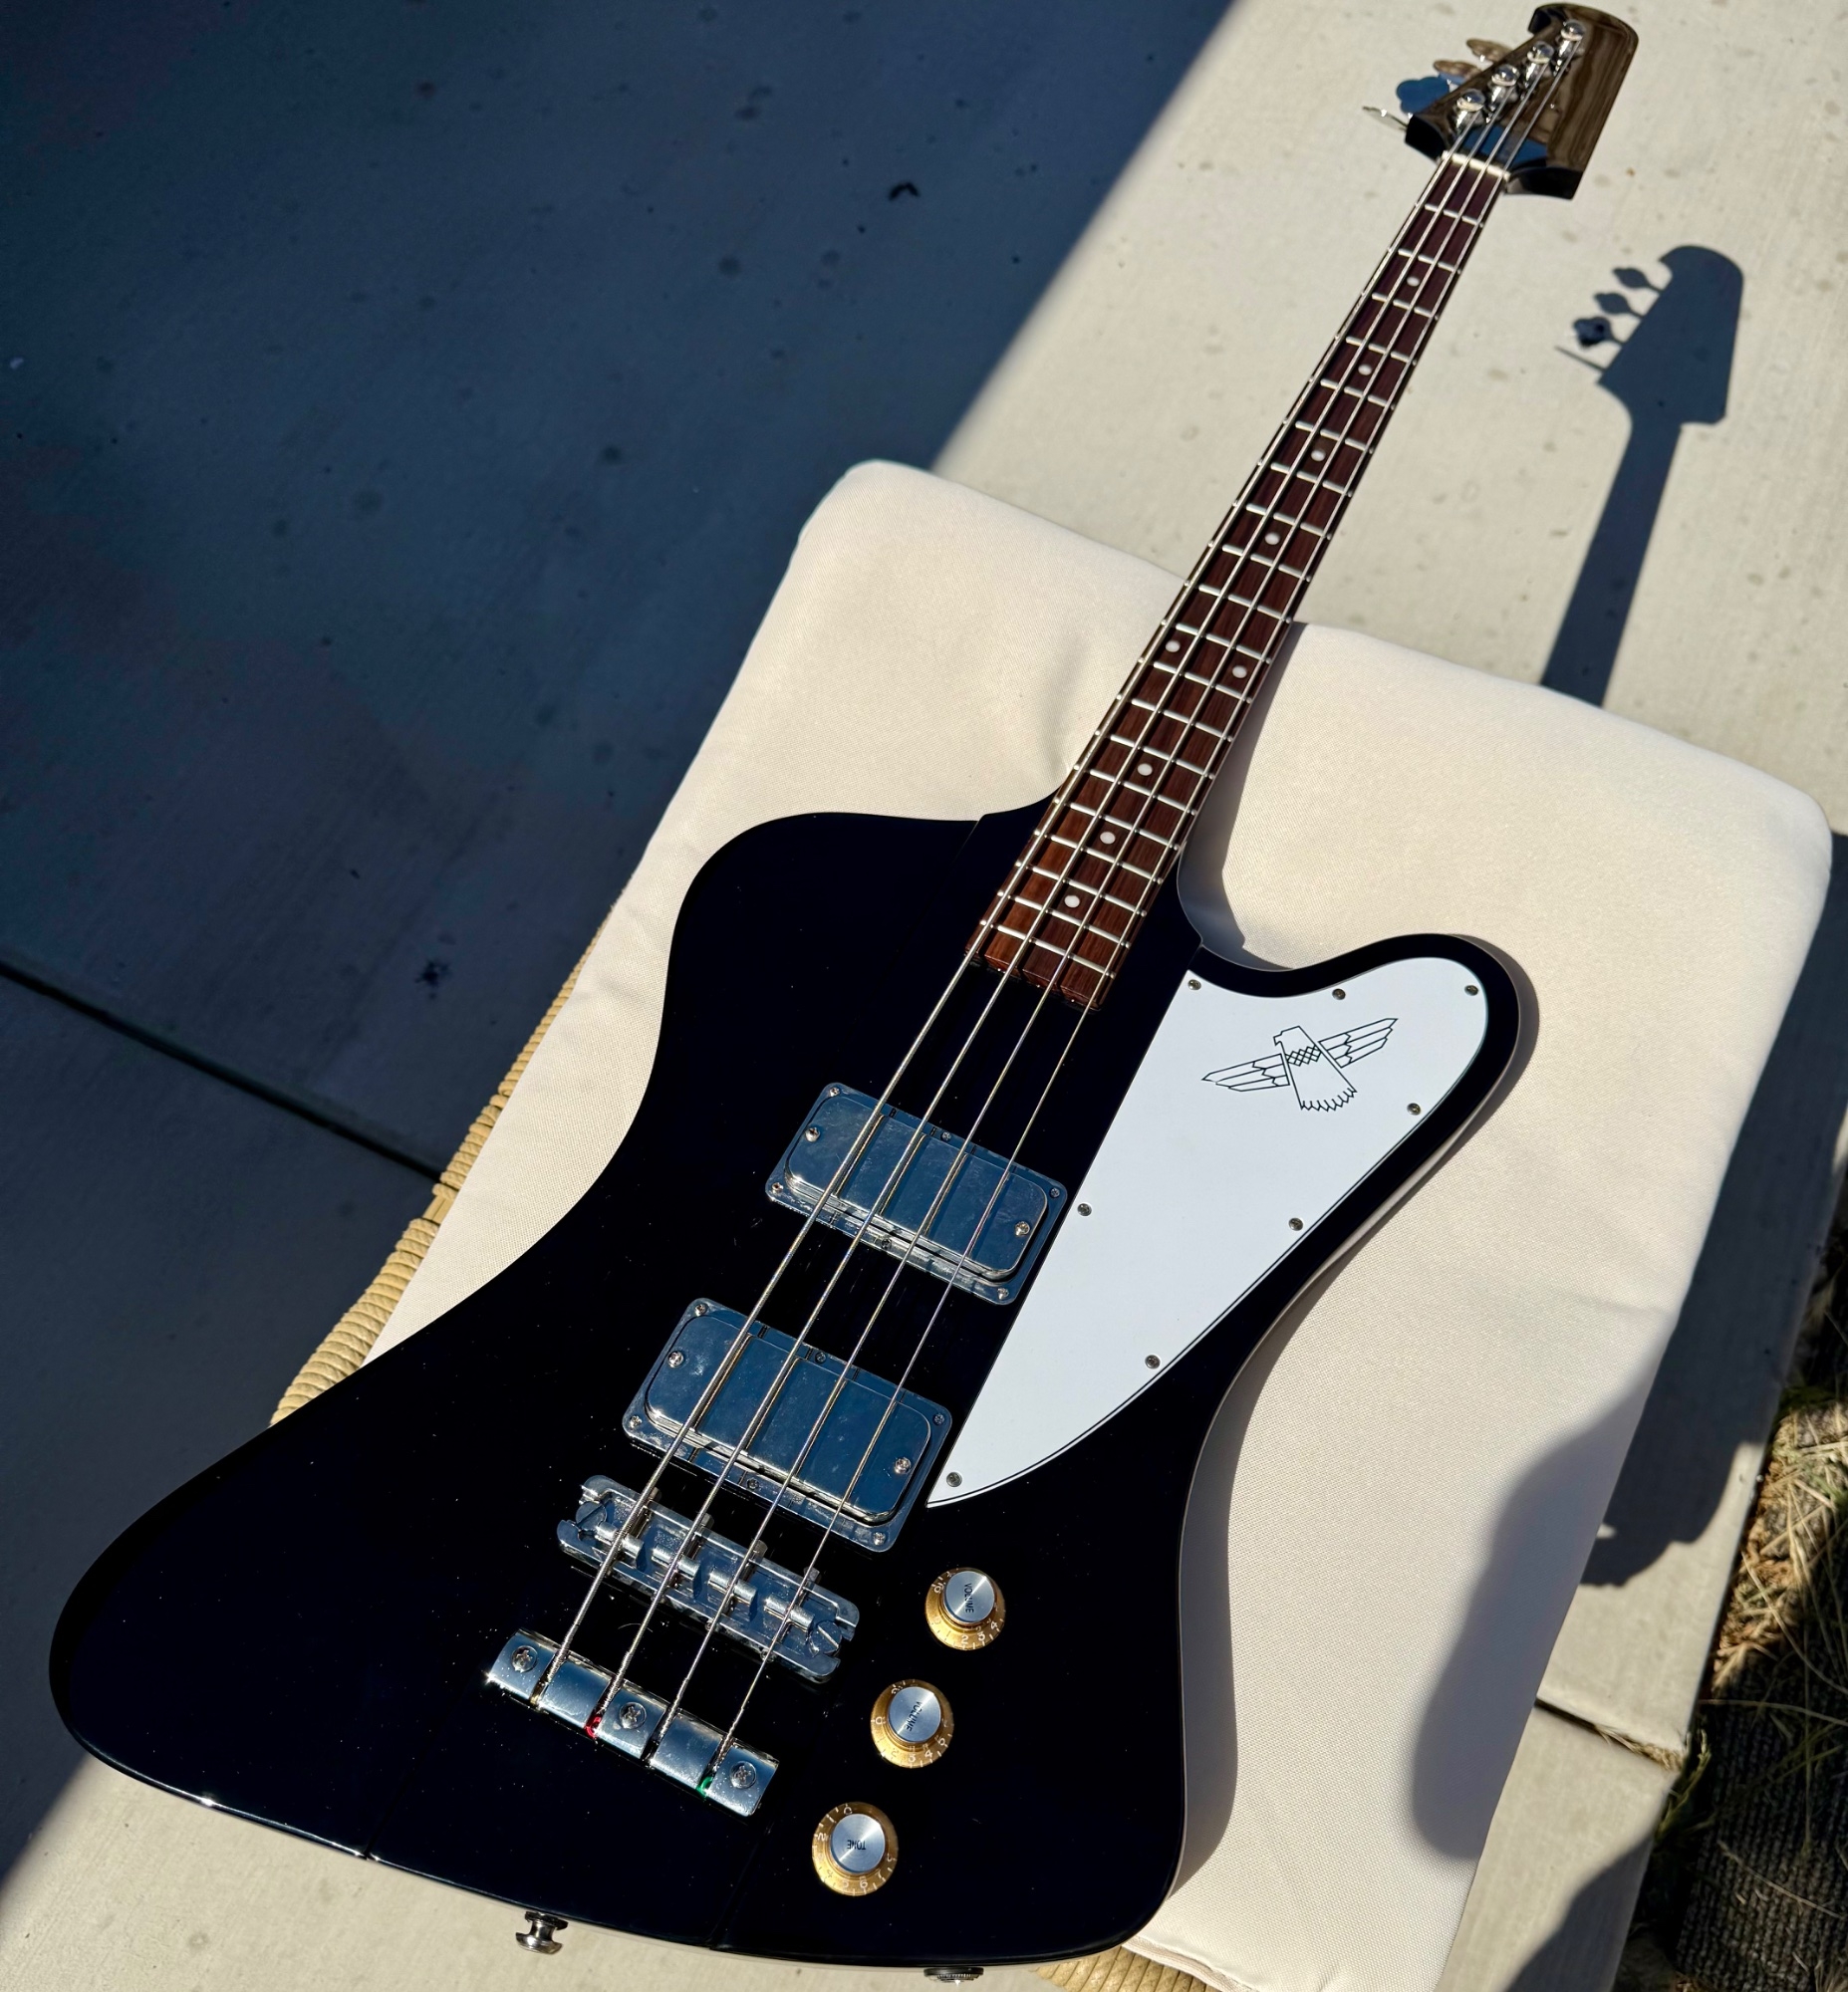
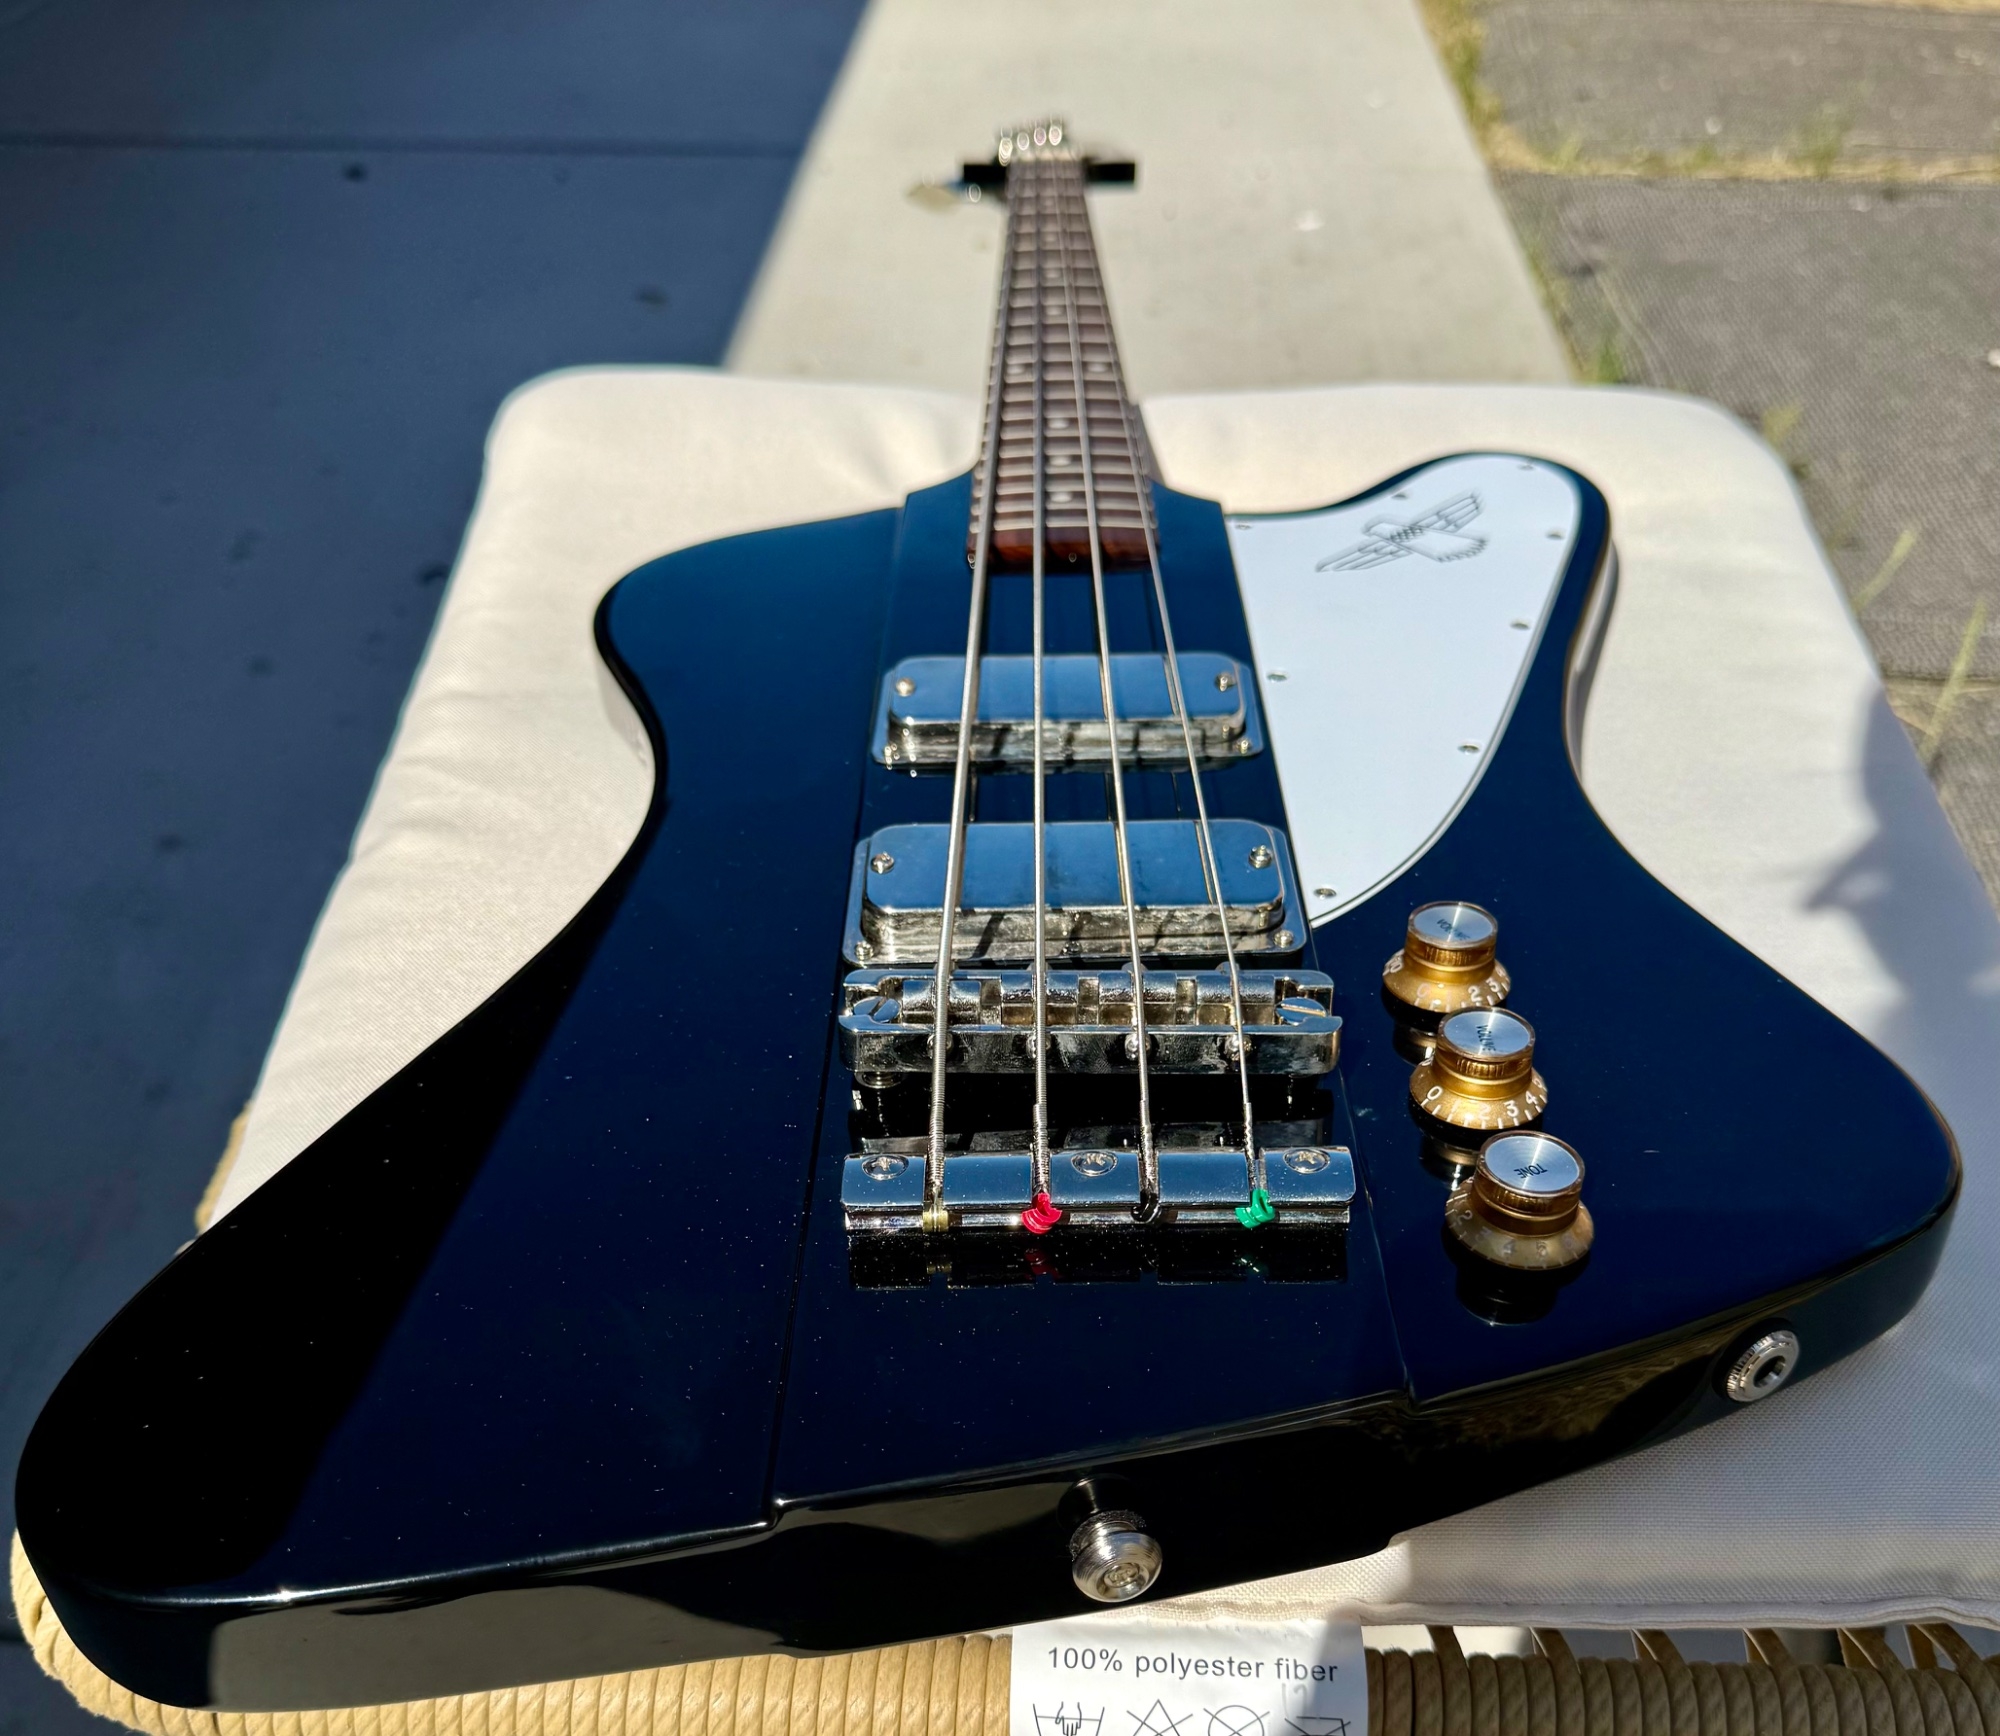
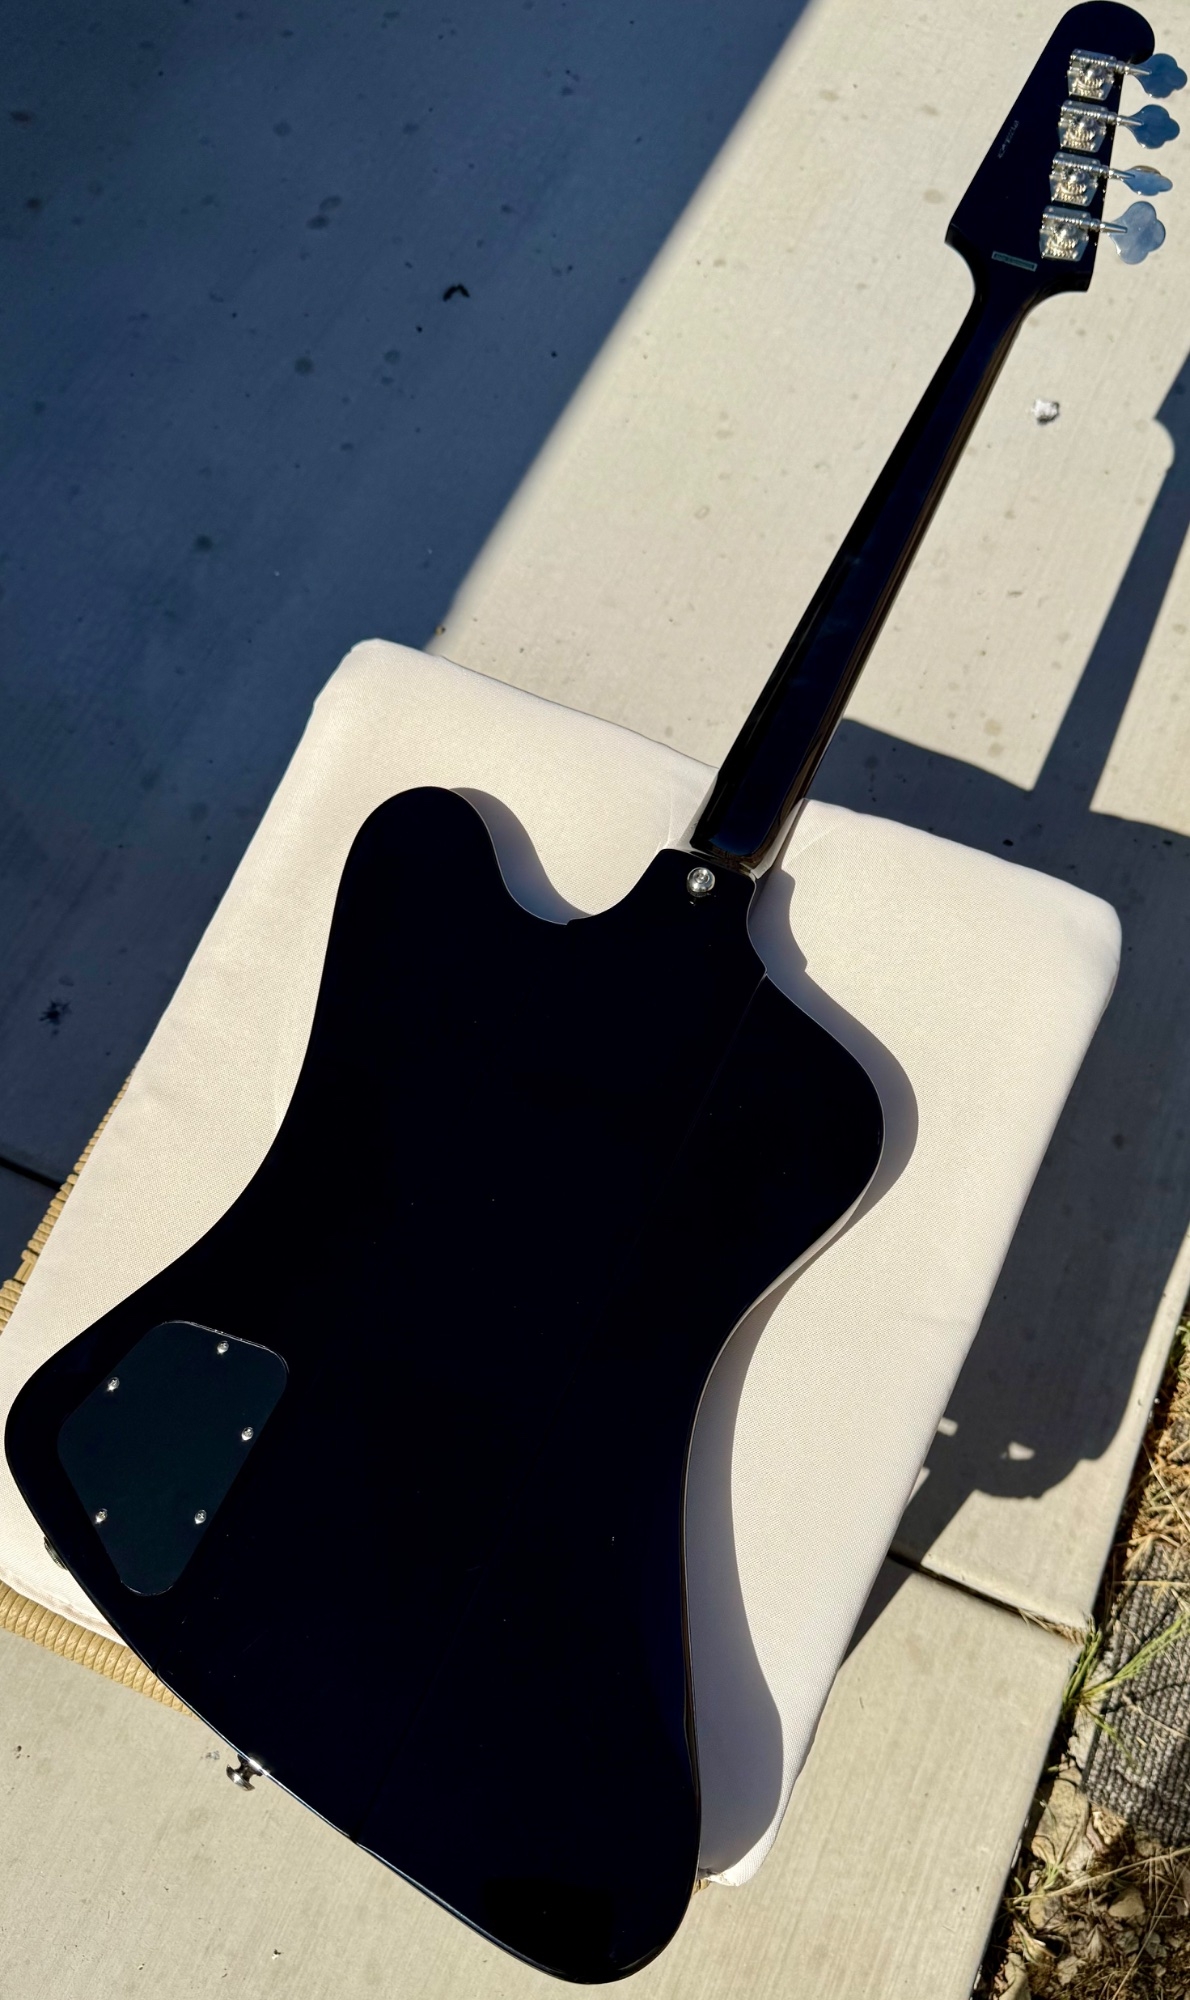
Well the Vintage Pro Thunderbird landed.
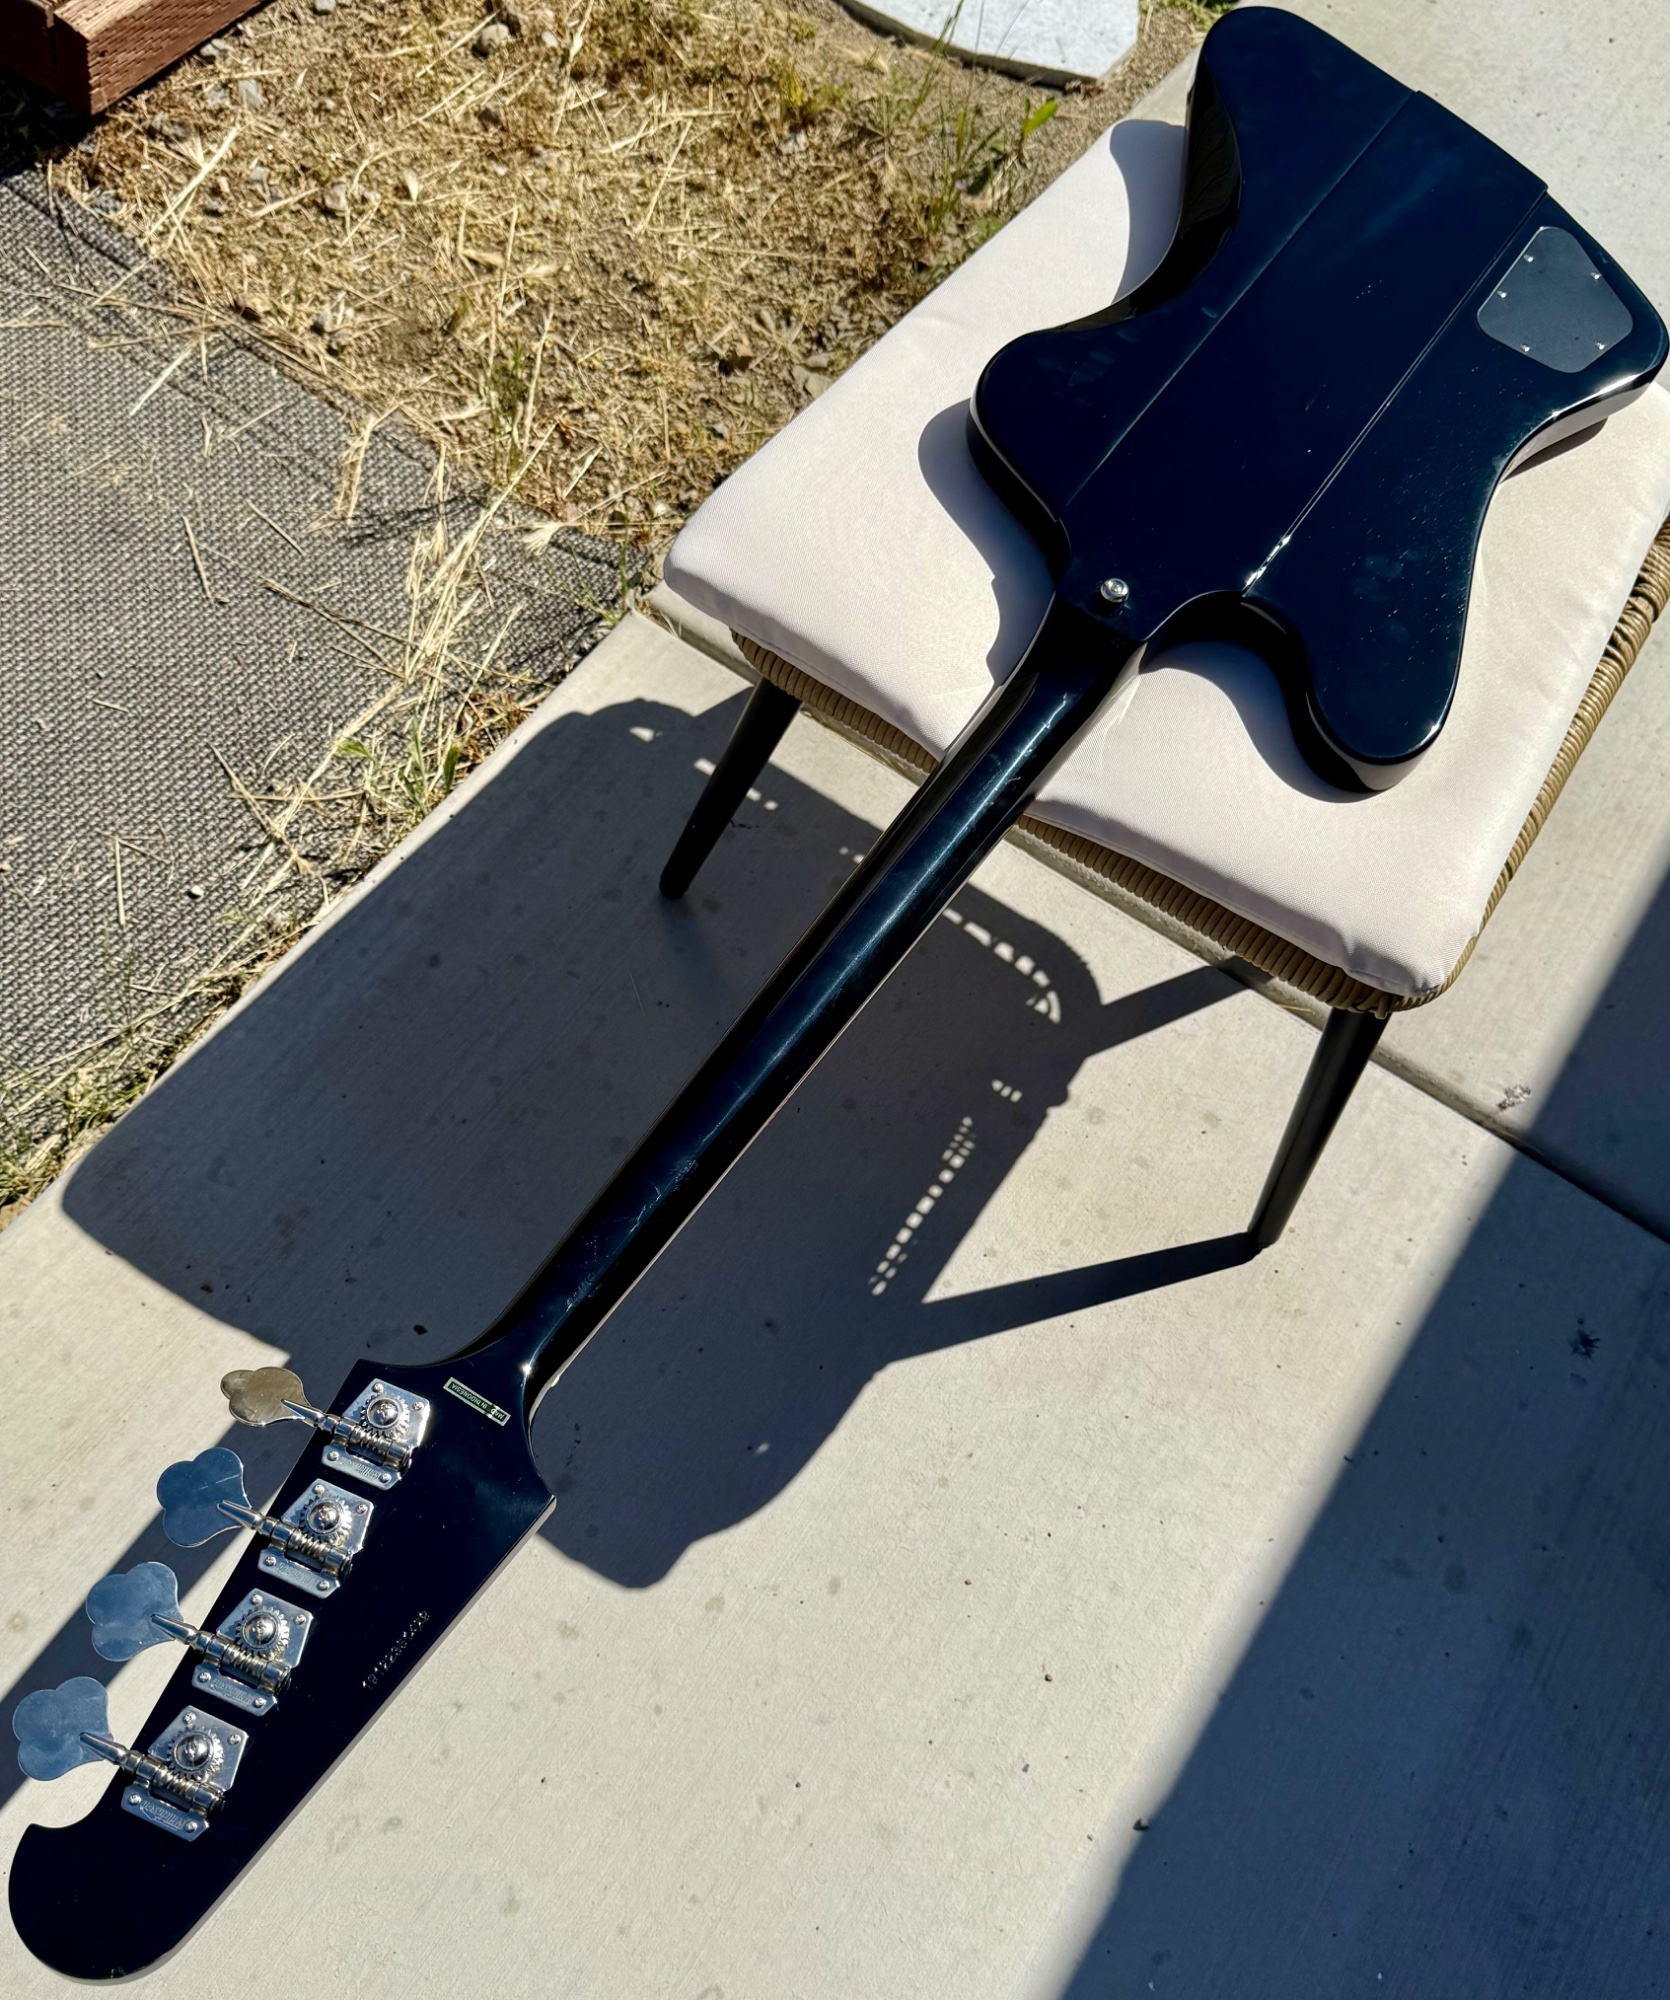
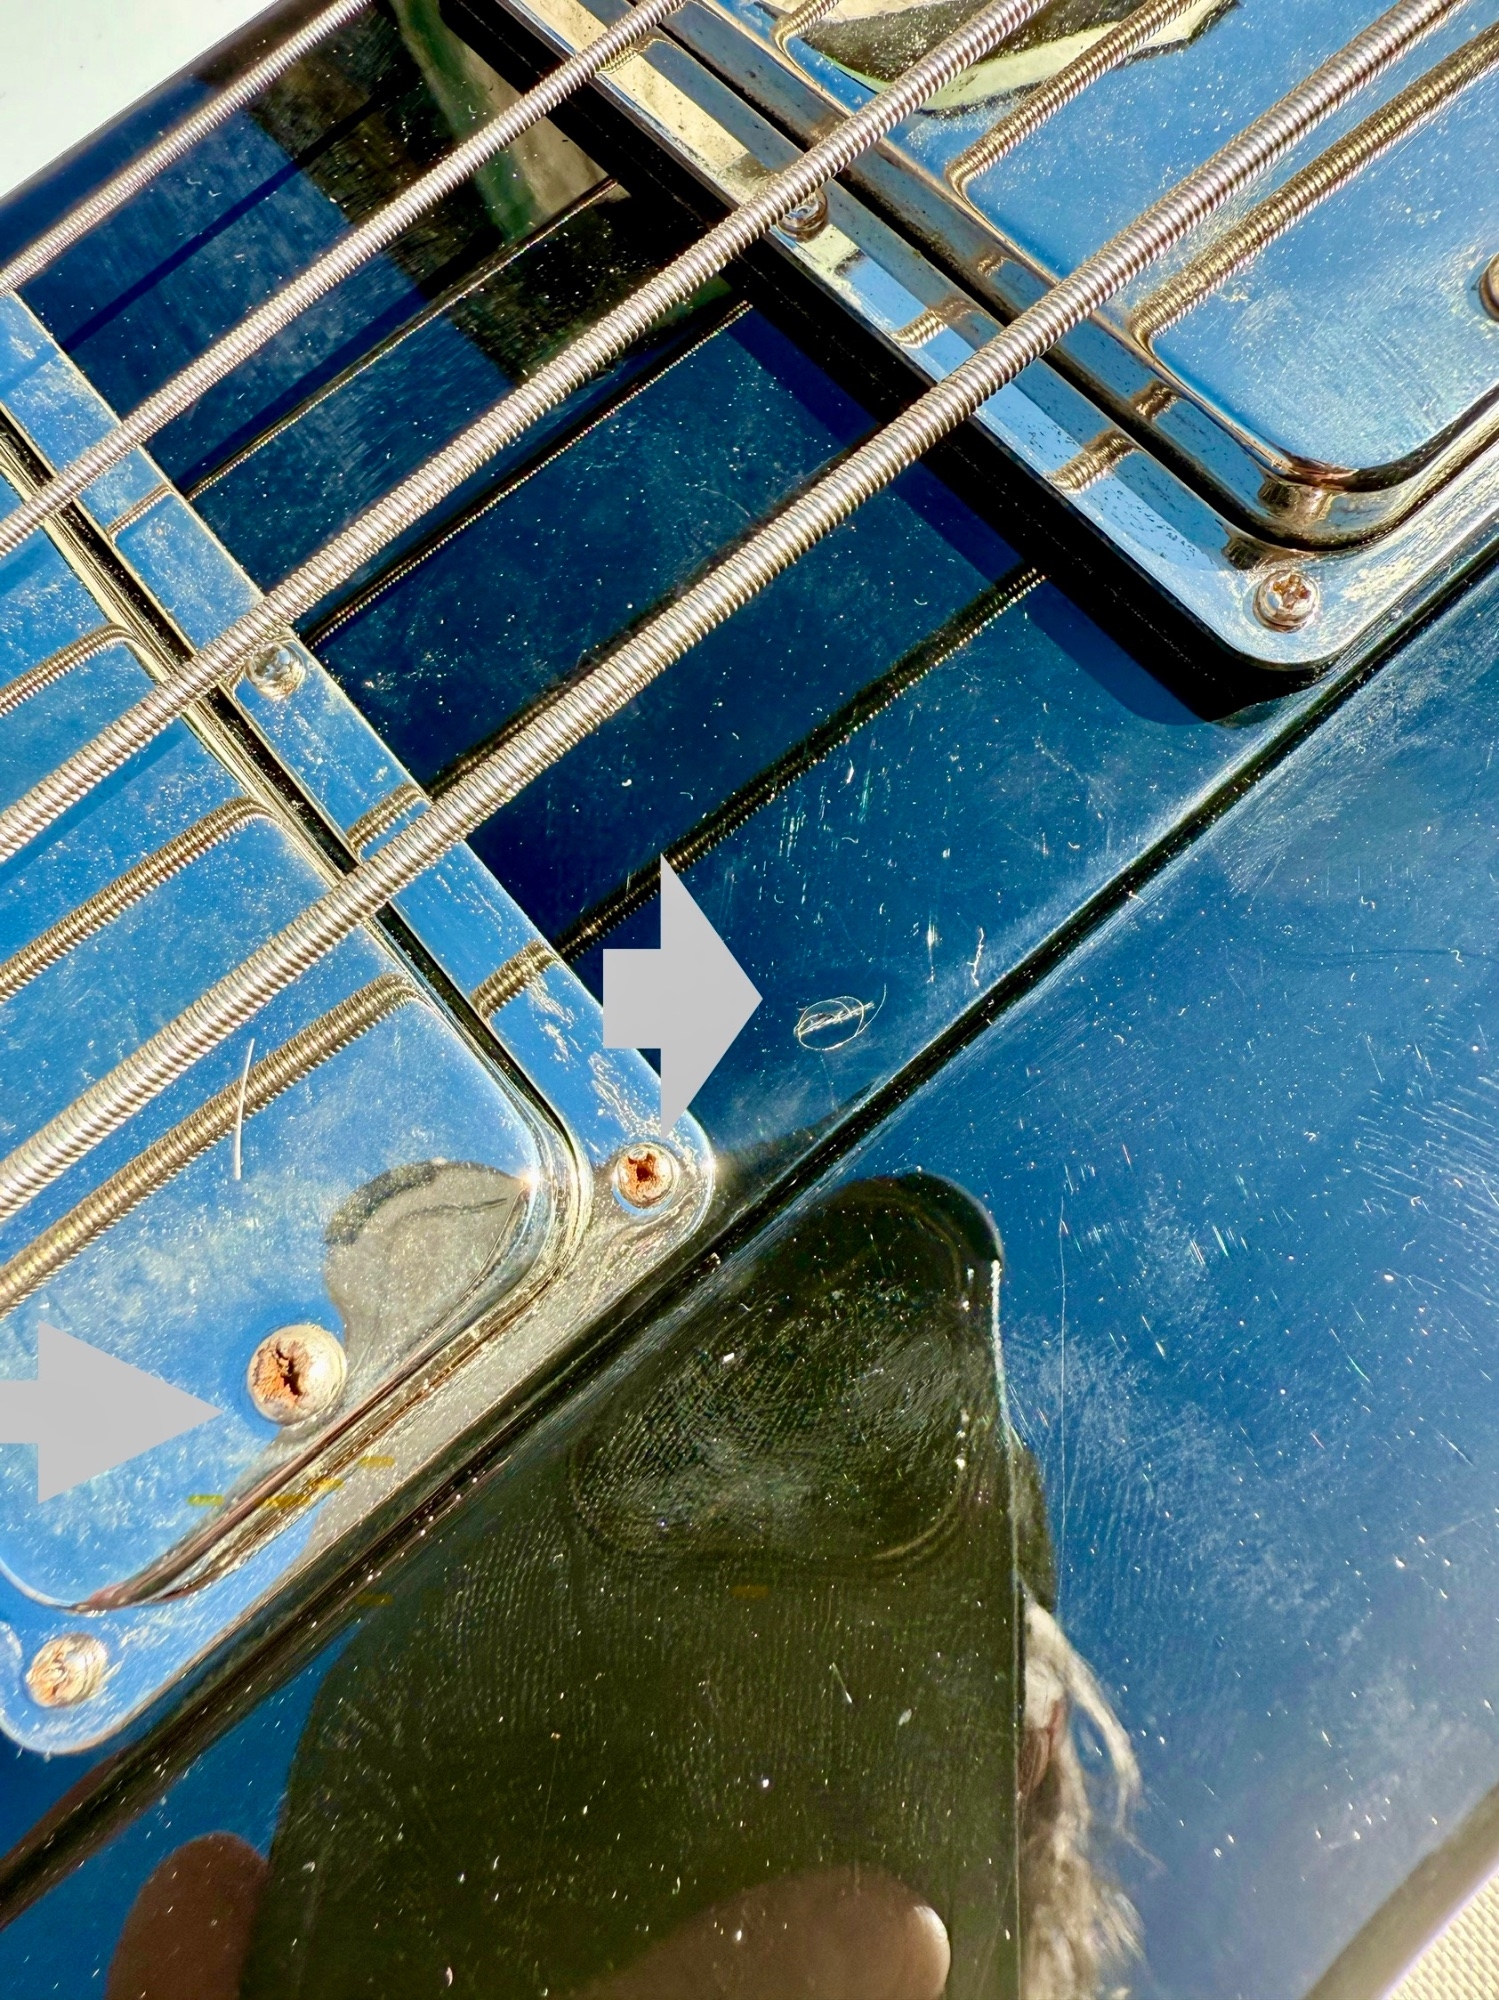
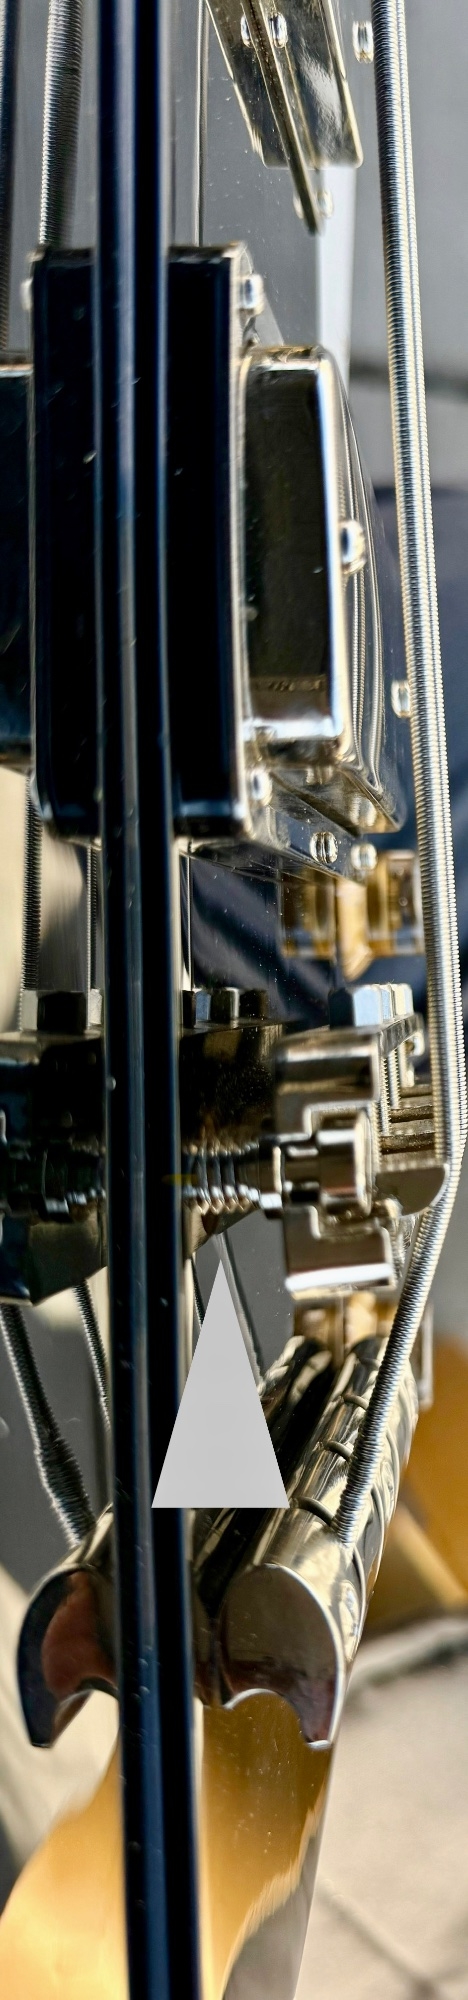
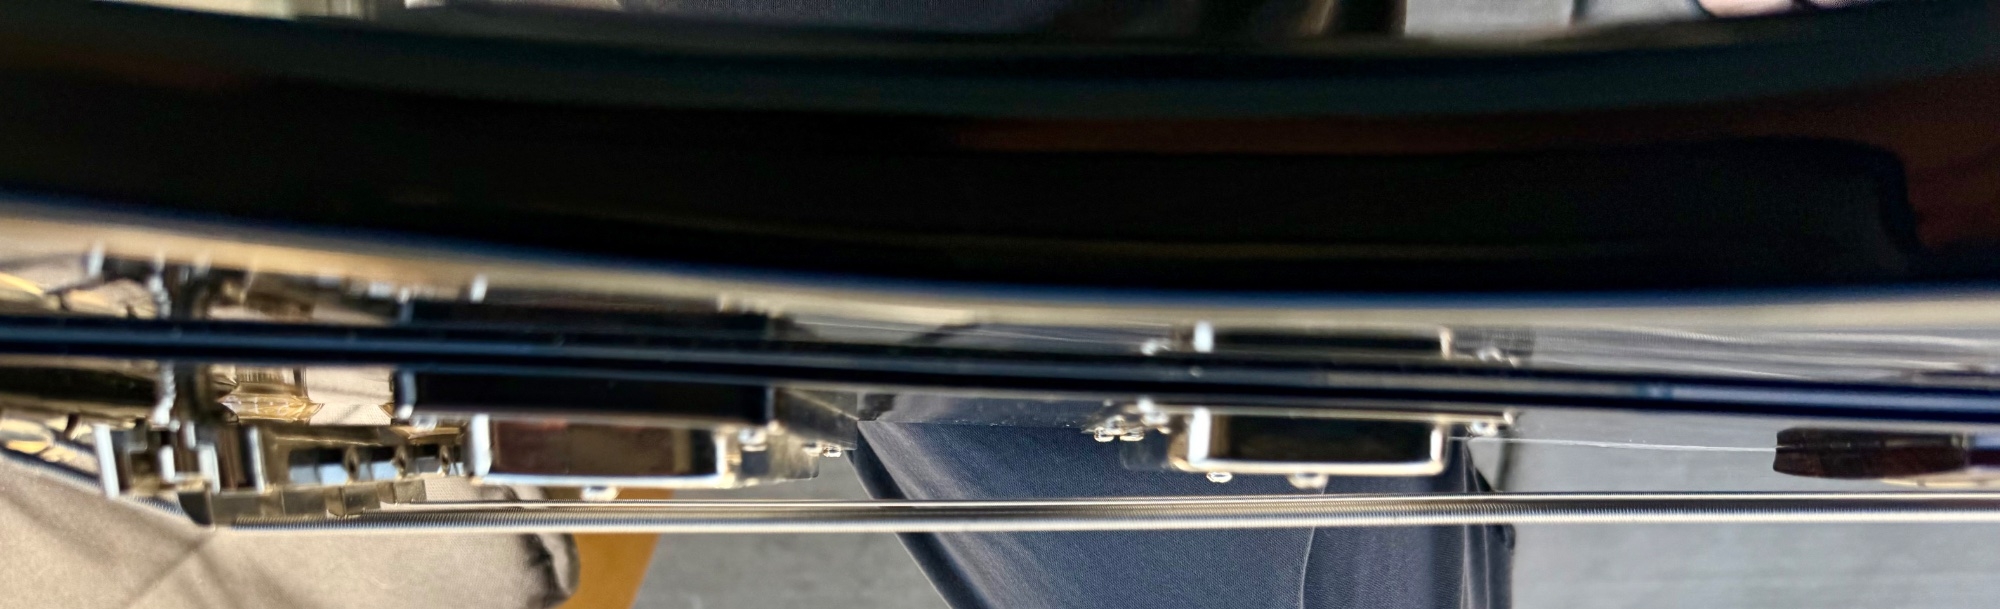
No issues except bridge seems to lean a bit towards the neck a bit (correctable) one small ding, filthy, dead strings and a bit of rust on screws.
Truss rod works and is not stripped.
No fret sprout yet(came from Virginia to my arid home in Cali, so I expect some, later.
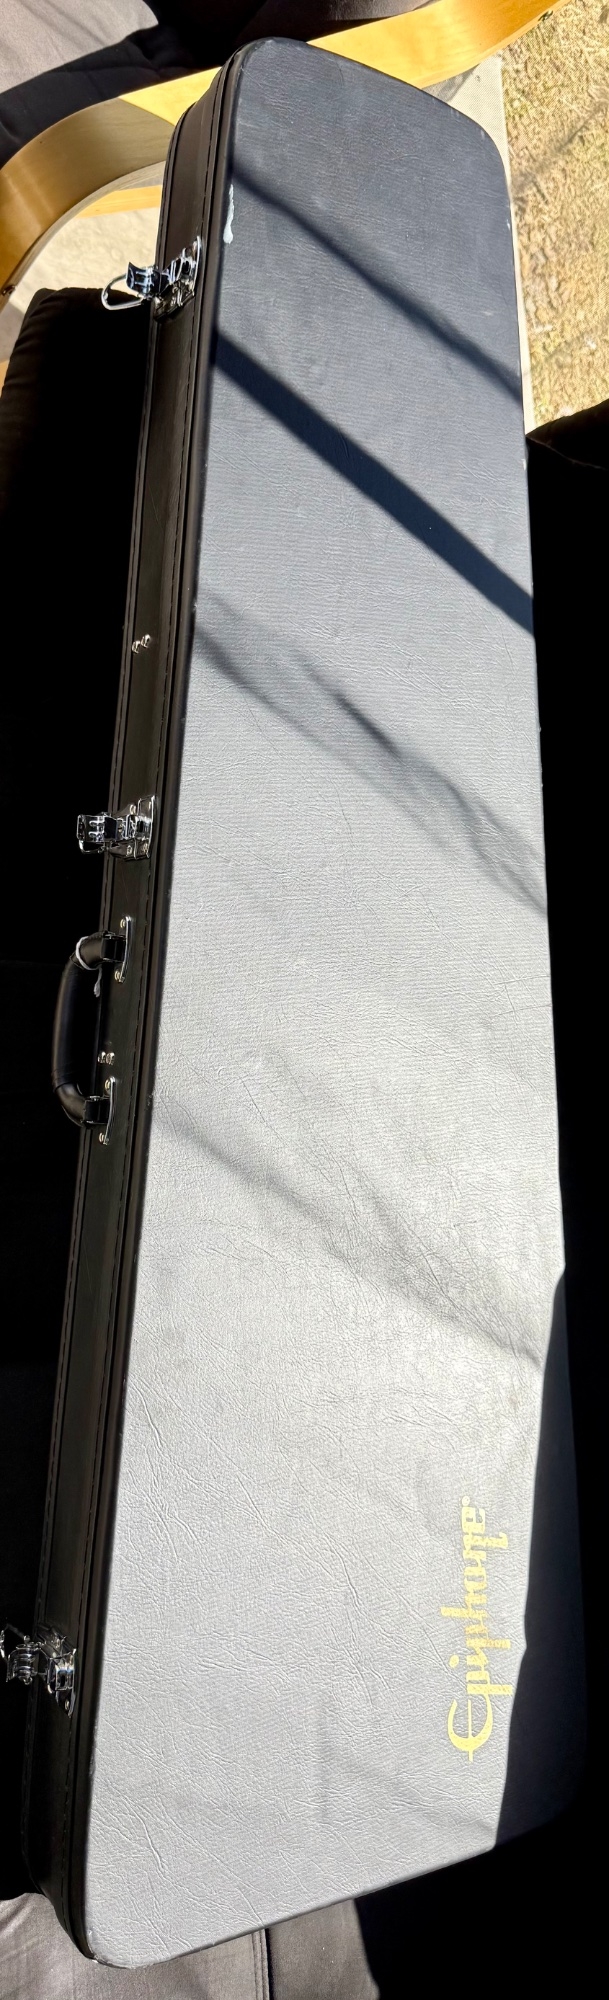
Case is in VGC with key too.

Key takeaways initially:
*** 8 lbs!***
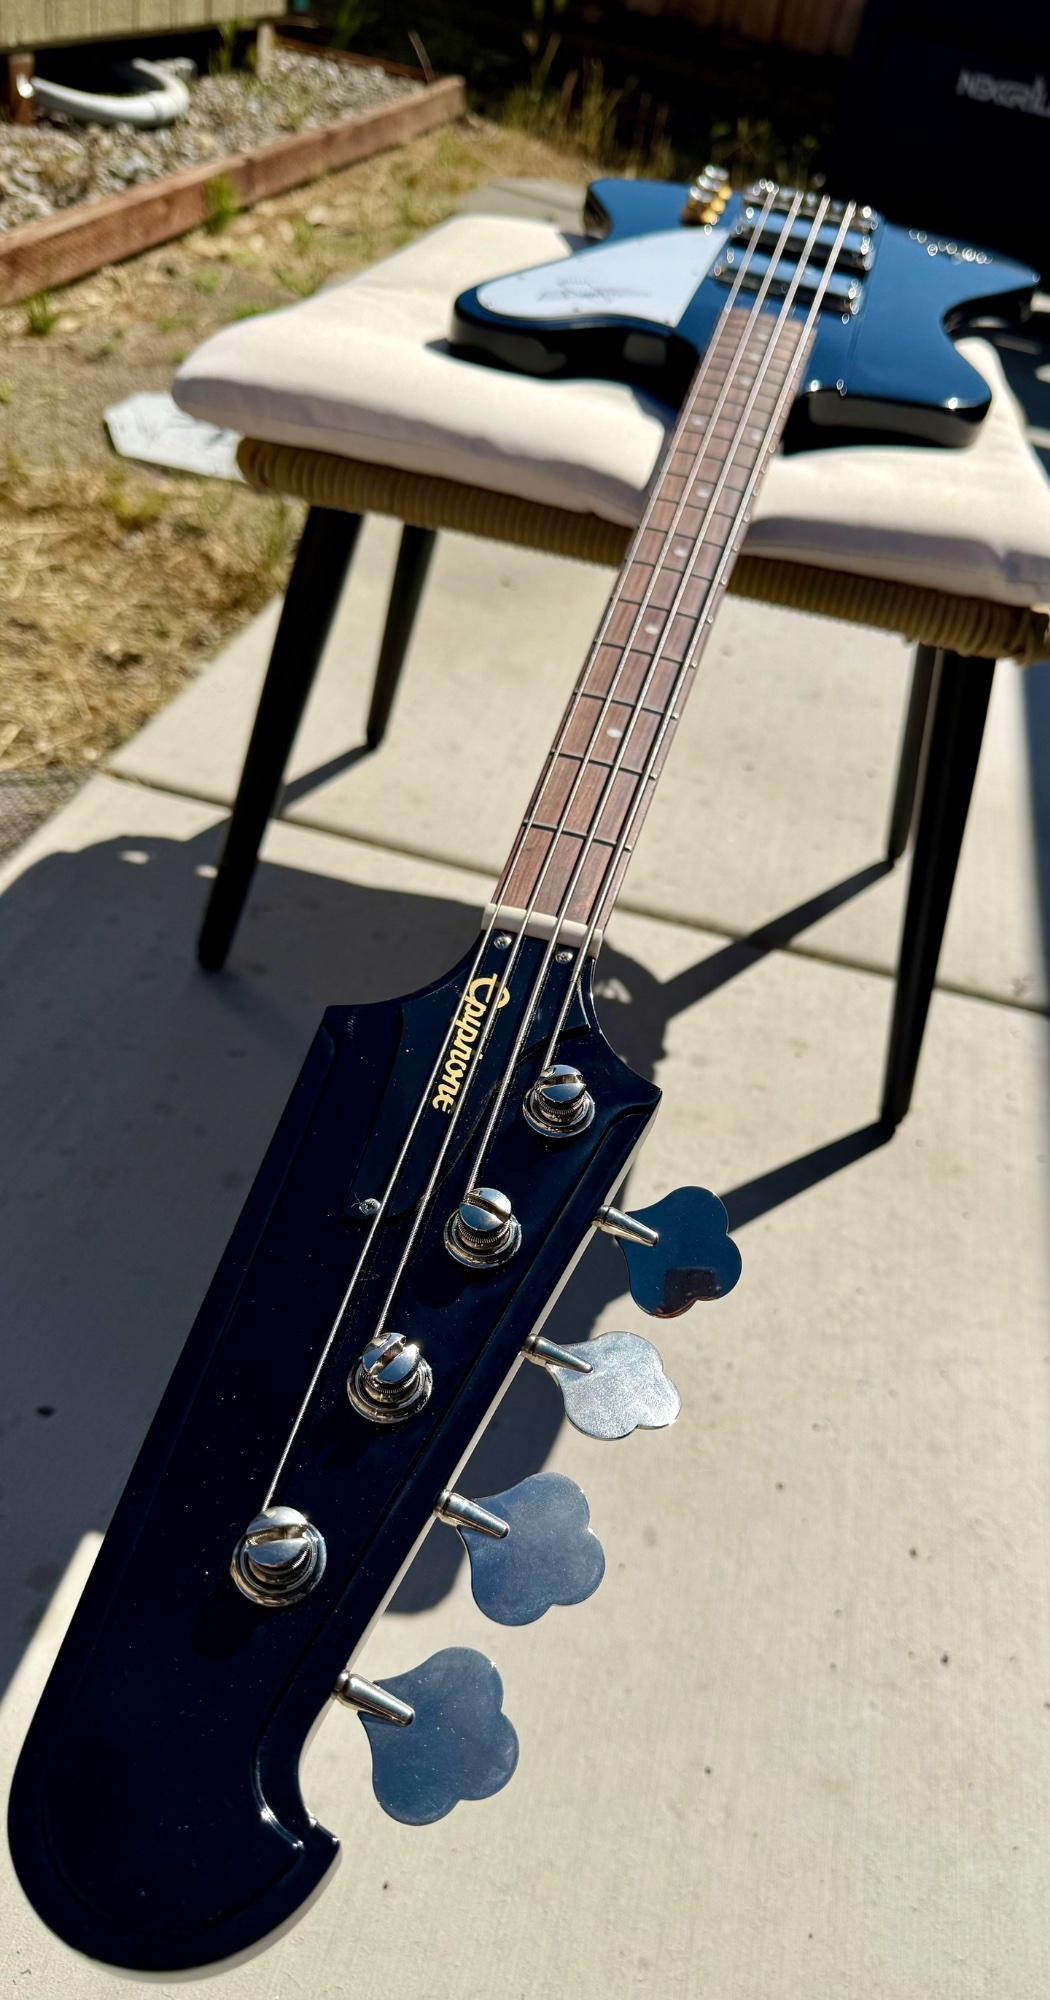
Wilkinson keys are “OK”
Thin fast neck.

Once partially disassembled for inspection and deep cleaning:
Brass nut I have on hand will be installed.
Dunlop dual design strap lock pins will be installed.
Ok now the pics:
IMG_3857.jpeg

IMG_3855.jpeg

IMG_3854.jpeg

IMG_3853.jpeg

IMG_3852.jpeg

IMG_3851.jpeg

IMG_3849.jpeg

IMG_3848.jpeg

IMG_3846.jpeg

IMG_3845.jpeg

IMG_3844.jpeg
 
The bridge tilt is due to REALLY sloppy threads in the posts/ sleeves. Will address by adding solder strips or copper tape to tighten them up a bit.
Brass nut fitted:

image.jpg

So some closeups of the finished nut and the first fret fretboard finish:

Take note of the square side against the fretboard, and the dovetail groove toward the tuners?? The Epi nut was SQUARE ON BOTH SIDES, not fitted well at all and IGNORING the designed in mechanical bond intended to keep the nut from rocking back and forth.
There was already a bit of chipping , assume that the original nut had moved and been reglued sometime in the past.

IMG_3866.jpeg

IMG_3867.jpeg

IMG_3868.jpeg

IMG_3869.jpeg
 
Last edited:
TLDR: Epi Vintage Pro is a winner.

The new nut was called for: the stock one was crappy plastic, was NOT correctly fitted, there was a gap between it and the end of the fretboard! I had a brass one, cut correctly and fitted tightly against the end of the fretboard once I scraped the lump of glue off of it :( that was causing the gap.
The brass nut is so tight no glue needed to hold it in place. :D

Corrected the bridge tilt, the E side insert just slid right out ! I rotated it a bit to give the flutes new wood to bite into, slid a small strip of aluminum tape into the hole and a drop or 2 of titebond. Then put one thin piece of solder in the threads of both bridge posts , no more rattle, no more slip. No more tilt. Brass brush to remove rust from screw heads. Removed pickguard and pickup rings to give all areas a good cleaning.
Polished all chrome parts.
Installed Dunlop Dual Design pins.

Scrubbed the fretboard and frets with synthetic 0000 wool, then polished with Melamine sponge. Buffed the frets and fretboard to a high shine with cotton cloth.
Put a light coat of mineral oil on the fretboard. Buffed again.

Strung with the SIT PowerSteel 50-105’s.
Adjusted nut height, adjusted relief, (nearly flat) adjusted action and intonated .

Action low, will need to cut the G and E bridge saddles a bit to follow fretboard radius to get it lower without the A and D hitting the frets.

Paired it with a concho decorated “Lemmy”
strap.

Wants to sit level only takes a little right arm resting on upper bout to keep in playing position.
Setup amp in livingroom and will play in for a bit.

Feels great, hot and bright with the Power Steels.
Seems Quiet so may not copper shield it.
Not sure I’m digging the Pot taper or response. May go 500k linear TOCOS for Volume(s) and a 250k CTS no load for tone with a .047 cap.
Enough for today.
Pics:

IMG_3858.jpeg

IMG_3859.jpeg

IMG_3860.jpeg
 
The bridge tilt is due to REALLY sloppy threads in the posts/ sleeves. Will address by adding solder strips or copper tape to tighten them up a bit.
Brass nut fitted:

image.jpg

So some closeups of the finished nut and the first fret fretboard finish:

Take note of the square side against the fretboard, and the dovetail groove toward the tuners?? The Epi nut was SQUARE ON BOTH SIDES, not fitted well at all and IGNORING the designed in mechanical bond intended to keep the nut from rocking back and forth.
There was already a bit of chipping , assume that the original nut had moved and been reglued sometime in the past.

IMG_3866.jpeg

IMG_3867.jpeg

IMG_3868.jpeg

IMG_3869.jpeg
Congrats! Play on!
 
  • Like
Reactions: Miles_ONeal
In the interest of improvement:

I dislike the “vintage” knob’s look and feel.
The potentiometers seem to be throttling the signal, work more like on/off switches,
The tone doesn’t really go deep in the rolloff.

There is little noise: humbuckers help, the shielding paint does its job, but the circuit wiring can help here too.

Let the improvements continue.

Will use:
Tocos Cosmos 10% 500k LINEAR pots for the volumes, Tocos Cosmos 250k audio for tone.

I have a collection of .022, .047, .052, and .1 caps to try out.

I use TOCOS COSMOS Japanese made pots whenever possible:
Tight (10% tolerance, have a smooth turning resistance that feels really nice, 6mm solid shafts)
Really well made, high performance pots:

1746146330416.png


The barrel jack seems fine at the moment.

Ordered these knobs:
1746142252546.png


Going to go with “60’s “ tone wiring scheme I’ve used in a jazz bass to good effect in the past.
Key takeaway is that the tone taper is smoother, with less signal loss AND BETTER SIGNAL TO NOISE RATIO!!!
1746144608652.png


As you can see in Image 1 (middle diagram), in this configuration, the tone cap is still connected to the input of the volume pot, but on the tone pot the middle lug is now connected to ground. Electrically, the '60s wiring is completely identical to the modern wiring with the same tone, behavior, and problems. But there is one significant difference: In terms of shielding, the '60s wiring is superior to the modern wiring scheme. When electromagnetic interferences enter a guitar, they will also stray into the tone pot's unused pin and therefore into the middle lug (the wiper) in both wirings.

With the wiper connected to ground, as in the '60s wiring, the interferences will stop at this point. But with the tone cap connected to the middle lug, like in the modern wiring, electromagnetic interferences will find their way through the cap and carry on.
So, compared to the modern wiring, the signal-to-noise ratio in the '60s wiring is superior.

This is technical knowledge from yesteryear: The wiper of a variable resistor is connected to the low resistance part of the circuit. This knowledge was really important when designing and building tube amps, radios, and televisions, but is almost forgotten today.
So why did Gibson switch from the '60s to the modern wiring? My personal theory is that this allowed them to use pre-configured pots for both volume and tone, with the same third lug soldered to the case as the grounding point. I don't know if this is true, but if you know the reason or have another theory, please share it.

*** credit : Mod Garage: Three Ways to Wire a Tone Pot
 
Last edited:
I love these aesthetically. Ergonomically... not so much. I still get the urge sometimes - it'd look great down the folk club! 😁 Cracking job you've done with it - enjoy!
PS The brass nut is gorgeous! I keep meaning to replace mine, coming from a time when brass nuts were highly regarded. 👴
I had a Brass one on hand, I’d be fine with Bone, but if I were buying one for this bass, would have been black Tusq for visuals alone.

Personally:
The debate over tonal change is ludicrous.
Same thing with “high mass “ bridge debate.
There IS a difference in tone, “better” is subjective. The tone difference here and in many cases is the betterment of the mechanical bond between the nut and the neck assembly.

I like brass:
Easy to obtain inexpensive blank material.
Can’t crack or fracture
Easy to craft and form.
Polishes, and patinas in a lovely fashion if you don’t lacquer it.

Have used aluminum
Have used adjustable (like-Warwick/Sadowsky )
No MAJOR difference.

I just like brass. :)
 
Can’t crack or fracture
Easy to craft and form.
Polishes, and patinas in a lovely fashion if you don’t lacquer it.
Absolutely. I got one for my P Bass when the plastic one cracked under the E string. Looks grand, and it's surely not going to crack! No difference sound wise to my ears, and none really expected. It's simply that....
I just like brass. :)
👍
 
  • Like
Reactions: MCF and Miles_ONeal
In the interest of improvement:

I dislike the “vintage” knob’s look and feel.
The potentiometers seem to be throttling the signal, work more like on/off switches,
The tone doesn’t really go deep in the rolloff.

There is little noise: humbuckers help, the shielding paint does its job, but the circuit wiring can help here too.

Let the improvements continue.

Will use:
Tocos Cosmos 10% 500k LINEAR pots for the volumes, Tocos Cosmos 250k audio for tone.

I have a collection of .022, .047, .052, and .1 caps to try out.

I use TOCOS COSMOS Japanese made pots whenever possible:
Tight (10% tolerance, have a smooth turning resistance that feels really nice, 6mm solid shafts)
Really well made, high performance pots:

1746146330416.png


The barrel jack seems fine at the moment.

Ordered these knobs:
1746142252546.png


Going to go with “60’s “ tone wiring scheme I’ve used in a jazz bass to good effect in the past.
Key takeaway is that the tone taper is smoother, with less signal loss AND BETTER SIGNAL TO NOISE RATIO!!!
1746144608652.png


As you can see in Image 1 (middle diagram), in this configuration, the tone cap is still connected to the input of the volume pot, but on the tone pot the middle lug is now connected to ground. Electrically, the '60s wiring is completely identical to the modern wiring with the same tone, behavior, and problems. But there is one significant difference: In terms of shielding, the '60s wiring is superior to the modern wiring scheme. When electromagnetic interferences enter a guitar, they will also stray into the tone pot's unused pin and therefore into the middle lug (the wiper) in both wirings.

With the wiper connected to ground, as in the '60s wiring, the interferences will stop at this point. But with the tone cap connected to the middle lug, like in the modern wiring, electromagnetic interferences will find their way through the cap and carry on.
So, compared to the modern wiring, the signal-to-noise ratio in the '60s wiring is superior.

This is technical knowledge from yesteryear: The wiper of a variable resistor is connected to the low resistance part of the circuit. This knowledge was really important when designing and building tube amps, radios, and televisions, but is almost forgotten today.
So why did Gibson switch from the '60s to the modern wiring? My personal theory is that this allowed them to use pre-configured pots for both volume and tone, with the same third lug soldered to the case as the grounding point. I don't know if this is true, but if you know the reason or have another theory, please share it.

*** credit : Mod Garage: Three Ways to Wire a Tone Pot
I wish they had splined shaft versions, but may try some, anyway.
 
  • Like
Reactions: MCF and /\/\3phist0
The brass nut is such a small thing to improve the overall look in such a big way. Black tusq would've looked nice too but brass is just perfect.

You got a great deal. Here's my bird that I also paid $550 for with HSC.

Mine came setup perfectly from the previous owner strung with Elixirs. It was a post on here that recommended some tone options. For me, I fly my bird with the neck on 10, bridge on 3 and tone on 5. Gives that piano zing that sounds wonderful.

Not exactly sure on weight but it is very light compared to my other basses. Strap button moved from the back to the side body and it still dives with a good strap. Right arm resting on the bass when I play solves the issues.

I've had my eye on the Ember Red 64 Thunderbird since they've been released and then the sparkle birds in blue an purple look swell also but I'm not sure the quality is better or worse going from Indonesia to China manufacturers. With how good of a price you can find good condition used, I will wait for the right one just like I did this one.

Congratulations on a great bass and welcome to the flock!
20231111_113533.jpg
 
The brass nut is such a small thing to improve the overall look in such a big way. Black tusq would've looked nice too but brass is just perfect.

You got a great deal. Here's my bird that I also paid $550 for with HSC.

Mine came setup perfectly from the previous owner strung with Elixirs. It was a post on here that recommended some tone options. For me, I fly my bird with the neck on 10, bridge on 3 and tone on 5. Gives that piano zing that sounds wonderful.

Not exactly sure on weight but it is very light compared to my other basses. Strap button moved from the back to the side body and it still dives with a good strap. Right arm resting on the bass when I play solves the issues.

I've had my eye on the Ember Red 64 Thunderbird since they've been released and then the sparkle birds in blue an purple look swell also but I'm not sure the quality is better or worse going from Indonesia to China manufacturers. With how good of a price you can find good condition used, I will wait for the right one just like I did this one.

Congratulations on a great bass and welcome to the flock!
View attachment 7217170
Happy to possess this!
I like yours in VSB!

Lessons learned from an explorer style bass I had in the past:

Moving the neck side pin to the body edge, moves the pivot point further away from the nut which would worsen the neck dive.
It does alleviate the tendency to tip the upper edge of the bass away from your body when the pin is on the back/ at the center point of the neck shaft.
Moving the pin to the body edge does allow one to use a strap with the lock pin installed like a FSO, but I have 2 headless basses (Kramer The Duke, and a Hondo Alien)
And those have their pins in this orientation, so I have straps setup this way already.

Moving the rear pin up the lower bout (like a Warwick Dolphin) may help with neck dive.
I use a wireless, and the transmitter clipped to the strap acts as a bit of counter balance.

I’m installing flush mount Dunlops soon , this will help with the forward tip, and will relocate the tail pin about 3” up the upper bout at the same time and fill the hole on the centerline.

I’m looking at some vintage Greco TB II
Or one of the Sparkle finish Epiphone offerings.

Also keeping eyes open for a neglected but complete without neck break unit to do a refin on.
 
Last edited: