• TalkBass has been independent since 1998. Add your voice.
    Create a free account to reply to discussions, view embedded media, and browse with fewer display ads.
    Join freeLog in
    Want zero display ads or expanded classifieds tools? Compare plans.

Perfectly Rounded Fret ends

Updated thoughts on this thread...

While I’m going to do some fret ends this weekend on a fretboard with a thin walnut binding, rounding the fretboard ends could go to far/deep, so combi-flap wheel may not be the right tool.

That being said, perhaps protecting the fretboard edge with something like heavy aluminum foil would work... off to experiment on scrap :)

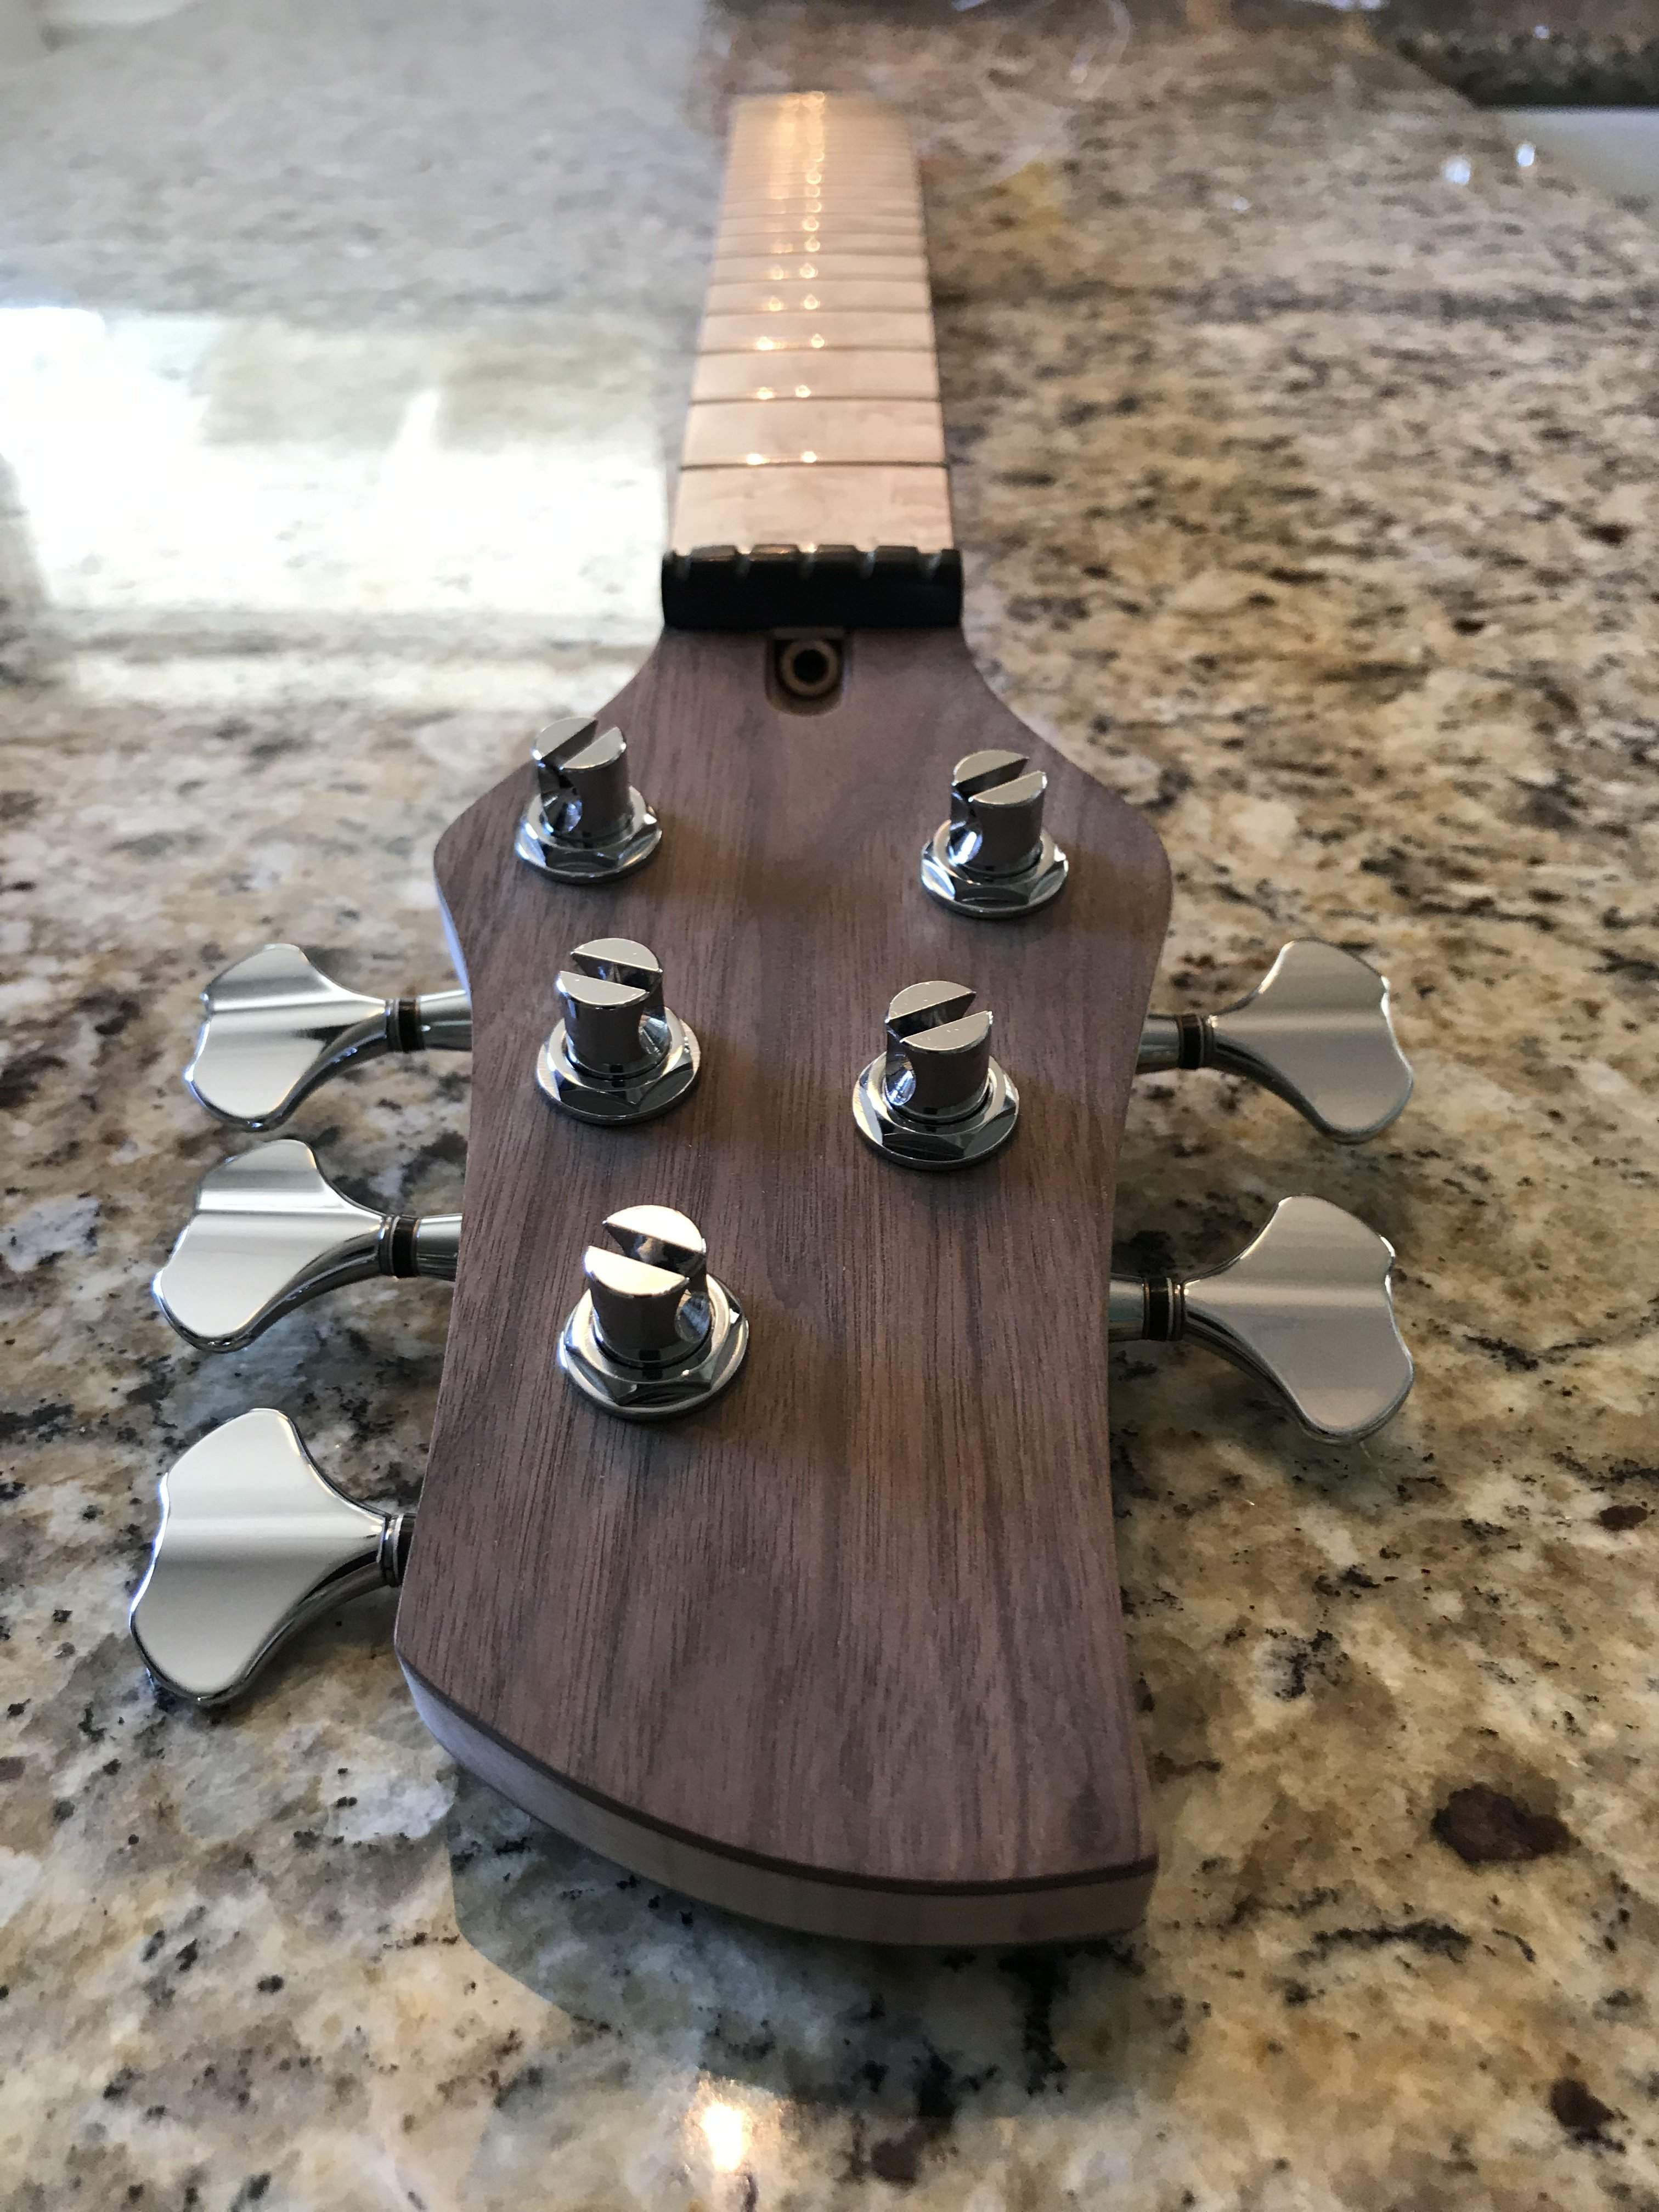
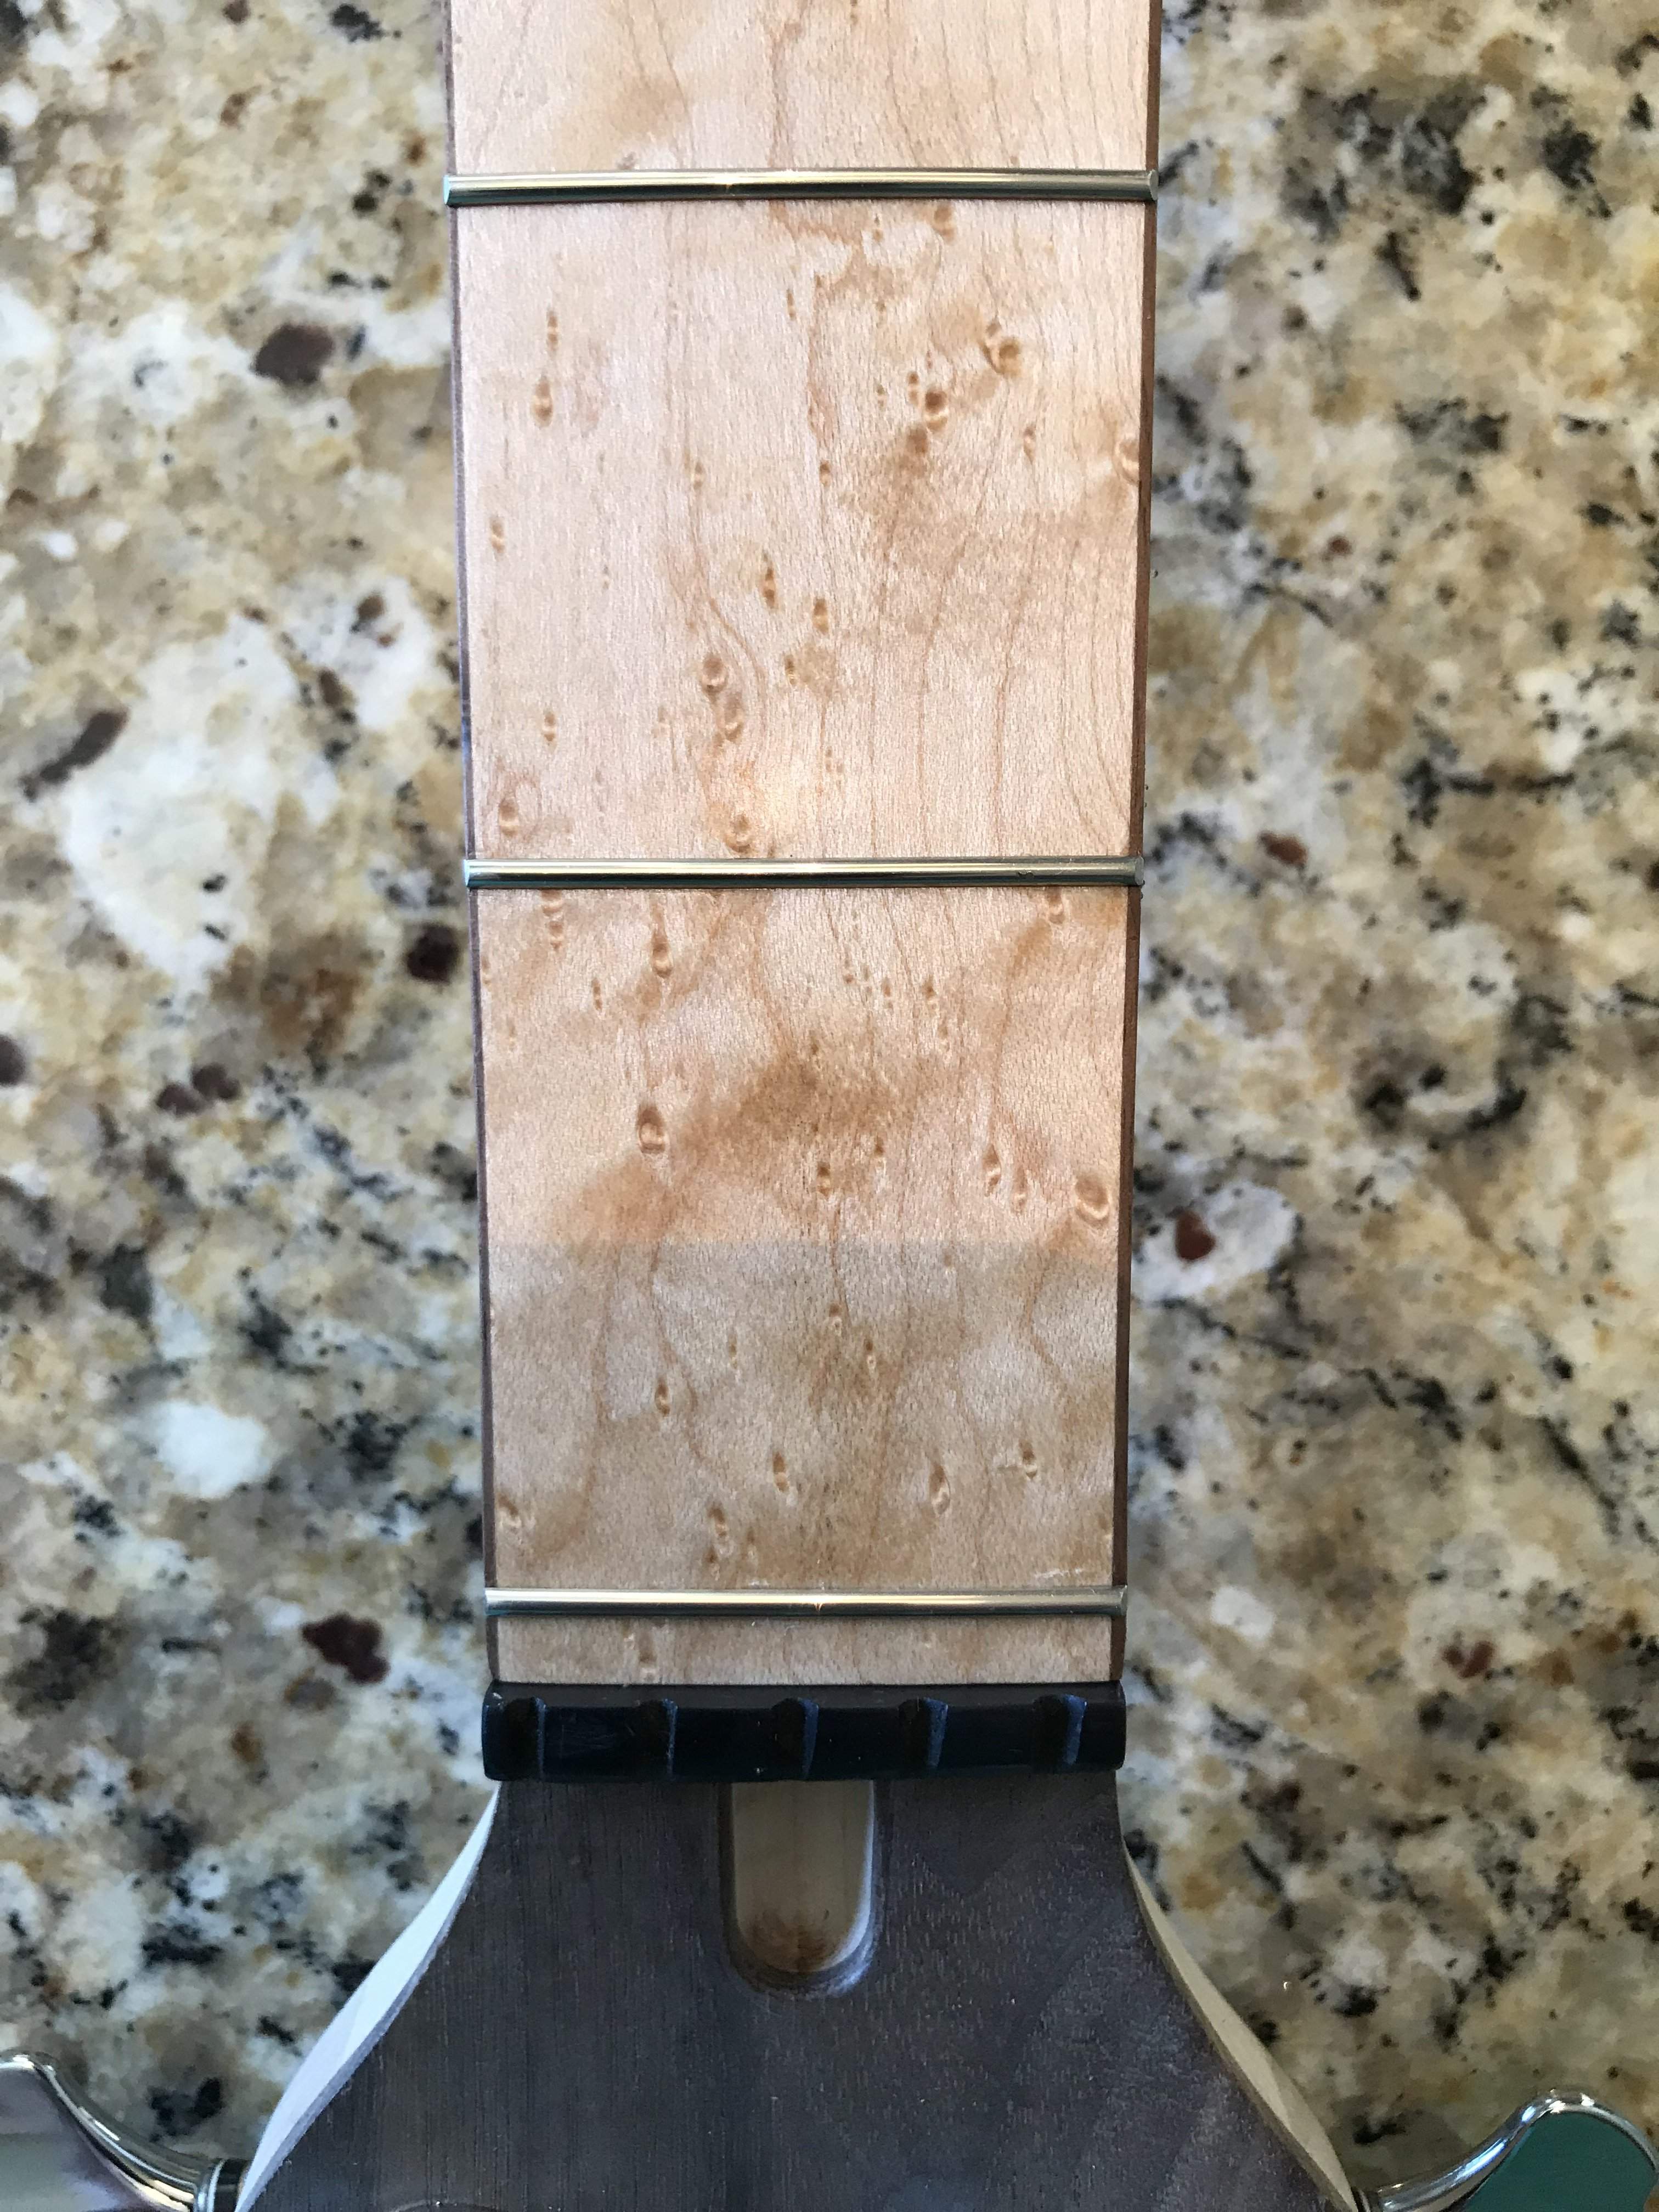
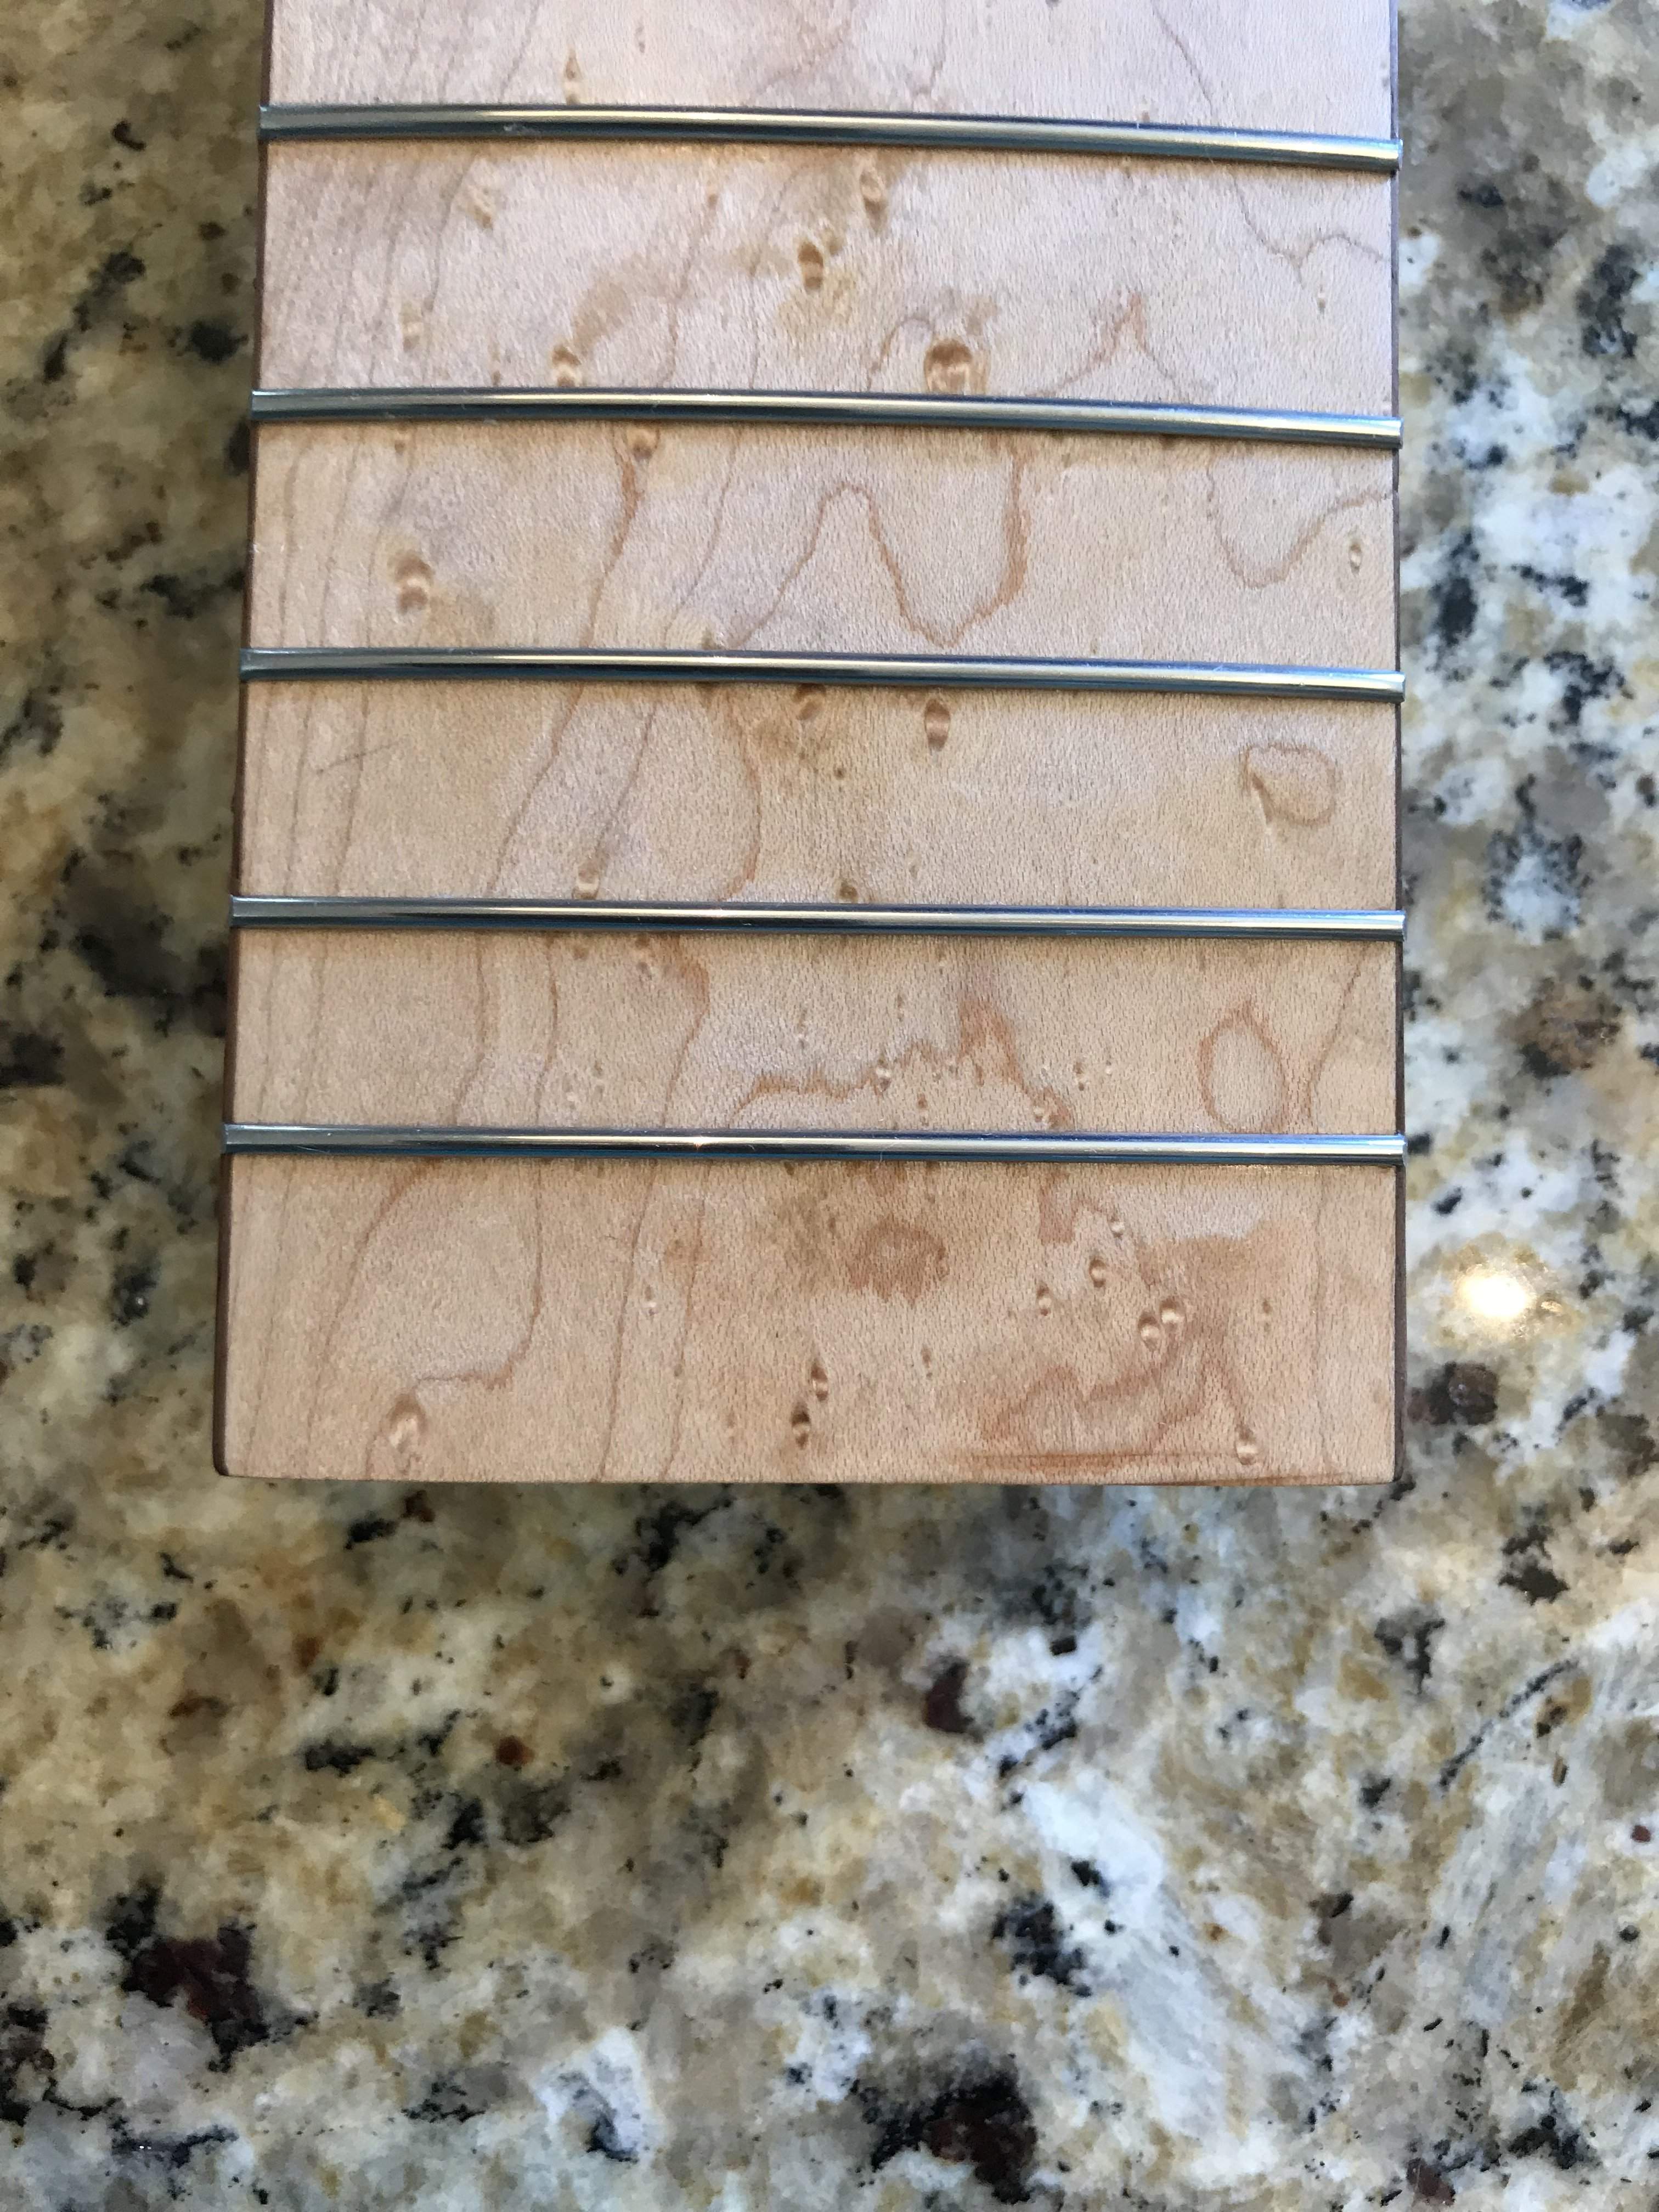
E5E59FF7-7625-4EA5-92AE-369E0CD21C13.jpeg
38B0CF5D-84BF-40A9-9CCA-241C7C026EFB.jpeg
59DEF17F-275A-4A22-970F-805287A6CC6C.jpeg


Cheers!
 
  • Like
Reactions: Beej
I think the Combi-Flap wheel should work fine on that neck. Just use light pressure. You don't need to push the Combi-Flap wheel in hard for it to work.

If you really want to protect the sharp edge of the binding, put some heavy tape on the fingerboard between the frets. Duct tape, aluminum tape? Use the Combi-Flap wheel to round off the fret ends. Then pull the tape and use sandpaper on a soft rubber block to very gently soften the edge of the binding by hand.
 
  • Like
Reactions: chinjazz
I think the Combi-Flap wheel should work fine on that neck. Just use light pressure. You don't need to push the Combi-Flap wheel in hard for it to work.

If you really want to protect the sharp edge of the binding, put some heavy tape on the fingerboard between the frets. Duct tape, aluminum tape? Use the Combi-Flap wheel to round off the fret ends. Then pull the tape and use sandpaper on a soft rubber block to very gently soften the edge of the binding by hand.

I’ll give it a try on a test piece and if all goes well make it happen. I like the thought of aluminum tape because in theory it’ll not be as messy. With other cloth tapes their outer material might get added into the mix.
But with a light touch it may end up being moot - I’ll report back the results. Thanks Bruce! :)
 
be mindful of the adhesives used on those tapes. most are strong enough to pull fibers off your nicely surfaced fretboard. green "frog" tape and a file and sc paper are my go to's.

are you not beveling your fret ends? fwiw, full hemispherical frets ends (assumption) are best done before the install -if that's what your are going for that is.
 
be mindful of the adhesives used on those tapes. most are strong enough to pull fibers off your nicely surfaced fretboard. green "frog" tape and a file and sc paper are my go to's.

are you not beveling your fret ends? fwiw, full hemispherical frets ends (assumption) are best done before the install -if that's what your are going for that is.

Yes, Gotcha on sticky sides of tape :)... Yeah, I'm experimenting with this Harbour Freight aluminum tape now.
May place some wax in certain areas. Yep beveling the fret ends, but not going full hemispherical. I, like others think that feels odd on a bass, or in general... My last build, I liked the flap wheel, so I'm going another yard or 2 to see if there's an opportunity here.
 
Well...there's another tool I need to add to my toolkit.

Does this approach mark or stain a maple fretboard, or do the filings wipe off easily enough?
 
Well...there's another tool I need to add to my toolkit.

Does this approach mark or stain a maple fretboard, or do the filings wipe off easily enough?

If you tape off, you should have no marks on maple.. I just ran a test and I like the results. Going to run another test.

With aluminum tape, I'm thinking to just run on the sides where I've got a walnut binding, and may put a coating of wax down before to keep any adhesion issues from happening there....
 
As usual, the good stuff isn't available in the UK.

The nearest I've found is this:
Invalid Link Removed

It looks very similar, but says the grit is 240. That seems pretty harsh to me on a fingerboard that I've probably sanded to a much much higher grit.

@Bruce Johnson any idea what grit your CF wheel is?
 
As usual, the good stuff isn't available in the UK.

The nearest I've found is this:
Invalid Link Removed

It looks very similar, but says the grit is 240. That seems pretty harsh to me on a fingerboard that I've probably sanded to a much much higher grit.

@Bruce Johnson any idea what grit your CF wheel is?

I believe the Combi-Flap wheel I'm using is 180 grit. I've bought Combi-Flap wheels in various grits from 80 to 320, and the funny thing is that they all leave about the same level of finish. The coarser grits cut a little faster, but final scratch level of the finish is about 400, with any of them. I guess that's because of the polishing effect of the Scotchbrite flaps.

With all that said, the wheel you've linked to is not a Combi-Flap wheel; it's just a Scotchbrite flap wheel. That will burnish the wood, but it won't round off the fret ends.

This is the one you want. They are calling it a Mop Wheel. It looks like they only offer it in 80 grit, but that's okay. I'd just break it in first on the corner of a piece of metal to take off the coarsest grains and soften it up.

Invalid Link Removed
 
  • Like
Reactions: BeeTL
Well...there's another tool I need to add to my toolkit.

Does this approach mark or stain a maple fretboard, or do the filings wipe off easily enough?

I've done this trick on maple fingerboards, with no big problems. If it's already clear finished, it may darken the area where it rubs, about like real hand wear. If it's bare wood, it just looks like light sanding with 400. Either way, you can clean it up by hand with 400 if you like.
 
I've done this trick on maple fingerboards, with no big problems. If it's already clear finished, it may darken the area where it rubs, about like real hand wear. If it's bare wood, it just looks like light sanding with 400. Either way, you can clean it up by hand with 400 if you like.
I have been following the exact same process on my fret ends, except by hand using 400 grit paper, then finishing with a Dremel polisher.

This will be a huge timesaver...thanks!
 
Gave it all a try today and the results were favorable...

First tried it in a test neck...

Basically after getting a bevel on the frets and then hitting the corner edges with my fret buddy file I wiped the neck and sides with Meguiars Carnauba paste, then on went the aluminum tape....

F947740E-A665-4871-9249-F4F55BAE46C8.jpeg


Didn’t get any pics of me using the flap wheel this time.

The aluminum did a good job at protecting the edges of the binding.

This pic below is the last piece coming off.

0EFA7FD5-4FA4-4BAF-99A7-E37153496BA8.jpeg


No adhesion issues. Next time I’ll leave the aluminum on for hitting the ends with a Stew Mac fret polishing wheel (fine grit) with a Dremel.

I then I cleaned it up and re-taped and leveled the fretboard.

I tried a new Baroque fret crowning/dressing file I found on Amazon for $25. Seems definitely worth it, but takes getting used to.
 
I’m glad I’m not the only impatient one when it comes to fret ends :). I have a similar but small Fret Guru file which works well if you work at it for a long while. My prob is seeing the tiny vintage sized fret ends.

I probably need one of those big telescoping arm magnifier light lamps. LOL

I picked up a magnifying glasses set with the frame, interchangeable lenses of varying magnification, and an onboard light for about $20 on Amazon. It is great! Here is a link.

YOCTOSUN Head Mount Magnifier with 2 Led Professional Jeweler's Loupe Light Bracket and Headband are Interchangeable https://www.amazon.com/dp/B01H8808H6/ref=cm_sw_r_cp_api_i_R.rlEbHXVMX02
 
As an Amazon Associate, TalkBass may receive commissions from qualifying purchases made via links on this site.
  • Like
Reactions: chinjazz
I picked up a magnifying glasses set with the frame, interchangeable lenses of varying magnification, and an onboard light for about $20 on Amazon. It is great! Here is a link.

YOCTOSUN Head Mount Magnifier with 2 Led Professional Jeweler's Loupe Light Bracket and Headband are Interchangeable https://www.amazon.com/dp/B01H8808H6/ref=cm_sw_r_cp_api_i_R.rlEbHXVMX02

Looks like a good one. I got one of these about a month ago and use it a lot:

Grobet - 2-Way Headband Magnifier

I forgot about this thread and coincidentally I’m a day or so away from doing another fret job on another Birdseye FB.
 
As an Amazon Associate, TalkBass may receive commissions from qualifying purchases made via links on this site.
  • Like
Reactions: Sands
I use one of these:

https://www.amazon.com/3M-Scotch-Br...TF8&qid=1519460573&sr=1-3&keywords=flap+wheel

It's made by 3M, commonly known as a Combi-Flap Wheel. It's a sanding flap wheel with alternating layers of sandpaper and Scotchbrite.

I couldn't immediately find a picture of me using it, but I chuck it in a fairly slow speed (like 500 rpm) electric drill. I run it slowly down the edge of the neck, tilted at 45 degrees, over all the ends of the frets and the edges of the fingerboard between them. It gently rounds the ends of the frets and the edge of the fingerboard, and blends them together. It gives the whole edge of the neck a nice worn-in feel.

I make one slow pass down the edge, with the drill motor angled down. This rounds off one side of the end of each fret. Then I turn the drill motor so it's angled over the fingerboard, and make a slow pass back towards me. This rounds the other side of the end of each fret. Then, turn the neck around and do the same two passes on the other side of the fingerboard; away from me with the motor down, and back towards me with the motor up. The whole process takes about 3 minutes and doesn't require any magnifiers or painful hand work. I use this process on both Nickel-Silver and stainless frets.

Note: Before doing this, I file the ends of the frets flush with the edge of the fingerboard, then file the ends at the beveled angle, all using a large smooth flat file with "safed" edges. So, there's a tilted-back flat D-shape surface on the end of each fret. The Combi-Flap wheel process rounds that off. It's not the Hemisphere-like shape that you are showing (which I personally don't like the feel of). It's more like a Quartersphere. Very smooth feeling. I've been using this technique on all of my basses for many years, and my customers love it.

Big Warning: Do Not, Under Any Circumstances, slip and allow the edge of the Combi-Flap Wheel to ride up onto the front surface of the fingerboard! This causes deep scratches and the screaming of profanities. I have done this myself. You need to guide the wheel along the edge carefully.

You can do this process in the drill press, too. Put the Combi-Flap Wheel in the chuck and feed the neck along over it. You have to do one pass fingerboard up, angled down 45. The return pass is fingerboard down, angled down 45. Carefully!!! I usually prefer to clamp the neck down stationary in a holding fixture, and do the process with the hand drill.

I looked quickly and couldn't locate any pictures. Speak up if my description isn't clear enough.


Thanks for this tip, Bruce! I just did this for the first time. An hour of work condensed to five easy minutes! Win!!
 
As an Amazon Associate, TalkBass may receive commissions from qualifying purchases made via links on this site.
  • Like
Reactions: Dark Horse
I use a regular fret crowning file to round the ends . I first use it down the edge of the fretboard to slightly round the top edge of the frets and them I use it at a 30 degree angle on each individual fret. Gently! Watch your angle. You can take off too much material quickly. Coloring the ends of the frets with a sharpie helps to keep uniform and to keep from removing too much material. I did have to grind some material off of the bottom edge of the fret file to keep from gouging the binding or fretboard. I them follow with a variety of micromesh pads, by hand until the file mardk are gone and the edges are nice and round. Finally, I tape off each fret and polish with my Dremel using Flitz metal polish.