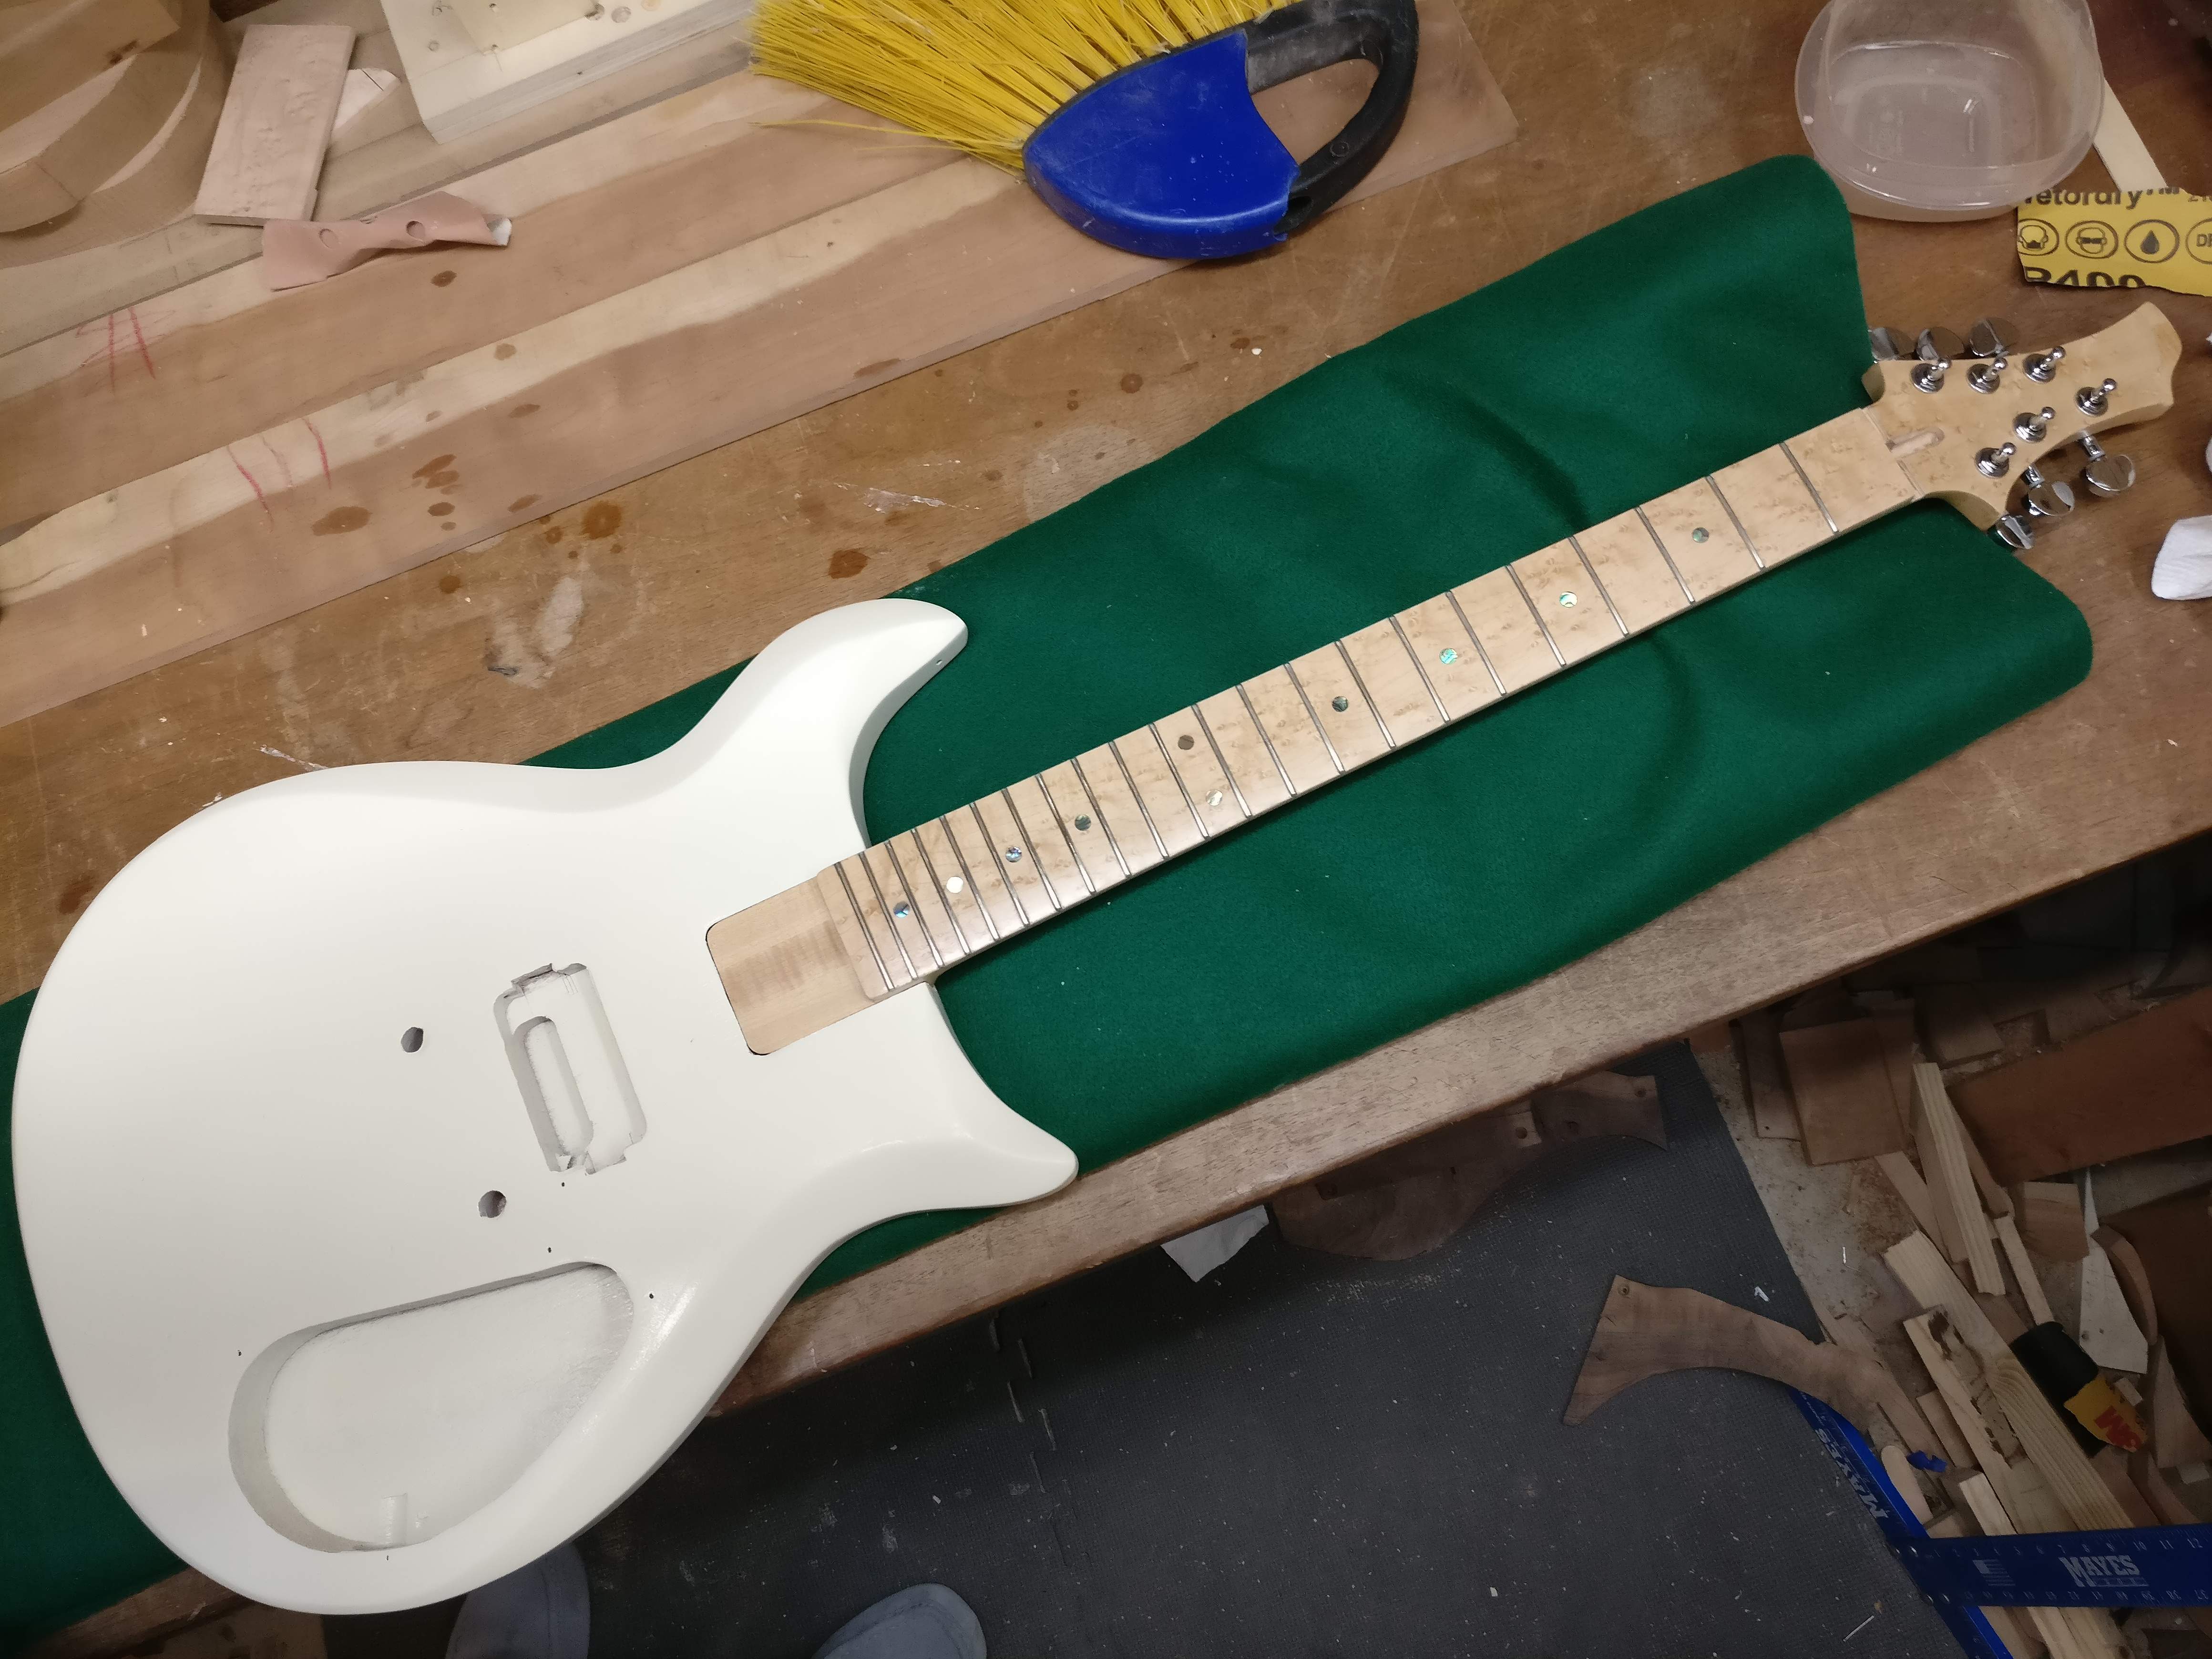
First, I made a sled with a rail set at 13 degrees to cut the headstock scarfs. I thought I had a photo but apparently I don't. After getting the headstocks cut off, all three neck blanks went into a router planing jig to get flattened and trued up.
View attachment 3318059
Full credit to our own
@Bruce Johnson for the inspiration to use router planing jigs on these parts. It's certainly the easiest method.
Once the blanks were true, I slid a wedge under the blanks and planed the face of the scarf joint true.
View attachment 3318062
Buncha guitar necks!
View attachment 3318071
Glued the headstocks all back on and then took a break from instruments to throw something together with the scraps. I didn't want my wife to feel left out so I made a little jewelry tray from the leftover curly maple (from the guitar necks) and a cutoff of thin cherry for the bottom. Just simple rabbet/dado joints in the corners and a slot along the bottom of each side for the bottom, which is floating so it'll be able to move with the seasons:
View attachment 3318082
Once it was fit and glued, I took it back to the table saw and cut slots along each long edge, and I cut matching sticks of cherry from the cutoff on the back of the bass neck:
View attachment 3318083
The cherry strips will lock the rabbets in the dados. Not that they were going anywhere, but I like it when a "structural" element like this is also a nice visual detail. After gluing in the cherry strips I cut little square pegs to plug the ends of the slot from the bottom, sanded it, and put a coat of poly on it:
View attachment 3318091
Okay, back to the instruments. Once the scarfs on the necks were glued, I put them back in the router planing jig and planed the faces flat to clean up the scarfs. I made a boo boo with one of the guitar necks, there was a big bit of sawdust under where it clamps to the jig, which meant that it got planed to about a 4 degree angle instead of perfectly flat. I guess I'll have to save that neck for a guitar with a carved top, and use the other one for the corvette.
Once the necks were done, I put them aside and planed the cherry body wings flat and true, in the same router jig:
View attachment 3318095
I put the cherry up to the neck and re-sketched the body outline, this time including marking out the 12th and 24th frets, the soundhole (no, its not round!) and the bridge. I LOVE LOVE LOVE this part of the process. There are few things in life as satisfying as sketching on wood with chalk.
View attachment 3318097
I should also mention that when I was laying out the neck to cut the scarf, I decided to do this as a 32" scale bass. I have only ever had 34" basses and I feel like the 32" length will fit with the overall character I want for this. It'll help keep it a little lighter and more compact, too. I slid the bridge pretty far down towards the tail, too, which combined with the shorter scale has the effect of pulling the whole neck down into the body quite a bit. I was hoping to set this up as a two octave (24 fret) fingerboard, but the 24th position was REALLY deep into the body (near the middle of the soundhole) given those changes. So, it'll be more like a 22 fret bass.
After the sketching (which involved re-drawing the lower horn about a billion times) I got out the jigsaw and cut the pieces out:
View attachment 3318098
Turns out there was a bass inside those old pieces of discarded furniture practice!