its epoxy; to help the spalted maple from being disintagrated thru the machining; its black cause i plan on doing some black filling for the checks and other crap inn the top and dont wanna seal them up clear before the right time.

Enjoy the benefits of a premium membership!
Upgrade Account
-
TalkBass has been independent since 1998. Add your voice.
Create a free account to reply to discussions, view embedded media, and browse with fewer display ads.
Join free Log in
Want zero display ads or expanded classifieds tools? Compare plans.
You are using an out of date browser. It may not display this or other websites correctly.
You should upgrade or use an alternative browser.
You should upgrade or use an alternative browser.
short scale custom
- Thread starter Grant Bass
- Start date
More options
Who Replied?

very nice! the woods are stunning and the build flawless.
I would have probably chosen black hardware given that the rather light color of the Spalted Maple might not contrast enough with gold.
But, hey! I'll probably change my mind when I see it finished
I would have probably chosen black hardware given that the rather light color of the Spalted Maple might not contrast enough with gold.
But, hey! I'll probably change my mind when I see it finished
well not much of an update; im in serious need of my pickups, its thrown a big monkey wrench in the 'up to a while ago' smooth progress of this build, i was really starting to have fun; ah well, ive been told theyre on the way.....to being on the way;
this body is so small i have to know the exact room i have to work with; so i can only do things here and there, but on the upside; i dont have to do them later!
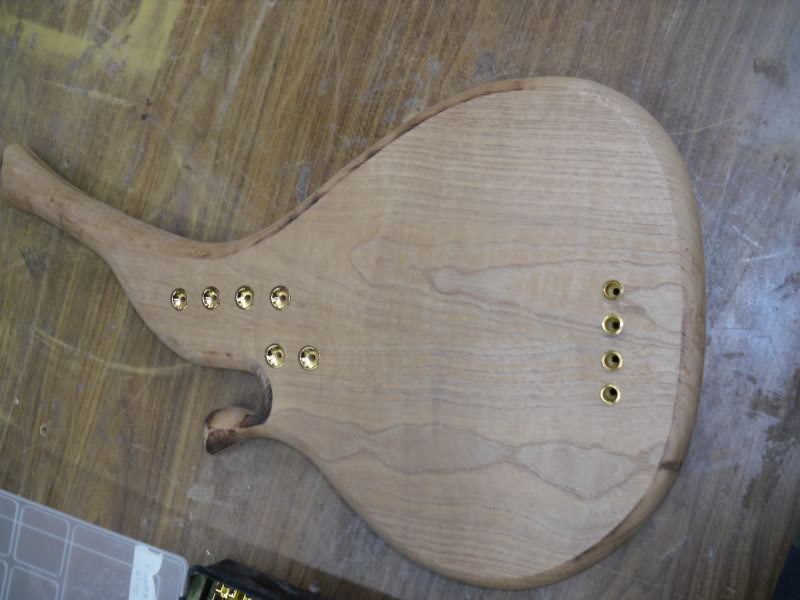
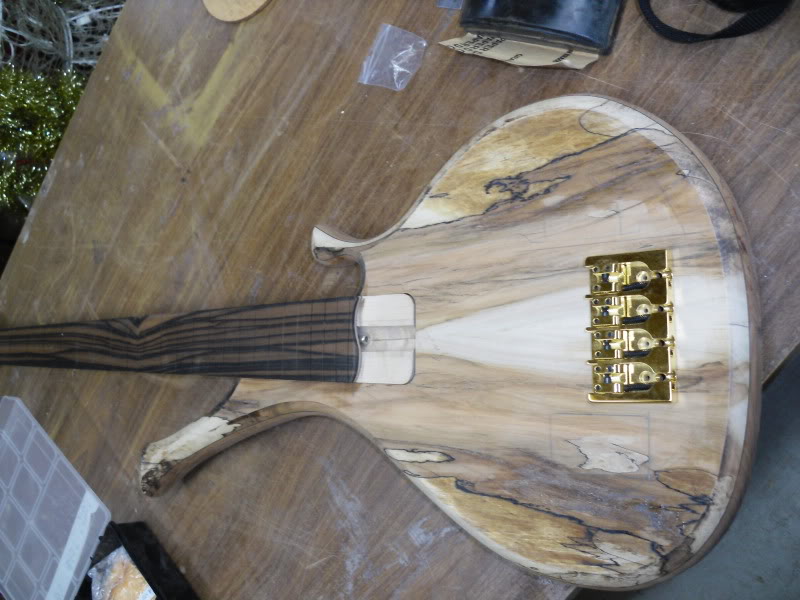
i drilled for the ferrelles in the neck and bolted it on so i could place the bridge and its ferrelles; and made the templates for all the electronic cavities, and covers (i pray they dont have to be adjusted cause of the pickups) but since we opted out of wooden covers the pickups are only going to get smaller; so i should be fine...but i dont dare route the cavity out yet, just sip cold water; i hear that helps!
this body is so small i have to know the exact room i have to work with; so i can only do things here and there, but on the upside; i dont have to do them later!
i drilled for the ferrelles in the neck and bolted it on so i could place the bridge and its ferrelles; and made the templates for all the electronic cavities, and covers (i pray they dont have to be adjusted cause of the pickups) but since we opted out of wooden covers the pickups are only going to get smaller; so i should be fine...but i dont dare route the cavity out yet, just sip cold water; i hear that helps!
and yes Deb; im gonna carve as much from the back of that neck pocket as possible; following the screw pattern 


adam.beauchene
Commercial User
here are some photos of the heel carving taking place;
not too much excitement, as stated in previous posts; but the conversation has begun about possibly going a different way with the pickups; we'll see, i tottaly understand; its heart breaking the amount of time added on to this build, for such a wonderful guy,

Rickett Customs
Commercial User
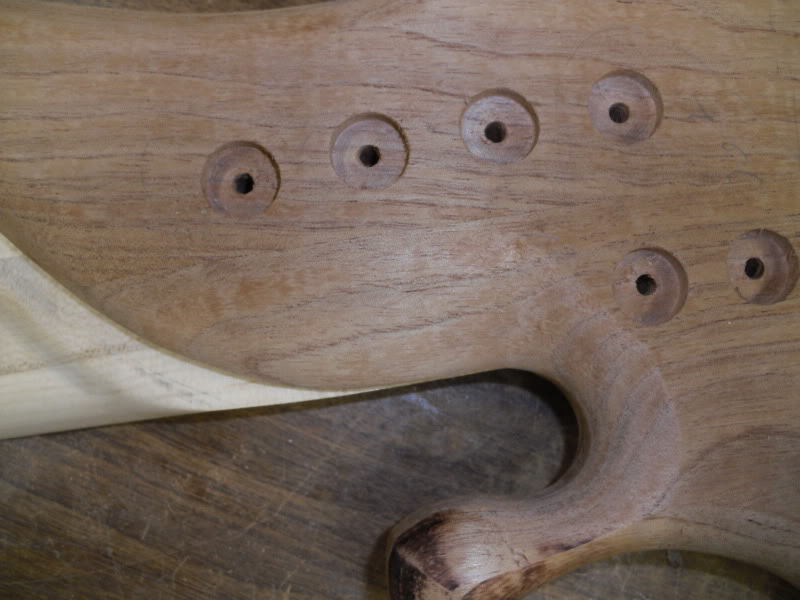
here are some photos of the heel carving taking place;
not too much excitement, as stated in previous posts; but the conversation has begun about possibly going a different way with the pickups; we'll see, i tottaly understand; its heart breaking the amount of time added on to this build, for such a wonderful guy,
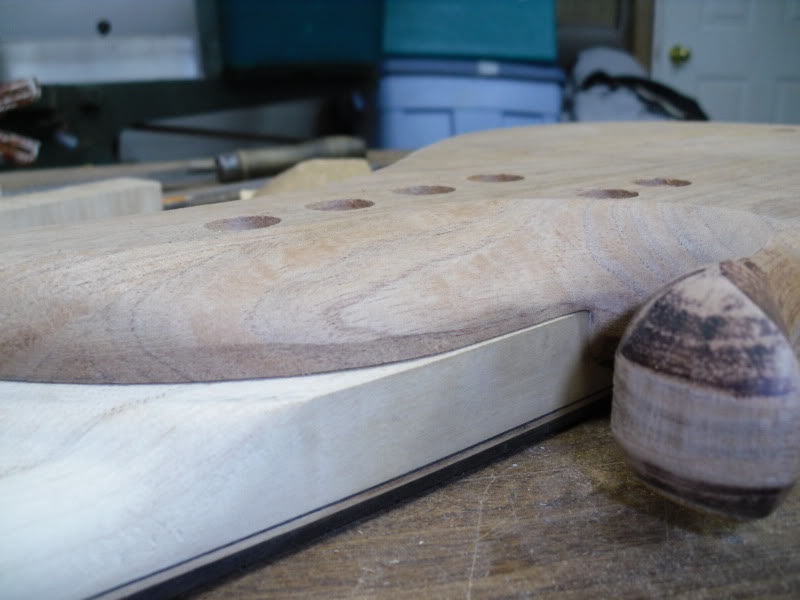
Nice. I'll just say, if it were me, I'd carve the neck heel on the end of the body and blend it all, since you have a large area, on the neck route of the body.....
uhm, im not going to say your wrong.....im just going to say; i have absolutly NO idea what that means!! lol
please, say that again?
if you mean carving away the whole area be hind the neck pocket, i really cant; with the body so thin and the heell so thin, i wont have any kind of bolts to hold them together, let alone feel good abou the lack of material behind the heel;
please, say that again?
if you mean carving away the whole area be hind the neck pocket, i really cant; with the body so thin and the heell so thin, i wont have any kind of bolts to hold them together, let alone feel good abou the lack of material behind the heel;
Rickett Customs
Commercial User
uhm, im not going to say your wrong.....im just going to say; i have absolutly NO idea what that means!! lol
please, say that again?
if you mean carving away the whole area be hind the neck pocket, i really cant; with the body so thin and the heell so thin, i wont have any kind of bolts to hold them together, let alone feel good abou the lack of material behind the heel;
See the photo below. (My wife tells me I have my own language, that only I understand, sometimes
)just the area that's circled, you could blend it together, giving it a smooth area.
ah yes! to some extent that was the idea; i was gonna feather it together with a block, maybe i will look into a bit of carving with them together, thanks


Thats a sweet bass!
I would leave the neck joint carve as is, its strong and fits the design fine. If it ain't broke...
I would leave the neck joint carve as is, its strong and fits the design fine. If it ain't broke...
k; so pickups arrived last week, so i can officially blow the dust off this thread and thry to get back into the swing;
again; thank you Deb for appreciating the situation, and not giving me a hard time etc. it had kept me sane, and definatly wanting to do some of my best work, within the specs of the order; so without further a-do;
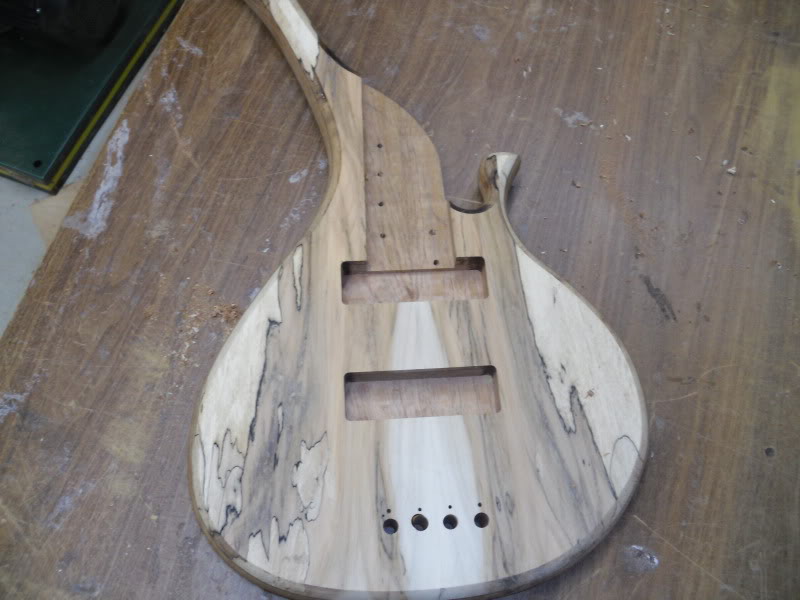
the pickups routed; i now know exactly what kinda room we're dealing with!
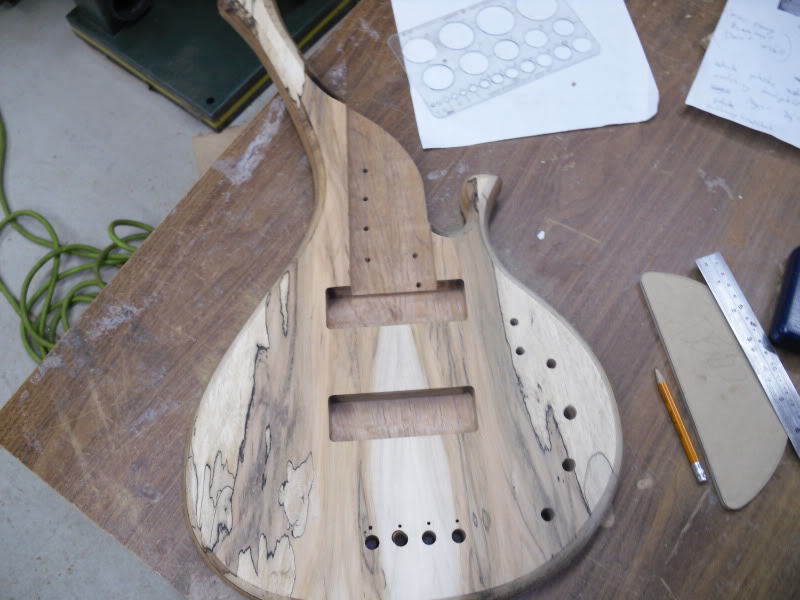
plotted out the Audere preamp/eq
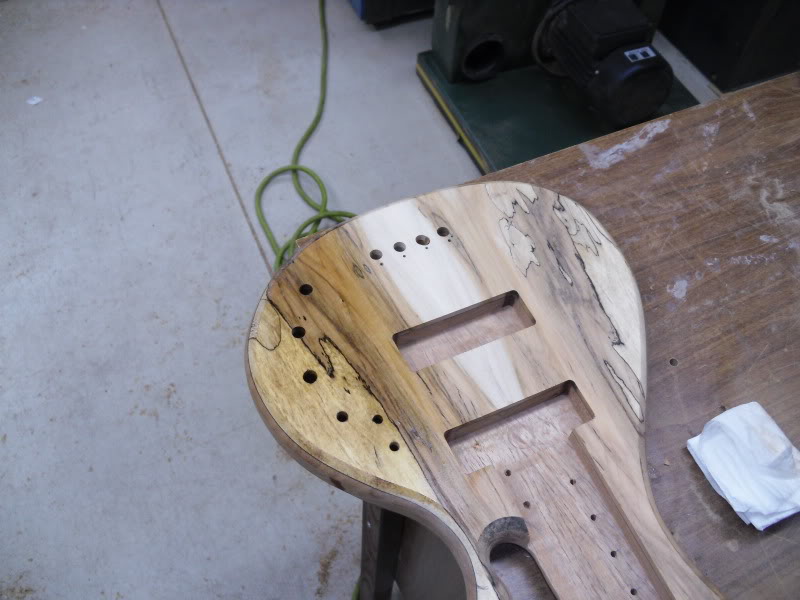
and a healthy dose of CA to keep my top from callapsing when i hog it out, i splashed and wipe in the supa thin CA across the top where the cavity will be, then squirted in the holes (hehe) the excess thru the back was wiped as to not have super glue lumps where my template will be;
again; thank you Deb for appreciating the situation, and not giving me a hard time etc. it had kept me sane, and definatly wanting to do some of my best work, within the specs of the order; so without further a-do;
the pickups routed; i now know exactly what kinda room we're dealing with!
plotted out the Audere preamp/eq
and a healthy dose of CA to keep my top from callapsing when i hog it out, i splashed and wipe in the supa thin CA across the top where the cavity will be, then squirted in the holes (hehe) the excess thru the back was wiped as to not have super glue lumps where my template will be;
and a quick reminder of where we're going with this.
Deb came down to see the progress, he asked me to lop off some of the lower horn, it still needs to be hand shaped, but it was awkward for full access; so off she goes
so, cavity is routed; didnt get a progress pic for some reason; and im on to fitting the cover, i have a simple method ive adopted for these; i crudely mark out the grain orientation on the template, find a scrap piece that seems to characterize the surrounding wood and line up the direction
this is the piece i started with
then try to find the 'lines'
well; i like it!
it says it weighs 4 Lbs. but it dont feel that heavy!
last thing i had to route was the battery compartment;
and the back as i left it tonight;
hope all is satisfactory