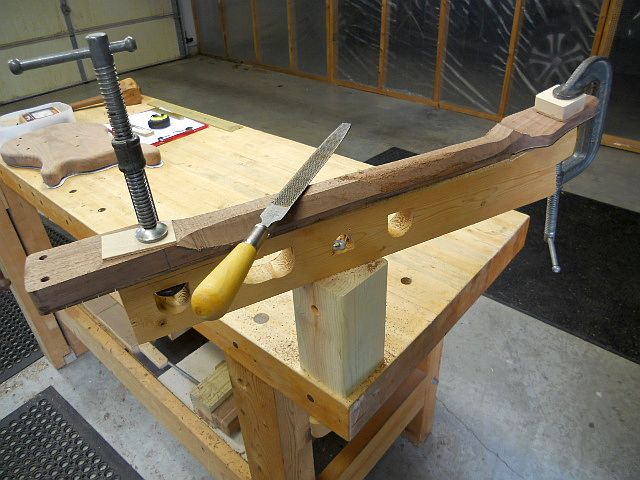
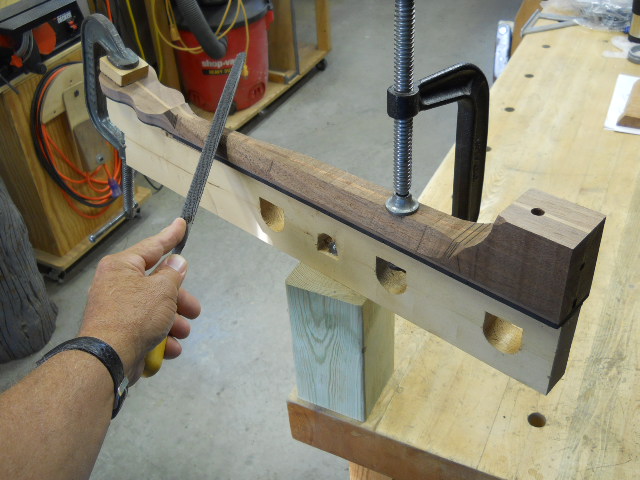
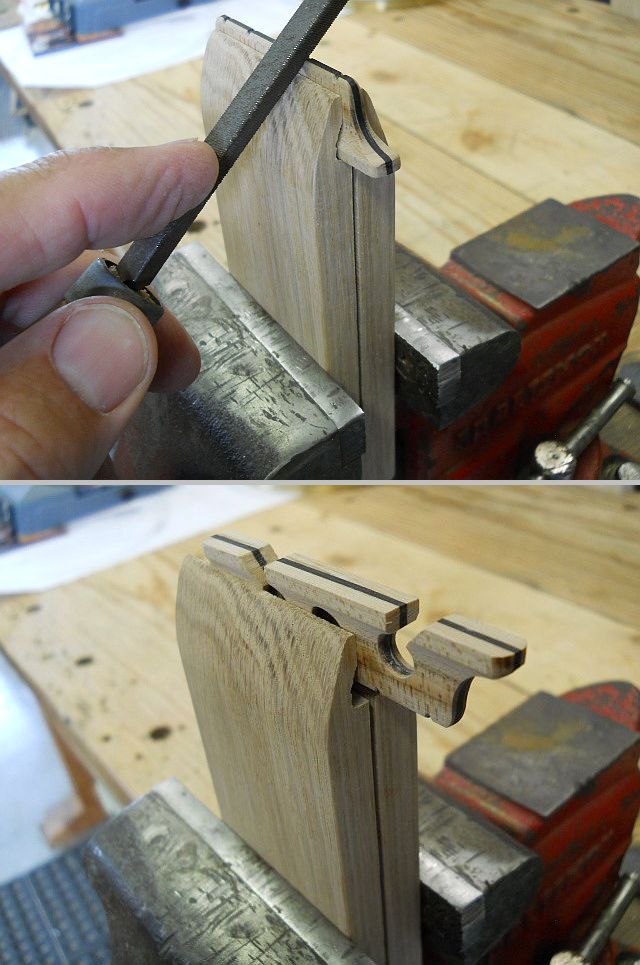
I'm starting a thread about holding fixtures. These are home-made jigs and fixtures that we build to hold instrument parts steady while we work on them. One of the tough parts about Luthier work is that musical instrument parts are mostly all curved and shaped and funny looking. They are hard to hold on to when you need to apply some muscle to them.
Holding fixtures can be temporary, or they can be permanent. Stored on a shelf and pulled out for use many times.
I'll show you some of my most useful ones, and I welcome all of you to show what you've built. Crude setups or finished tooling.
I'll start out with one I just made an hour ago. It's a permanent holding fixture for holding the heel of a neck in a drill press or milling machine vise. Accurately and securely, and instant setup. I should have made this a long time ago. For years, I've been fumbling around with wedges and wood scraps and shims, trying to lock a neck heel into the milling machine vise.....I decided to stop and make up a decent holding fixture.
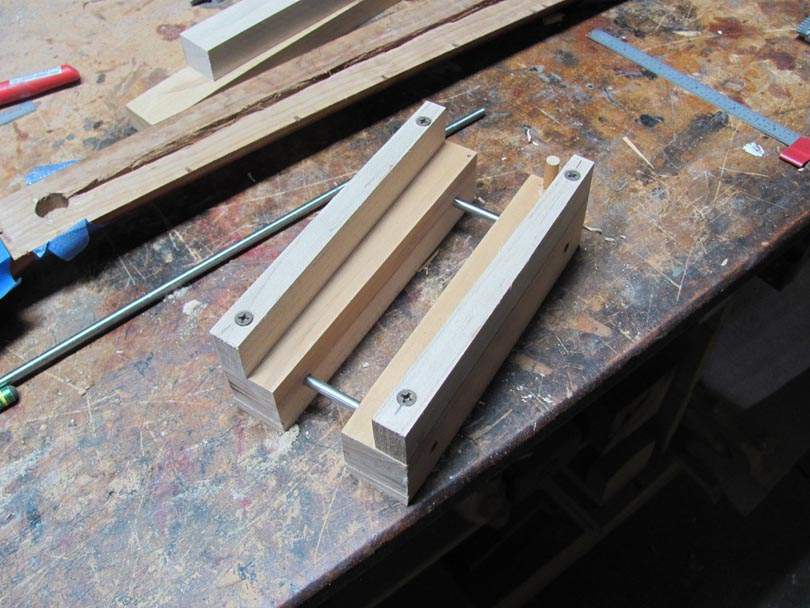
This type of holding fixture is basically a pair of custom-shape wooden vise jaws. They are made to set down into a vise. The neck fits into the wooden jaws, and the vise tightens the jaws on the sides of the neck heel.
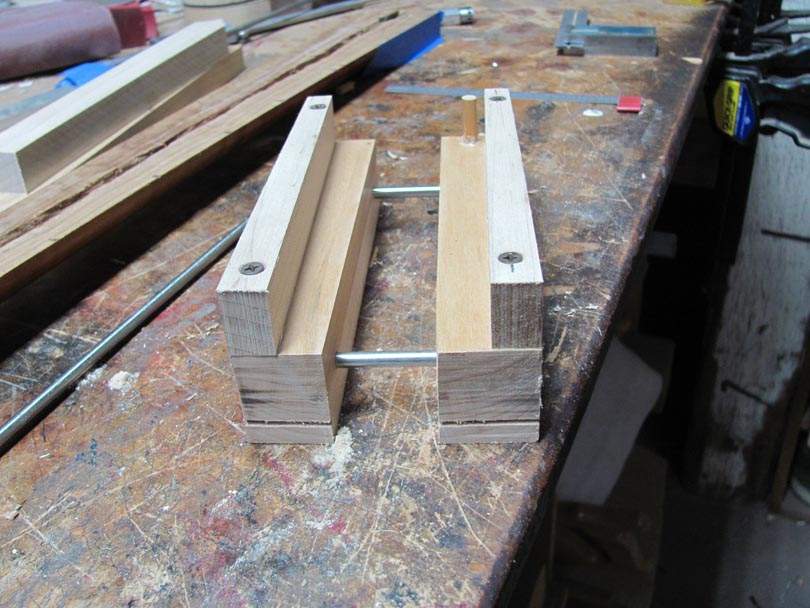
The two jaws are kept aligned by a pair of pins. The pins are short lengths of 3/16" stainless steel rod, cutoffs from making truss rods. But they could be any steel or aluminum rod stock or pins. They are a sliding fit in matched holes in the jaws.
The jaws are quickly made from scraps of maple. The bottom blocks are cut from 6/4 (1 1/4") stock. The top wedge blocks are 3/4" thick.
I designed this fixture to fit a vise whose jaws are 6" wide x 2" high. That's common for 6" milling machine vises. A guitar or bass neck heel is normally about 3/4" thick. I sized the maple blocks so that the top surface of the heel would end up about even with the top of the vise jaws.
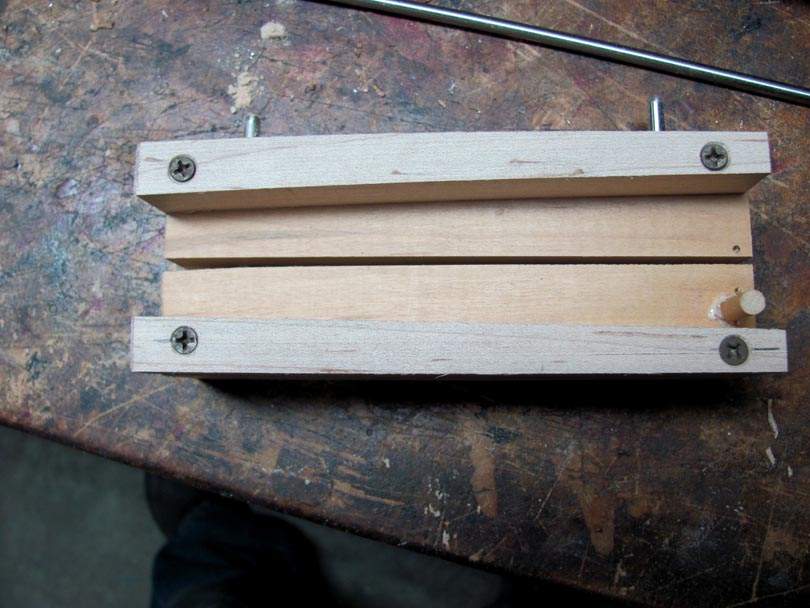
I cut the wedges based on the measurements from the taper of common necks. Most necks taper 1/8" over 6", so that's how I made this fixture. But the jaws have some freedom of angular movement. They will still clamp if the neck's taper is slightly different.
I also put in a wood dowel end stop pin on one side. The heel of the neck will sit solidly against it, so it won't slip in the tapered jaws.
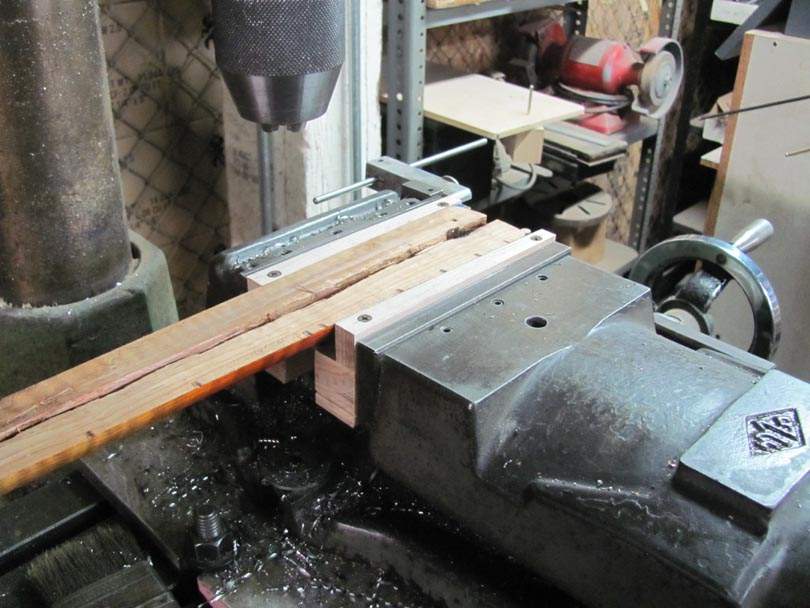
And here it is in use, clamping a guitar neck heel in the mill vise. The neck is clamped securely between smooth wood surfaces, to minimize any marks on the finish, as I preform some surgery on it.
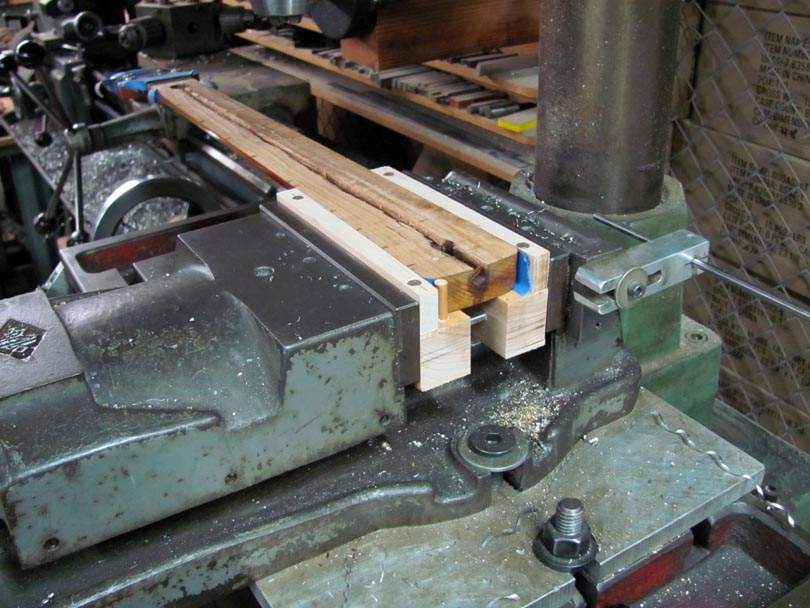
This neck is from an expensive guitar built by my friend Bill Asher. It had a broken truss rod, unfortunately. I'm about to machine the heel to take one of my newer double-acting spoke wheel head assemblies.
It took me about 30 minutes to make up this holding fixture. And now it's a permanent tool to be used for many years.
I have other truss rod replacement jobs waiting in line. Including two Wals. And I really don't want to damage those necks....
Holding fixtures can be temporary, or they can be permanent. Stored on a shelf and pulled out for use many times.
I'll show you some of my most useful ones, and I welcome all of you to show what you've built. Crude setups or finished tooling.
I'll start out with one I just made an hour ago. It's a permanent holding fixture for holding the heel of a neck in a drill press or milling machine vise. Accurately and securely, and instant setup. I should have made this a long time ago. For years, I've been fumbling around with wedges and wood scraps and shims, trying to lock a neck heel into the milling machine vise.....I decided to stop and make up a decent holding fixture.
This type of holding fixture is basically a pair of custom-shape wooden vise jaws. They are made to set down into a vise. The neck fits into the wooden jaws, and the vise tightens the jaws on the sides of the neck heel.
The two jaws are kept aligned by a pair of pins. The pins are short lengths of 3/16" stainless steel rod, cutoffs from making truss rods. But they could be any steel or aluminum rod stock or pins. They are a sliding fit in matched holes in the jaws.
The jaws are quickly made from scraps of maple. The bottom blocks are cut from 6/4 (1 1/4") stock. The top wedge blocks are 3/4" thick.
I designed this fixture to fit a vise whose jaws are 6" wide x 2" high. That's common for 6" milling machine vises. A guitar or bass neck heel is normally about 3/4" thick. I sized the maple blocks so that the top surface of the heel would end up about even with the top of the vise jaws.
I cut the wedges based on the measurements from the taper of common necks. Most necks taper 1/8" over 6", so that's how I made this fixture. But the jaws have some freedom of angular movement. They will still clamp if the neck's taper is slightly different.
I also put in a wood dowel end stop pin on one side. The heel of the neck will sit solidly against it, so it won't slip in the tapered jaws.
And here it is in use, clamping a guitar neck heel in the mill vise. The neck is clamped securely between smooth wood surfaces, to minimize any marks on the finish, as I preform some surgery on it.
This neck is from an expensive guitar built by my friend Bill Asher. It had a broken truss rod, unfortunately. I'm about to machine the heel to take one of my newer double-acting spoke wheel head assemblies.
It took me about 30 minutes to make up this holding fixture. And now it's a permanent tool to be used for many years.
I have other truss rod replacement jobs waiting in line. Including two Wals. And I really don't want to damage those necks....
Last edited: