• TalkBass has been independent since 1998. Add your voice.
    Create a free account to reply to discussions, view embedded media, and browse with fewer display ads.
    Join freeLog in
    Want zero display ads or expanded classifieds tools? Compare plans.

The Hossenfeffer Bass Build

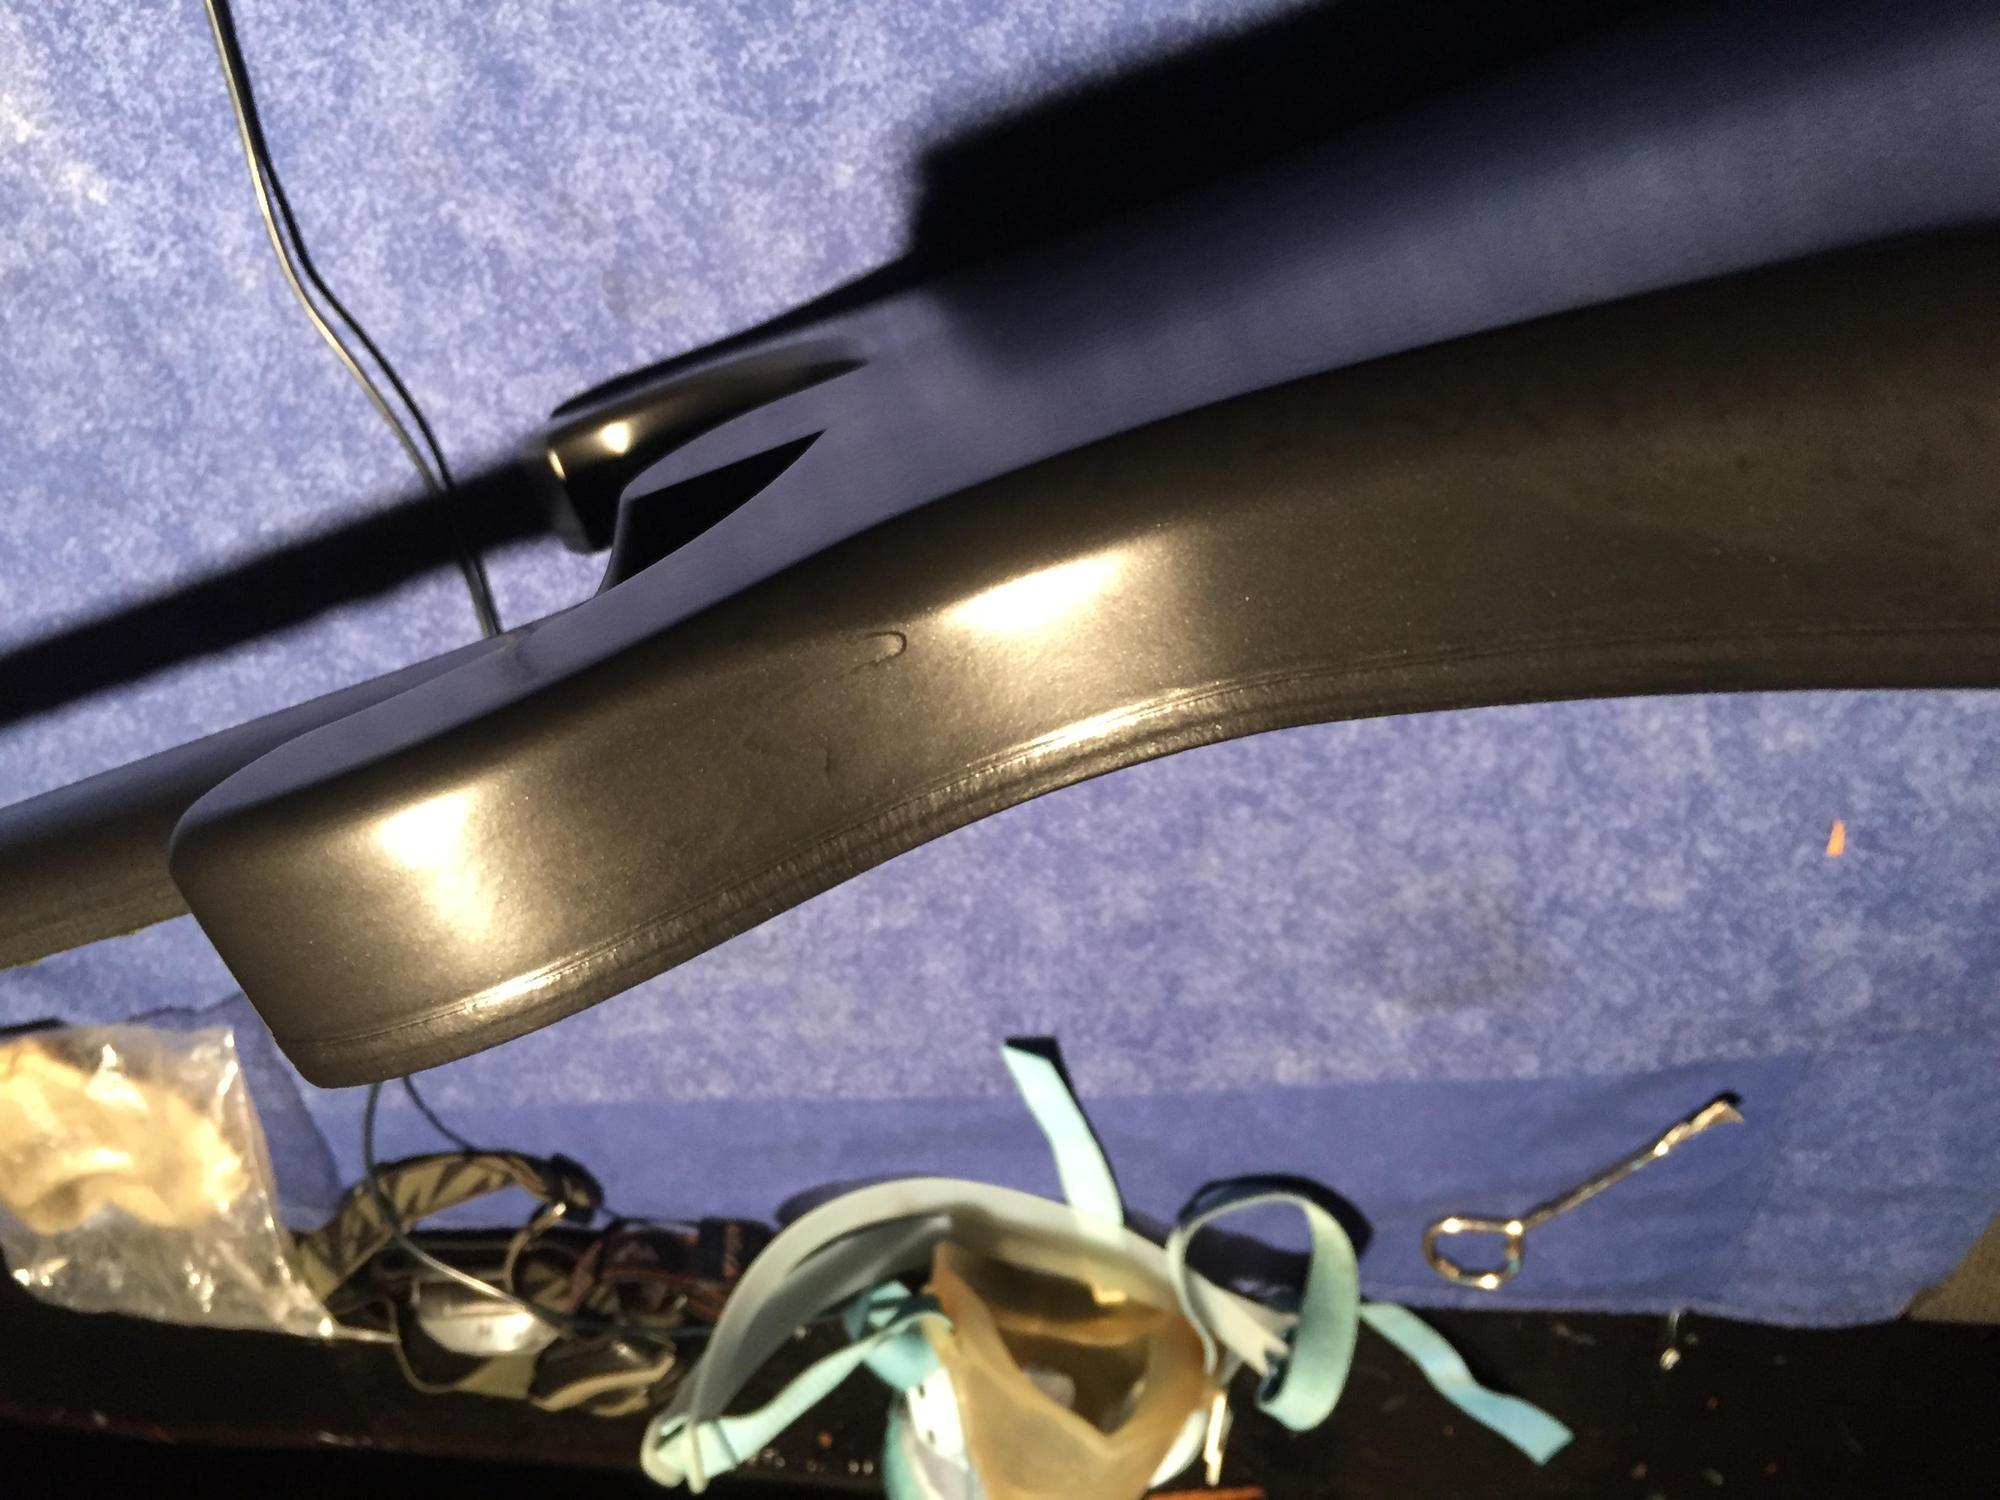
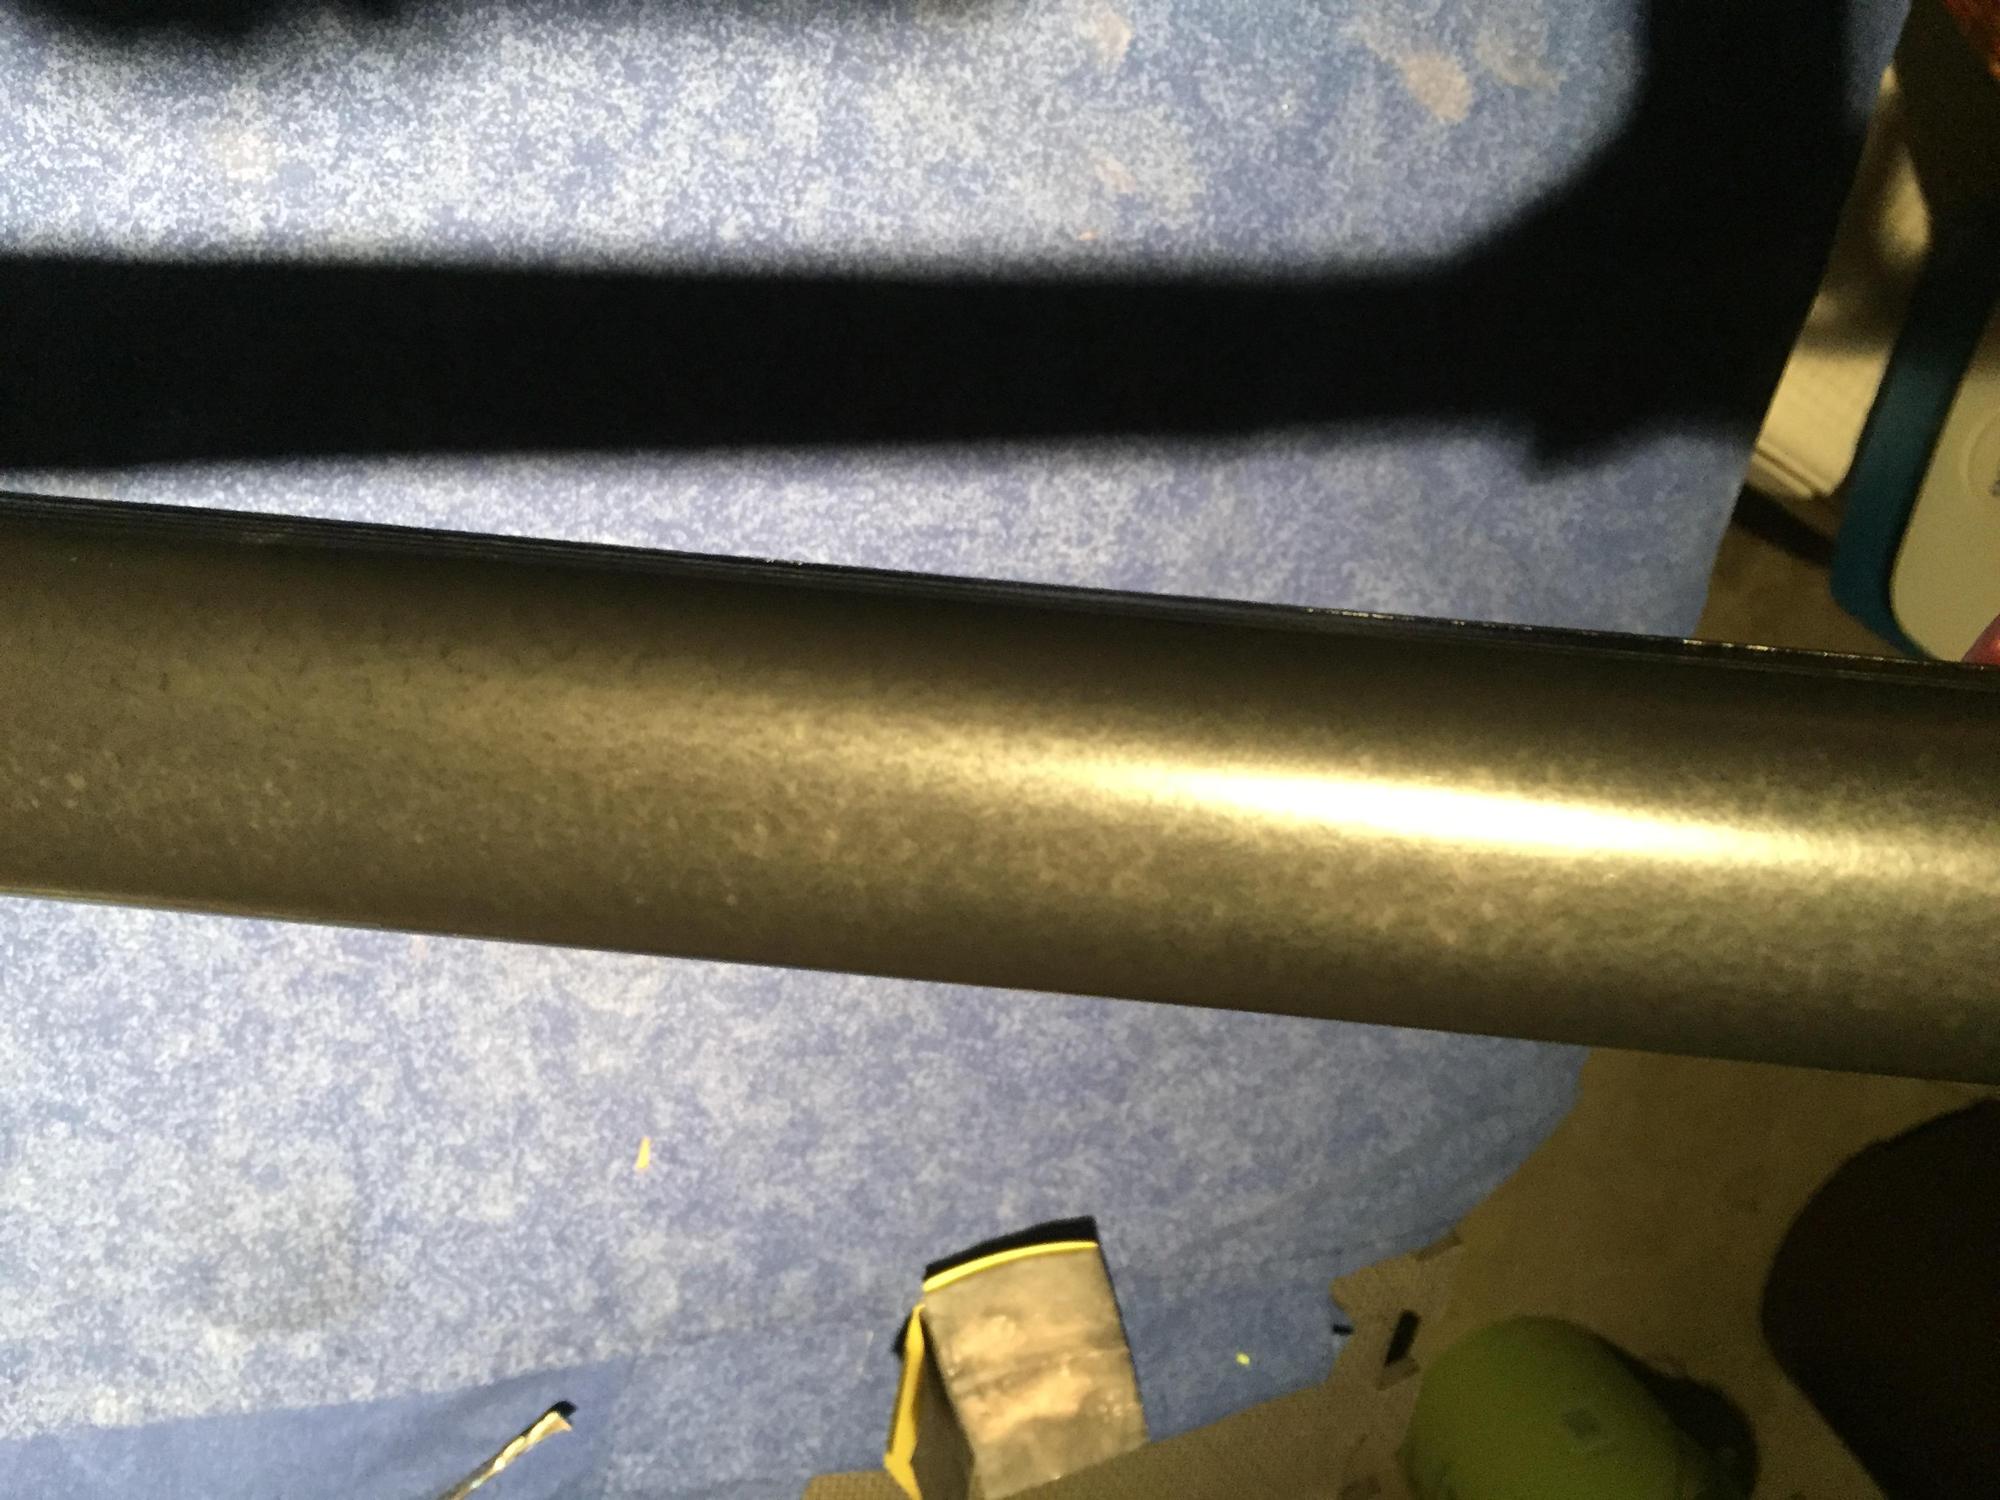
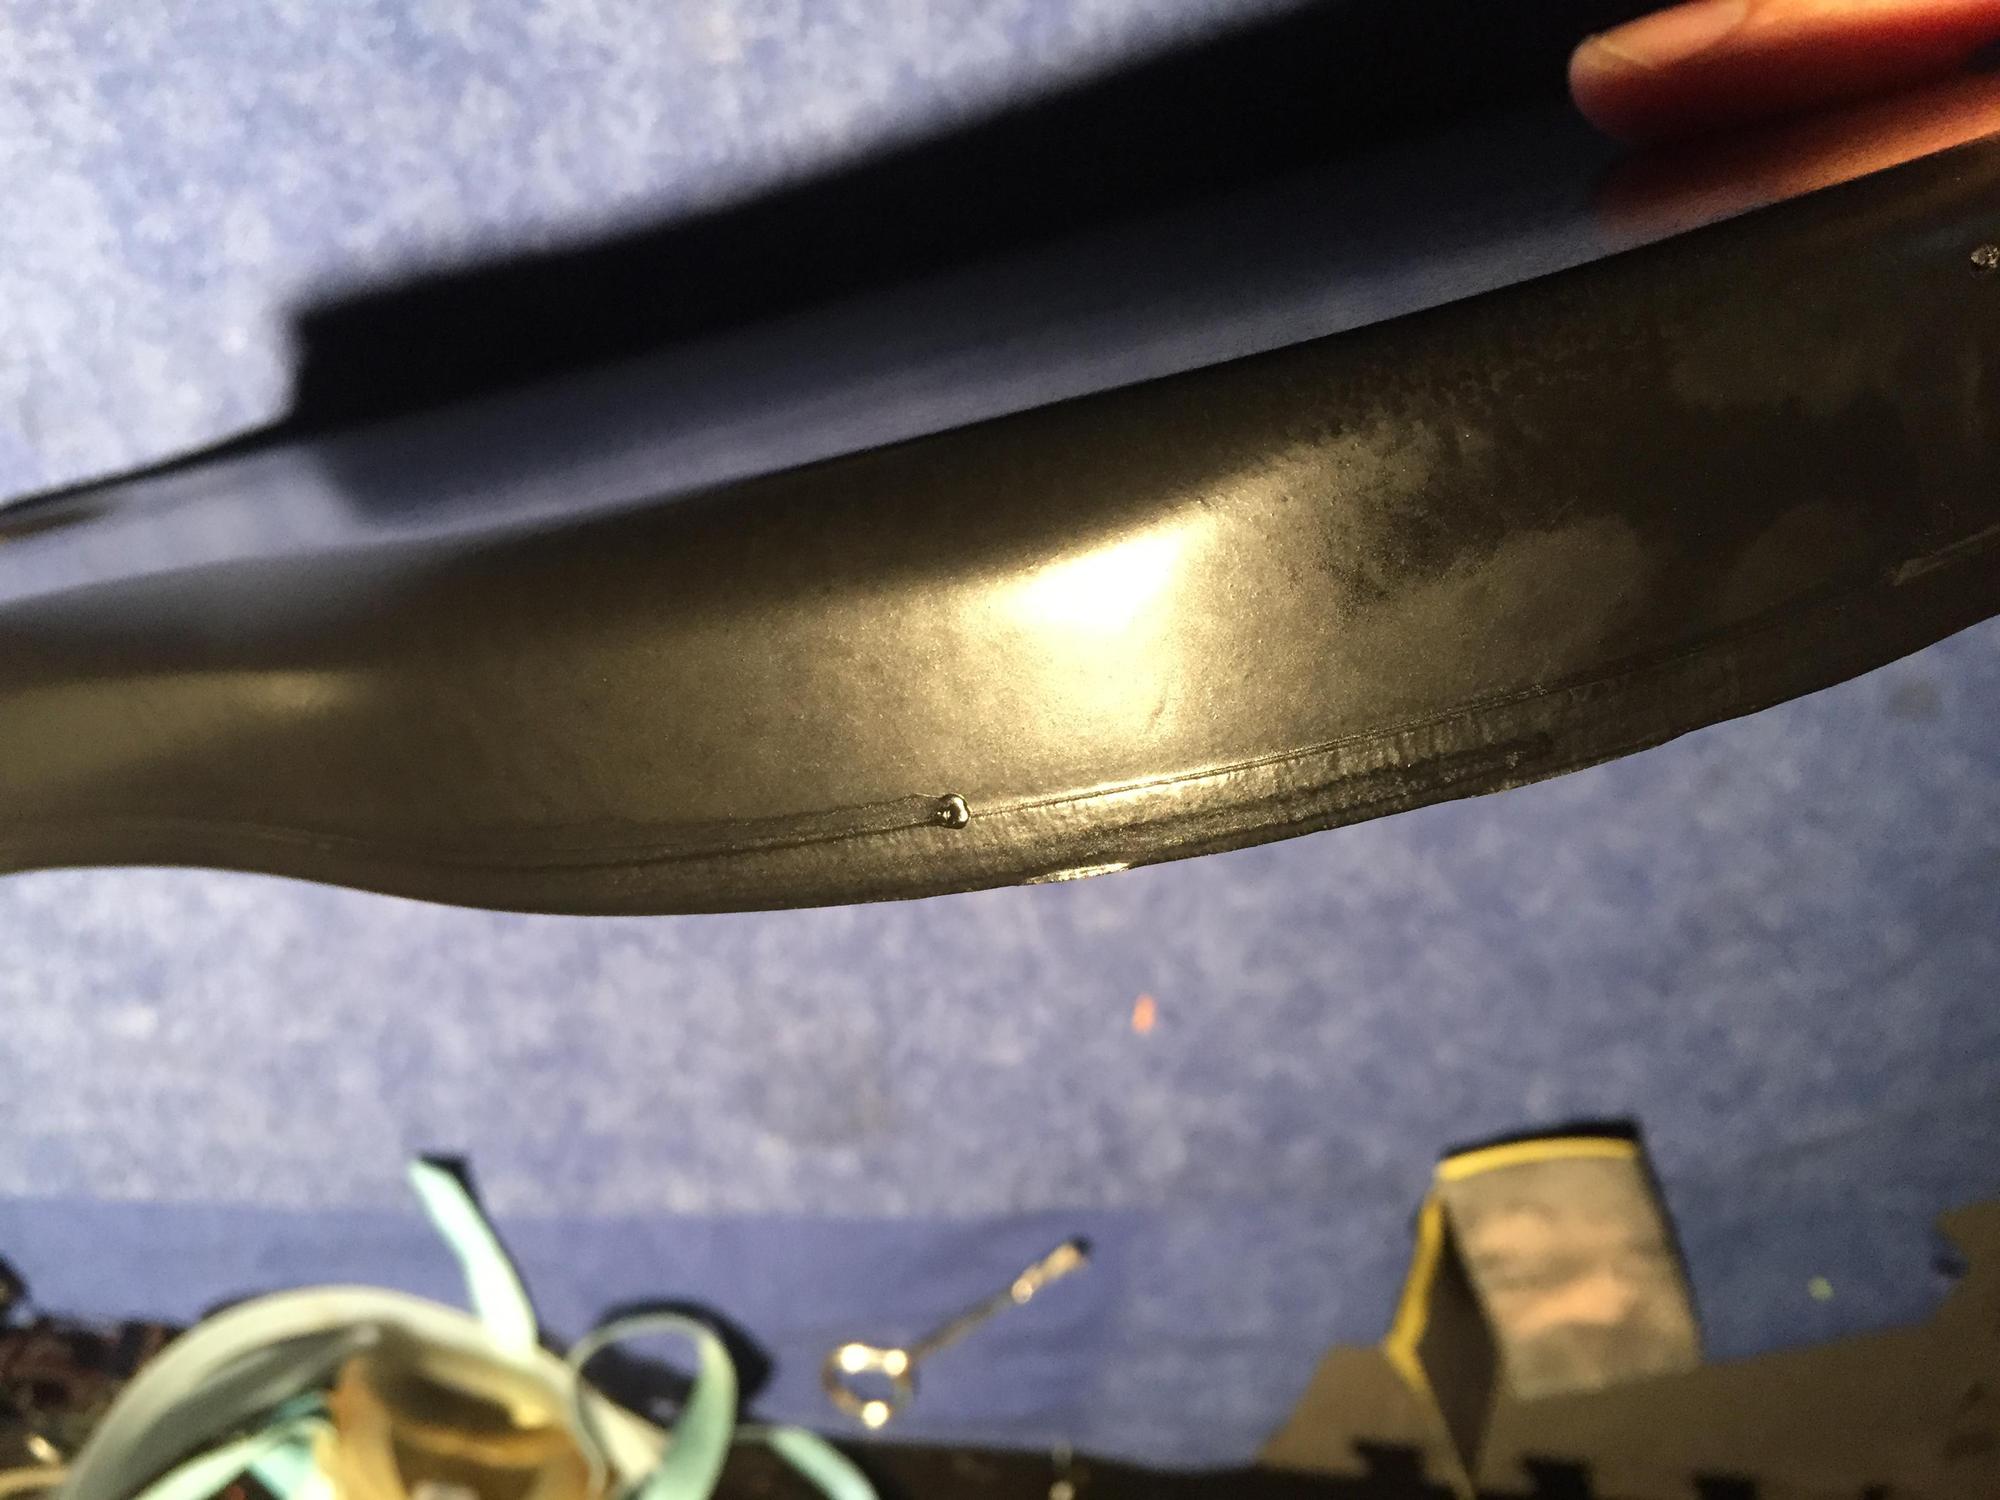
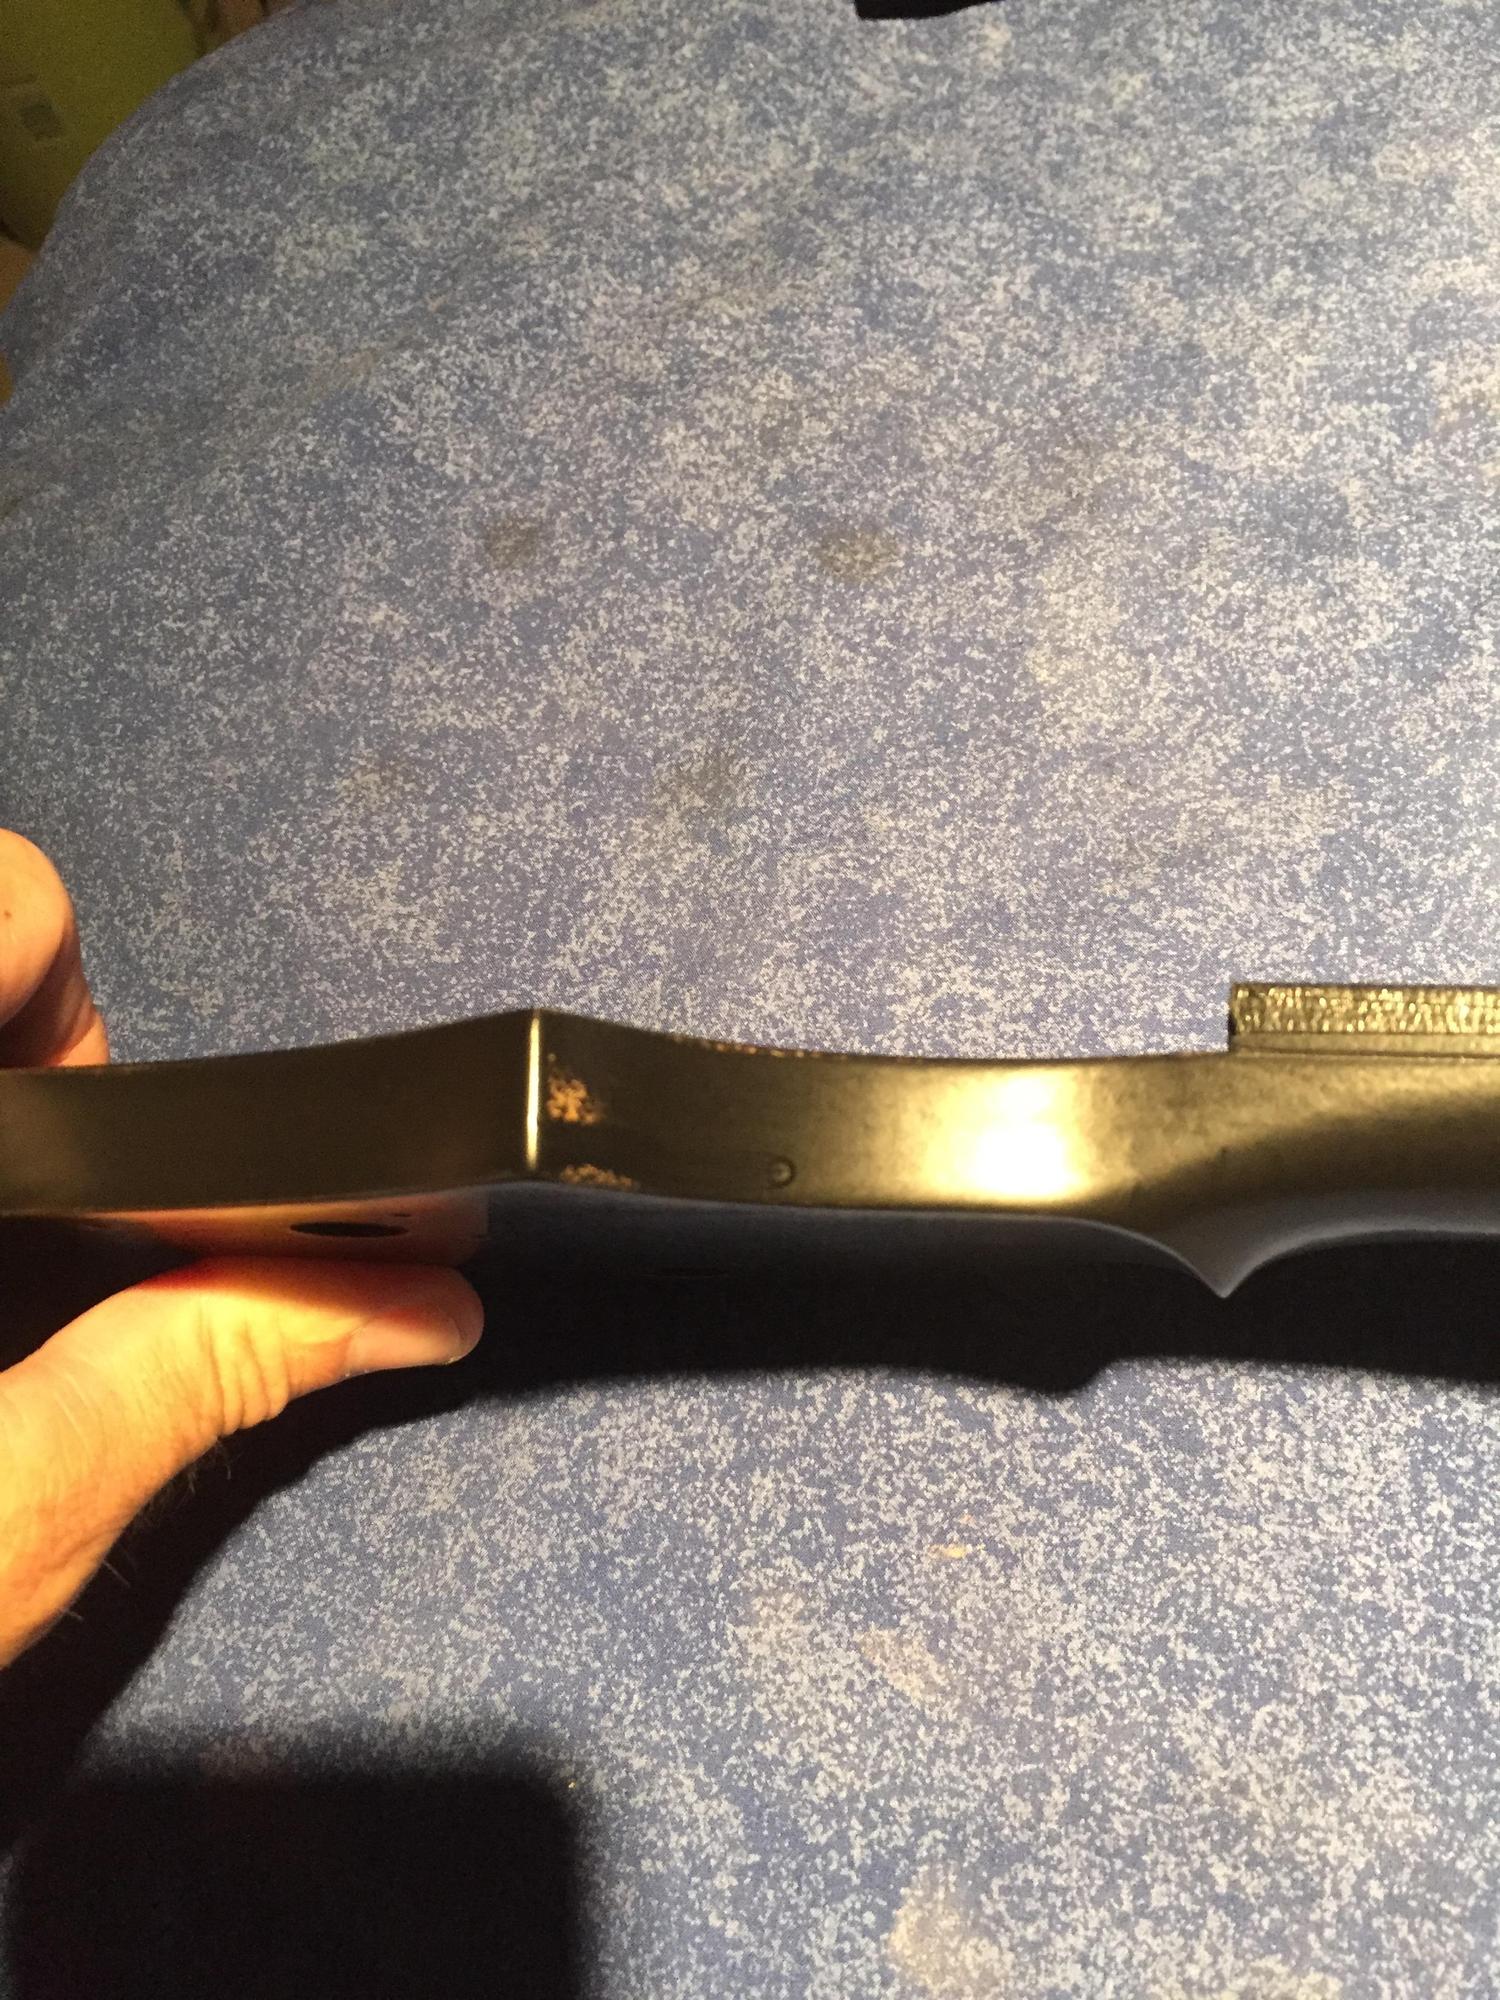
I think I've worn out my welcome on the Water Based Finishes thread, too many annoying questions! Too many failed attempts! I'm still using that "old" Varathane Heavy Use Gloss instead of Profinisher, so the thread has moved on. Maybe you poor saps can advise me? I'm in colorcoat hell right now, every time I think I have a good coat, I find a run, holiday, or other mishap, so I keep having to sand it down and re-paint. This is what it looks like after four coats, thought I nailed it until bright sunshine showed me otherwise. More runs! Sand it down again.... In every case I'm into more than a 24 hour window between one botched set of coats and the next, so I figure I have to sand it anyway to get some "tooth" for the next coat. I've been using 320 grit for the runs, then 600 grit for "tooth".

Most common advice for painting is to NOT level sand colorcoats. Assuming my next coat is a success, the best finish I can get out of this material and this gun seems to be a slighty sandy looking soft orangepeel. I realize that the clearcoat will bury all this, but does this look like a suitable surface for clearcoat, minus the runs?
R4mwPbE.jpg

ECnBsOs.jpg

caHbtot.jpg

k7vcvAJ.jpg

6GhAXIR.jpg


I'll try to to put on two more very light mist coats on my next attempt, just enough to cover. Any attempt at a visible wet coat always results in runs. I'm getting nervous about how much "ridge" I must be building up at the tape line.

Thanks for looking
 
  • Like
Reactions: chinjazz
Are you sanding the whole bass to get rid of a few runs? Can't you carefully sand out the run (maybe that's what you are doing)? Also I know someone mentioned that you can sorta soak up the run while it's still wet... have you been doing that? I have also used a razor blade and carefully scraped off runs so you don't get the sanding marks. Seems like 320 might be a bit too much at this point, unless you are very careful to just hit the run.

If you are sanding the color smooth and not breaking through the color coat then just start with the clear... why keep adding color coats?
 
Are you sanding the whole bass to get rid of a few runs? Can't you carefully sand out the run (maybe that's what you are doing)? Also I know someone mentioned that you can sorta soak up the run while it's still wet... have you been doing that? I have also used a razor blade and carefully scraped off runs so you don't get the sanding marks. Seems like 320 might be a bit too much at this point, unless you are very careful to just hit the run.

If you are sanding the color smooth and not breaking through the color coat then just start with the clear... why keep adding color coats?
The short answer would be "because I don't know what i'm doing!" This is literally my fist guitar paint job, so quite a bit of ignorance and thrashing about on display. I started trying to sand out the drips with 600, which was taking forever, but then went to 320 just at the drips, followed up by 600. I had read that unless you re-coat with either tinted or clear within 24 hours you need to do at least a light sanding, so I went over the whole thing with 1000 grit, which burned through the color in some spots, of course, hence the need to re-spray colorcoats. My primary question was: If the colorcoat looks like it does in the un-dripped sections in my photos, is that good enough to proceed with clearcoat? It looks a lot rougher to me than what I hoped for, but I don't know if it that's typical for WB finishes. Naturally I had to try a fairly undocumented finish system for my first paintjob, D'oh! My intention now is to shoot one or two more colorcoats, just enough to cover the bare spots.
 
  • Like
Reactions: ctmullins
does this look like a suitable surface for clearcoat, minus the runs?
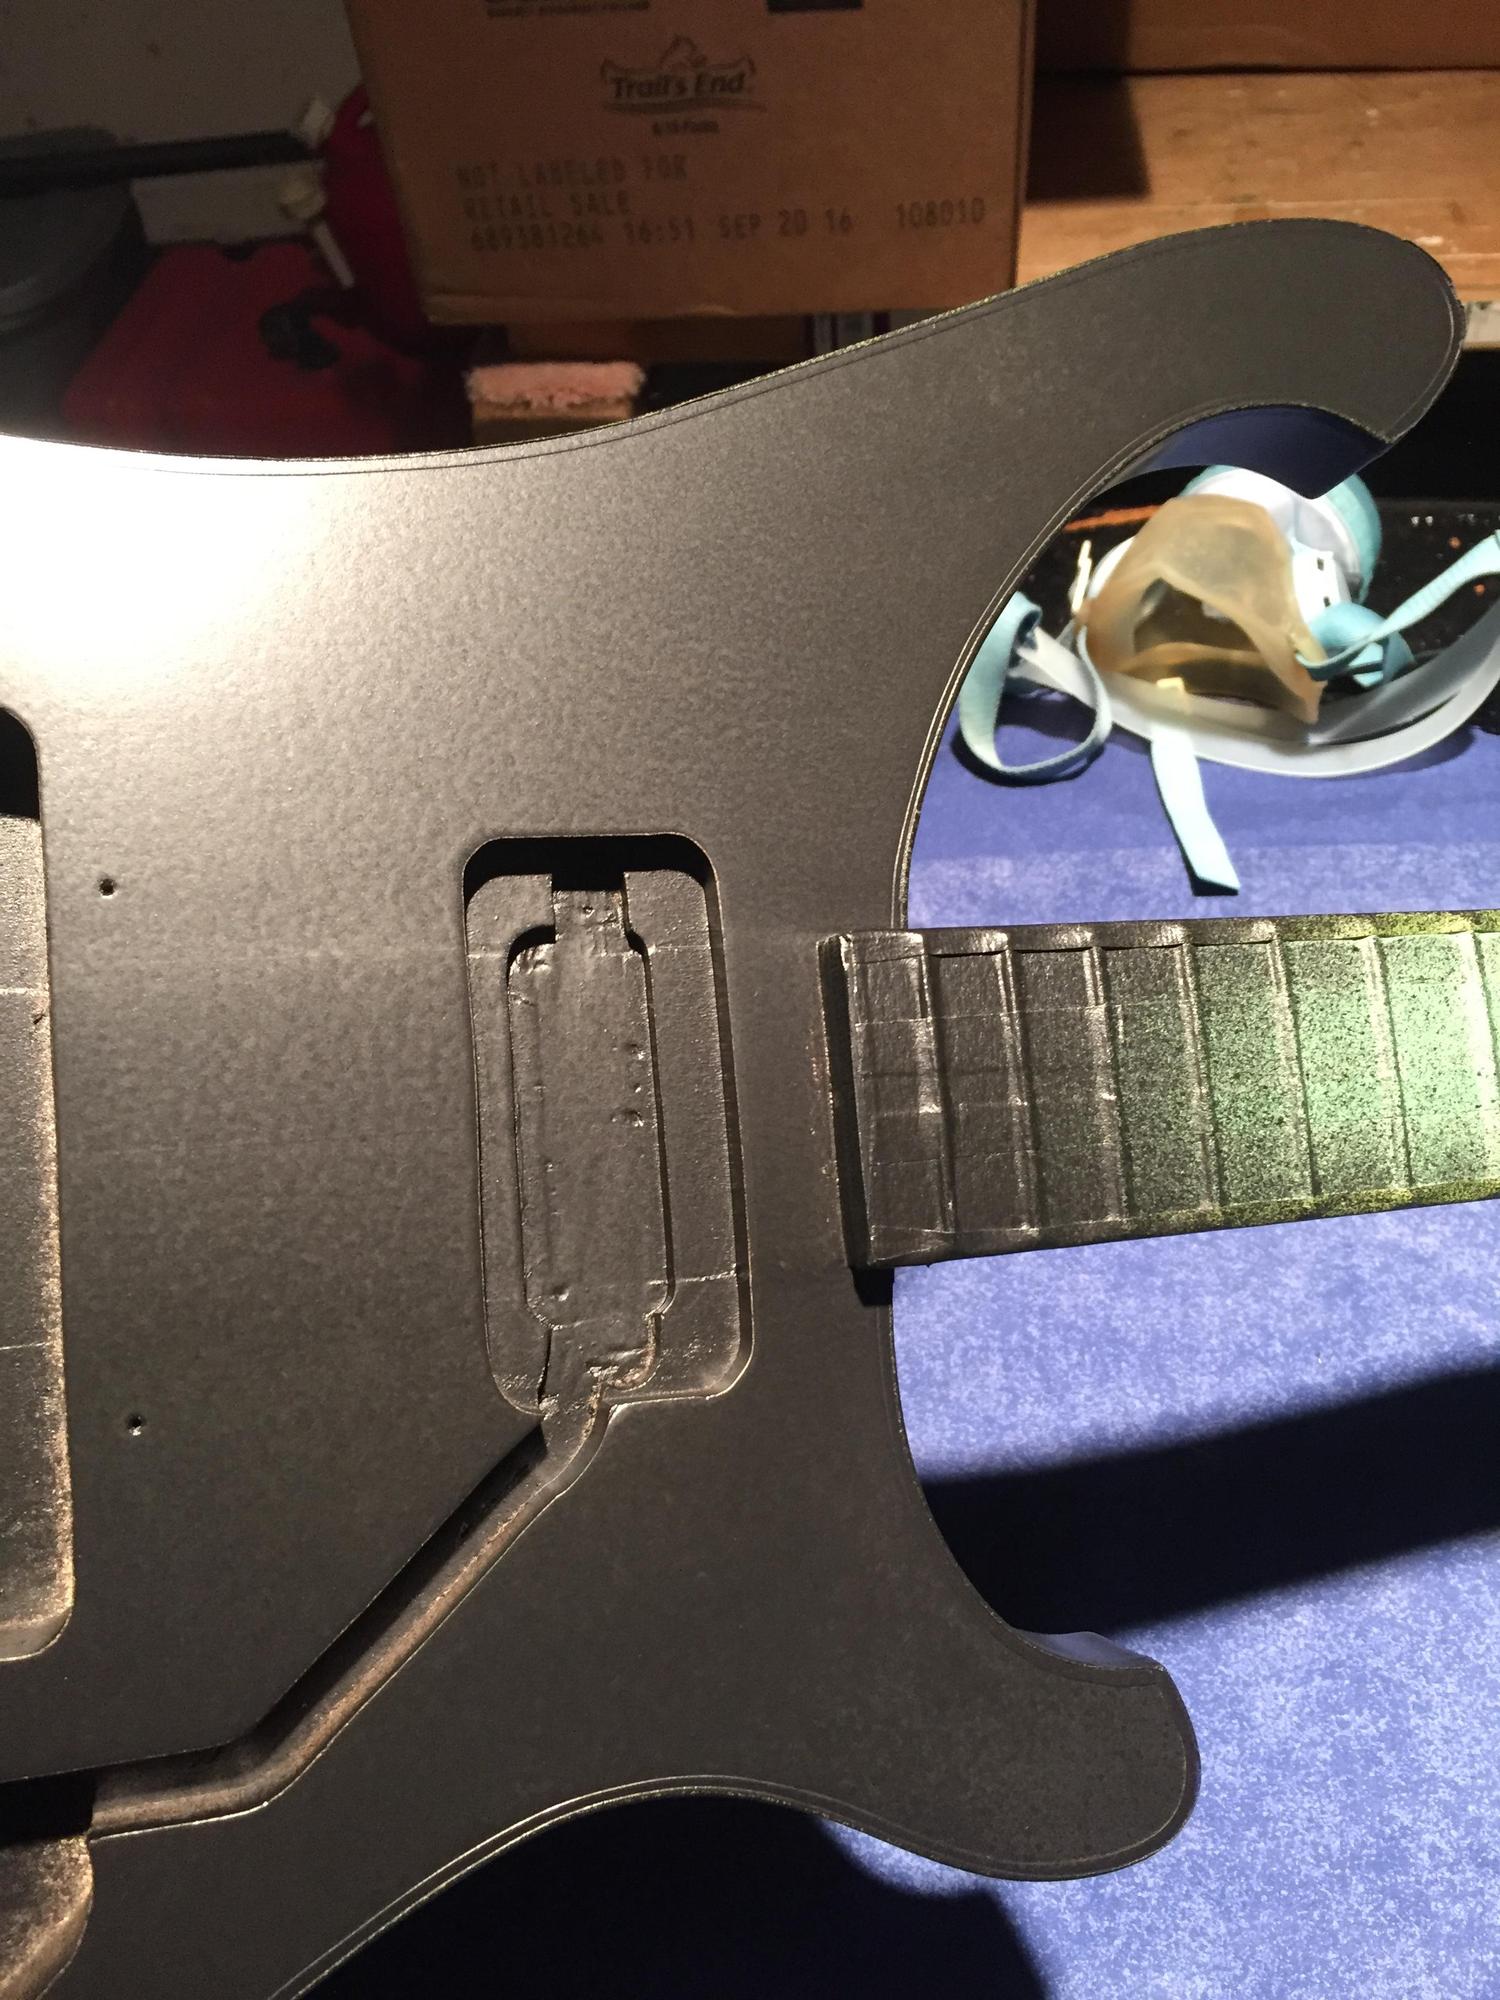
It's hard to tell from the pictures. When I painted my two white basses, I sanded the sealer coats pretty smooth, and then went at it with the color. After the color coats dried, I looked closely at it, moving the basses back and forth to allow the light to reflect off of any imperfections (of which there were many). Fortunately, I managed to not get any runs with the color (though the same could not be said for the clear).

My sense of this? You are quickly running out of time as winter approaches (you're painting outside or in the garage?). Sand off the runs, lay on a coat (or two) of black, and start building up your clear coats. If this were my bass, I'd be looking at like 30 coats. You don't want to sand through during wet sanding.

The worst case scenario is that you'll have to sand everything off, and start again.
 
  • Like
Reactions: Gilmourisgod
Wow, 30 coats of clear? Is that what you sprayed on the white Devil? Bruce was doing 10-15, that’s kinda consensus on the few YouTube videos I’ve found for Varathane, but you are right, I do NOT want to sand through. I’m working in my garage inside my plastic spray booth, so I can get it toasty warm with a small heater, but time is definitely running out!
 
Yeah, I've sanded through 15 coats of the Varathane without breathing hard. Of course, that's with my compressor and spray gun. It's hard to see how thick each one of the coats is with the sprayer you're using. I would think you'd want to do at least 20 coats.

Now when I speak of coats, I was using Bruce's recommendation of spraying 5 coats, a half hour apart, each day, and then letting that cure overnight before putting on another 5 coats the next day. I think I laid on 20 coats on the 2nd white bass, which I promptly sanded through (using the ProFinisher - I find them to be pretty similar).

sanded through.jpg


Sorry about the horrible cell phone picture, but you get the idea. I never fixed it or refinished that one - it has too many other issues to start worrying about paint.
 
  • Like
Reactions: Gilmourisgod
As best as I can tell from your picture, that’s similar to what I’ve been getting with Parks and Behr paint as pigment. Pretty smooth with a little orange peel. On the last body, I put on the base color until it was covering fairly well, then (heresy) sanded the color smooth with 600 grit. Then I did the burst around the edge in black, several coats past where it covered, actuall I just used up the black I had mixed up, then hit it all again lightly with 600 grit then started on the clear.

The clear seems to go down a little smoother for me. I’ve also had better luck spraying the Parks clear a little thicker than Bruce’s recipie. Using the 2 tablespoons of water in 5-6 oz works better for me.

If your gun works that way, I liked Bruce’s idea of using a wood block to set the max trigger pull. That was one of the hardest things for me to learn. Pull the trigger all the way back every time, the flow is set at the gun and not pulling the trigger all the way messes up the spray. Your system may be different.

Good luck. I hope you work this out. That thick, smooth finish at the end almost makes the suffering worth it.
 
  • Like
Reactions: Gilmourisgod
@Matt Liebenau
Do you remember how many coats of clear you put on?

Right now, I’m at 5. Probably won’t have time to do more until this weekend. I’ll probably go up to about 20. However, I tend to lay it on pretty heavy and, like I said, I’m spraying a little thicker mix as well. The main color was probably 10 and the burst would have been about 15 also. On the burst part I was using my touch up gun which sprays pretty thin coats.
 
  • Like
Reactions: Gilmourisgod
Now THAT's what I'm talking about! Got two decent coats of black on the body and carefully peeled away the masking. Behold! A nearly perfect mask line with no scraping! That 3M 471 Fineline tape is just incredible. No way I could have scraped this fine a line. I had a couple tiny bleed-throughs onto the binding, 5 minutes with a razor blade and i'm golden. I don't know if my crappy cellphone cam photos do it justice, but the CB, side binding, and bubinga fingerboard line are as close to perfect as I could hope for. I put the last two coats of black on very thin, the finish has a very fine "sandy" feel to it, not really orangepeel, but I think I'm good for clearcoat with no further fussing about.
8Tt6s5x.jpg

EIv7lqa.jpg

UKtDhav.jpg

en0u4sO.jpg

SVzQ21p.jpg

sp6lleT.jpg

qDpV42b.jpg

9tYsGlf.jpg
 
Now THAT's what I'm talking about! Got two decent coats of black on the body and carefully peeled away the masking. Behold! A nearly perfect mask line with no scraping! That 3M 471 Fineline tape is just incredible. No way I could have scraped this fine a line. I had a couple tiny bleed-throughs onto the binding, 5 minutes with a razor blade and i'm golden. I don't know if my crappy cellphone cam photos do it justice, but the CB, side binding, and bubinga fingerboard line are as close to perfect as I could hope for. I put the last two coats of black on very thin, the finish has a very fine "sandy" feel to it, not really orangepeel, but I think I'm good for clearcoat with no further fussing about.
View attachment 2785480
View attachment 2785481
View attachment 2785482
View attachment 2785483
View attachment 2785484
View attachment 2785485
View attachment 2785486
View attachment 2785487
NICE! Now get it all nice and shiny and ready to show EVERY finger print! :D
 
I only say this because I recently shined up a nice glossy black bass and was just amazed at its ability to show fingerprints.
When I had my original 79' 4001 Jetglo, I was a total OCD lunatic, obsessively polishing it with the Ric guitar cloth, waxing it, yadda yadda. I bumped the headstock against a doorframe and spent literally an hour sifting through the dust bunnies and pot seeds on my bedroom floor with a pair of tweezers, searching for the tiny fleck of black paint. I found it, but tried to glue it back on with Crazyglue, made a mess of it. D'oh! :D
 
  • Like
Reactions: ICM and chinjazz