

Enjoy the benefits of a premium membership!
Upgrade Account
-
TalkBass has been independent since 1998. Add your voice.
Create a free account to reply to discussions, view embedded media, and browse with fewer display ads.
Join free Log in
Want zero display ads or expanded classifieds tools? Compare plans.
You are using an out of date browser. It may not display this or other websites correctly.
You should upgrade or use an alternative browser.
You should upgrade or use an alternative browser.
The Hossenfeffer II Build
- Thread starter Gilmourisgod
- Start date
-
- Tags
- build
More options
Who Replied?

In search of the perfect pup route.....
This bass will have no pickguard, so the pup routes have to be PERFECT, cut through that incredible crotch walnut. Having never done this without pickup rings before, I decided to try the bondo method with some variations. I took the chrome pup cover off the Hossenfeffer I and used it to make a perfect "positive” of the pup shape. I had hoped to do this with a flush trim bit, but the pup edge is very thin, and I didn't want to risk damaging it. I got to perfect after two attempts:
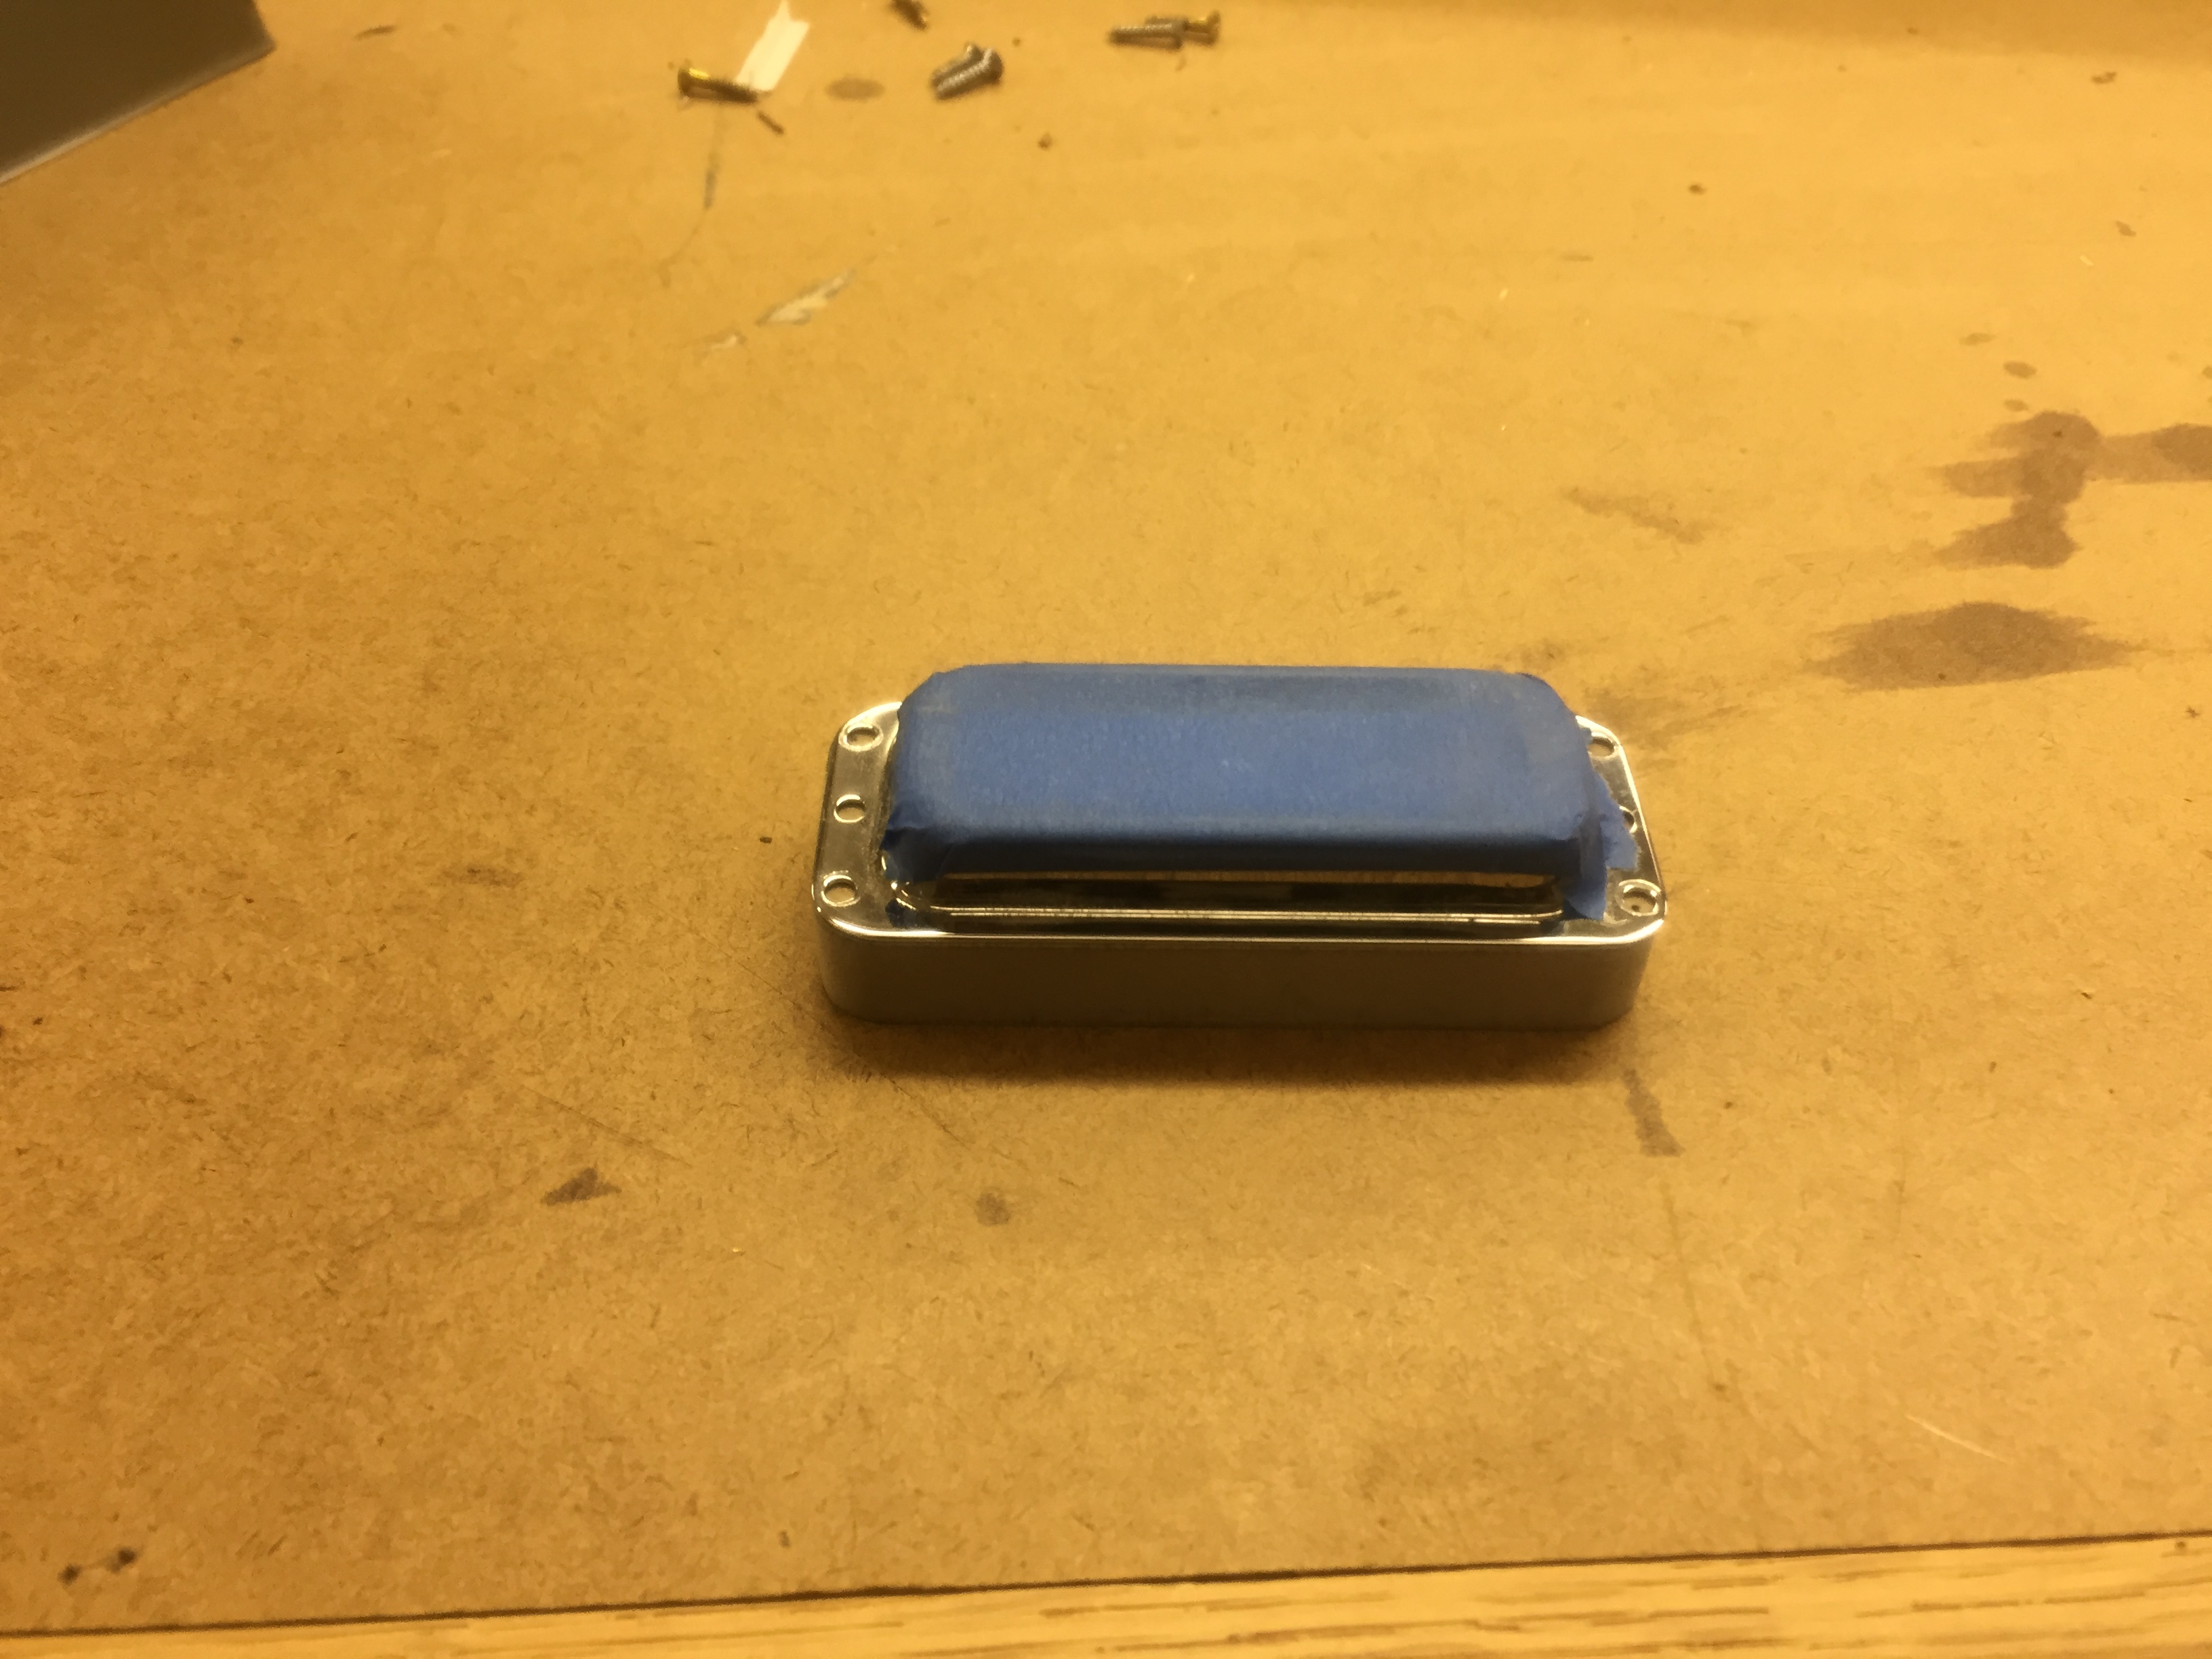
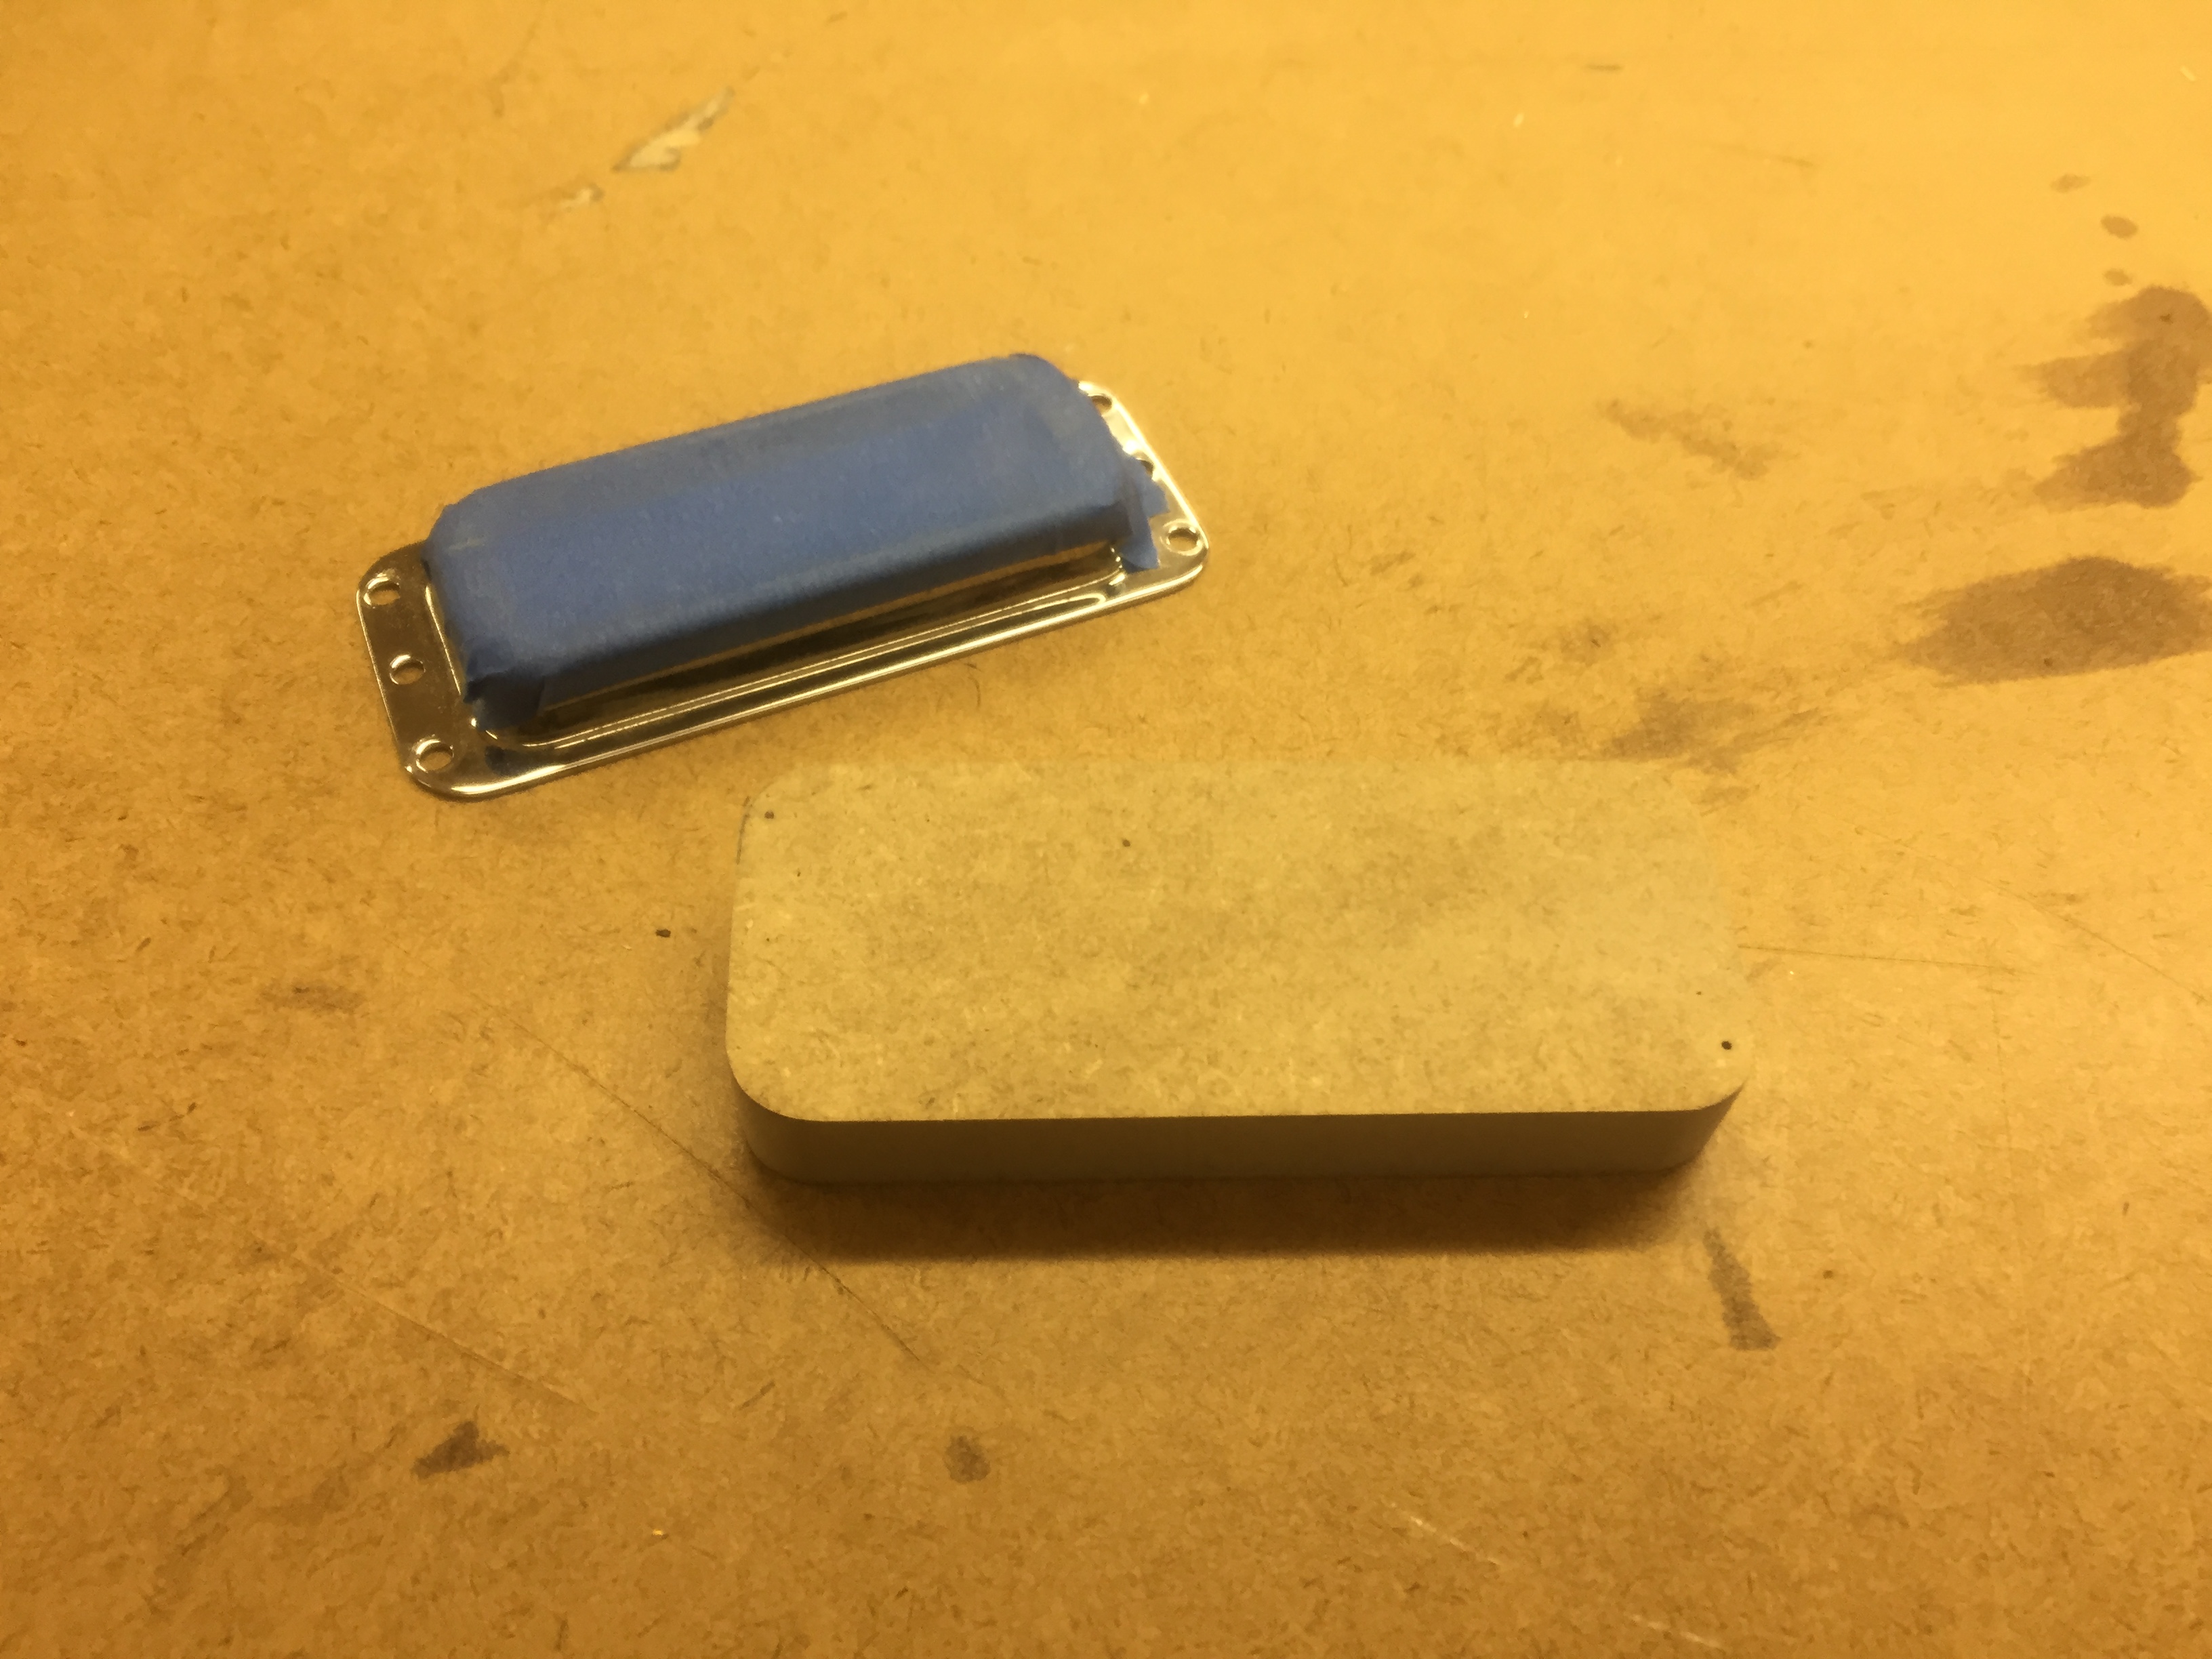
The positive was then wrapped in 6 layers of masking tape, which gives me about 1/64" clearance all around. I made a rough "negative" about 3/16" bigger all around. I tried bondo, which per usual, kicked too quick, so I had to scrape it off in a panic. Tried again with some two-part epoxy putty I had laying around, much less stress, though I dont think it leaves as smooth a surface as cream bondo.
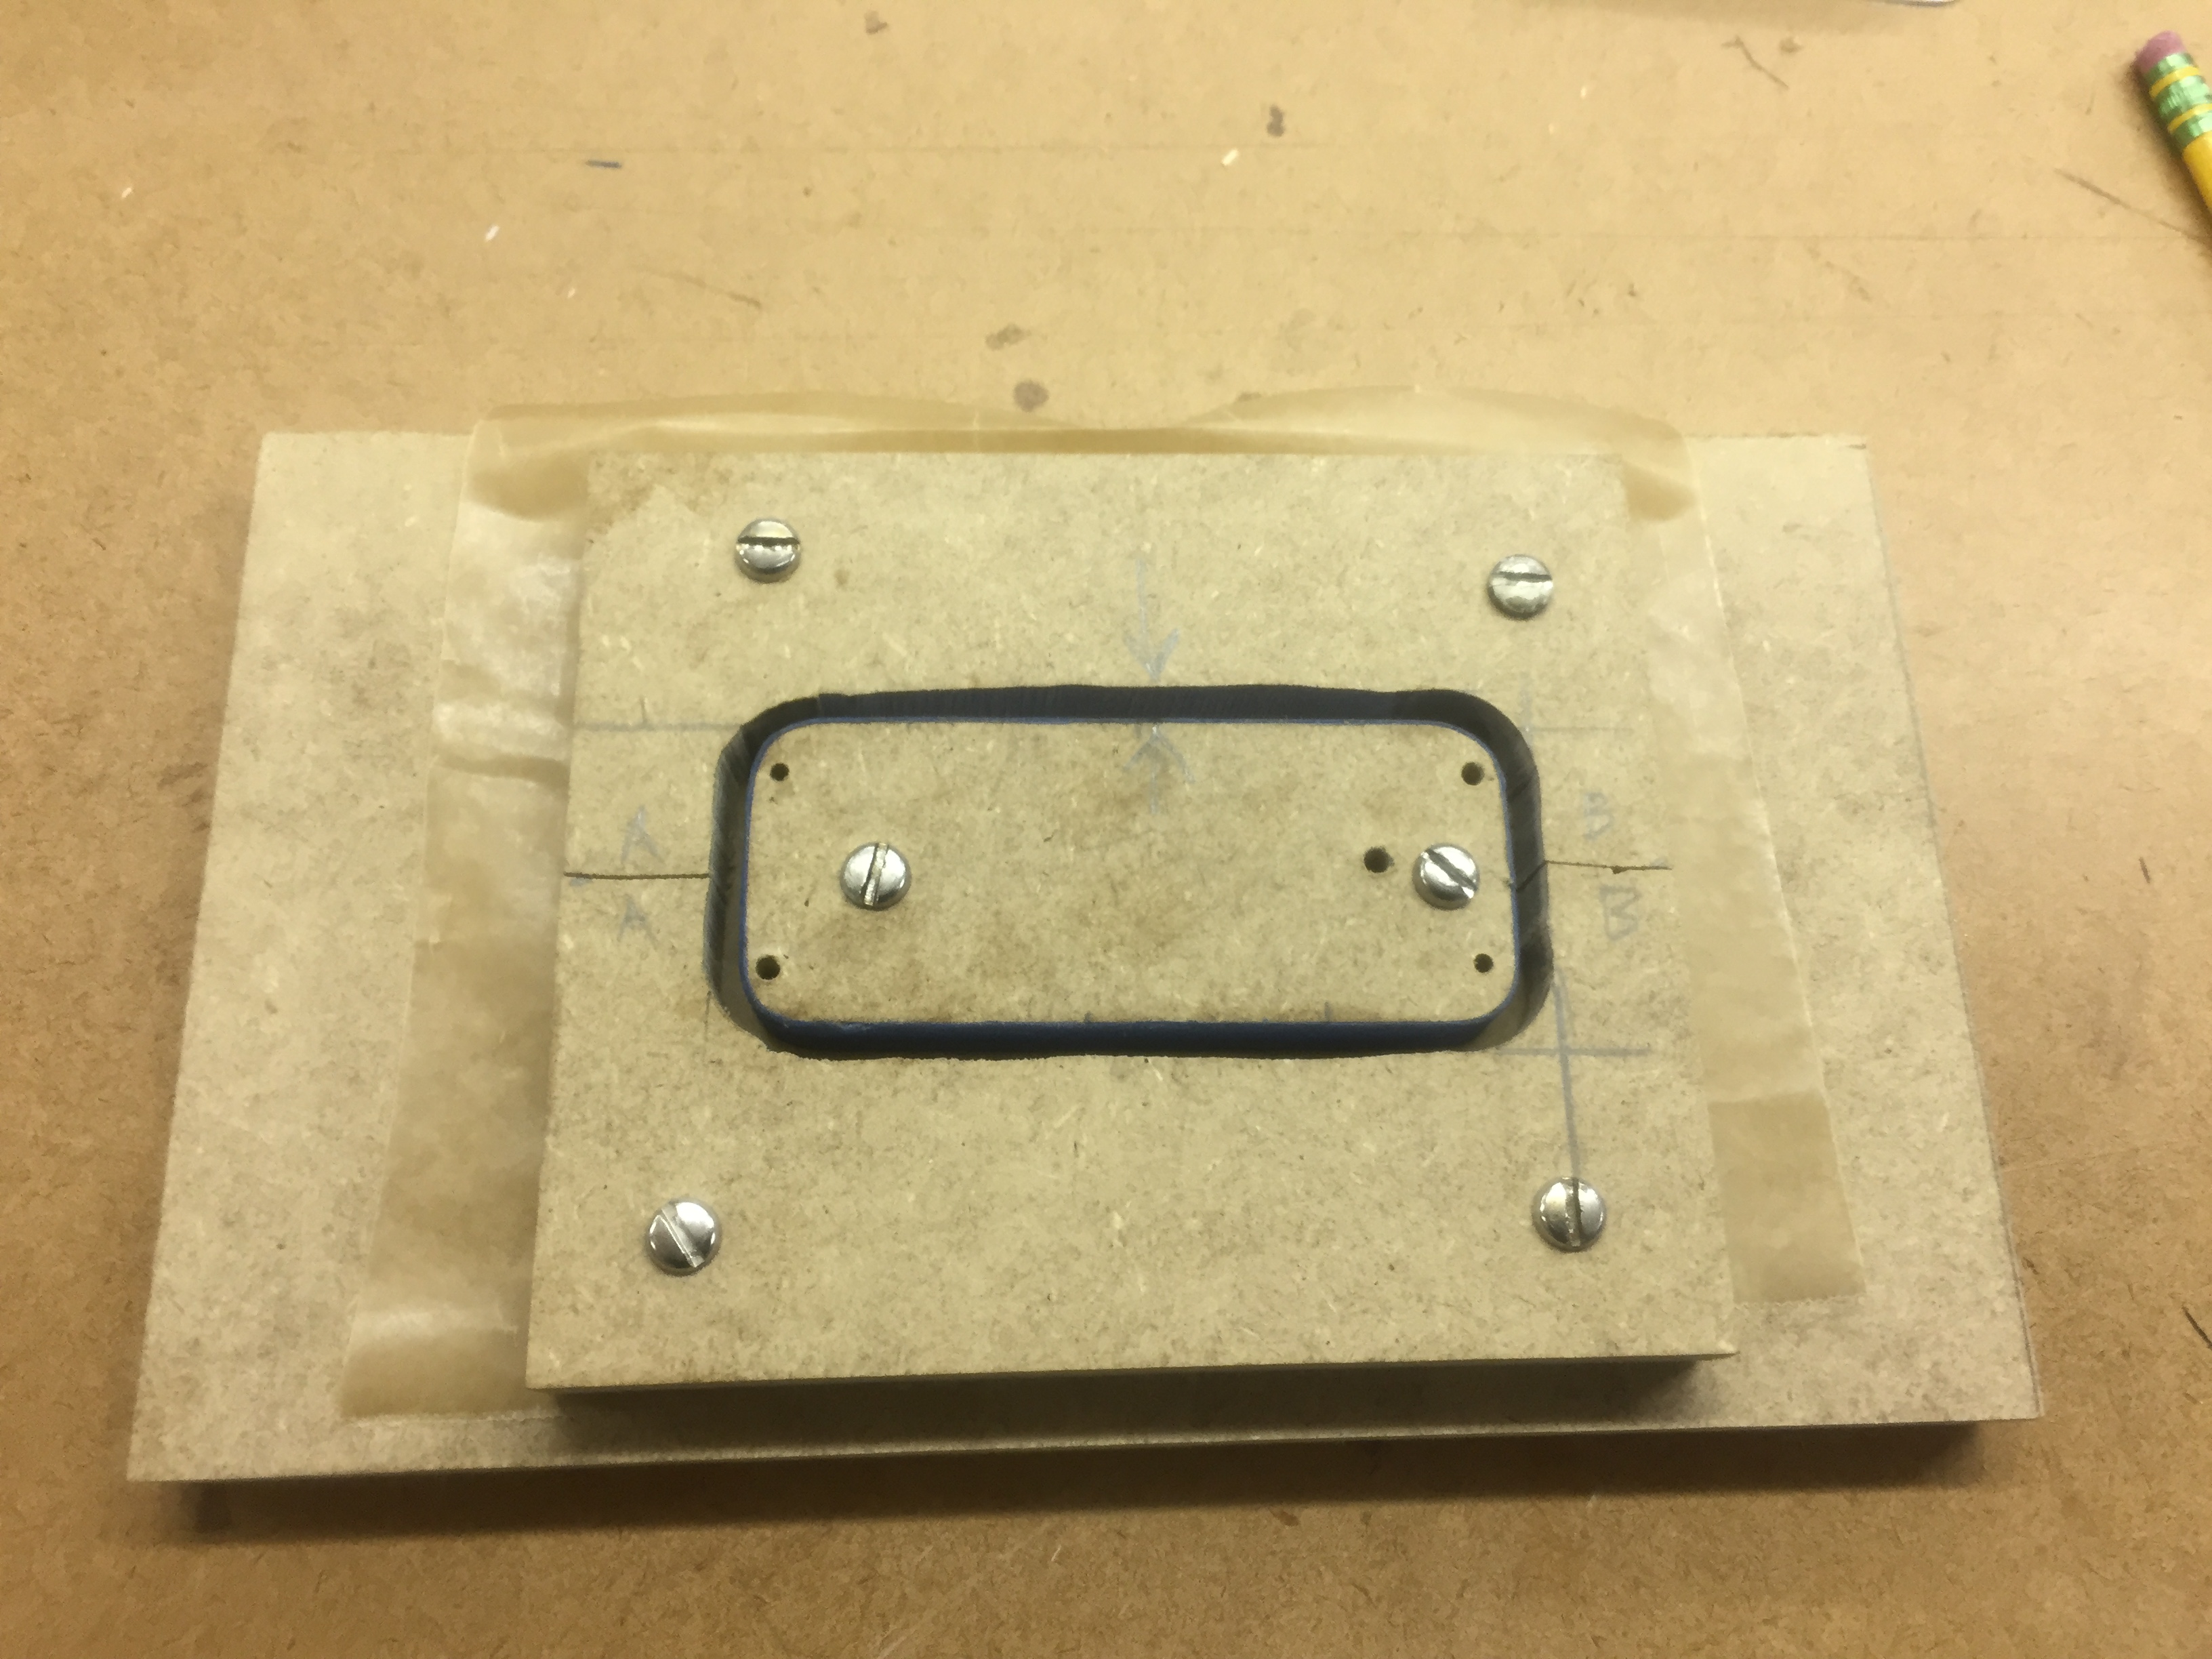
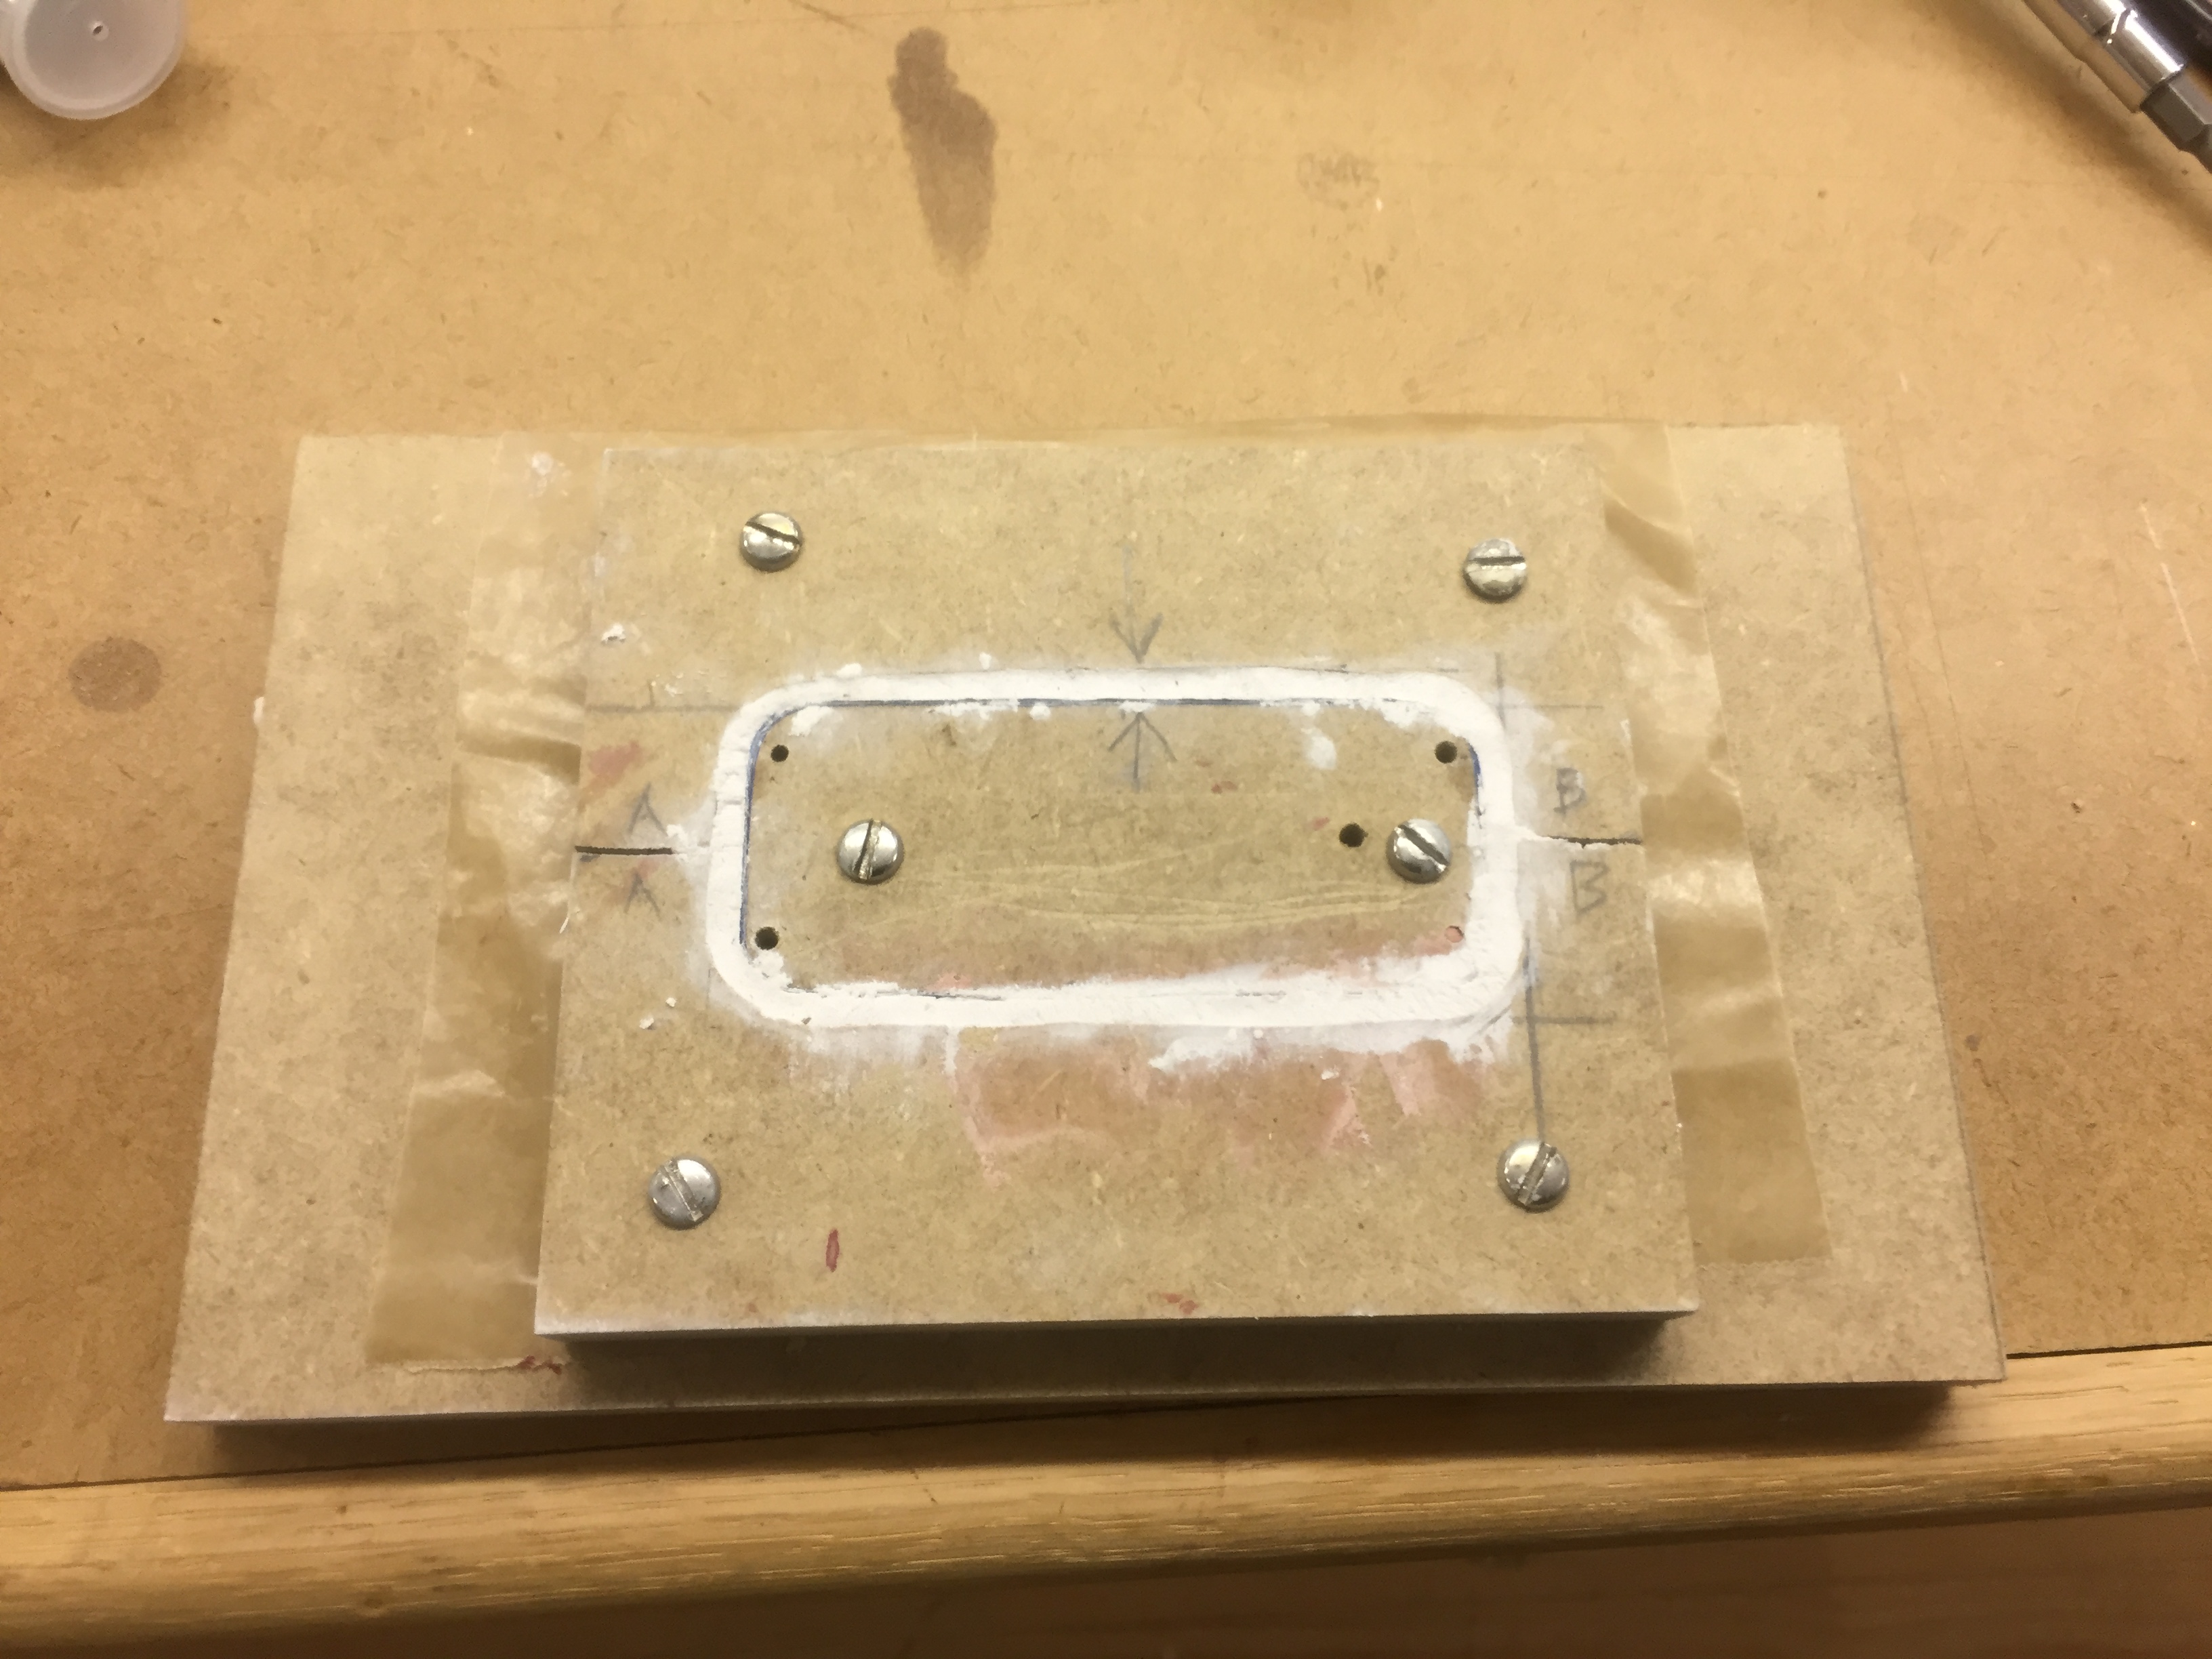
Now I have a perfect "negative":
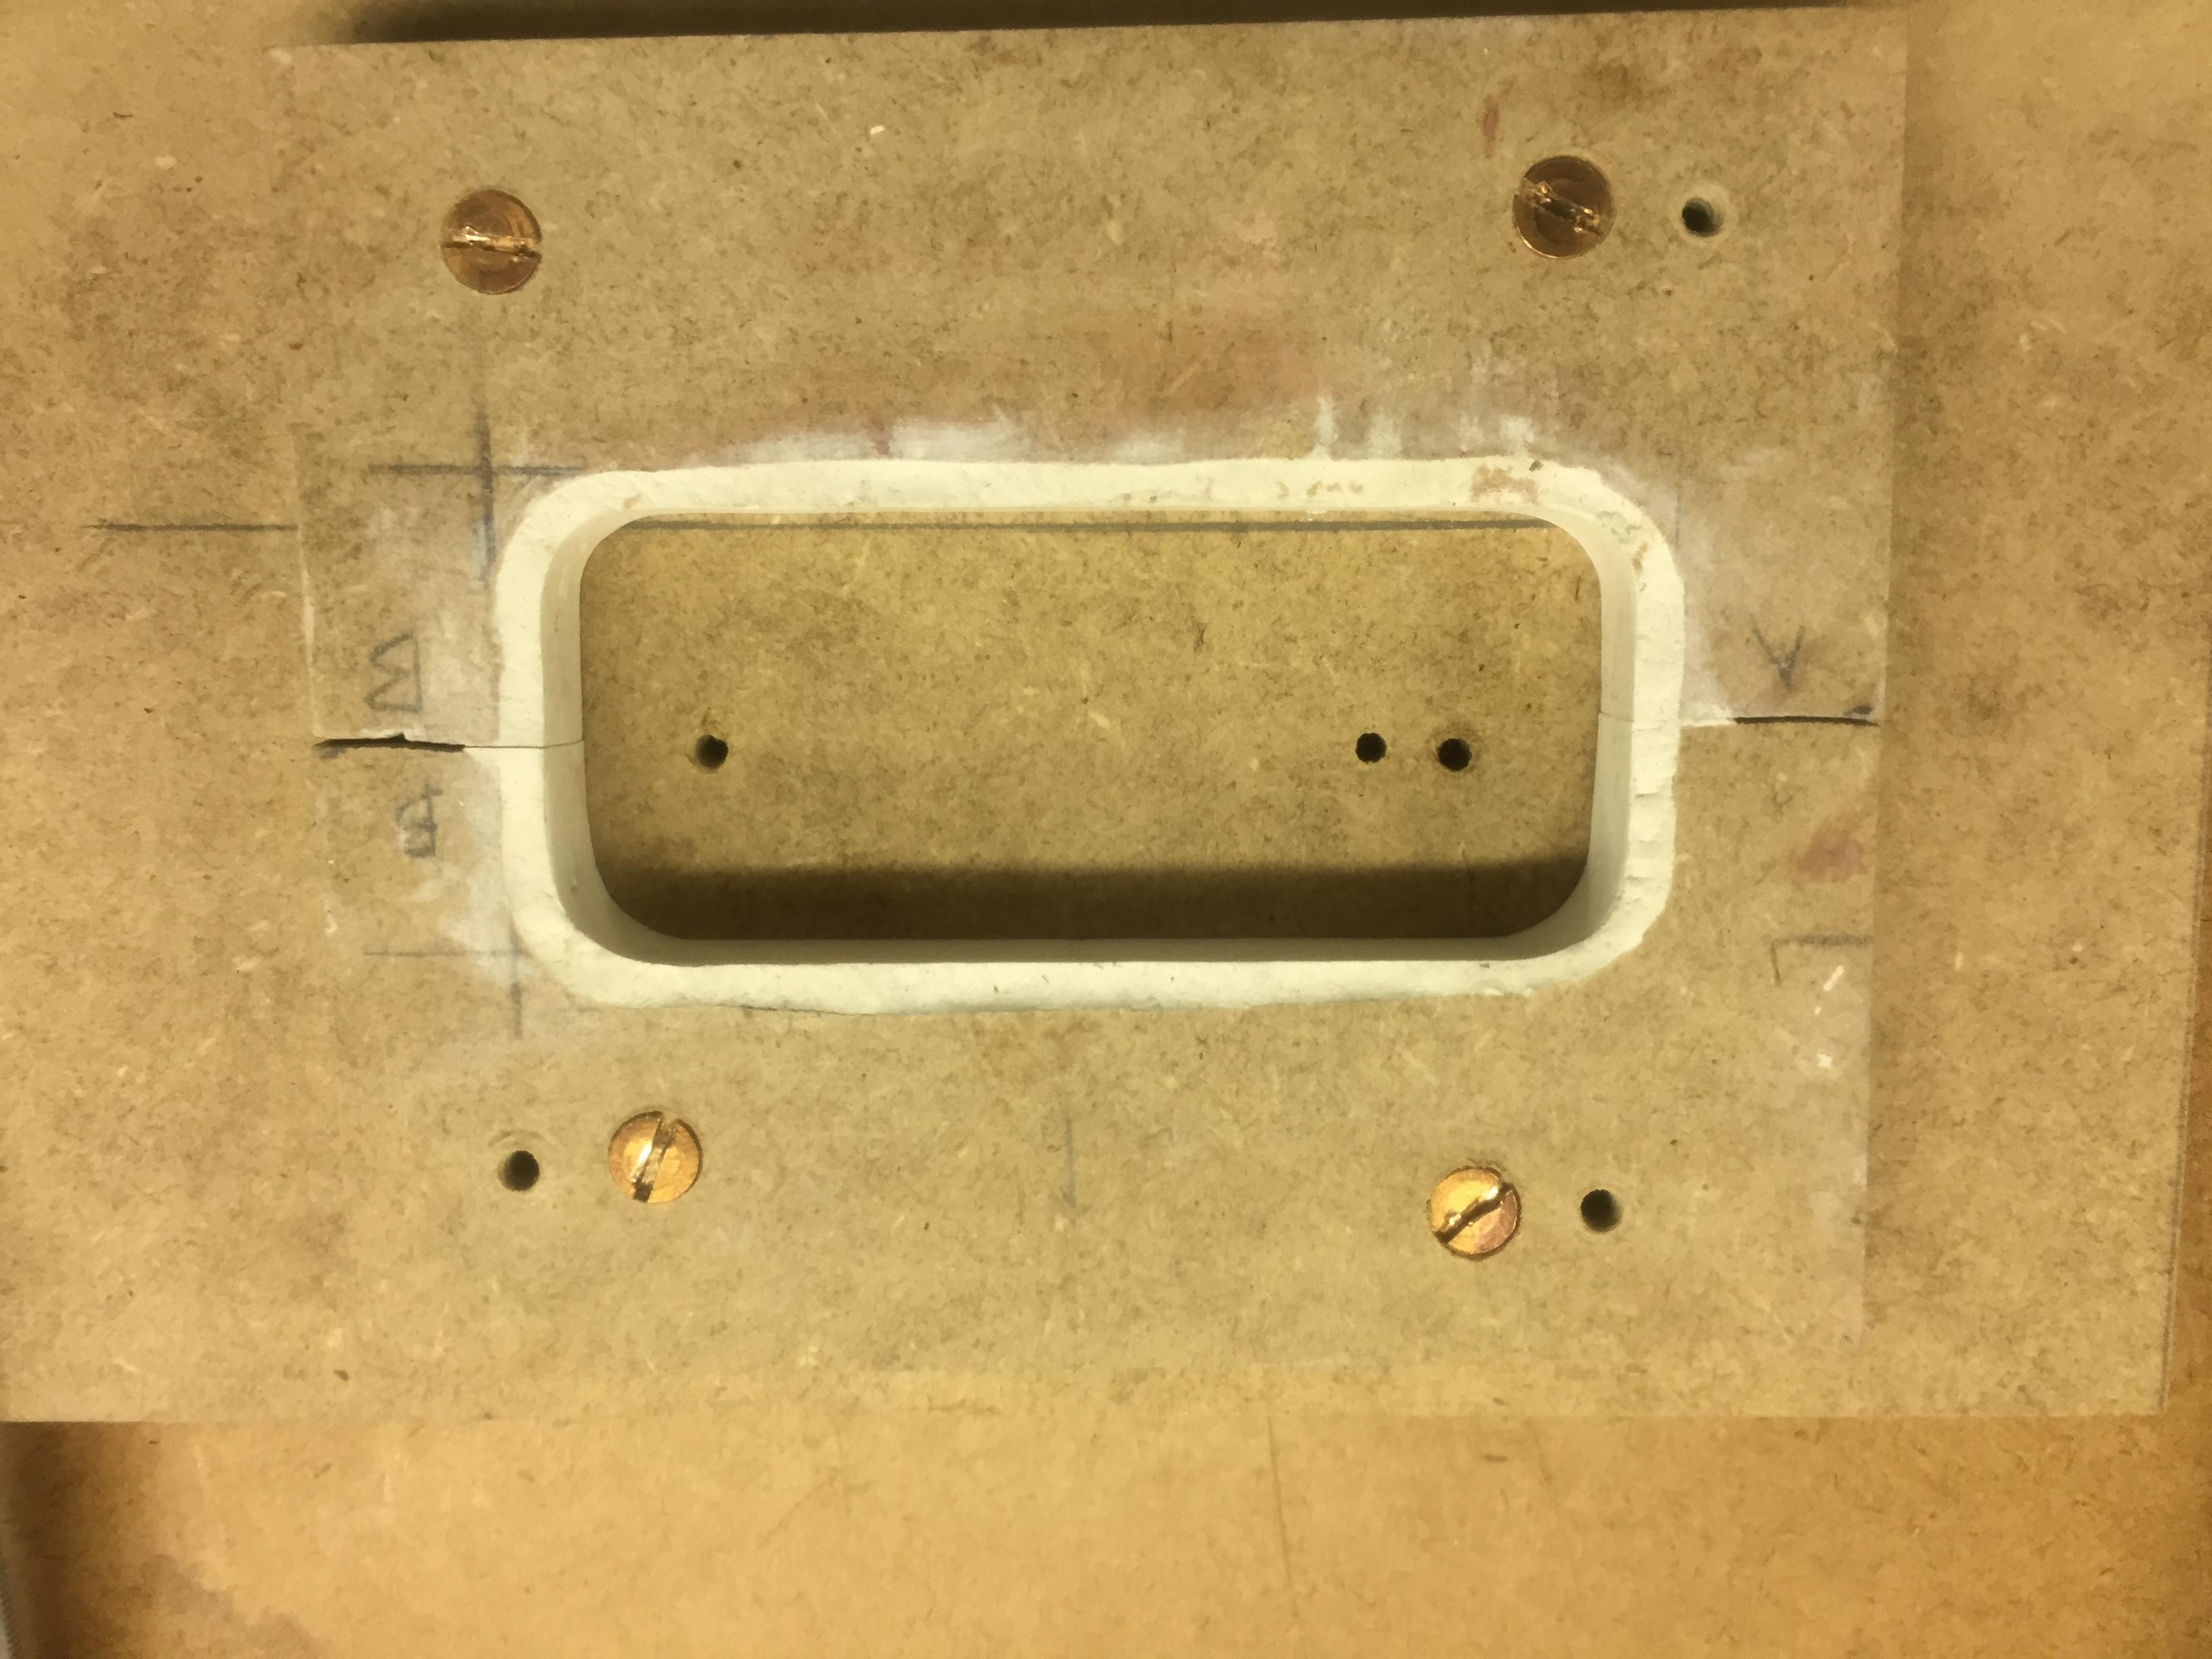
Which is used to cut out a clean template on MDF, tested the fit, Perfect!
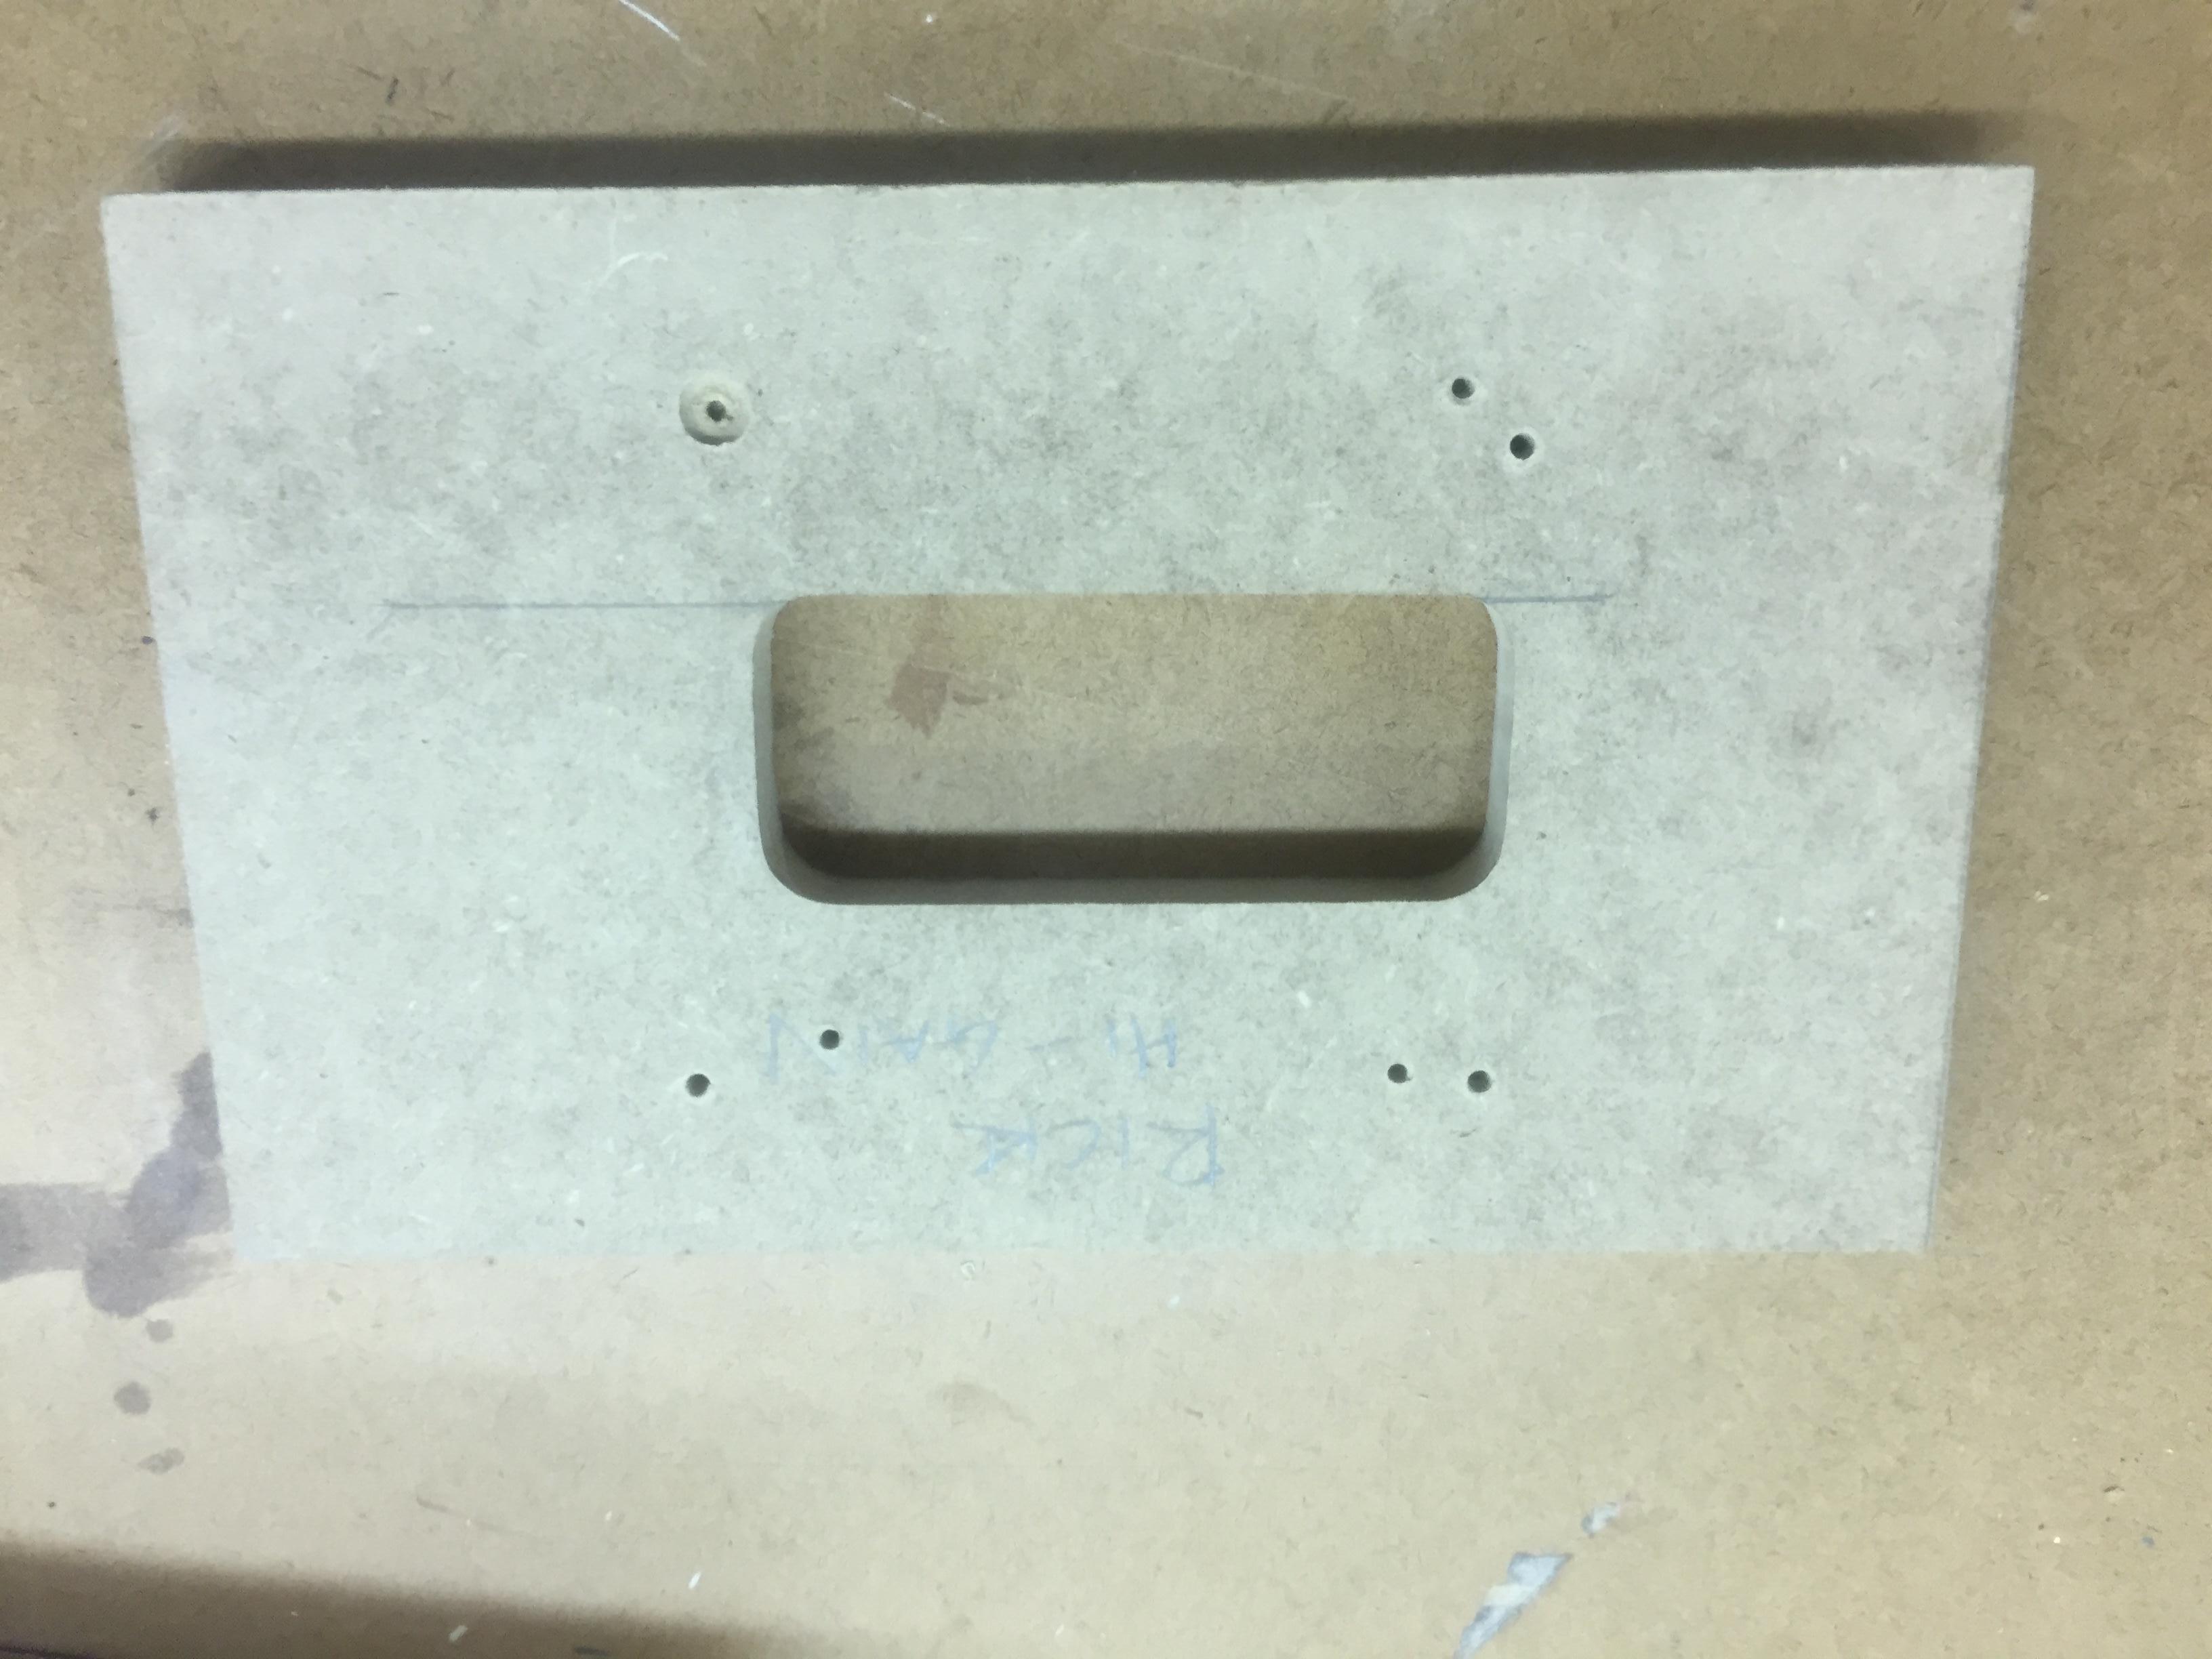
This bass will have no pickguard, so the pup routes have to be PERFECT, cut through that incredible crotch walnut. Having never done this without pickup rings before, I decided to try the bondo method with some variations. I took the chrome pup cover off the Hossenfeffer I and used it to make a perfect "positive” of the pup shape. I had hoped to do this with a flush trim bit, but the pup edge is very thin, and I didn't want to risk damaging it. I got to perfect after two attempts:
The positive was then wrapped in 6 layers of masking tape, which gives me about 1/64" clearance all around. I made a rough "negative" about 3/16" bigger all around. I tried bondo, which per usual, kicked too quick, so I had to scrape it off in a panic. Tried again with some two-part epoxy putty I had laying around, much less stress, though I dont think it leaves as smooth a surface as cream bondo.
Now I have a perfect "negative":
Which is used to cut out a clean template on MDF, tested the fit, Perfect!
Last edited:

- Apr 18, 2008
- 16,007
- 1
- 31,705
- Disclosures
- I'm highly opinionated and extremely self-assured
Very nice! I think you’re a bit more fastidious than I am. That’s more of a commentary on me though. 
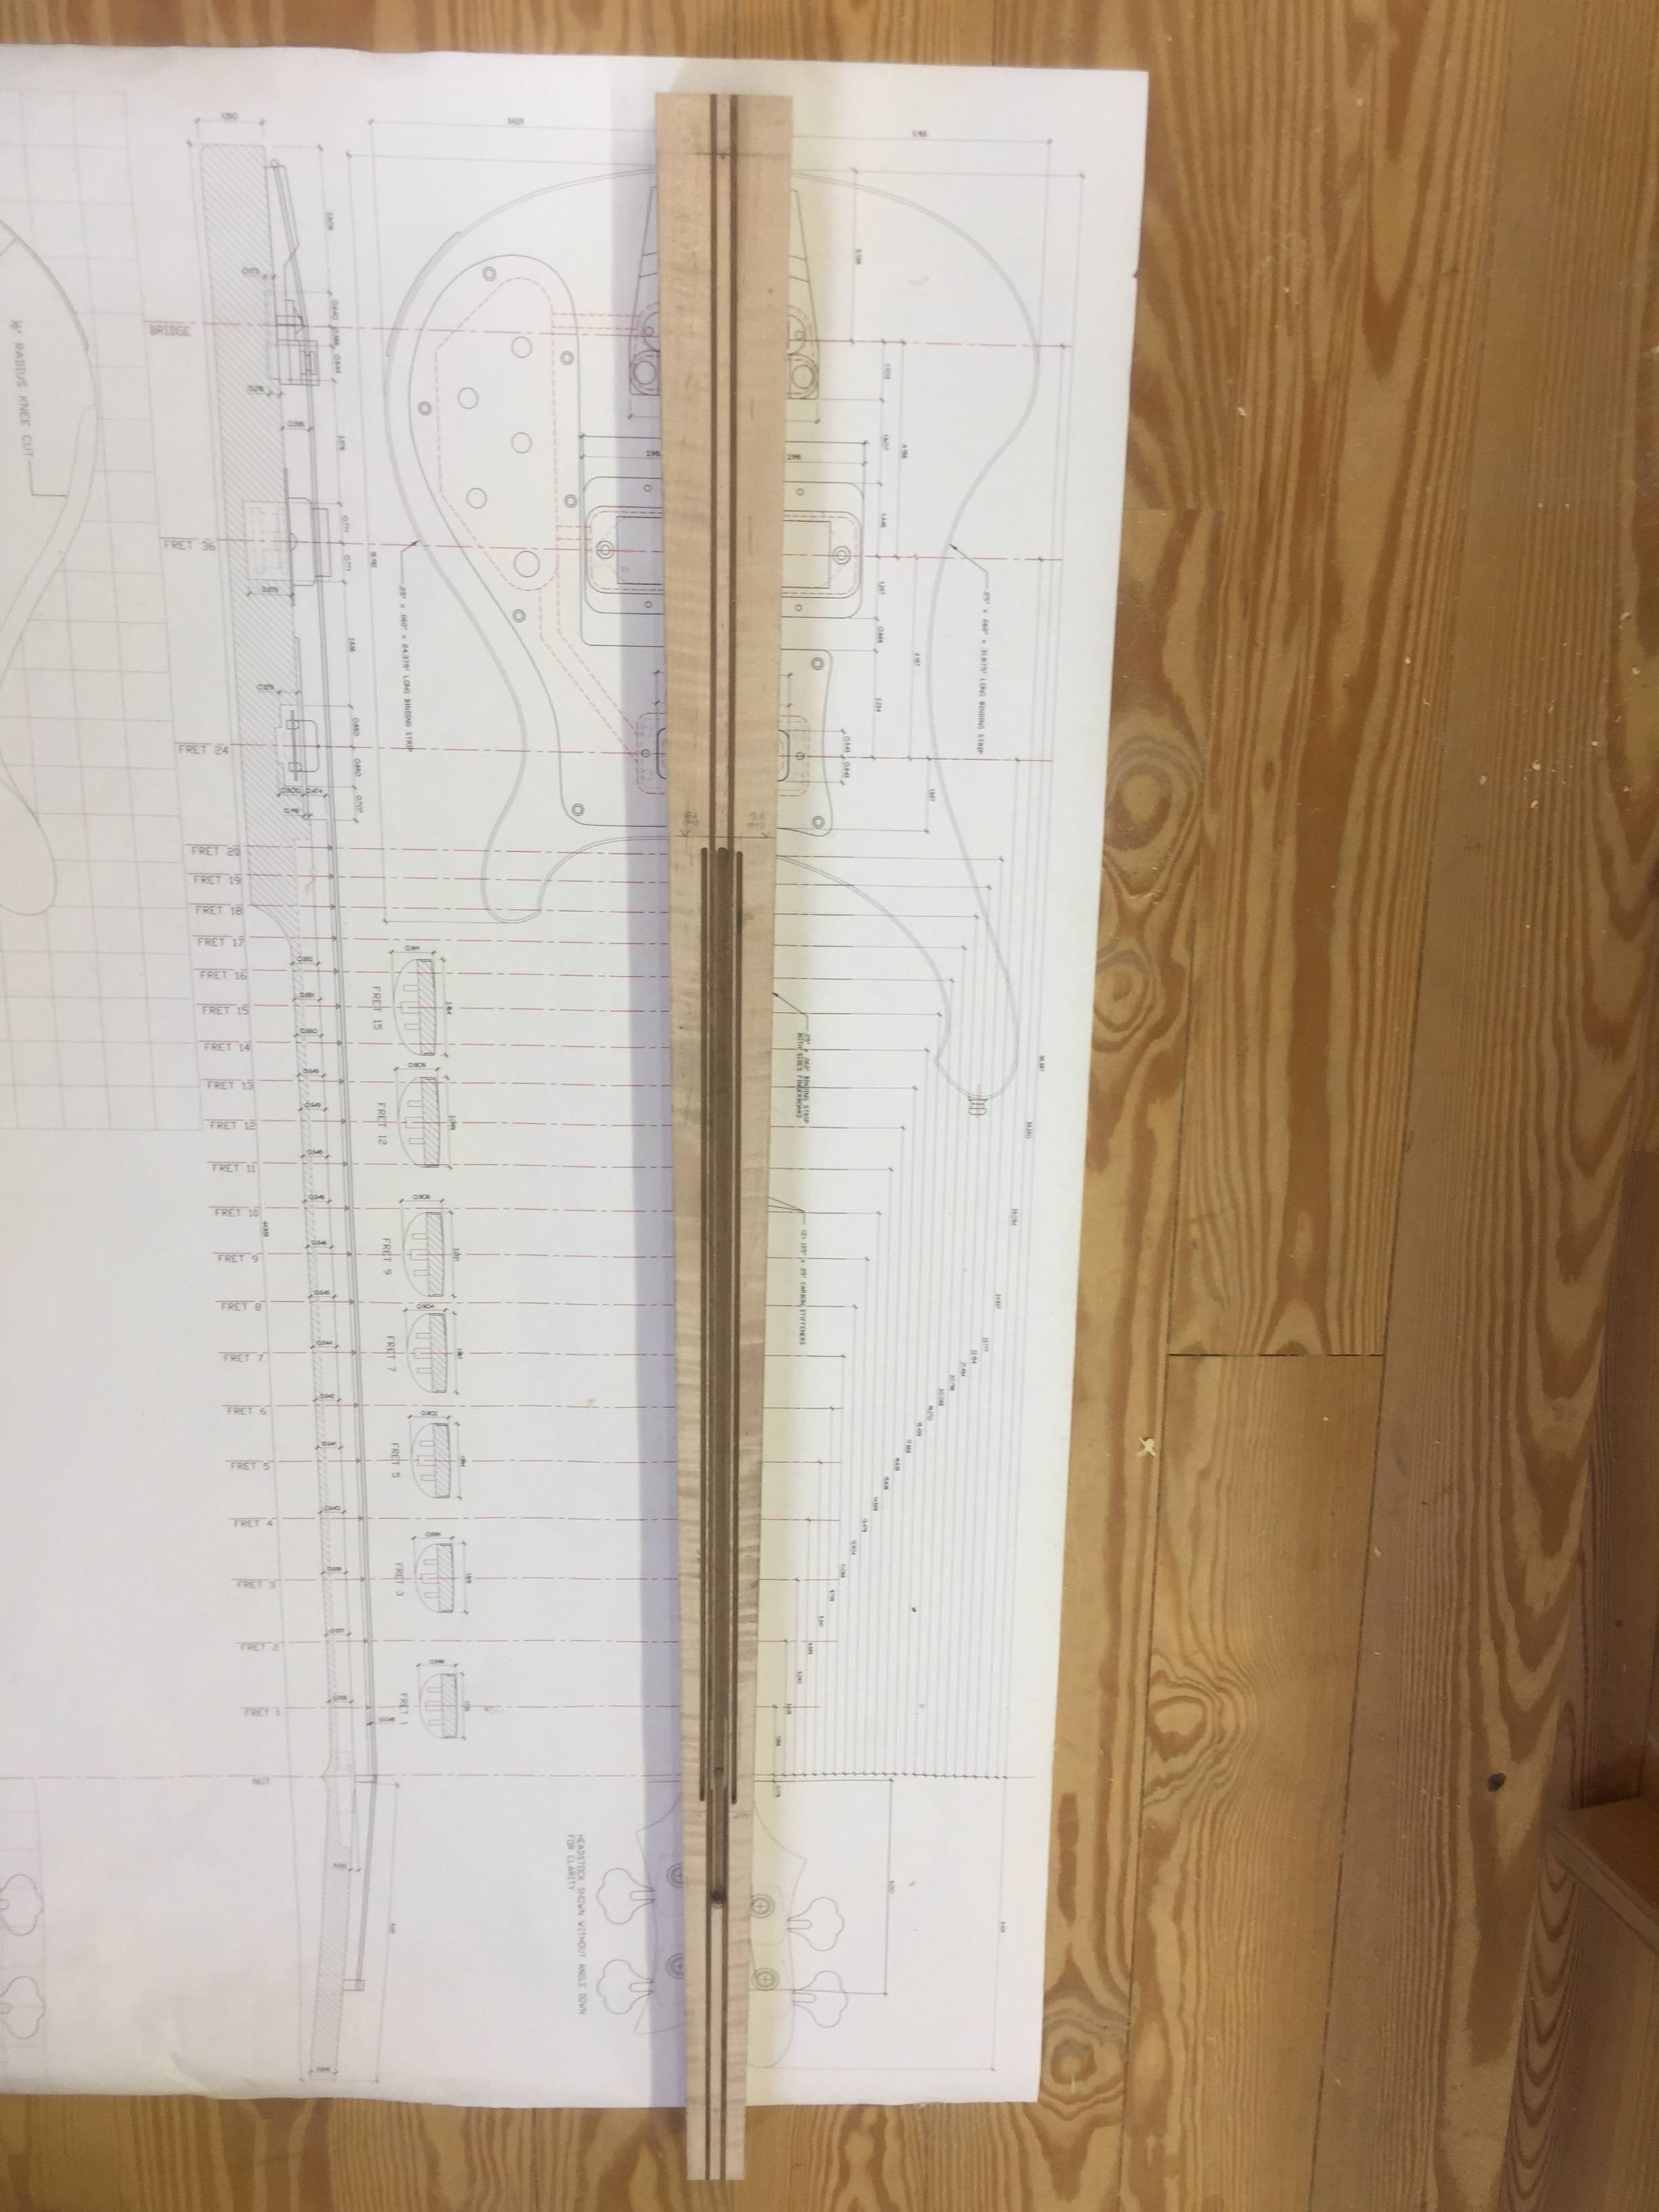
Finally got some shop time after last week's snowstorm debacle. Neck beam tapered using my new favorite router bit, a CMT Orange top/bottom bearing template bit with shear cut blades and 1/2" shank, chucked into my new PC router. I had tried these double-bearing bits before in the Crapsman router with disastrous results, way too much vibration with a 1/4" shank. This one cuts a very nice smooth surface, even on this curly maple.
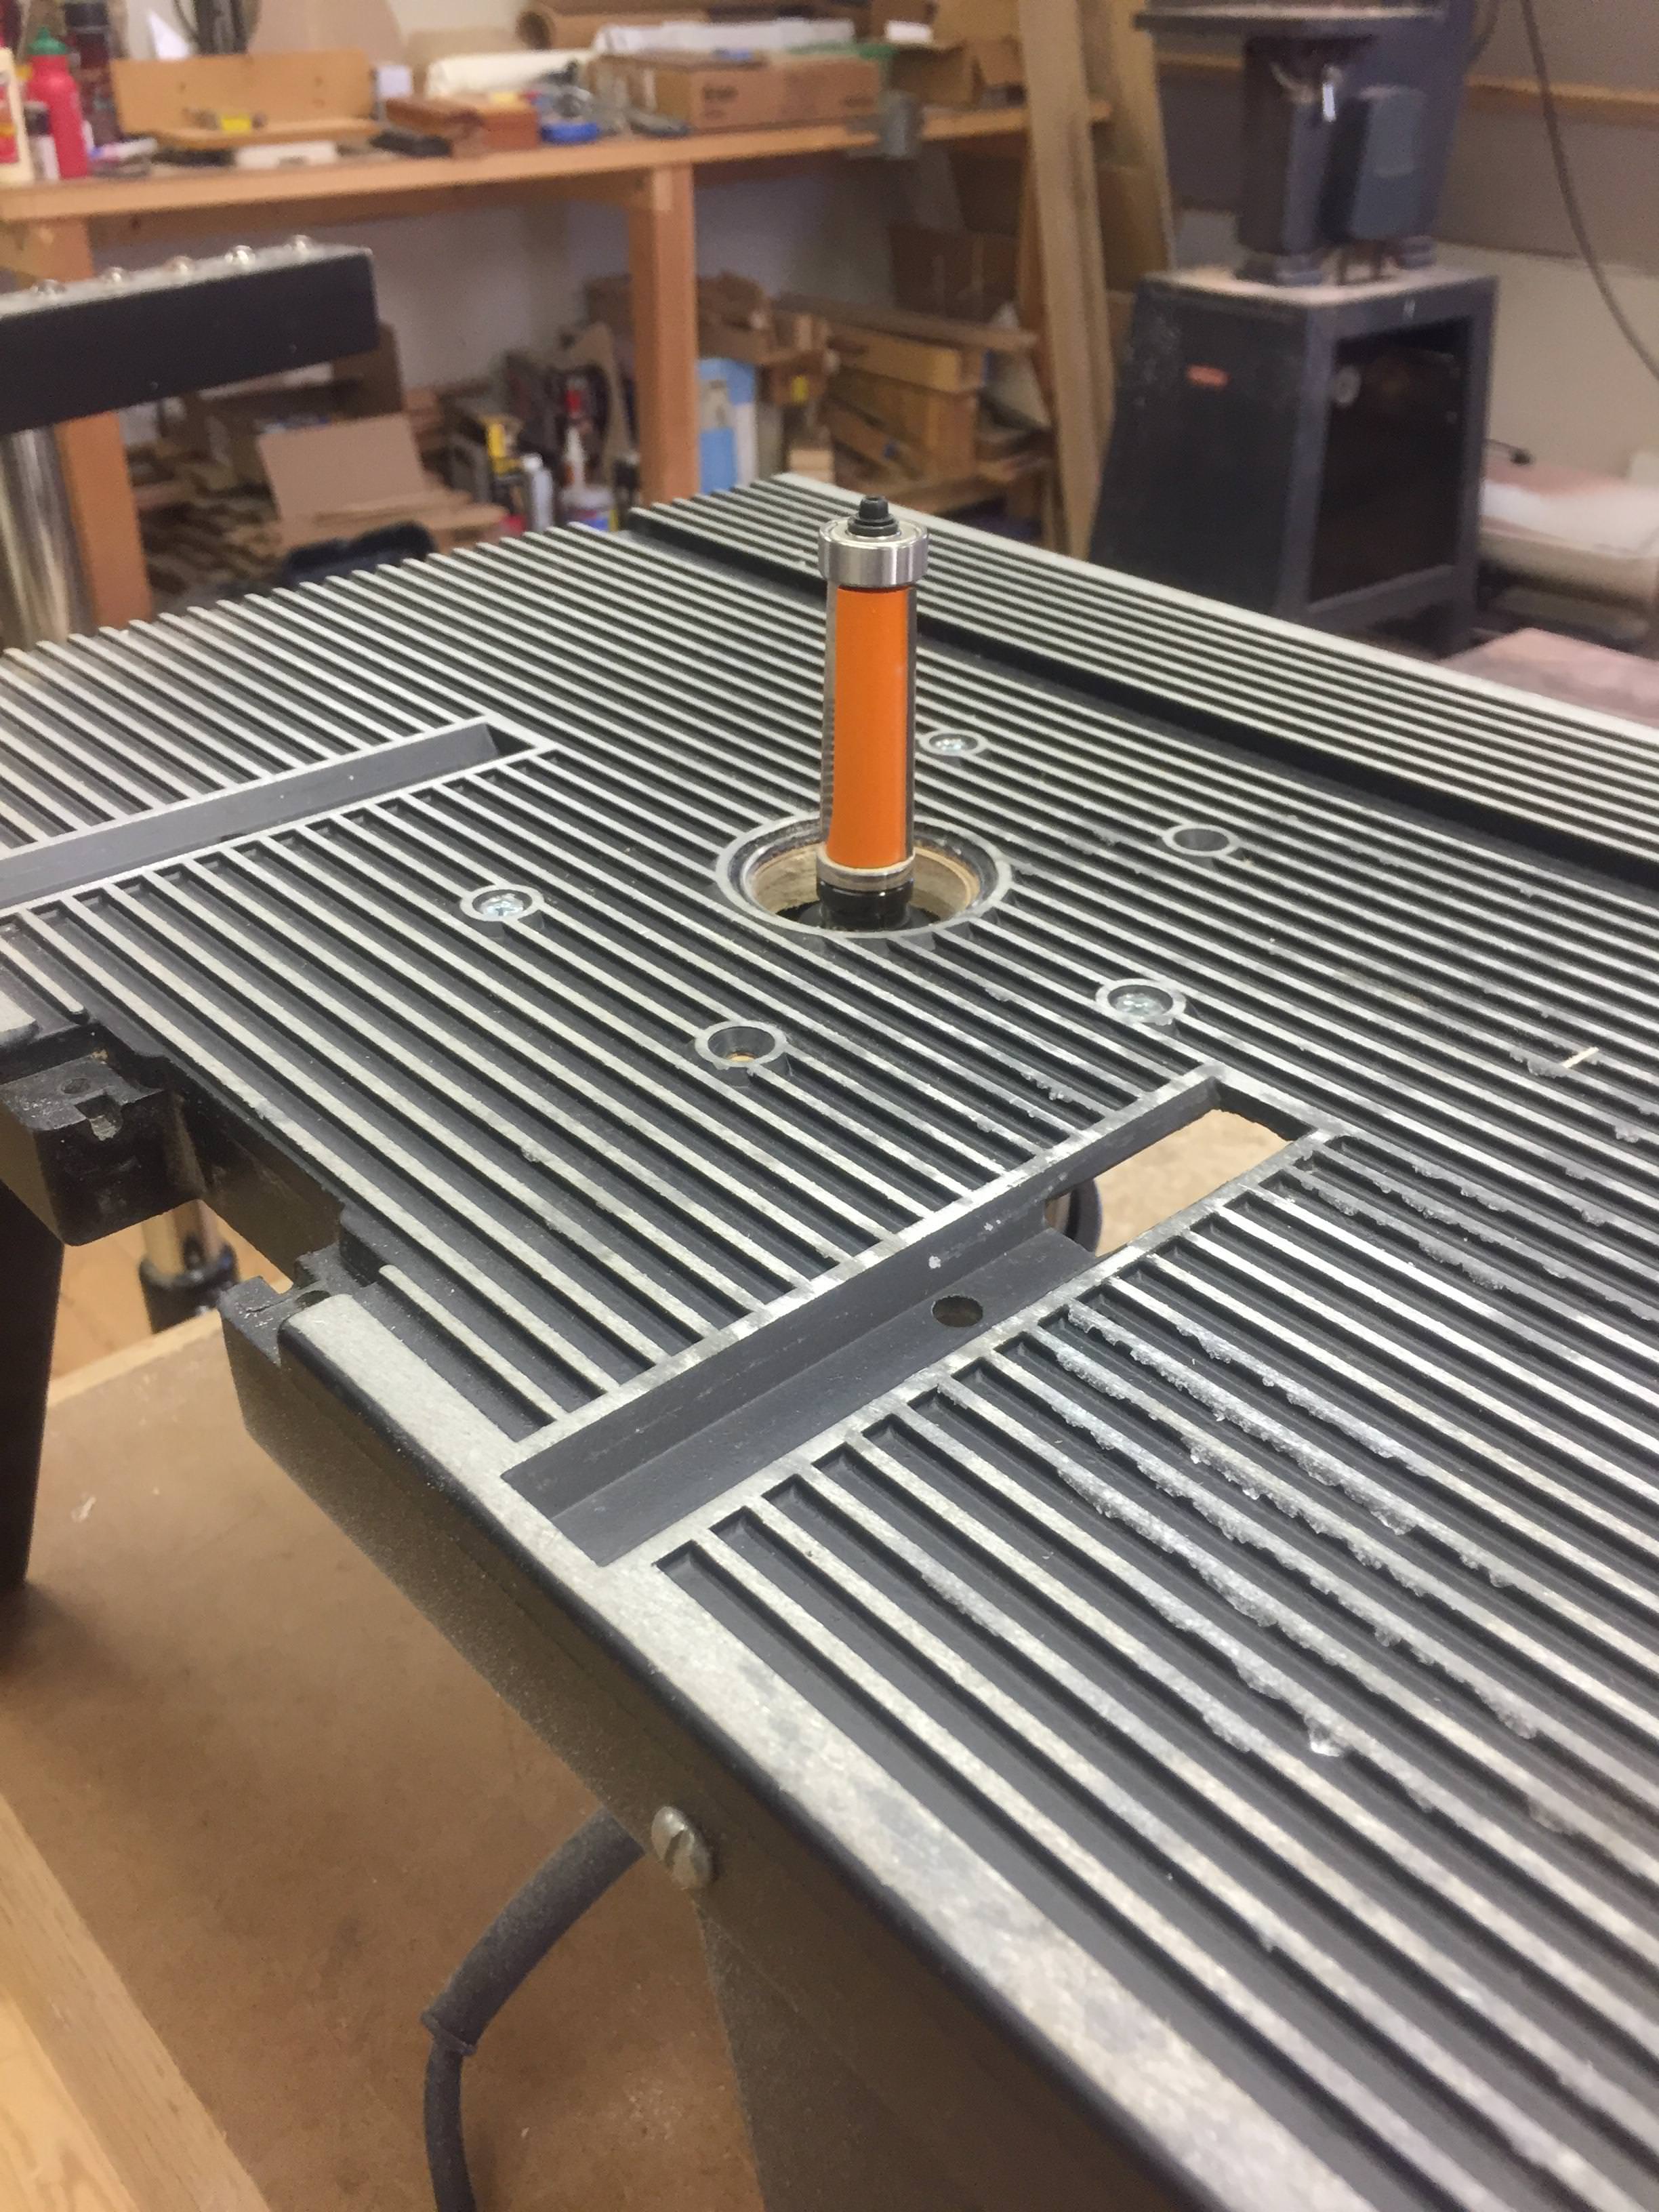
Hardboard straightedge double stick taped to neck beam for template. I bandsawed it to within 1/16", and this bit took nice fine shavings with very little dust.
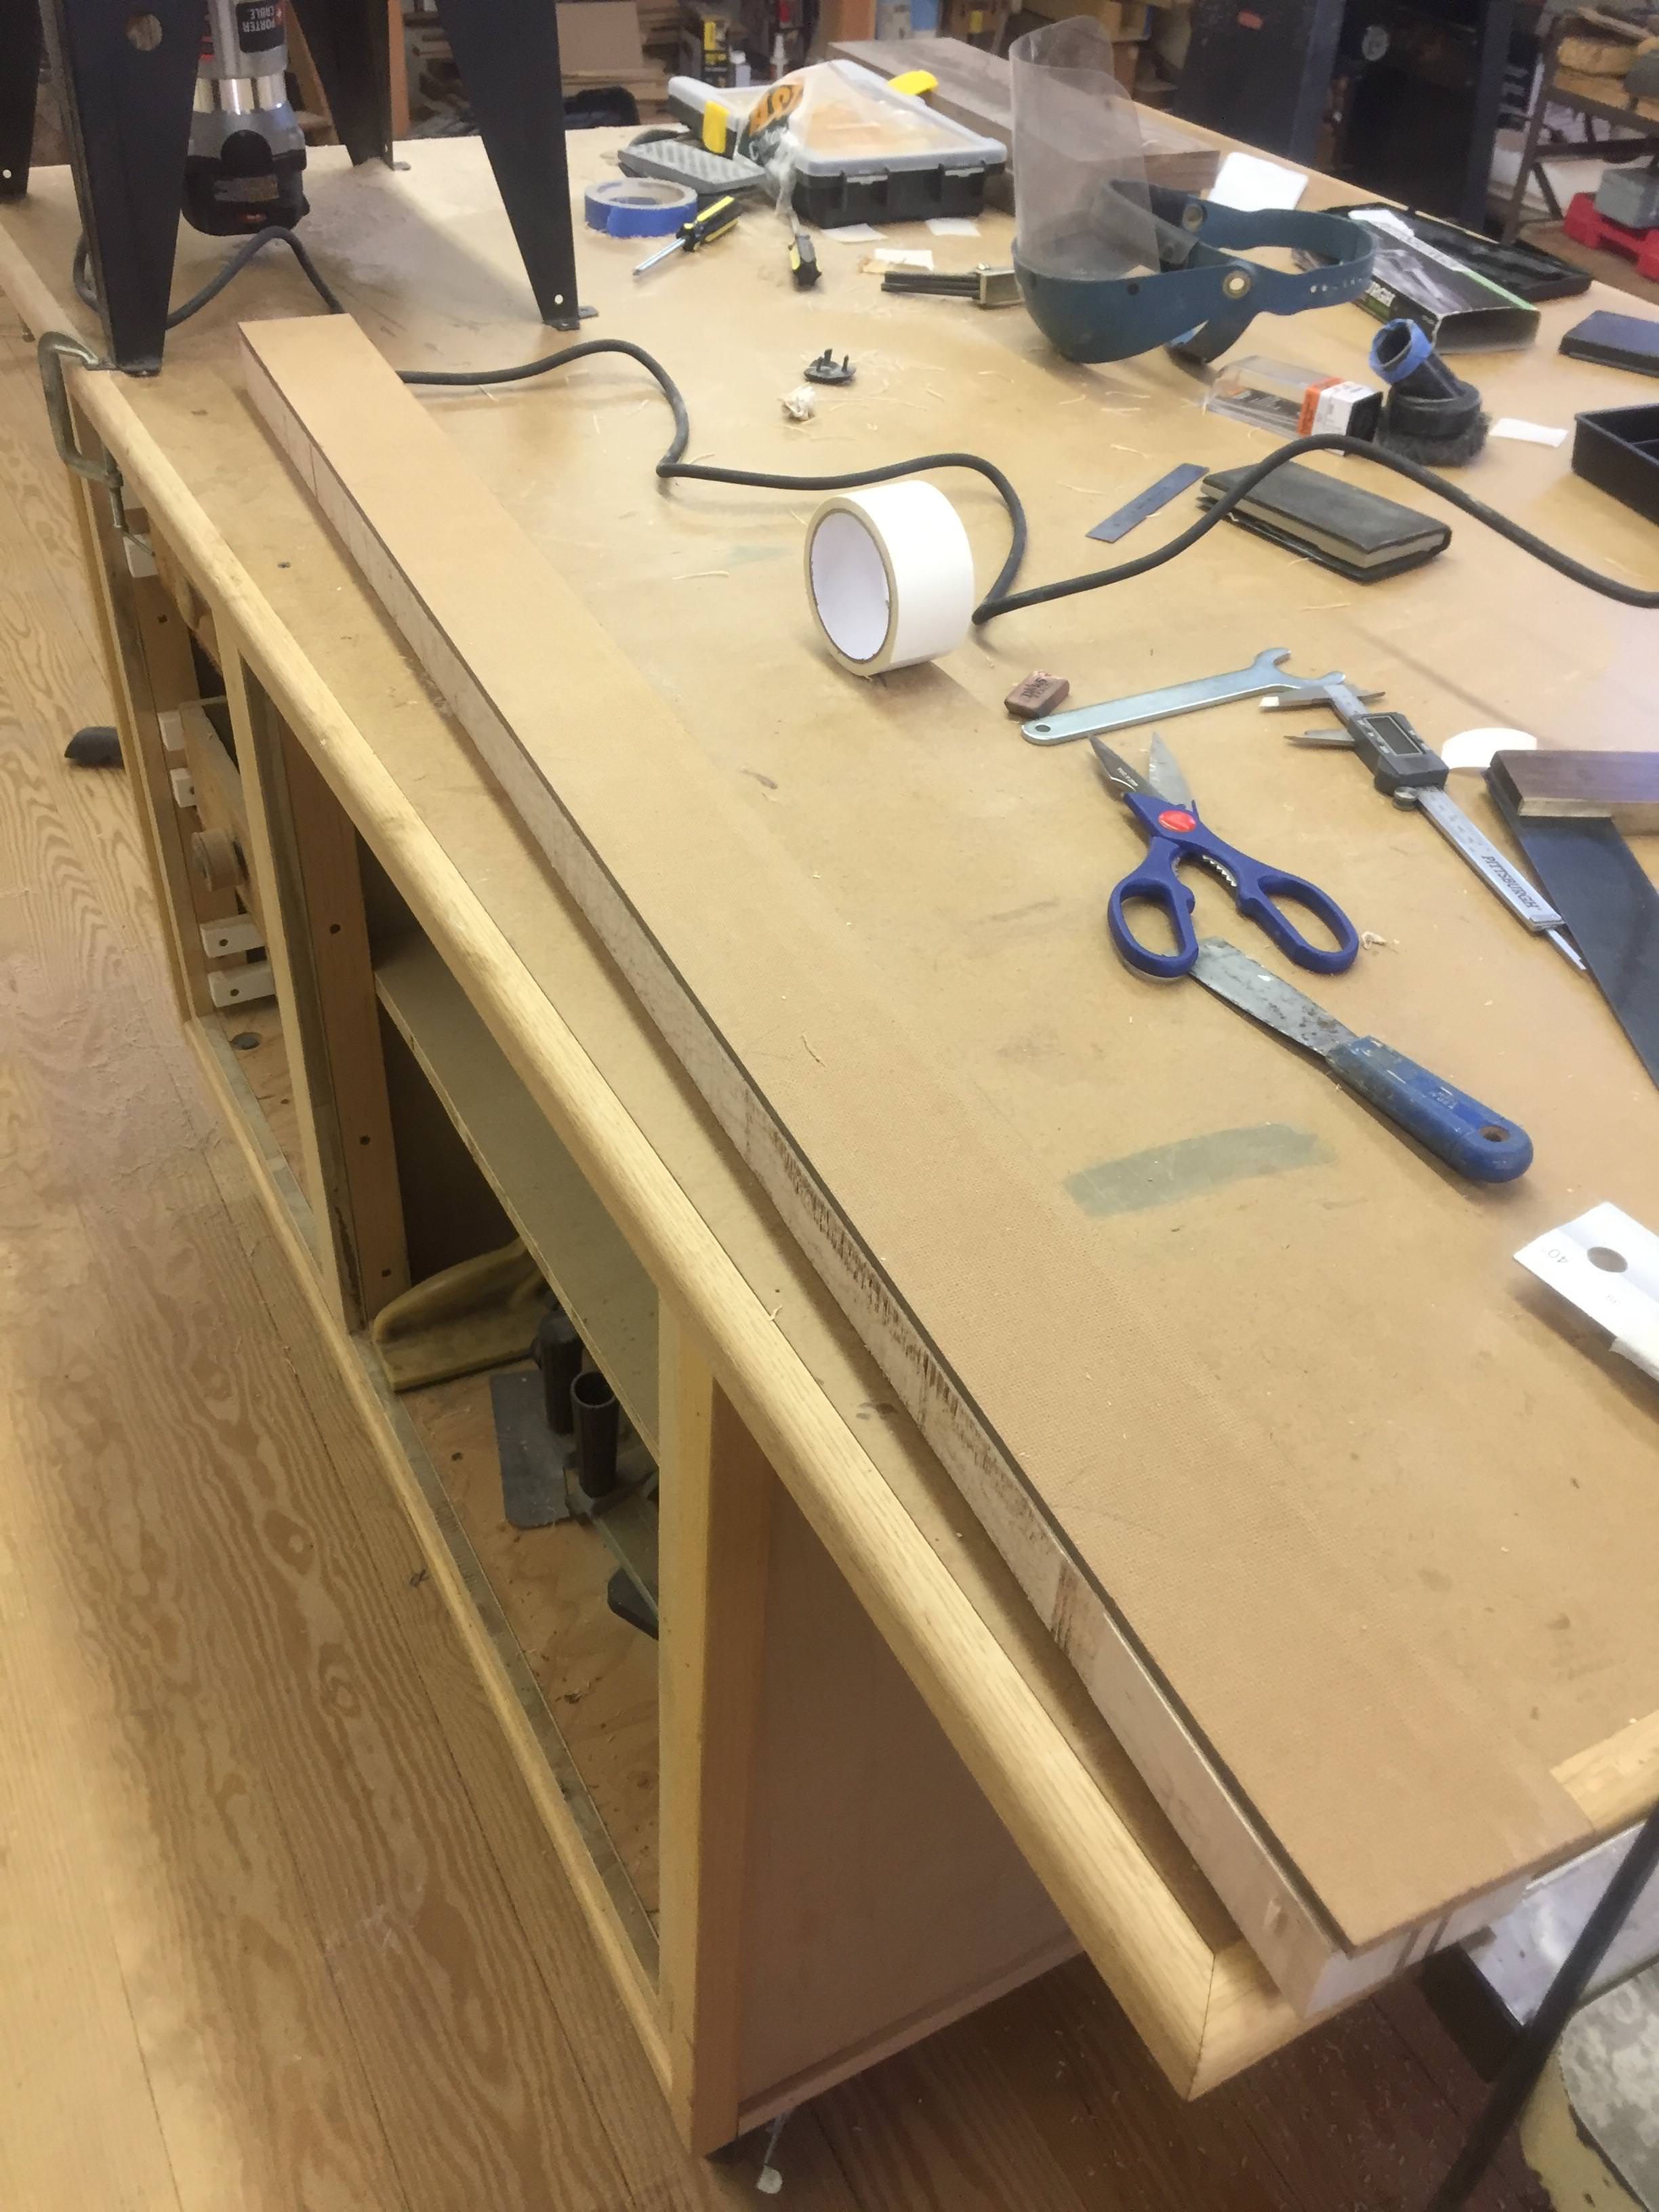
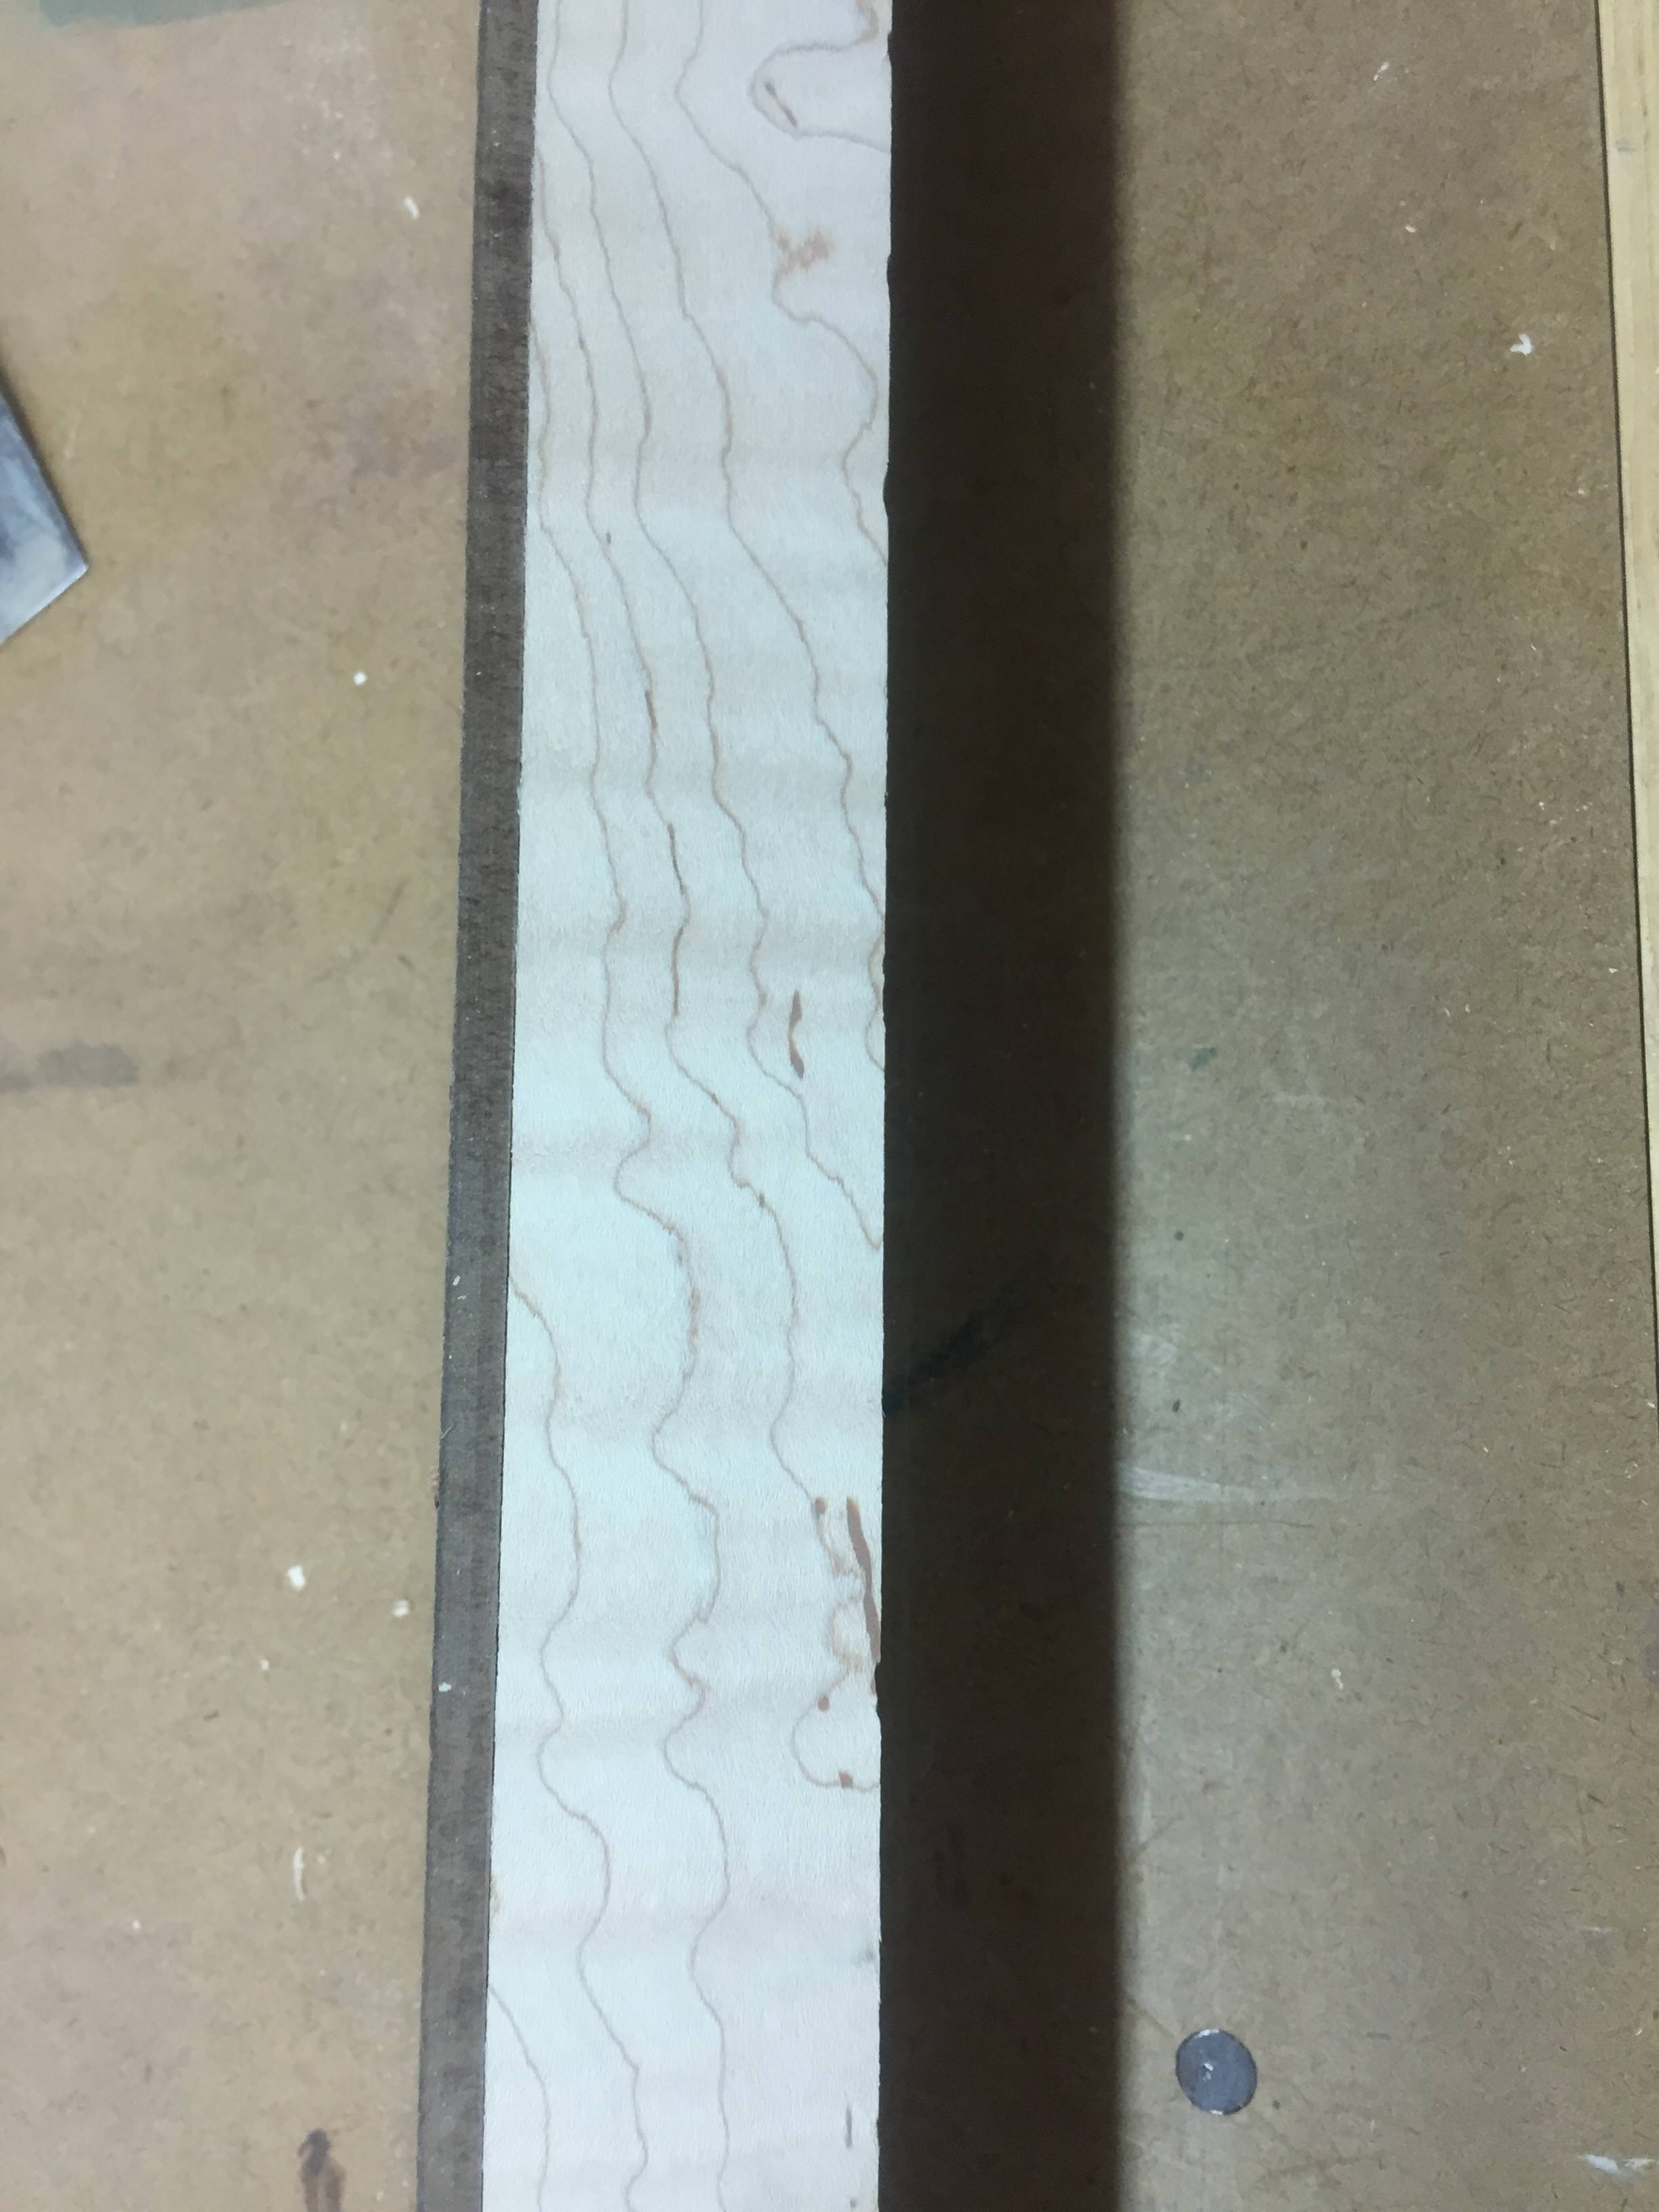
I had some tearout on the top neck beam face, not from the CMT bit, but when I originally thickness planed the beam in my Delta planer. Lesson learned: you can't thickness plane curly maple in a planer, next time I guess I'll do it in a router jig. This tearout is a problem, because the hard bubinga edge of the fingerboard will meet this line, so I have to figure out how to fill these gouges, at least along the FB edge. Suggestions? Maple sawdust and yellow glue or CA? Maple colored filler?
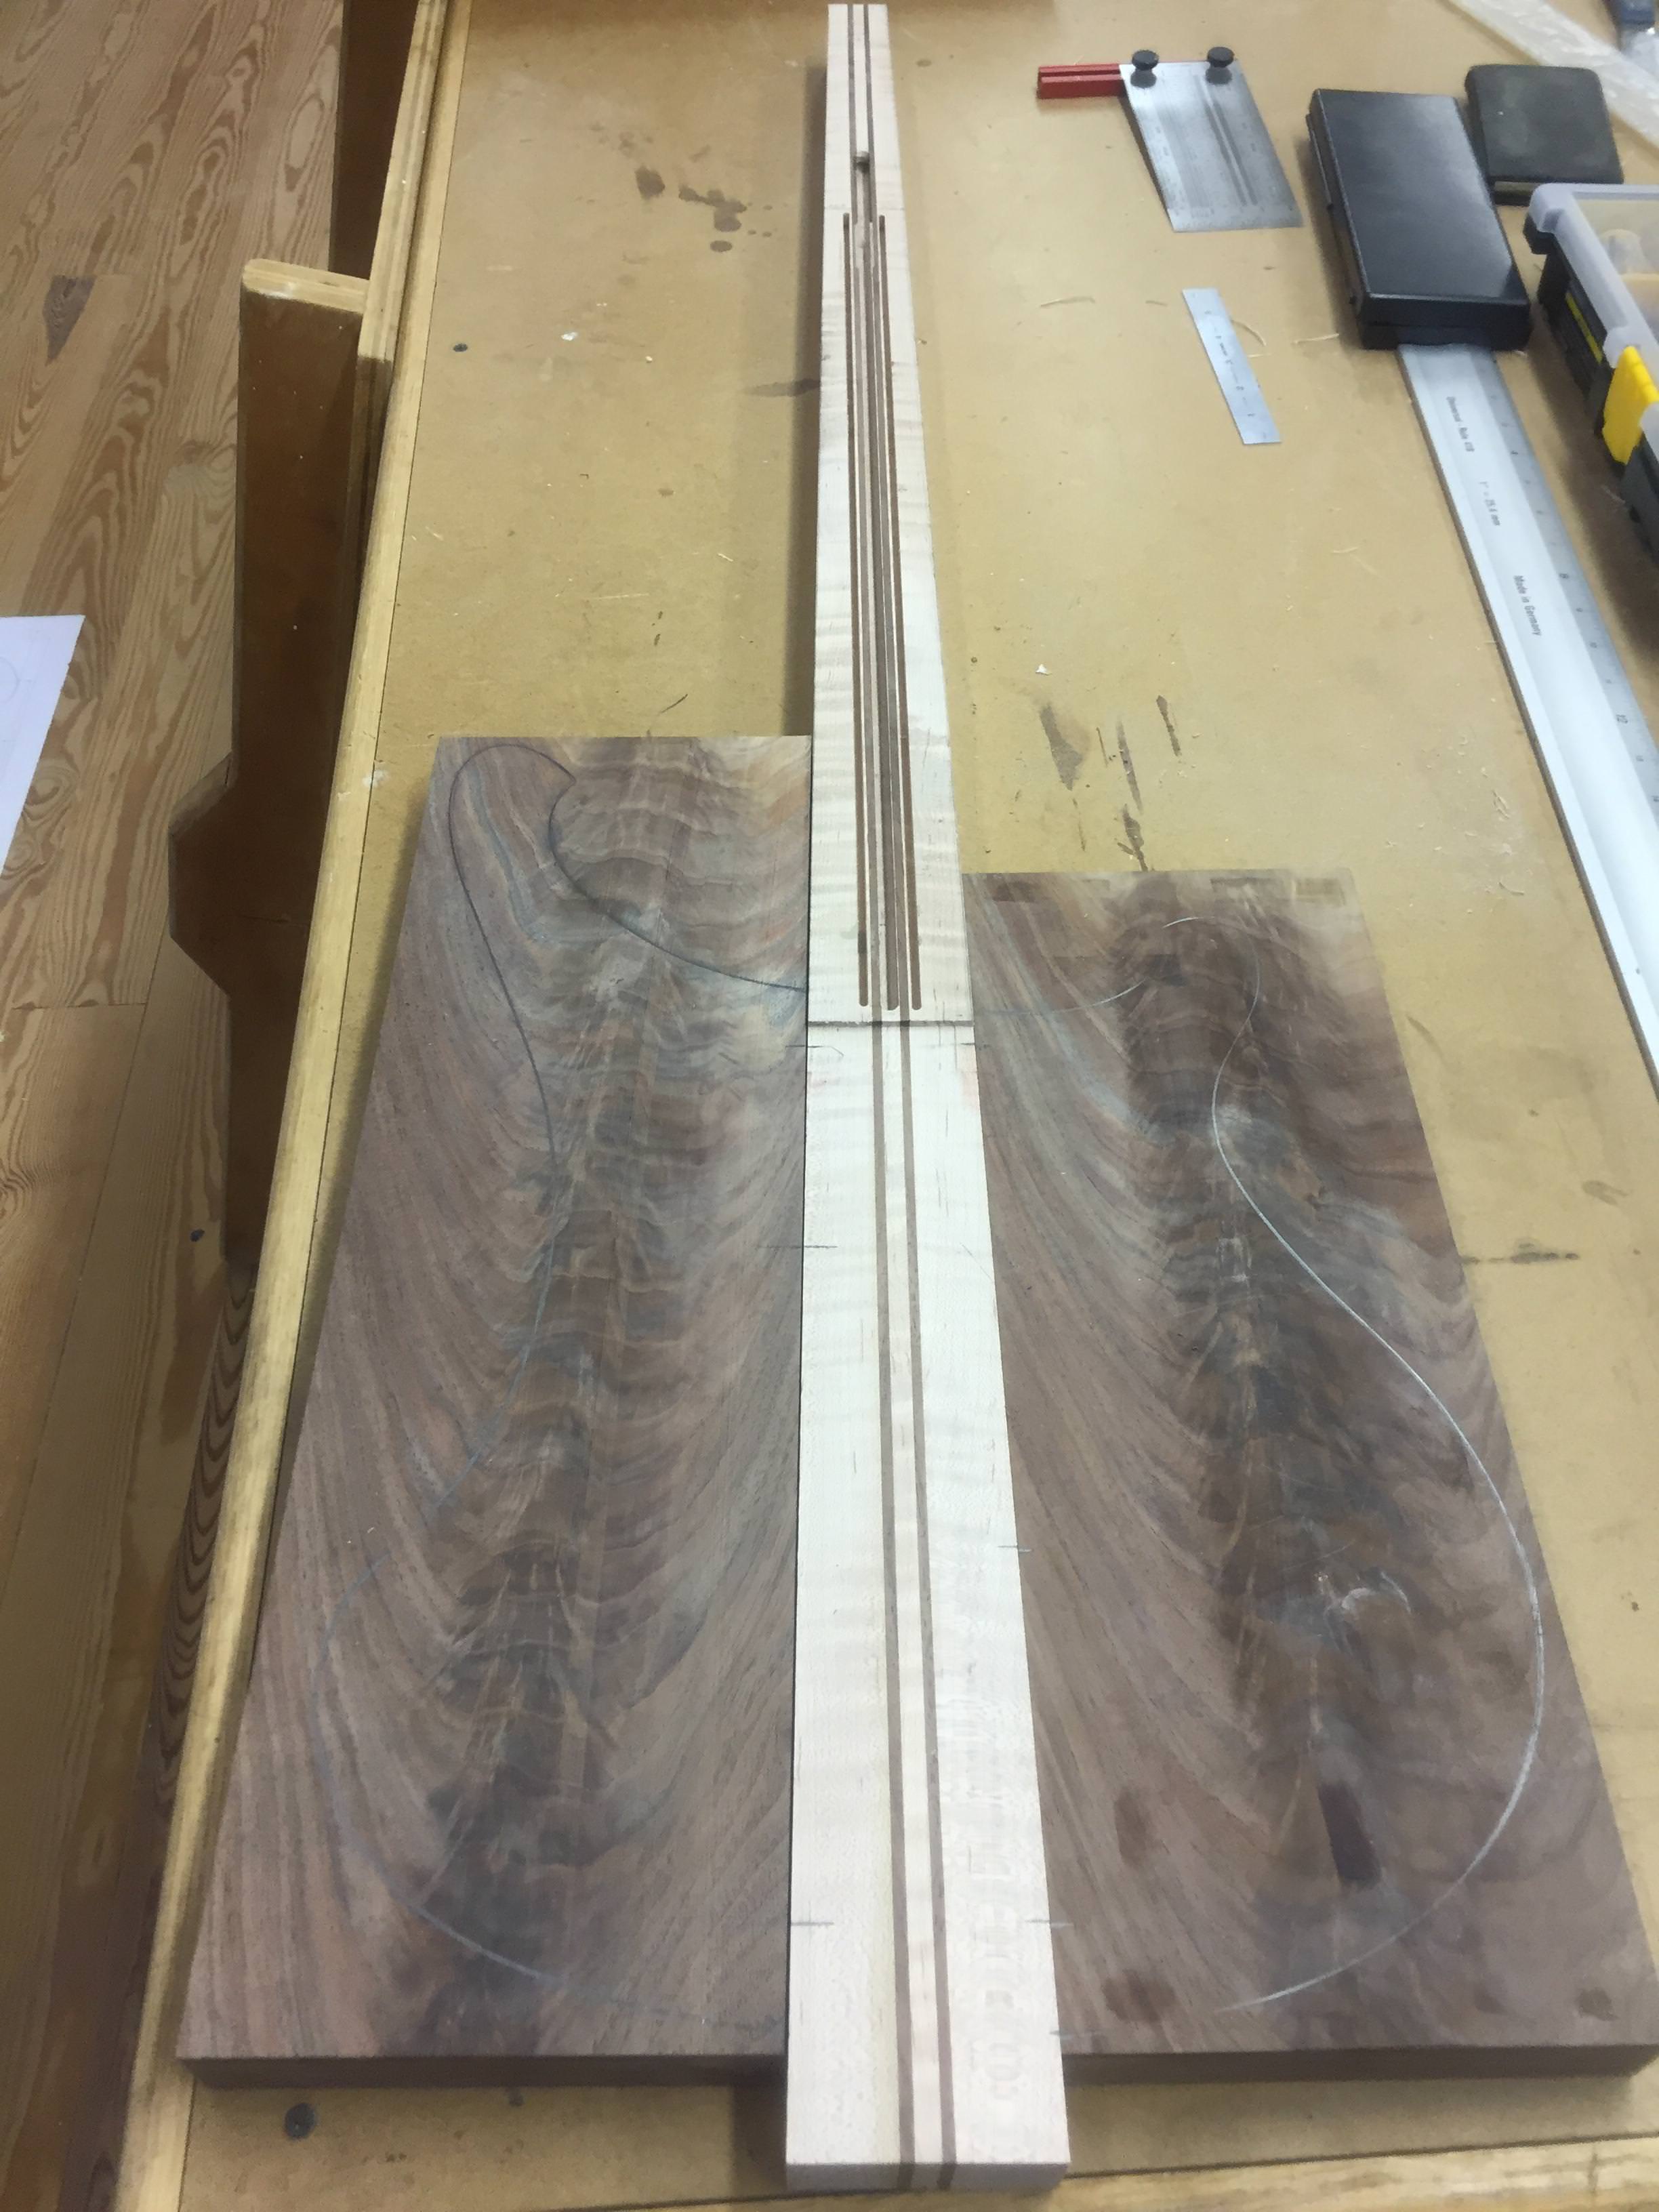
Neck beam planed down to body thickness where it meets the wings. I was worried about tearout here, but got none by taking very shallow passes with a straight cut bit. If it worked here, it should wok on the headstock angle planing too.
Body wings and beam drilled for dowels to register everything. Pickup and bridge routes next.
Hardboard straightedge double stick taped to neck beam for template. I bandsawed it to within 1/16", and this bit took nice fine shavings with very little dust.
I had some tearout on the top neck beam face, not from the CMT bit, but when I originally thickness planed the beam in my Delta planer. Lesson learned: you can't thickness plane curly maple in a planer, next time I guess I'll do it in a router jig. This tearout is a problem, because the hard bubinga edge of the fingerboard will meet this line, so I have to figure out how to fill these gouges, at least along the FB edge. Suggestions? Maple sawdust and yellow glue or CA? Maple colored filler?
Neck beam planed down to body thickness where it meets the wings. I was worried about tearout here, but got none by taking very shallow passes with a straight cut bit. If it worked here, it should wok on the headstock angle planing too.
Body wings and beam drilled for dowels to register everything. Pickup and bridge routes next.

Now that is a monster router bit, I'm even scared just looking at it! When it comes to the maple considering the final neck shape, do you have to fill? Maybe the curves will disappear in the final profile? If not, another question, can you sacrifice that millimeter from both sides? I'm afraid filling will leave you with a glue patch that will take oil/lacquer differently than the rest of the neck wood and it might be visible with a different pattern than "curly".
I kind of backed myself into a corner, the top face of the neck beam is set, I really can’t plane it down as much as I’d need to to kill the tear out withou having to re-cut the trussrod and CF stiffener slots, then thin down the body, etc. I may just have to live with it showing a bit along that edge. I’ll try a few experiments patching scrap to see which one is least objectionable. There are some brown streaks and grain lines in the wood, maybe use the brown titebond and hope the little nicks look like grain? Sigh...
Yeah, the 2” bit is a little scary to look at, but the soft start on the router lets it torque up to speed with no real vibration, the bit seems perfectly balanced. I intend to treat it very warily!
Yeah, the 2” bit is a little scary to look at, but the soft start on the router lets it torque up to speed with no real vibration, the bit seems perfectly balanced. I intend to treat it very warily!

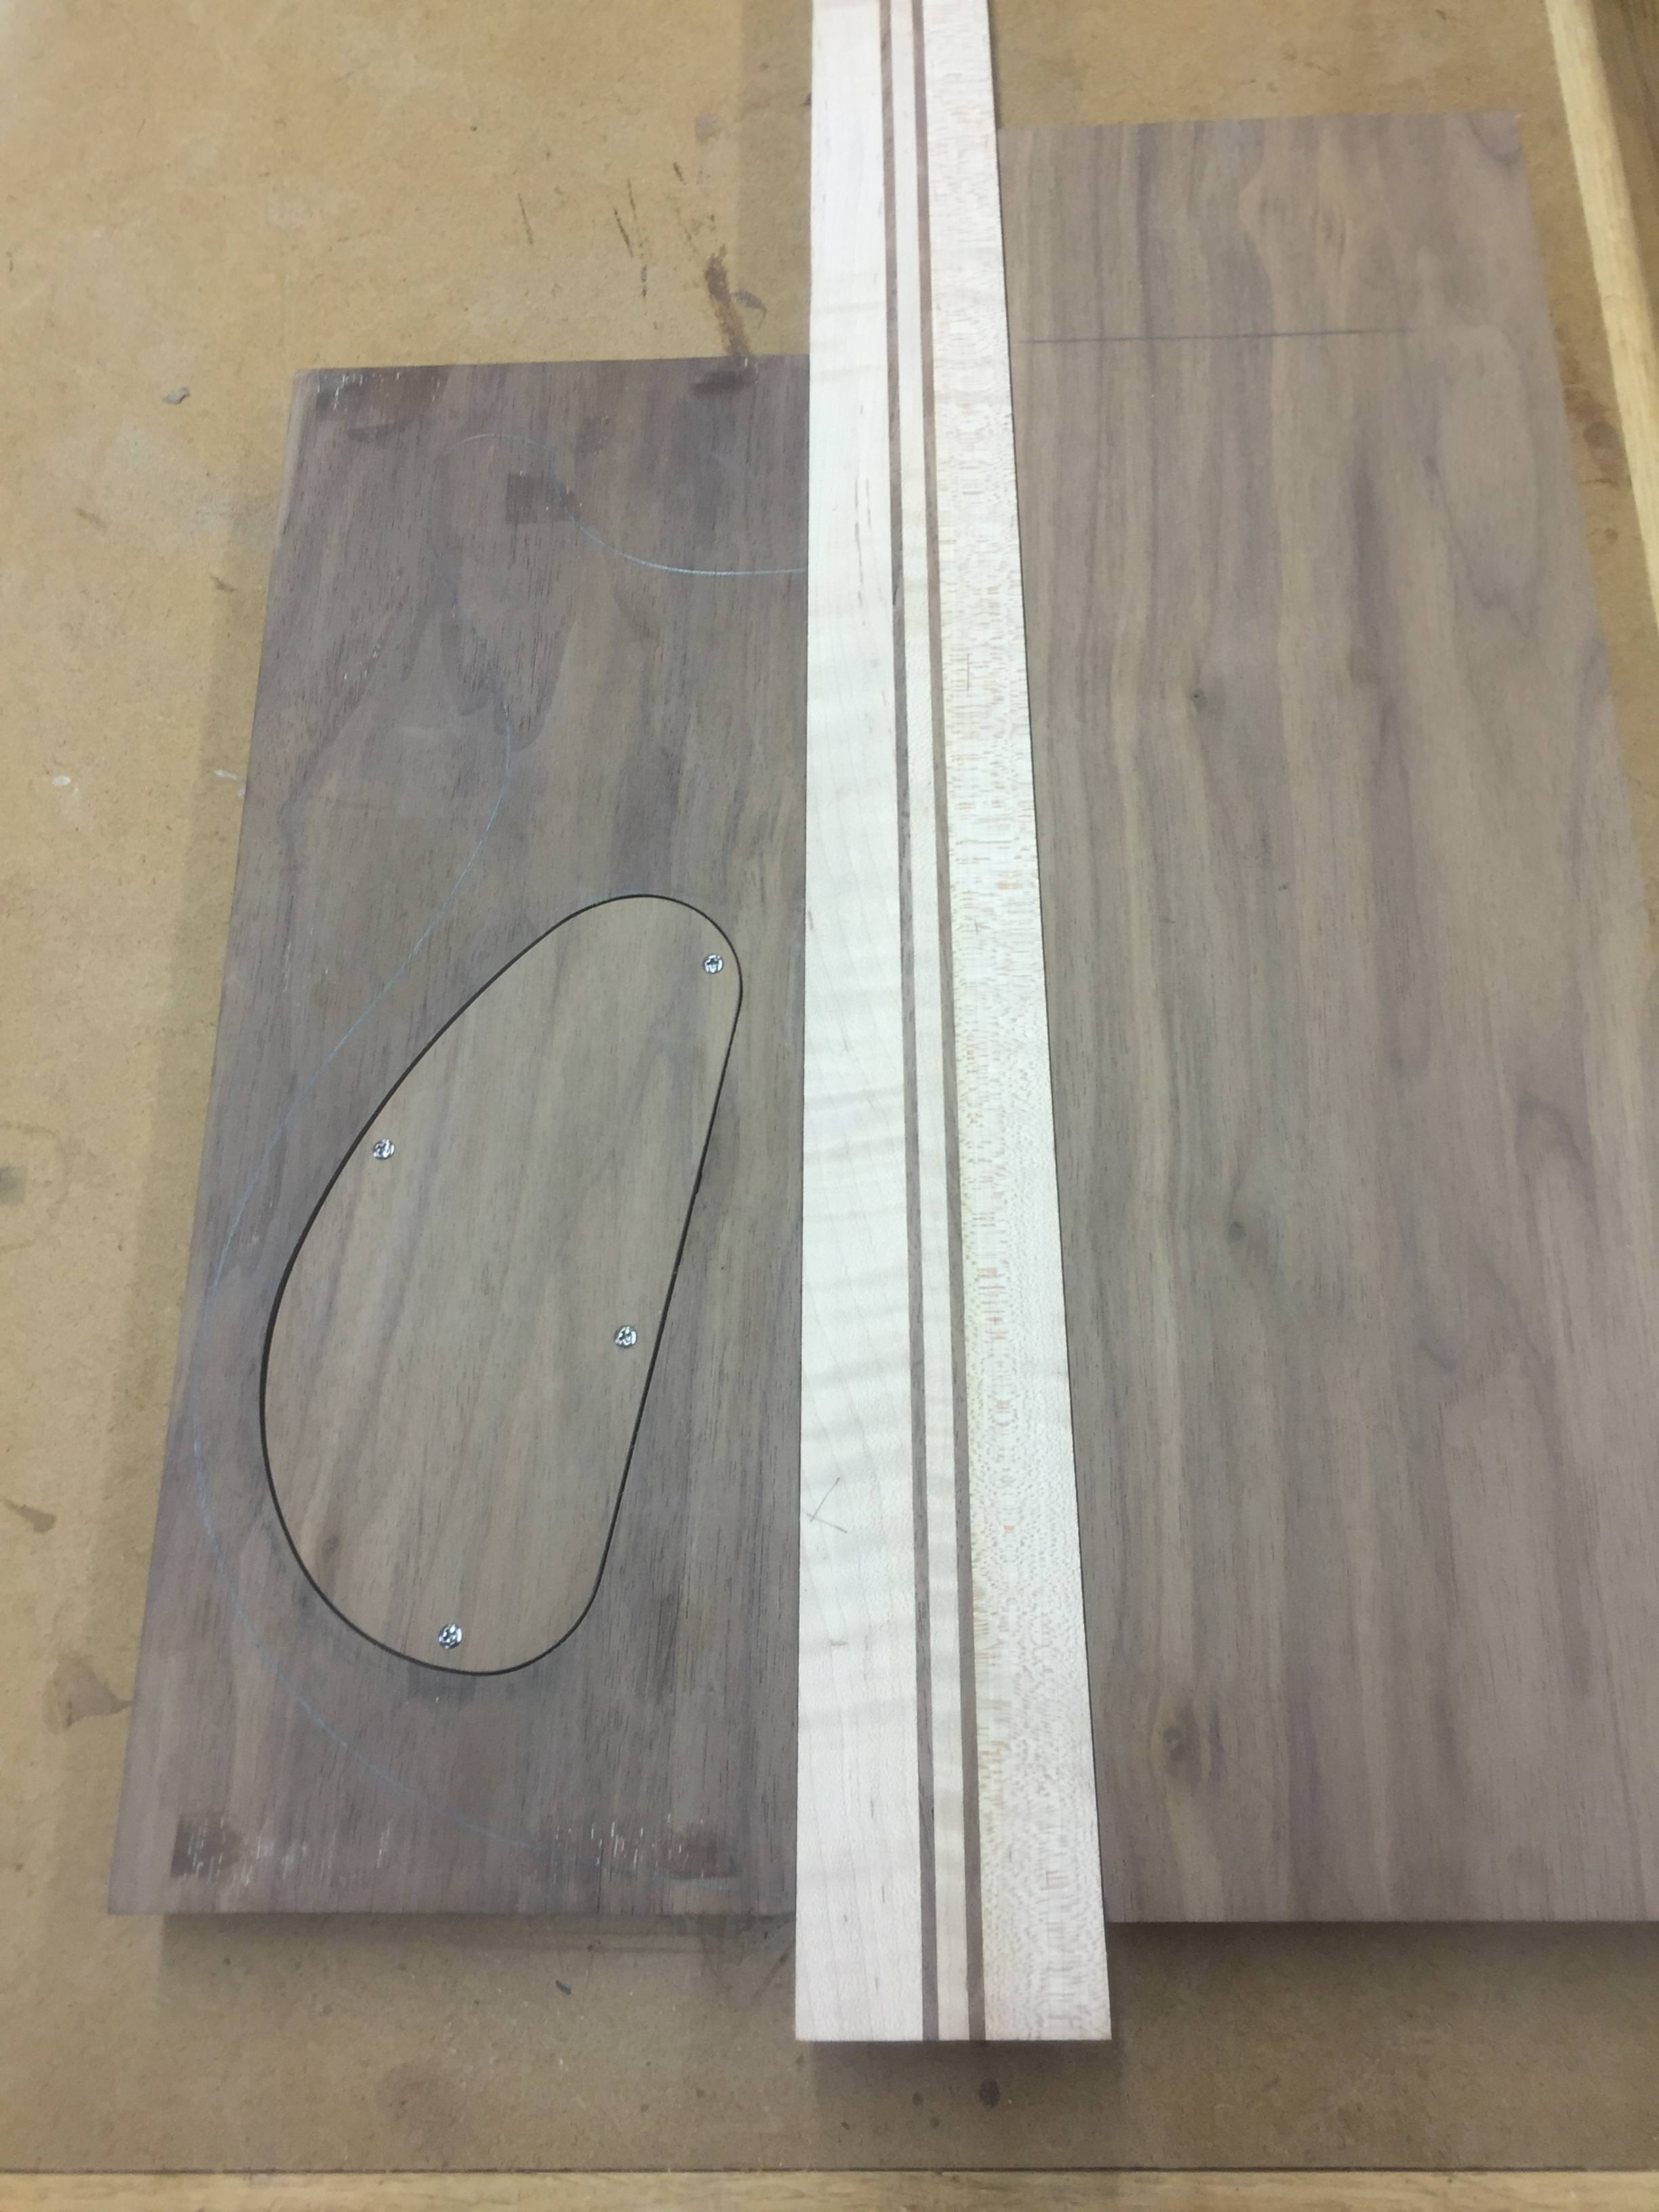
Finally eked out a little work on this one. I realized I couldn't live with the tearout on the curly maple, so I shaved about 1/64" total off the front and back of the neck beam, which killed 99% of it, the rest will come out in ordinary sanding. I had a set of Stemac templates for a control cavity, got the route and a walnut cover plate made. One little router nick alongh the right edge, hopefully I can patch it:
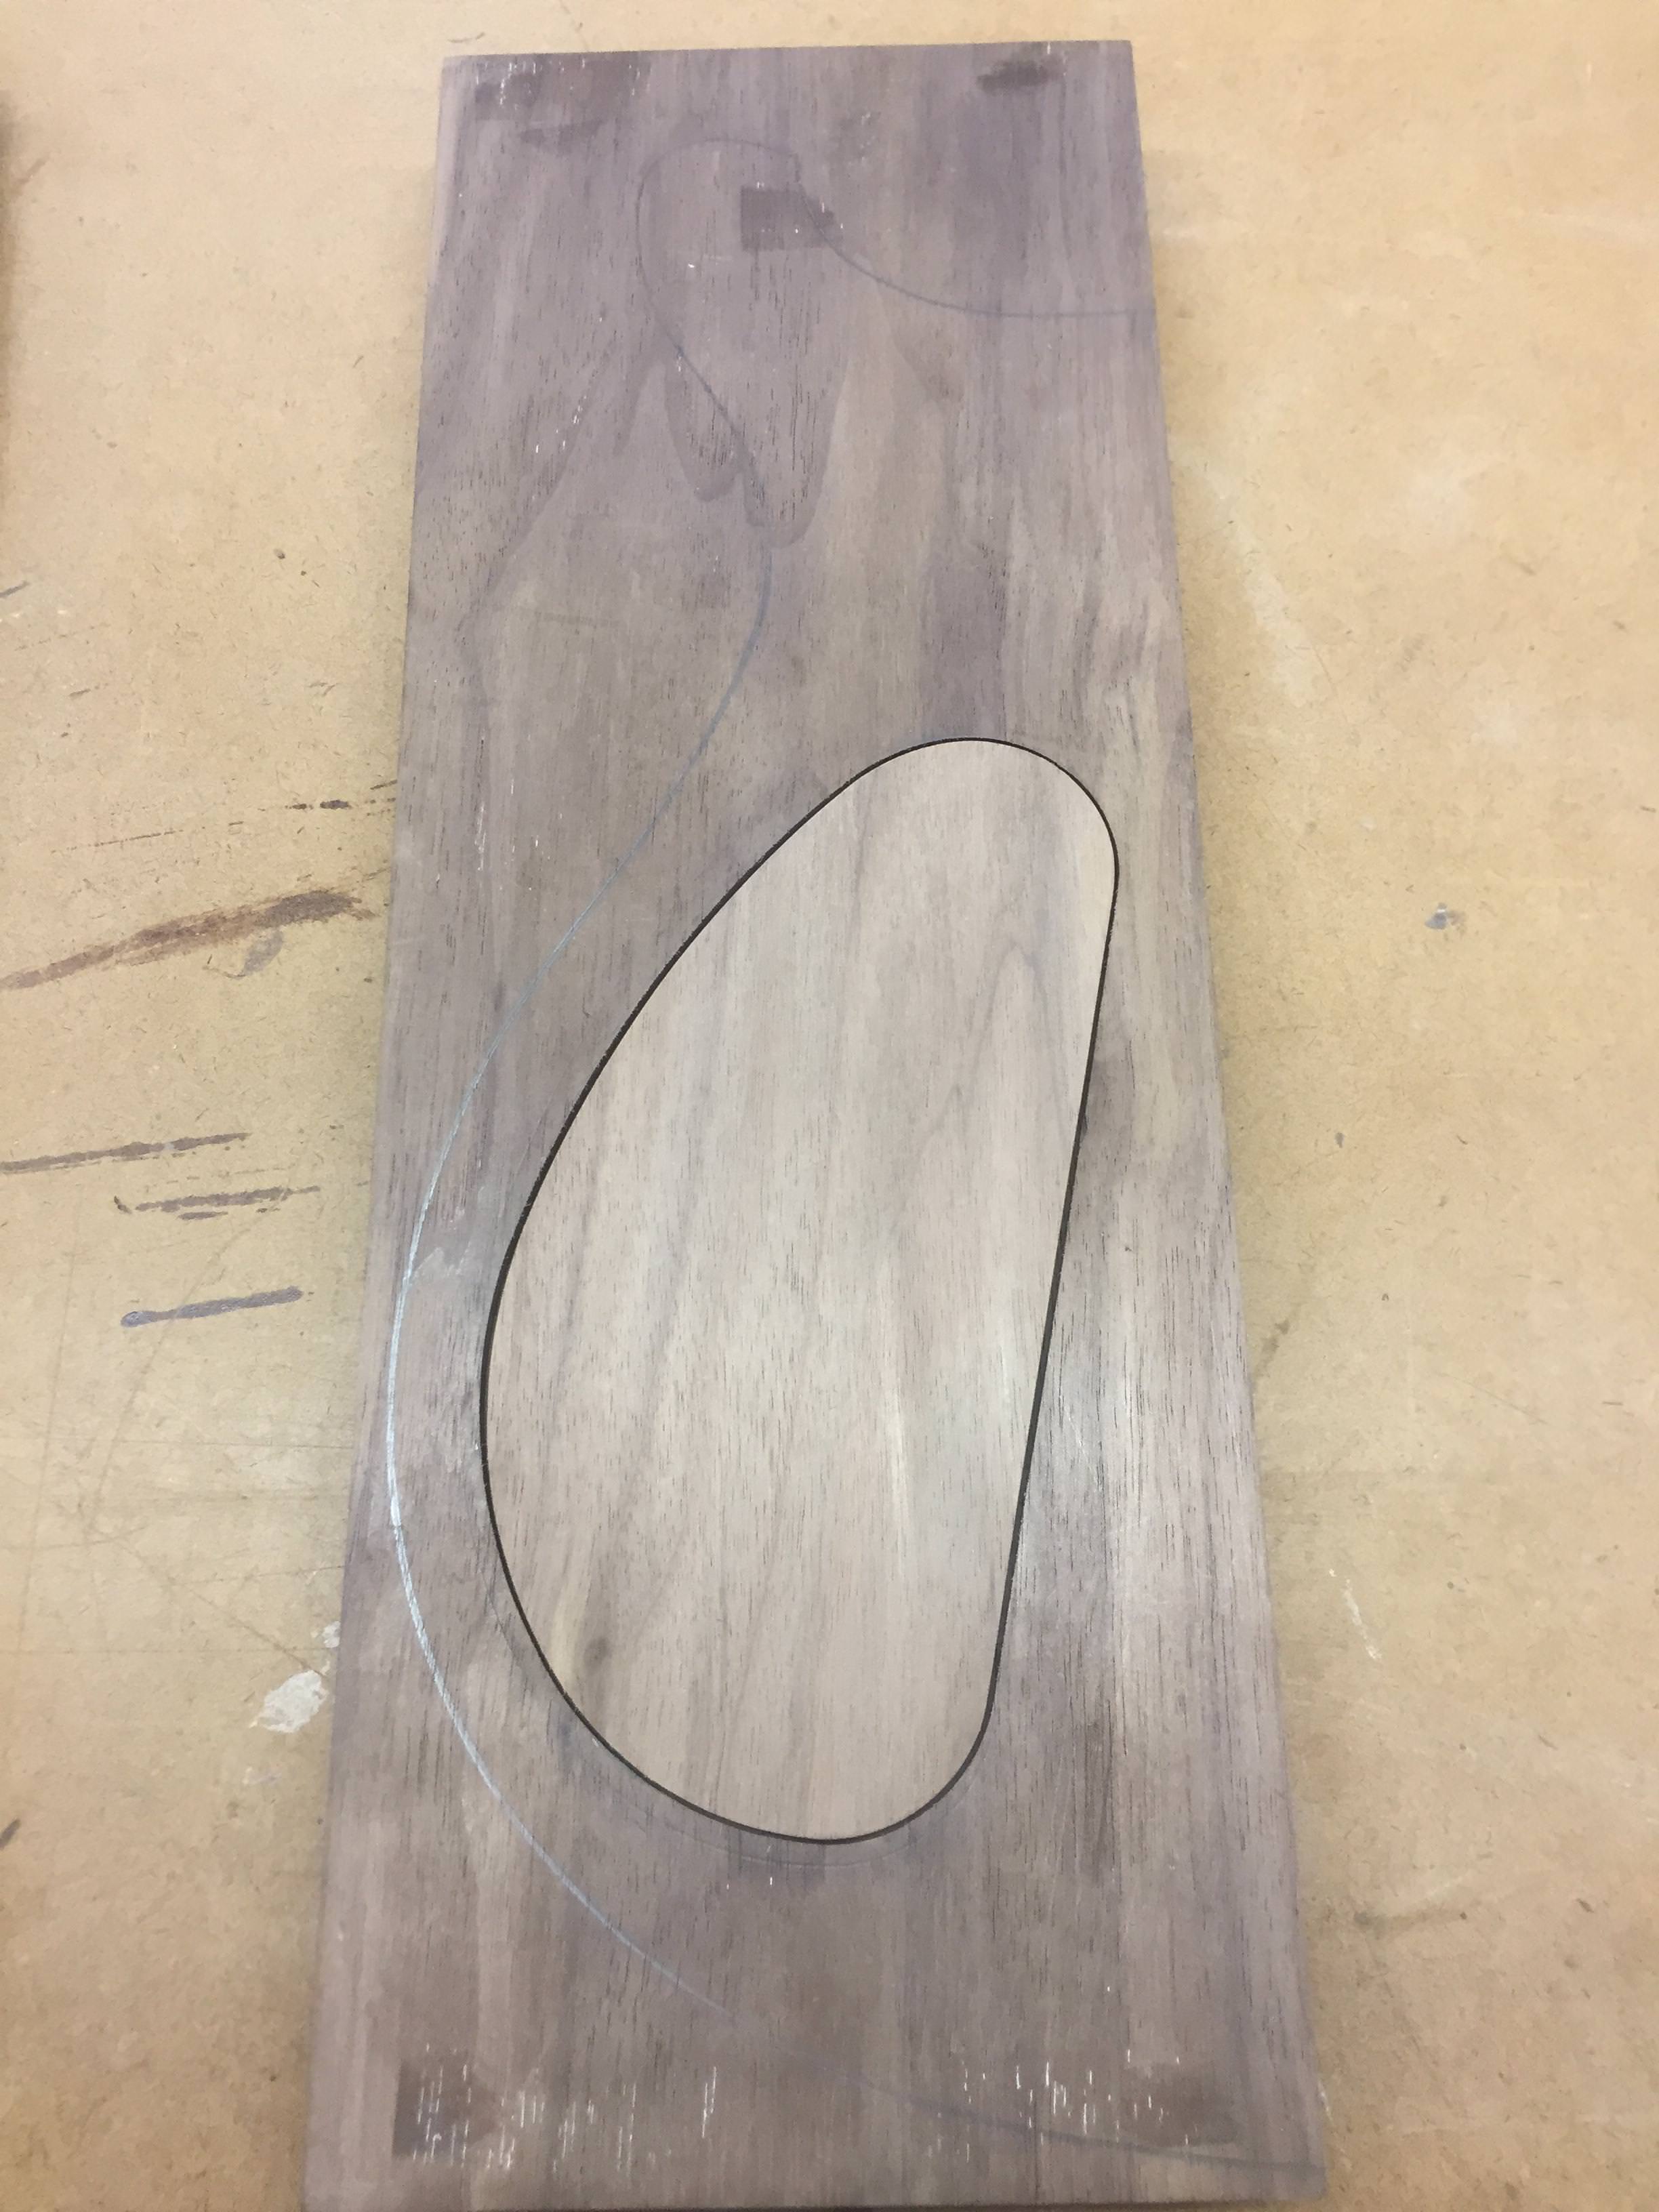
The cover looks a lot lighter, but I think the body blank is just pretty oxidized darker, and should sand out to something similar.
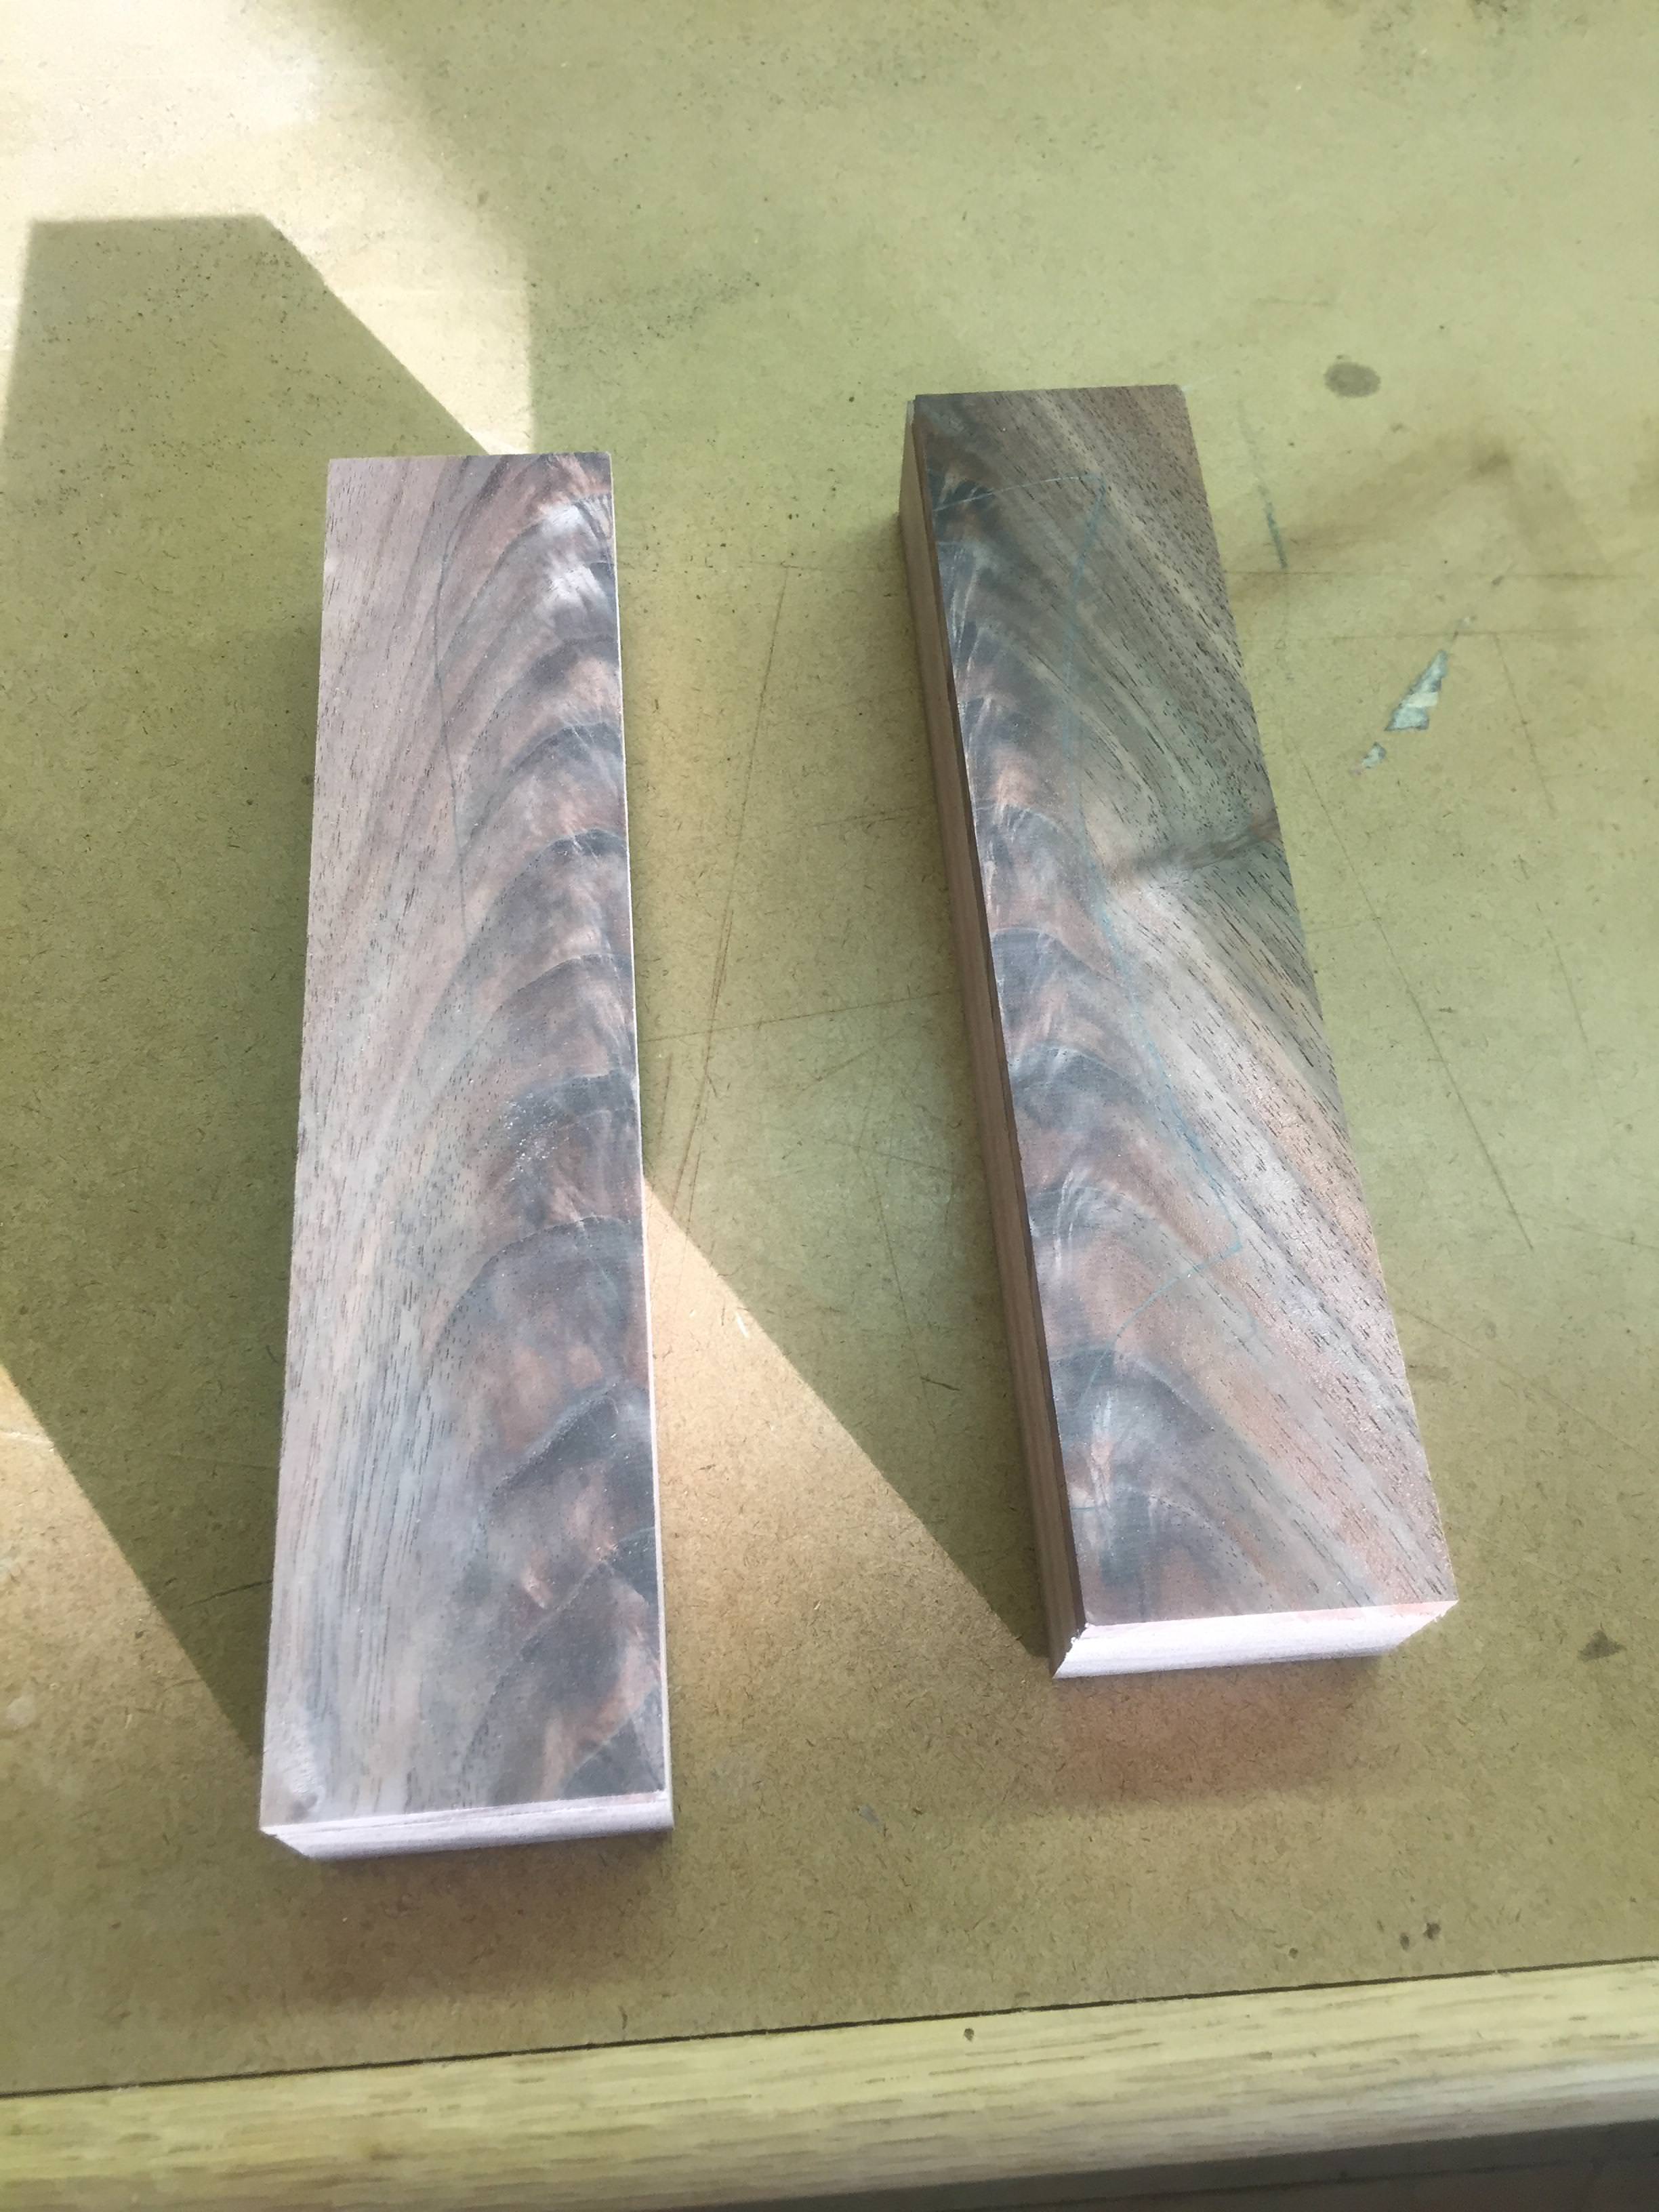
Glue ups of crotch mahogany for the headstock wings:
The cover looks a lot lighter, but I think the body blank is just pretty oxidized darker, and should sand out to something similar.
Glue ups of crotch mahogany for the headstock wings:
Last edited:
- Apr 18, 2008
- 16,007
- 1
- 31,705
- Disclosures
- I'm highly opinionated and extremely self-assured
 Sounds like you made it past your first obstacle, and can now make forward progress! Cavity cover looks good.
Rôckhewer
Commercial User
- Feb 28, 2015
- 2,922
- 9,028
- Disclosures
- Owner/Builder- RockHewer Custom Guitars LLC
I thought for sure I sub'd to this thread... but I haven't been gettng notifications .... 
I didn't know (or expect) you'd be, or were this far along....
my bad....
Ok.... now I'm sub'd
I didn't know (or expect) you'd be, or were this far along....
my bad....
Ok.... now I'm sub'd
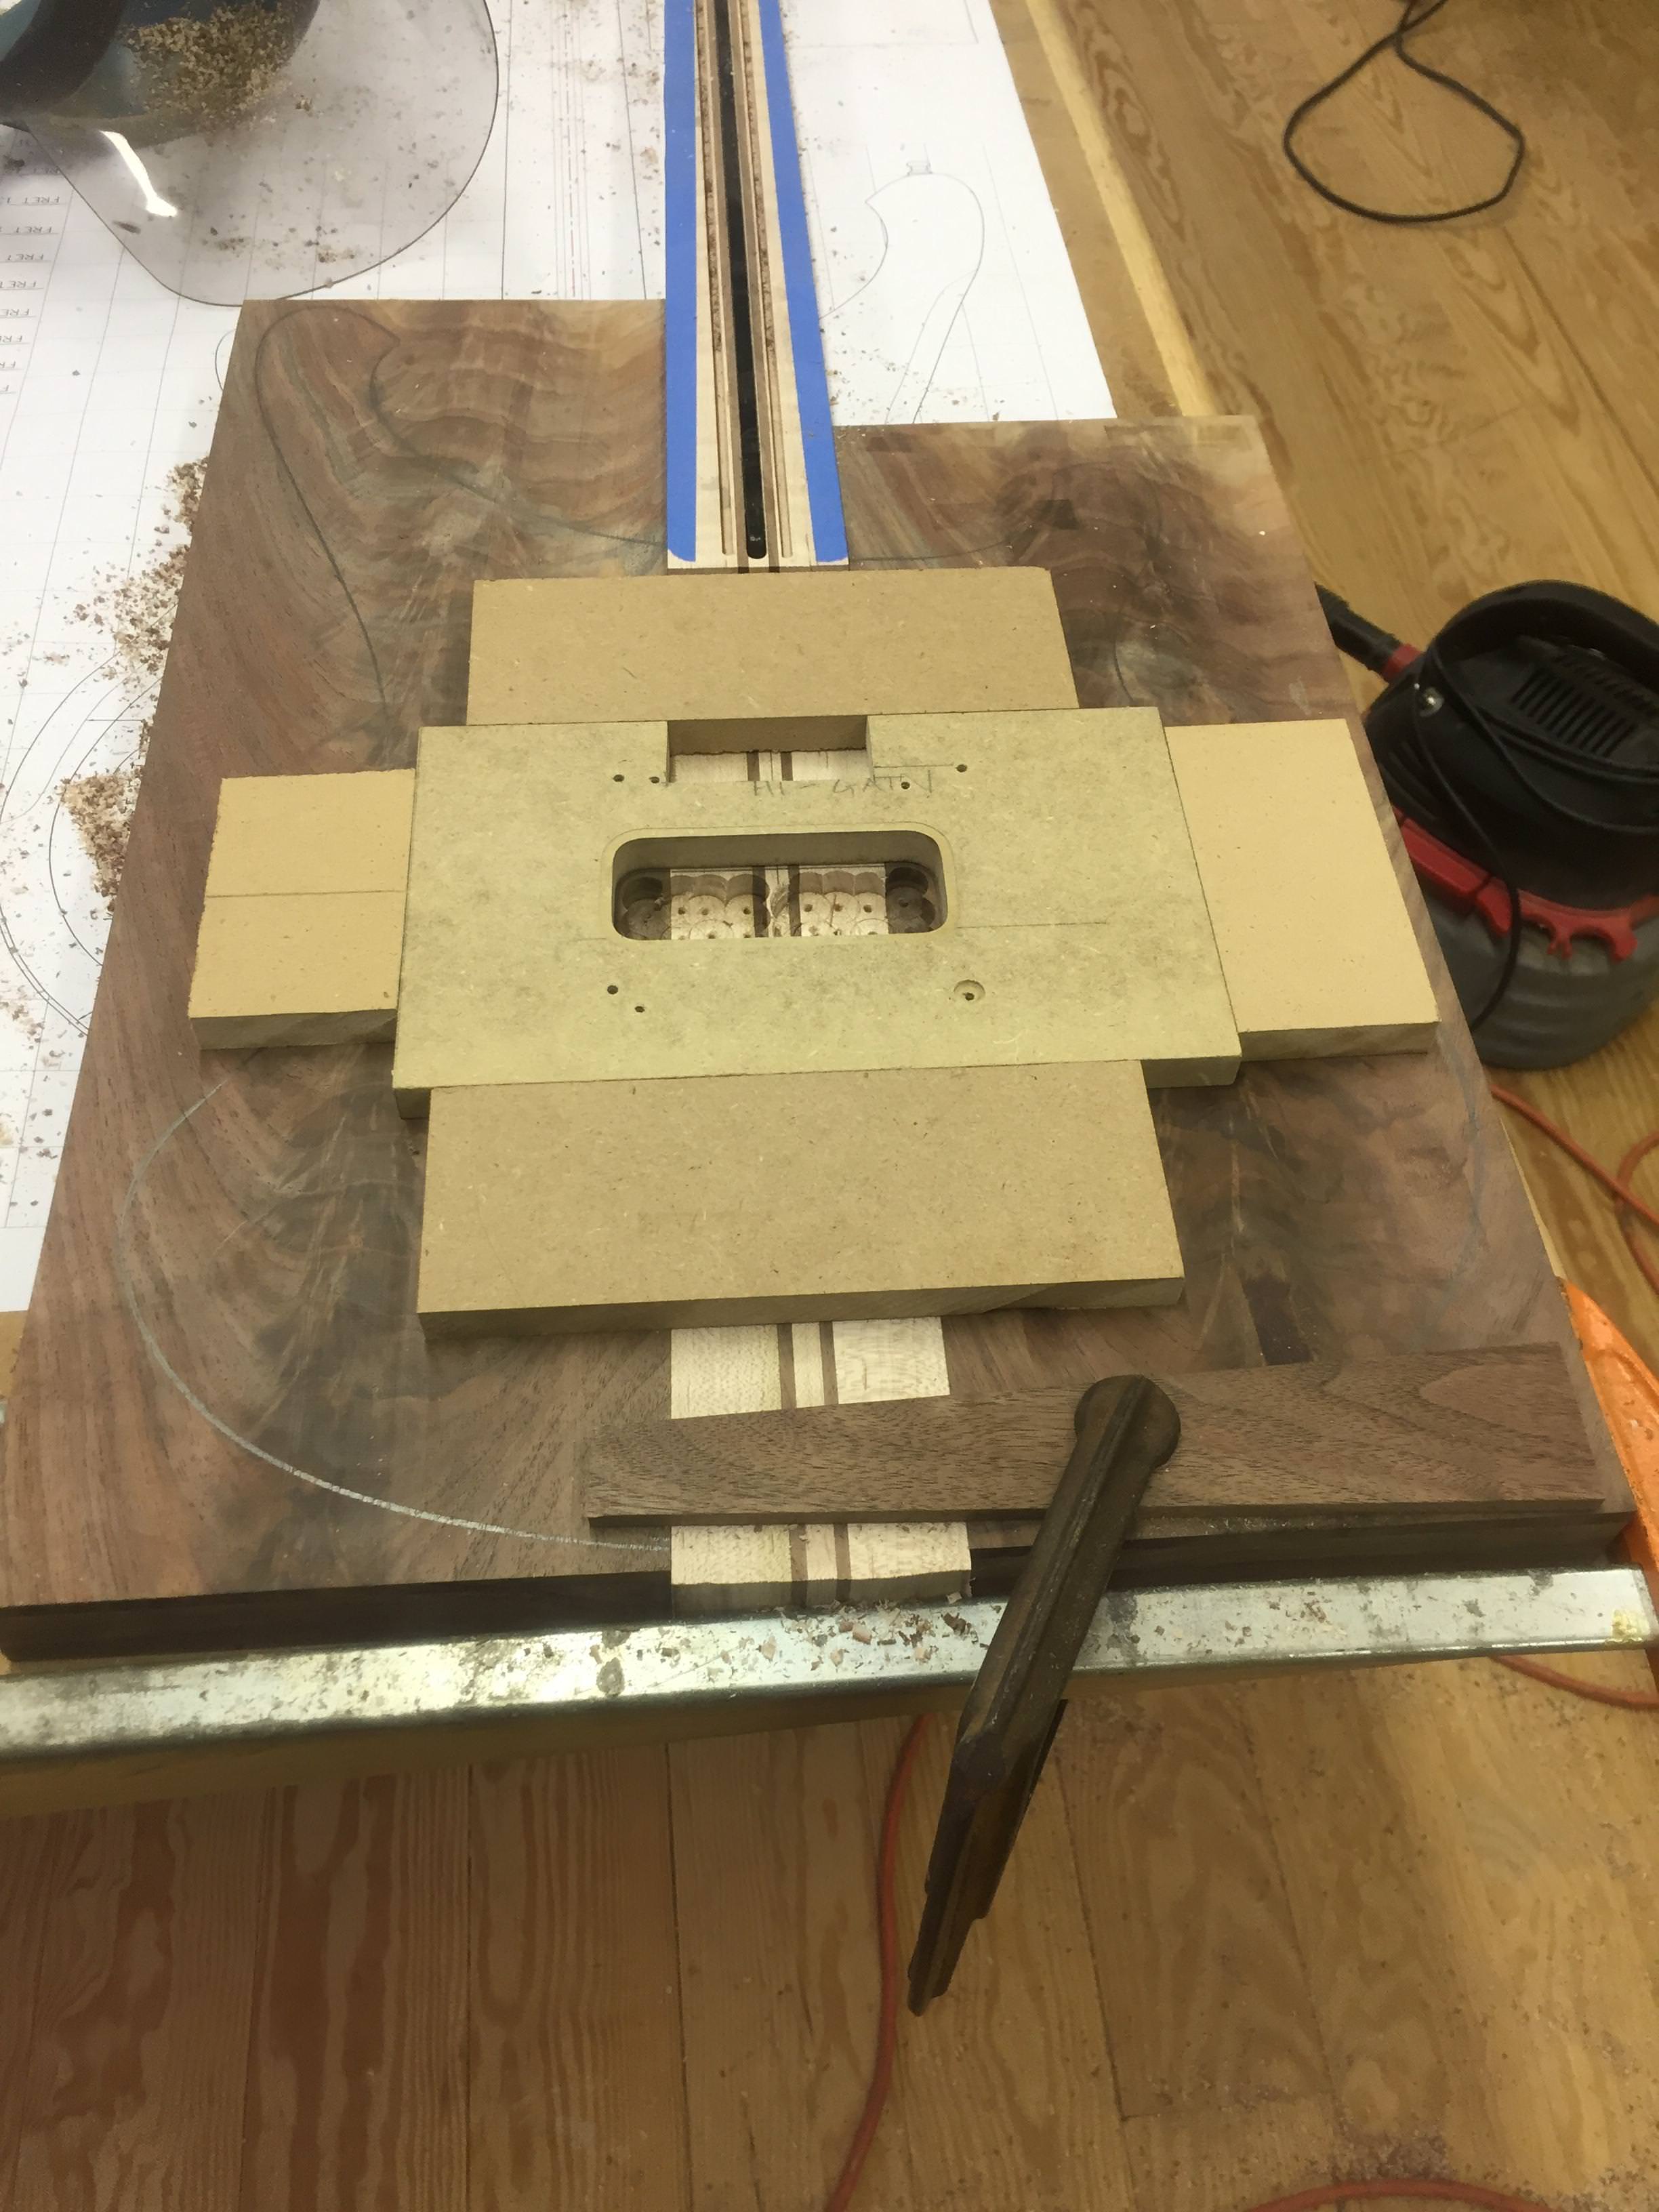
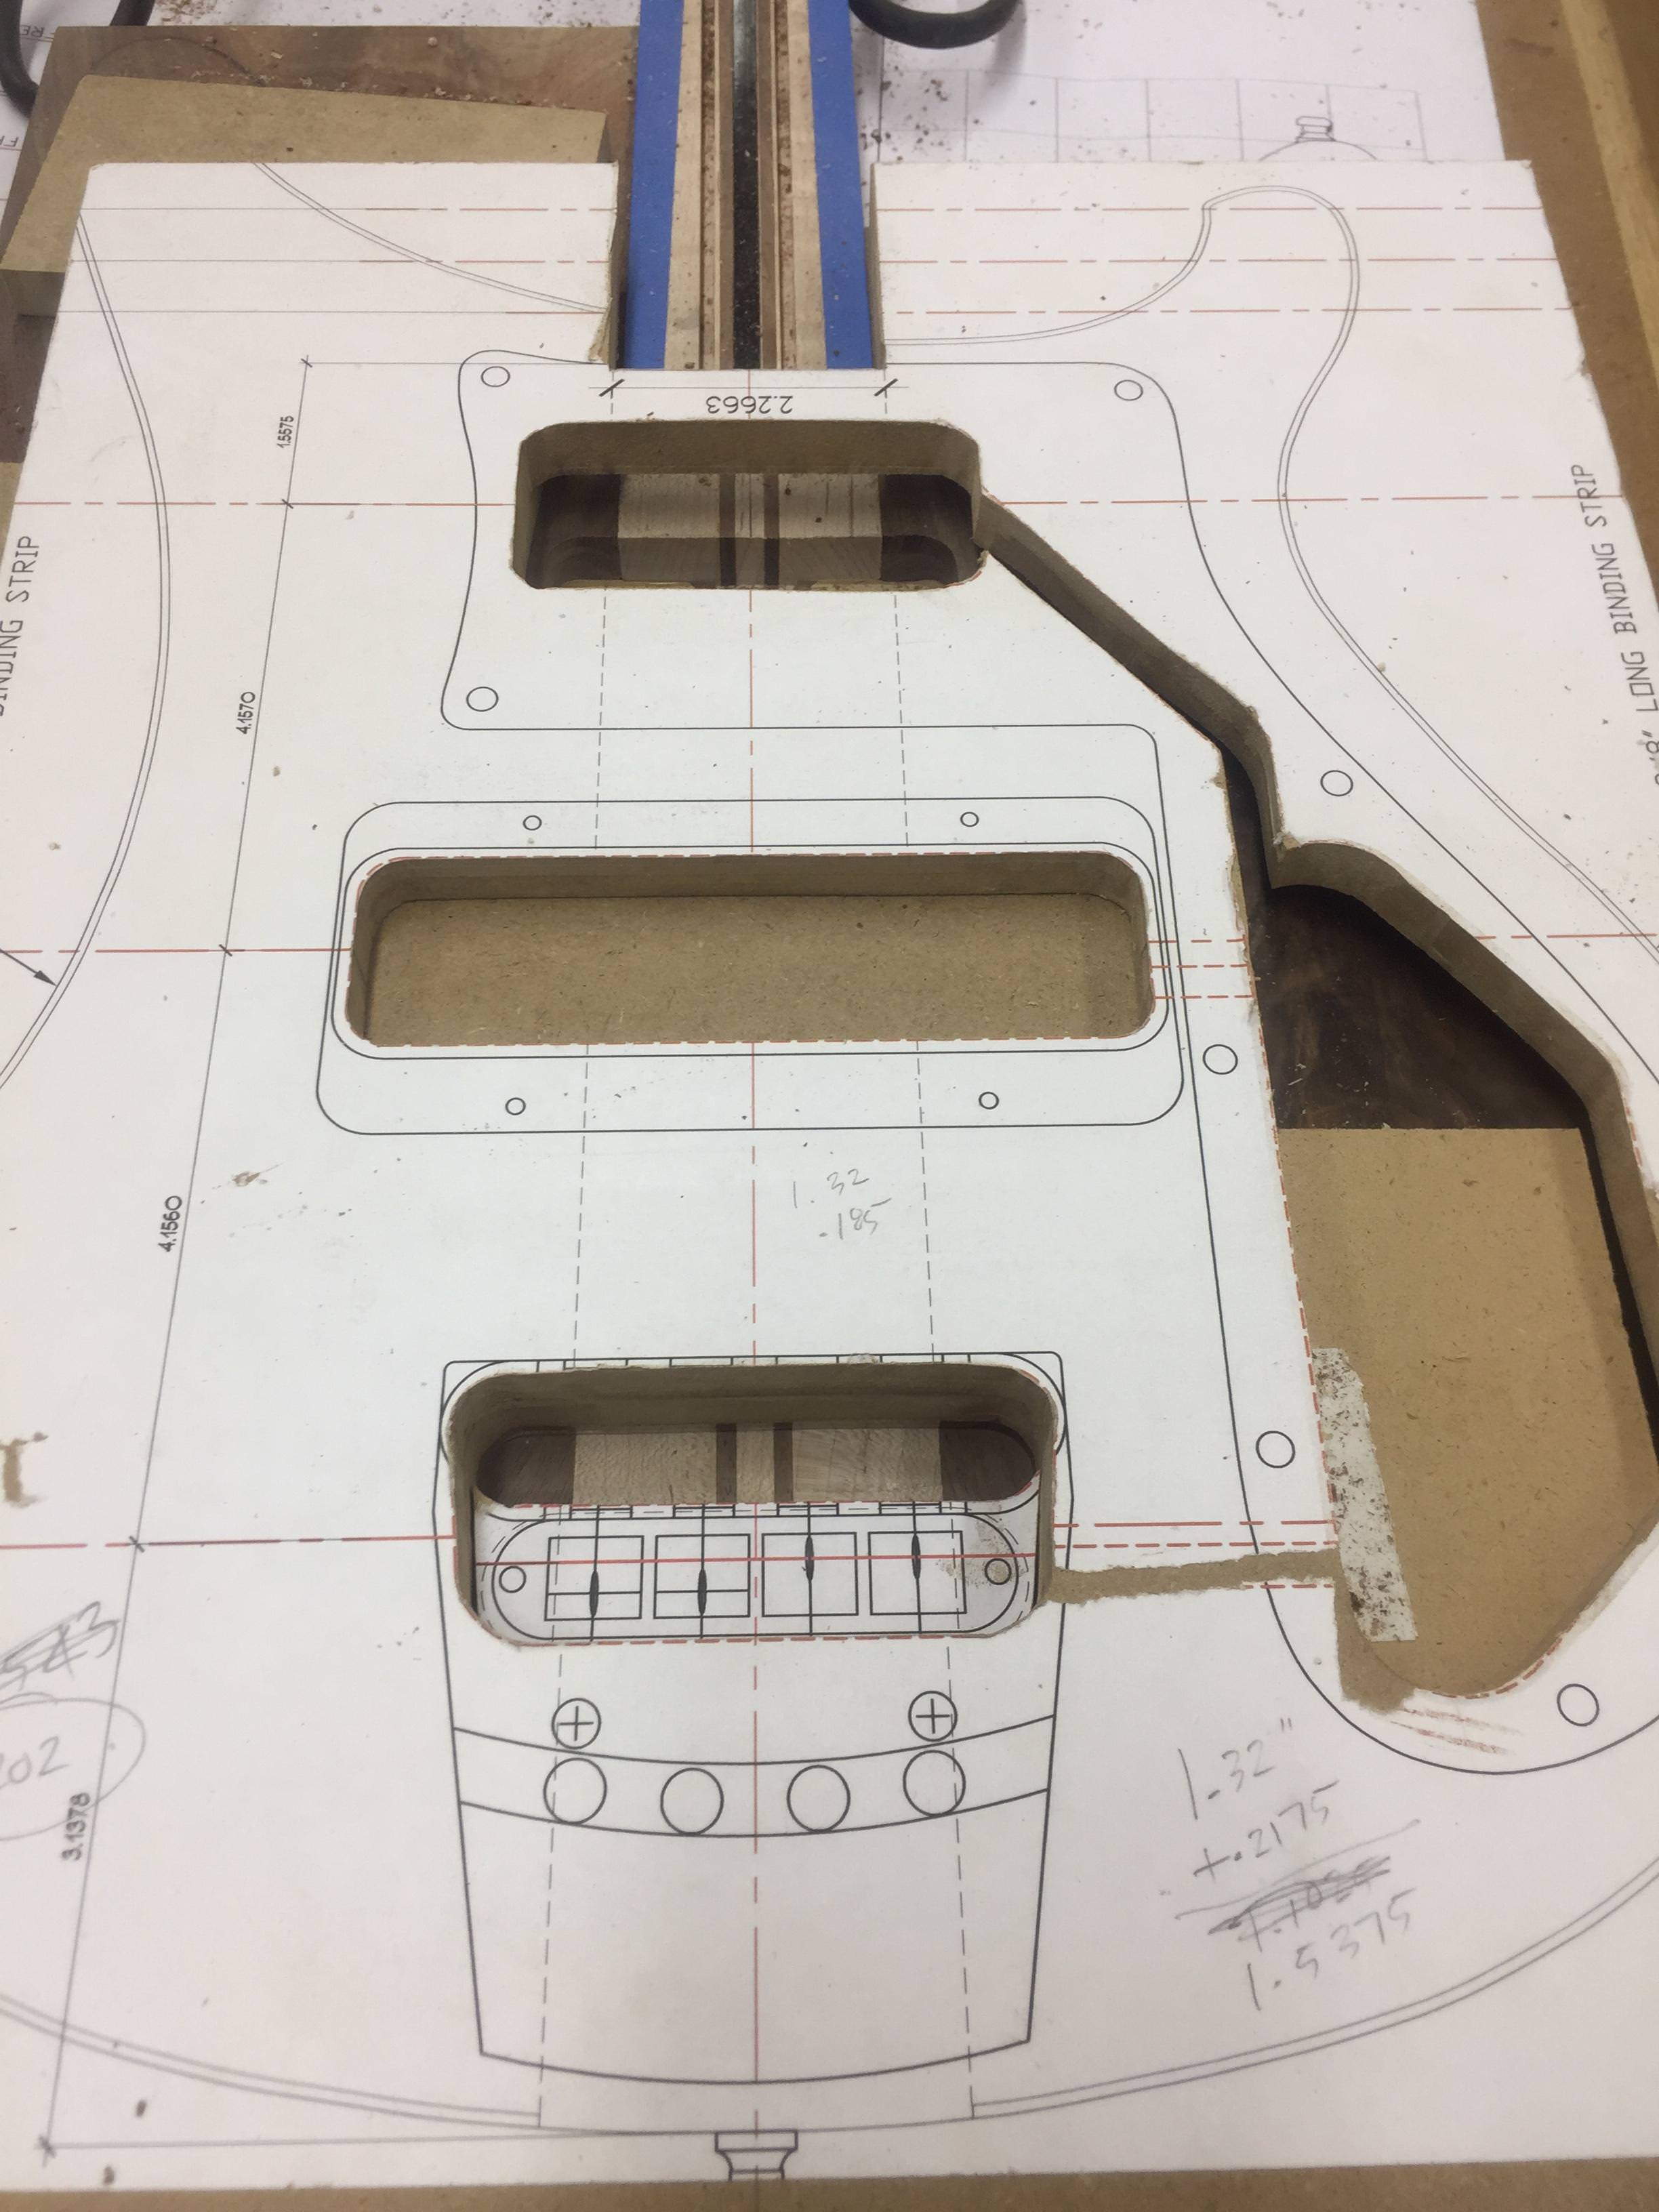
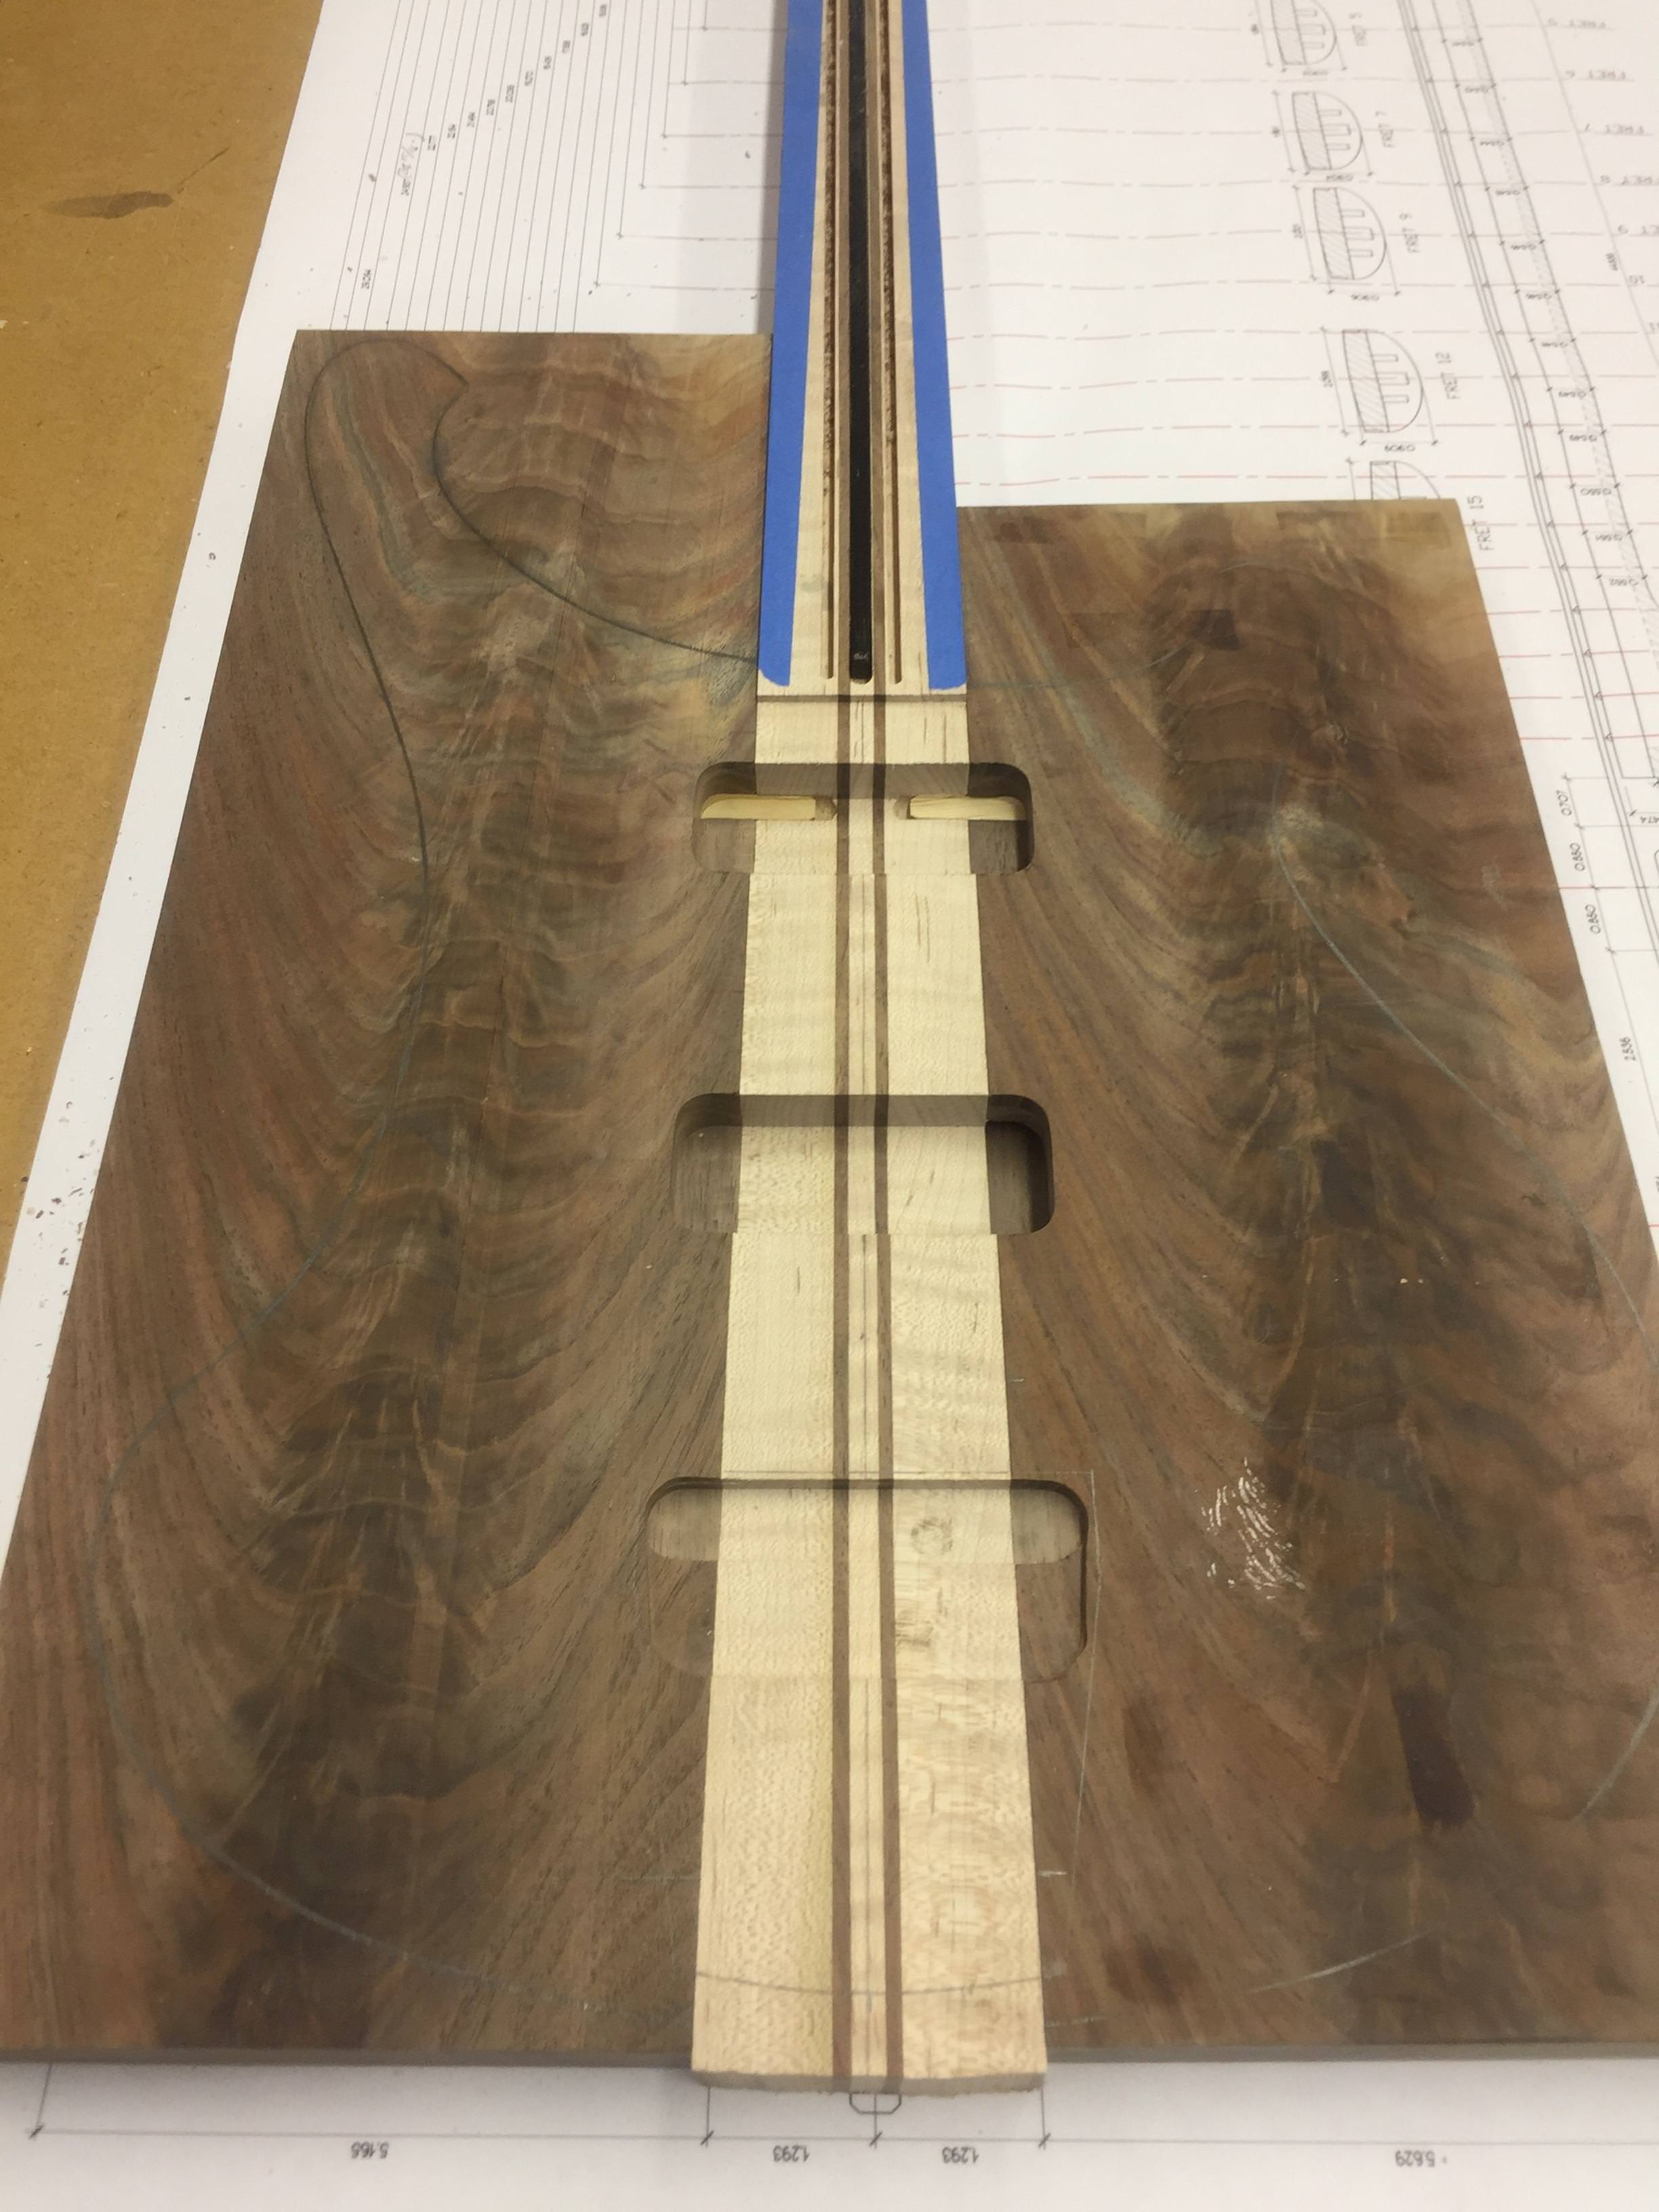
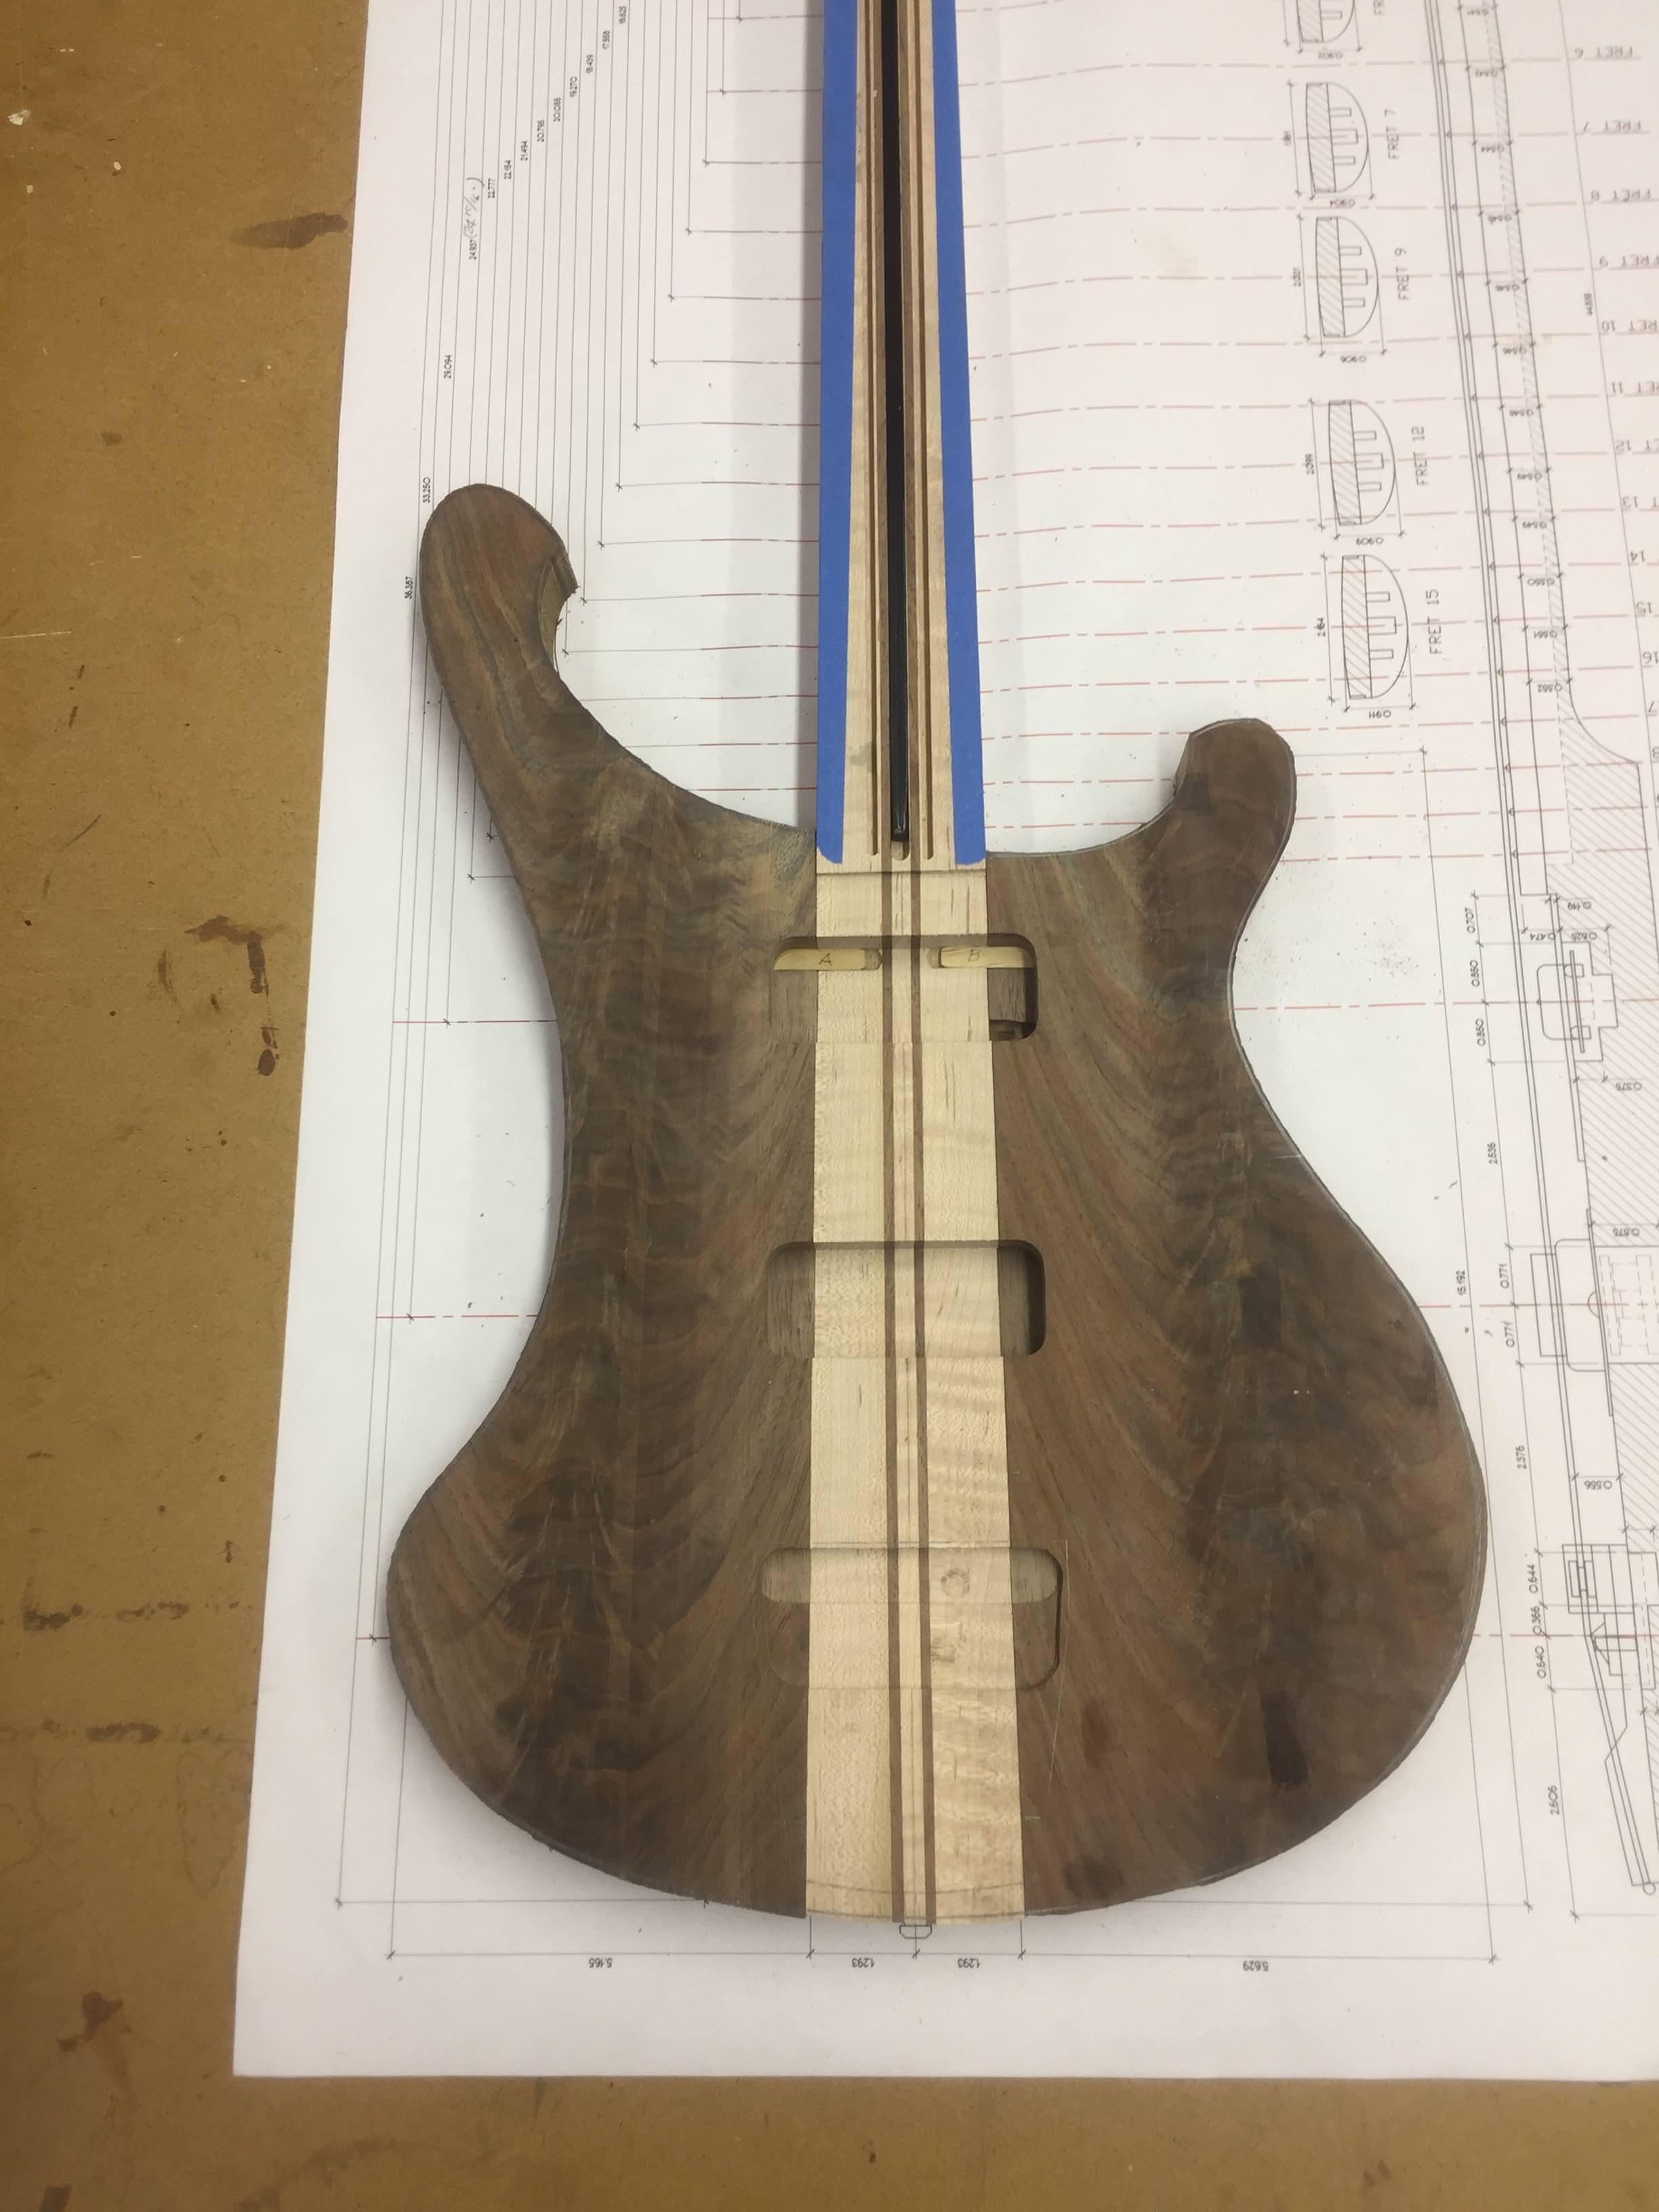
Cutting pup routes for the Hi-Gains and bridge using the epoxy-formed jig. Got nice clean cuts out it:
Body wings rough bandsawed to shape
https://imgur.com/gJbDRqk
Body wings rough bandsawed to shape
https://imgur.com/gJbDRqk
Attachments


- Apr 18, 2008
- 16,007
- 1
- 31,705
- Disclosures
- I'm highly opinionated and extremely self-assured


The floor of the neck-pocket in my walnut build has a nice maple stripe from a misplaced dowel.
- Apr 18, 2008
- 16,007
- 1
- 31,705
- Disclosures
- I'm highly opinionated and extremely self-assured
Shoot, that’s just irrefutable proof of the find hand-craftsmanship that went into this instrument. Finer than anything you can buy in a store!

Curious why you're going with the Ric style bridge as opposed to say, a Hipshot or Schaller? This is more of a 4004 style build?
It’s a bit of hybrid, more like a 4003w with no pickguard. The body and FB will be bound, full width inlays, etc. Plus I just like the looks of the old school bridge, warts and all. Gonna bind the headstock too, a little nervous about that, having never done one. Getting the headstock binding to miter cleanly into the neck binding will be... interesting.

One of my coworkers always says "why do you say interesting, when you mean pain in the ass?"It’s a bit of hybrid, more like a 4003w with no pickguard. The body and FB will be bound, full width inlays, etc. Plus I just like the looks of the old school bridge, warts and all. Gonna bind the headstock too, a little nervous about that, having never done one. Getting the headstock binding to miter cleanly into the neck binding will be... interesting.


