• TalkBass has been independent since 1998. Add your voice.
    Create a free account to reply to discussions, view embedded media, and browse with fewer display ads.
    Join freeLog in
    Want zero display ads or expanded classifieds tools? Compare plans.

The Hossenfeffer IV Build

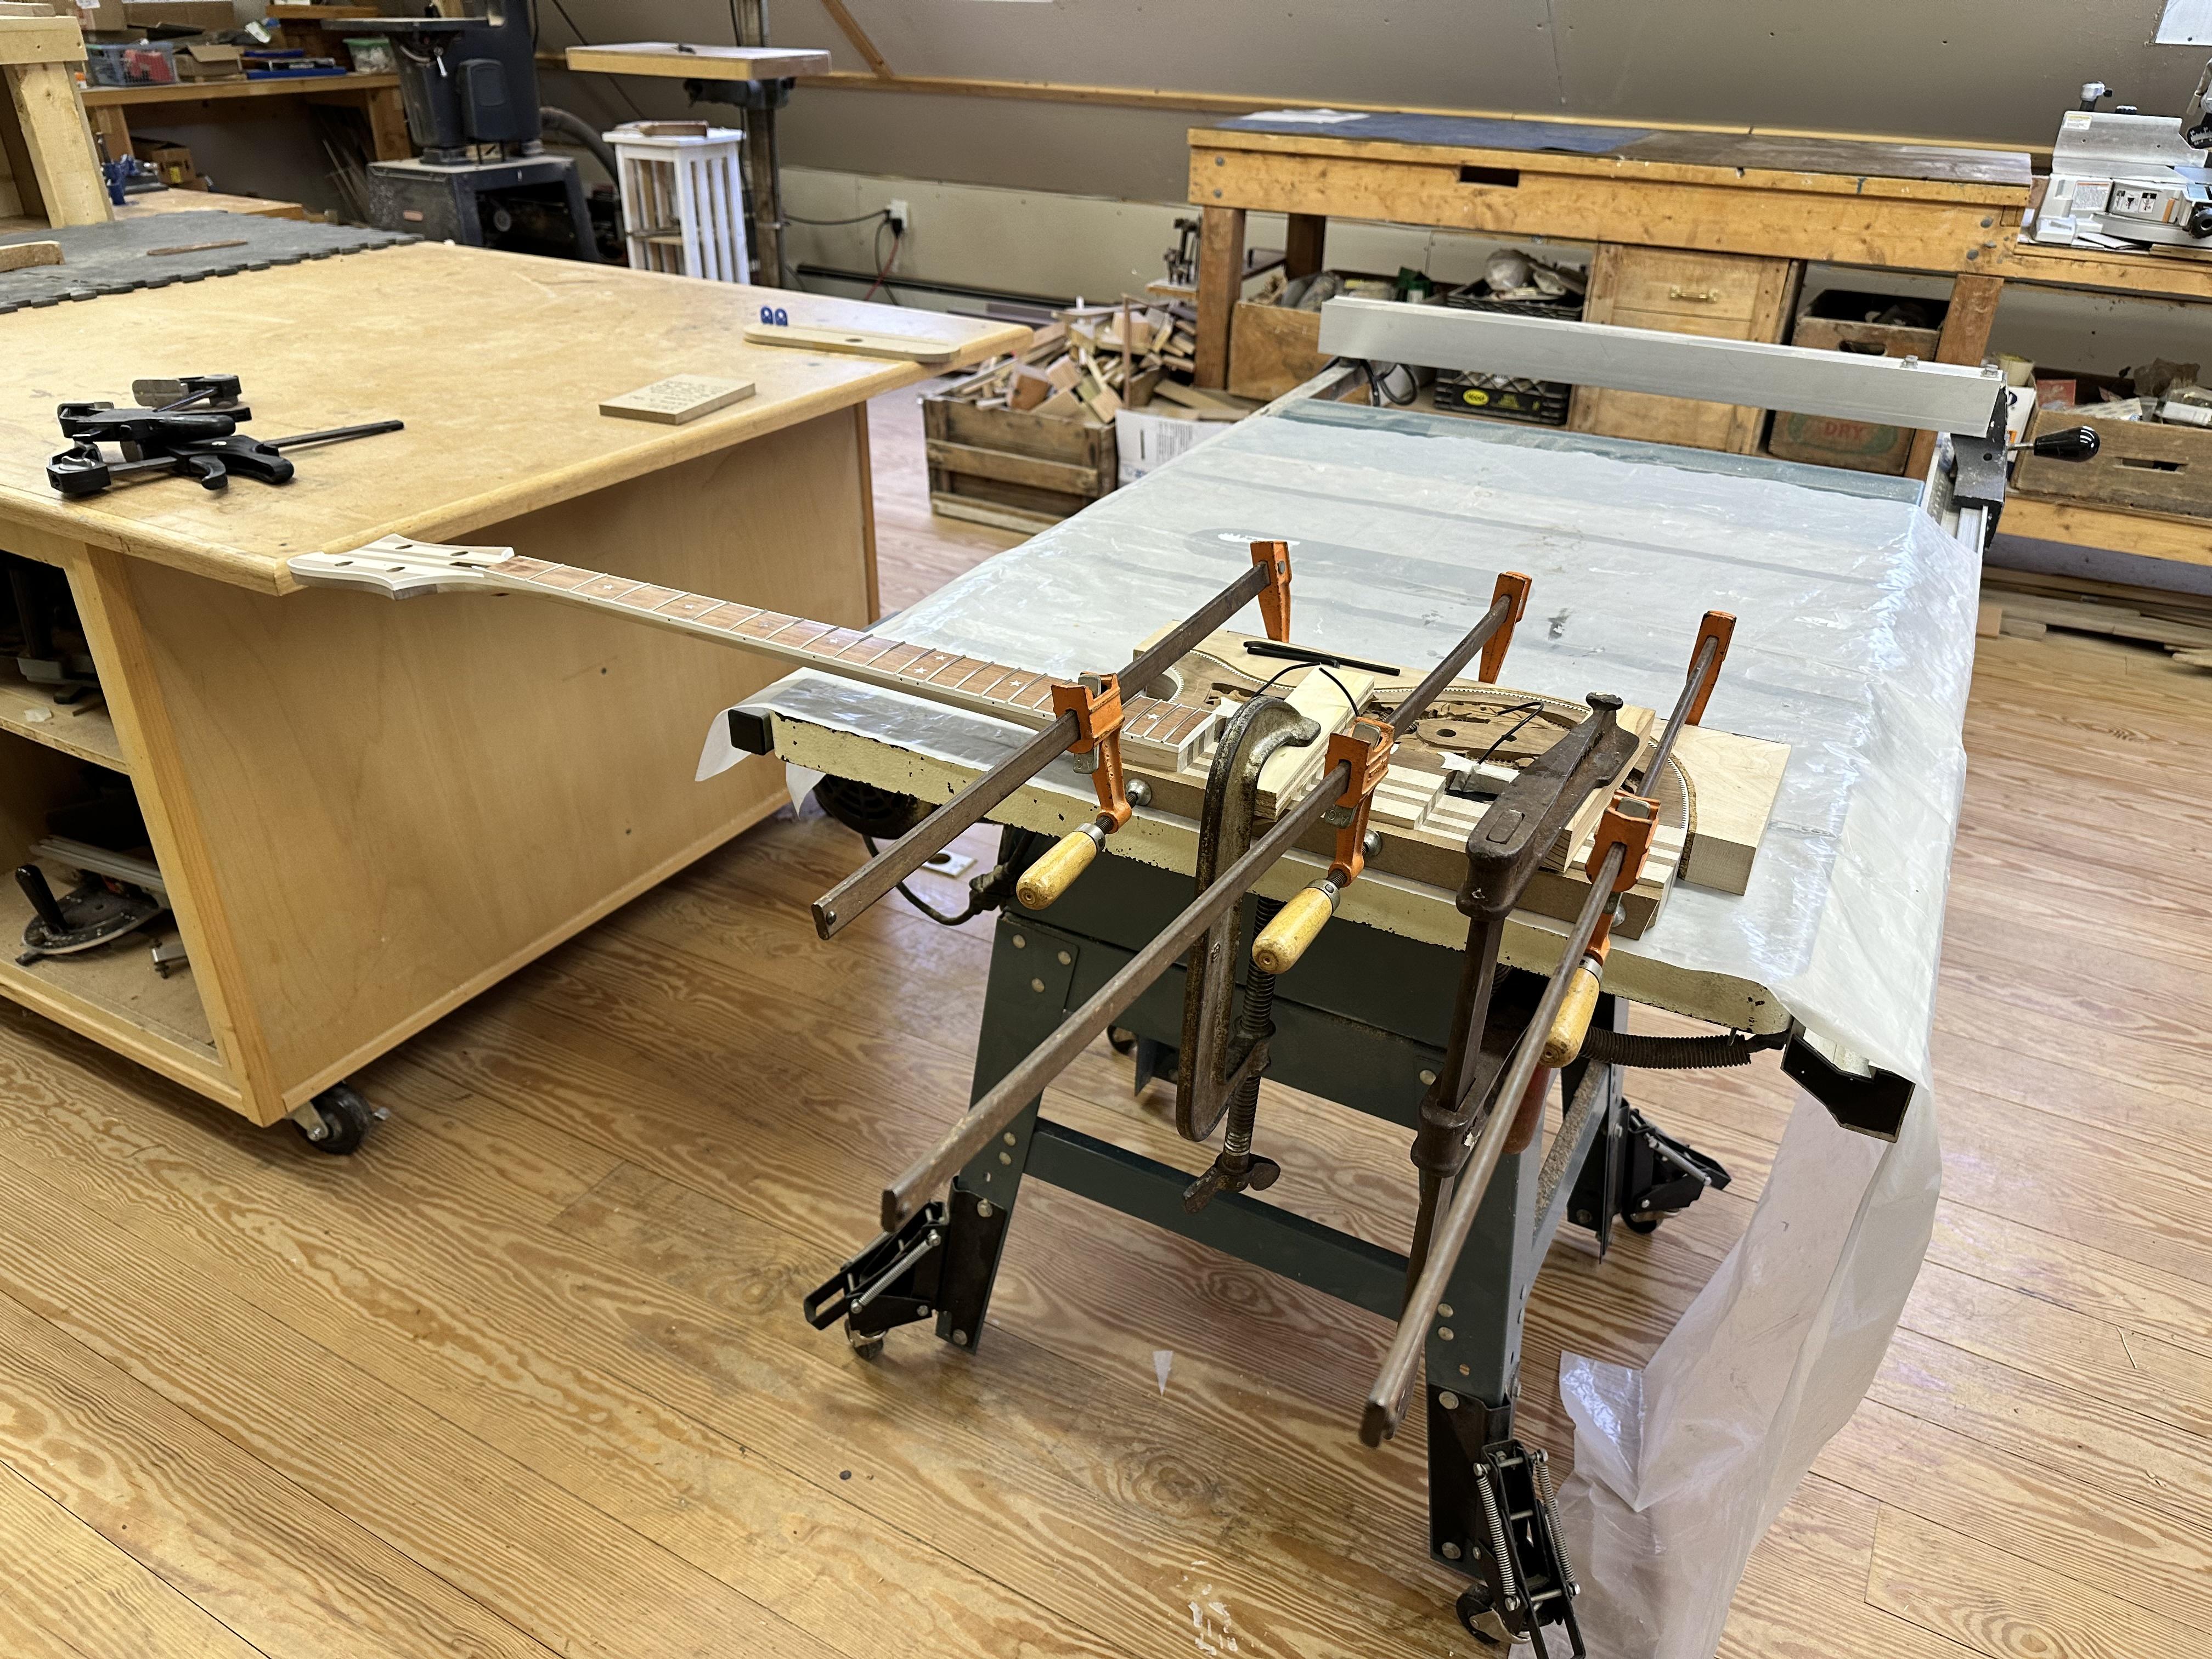
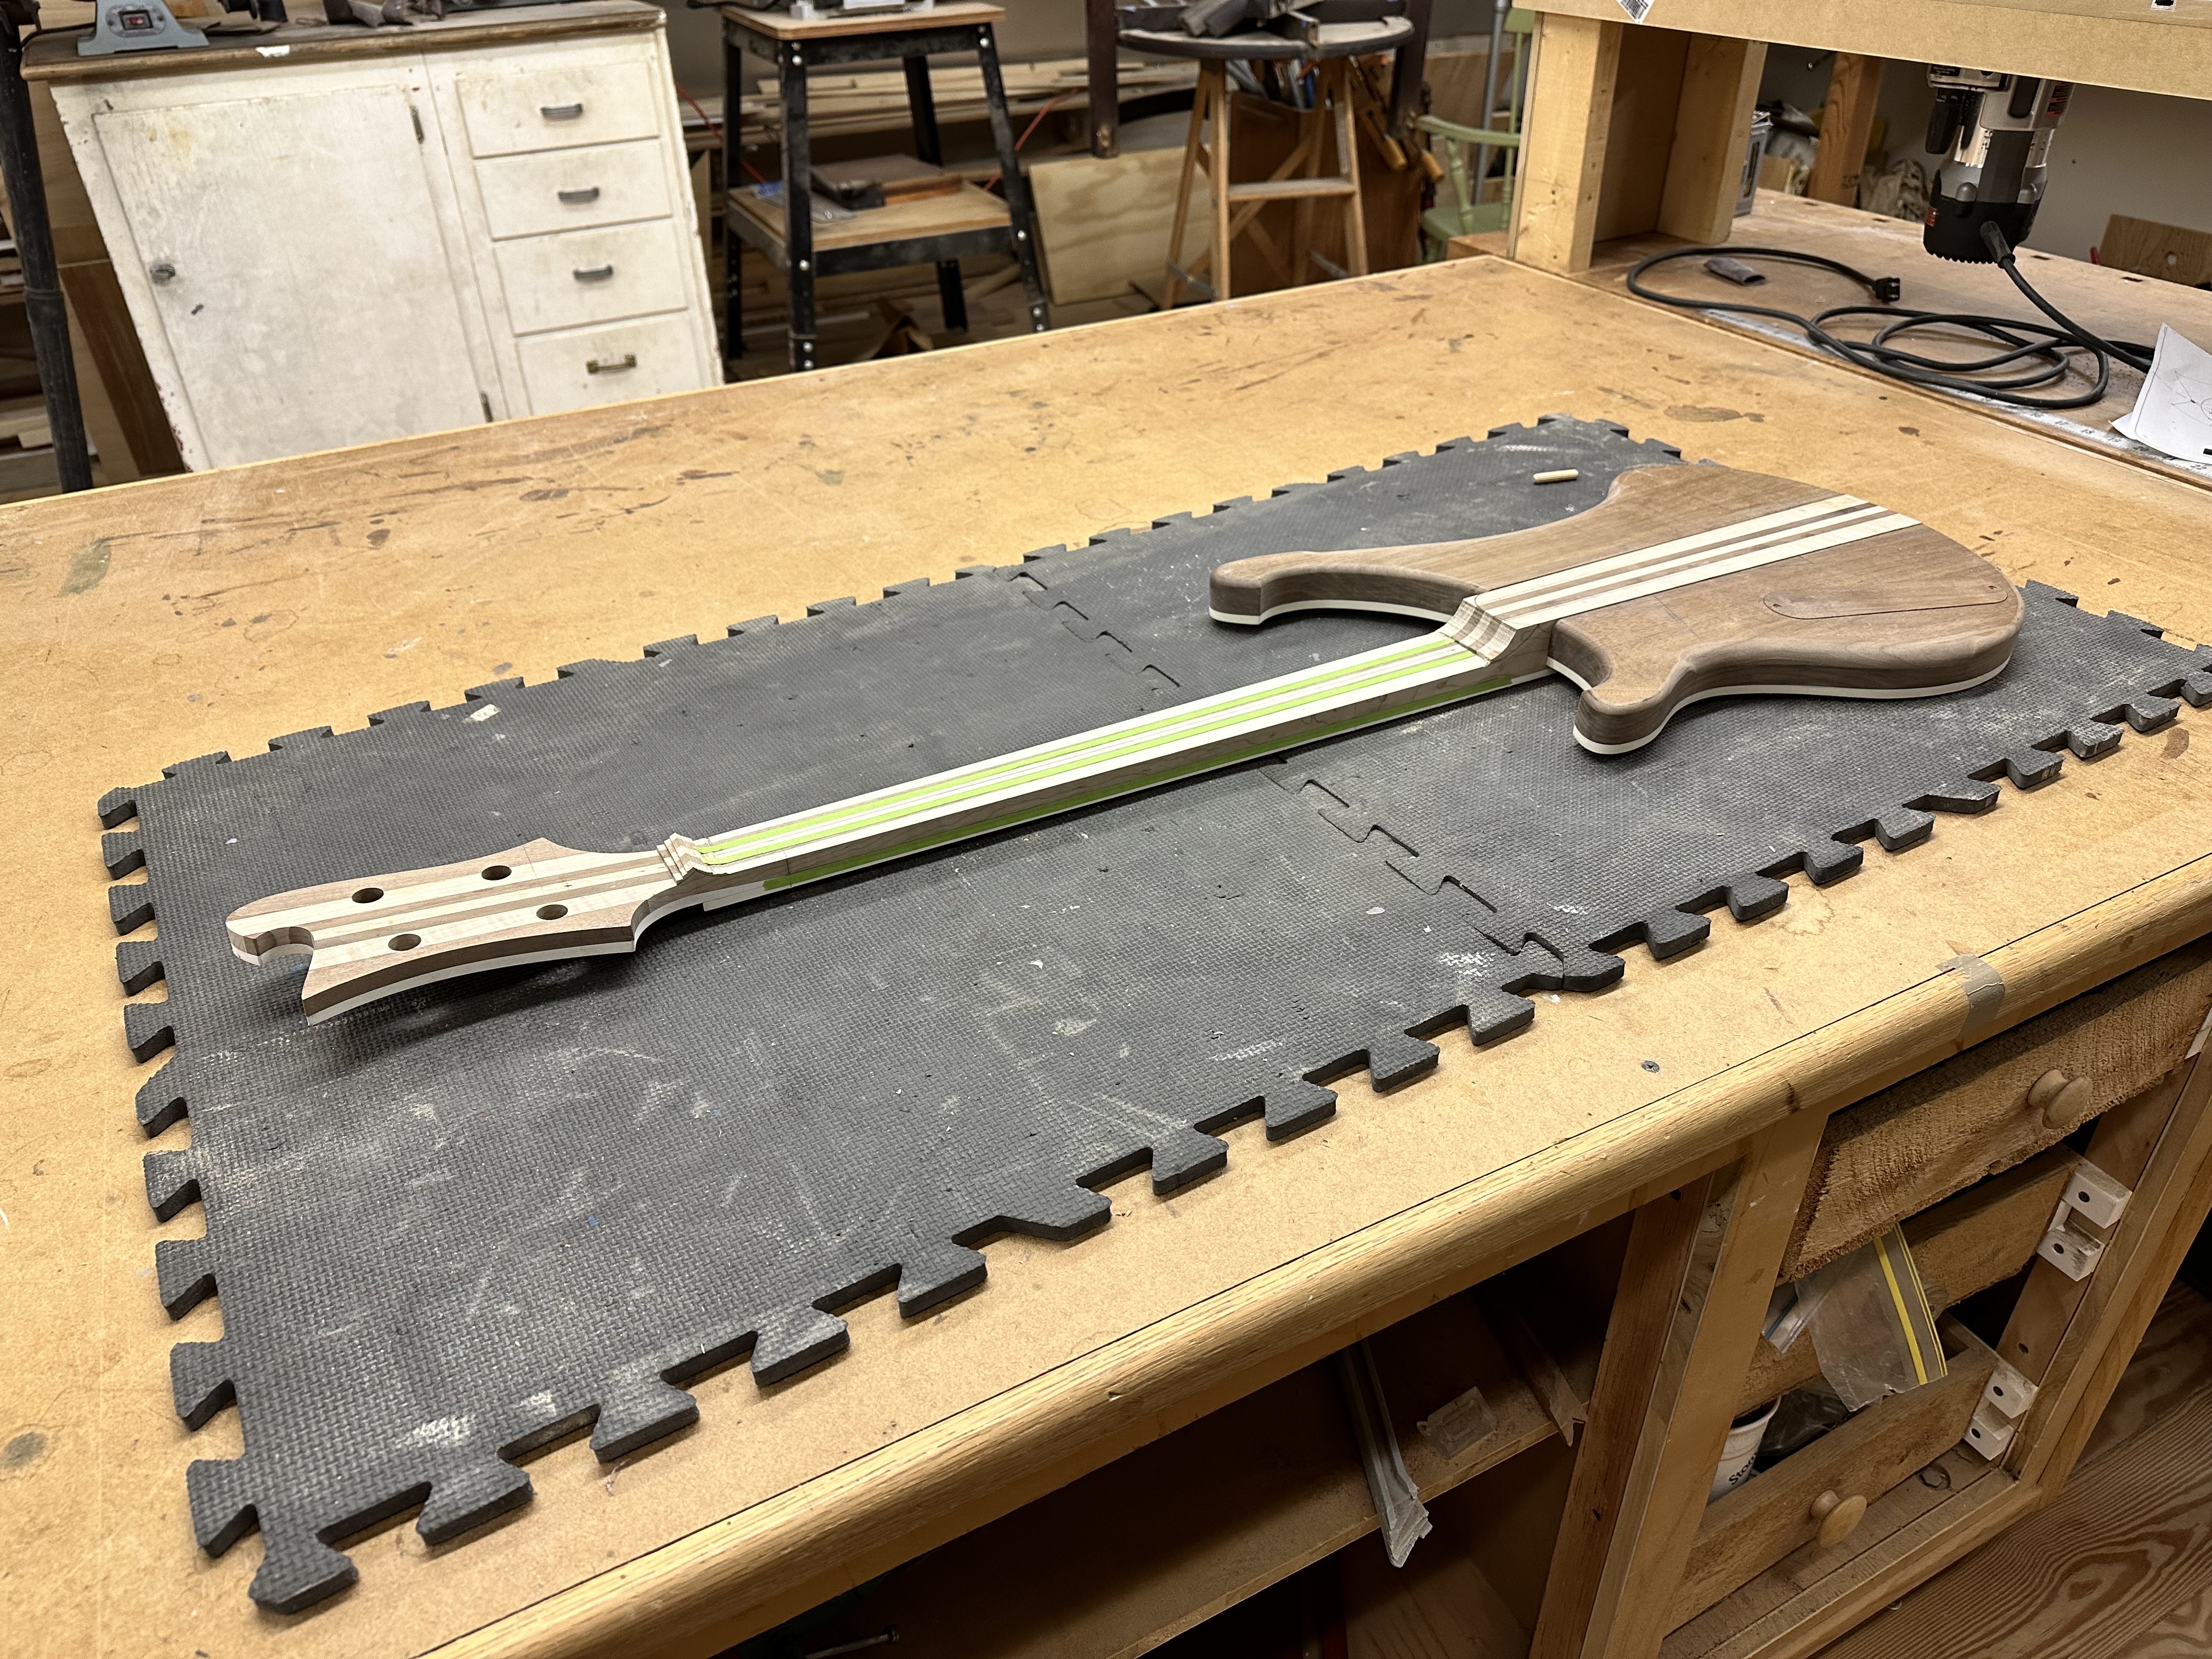
Neck carving finally under way after bandsawing off the waste. I like to start with a perfect flat at the back of the neck before I start cutting facets, which involves an excruciatingly finicky setup in my neck router box to account for the increased neck thickness from nut to heel. Lots of angled shims, trial and error, trying not to bend the neck out of straight in the box, etc. I don't know how other people do this, took me half the day just to set it up. Must be a better way! I'm marking facets with green tape, because I am friggin' blind. I know there are other ways to carve a neck, but this at least gives me the illusion of control and precision. A nerve-wracking process for me, only my third full neck carve. the first two are kind chunky in the "shoulders" right below the fingerboard, hoping to shape this one a little more comfortable in my hand.
LJb3rYw.jpg

It doesn't look like anyone answered your question about "how other people do this" so I will give it a shot: basically the same as you! :laugh:

I adjusted the neck flat when horizontal using the truss rod before starting. Then shimmed the headstock end with a suitable sized drill bit to get the right difference in thickness. Yes, a bit fiddly due to trial and error, but it definitely did not take half the day -- probably more like half an hour.

Anyway, your build is looking great! :bassist:
 
I draw lines and then go at it with a flap wheel in an angle grinder, before using files to rough it in. I want to be able to do four necks in a session, so speed is important. :D

I just attack mine with a Holey Galahad, then a Shinto (the coarse side, then the fine side), then 60 grit in a ROS. :woot:

Are we talking about the same thing? I thought @Gilmourisgod was asking about how to get the back of the neck straight before marking out the facets. For removing the facets for sure flap sanders, Holey Galahad (eek! :dead:), Shinto etc are they way to go. But those tools seem like a hard way to level a piece of wood!

 
  • Like
Reactions: Beej
What I did was straighten the neck as best I could and then shimmed it in the box such that running the router along the box rails produced a gradual neck thickening towards the neck heel. The shimming was what took forever to get right, the actual neck carve, once I had a properly tapered neck back, the actual carve was around 2 hours. Love that Shinto rasp!
 
Oops, me too. I put it in a router fixture and block up one end underneath until I get exactly the right cutting depth at heel and nut/volute/first fret and then I rout it flat in passes. When I carve, I carve the sides with the power grinder method and blend them into the pre-routed back-of-neck. :)
You Power Grinder People make me feel Worthless and Weak, scraping away for hours, all sweaty and nervous, like a hunk of Rancid Pork. I have yet to file through to a trussrod but.... build ain't over.
 
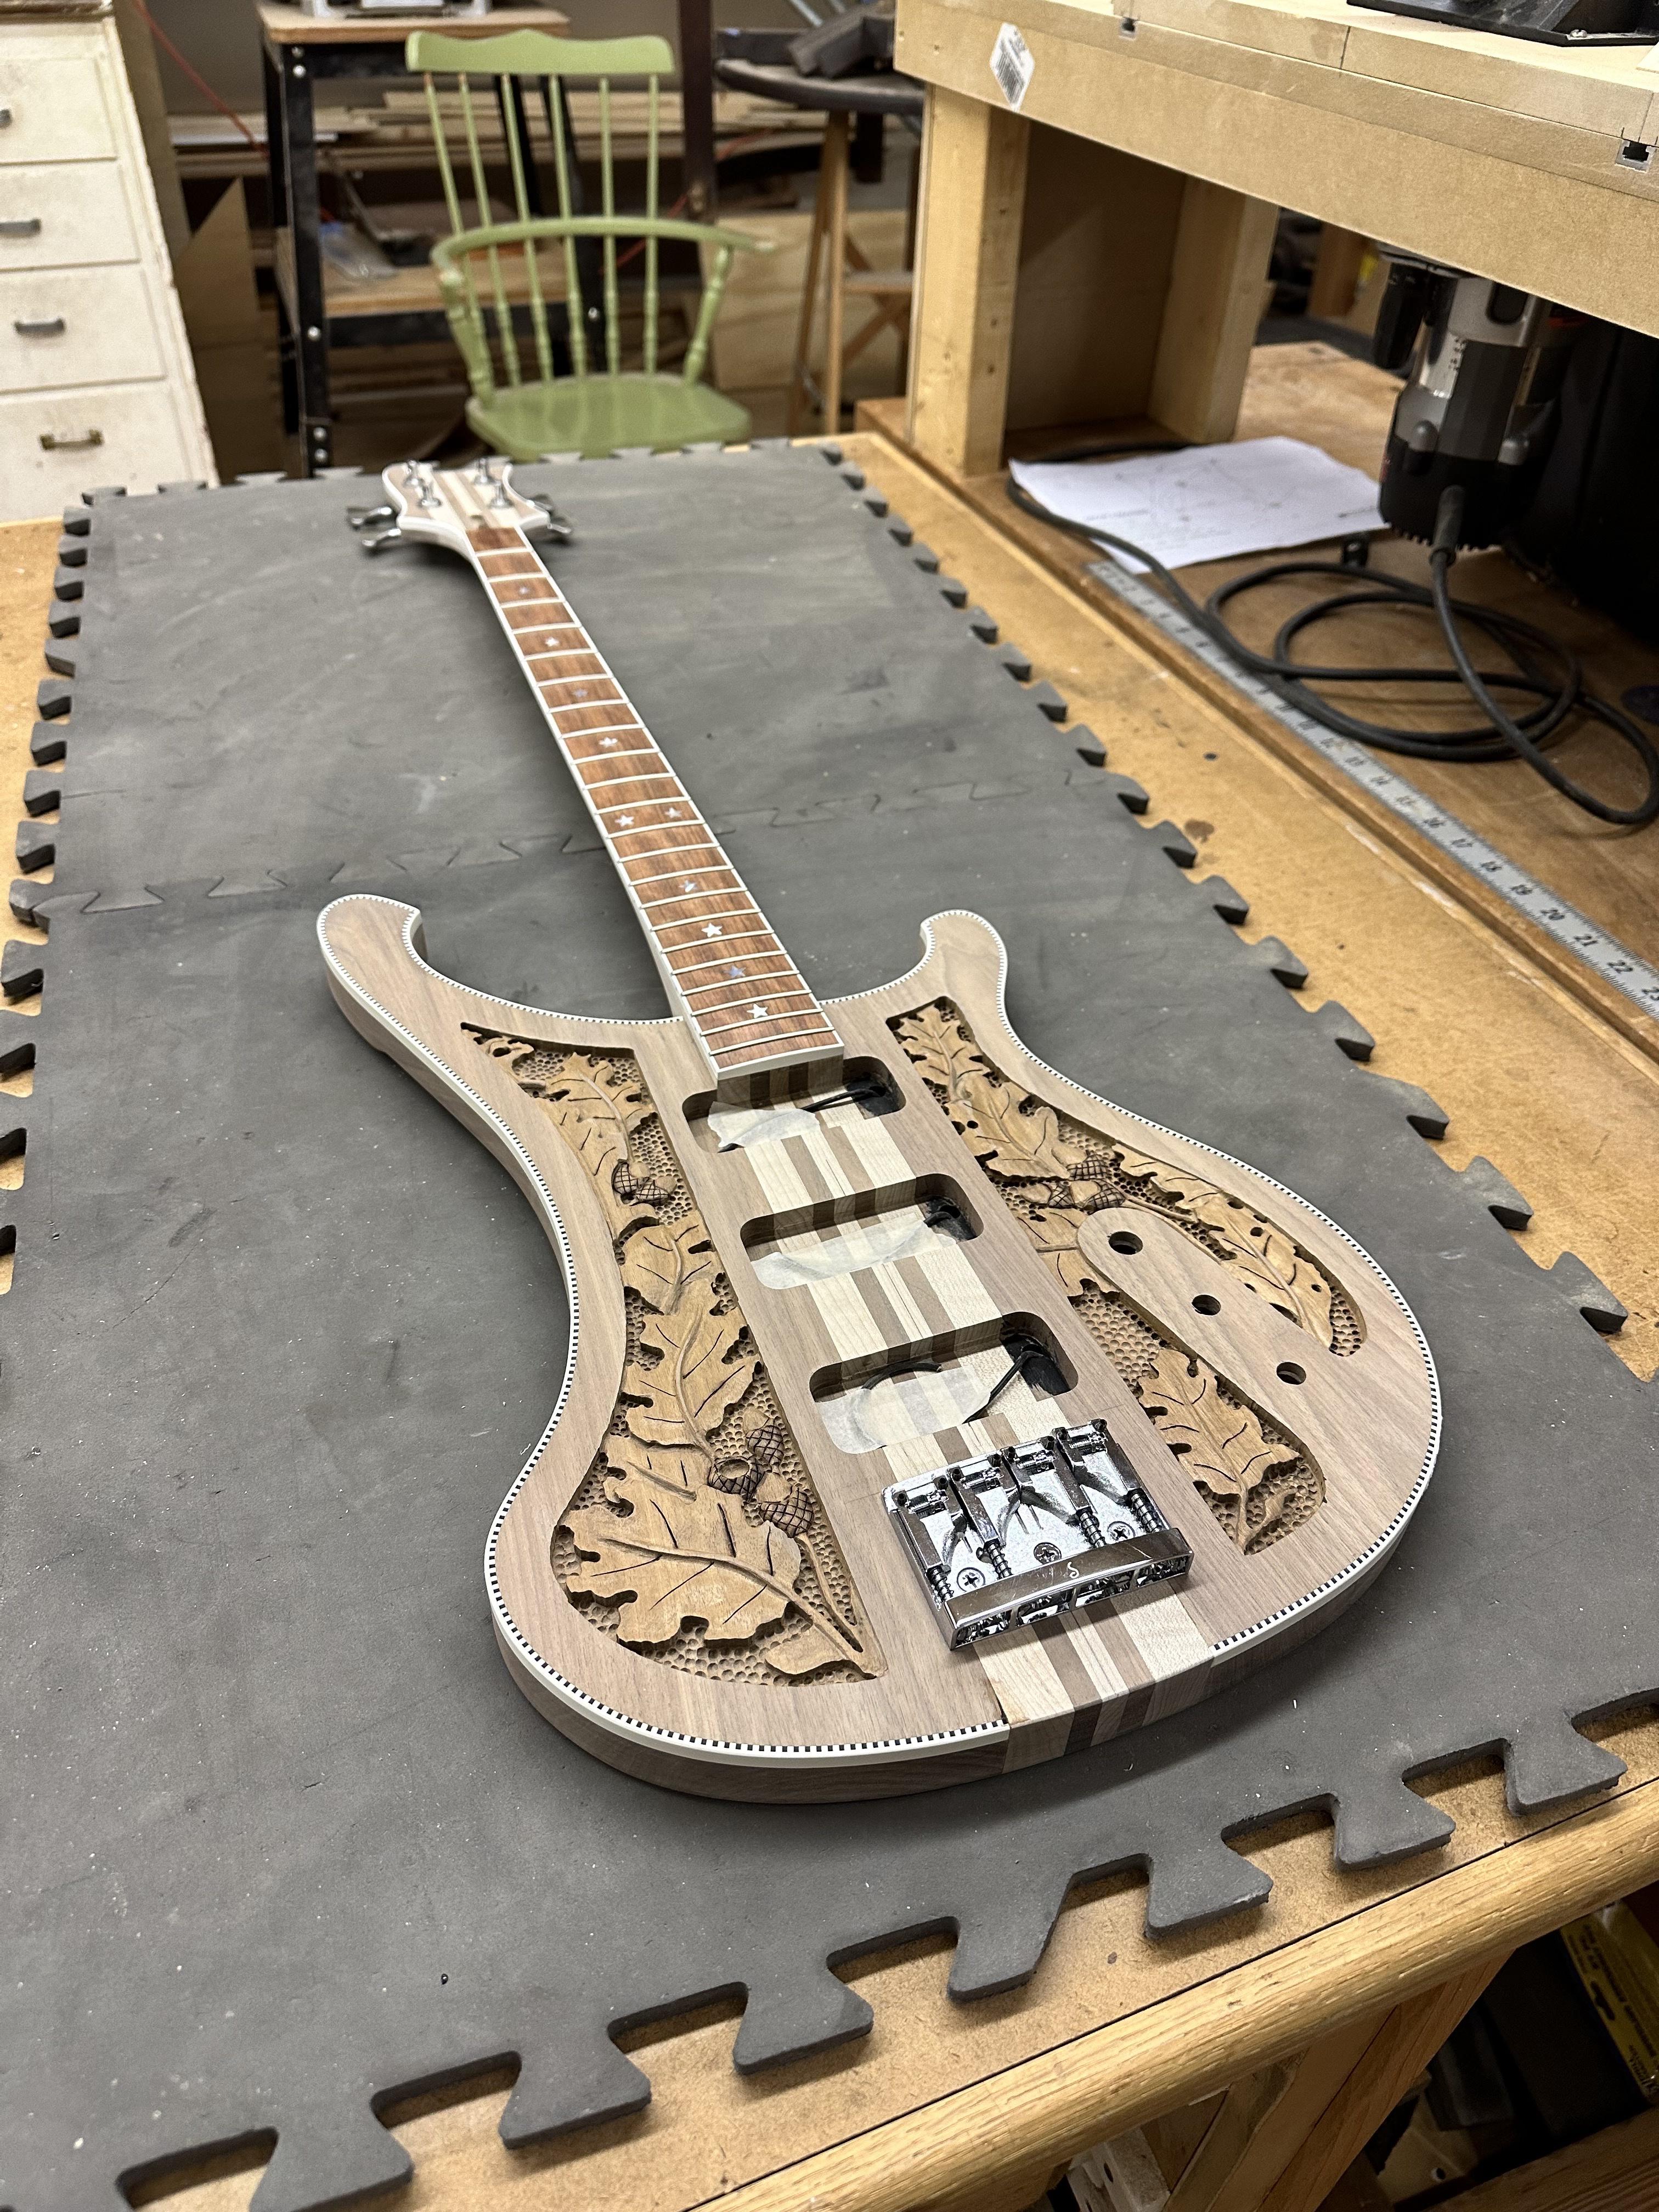
FINALLY gluing on the body wings, one wing at a time. Much less stressful.
nxIDeMM.jpg


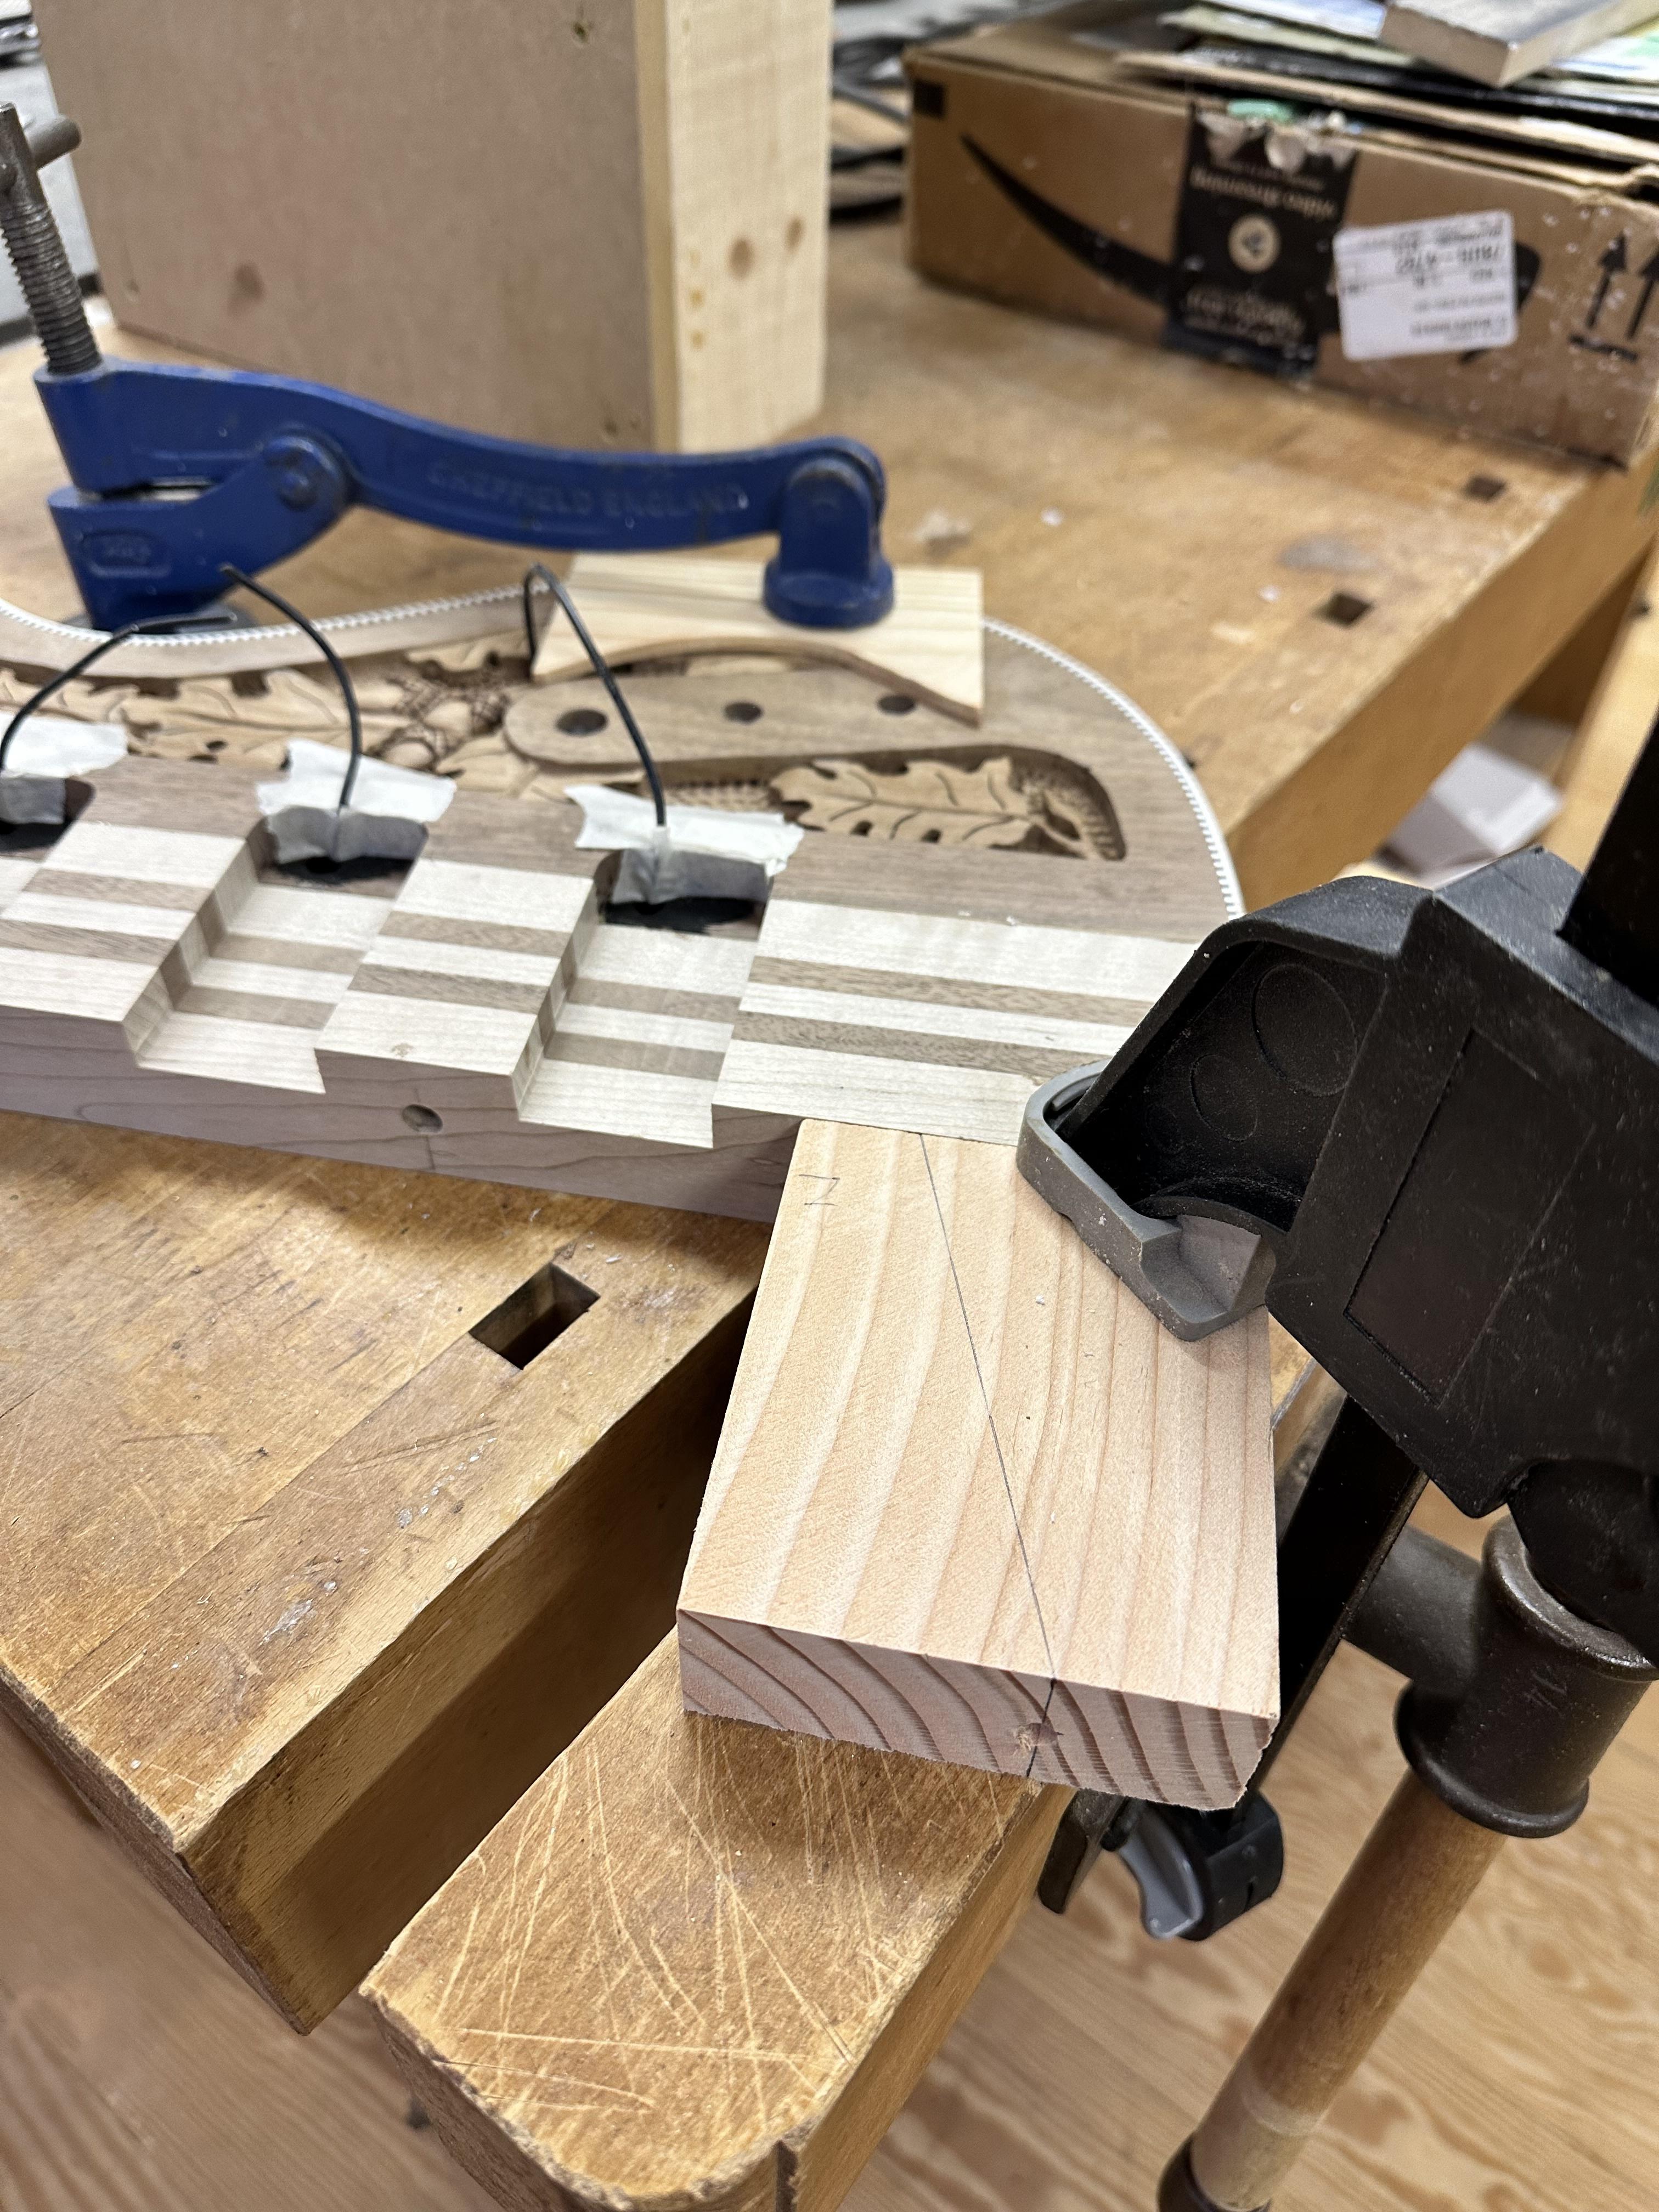
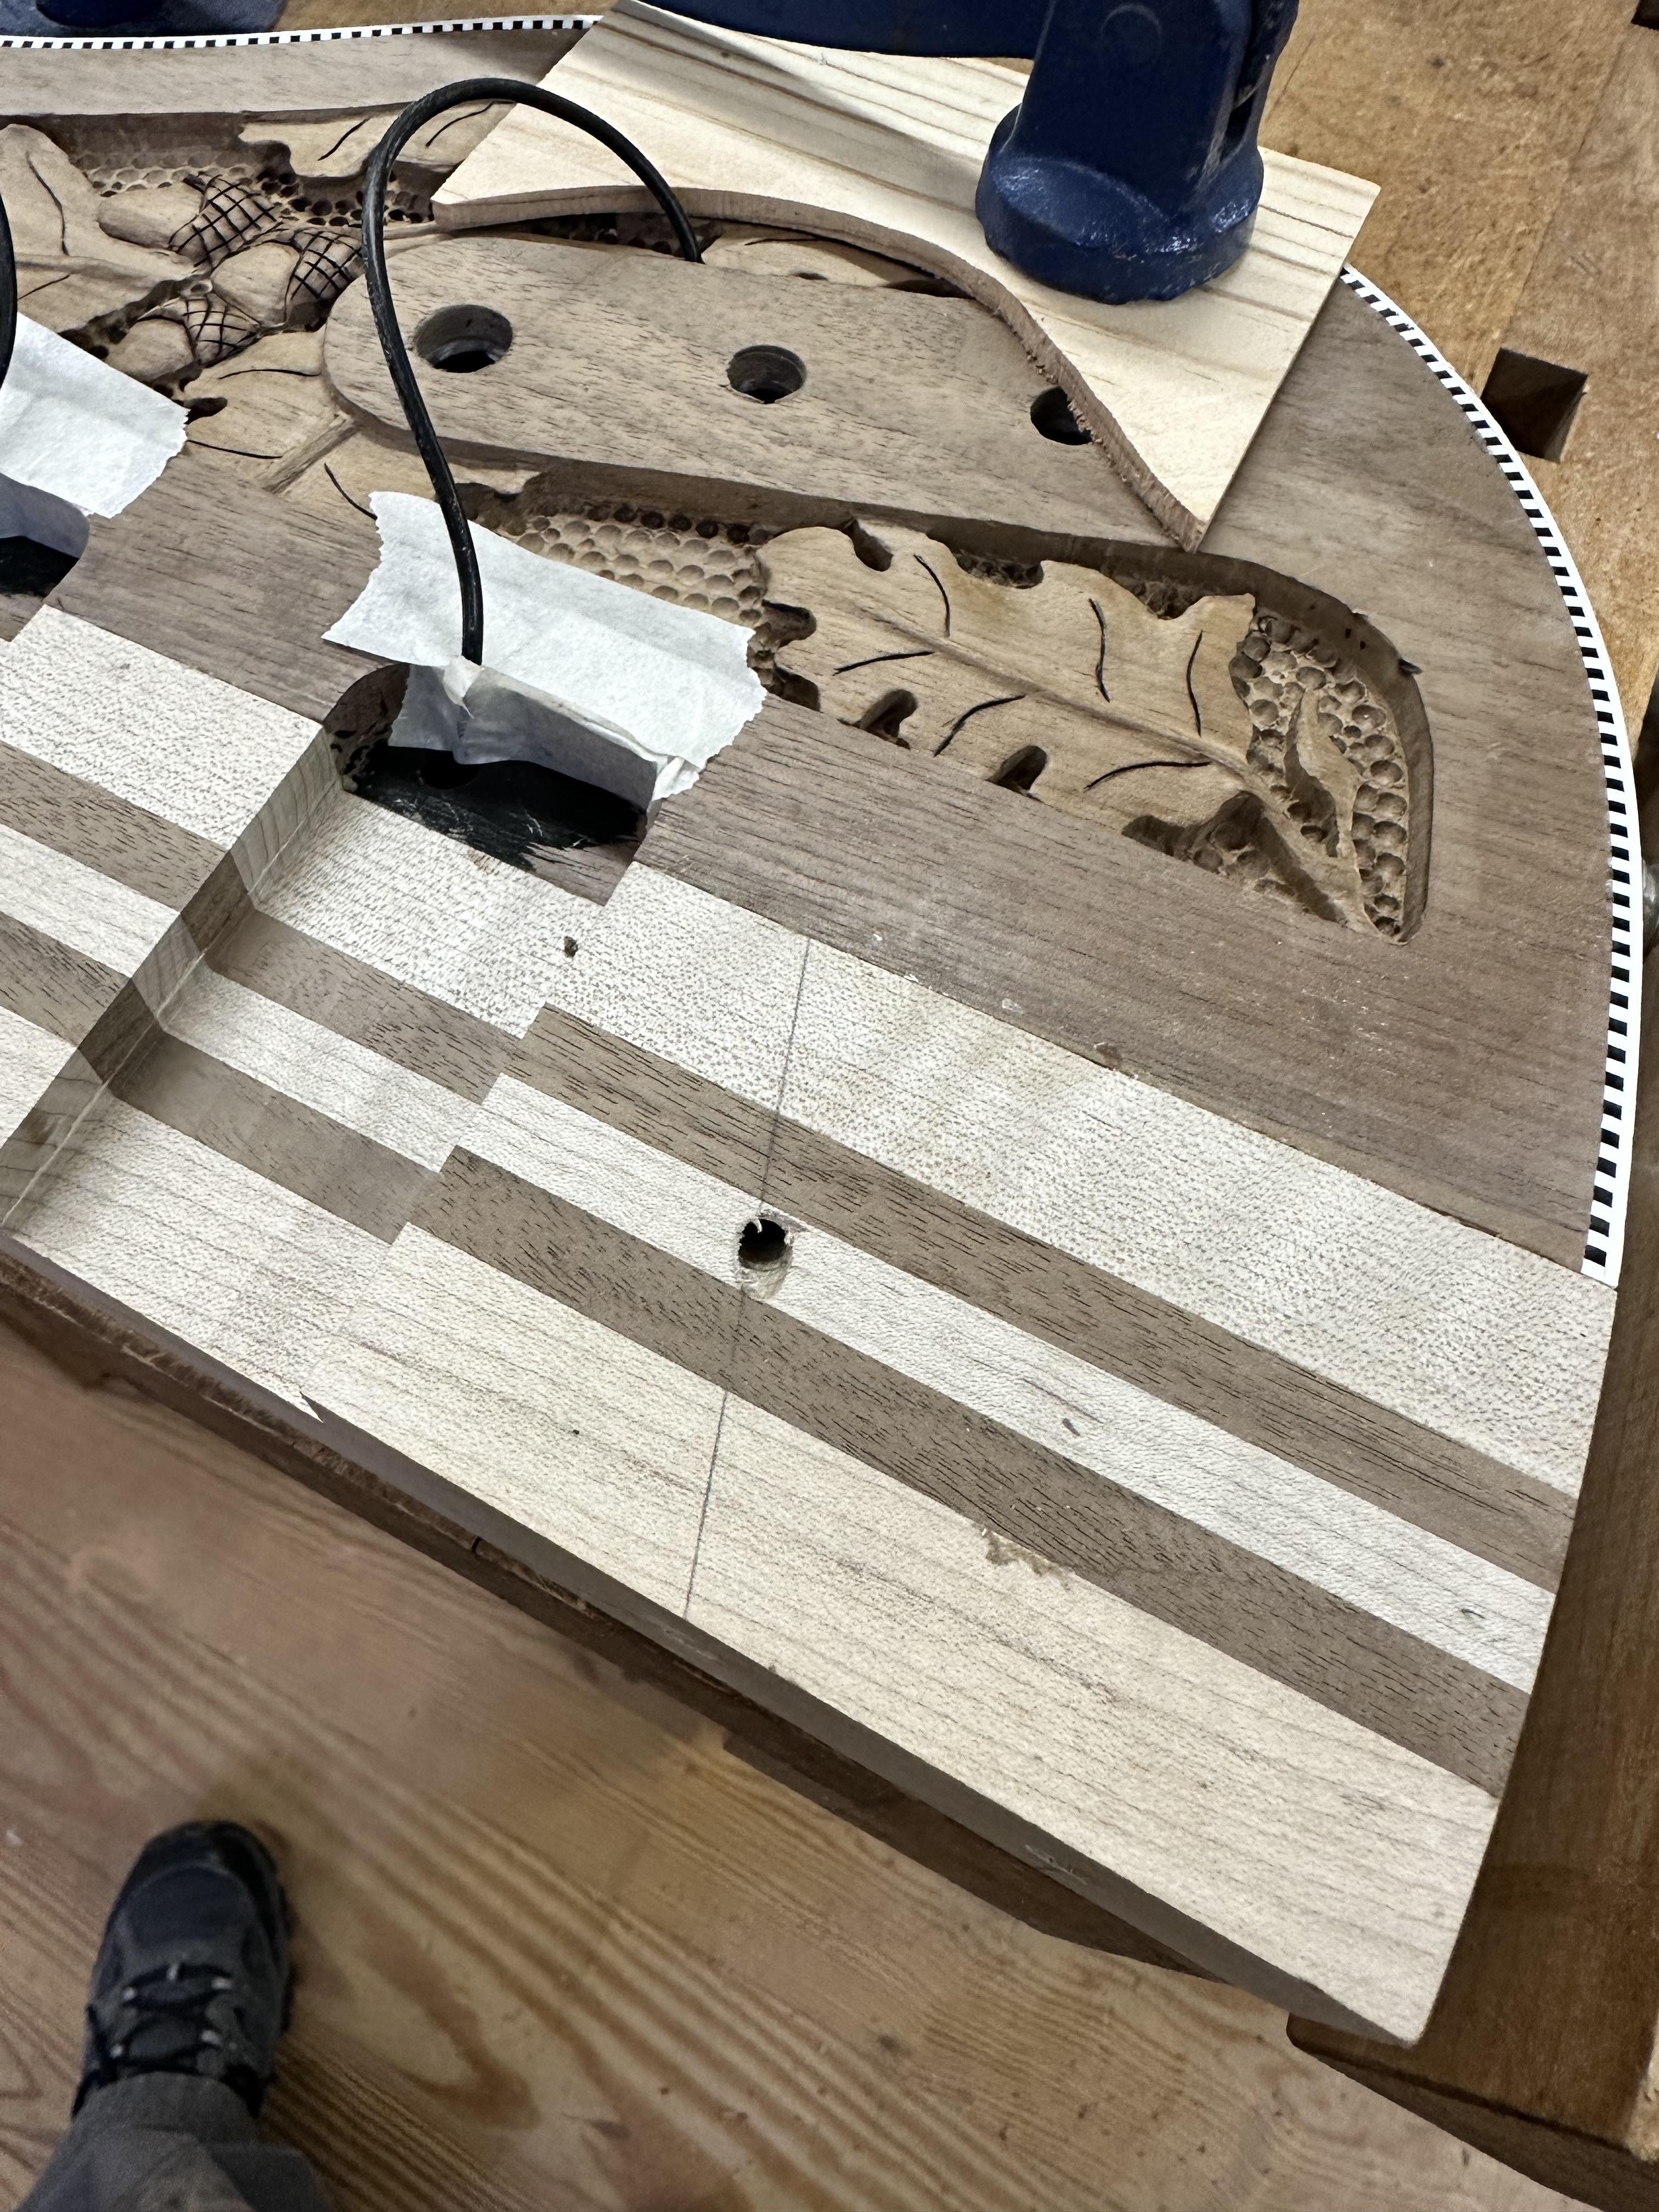
Drilling a bridge ground using the "eyeball the angle and hope you don't come out the back of the bass" method has worked for me, or rather, I've gotten a way with it, but I decided to try something a little more postive this time by pre-drilling a guide block at the correct angle and using that to keep the 3/16" aircraft bit running true, right through the neck beam and into the control cavity.
hwxYWaV.jpg


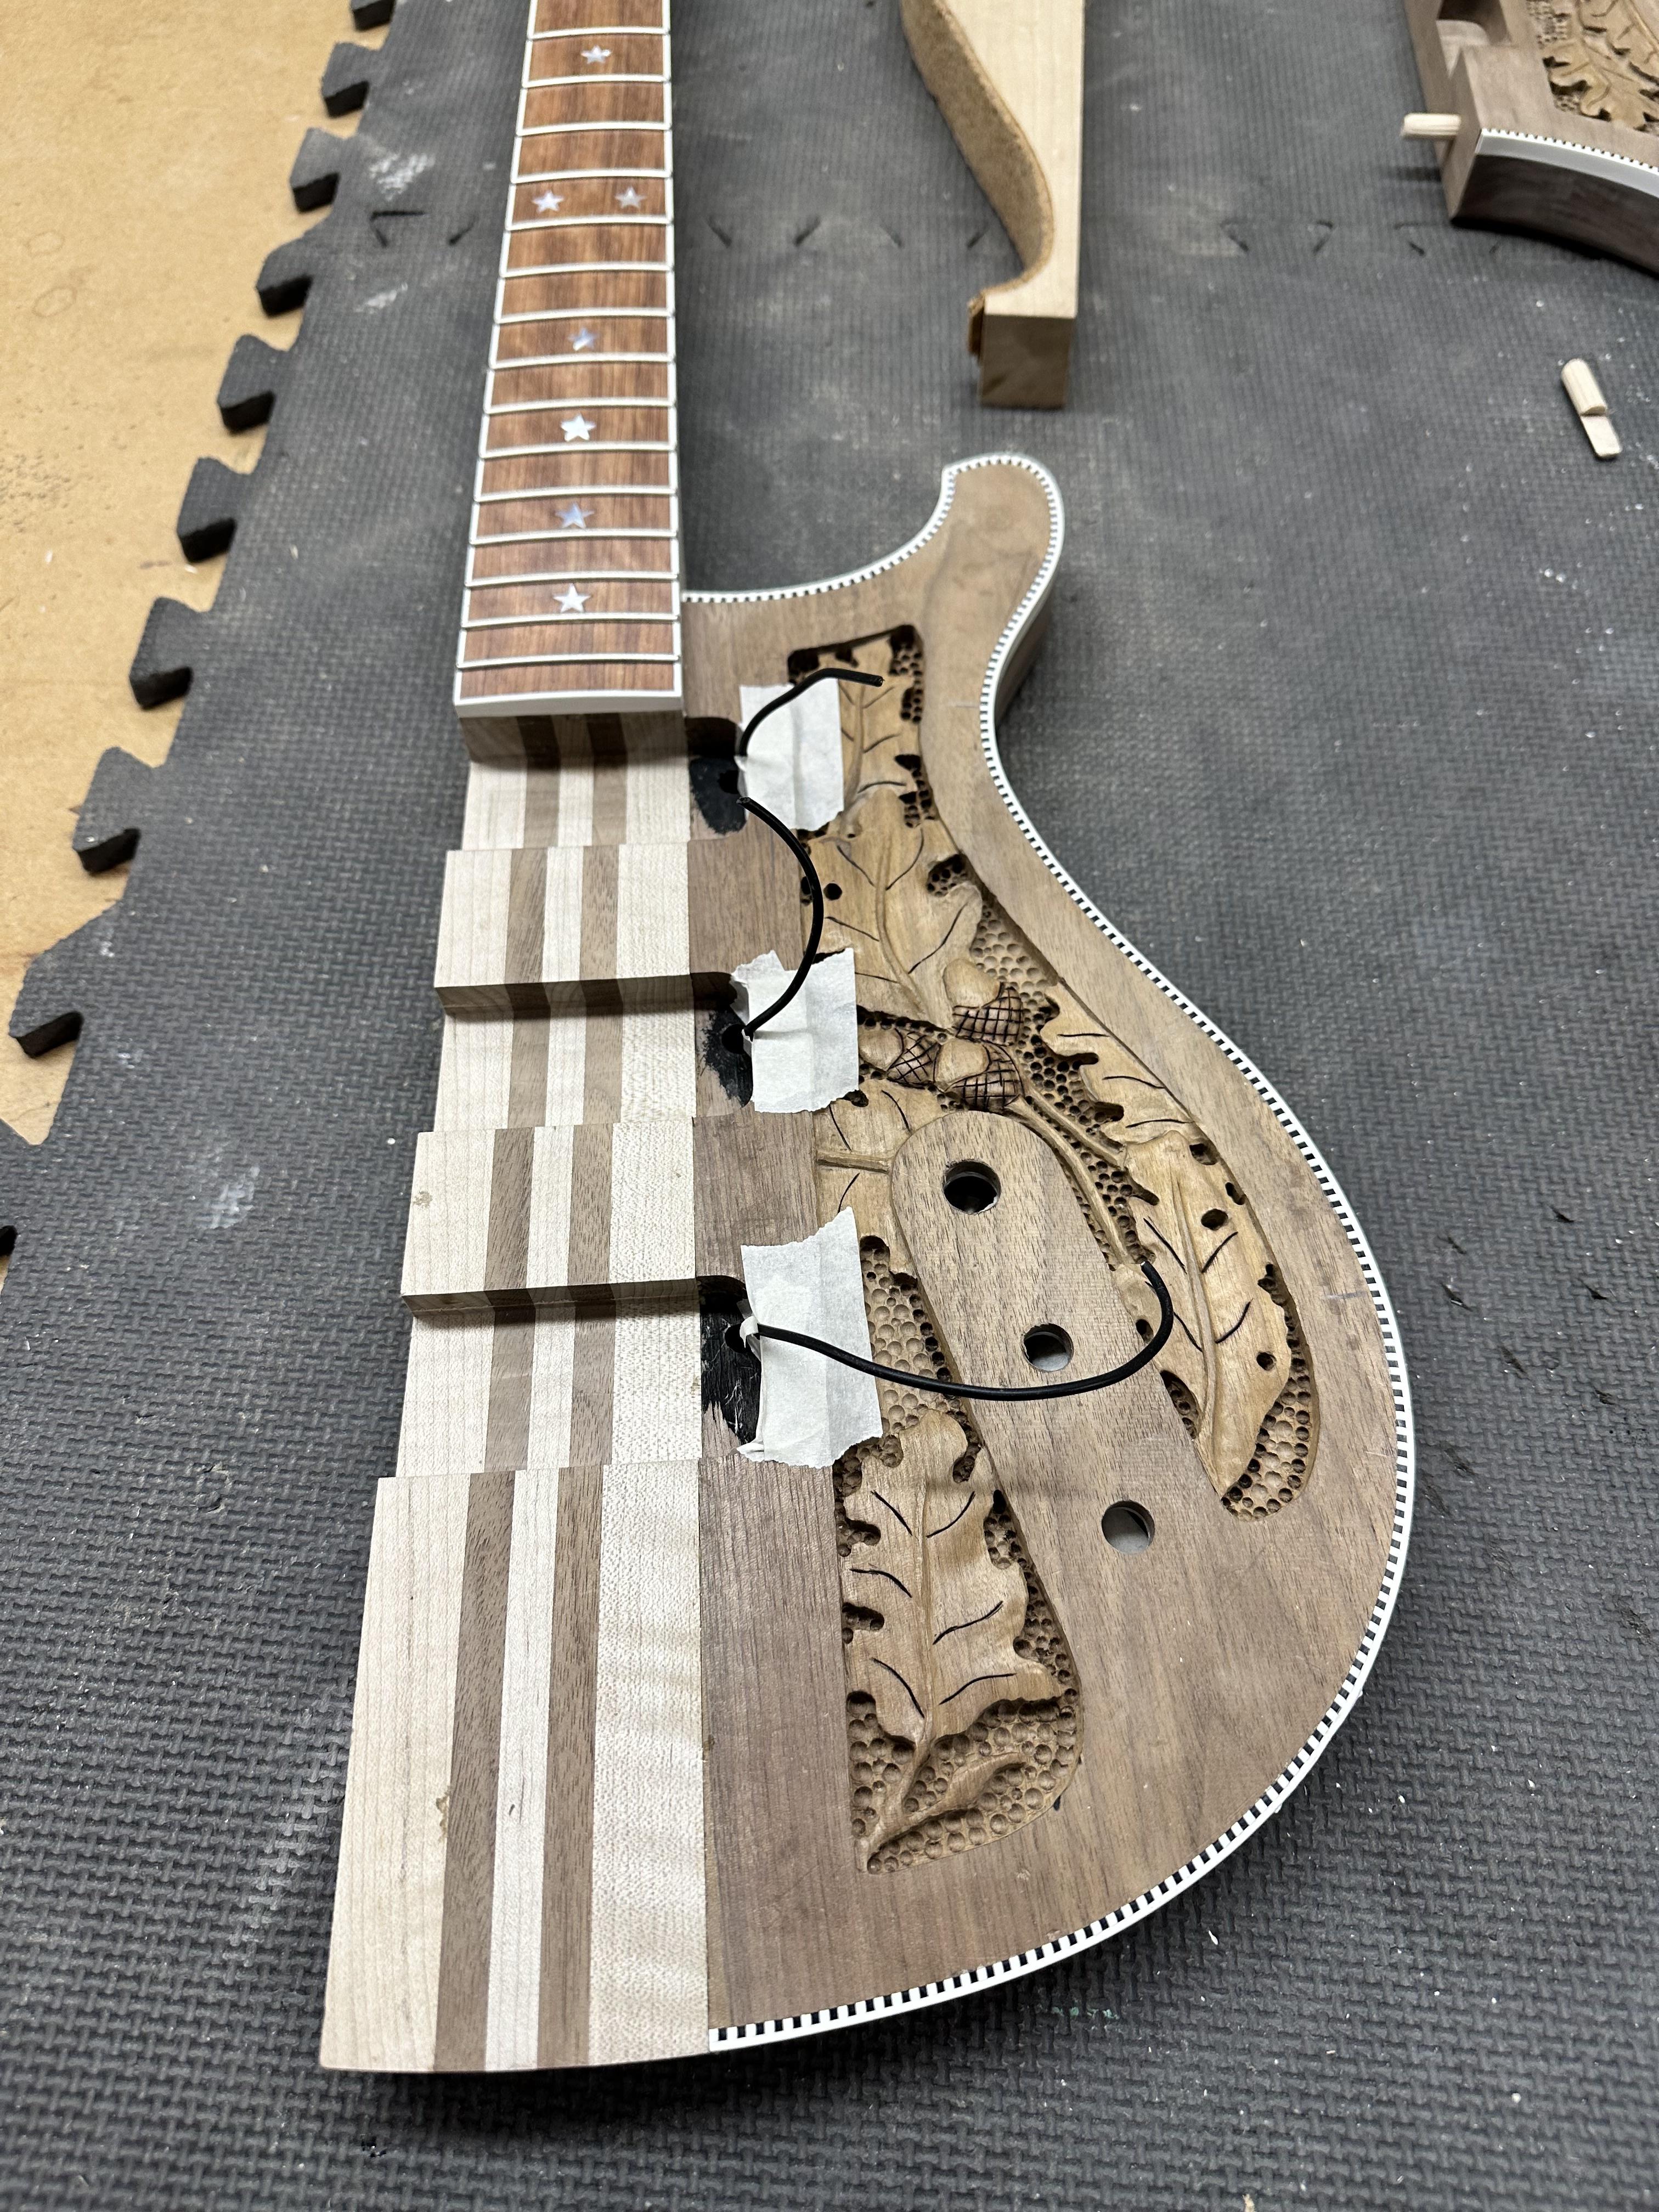
I ran some shielded wire through my slot cut into the body edge to each pickup from the control cavity. I'm a little nervous about getting three wires through my channel, figured I can either use these to pull the wire through, or just splice the pickup wires to the pigtails I left hanging out.
jl27zvR.jpg


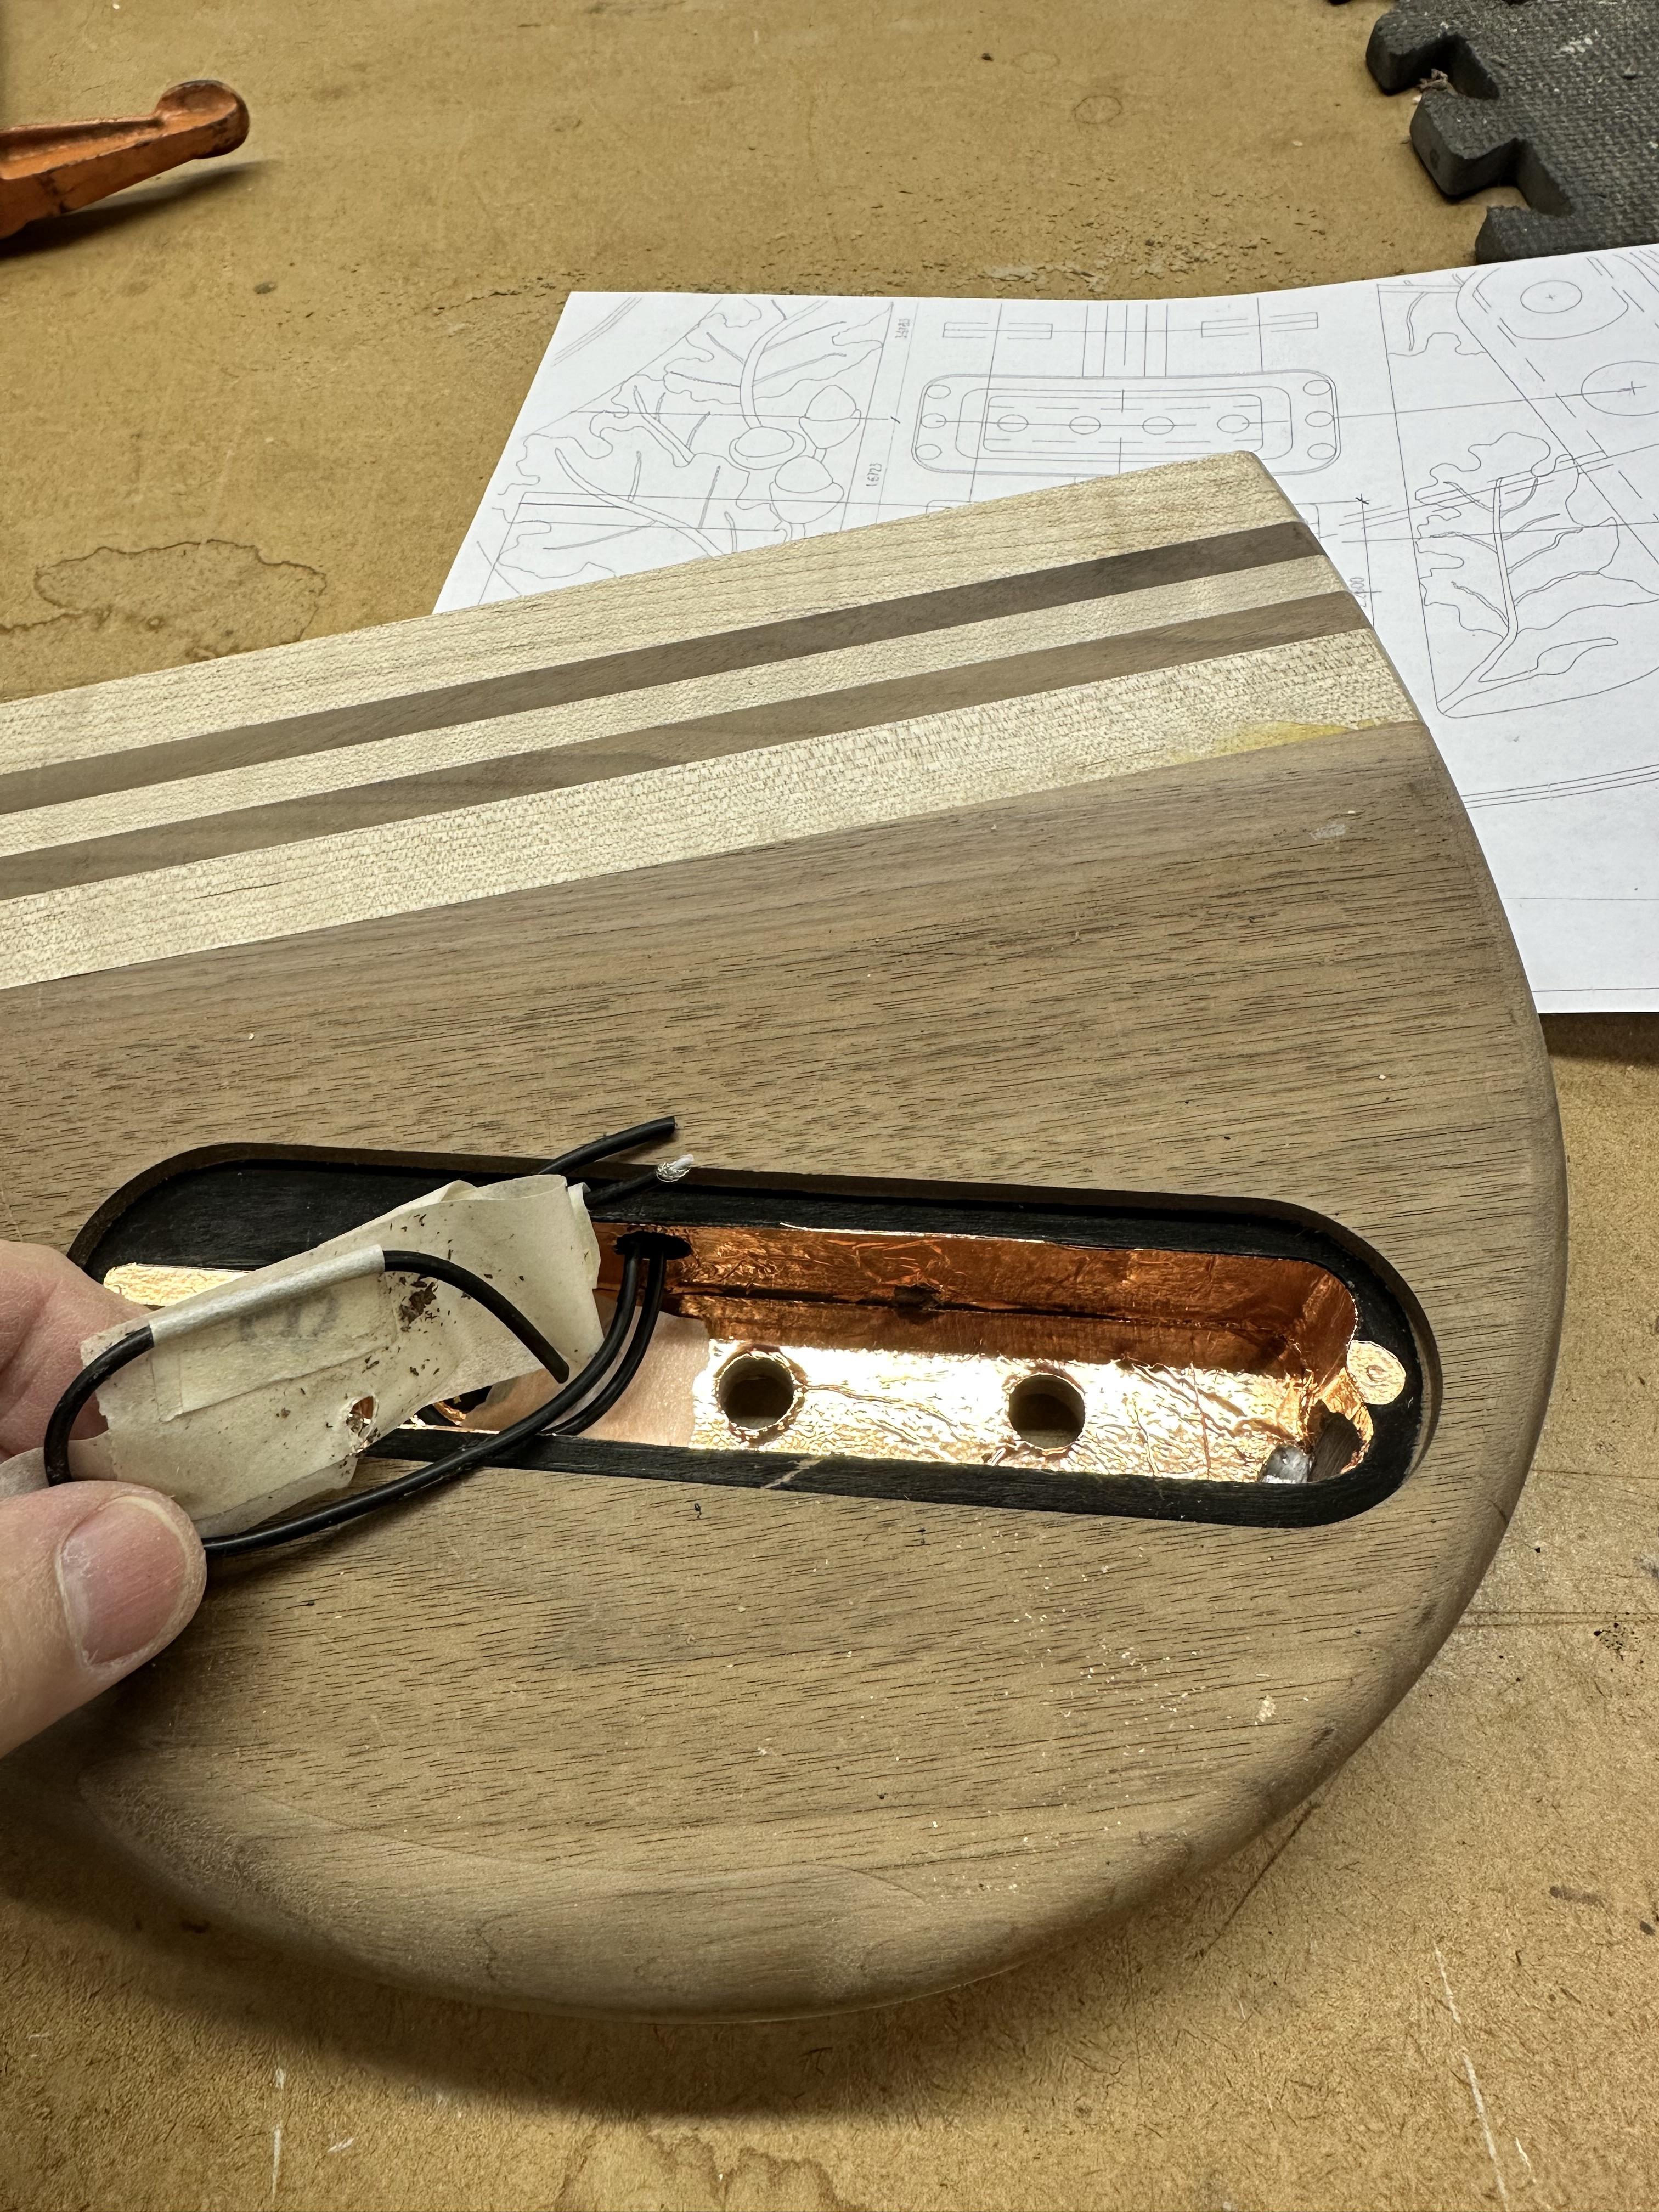
Even with all that, the bit "wandered" a little vertically, it daylighted just above my aluminum "roof" plate. I'll call that a Win.
kNcQINH.jpg


Then a I drilled a hole from the top center of neck beam down into the long wire hole, at about a 45 degree angle. I'll solder an eyelet to the ground wire and pass the center bridge screw through it later. It worked!
RJN62s8.jpg


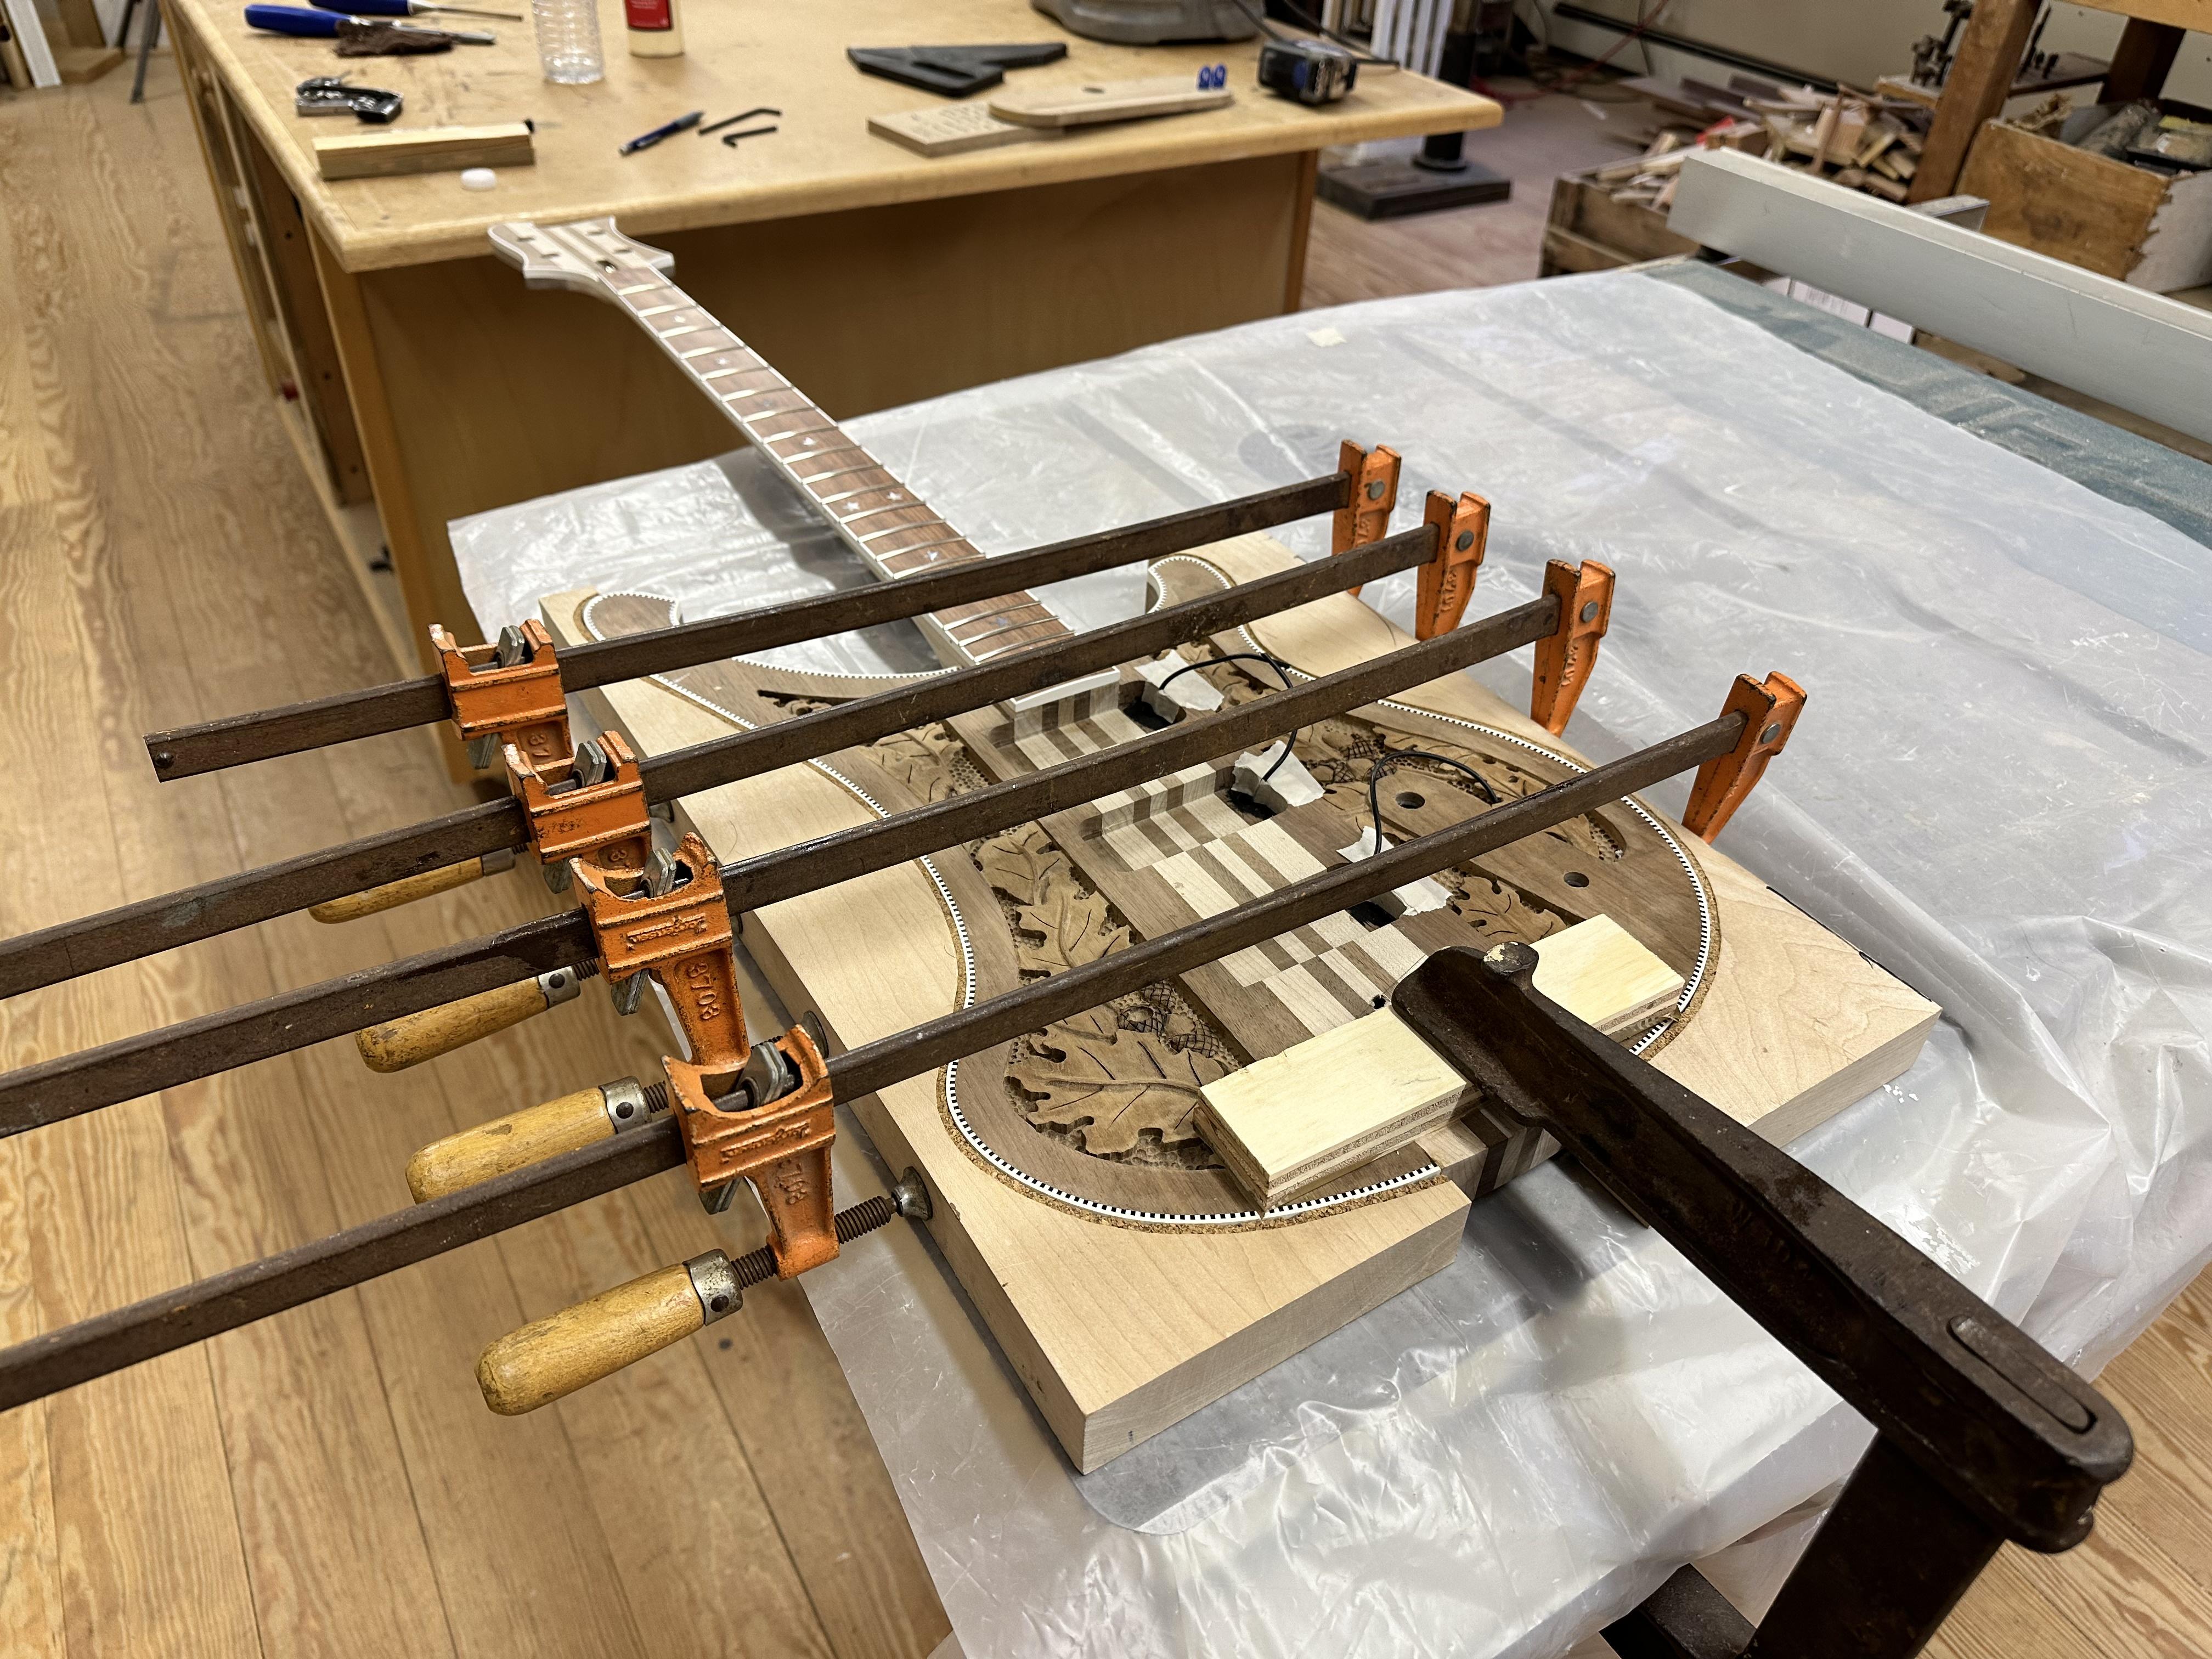
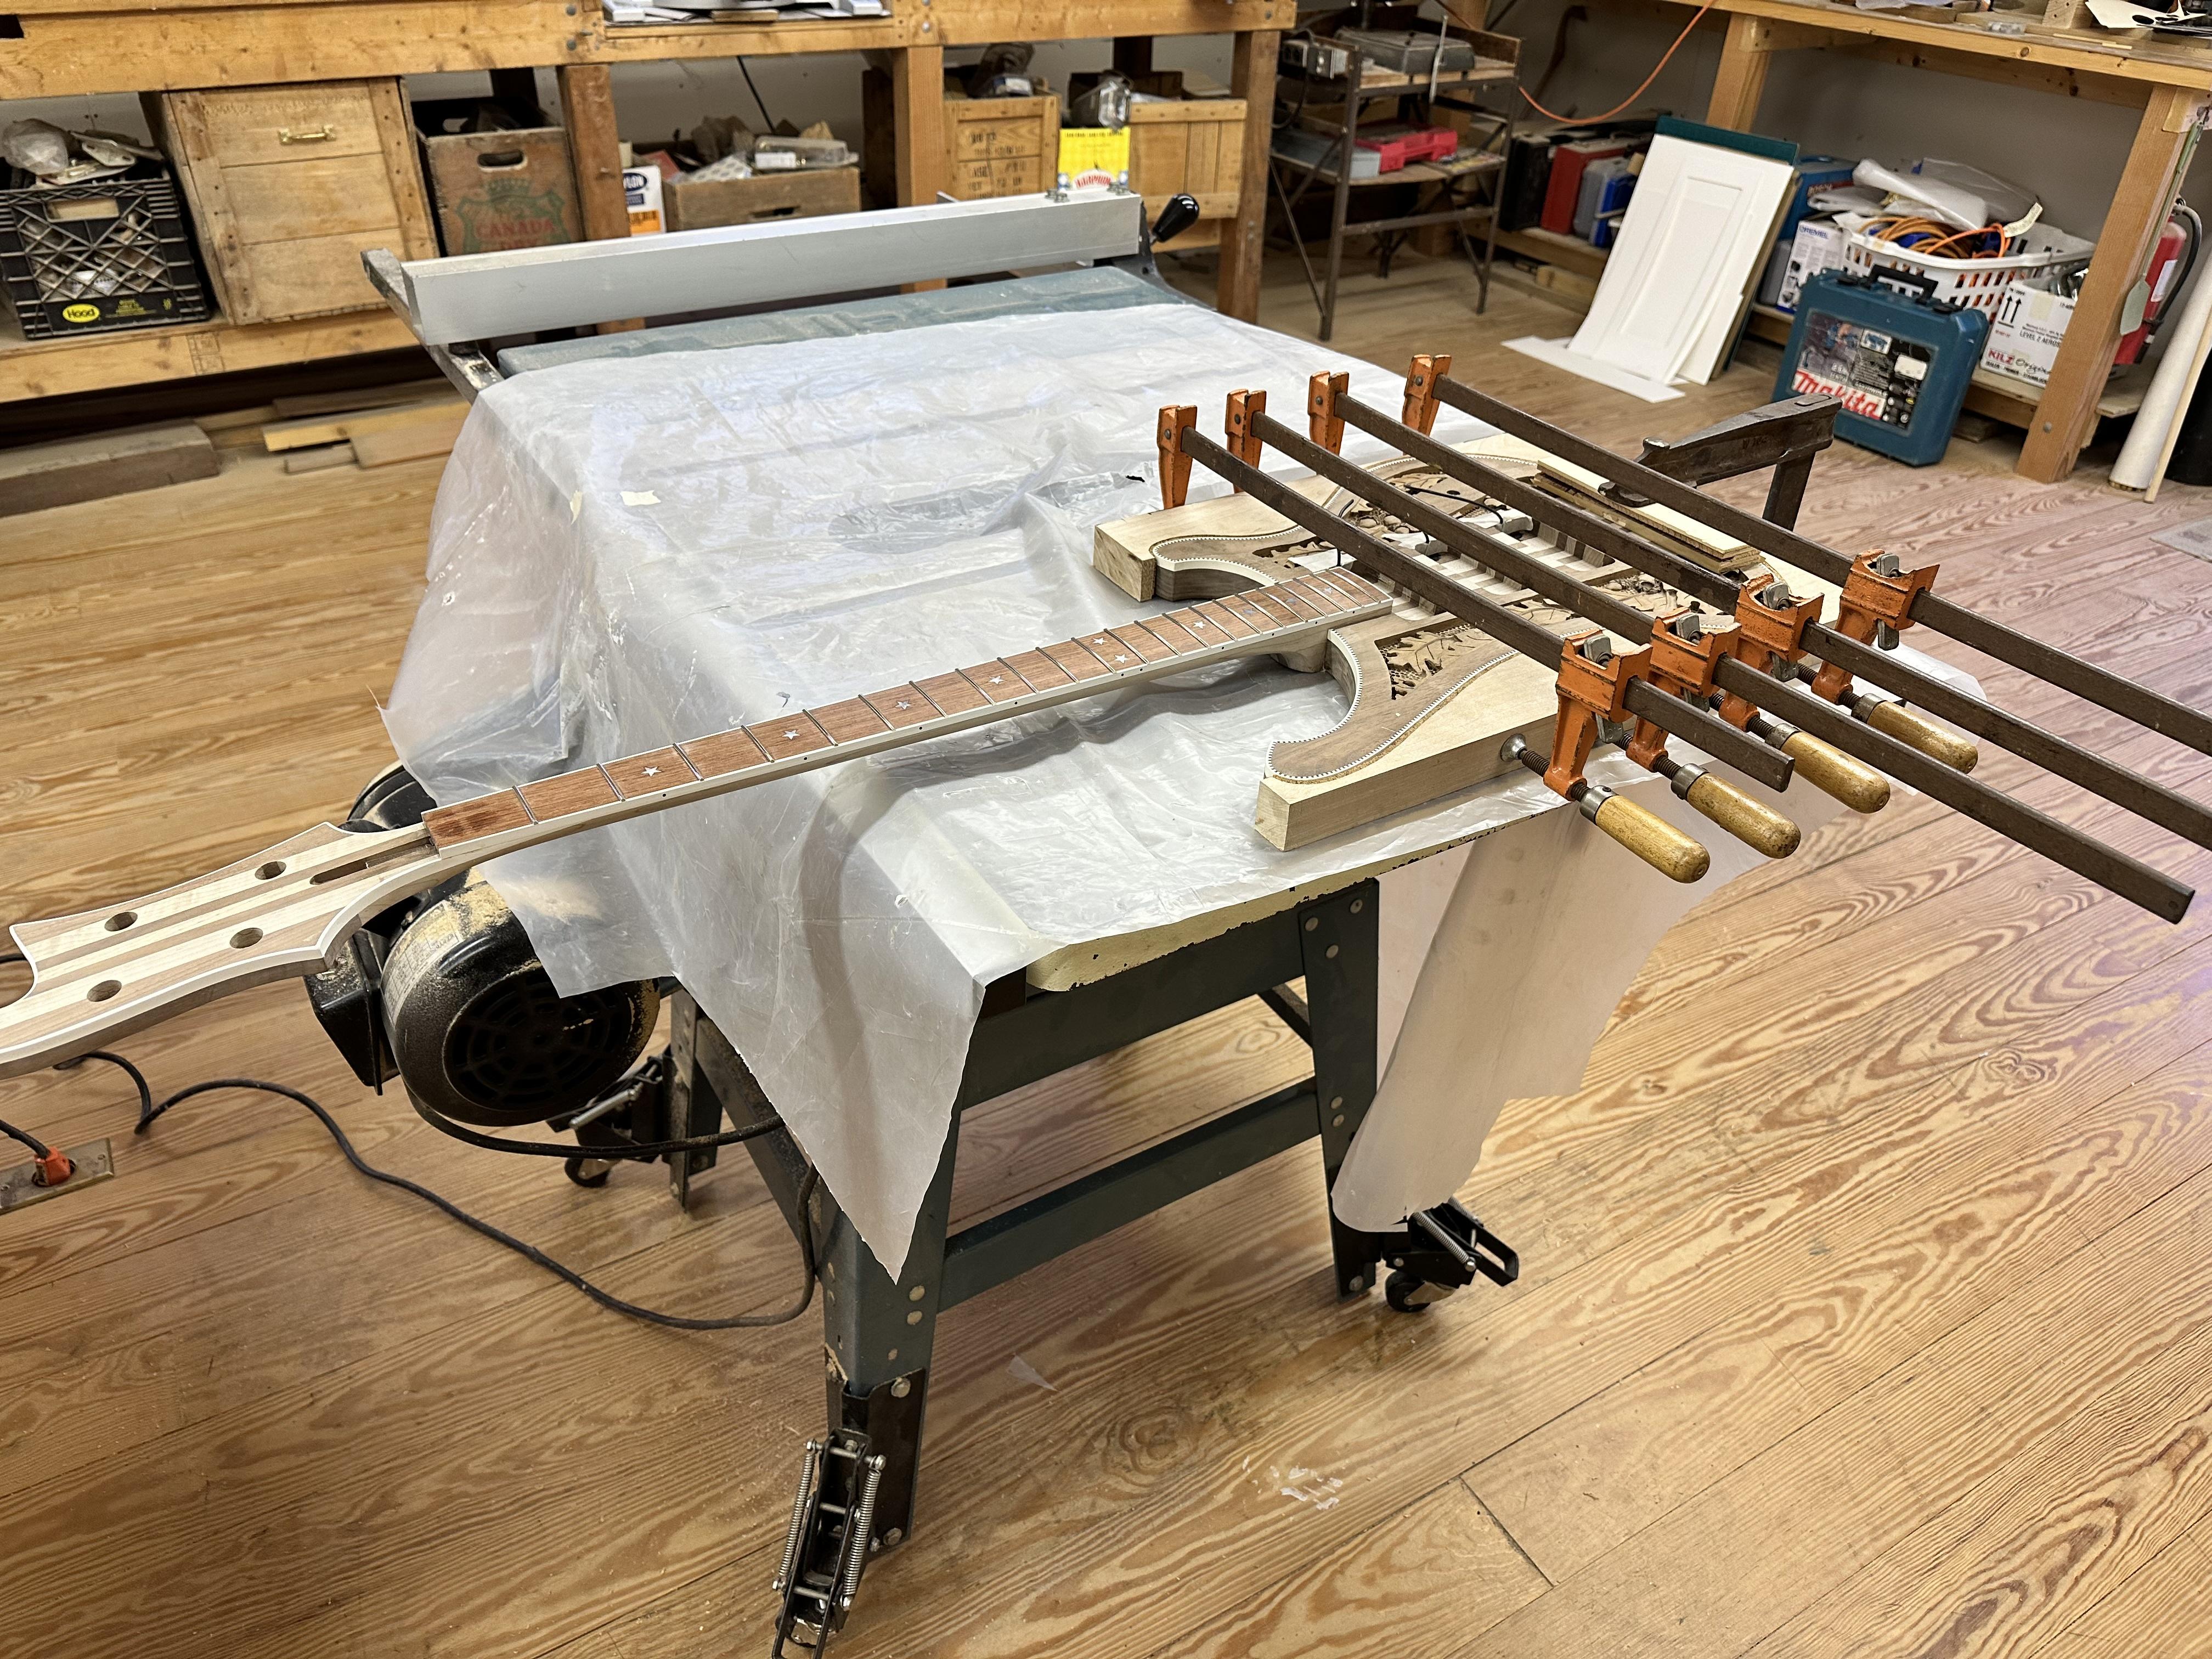
Second wing glued on, I've had these cork-lined cauls since my first Ric build, works great.
NawglQJ.jpg

WR9b2en.jpg


I'll take these out of the clamps tomorrow, get any glue squeeze out scraped off and start fitting hardware prior to sanding..... and sanding..... and sanding...
 
Last edited:
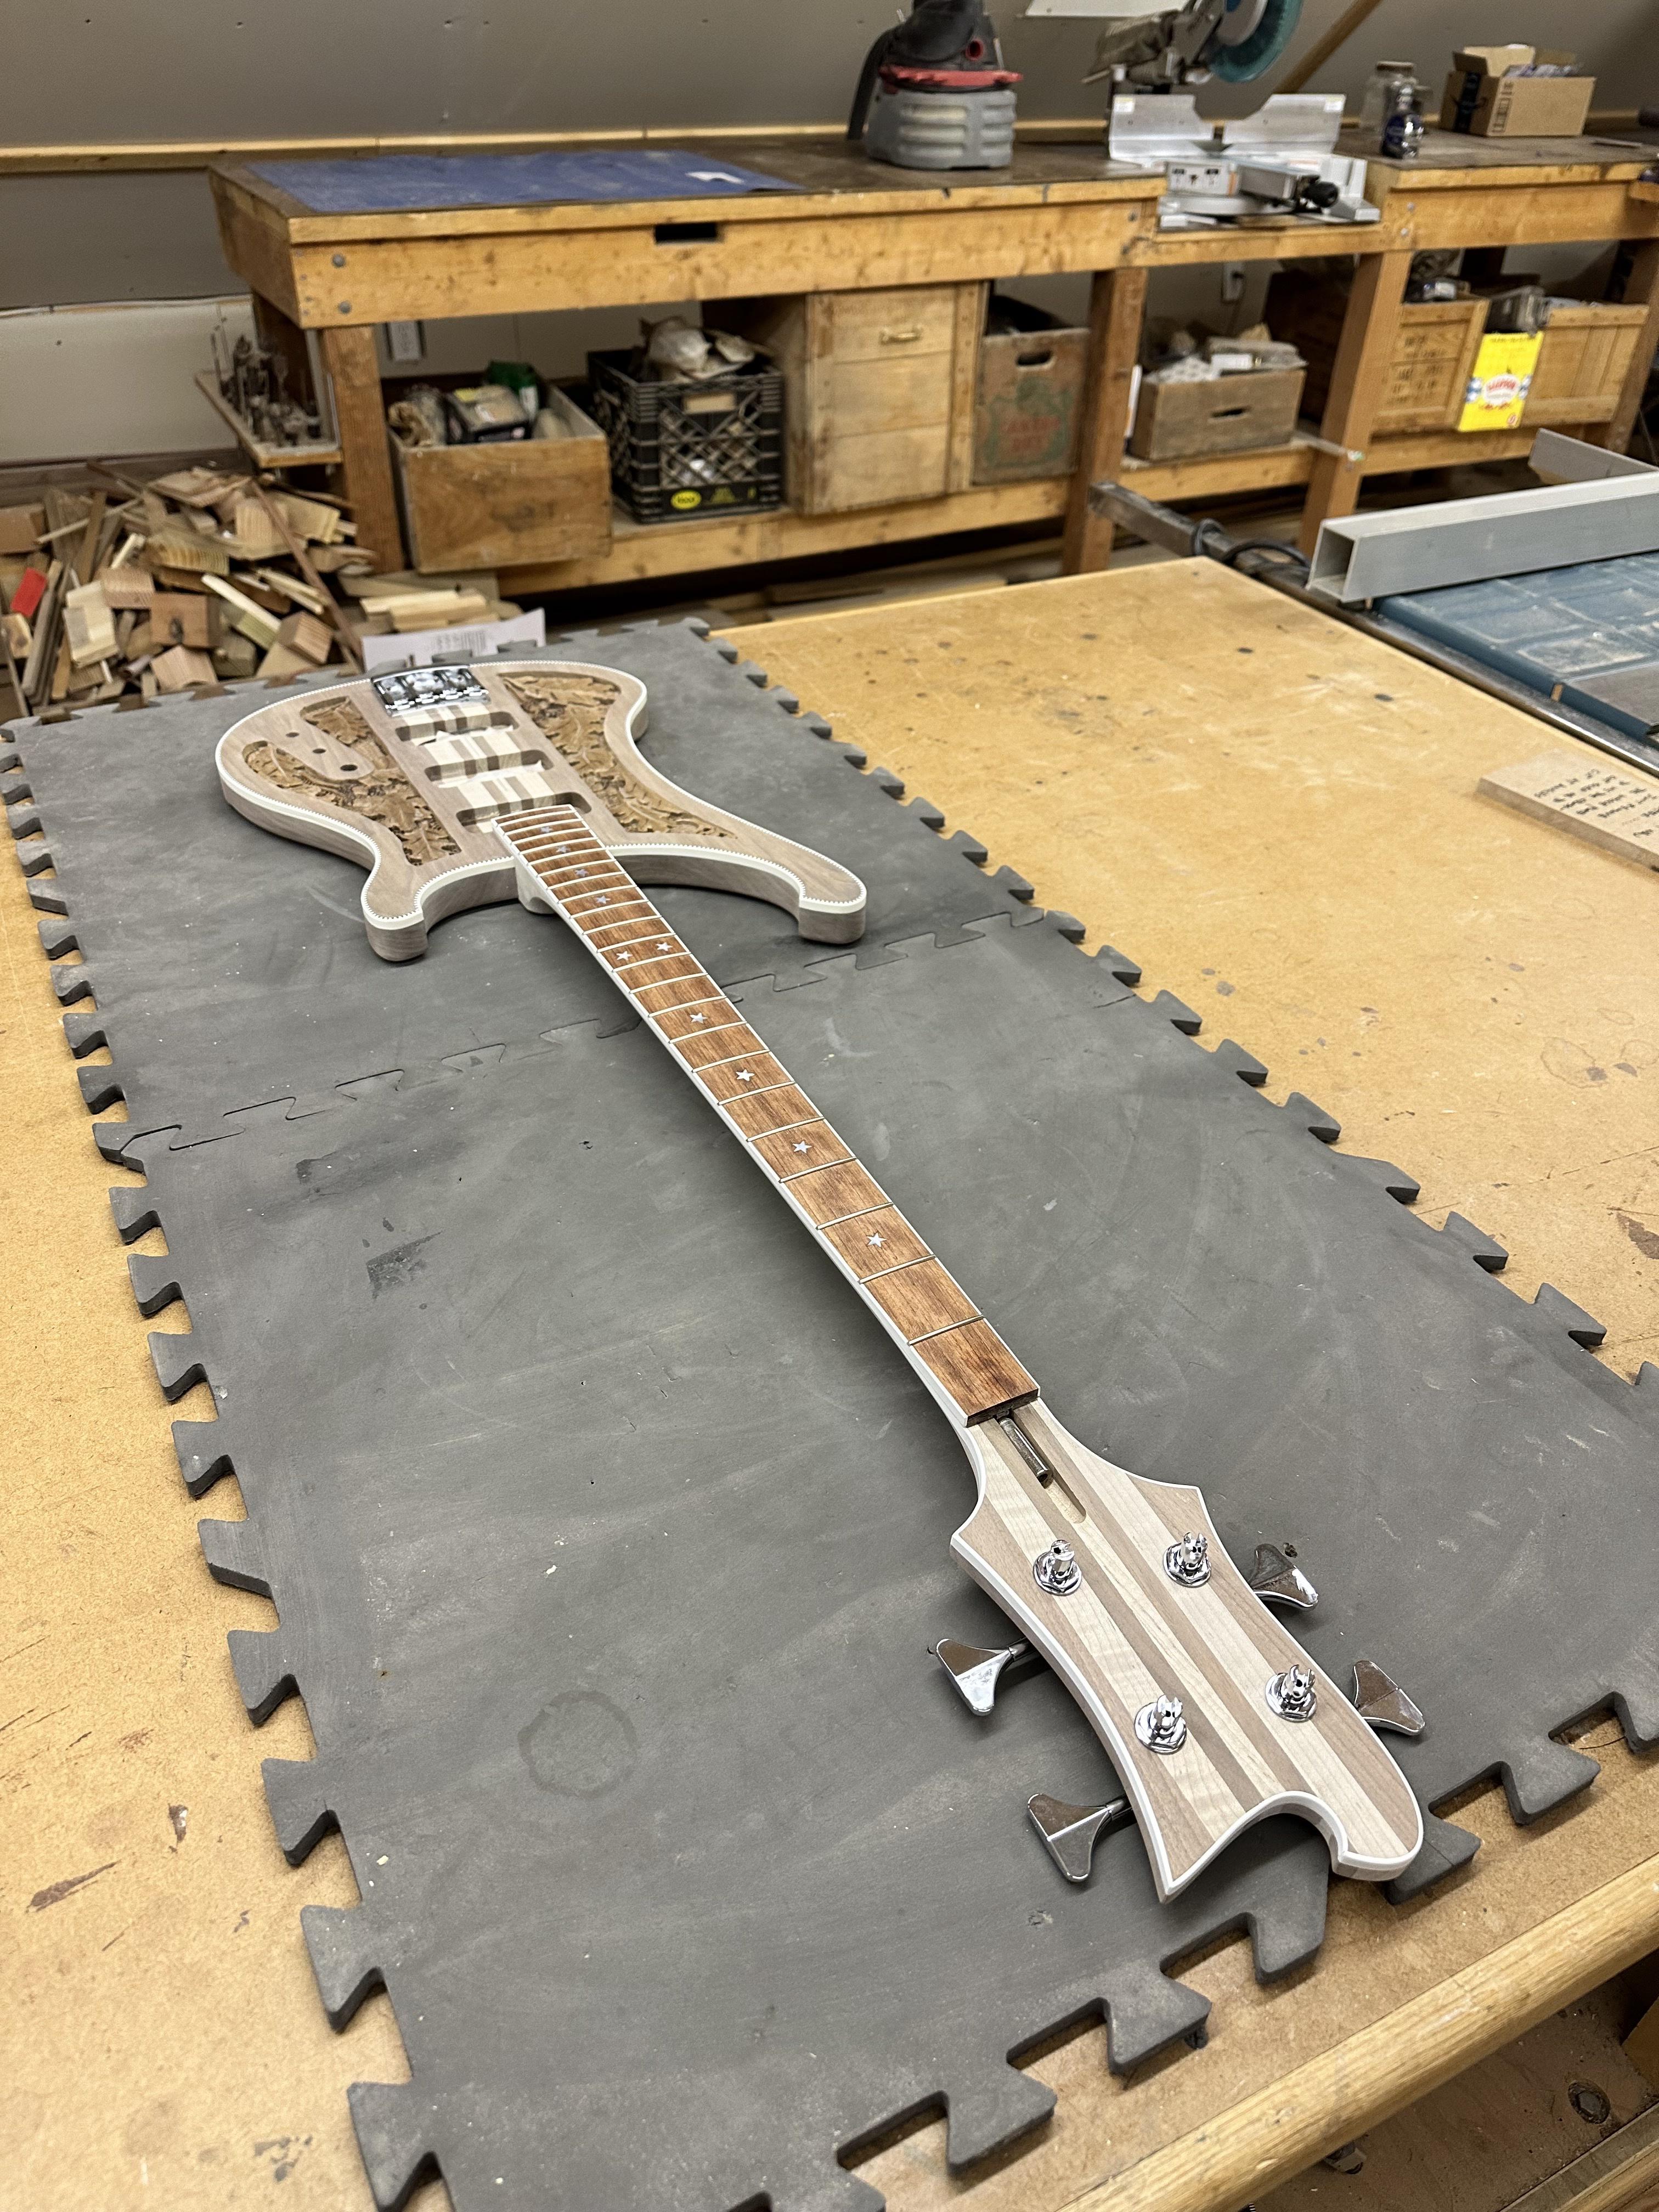
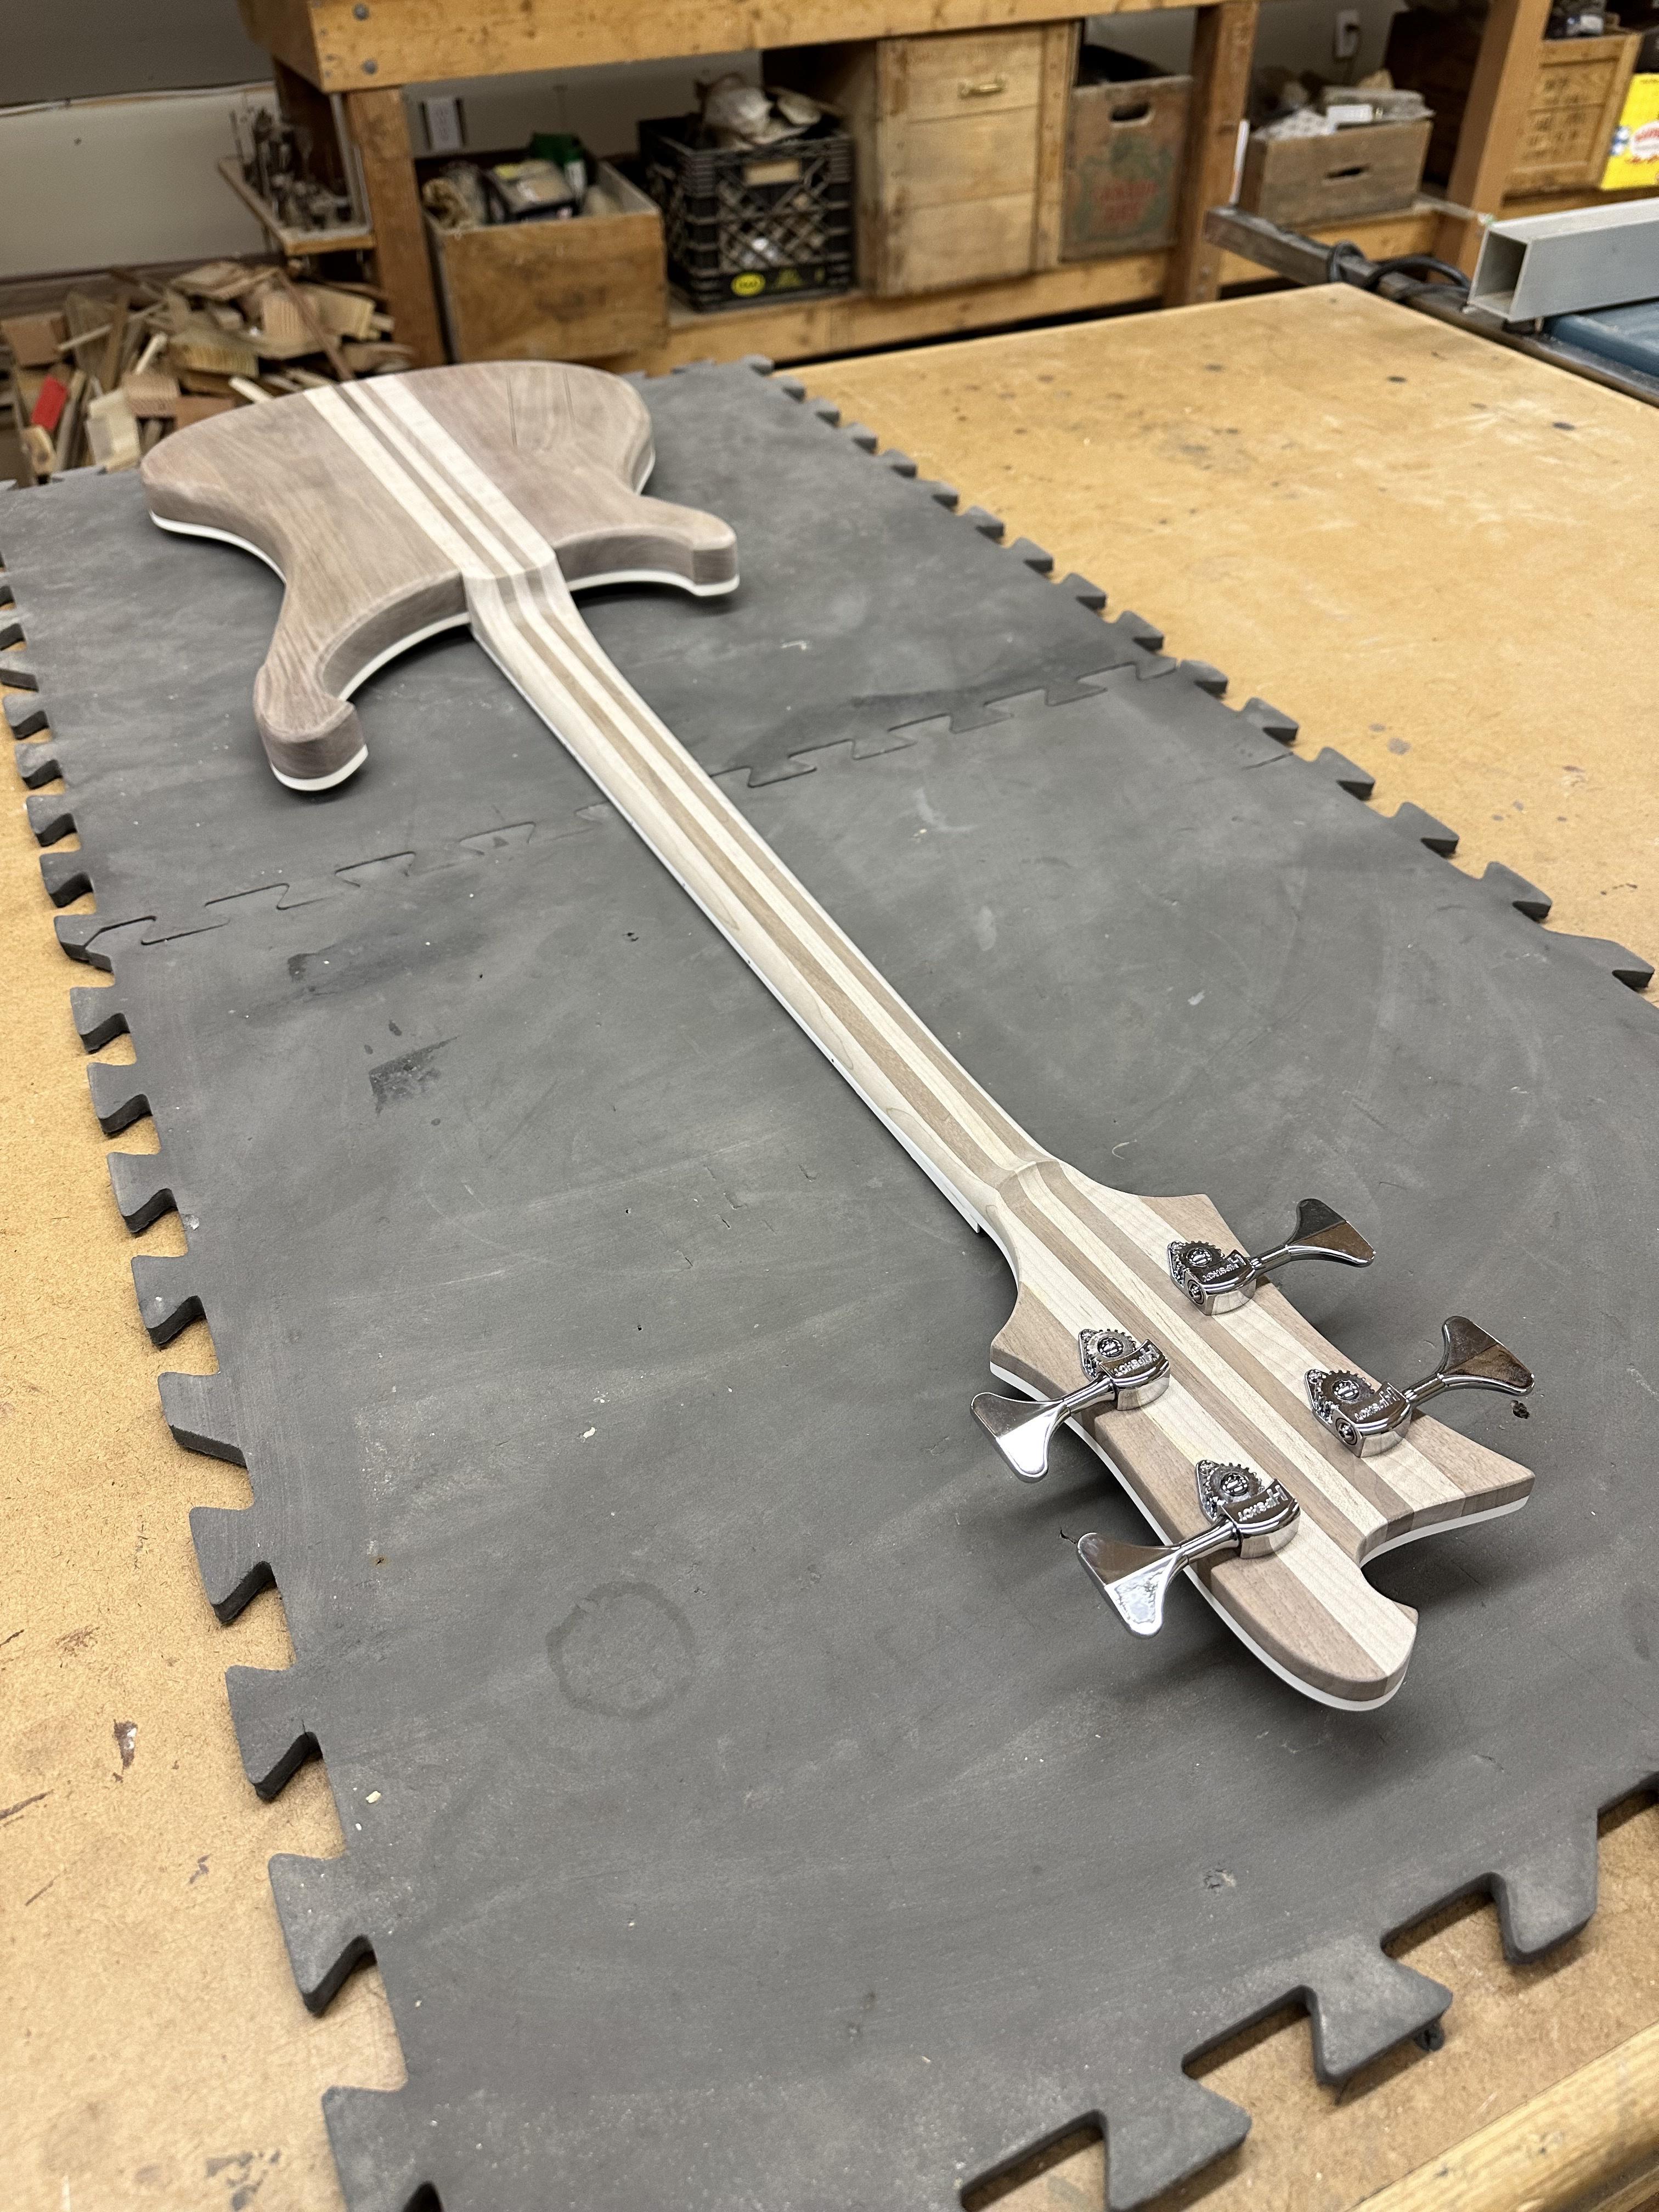
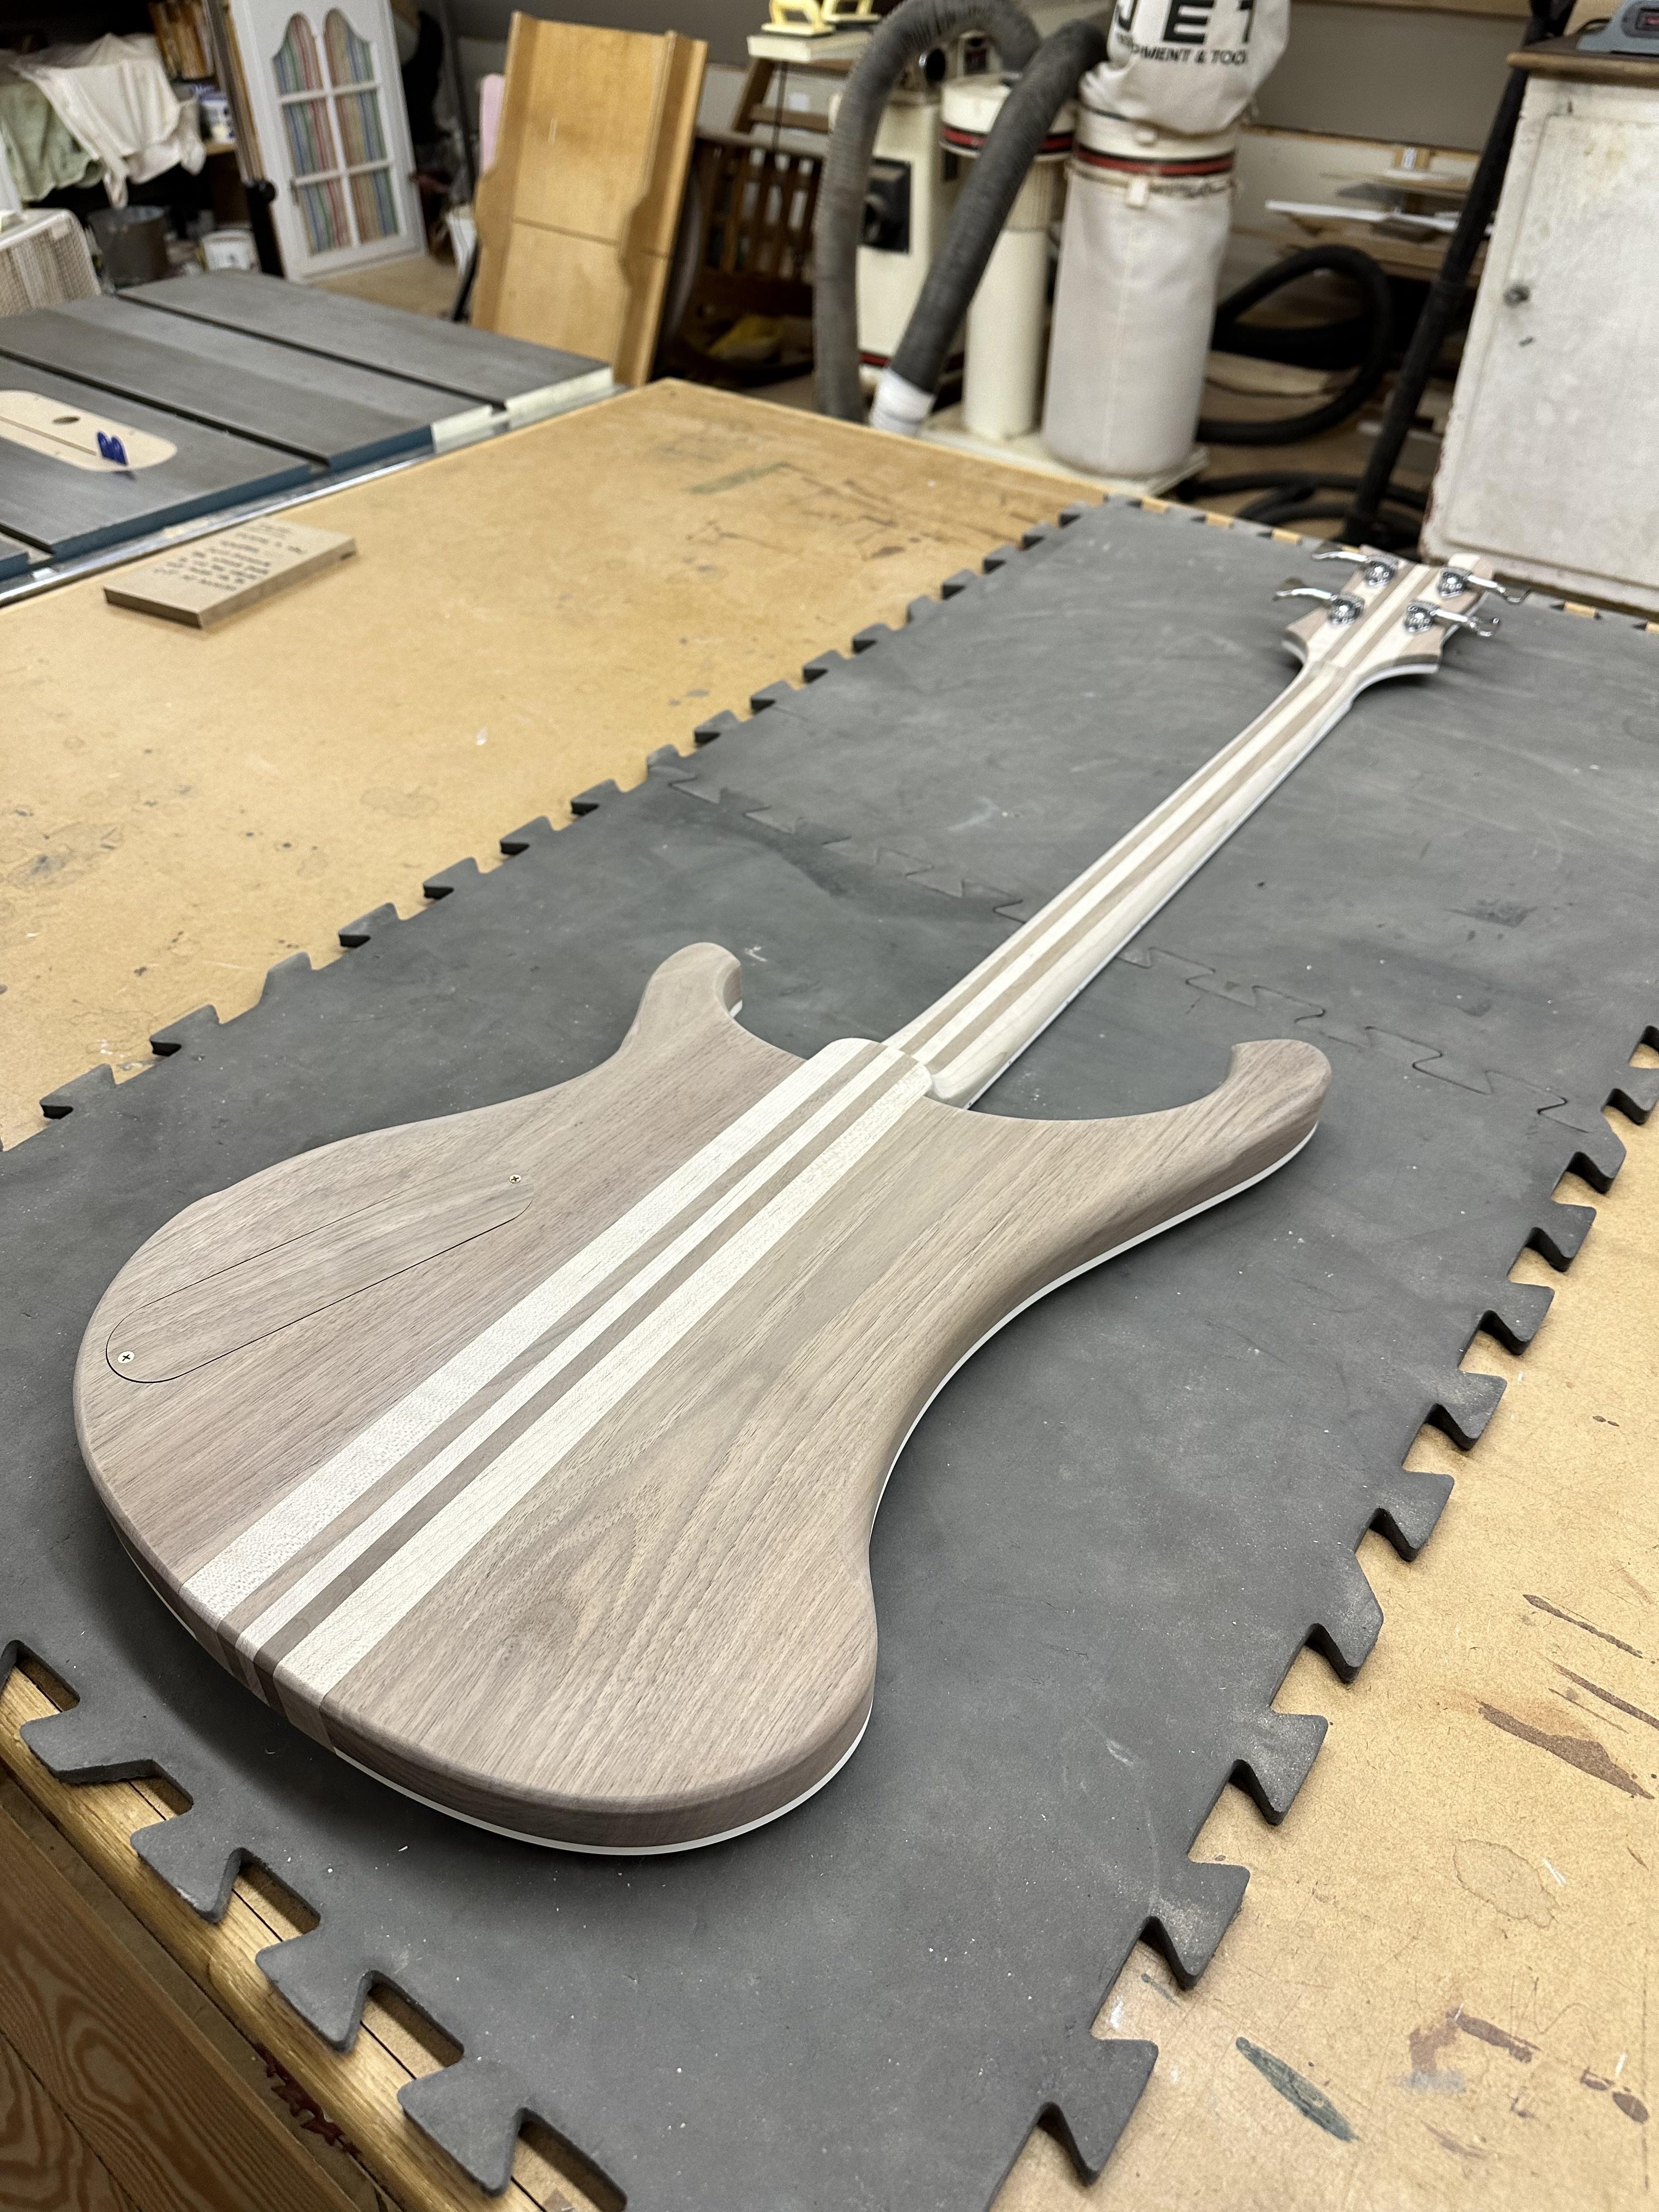
Scraped and sanded to 220 grit, starting to install hardware so I can string it up and finish the nut, start fret leveling, etc. Still a lot more sanding to do, getting scratches out of maple end-grain is hard! Like sanding glass. Neck feels really good, I finally got this where I want it, no "square shoulders". And I didn't sand through to the trussrod. Win!
hSaKVTB.jpg

DOgwtHU.jpg

IYKRzyt.jpg

zQIKoCA.jpg
 
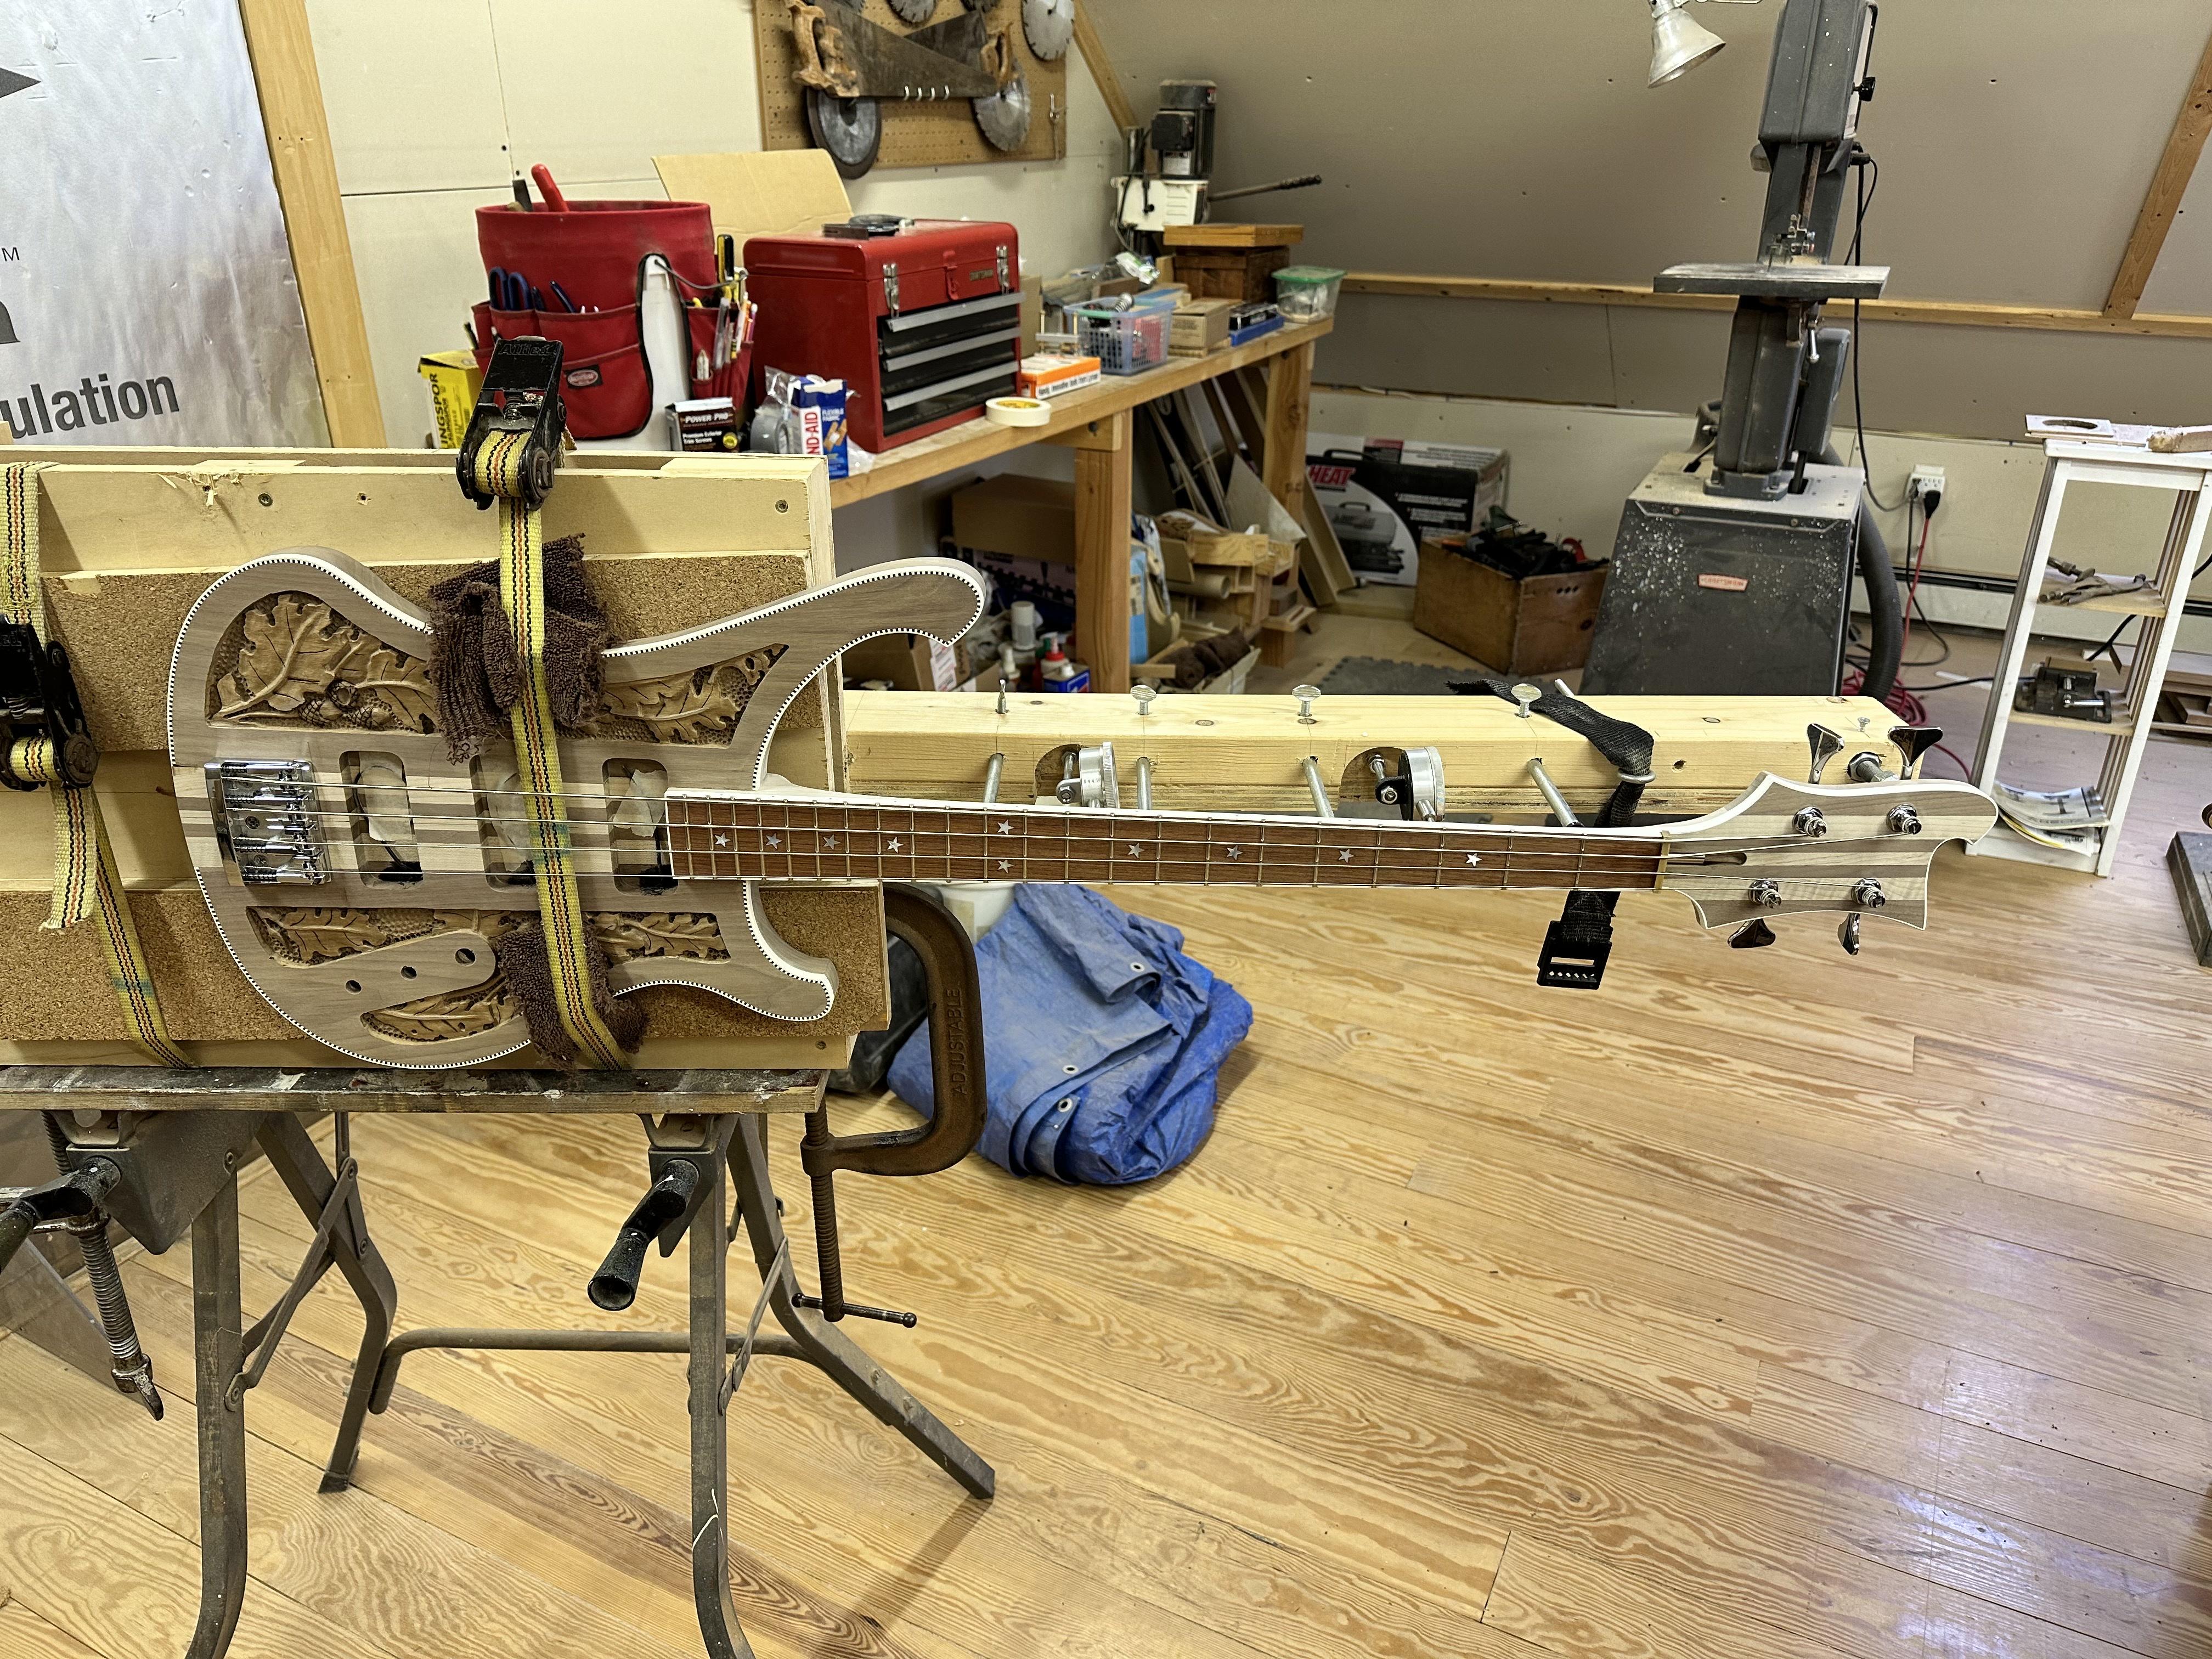
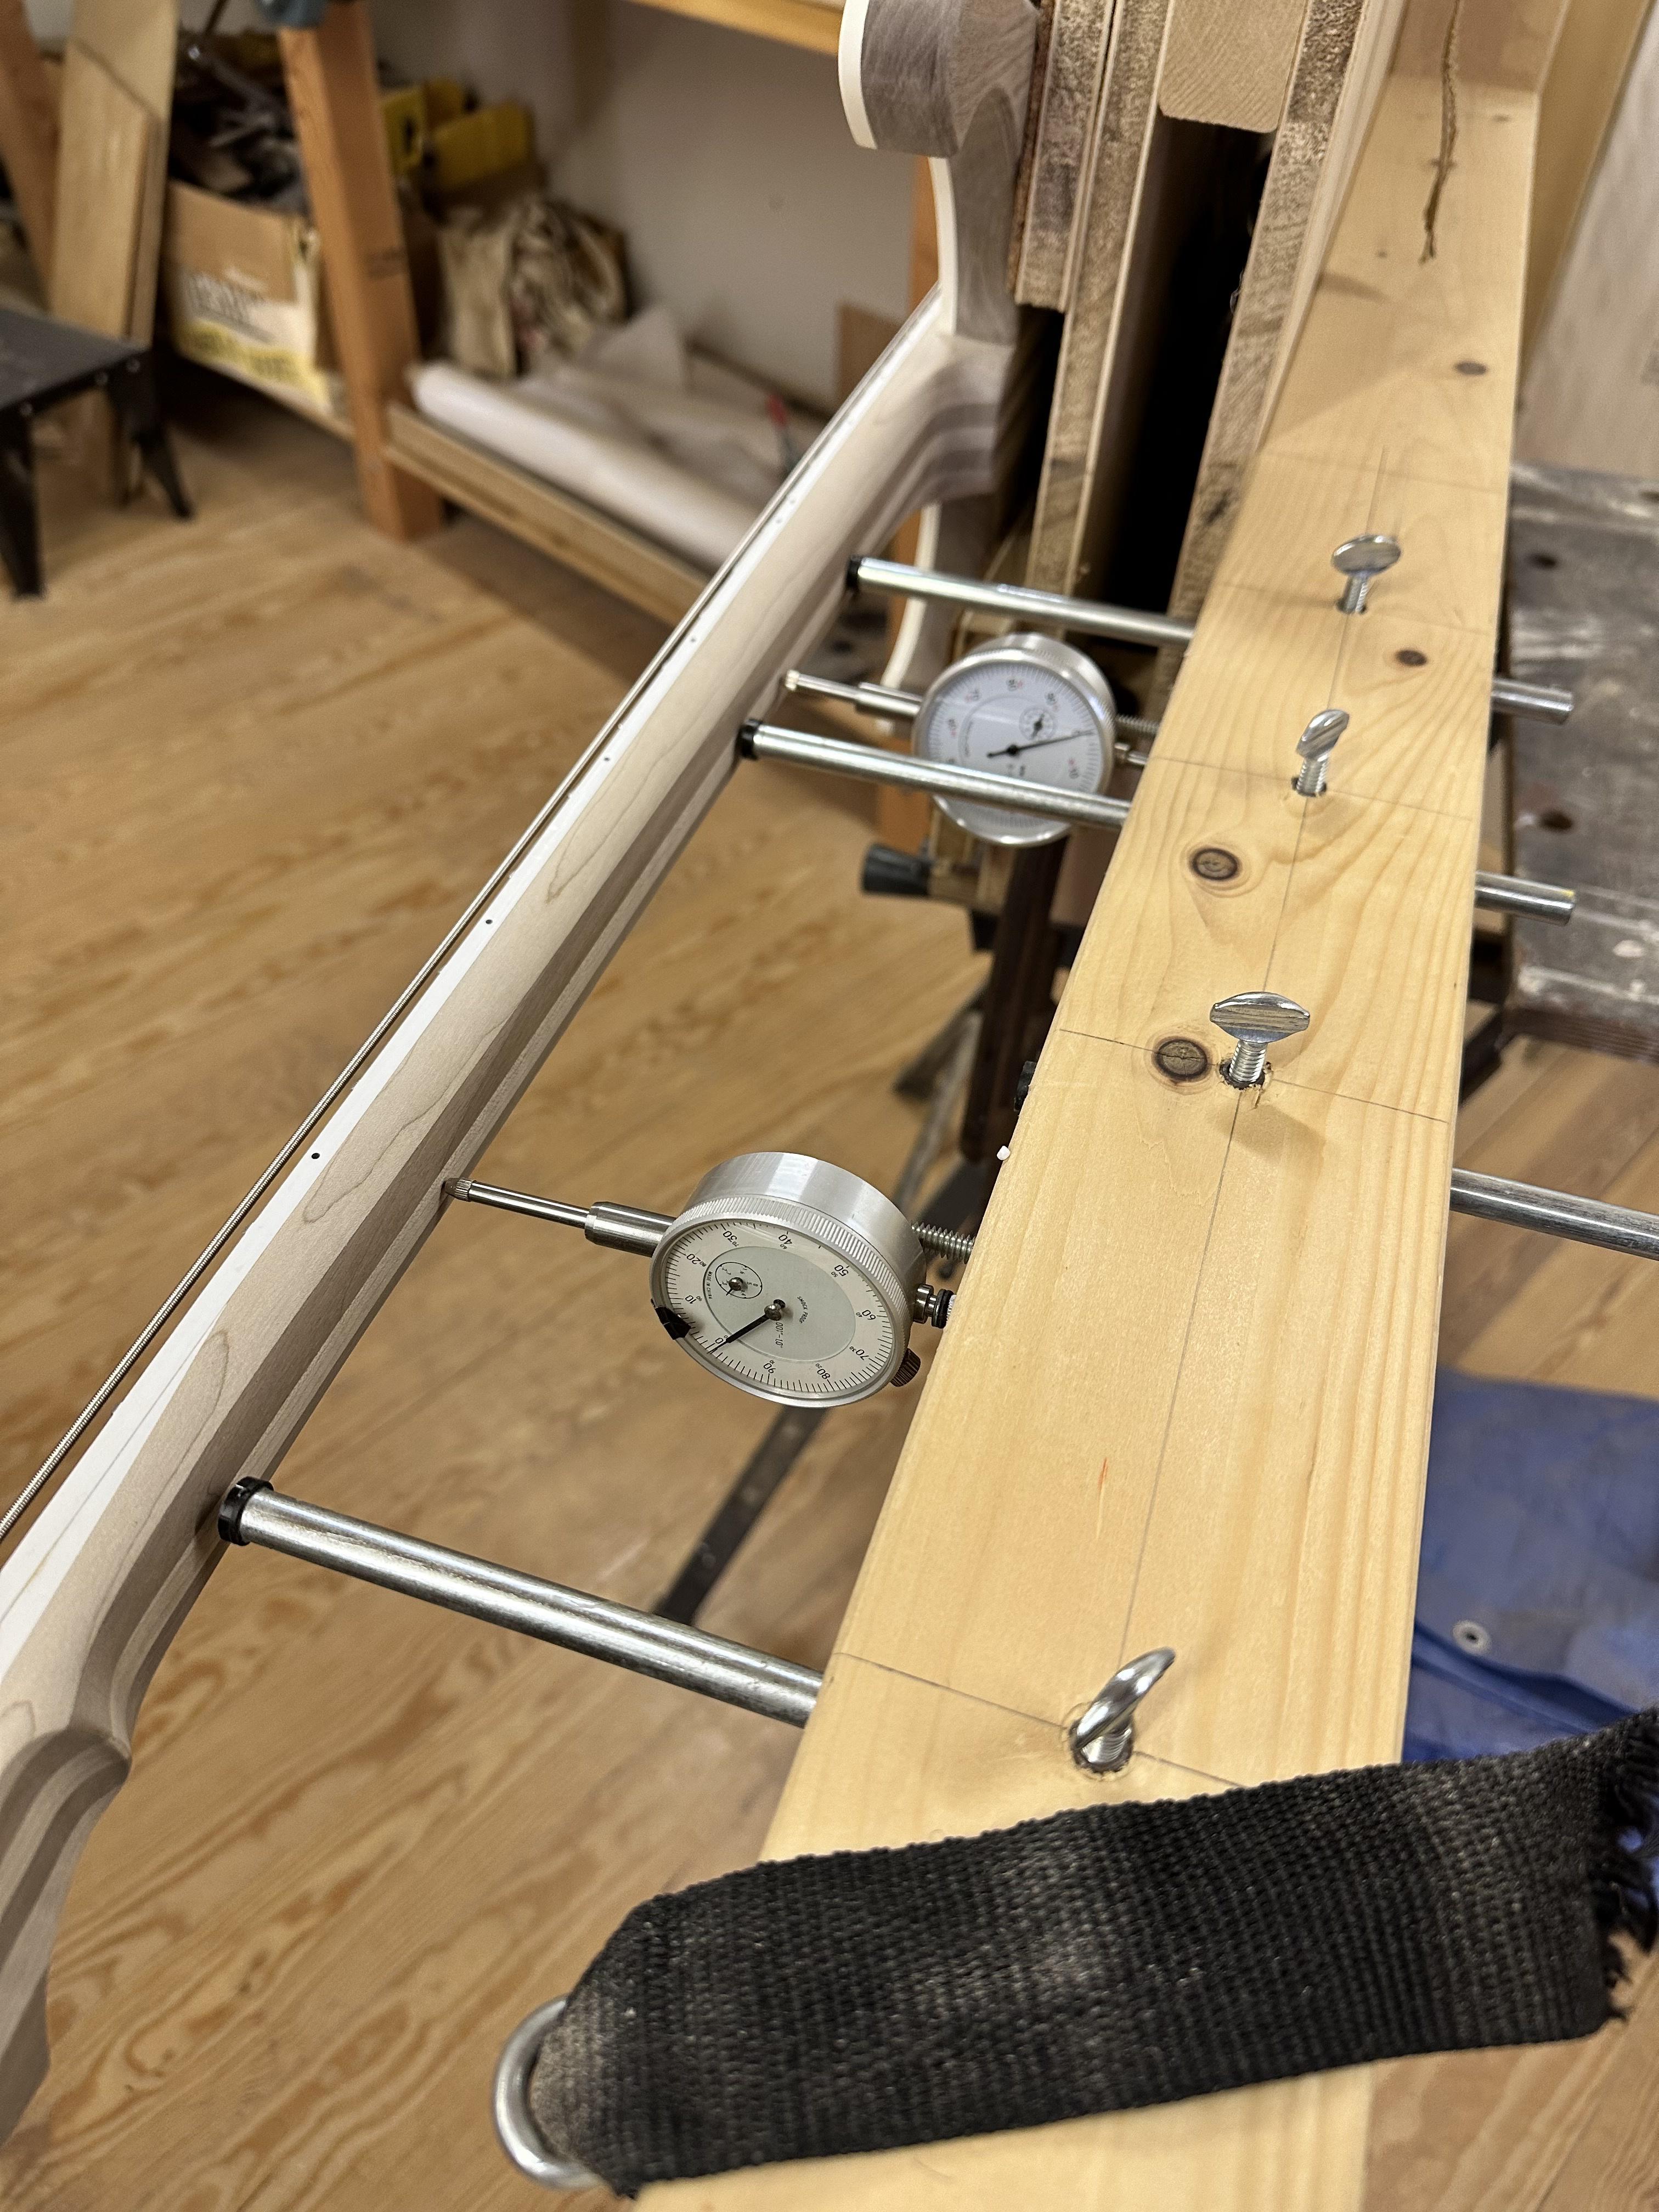
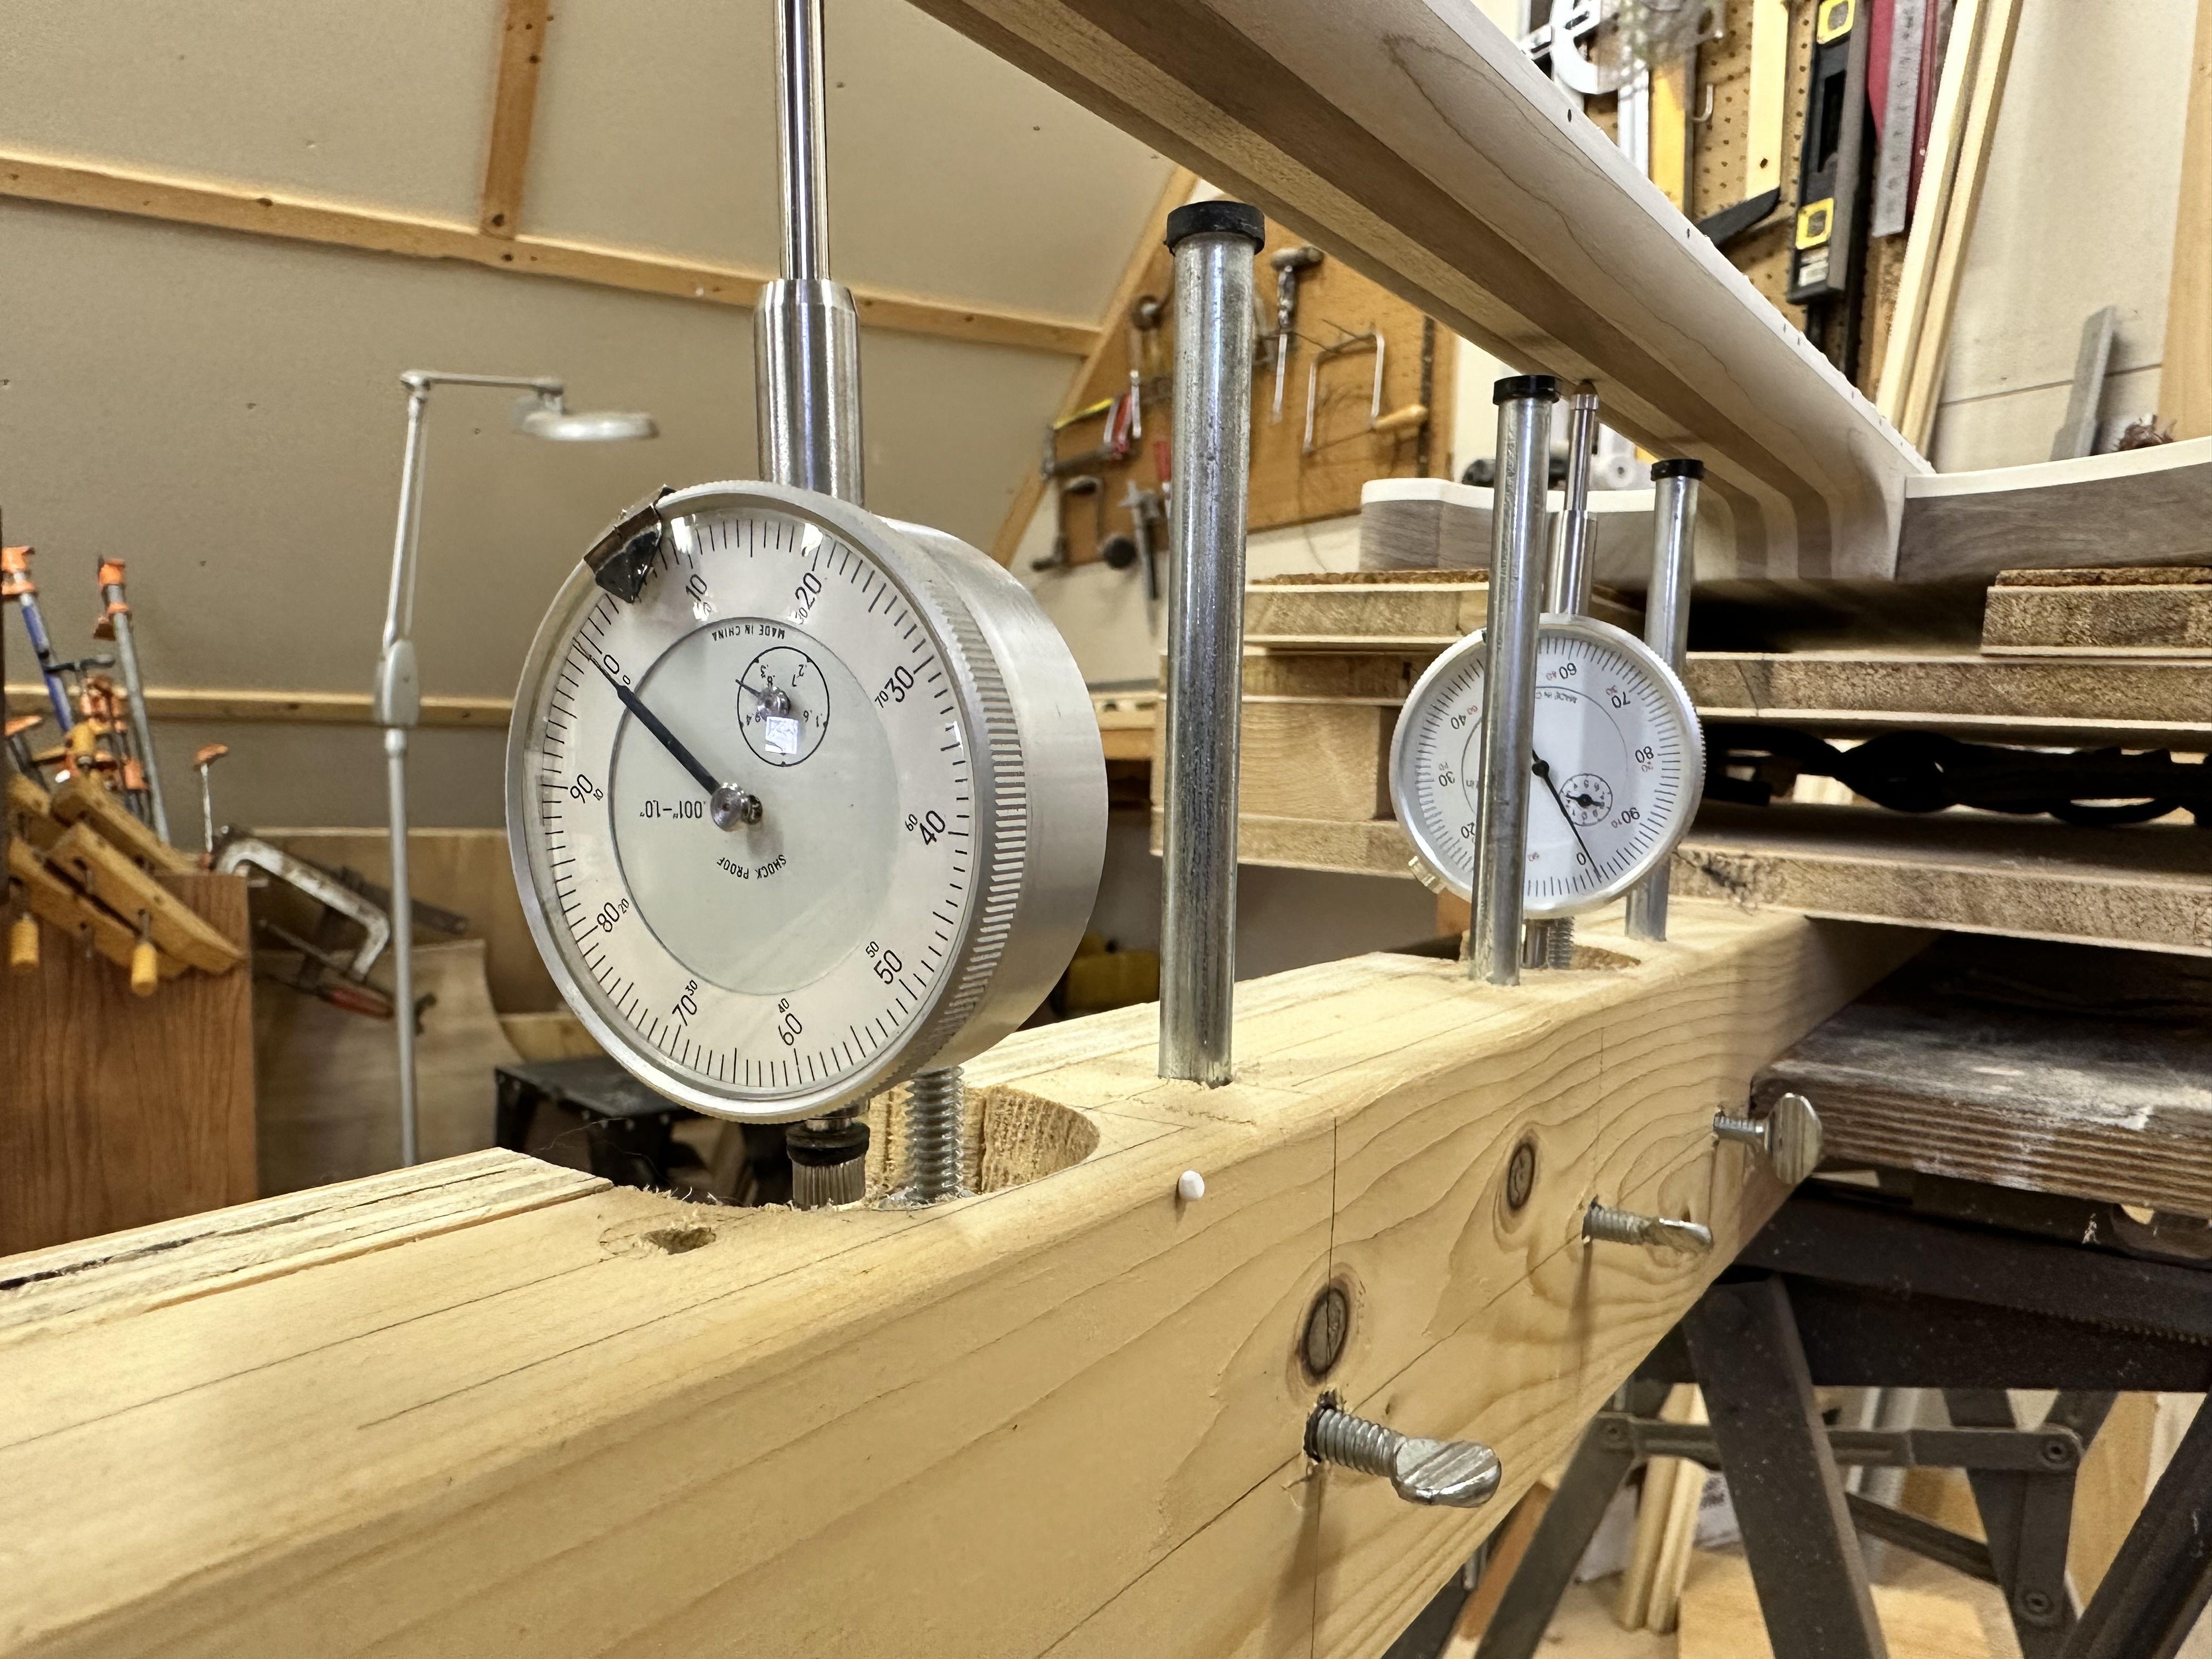
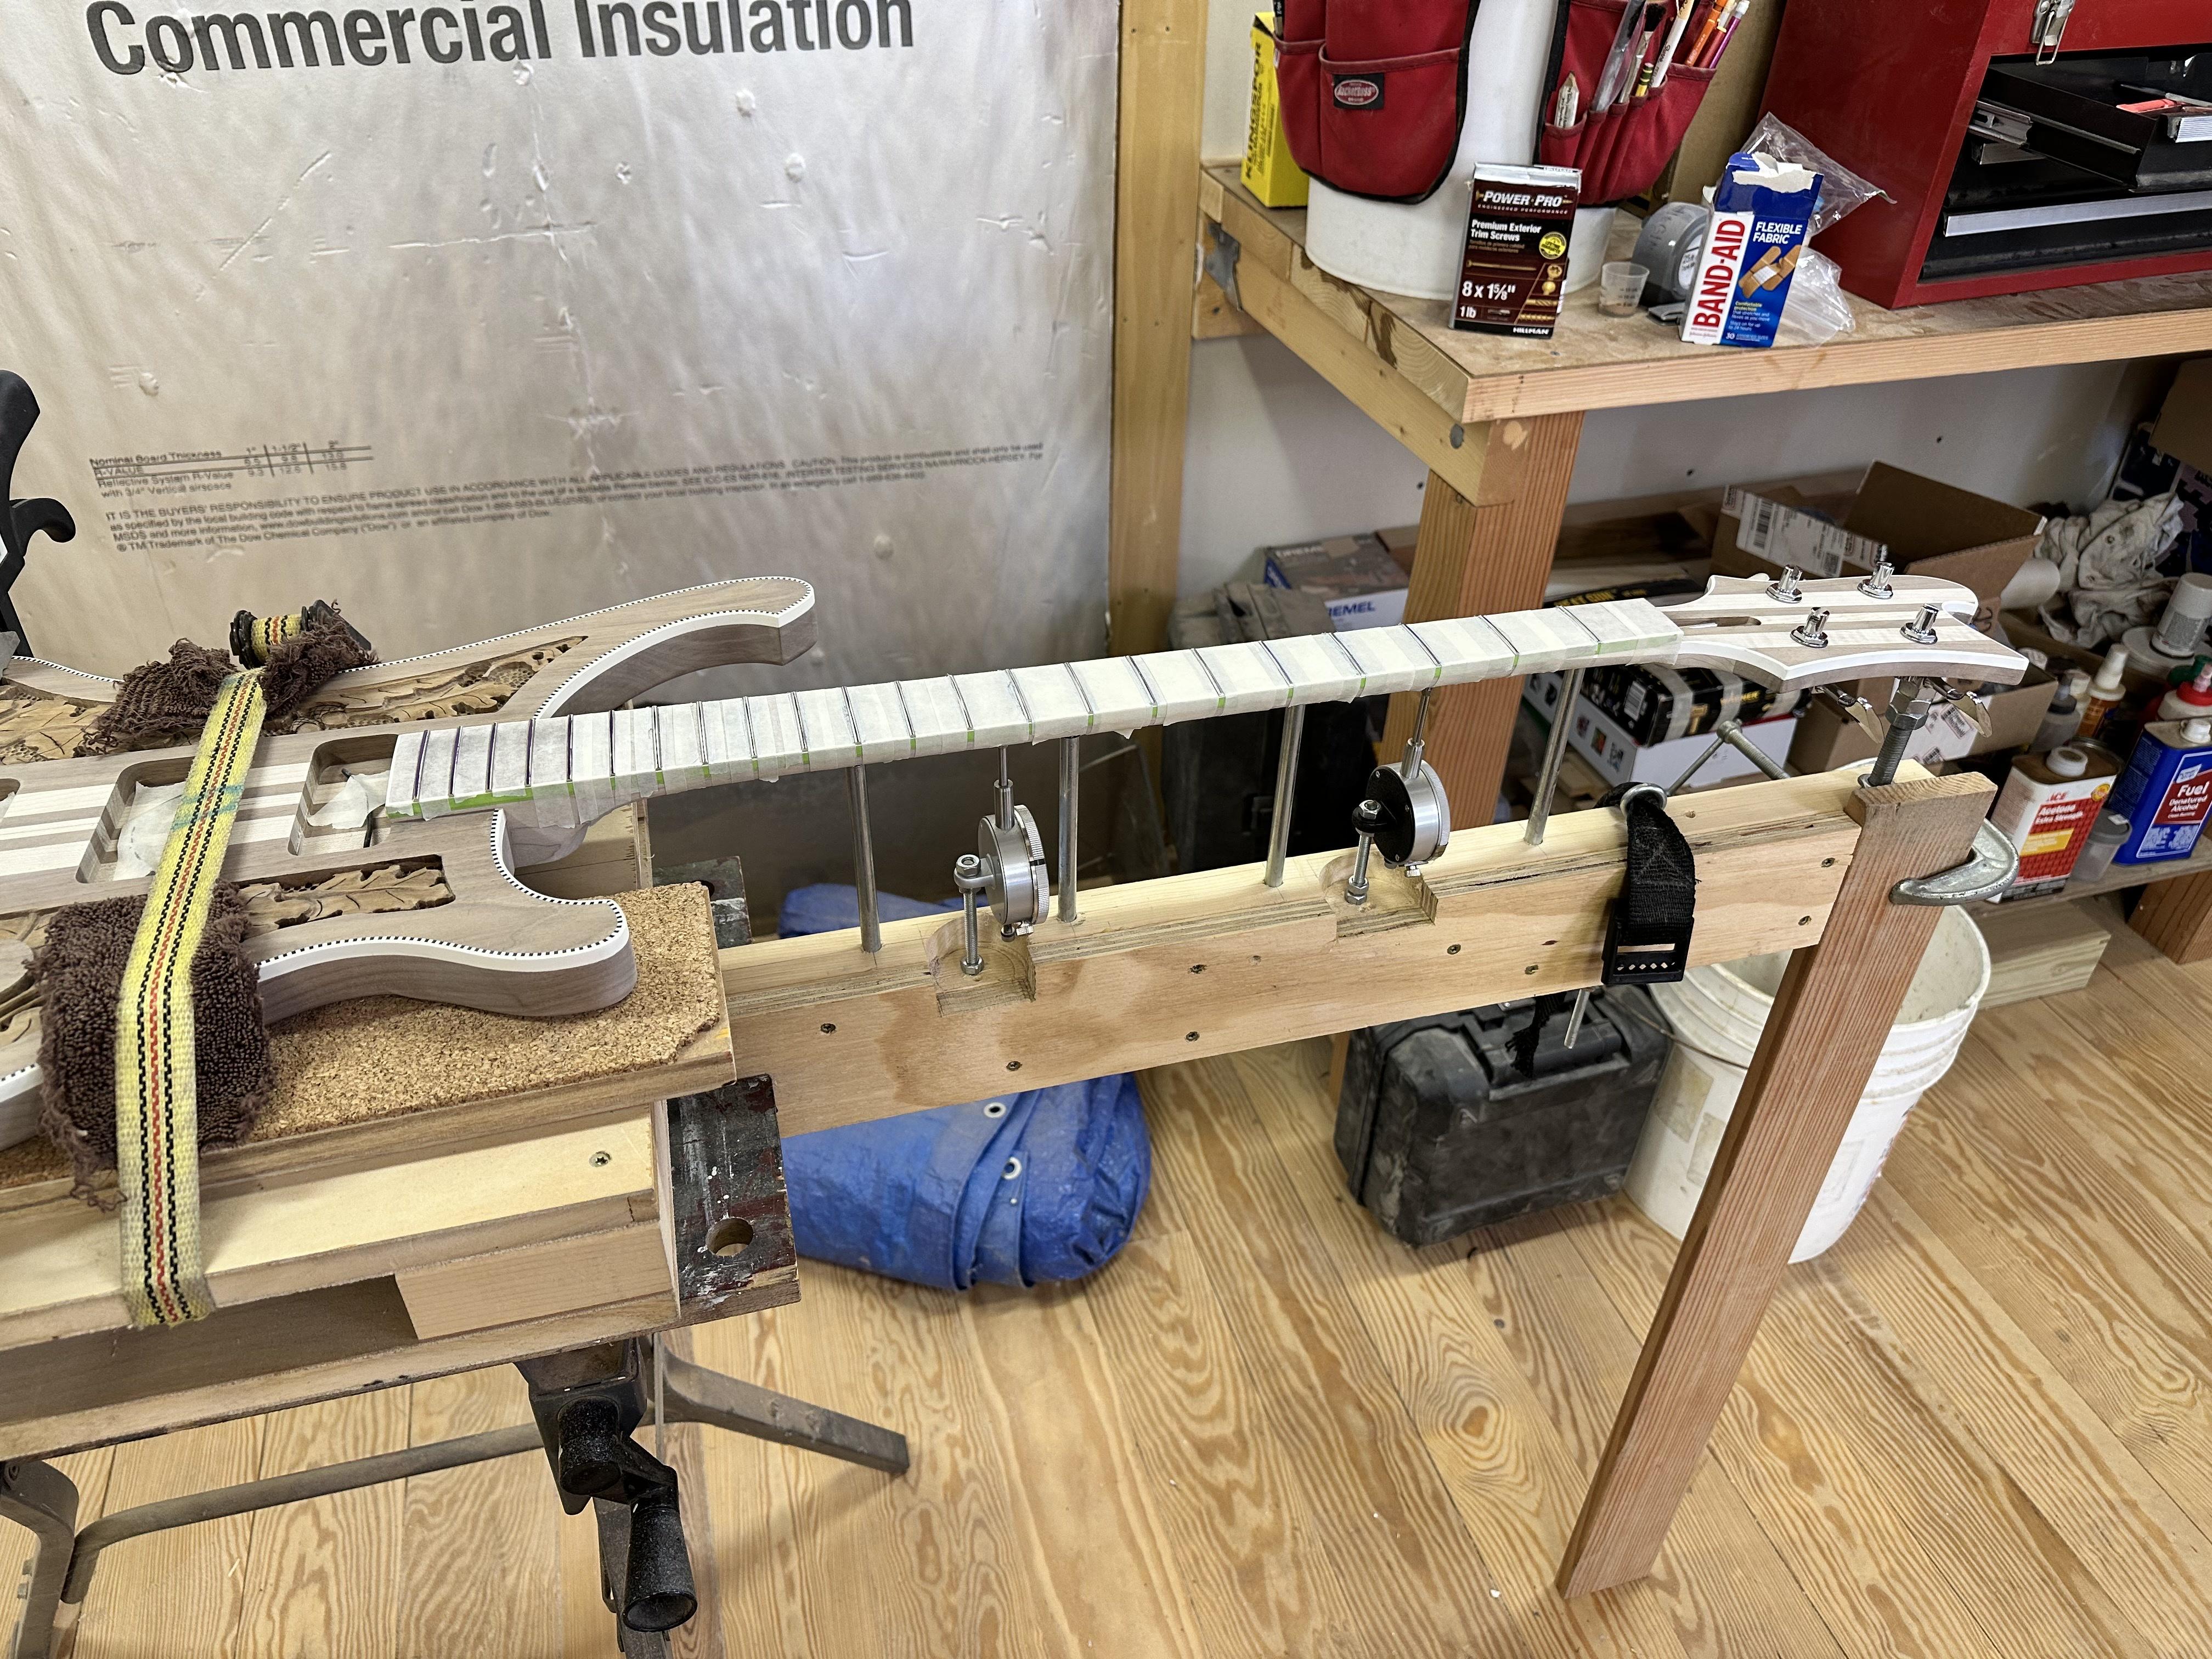
Bass goes into my home-brew Vinson Neck Jig, which is just a low-budget copy of the Stewmac one. They used to make them out of wood, now it's extruded aluminum, and I'm again realizing why: it's too easy to bump or flex this thing out of alignment. I had it all jigged up, tripped over the Workmate Leg and pfffffttttt.... Start over. At least I didn't dump the whole thing. I honestly don't know if this gadget is worth the trouble, or yields results better than just flattening the neck and leveling the frets in the traditional manner. At any rate, it makes a sturdy holder while I level the frets.
rw1xzUj.jpg


So... String the bass up, tune to pitch, flatten the neck in playing position, then set dial indicators to zero.
QWJVaZI.jpg


Flip the bass back up to level, the dial indicators all move. Remove strings. Use the headstock jack and nut pulldown strap to simulate string tension, getting dial indicators as close to zero as I can. (One is always 1 or two .000" different than the other)
CHoxvK9.jpg


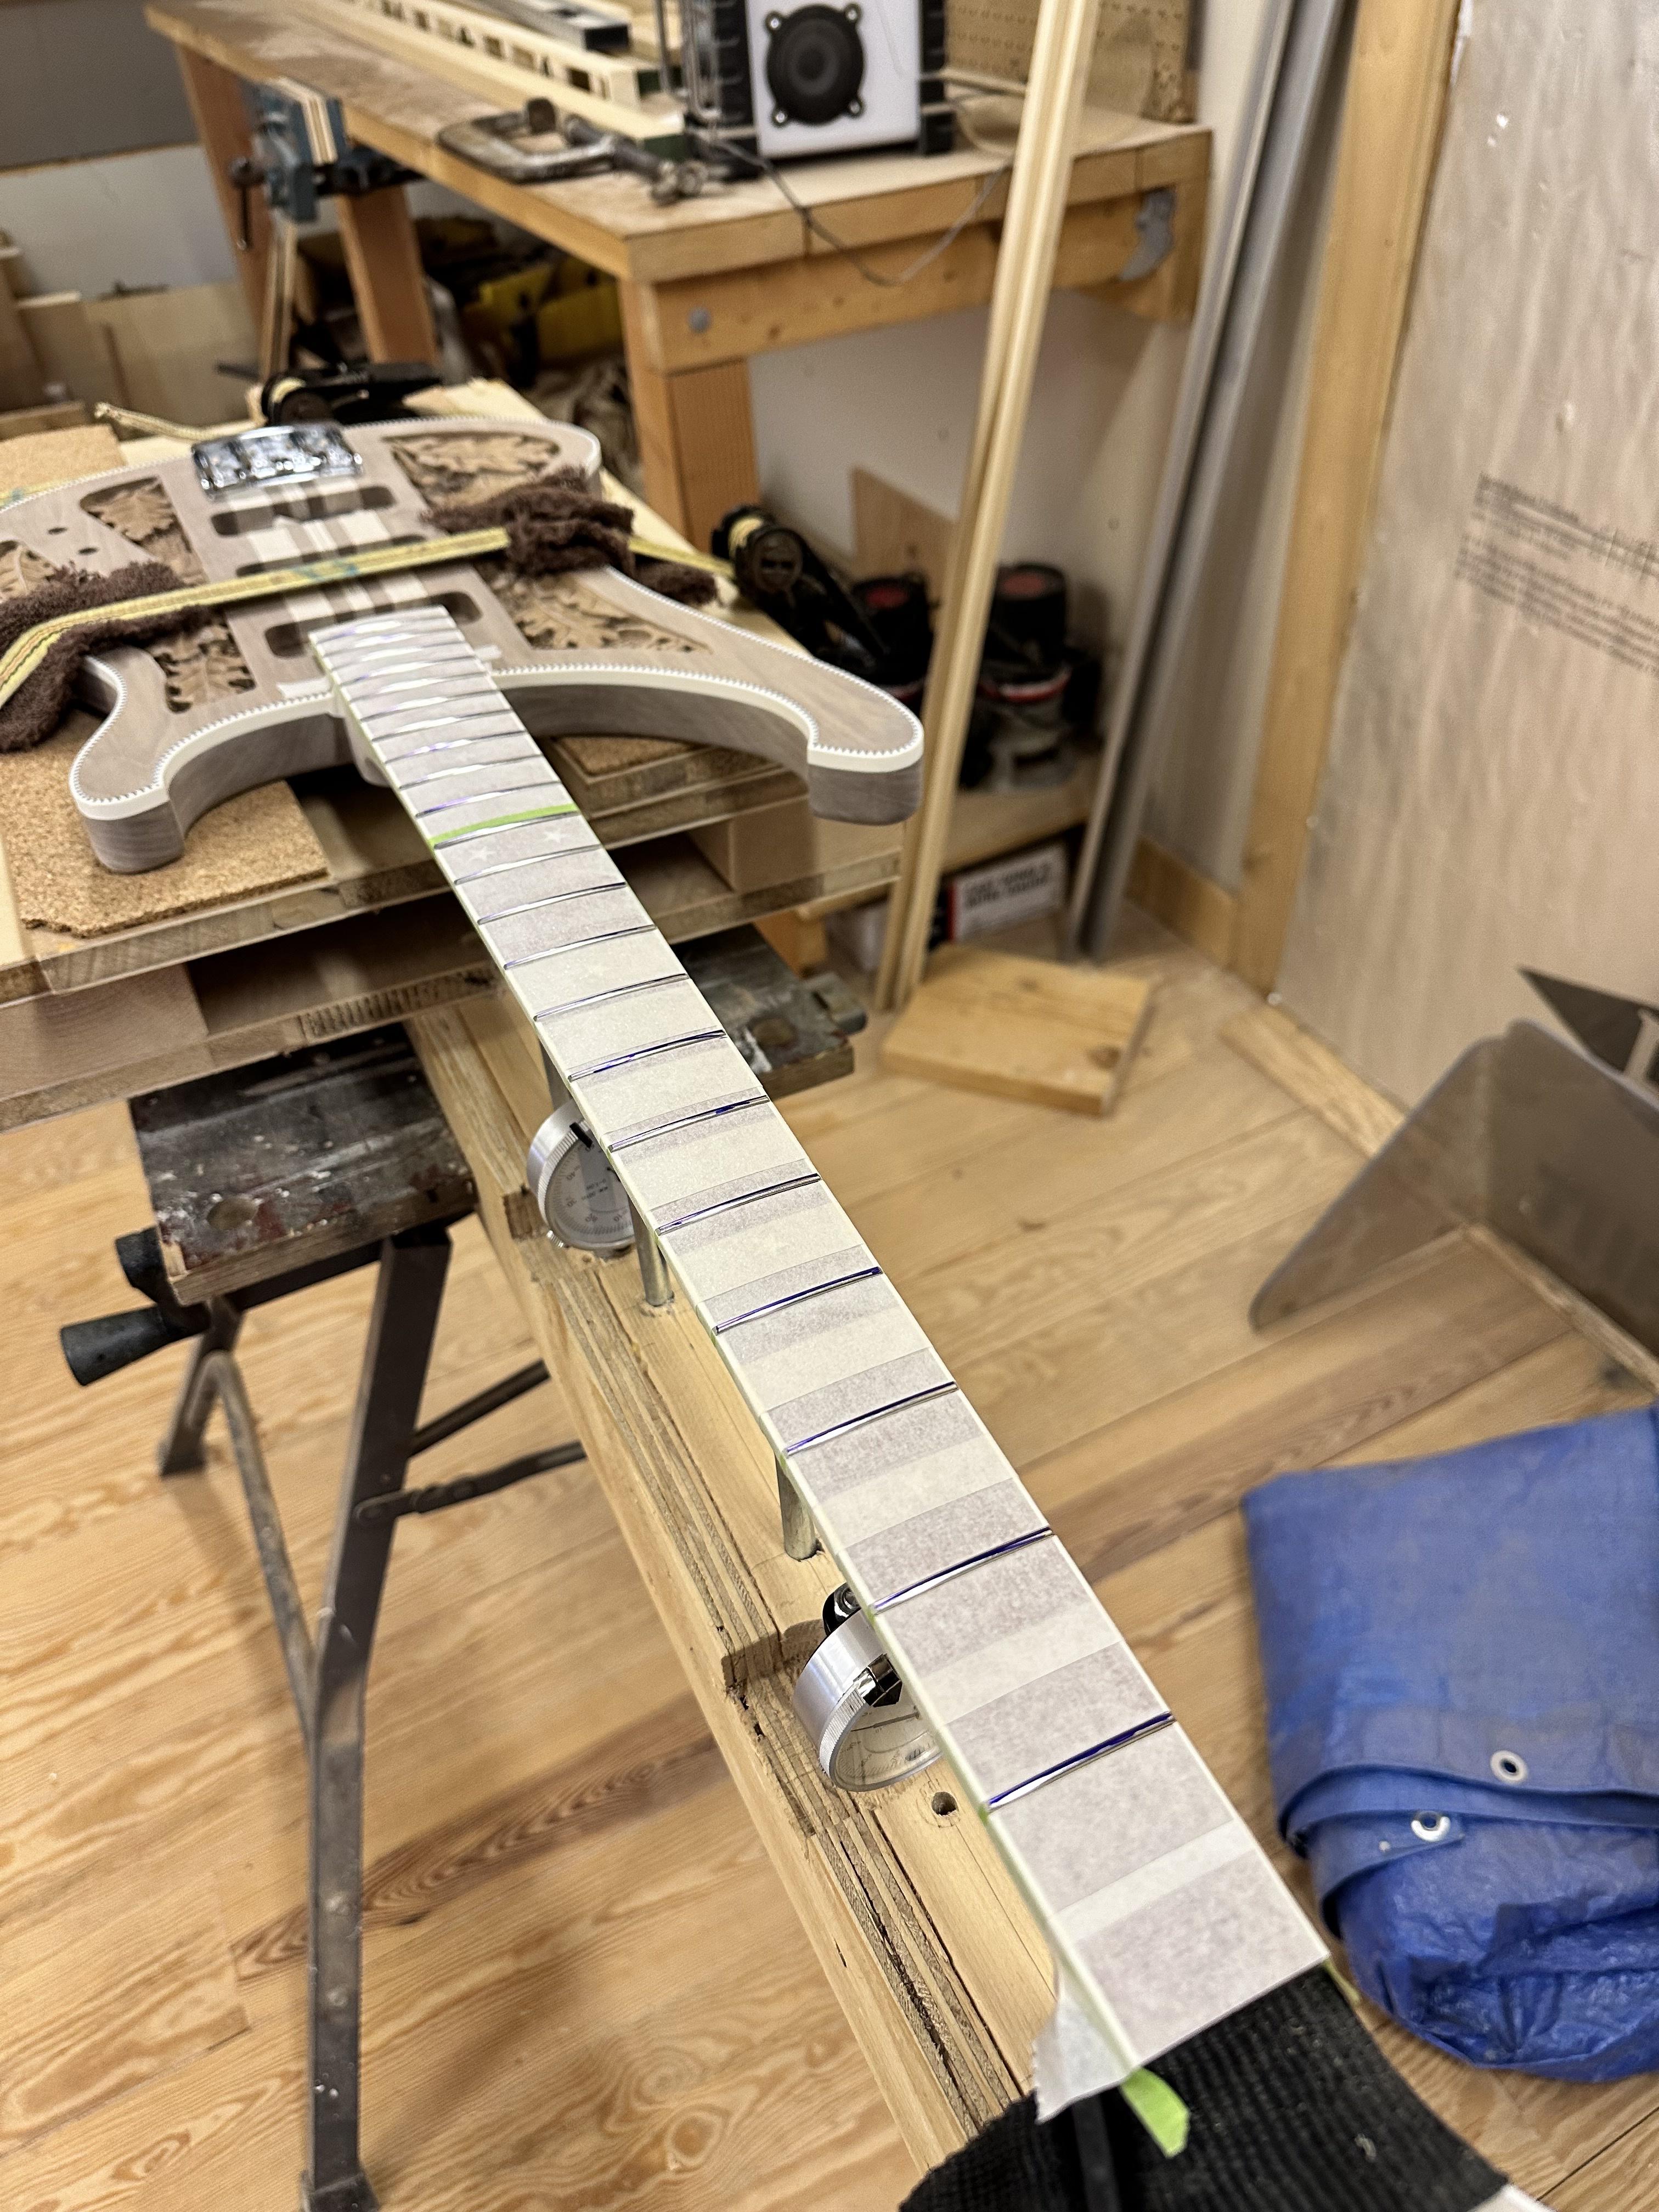
Tape it up and start leveling and crowning frets.
Kqkfpwp.jpg


nuWVhyO.jpg


For some reason, all my builds end up with one tall fret. No idea why, except maybe I'm sanding the board unevenly when I leveled the inlays? Not sure why that would be, since I use my precision leveling beam to do it, but there it is. I ended up taking more off all the other frets than I needed chasing them all to the same height. I think I still have a lot to learn about fret leveling.

Thank god I used a DA rod, as seems common, the neck moved a bit after carving, in this case into backbow. I glued the frets in with CA on this one, maybe I added some backbow during fretting. I had to torque the rod pretty good to get it flat unstrung. Not too worried, as it seemed to pull into flat pretty well strung. This is the difference between a pro Luthier and... Me. I don't fully understand some of the interactions, or what I could be doing better on the whole fret install and leveling process. In this case I'm ending up with a set of frets that's probably only good for one or two levelings, because I had to take so much metal off them. Sigh....