• TalkBass has been independent since 1998. Add your voice.
    Create a free account to reply to discussions, view embedded media, and browse with fewer display ads.
    Join freeLog in
    Want zero display ads or expanded classifieds tools? Compare plans.

The Hossenfeffer V Bass Build

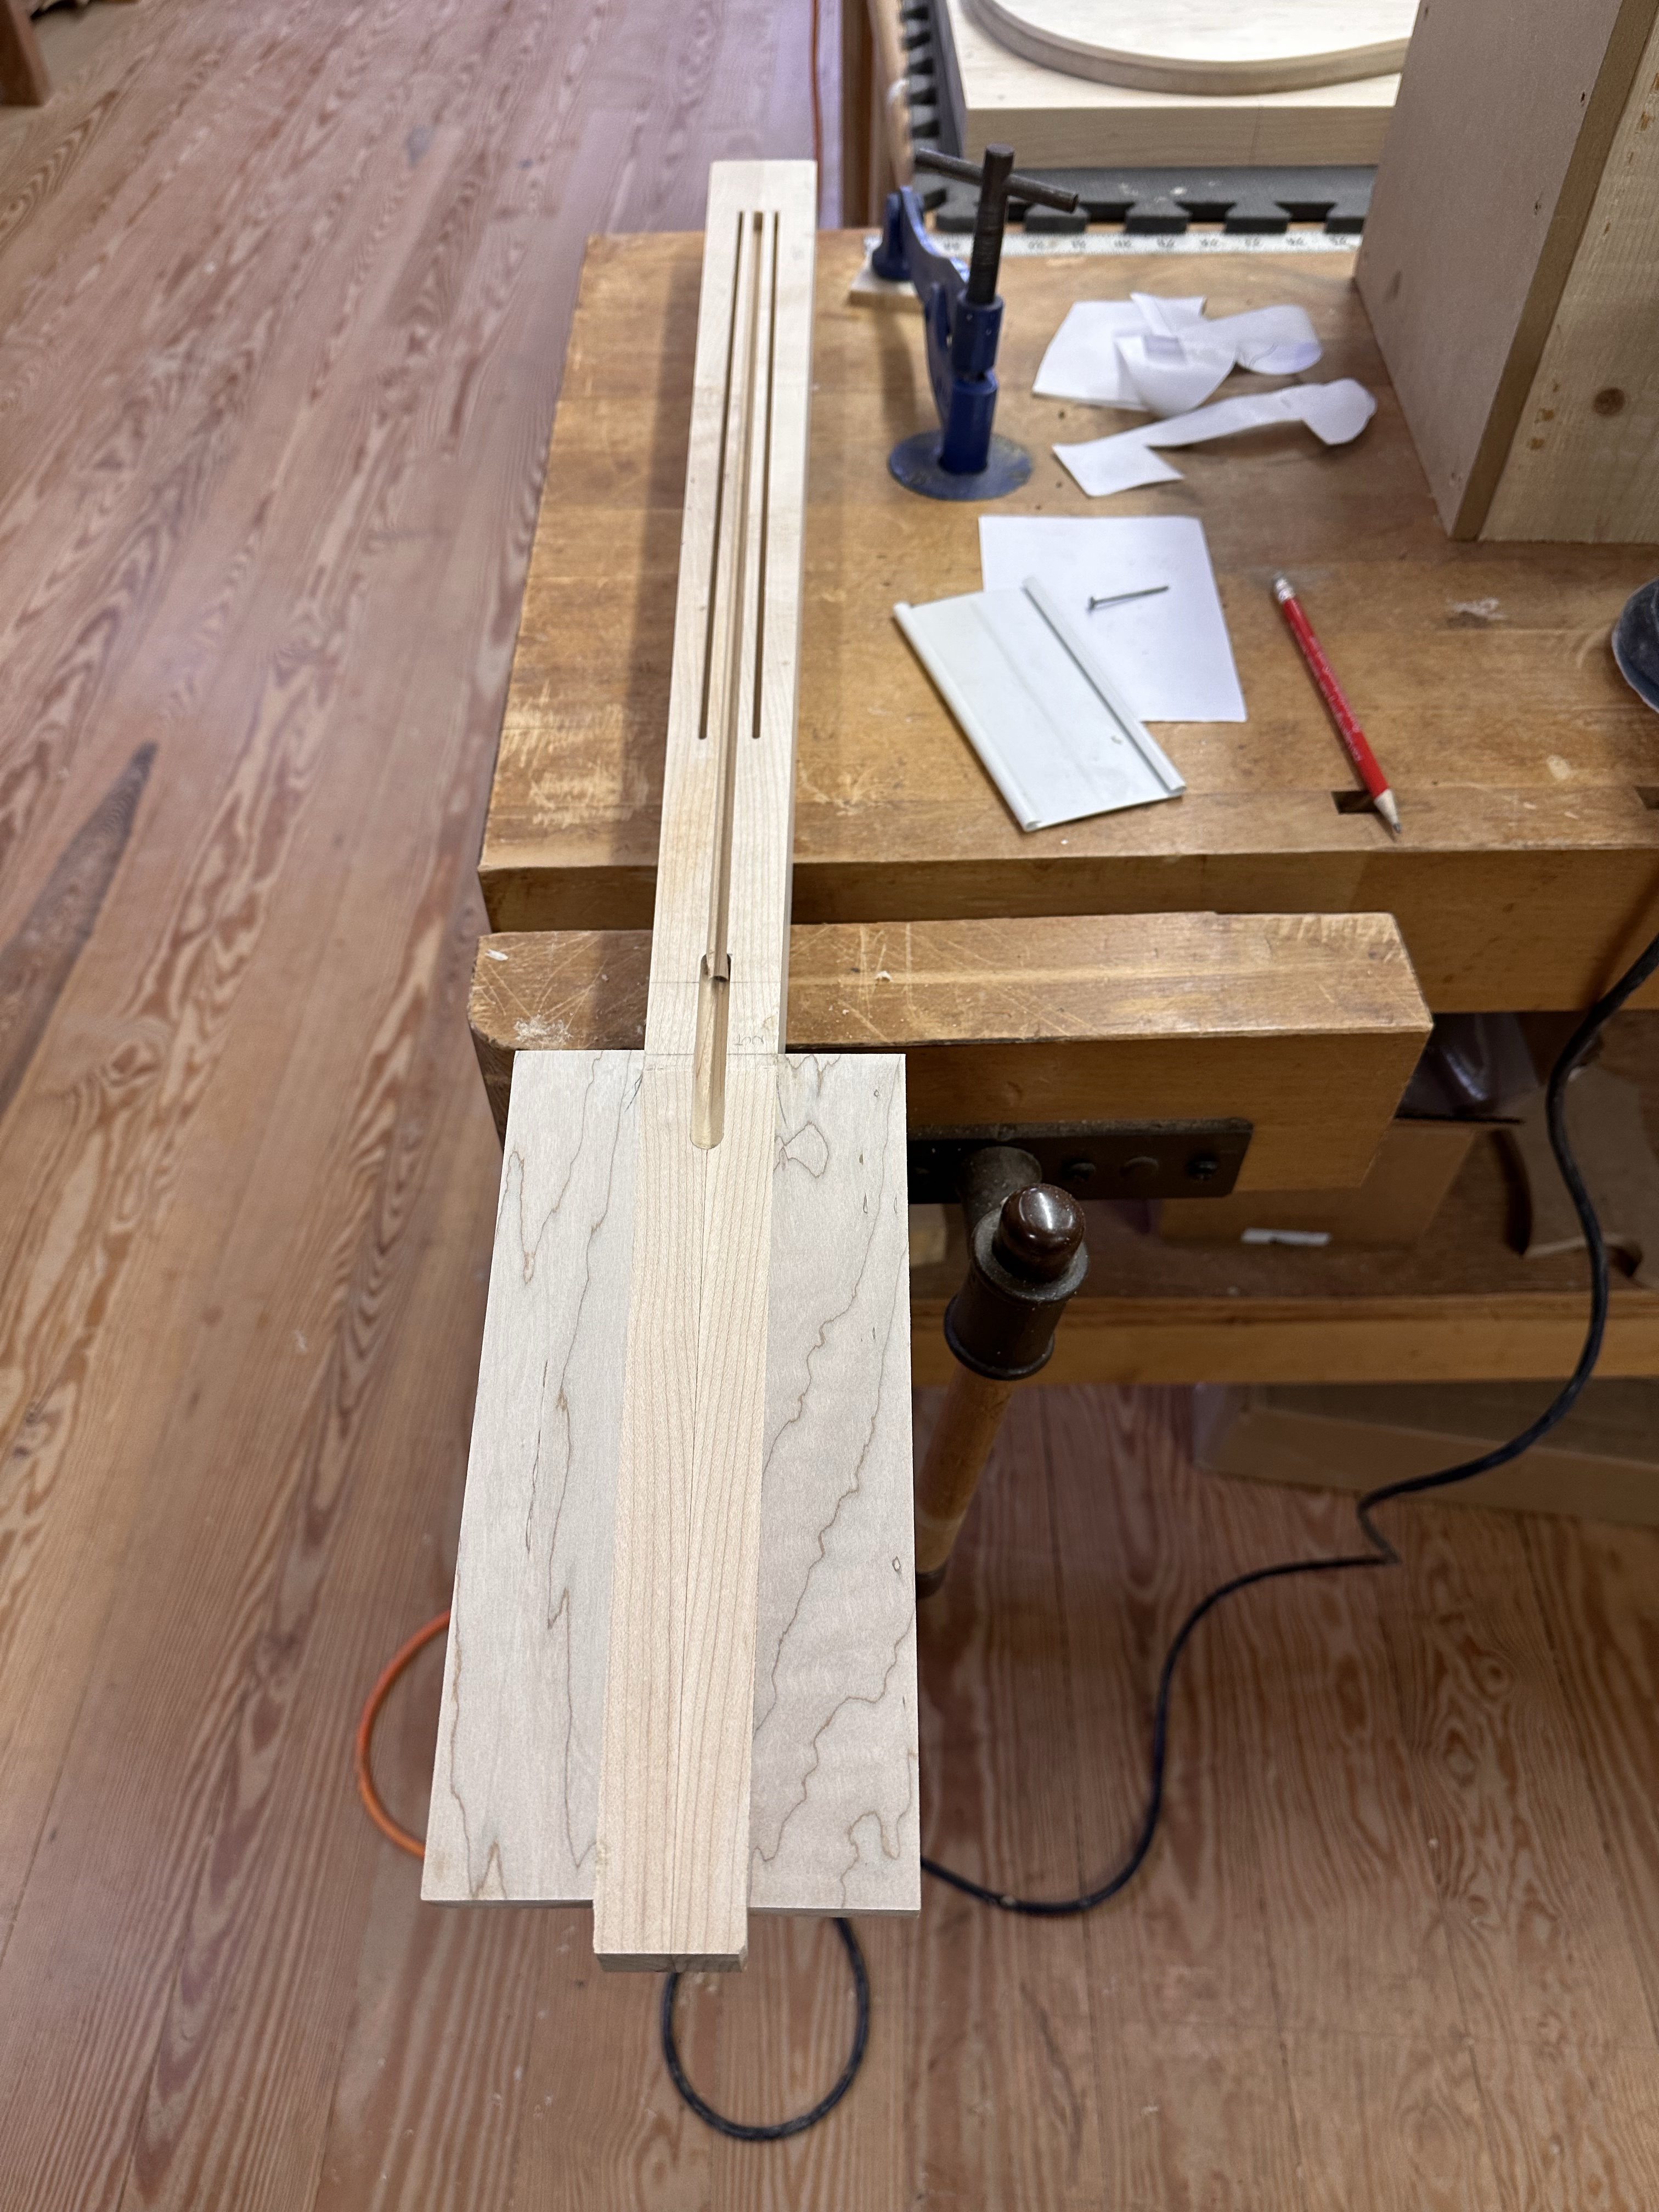
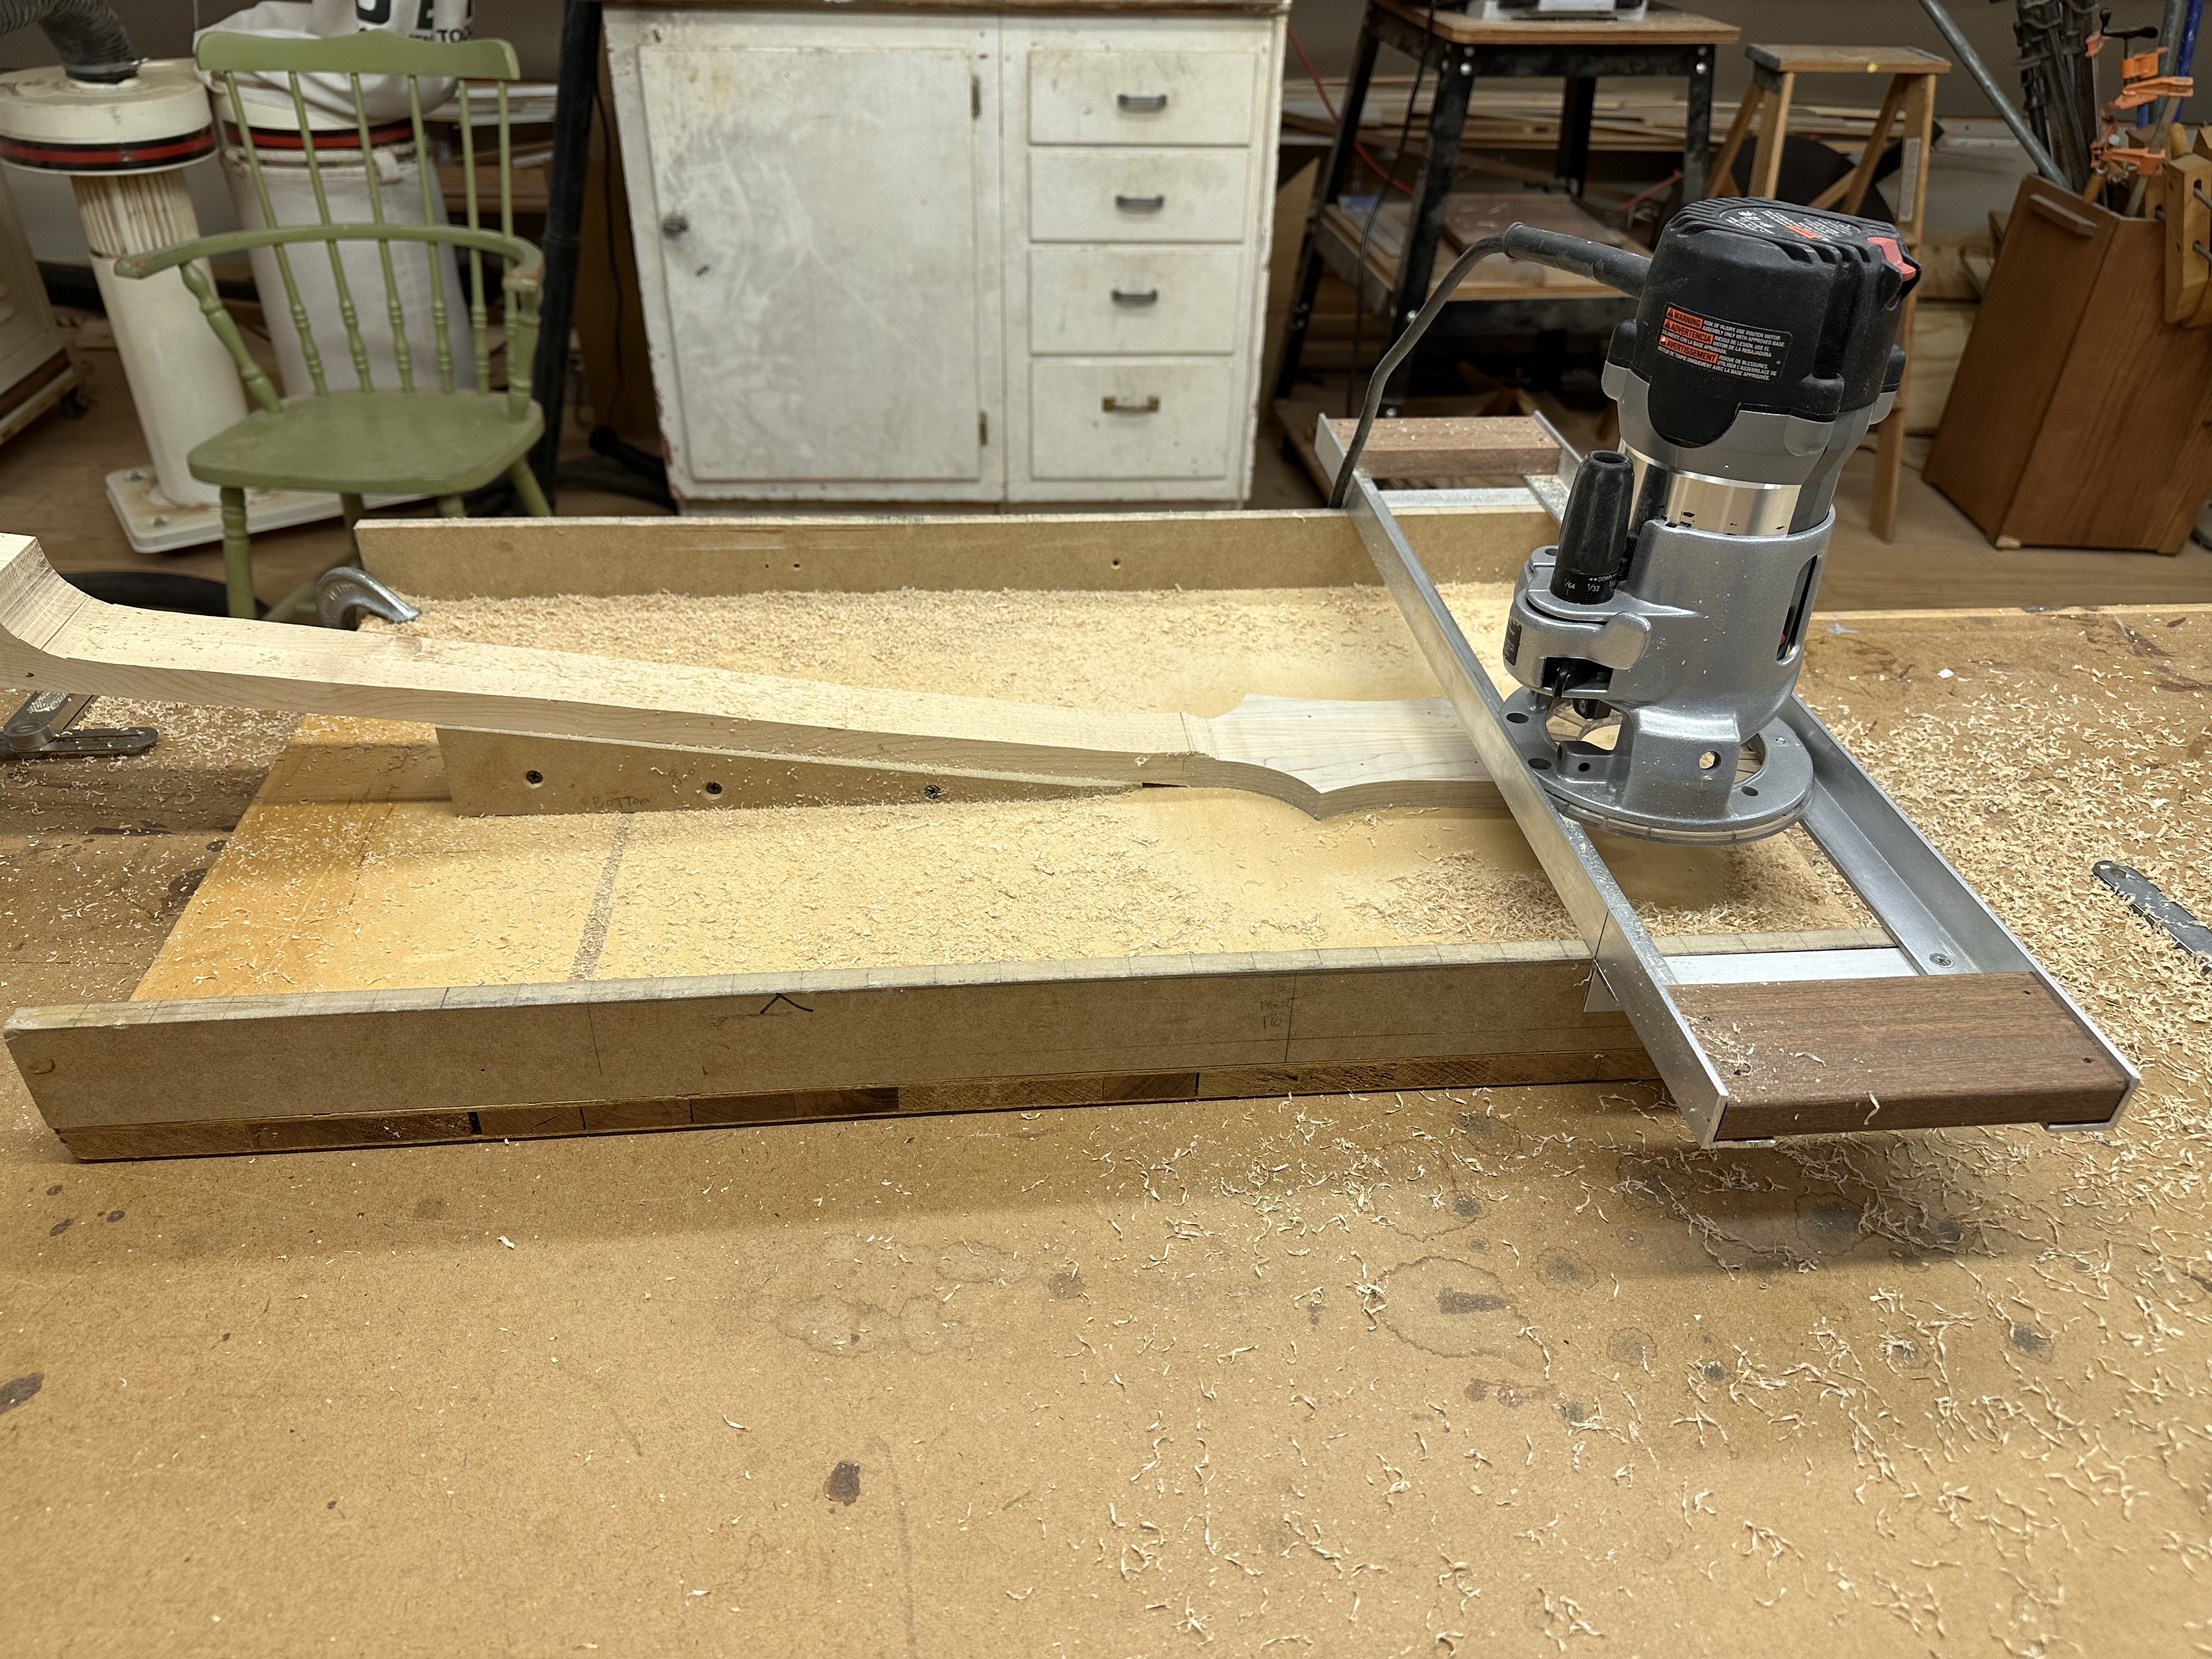
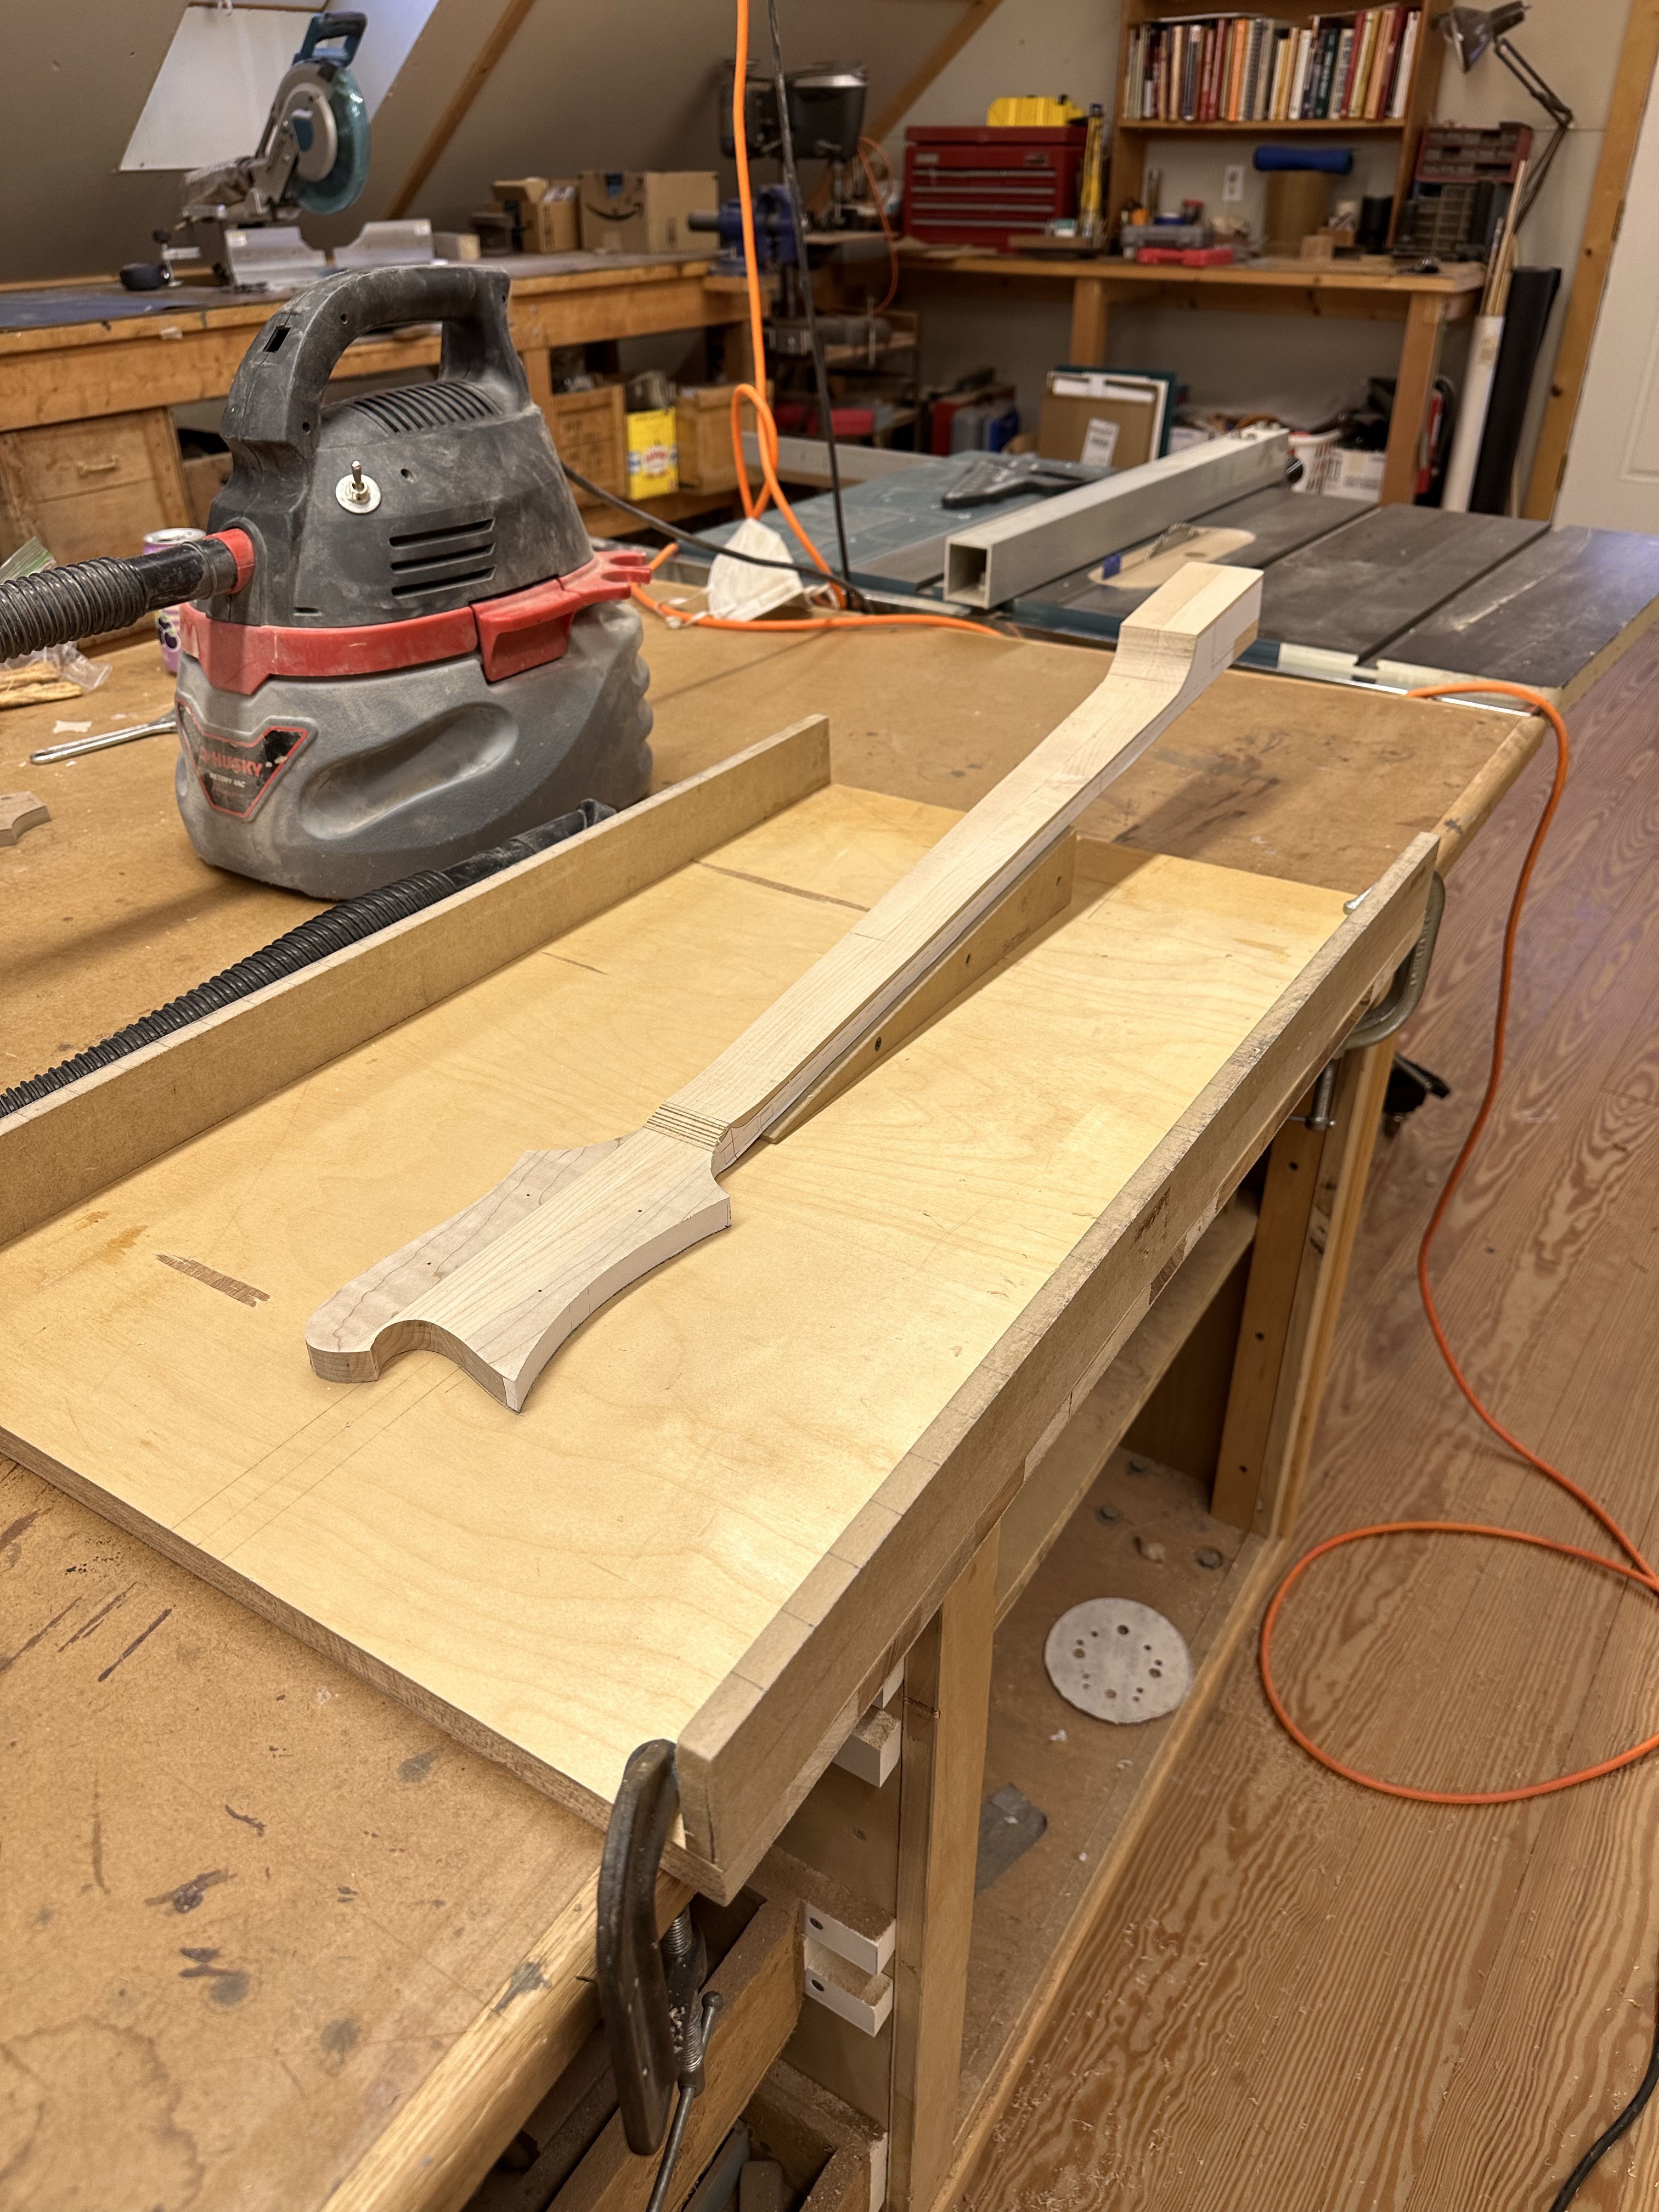
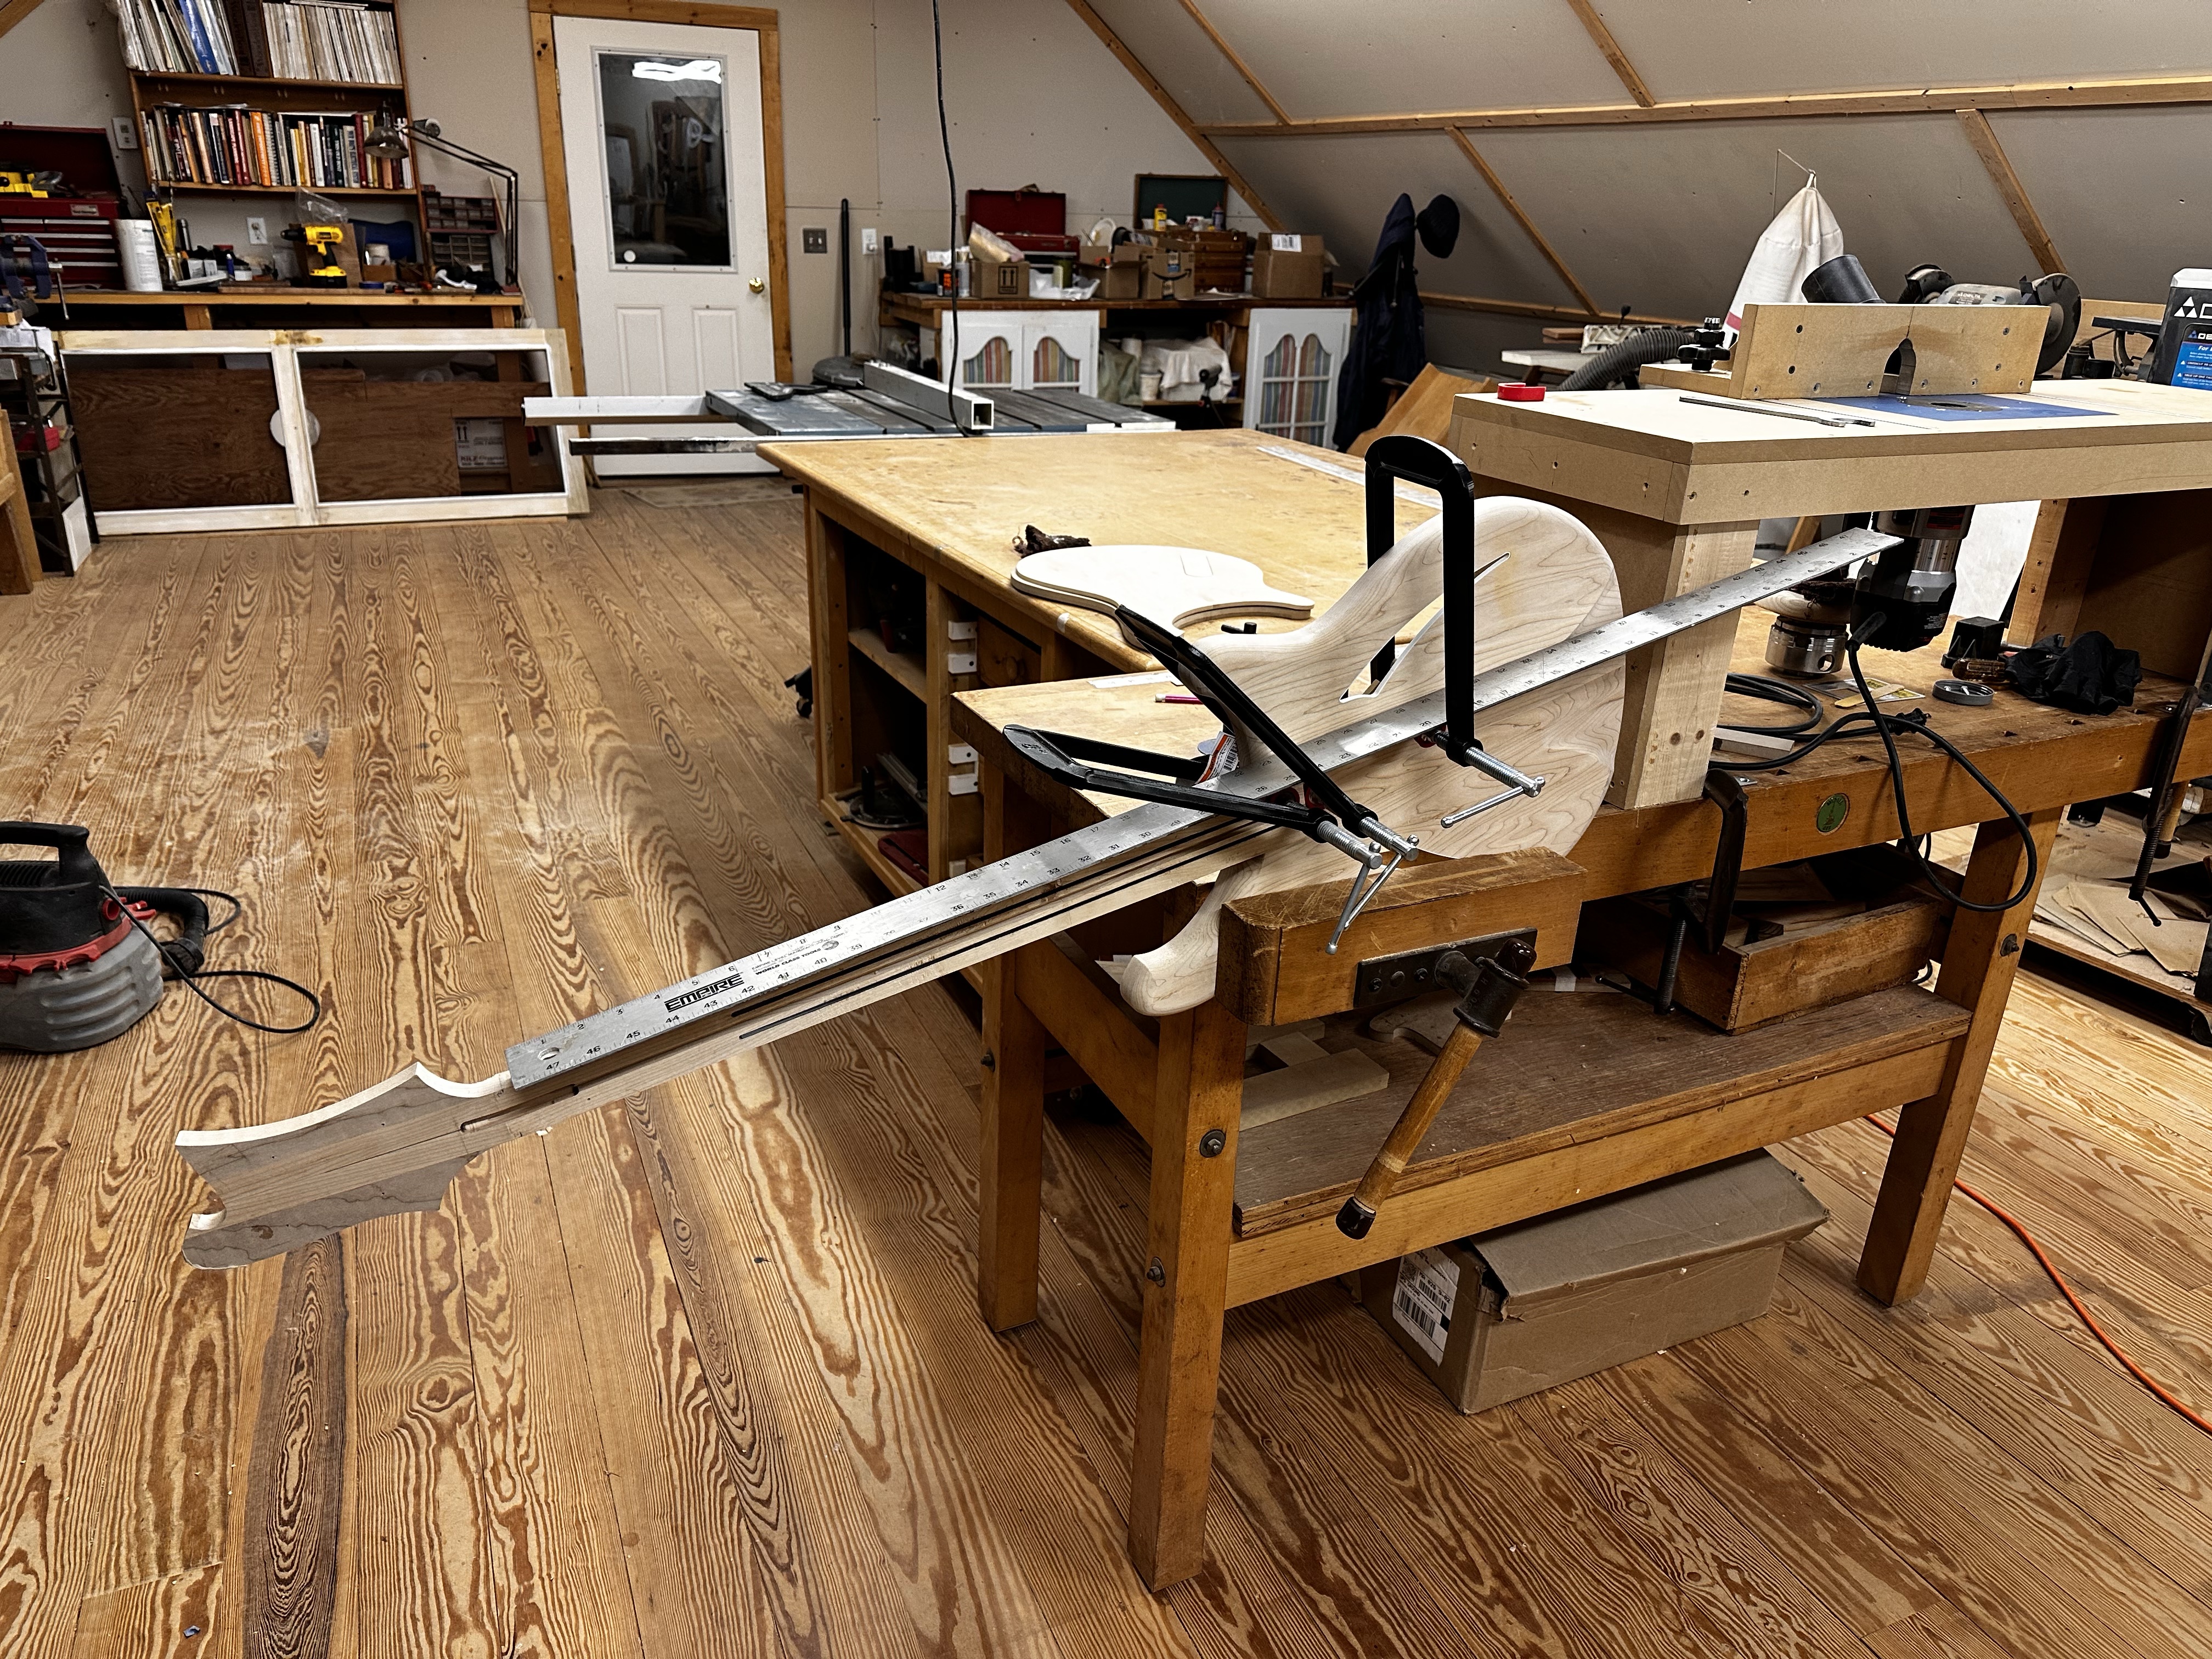
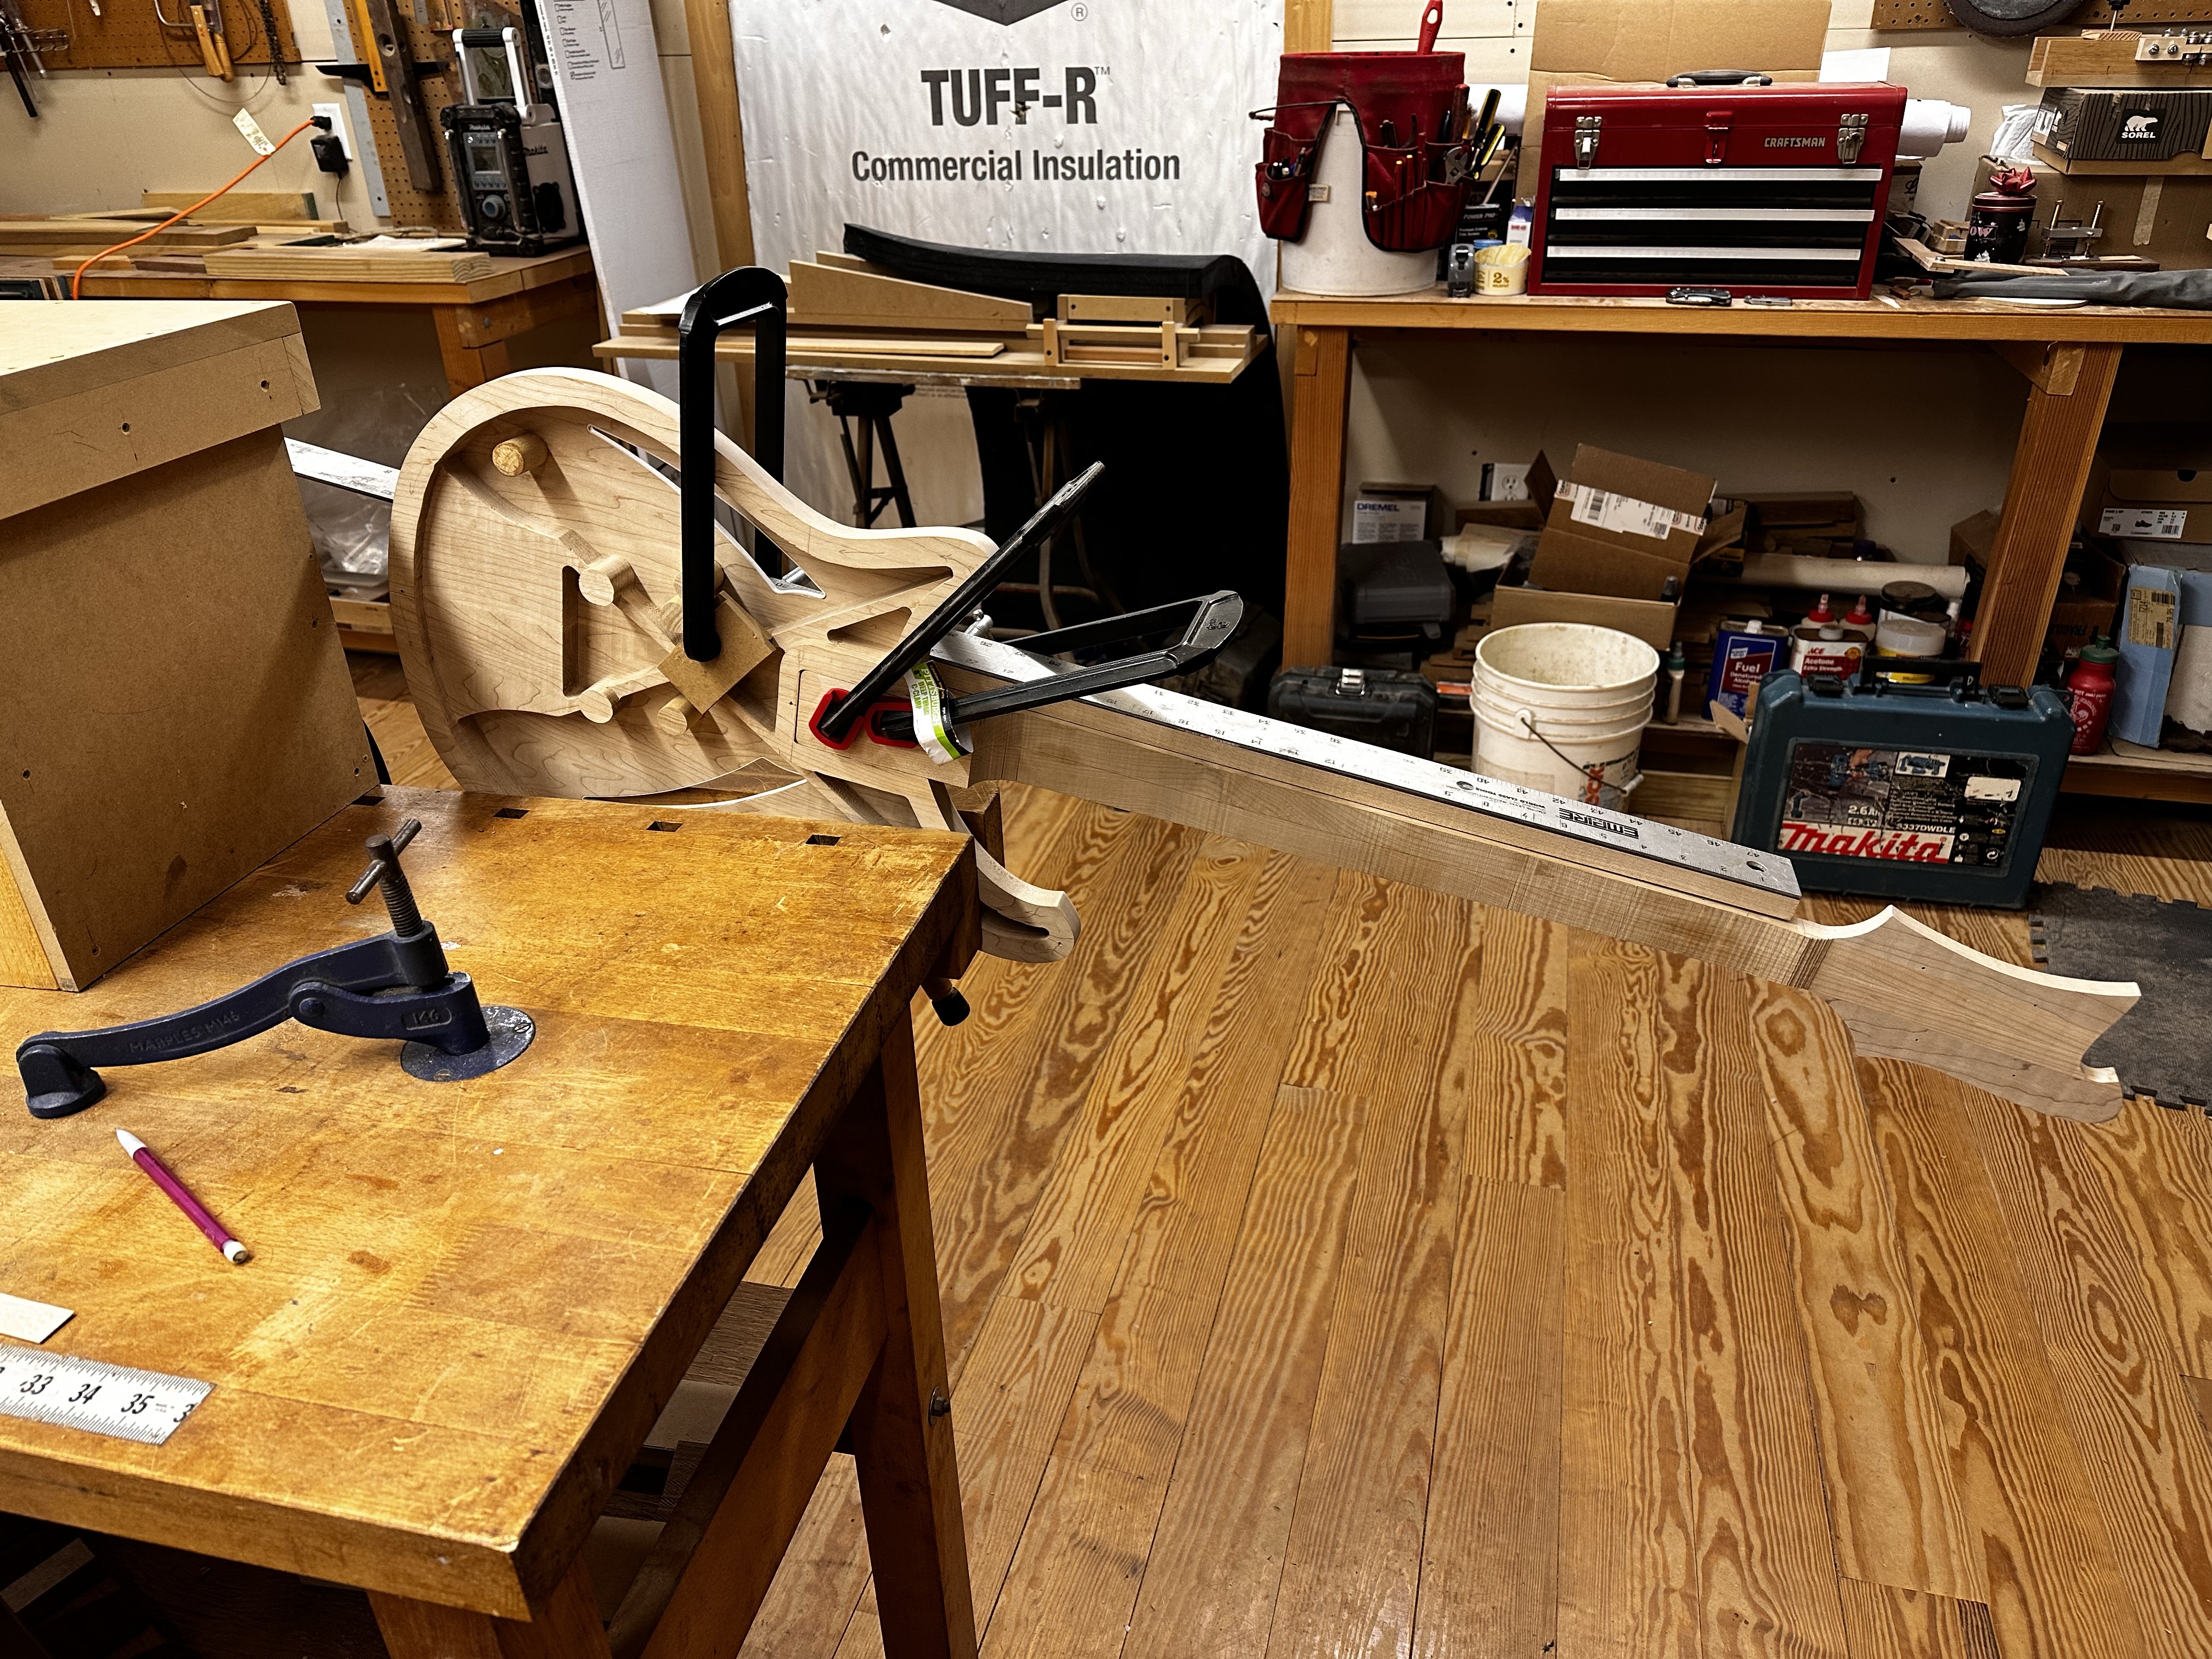
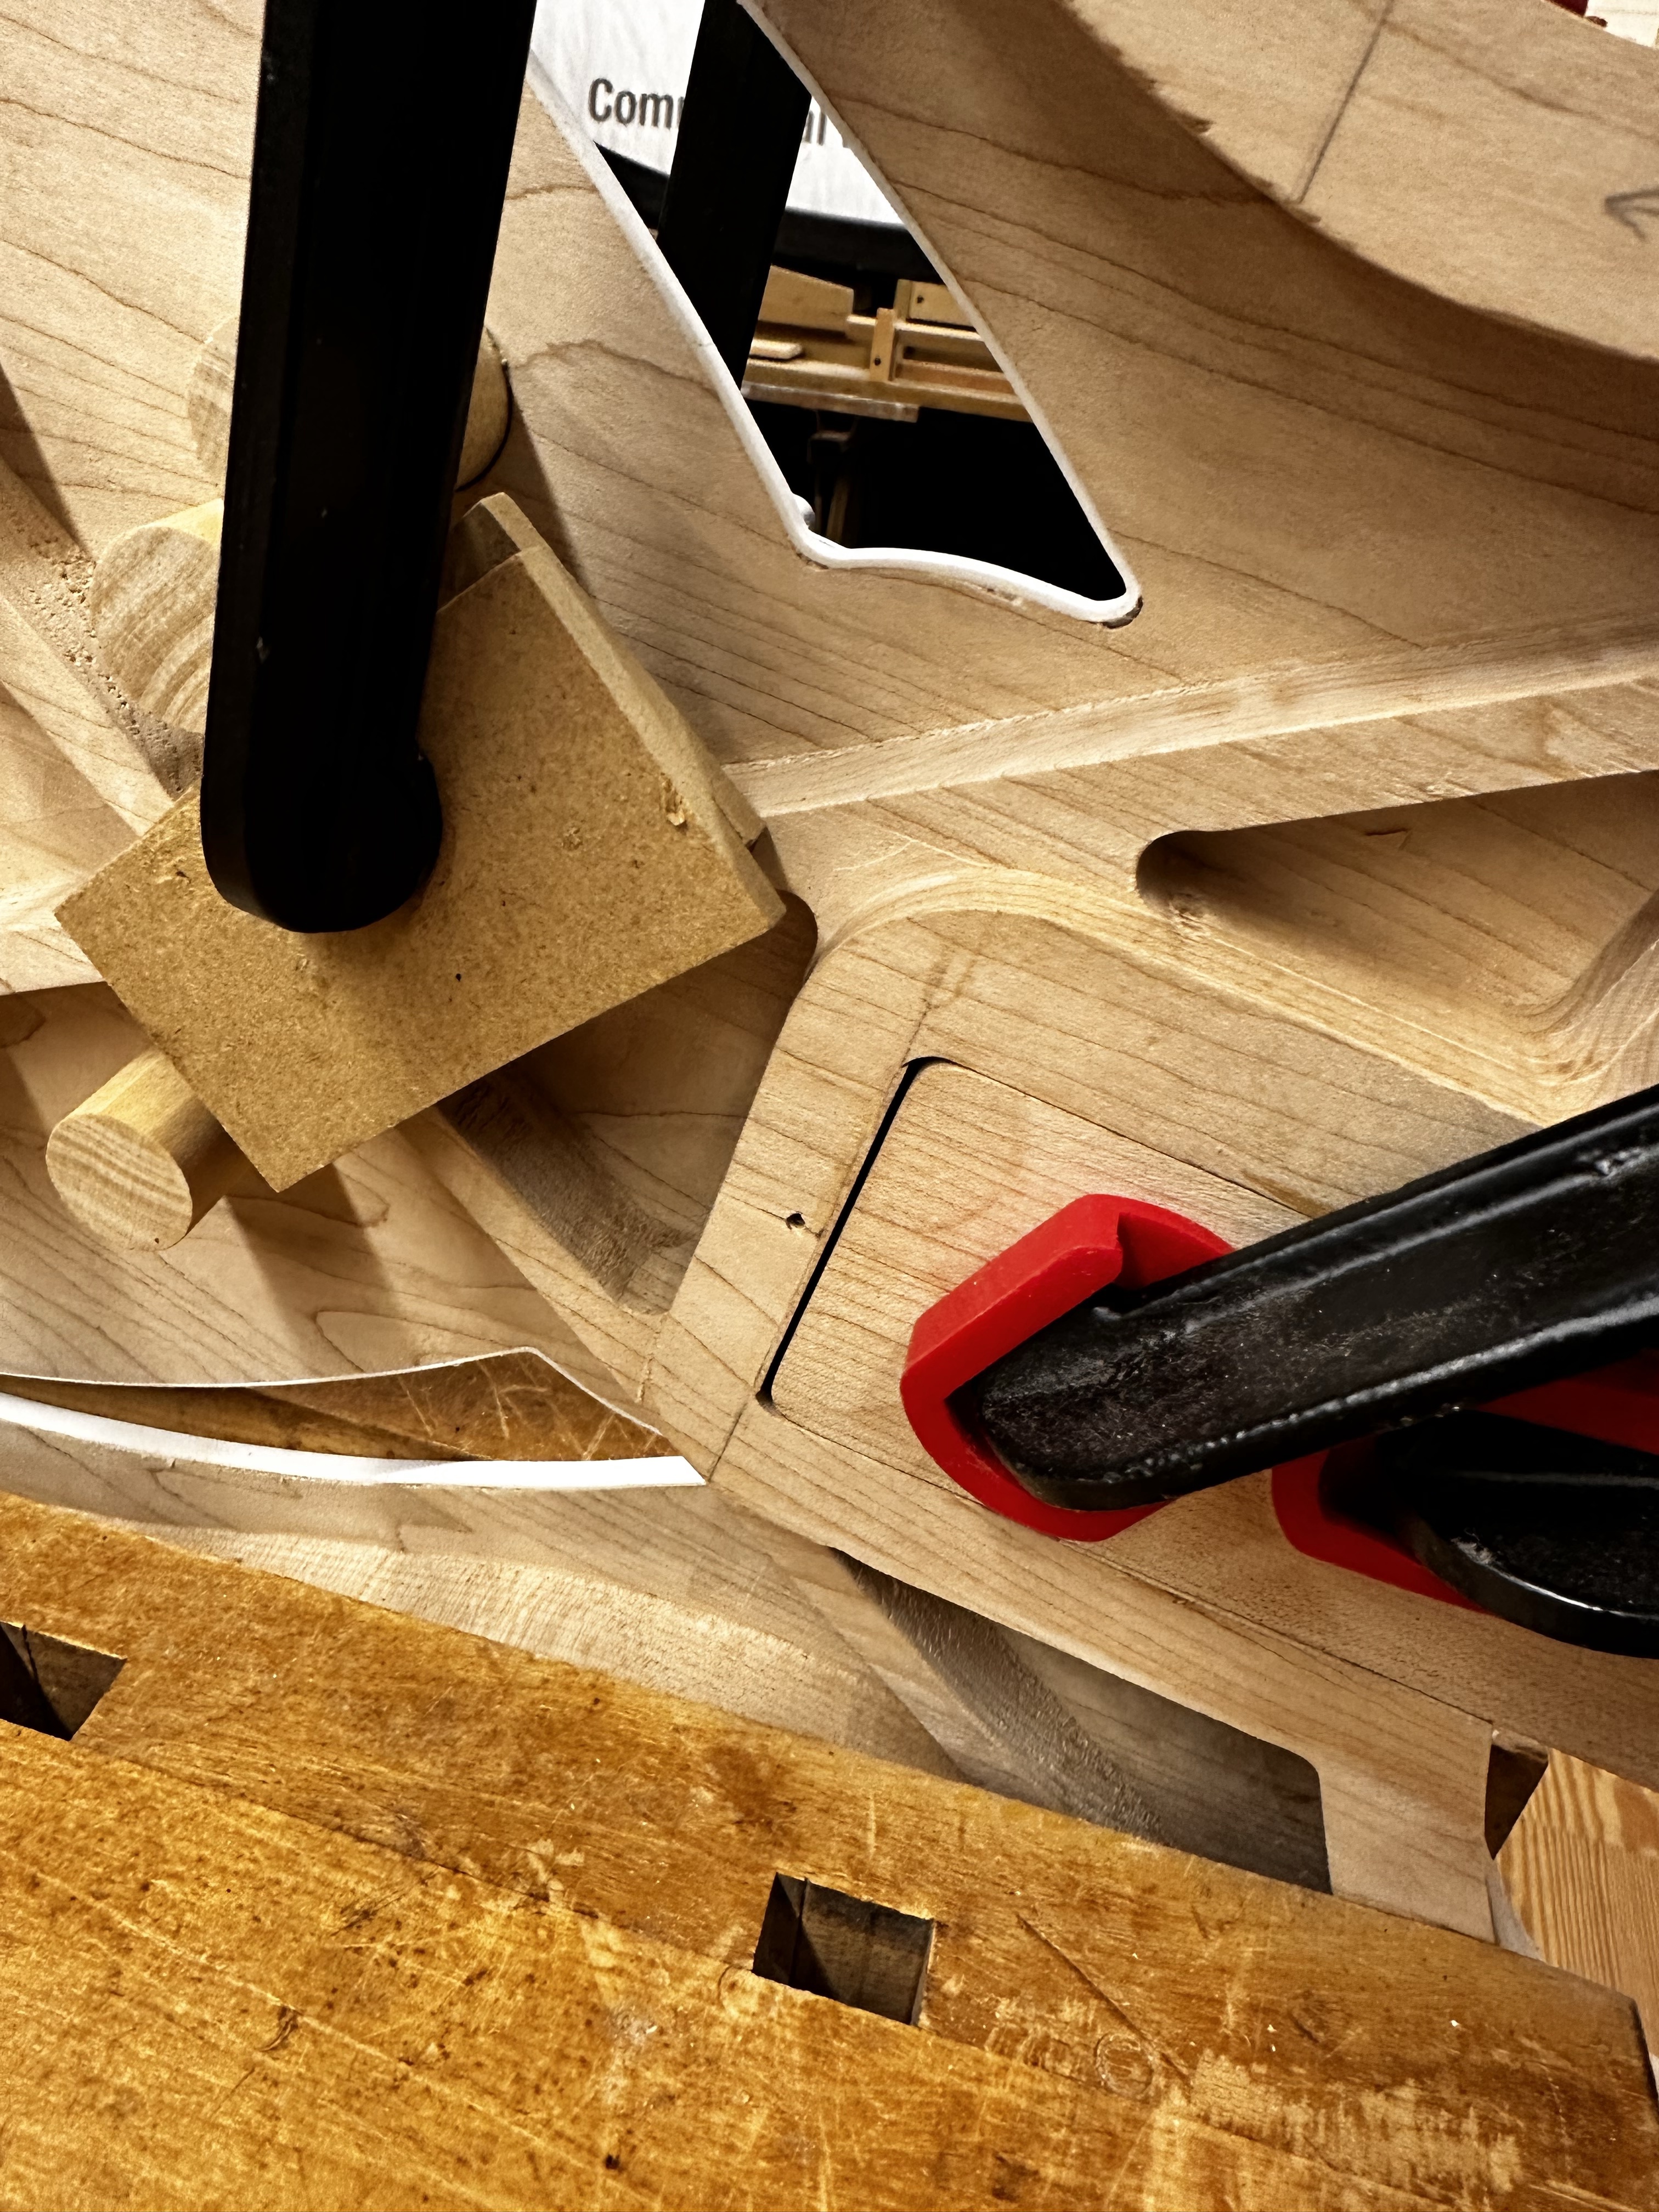
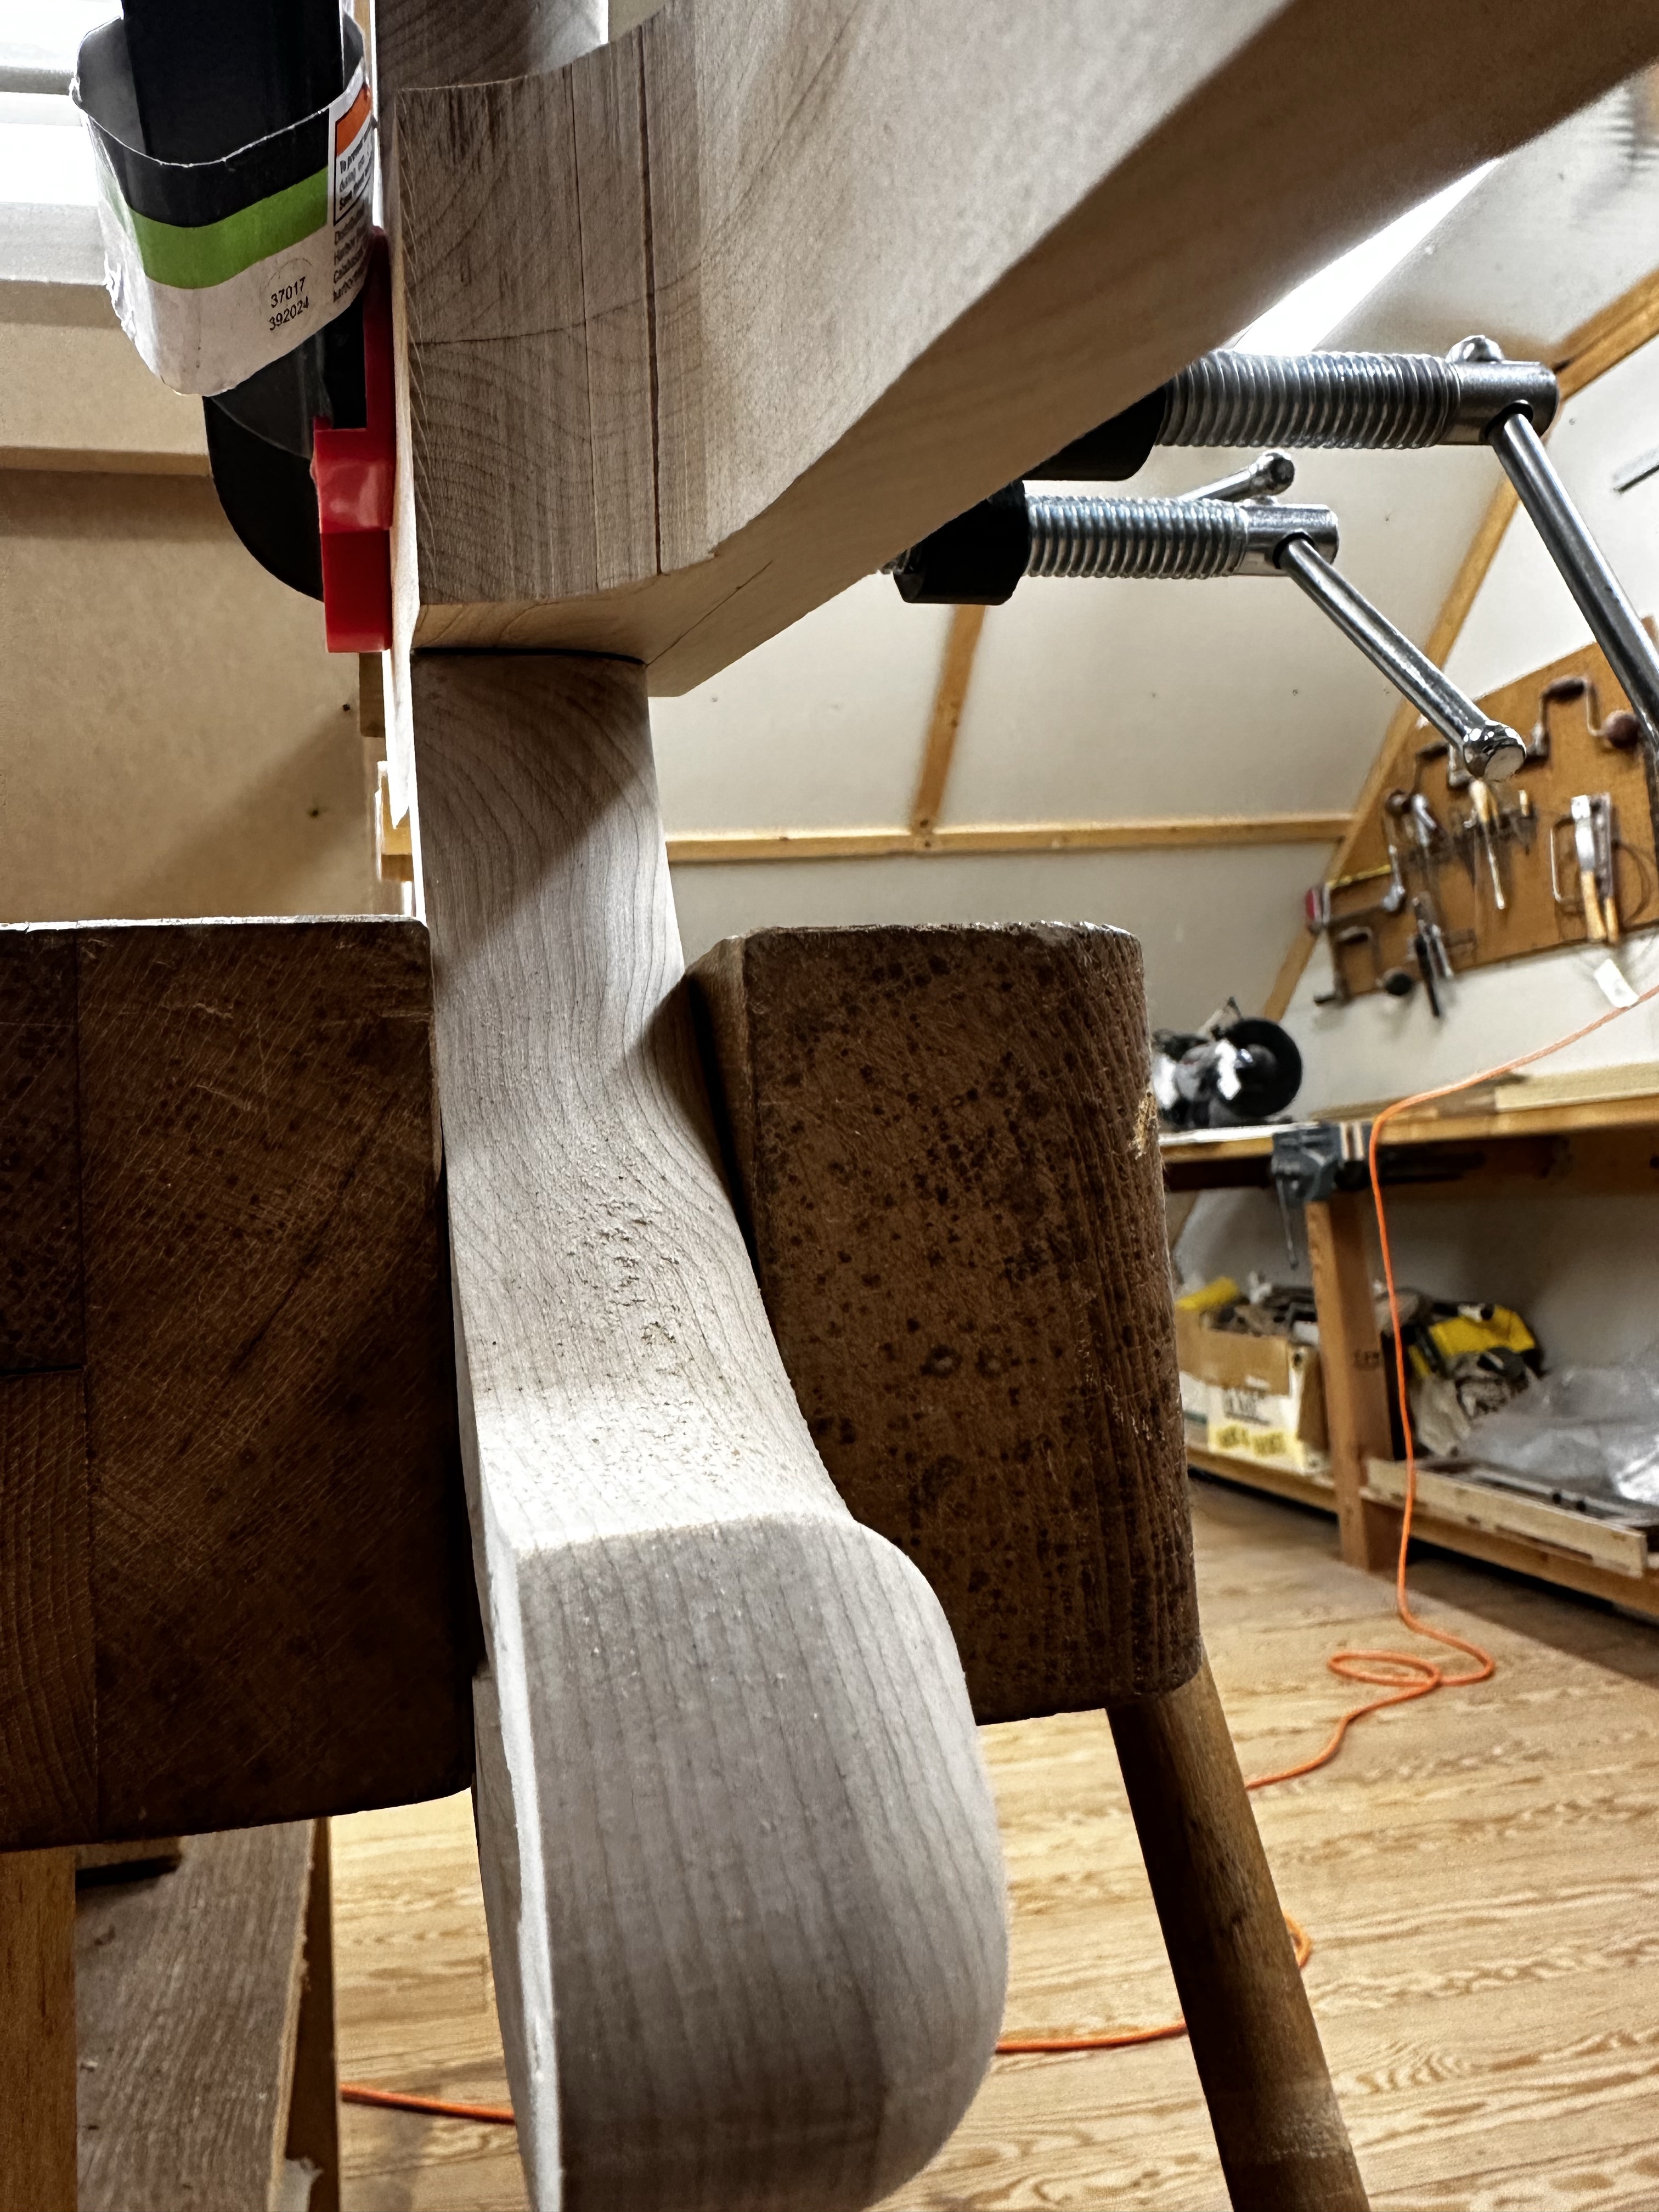
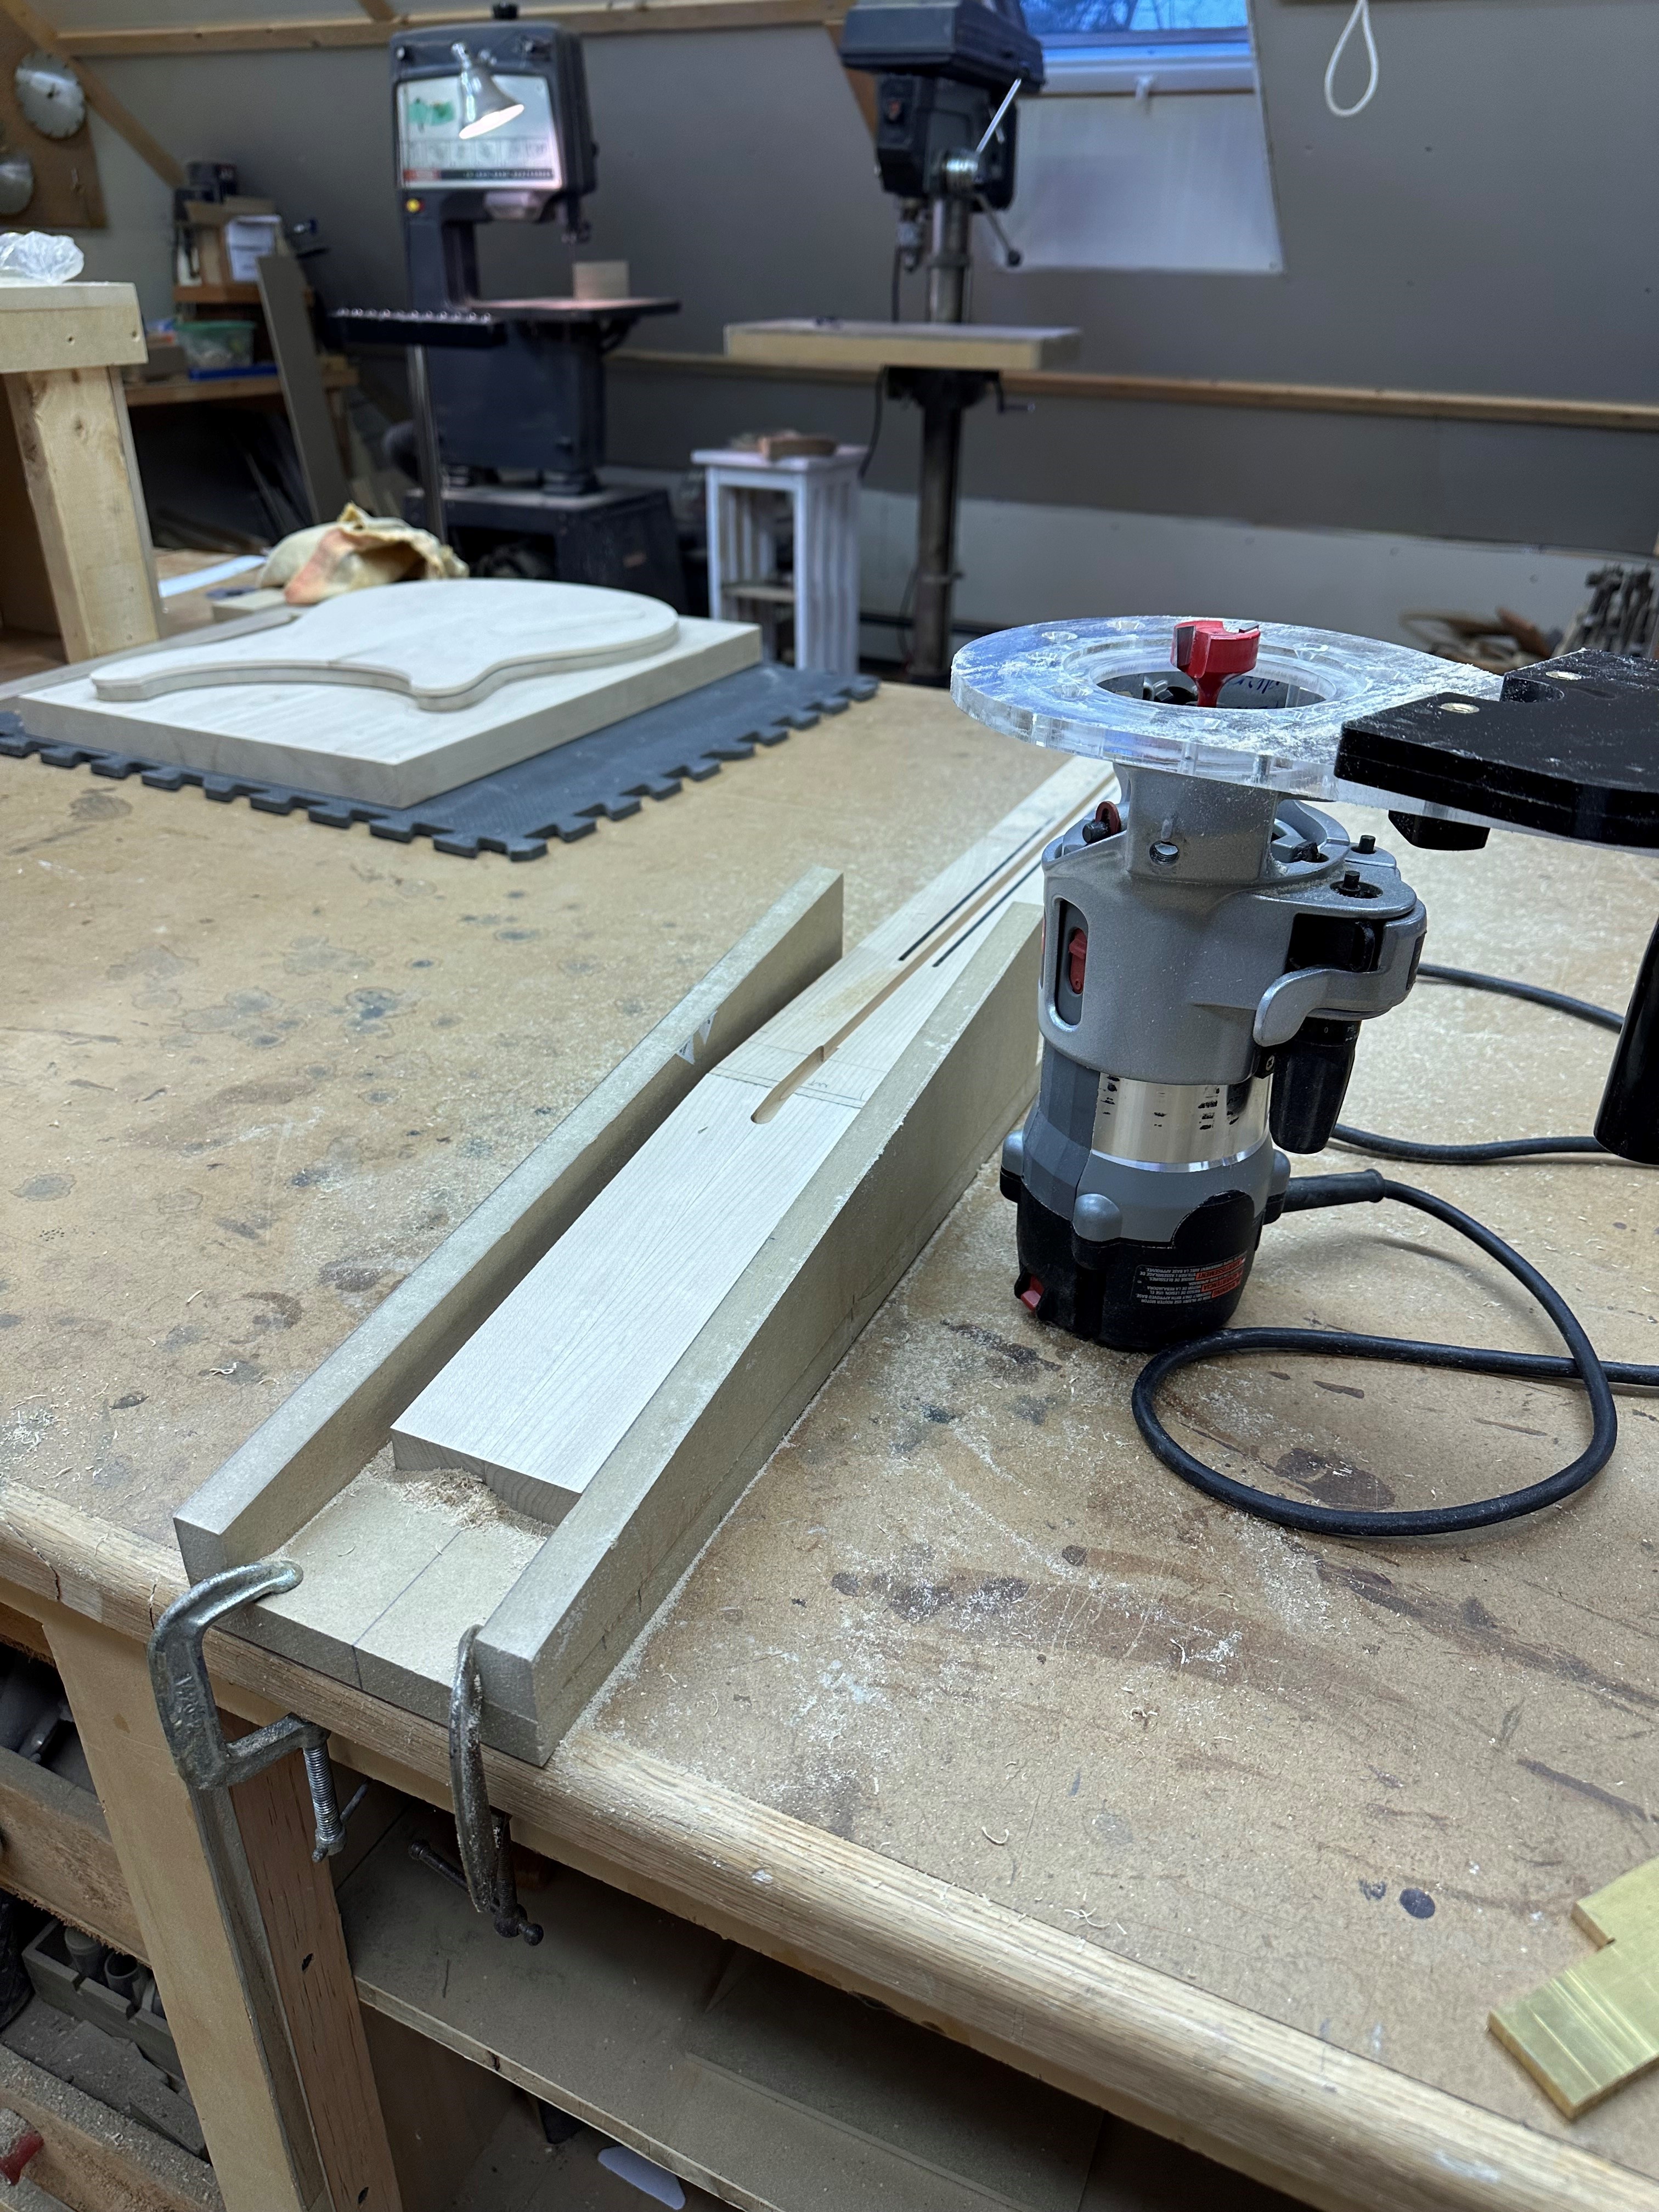
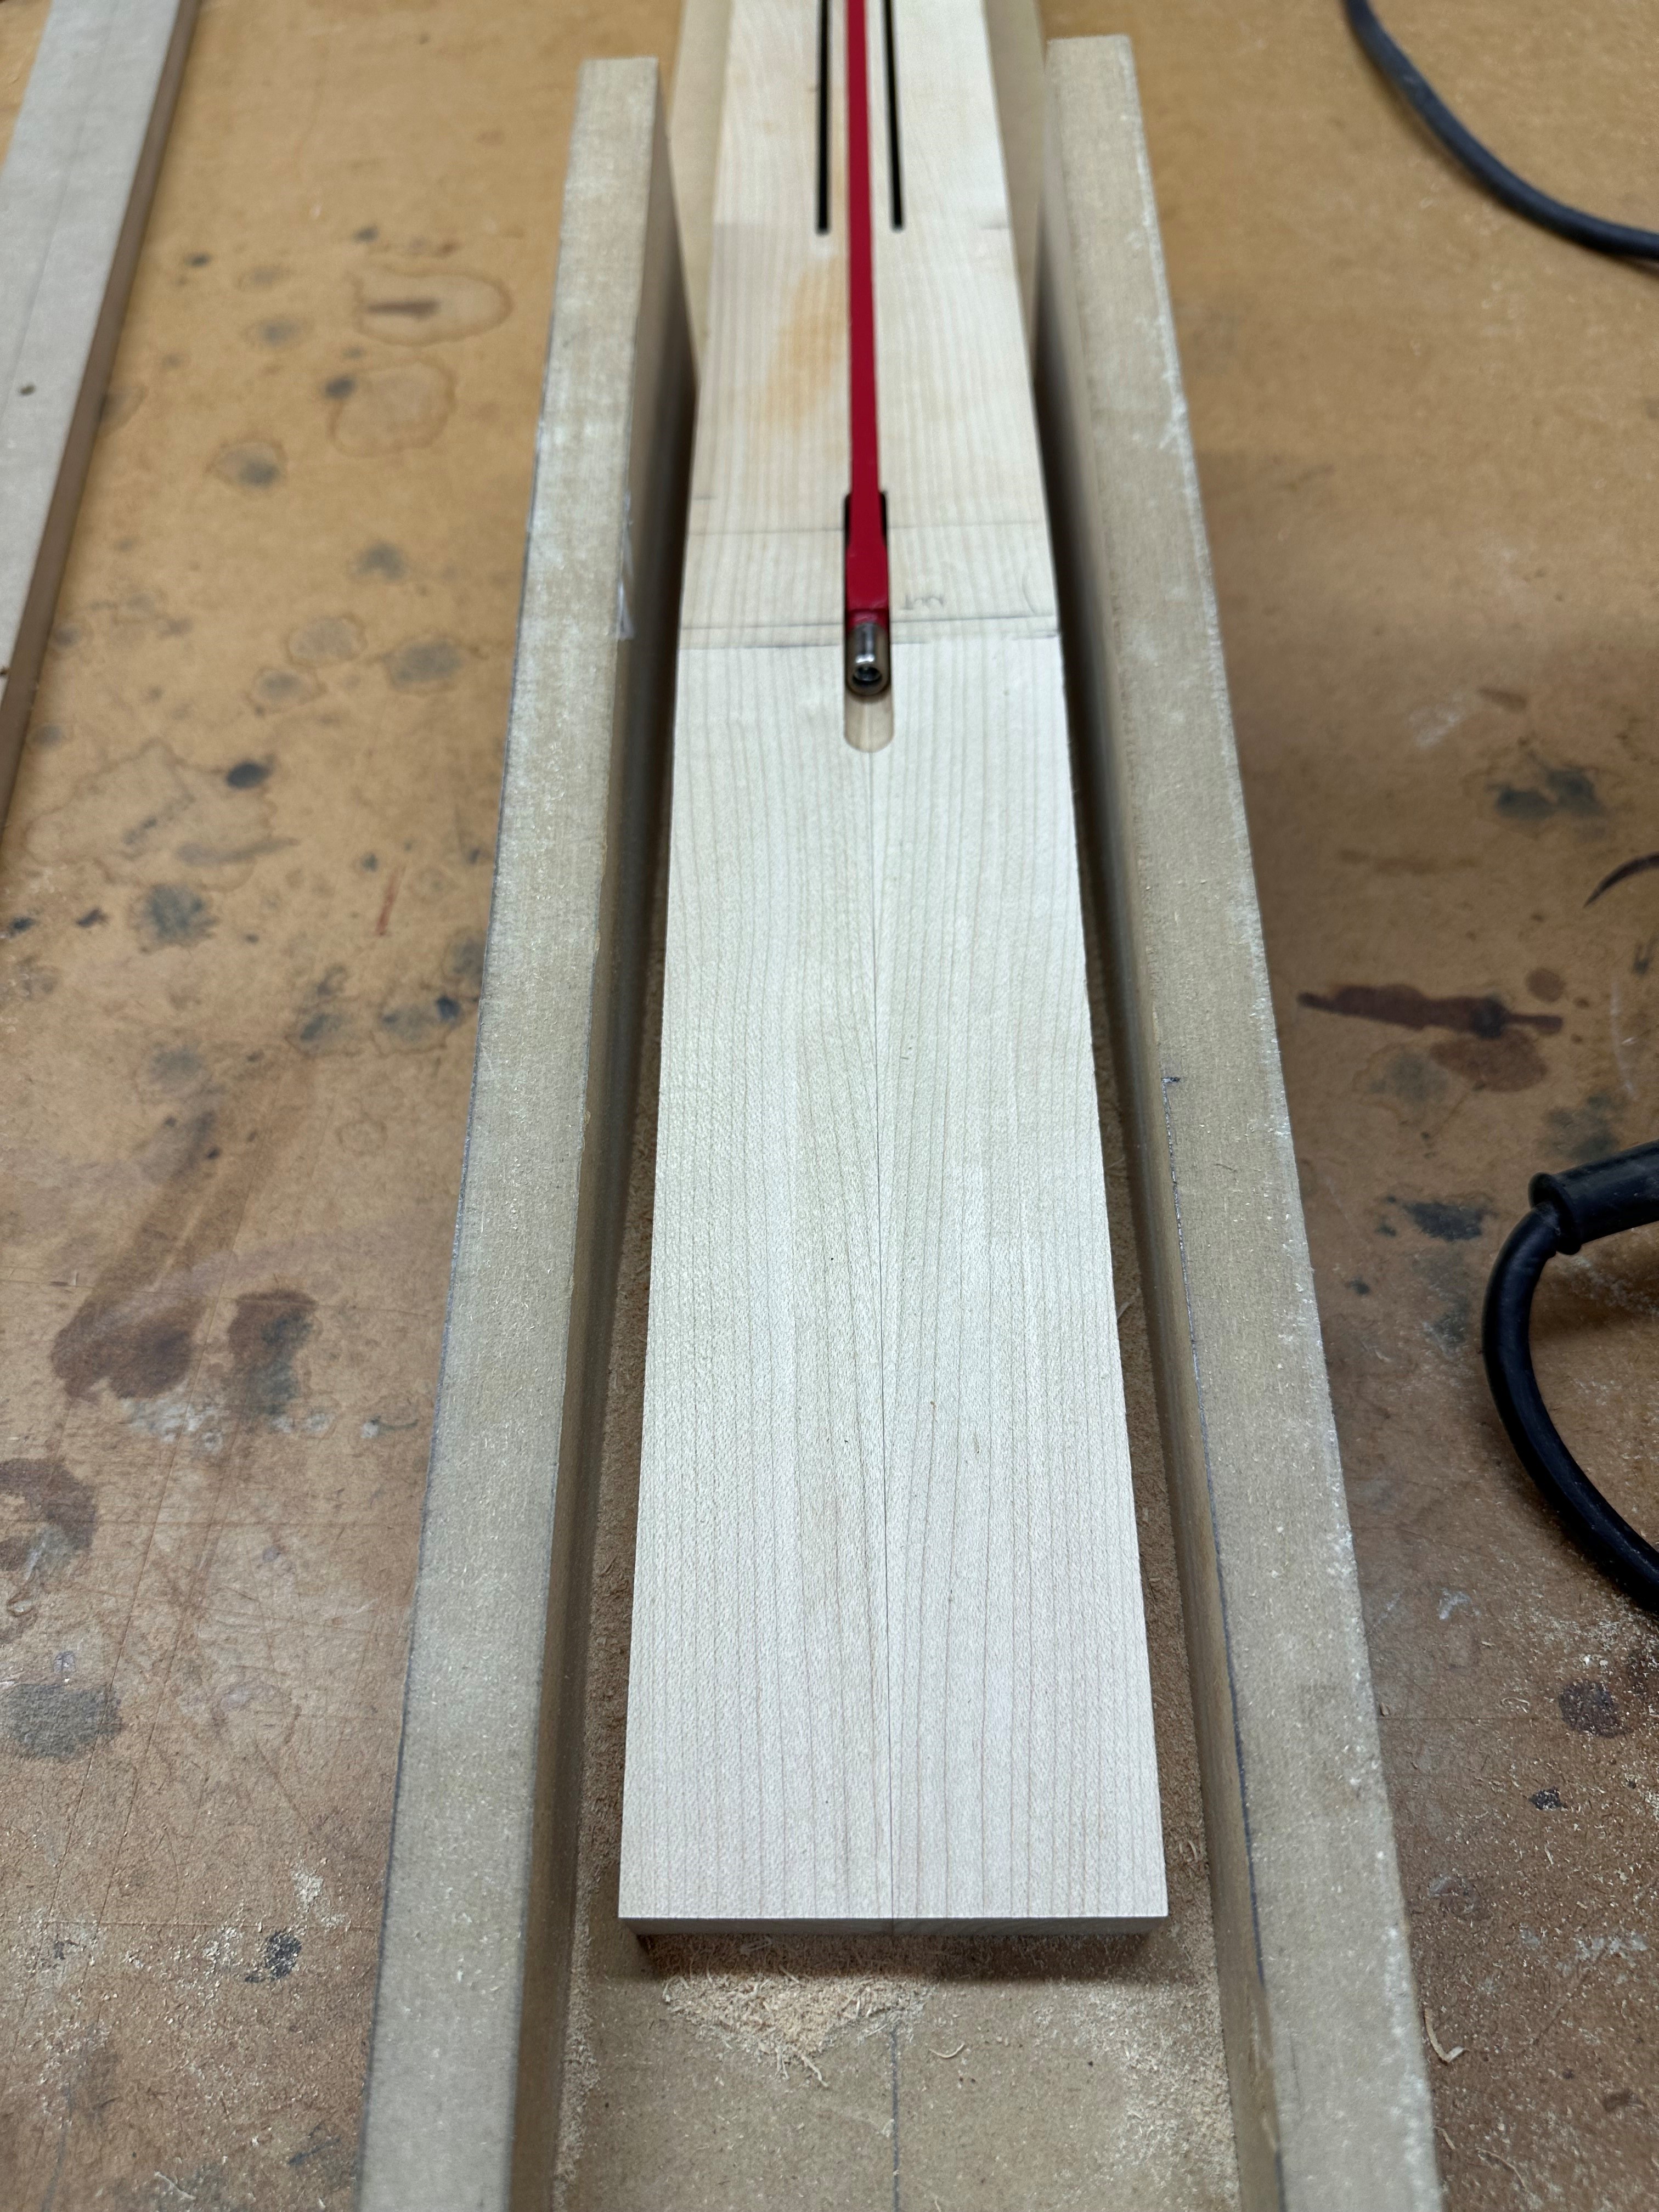
I finally decided to build a headstock angle cutting jig I'm not embarassed to post. No more total hack jigs for me, if I can build a bass, I can build a jig, fer chrissakes. My last build (Lemmy 4004LK) the headstock angle was somewhere around 6 degrees, and I have to wind the strings on the posts carefully to get enough break angle over the nut, so I'm going with 8 degrees as my new standard. This jig doesn't look like much, but it's dead accurate anyway, nice clean cuts using it, and it's dead flat.
vNImRvj.jpg


iMABHH3.jpg


While I was cutting away the waste on the neck beam, the blade on my Craftsman 12" bandsaw made an evil noise and then snapped. Luckily no damage to the wood or my hands. I got this blade on Amazon, and it kinda sucked. Would this be called a 4TPI blade? Course finish on the cuts, burned the wood a bit and noisy. It's an 80" blade, lots of options on Amazon.
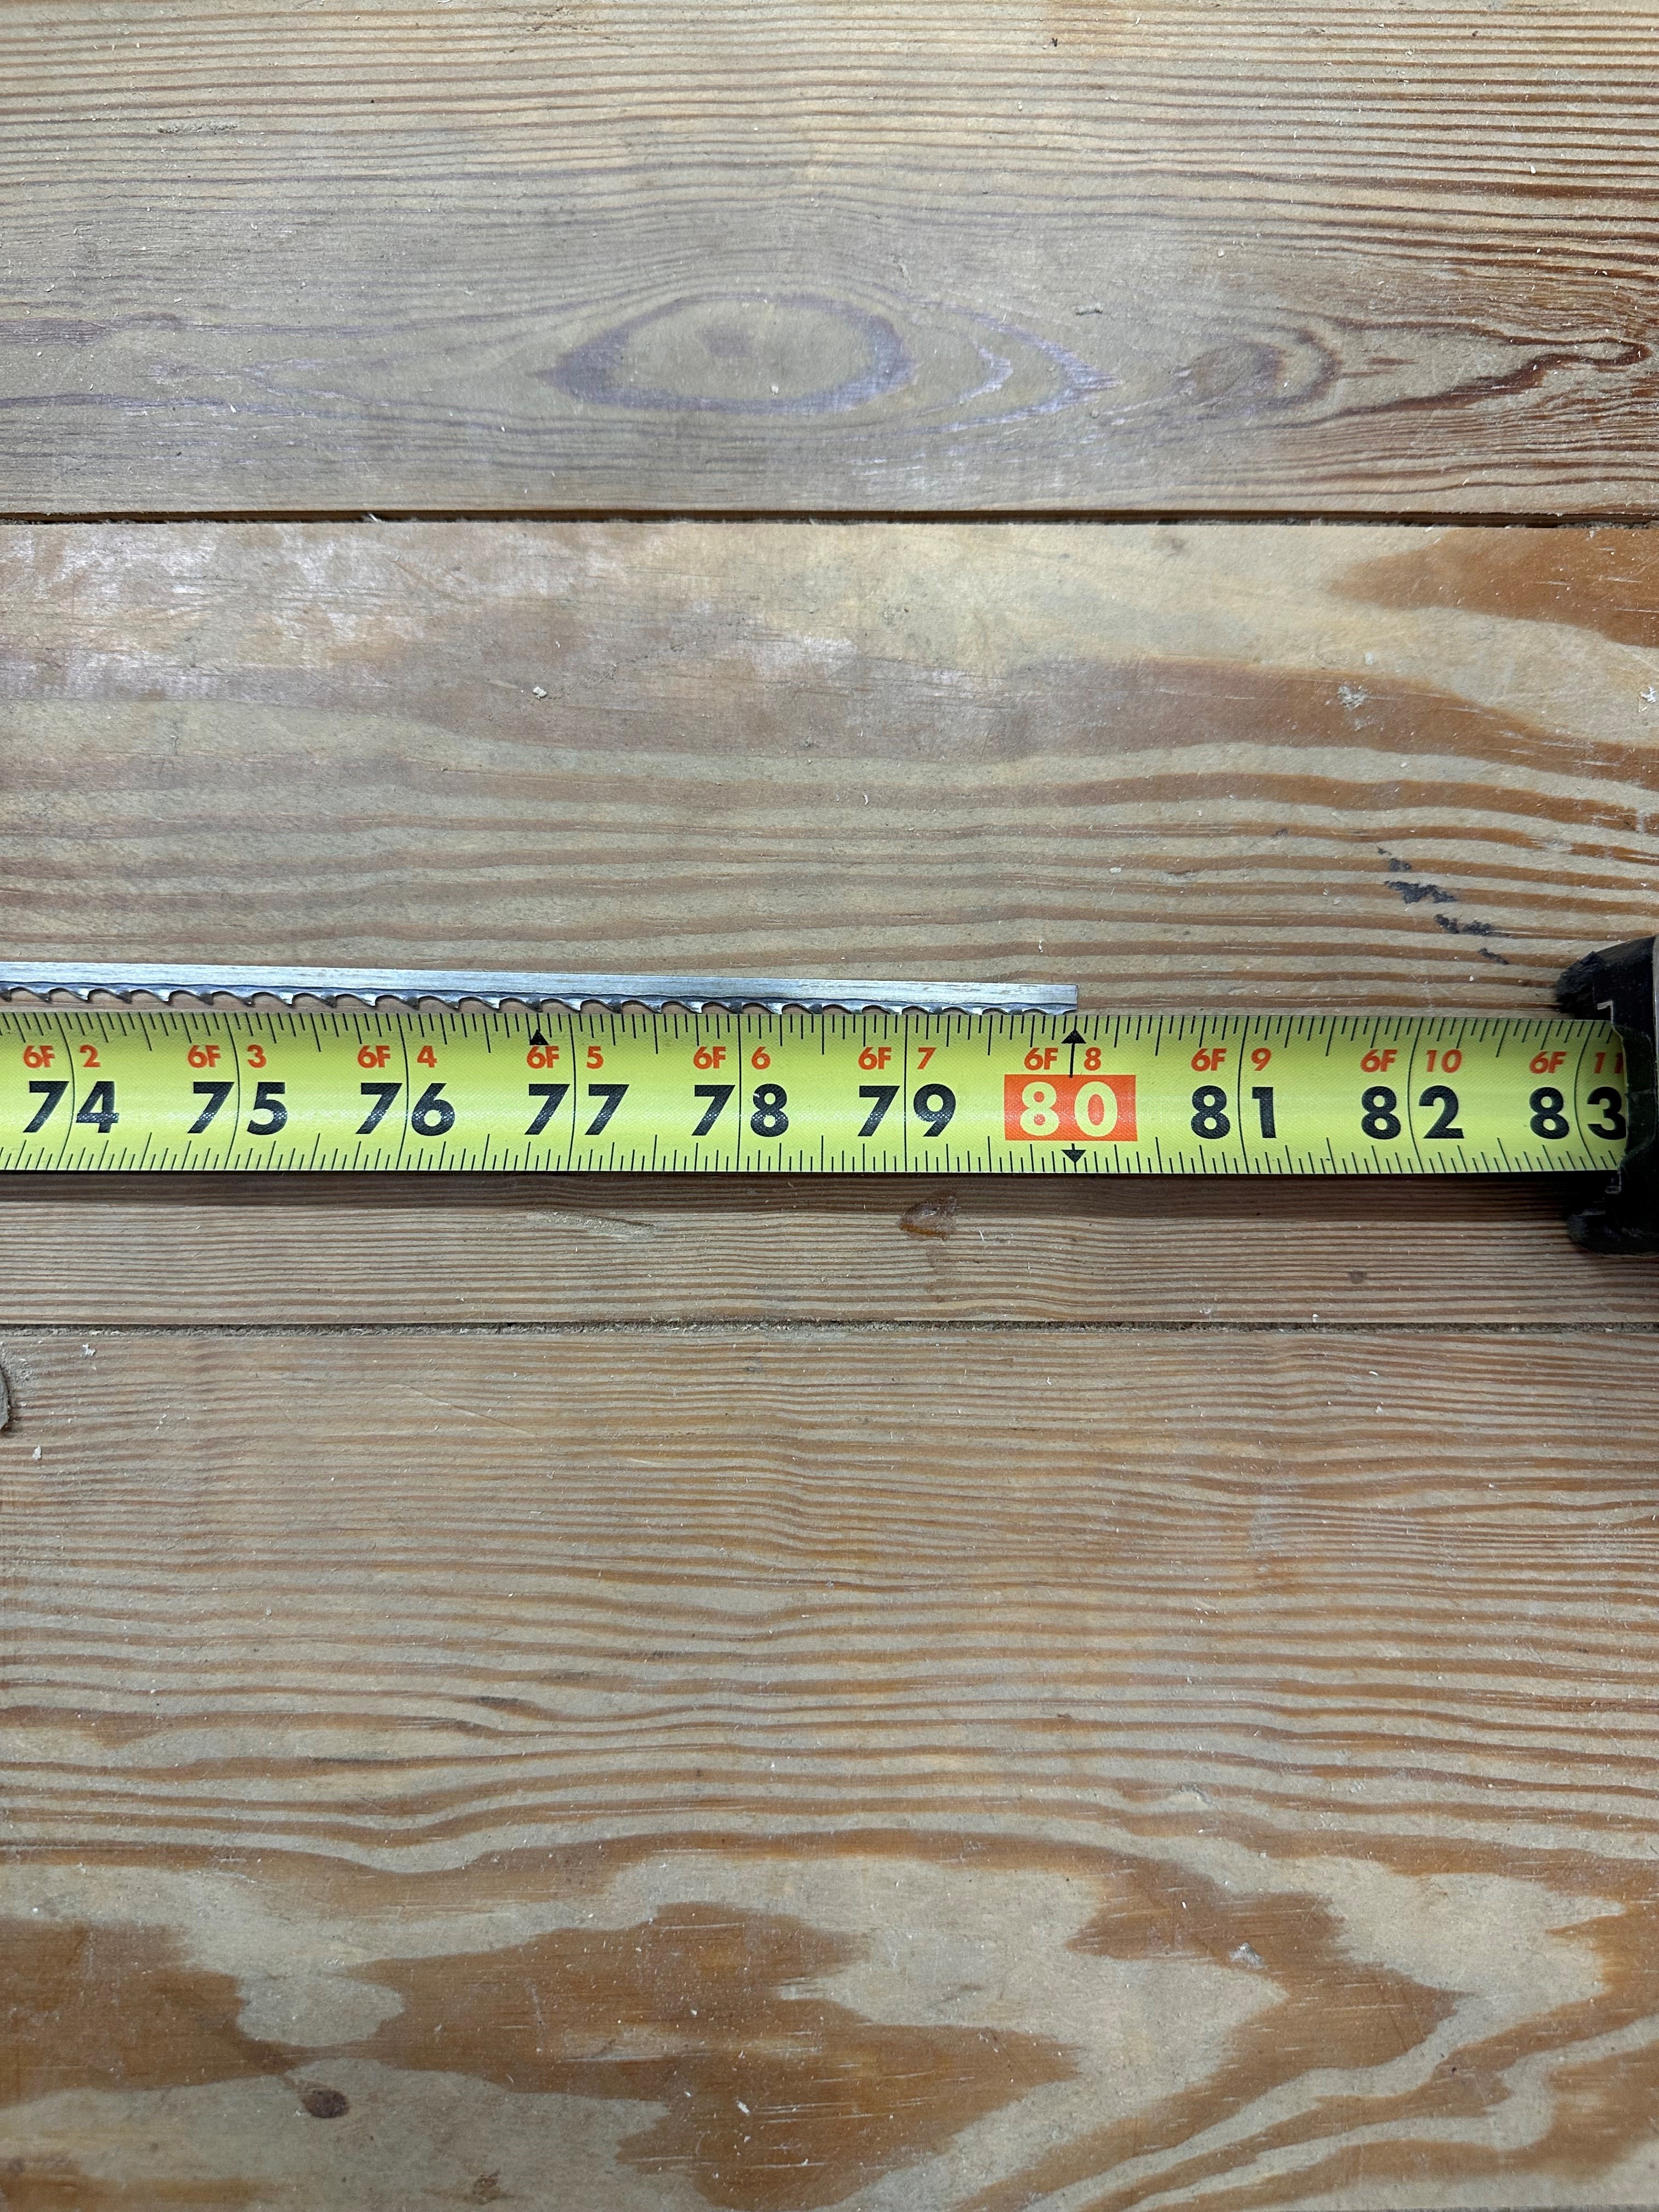
6SumV3R.jpg


As it happens, I forgot I had this one stashed away, would this be called a 6TPI or 7 TPI? Seems to cut better and quieter, but that could just be because it's sharp.
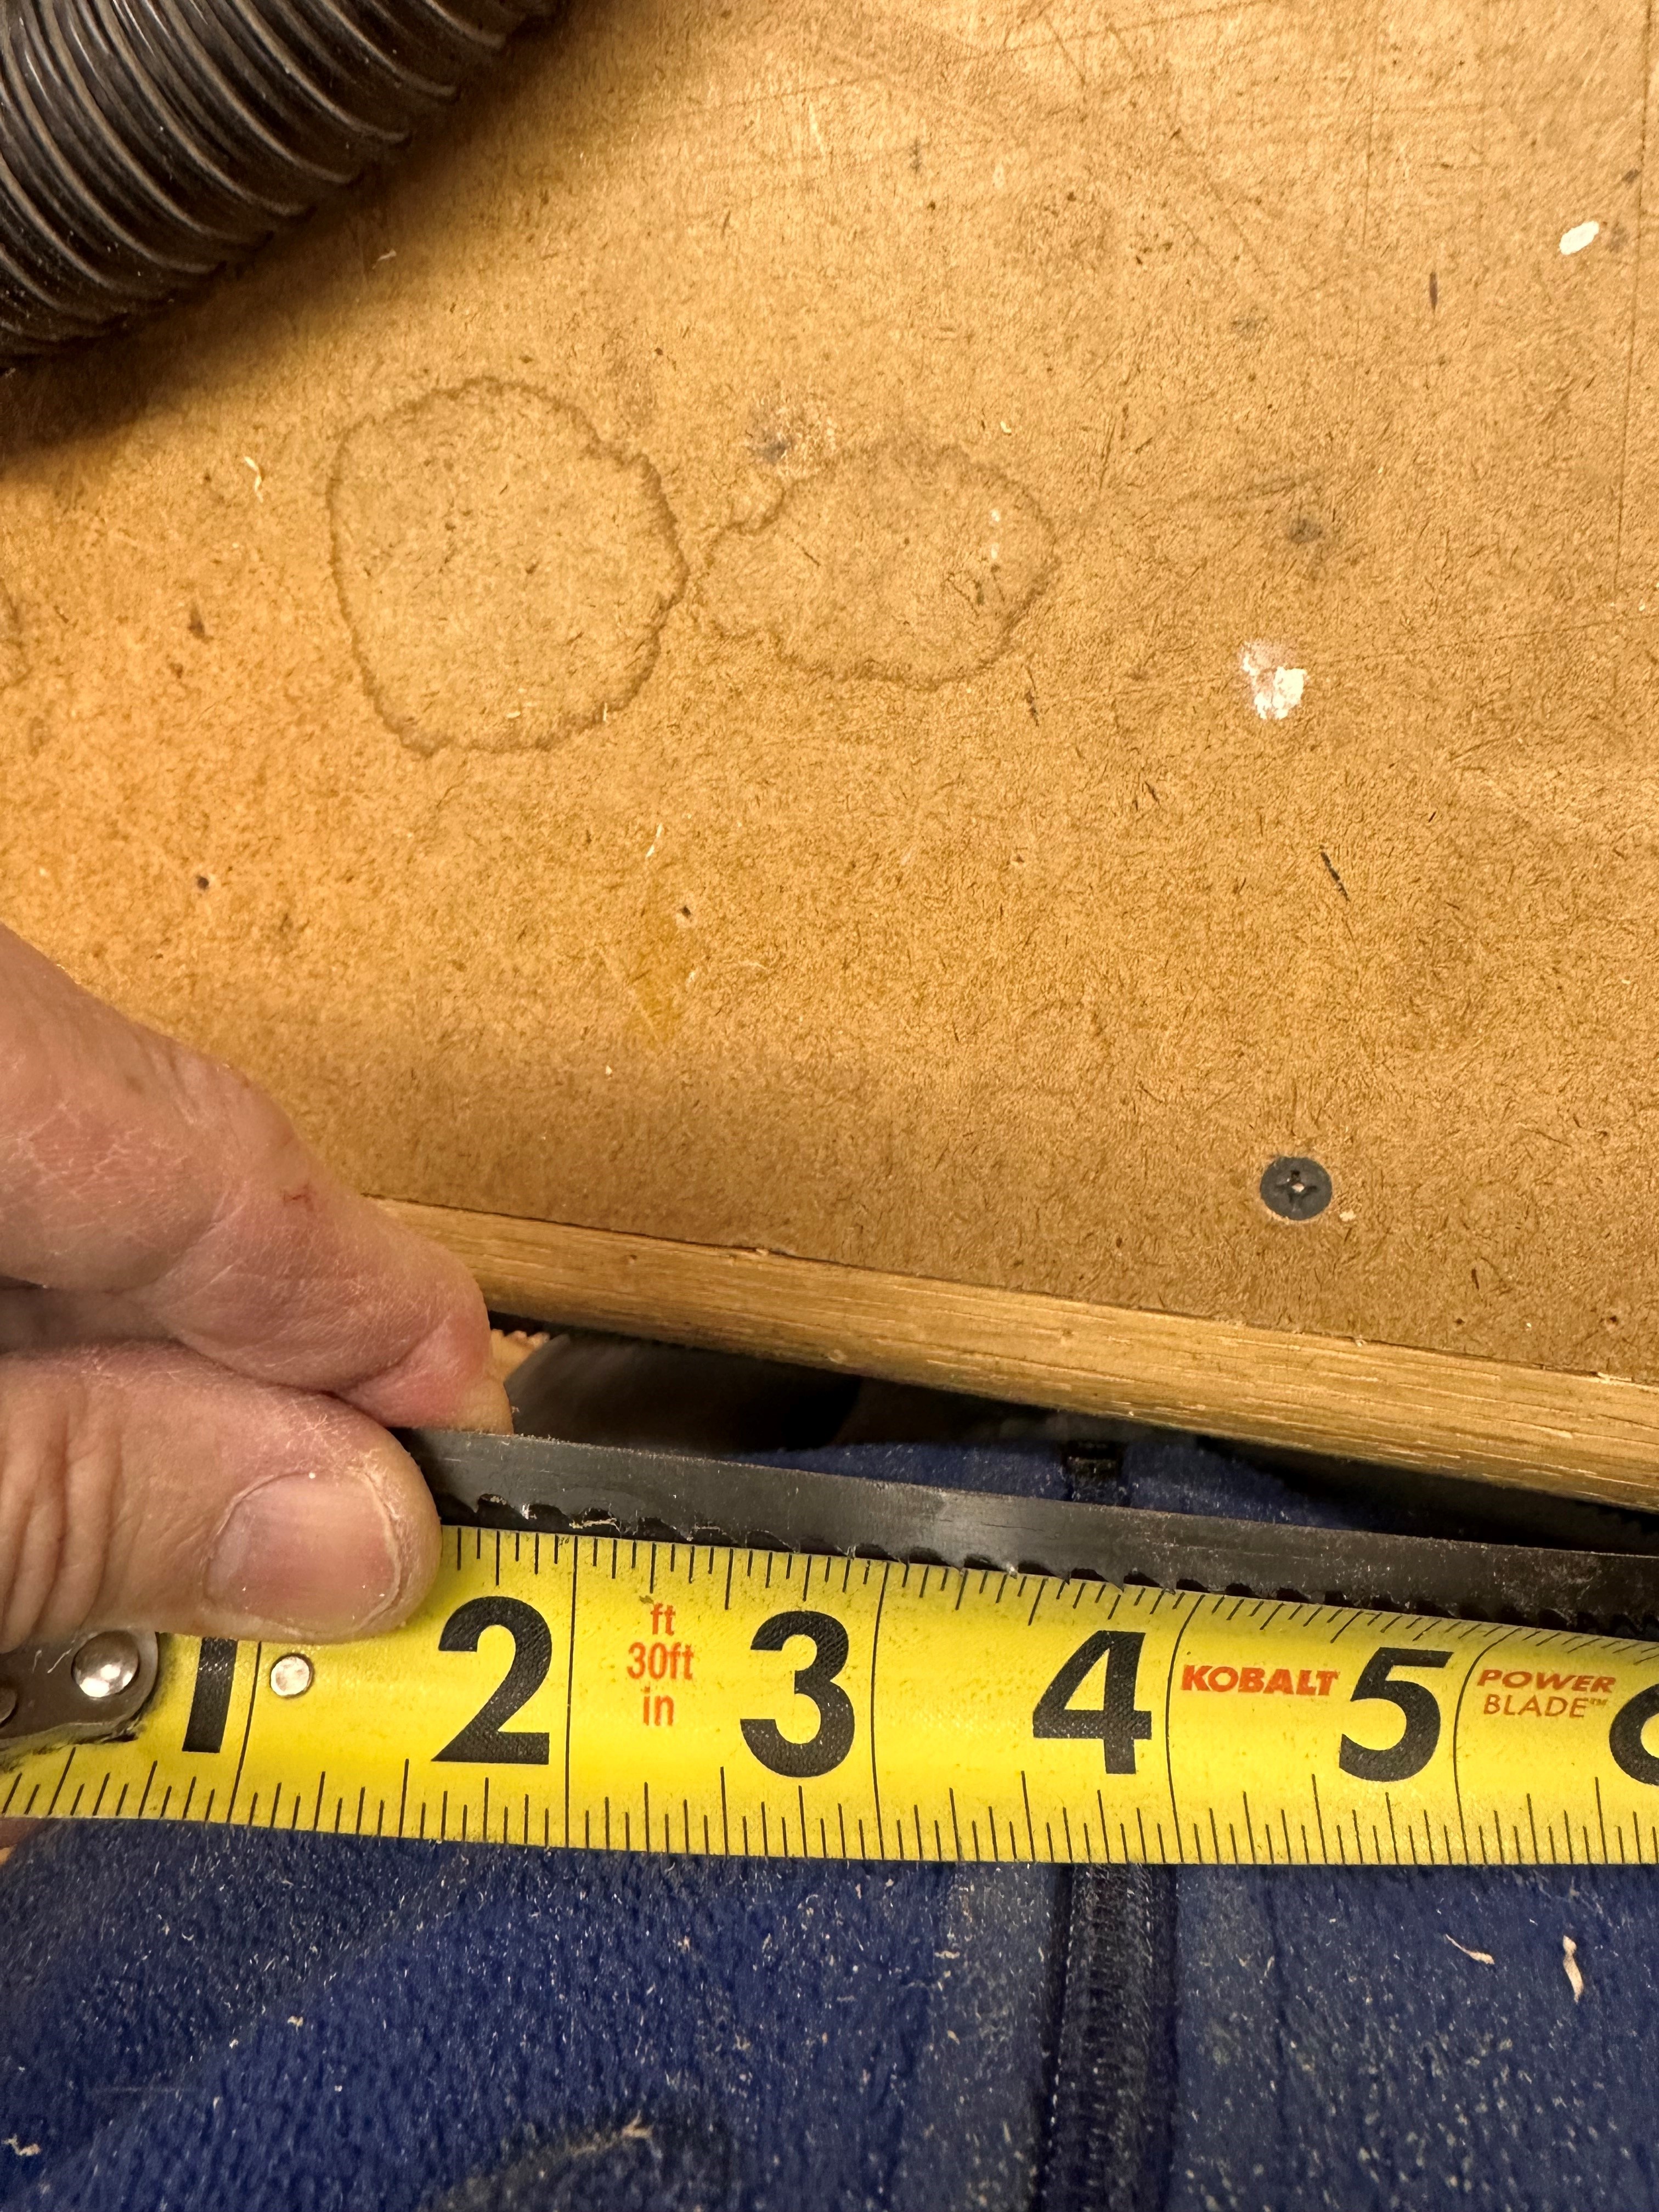
7eCvEe3.jpg


Obviously, I'm cutting a lot of curves, so I've always been used to 1/4" wide blades like this one, but is there a better "general purpose" blade out there. I'm cutting a lot of maple, so I suppose I'm generating some heat. I rarely do any resawing because the vertical capacity is so limited, but I do rough rip and crosscut with it. Anybody recommend a blade? This one will work for now, but I'd like to have one at the ready next time this happens. Shop time is like Gold to me.
 
  • Like
Reactions: Wyrdlow and nixdad
Finally got some time to work on this.....Heating system went down at the shop, got down to 39 degrees! Back in Business now.
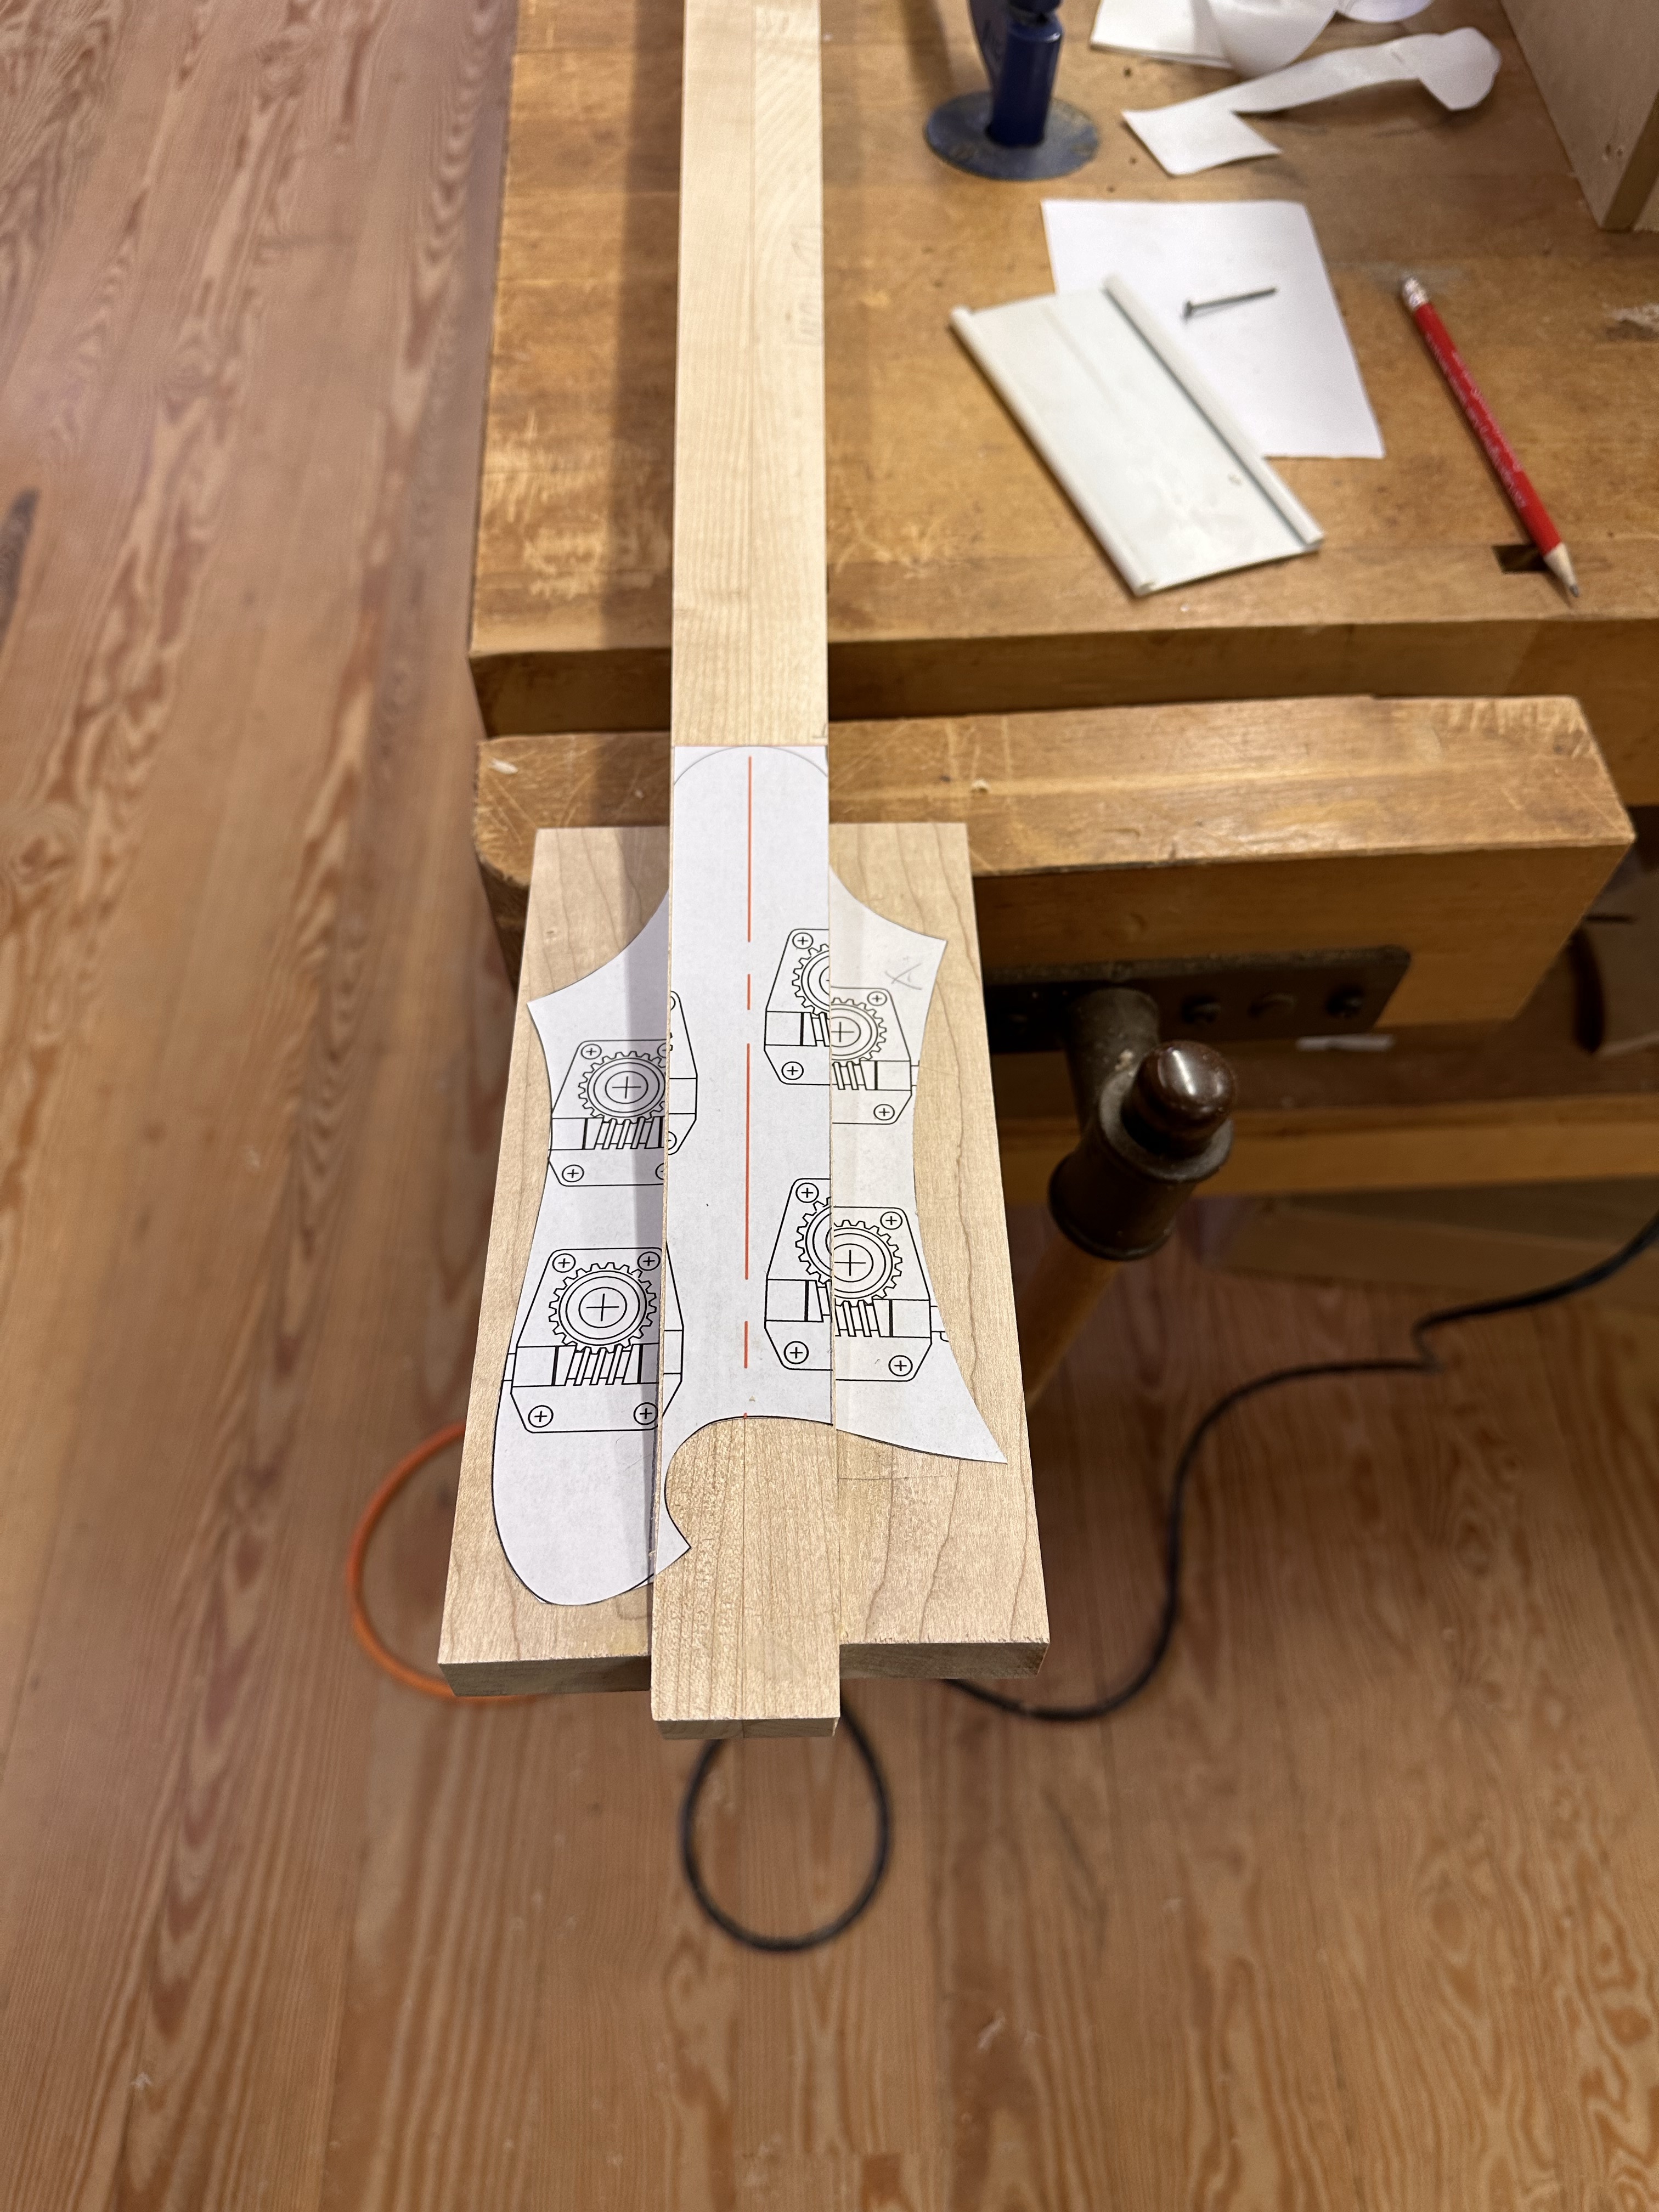
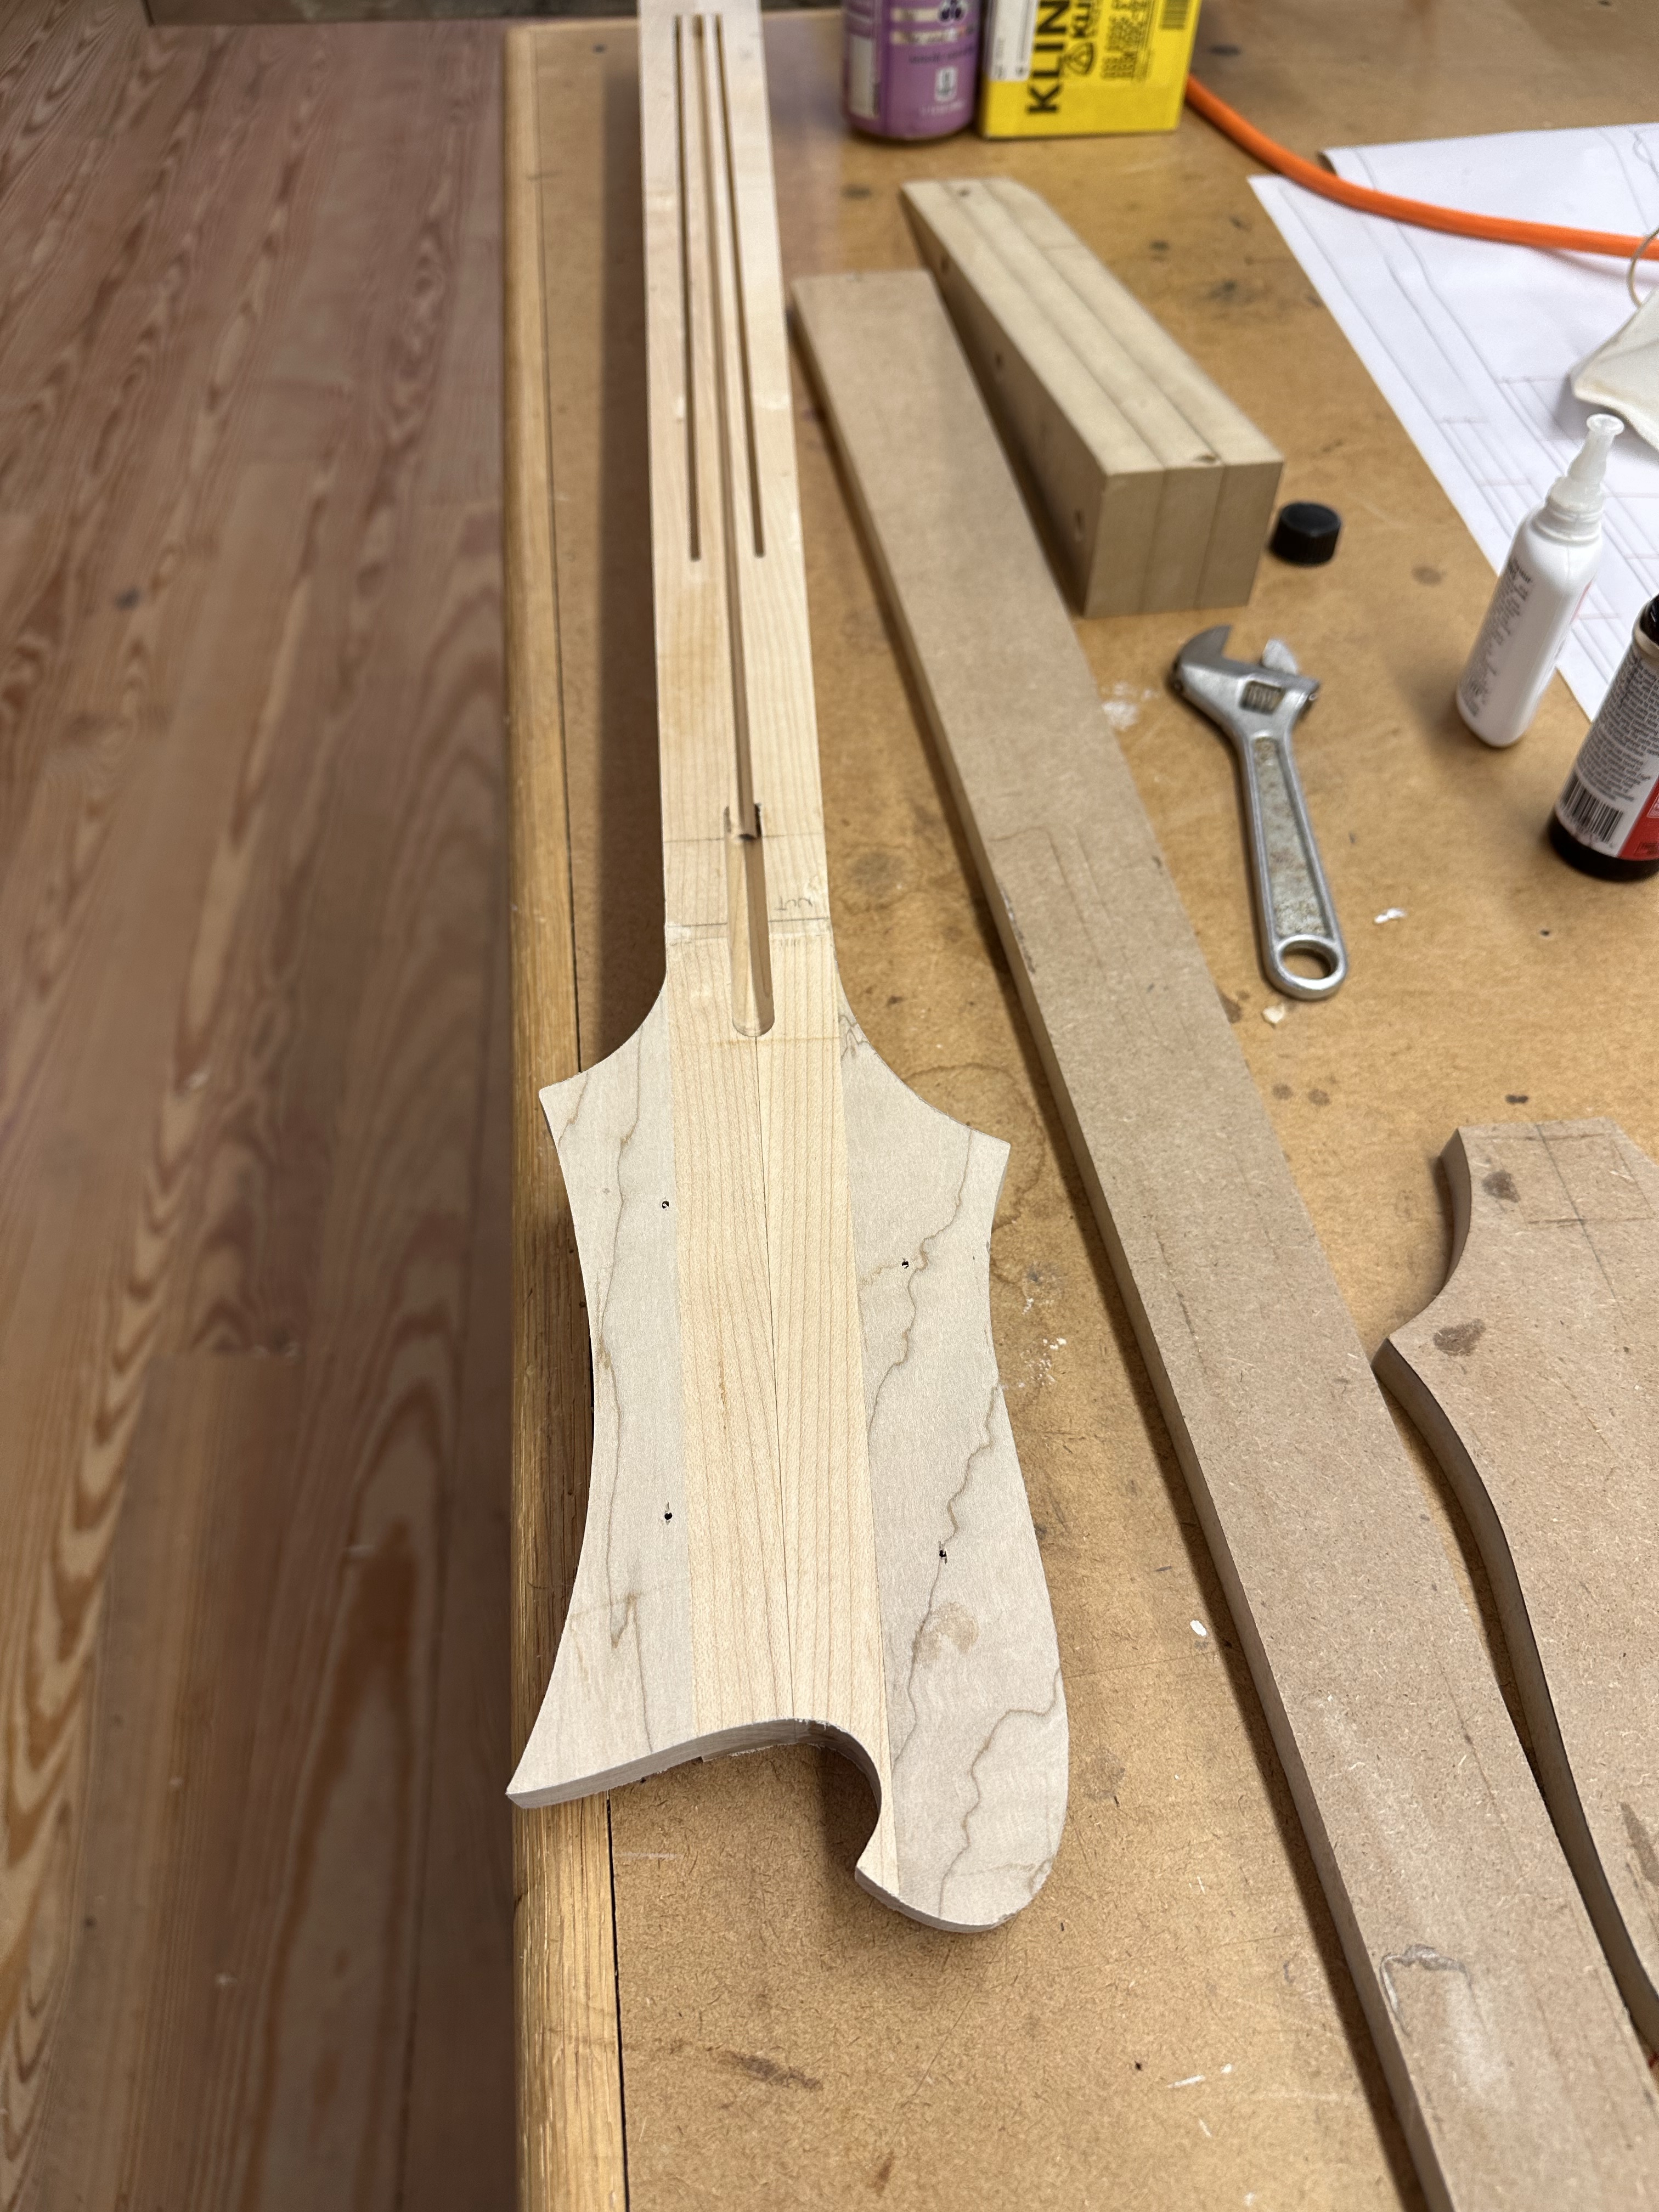
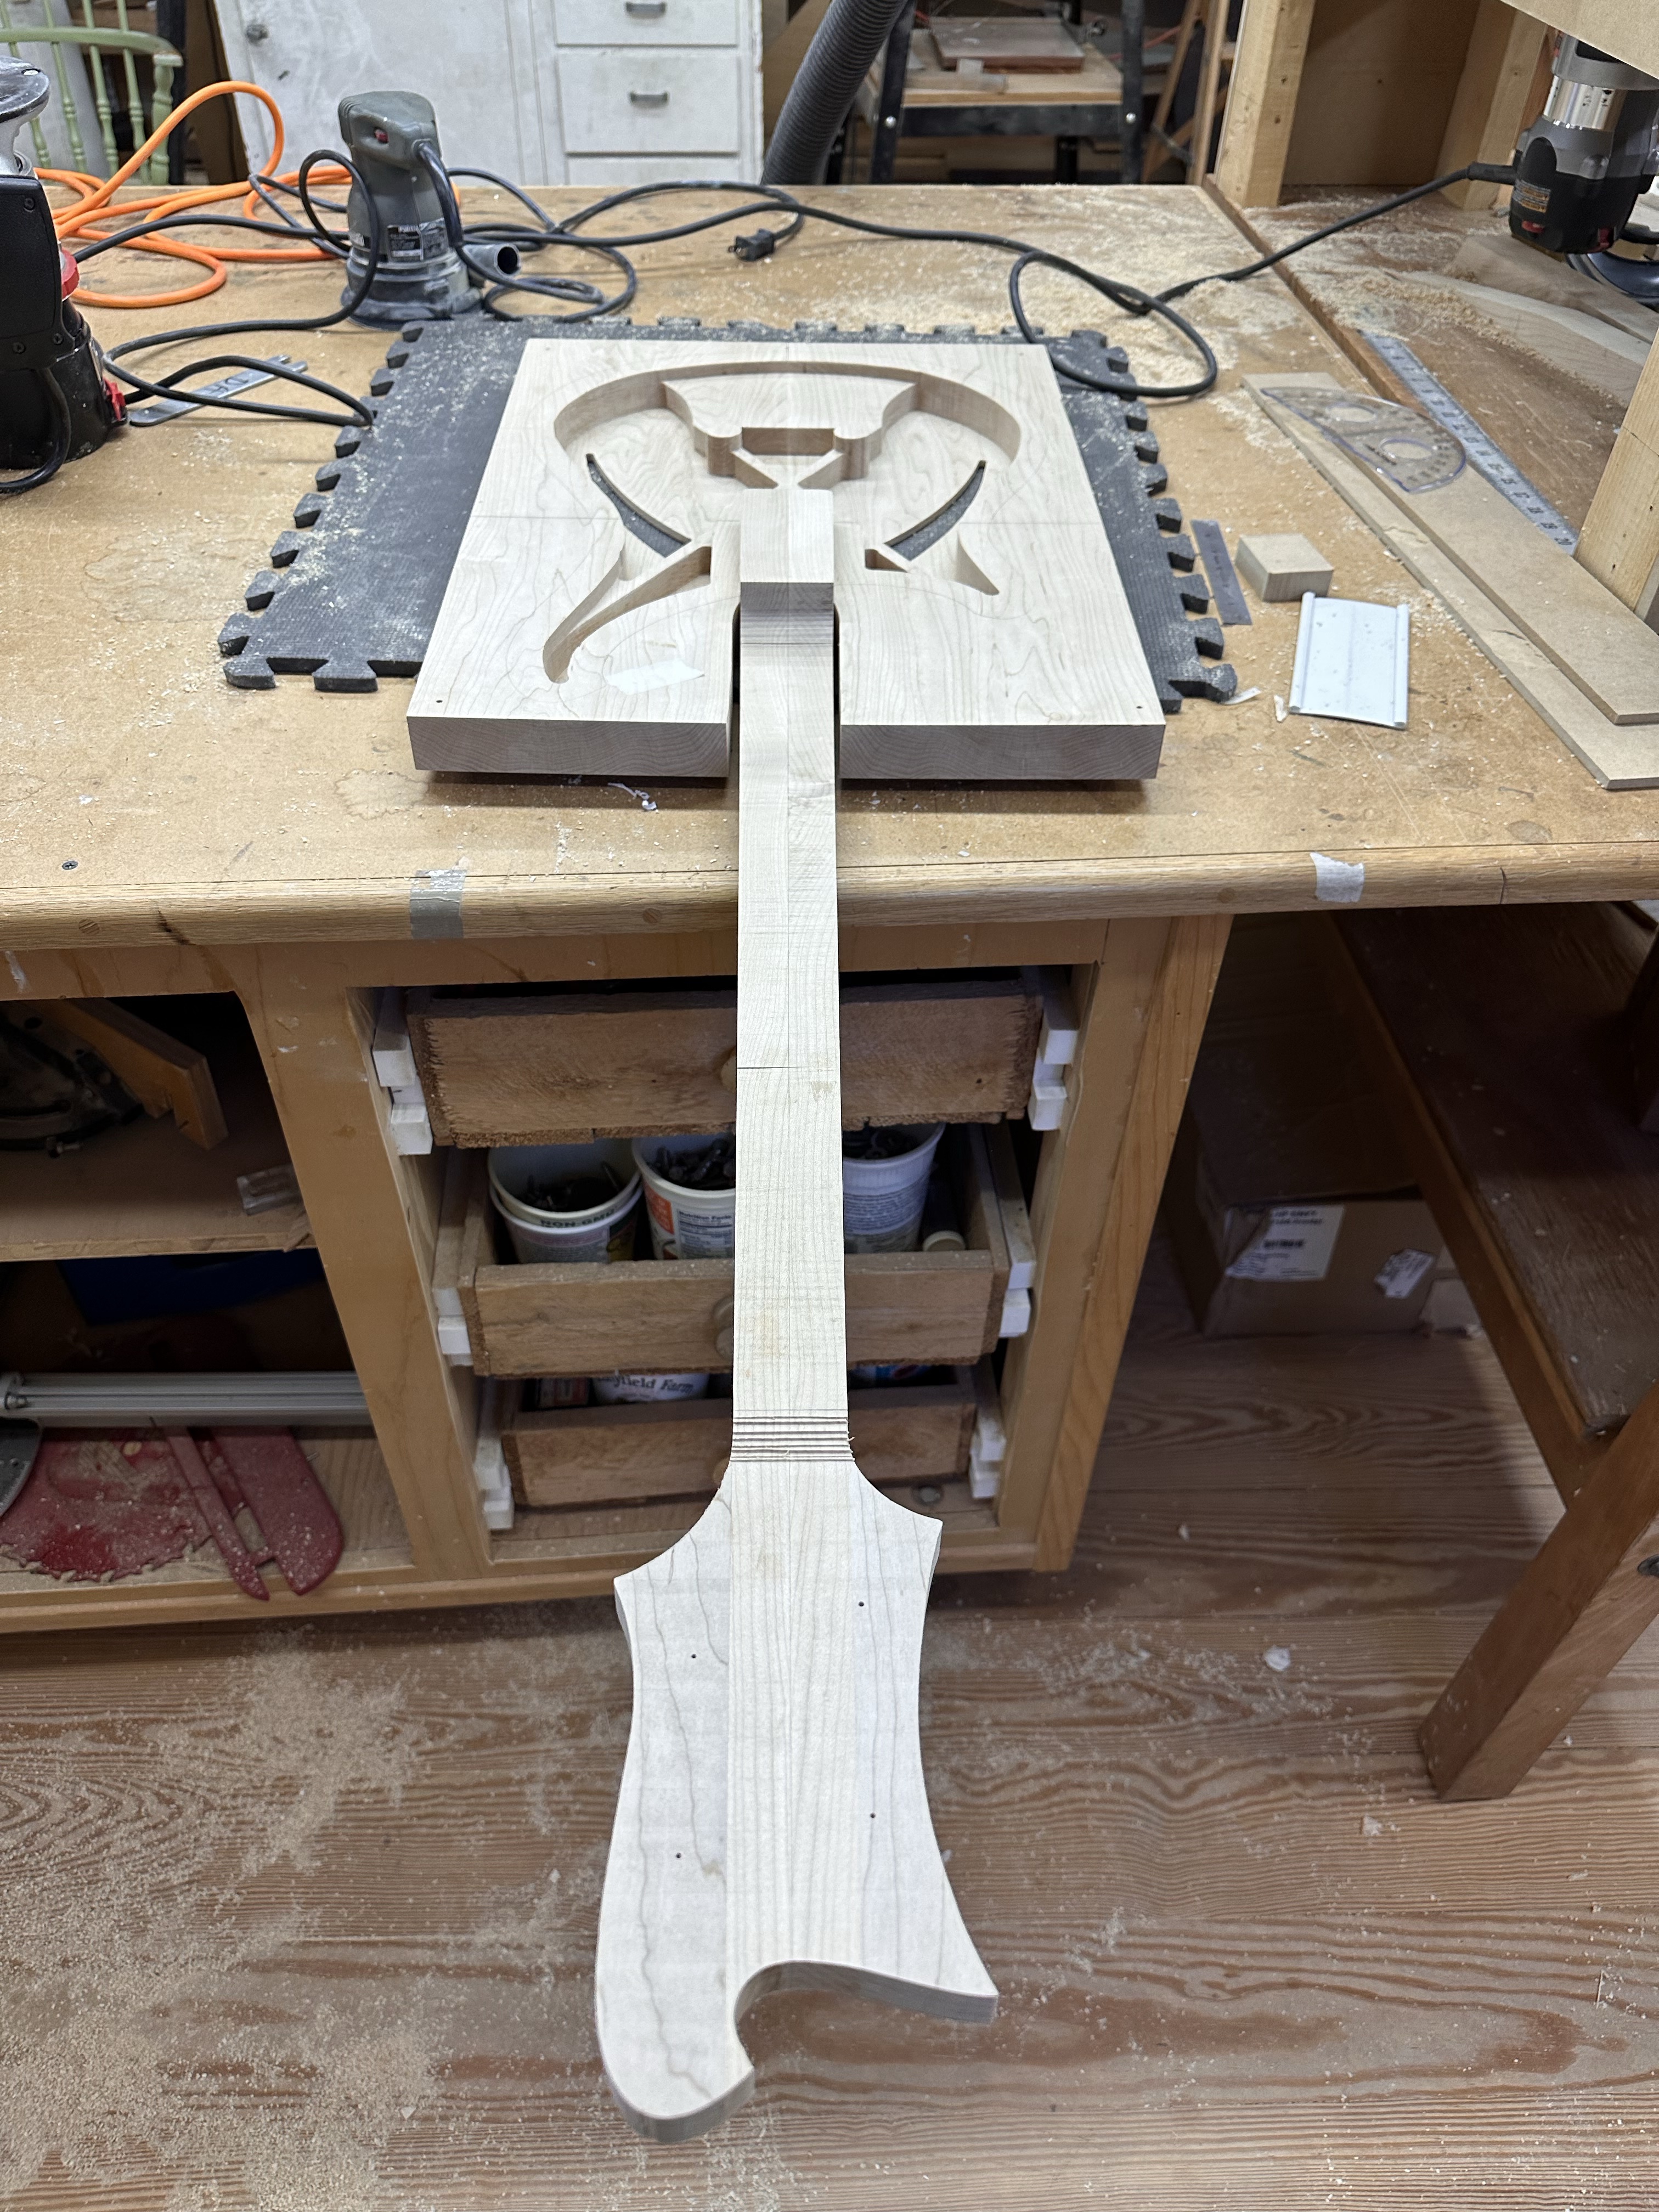
Time to cut out and thickness the headstock:
1hZsBzf.jpg

DDkqBIe.jpg


PKgVa5G.jpg


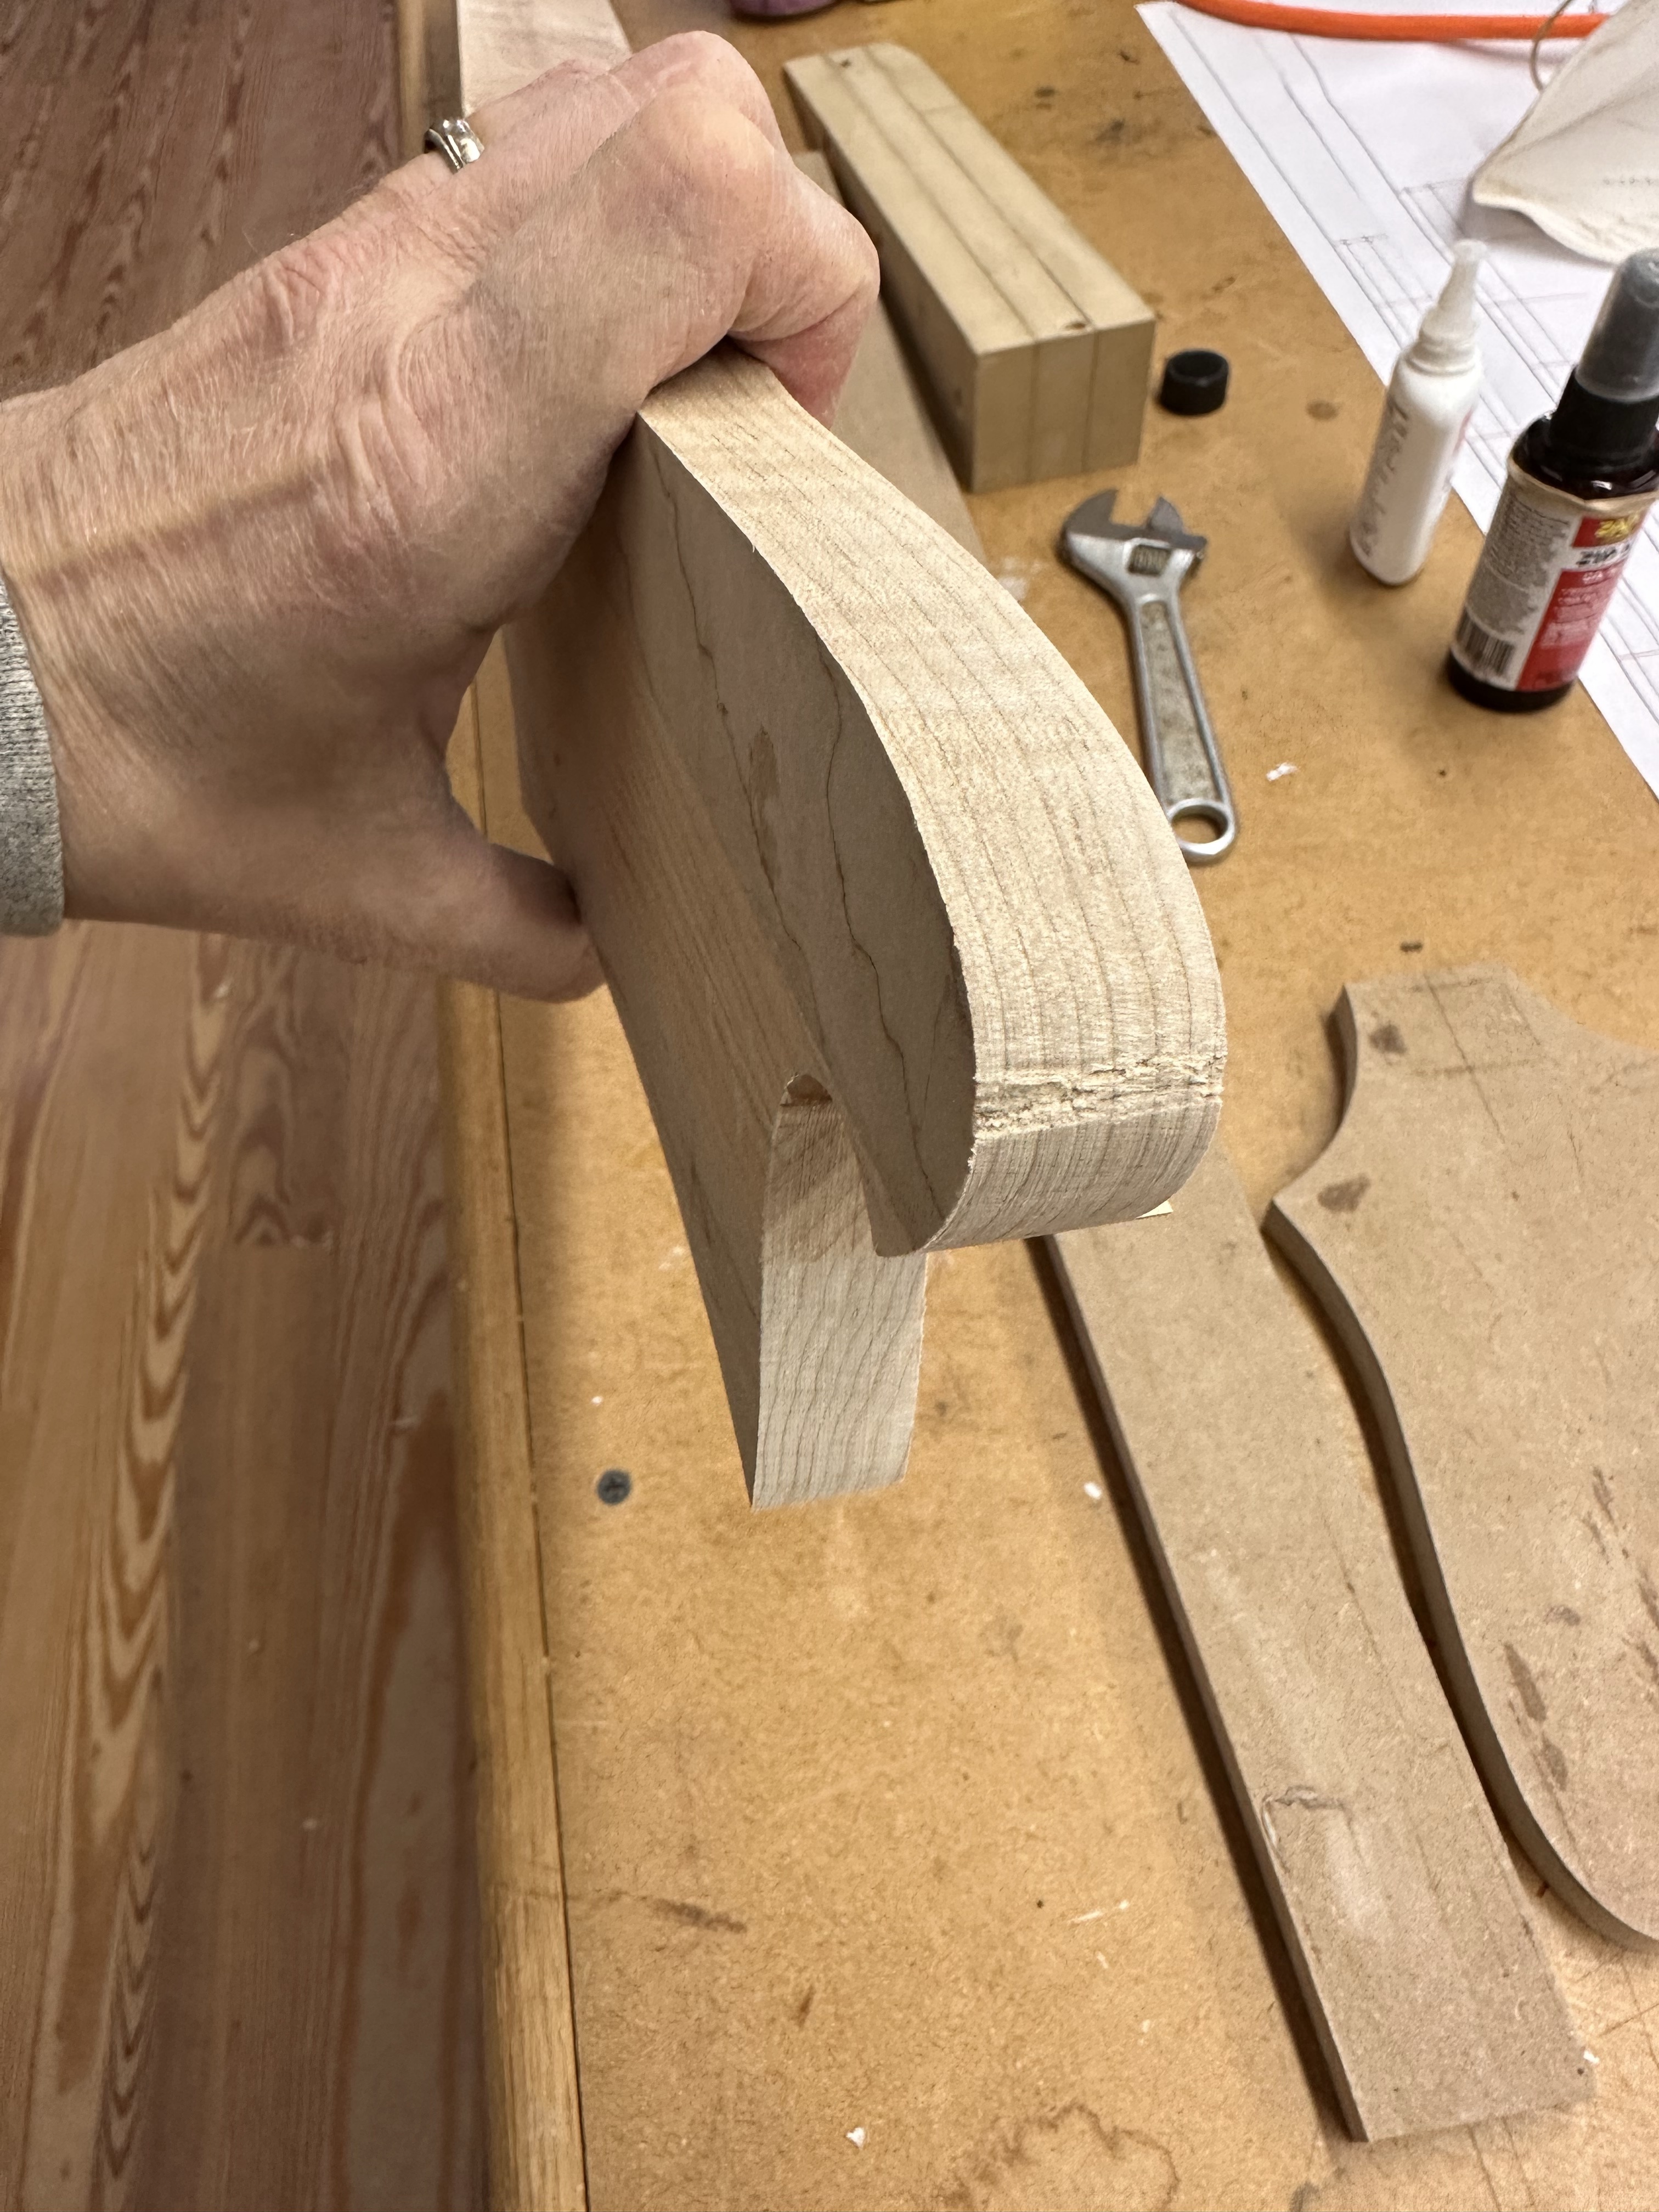
Got a little tearout on the "earlobe", shoulda template sanded it with my Robosander. Luckily this will be painted so.... Bondo!
BmAnMtZ.jpg


Headstock thicknessed to 5/8" and volute roughed-in:
vgnfLGE.jpg

vixz47i.jpg


Next up will be the neck tenon pocket. A little nervous about it, I need it to be a really tight fit, and it's a double route, one size for the top, another for the bottom. Some careful planning/triple checking involved. Never done a set neck before.
 
  • Like
Reactions: Wyrdlow and nixdad
Finally got some time to work on this.....Heating system went down at the shop, got down to 39 degrees! Back in Business now.
Time to cut out and thickness the headstock:
1hZsBzf.jpg

DDkqBIe.jpg


PKgVa5G.jpg


Got a little tearout on the "earlobe", shoulda template sanded it with my Robosander. Luckily this will be painted so.... Bondo!
BmAnMtZ.jpg


Headstock thicknessed to 5/8" and volute roughed-in:
vgnfLGE.jpg

vixz47i.jpg


Next up will be the neck tenon pocket. A little nervous about it, I need it to be a really tight fit, and it's a double route, one size for the top, another for the bottom. Some careful planning/triple checking involved. Never done a set neck before.
Your bass is coming along beautifully, Alex. :thumbsup:

I can't wait to see the finished build! :cool:
 
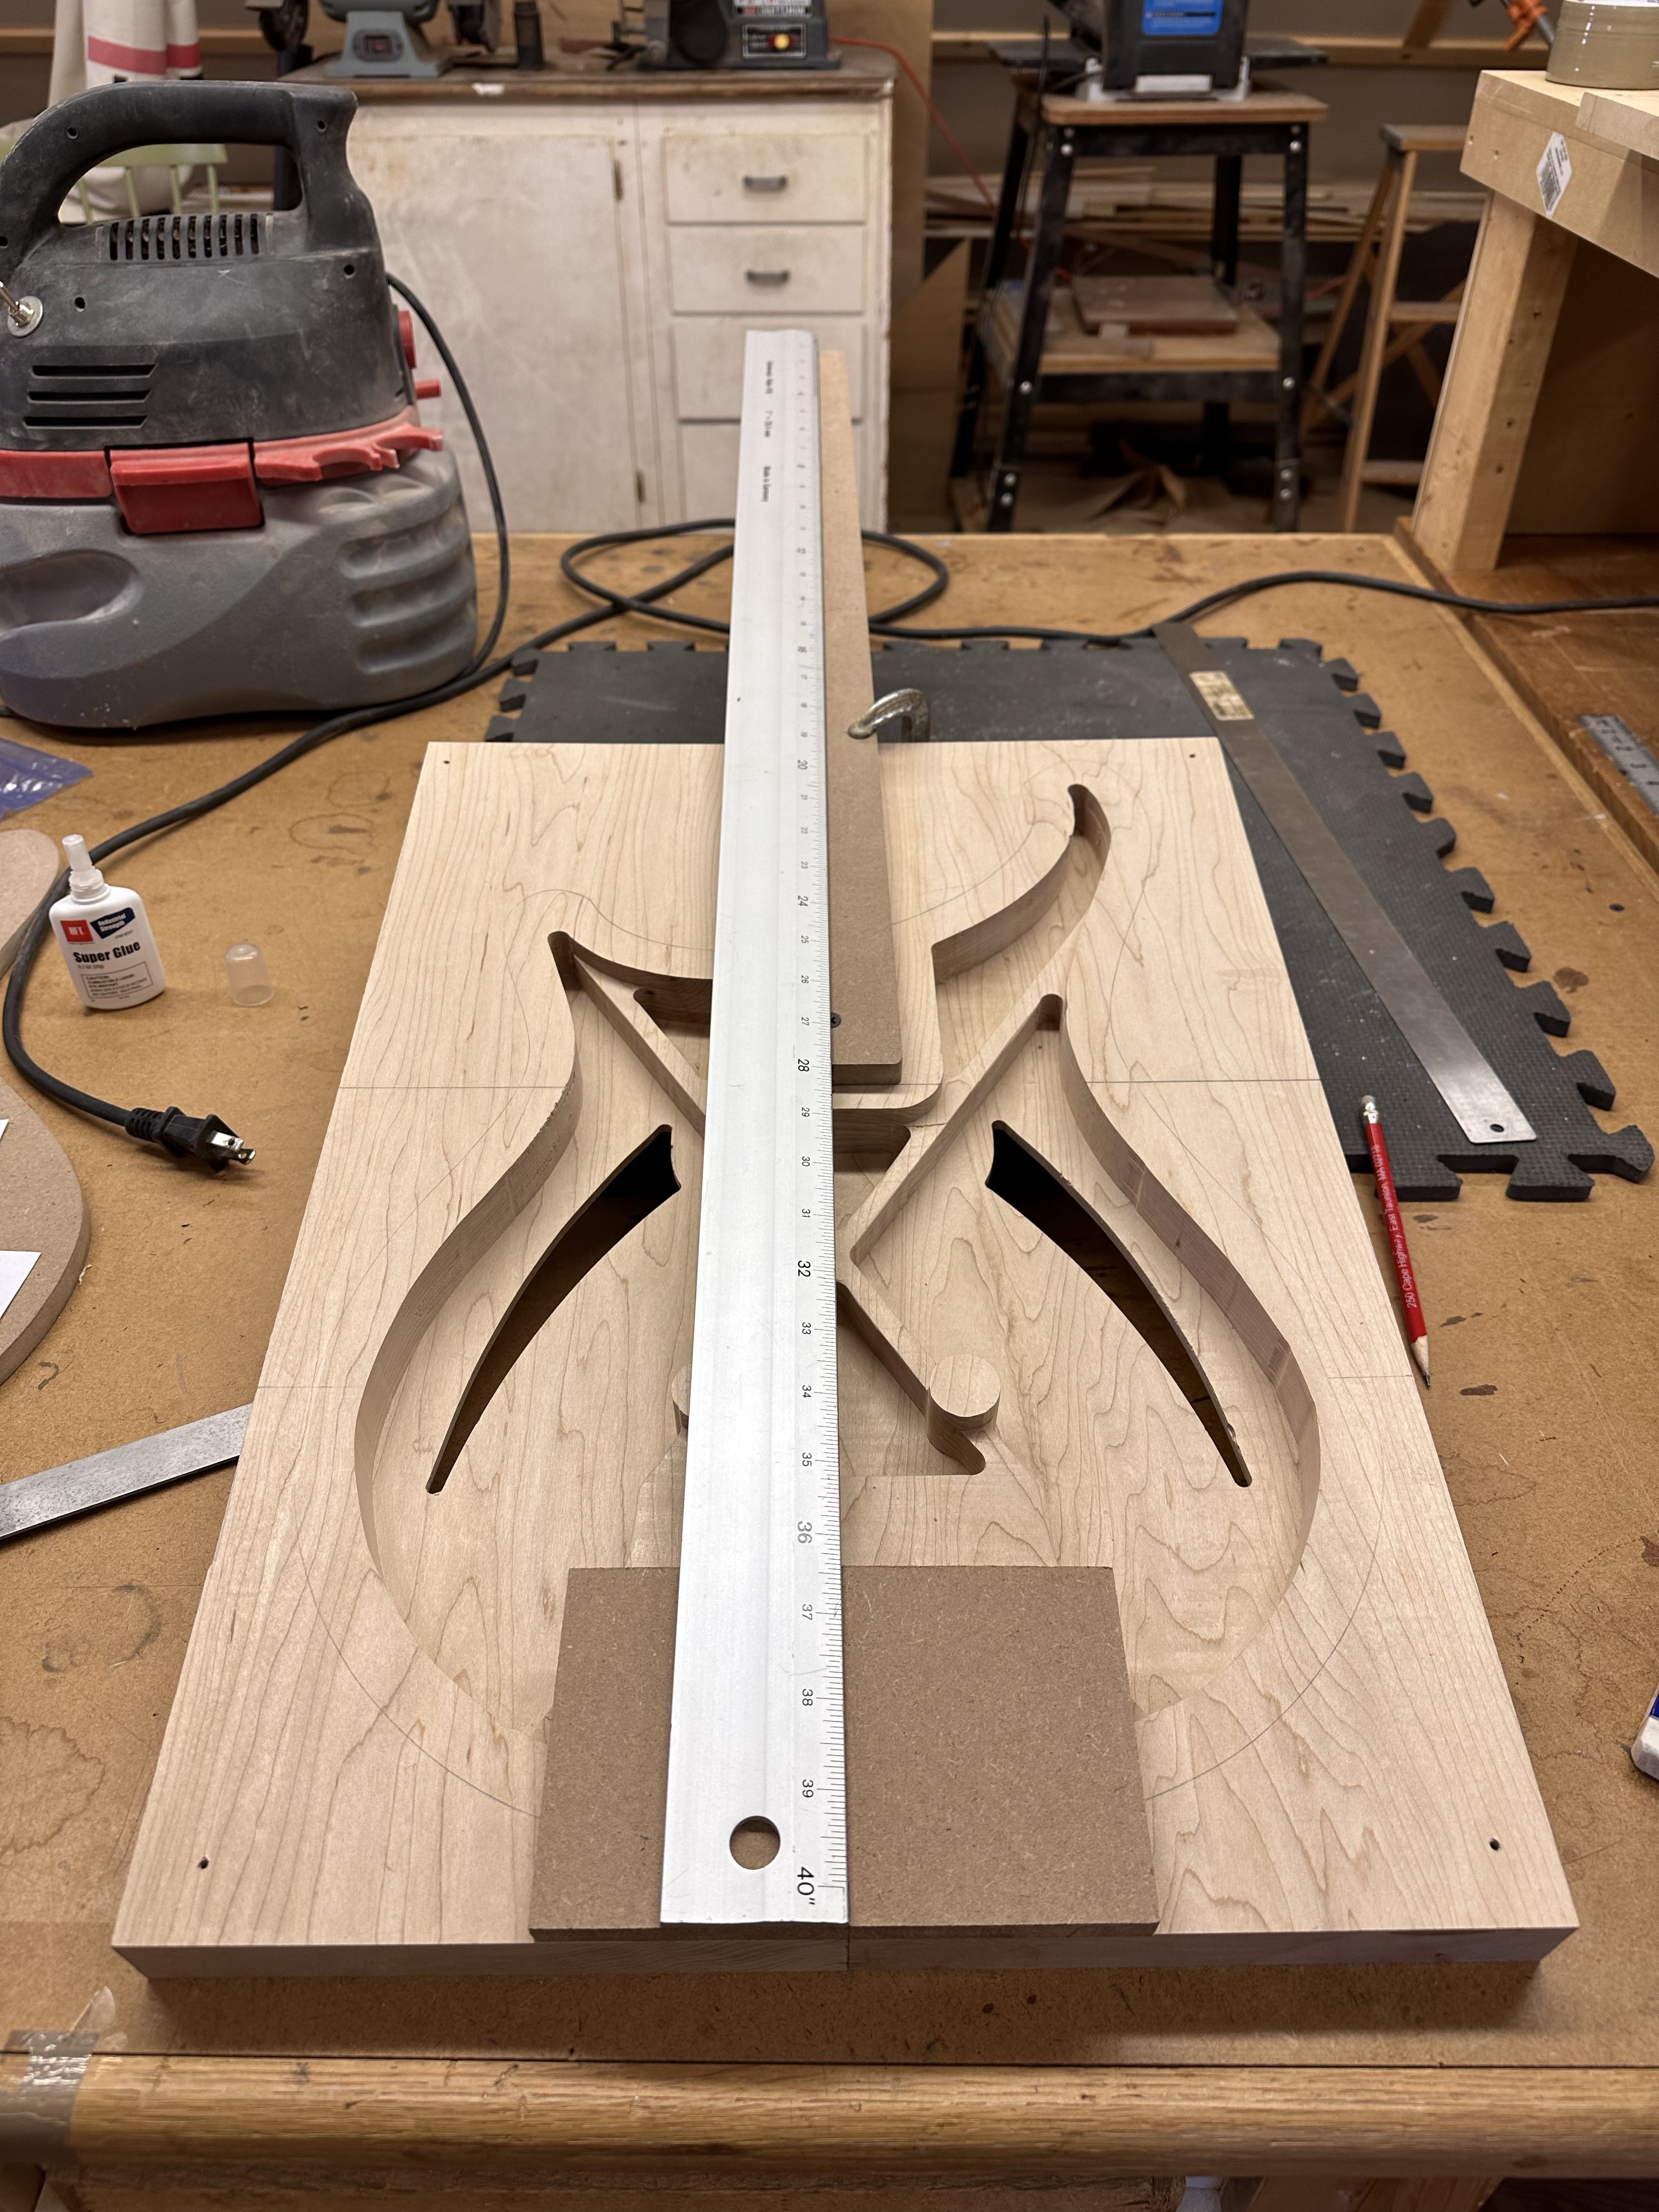
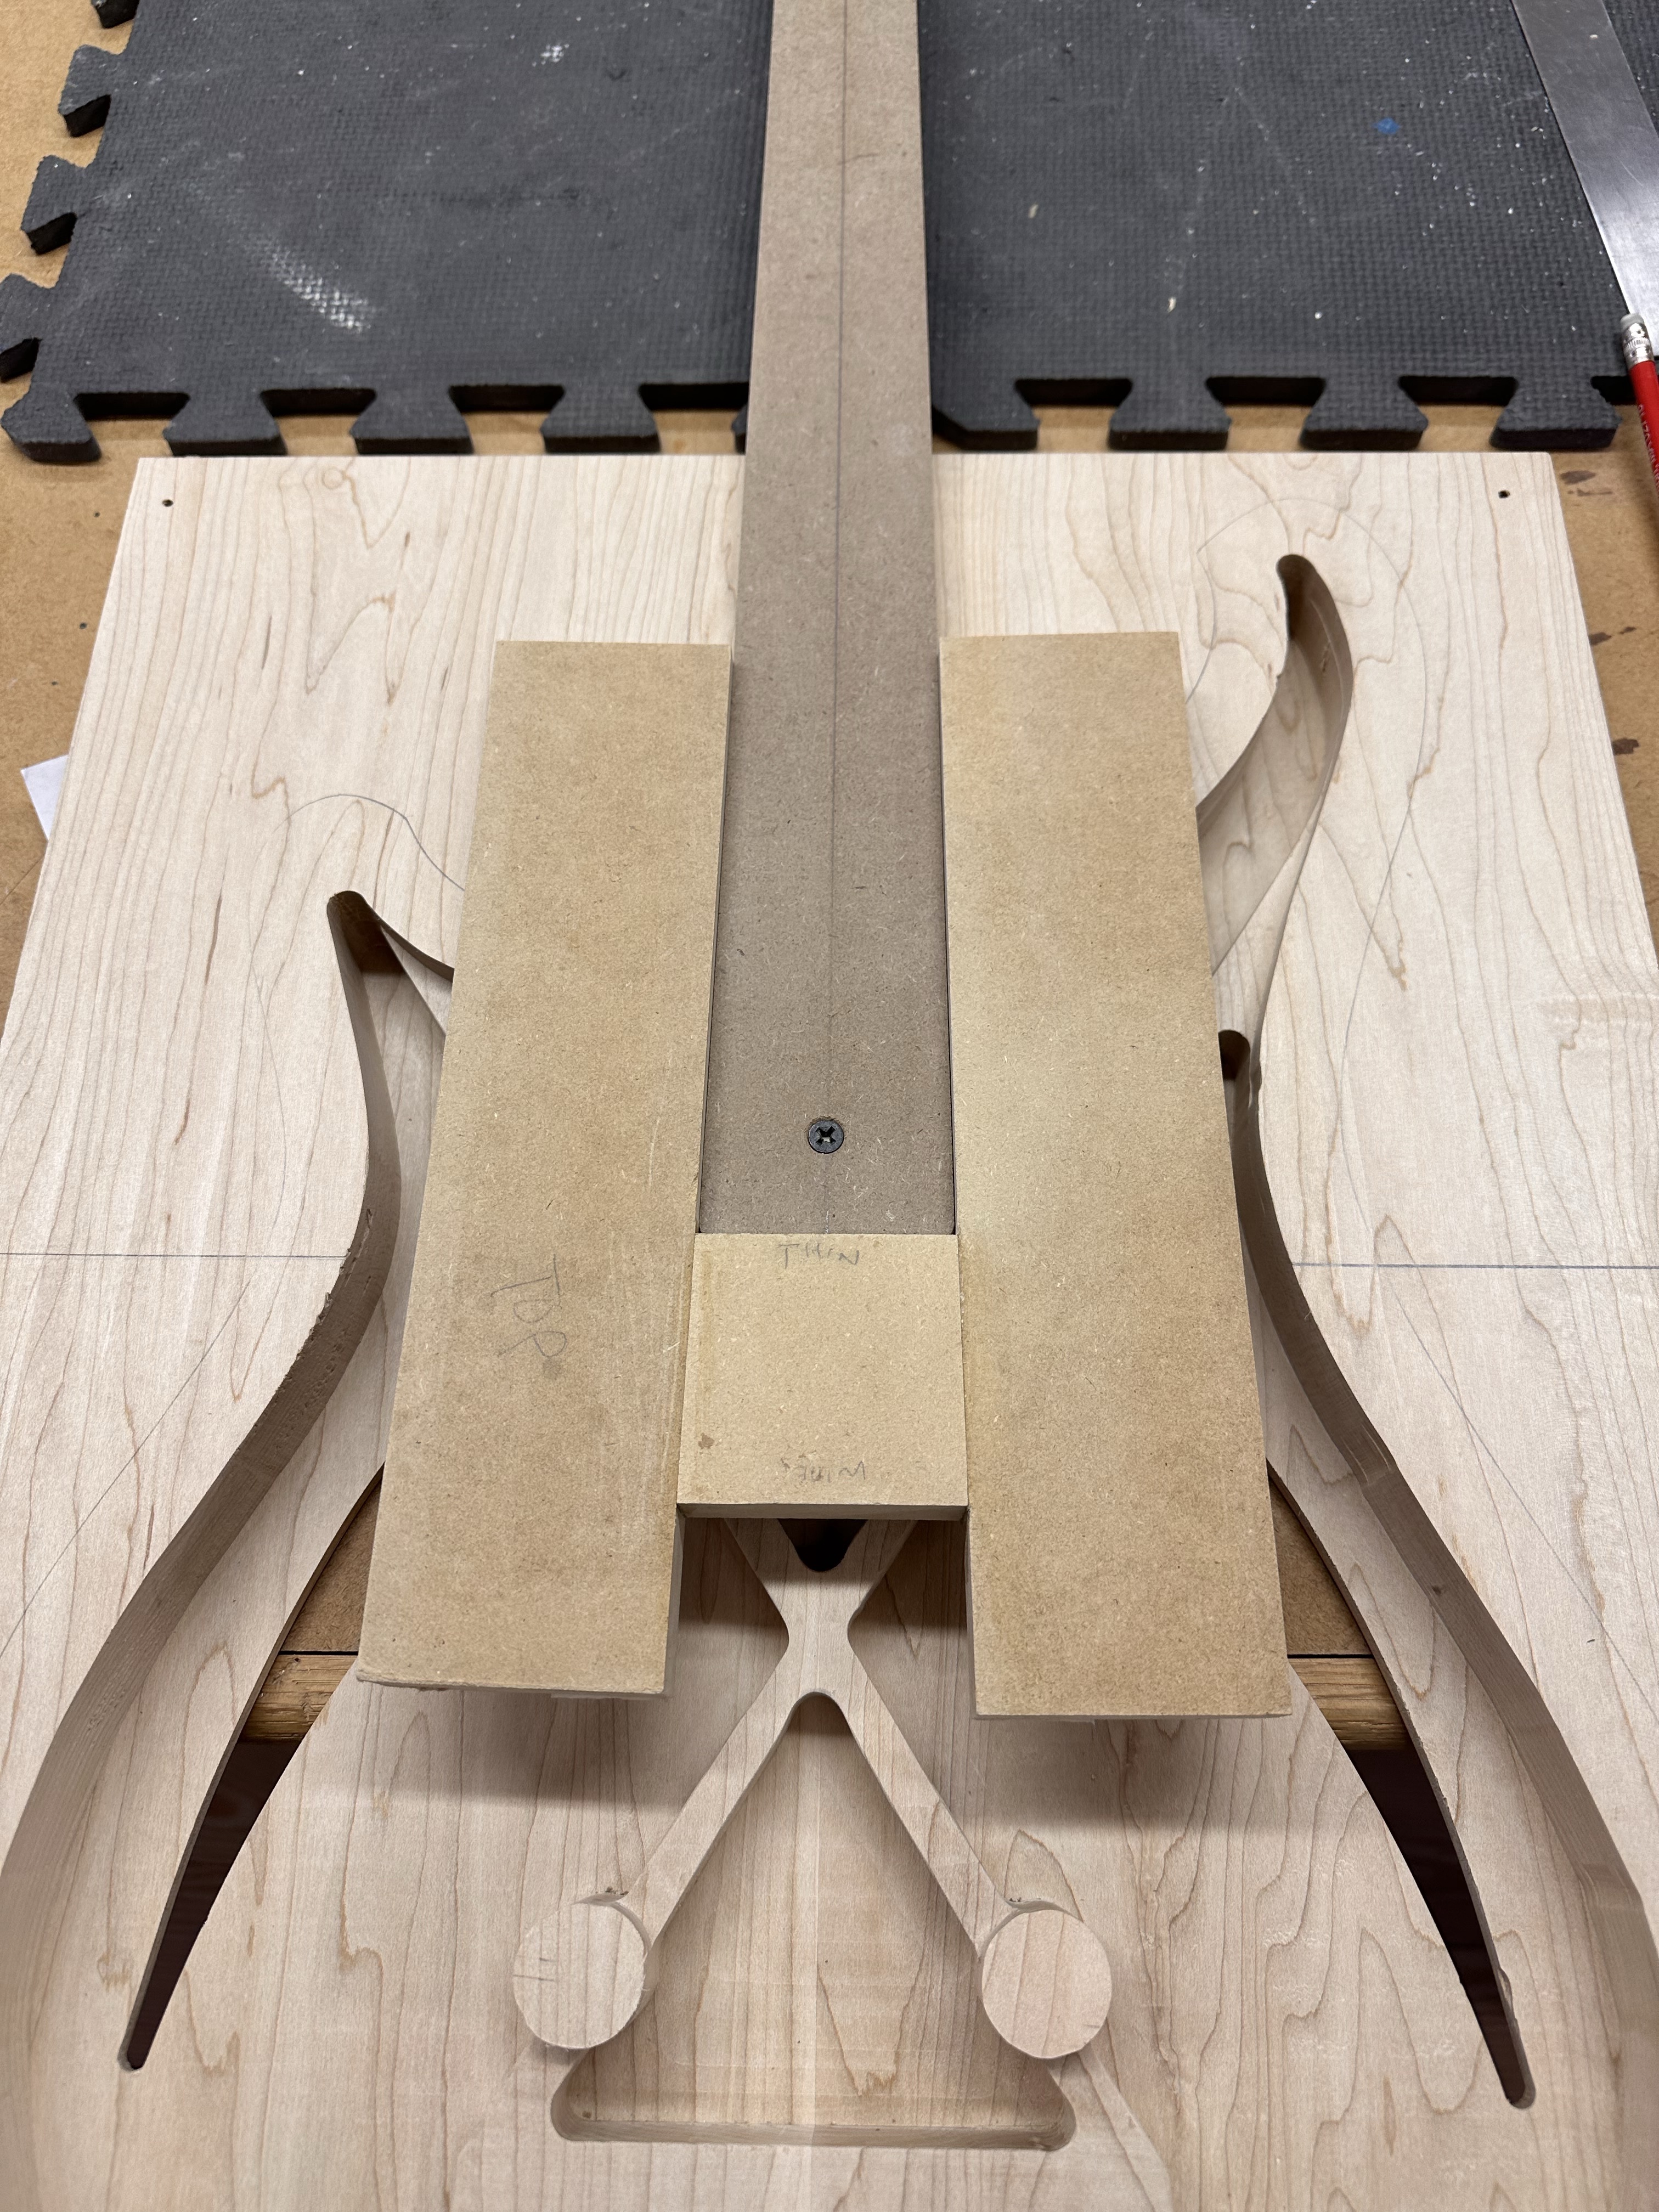
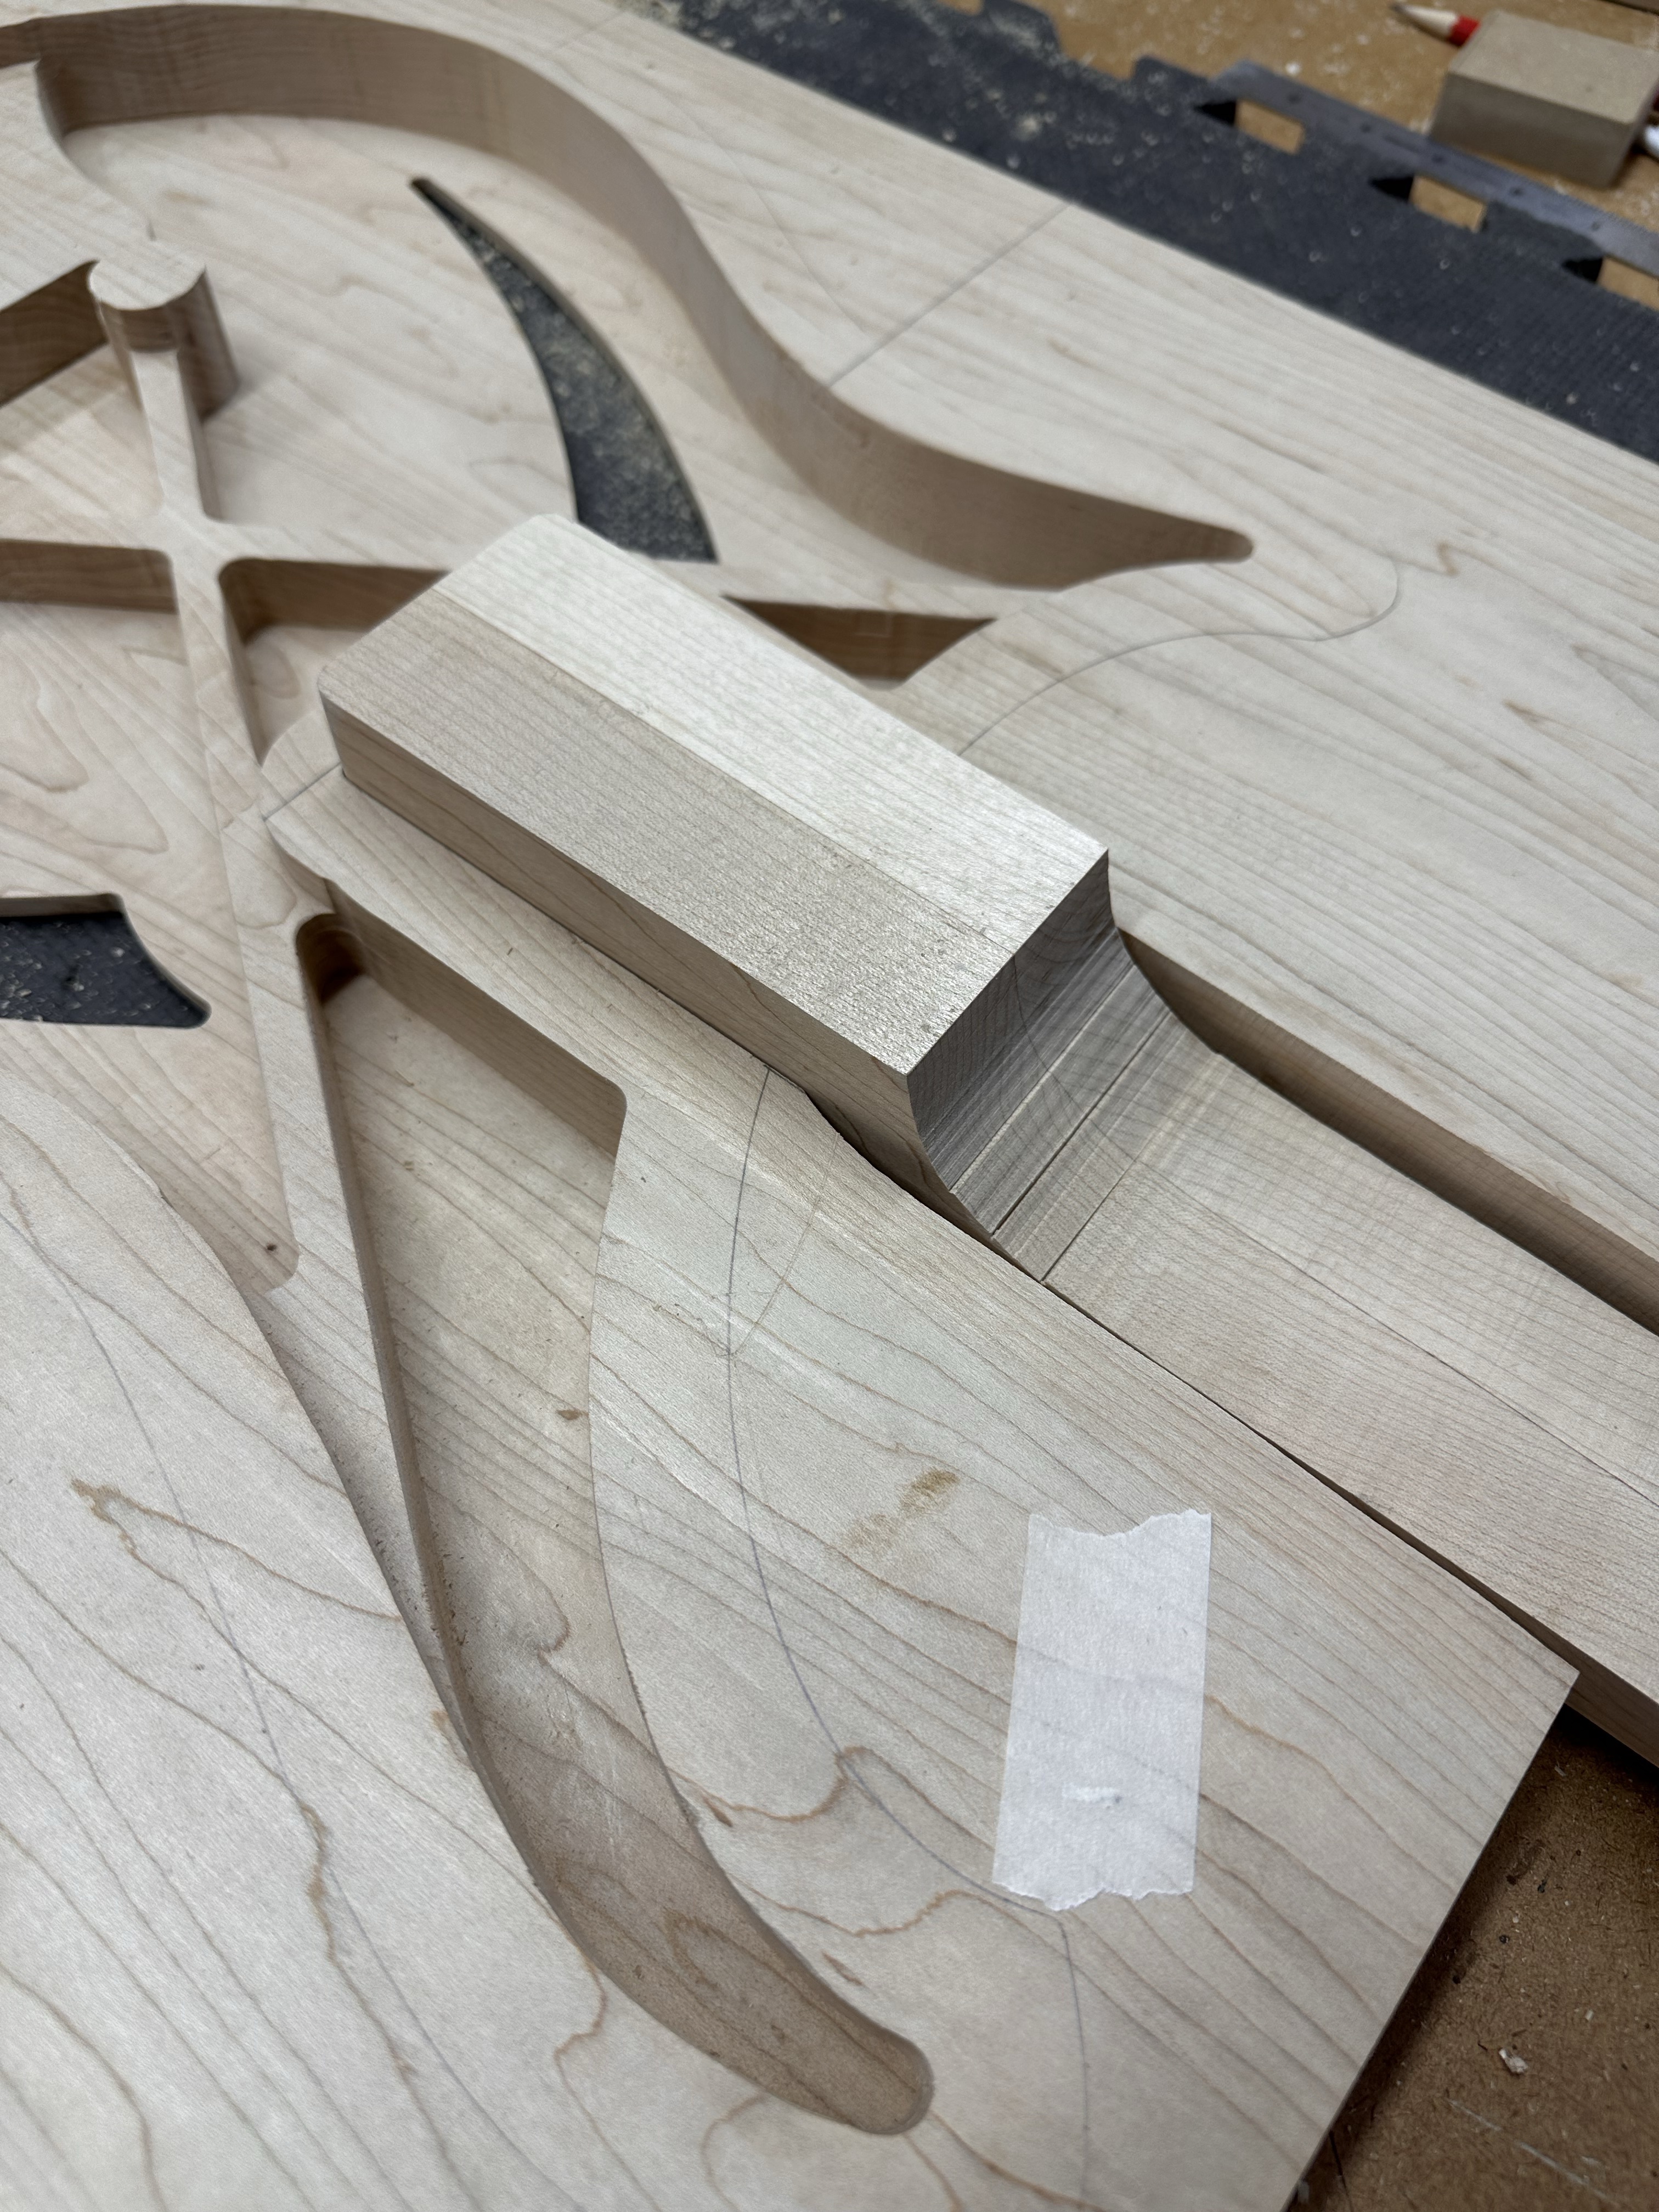
Cutting the neck pocket, always a little nerve-wracking making sure everything lines up. This is my first set-neck, this alignment is baked-in for neck through builds, but I absolutely have to get this right here.
ijzqs0G.jpg


Pocket template
hP9JZY9.jpg


Pocket cut, nice tight fit
fSLtNHT.jpg


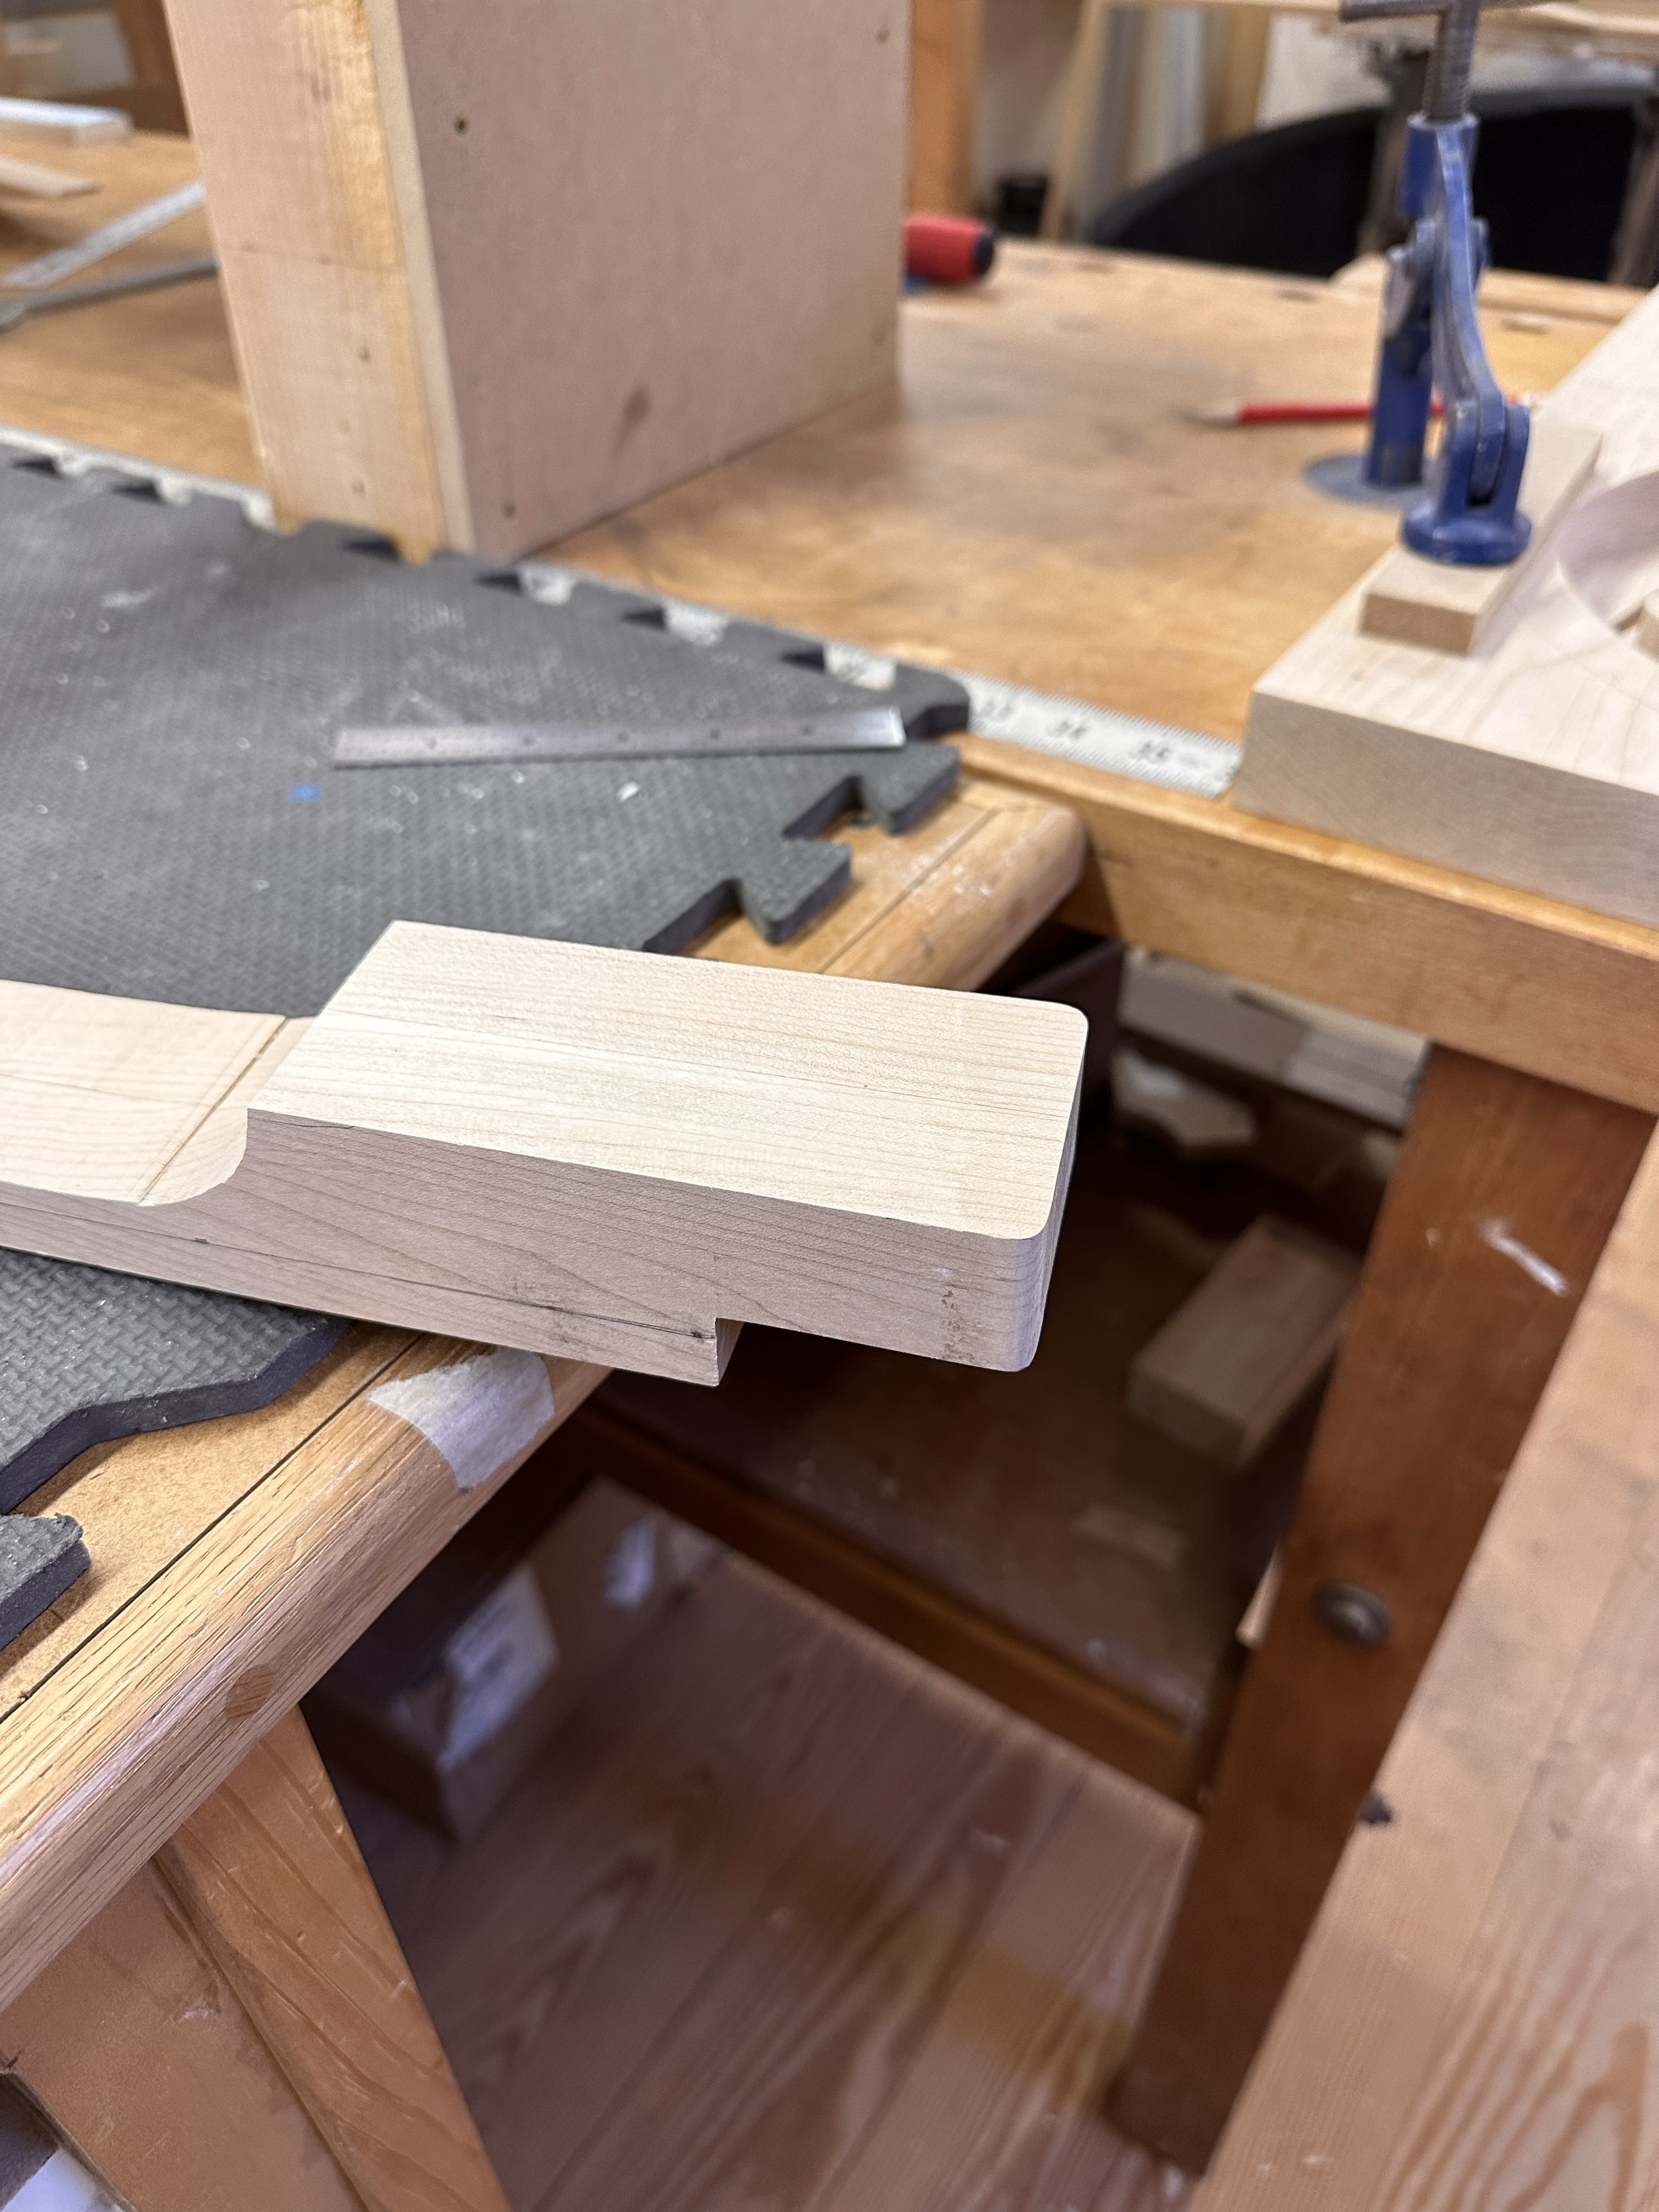
A little TOO tight as it turns out, had to do some very careful hand-sanding on the neck heel to get some clearance for glue. It's a tight fit with moderate hand pressure. Leave it, or sand a hair more clearance? The heel has to get cut down a bit so only the fingerboard and part of the neck below it rise above the body, and the bottom of the heel will get shaved so it can be overlaid by the back plate.
KCn10cL.jpg
 
  • Like
Reactions: nixdad
Neck heel and tenon cut. I'm kinda wishing I had made the whole tenon longer, but I get about 4" of glue surface on one side and three on the other, plus the neck will be captive by the front and back plates, which seems like plenty of glue surface. It doesn't look like I'll need to recess the pickups into the body, so the tenon should be full-depth.
czjVKVl.jpg
 
Last edited:
  • Like
Reactions: nixdad
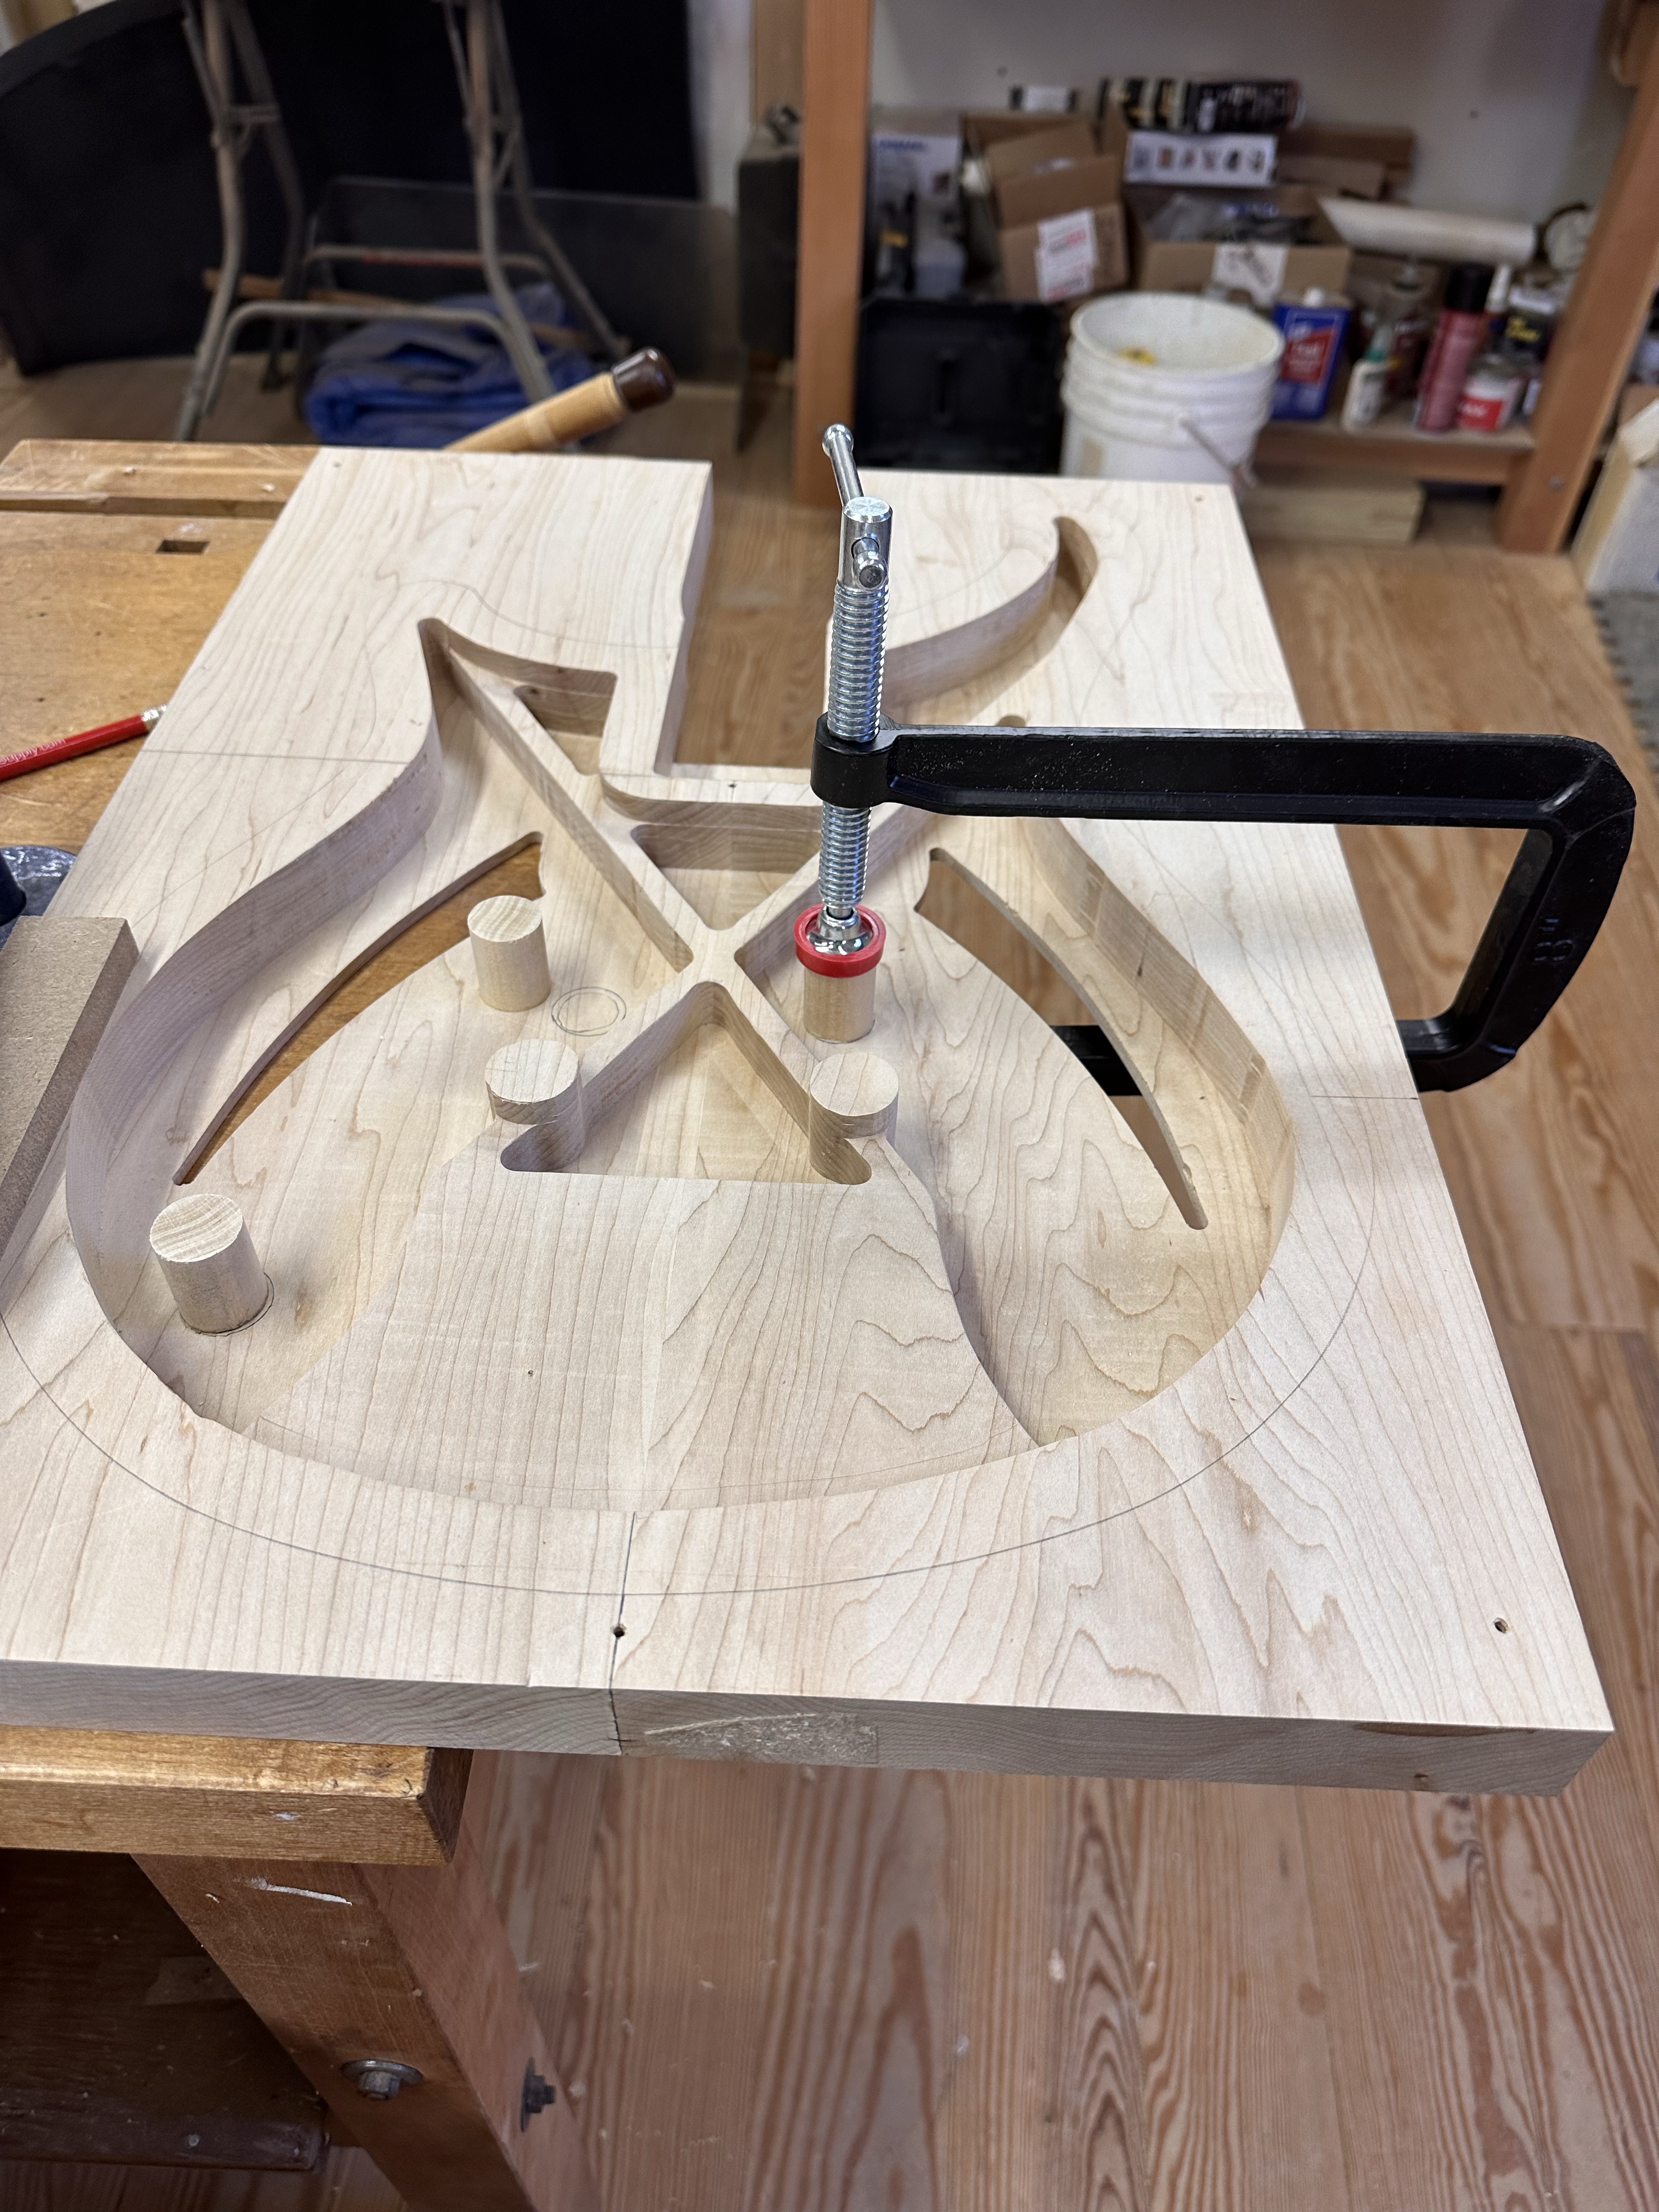
Gluing in some 3/4" dowels to serve as screw anchors for the control cavity cover and the rear pickup. The 1" dia, posts that were hogged out of the body are for the Tune-O-Matic style bridge posts.
CDJrl9V.jpg


And got started on the binding for the Cat Eye F-holes. I've used zip-ties like this before to get into tight radius corners, but they damaged the binidng a bit, this time i wrapped them in pieces of shrink-wrap tubing, seems to be working better. This is .040" "parchment" pvc binding, I just use acetone as the glue. I had to do one joint, spooged together with binding dissolved in acetone. The neck, body, and headstock will get .060" parchment binding.
No93uHQ.jpg


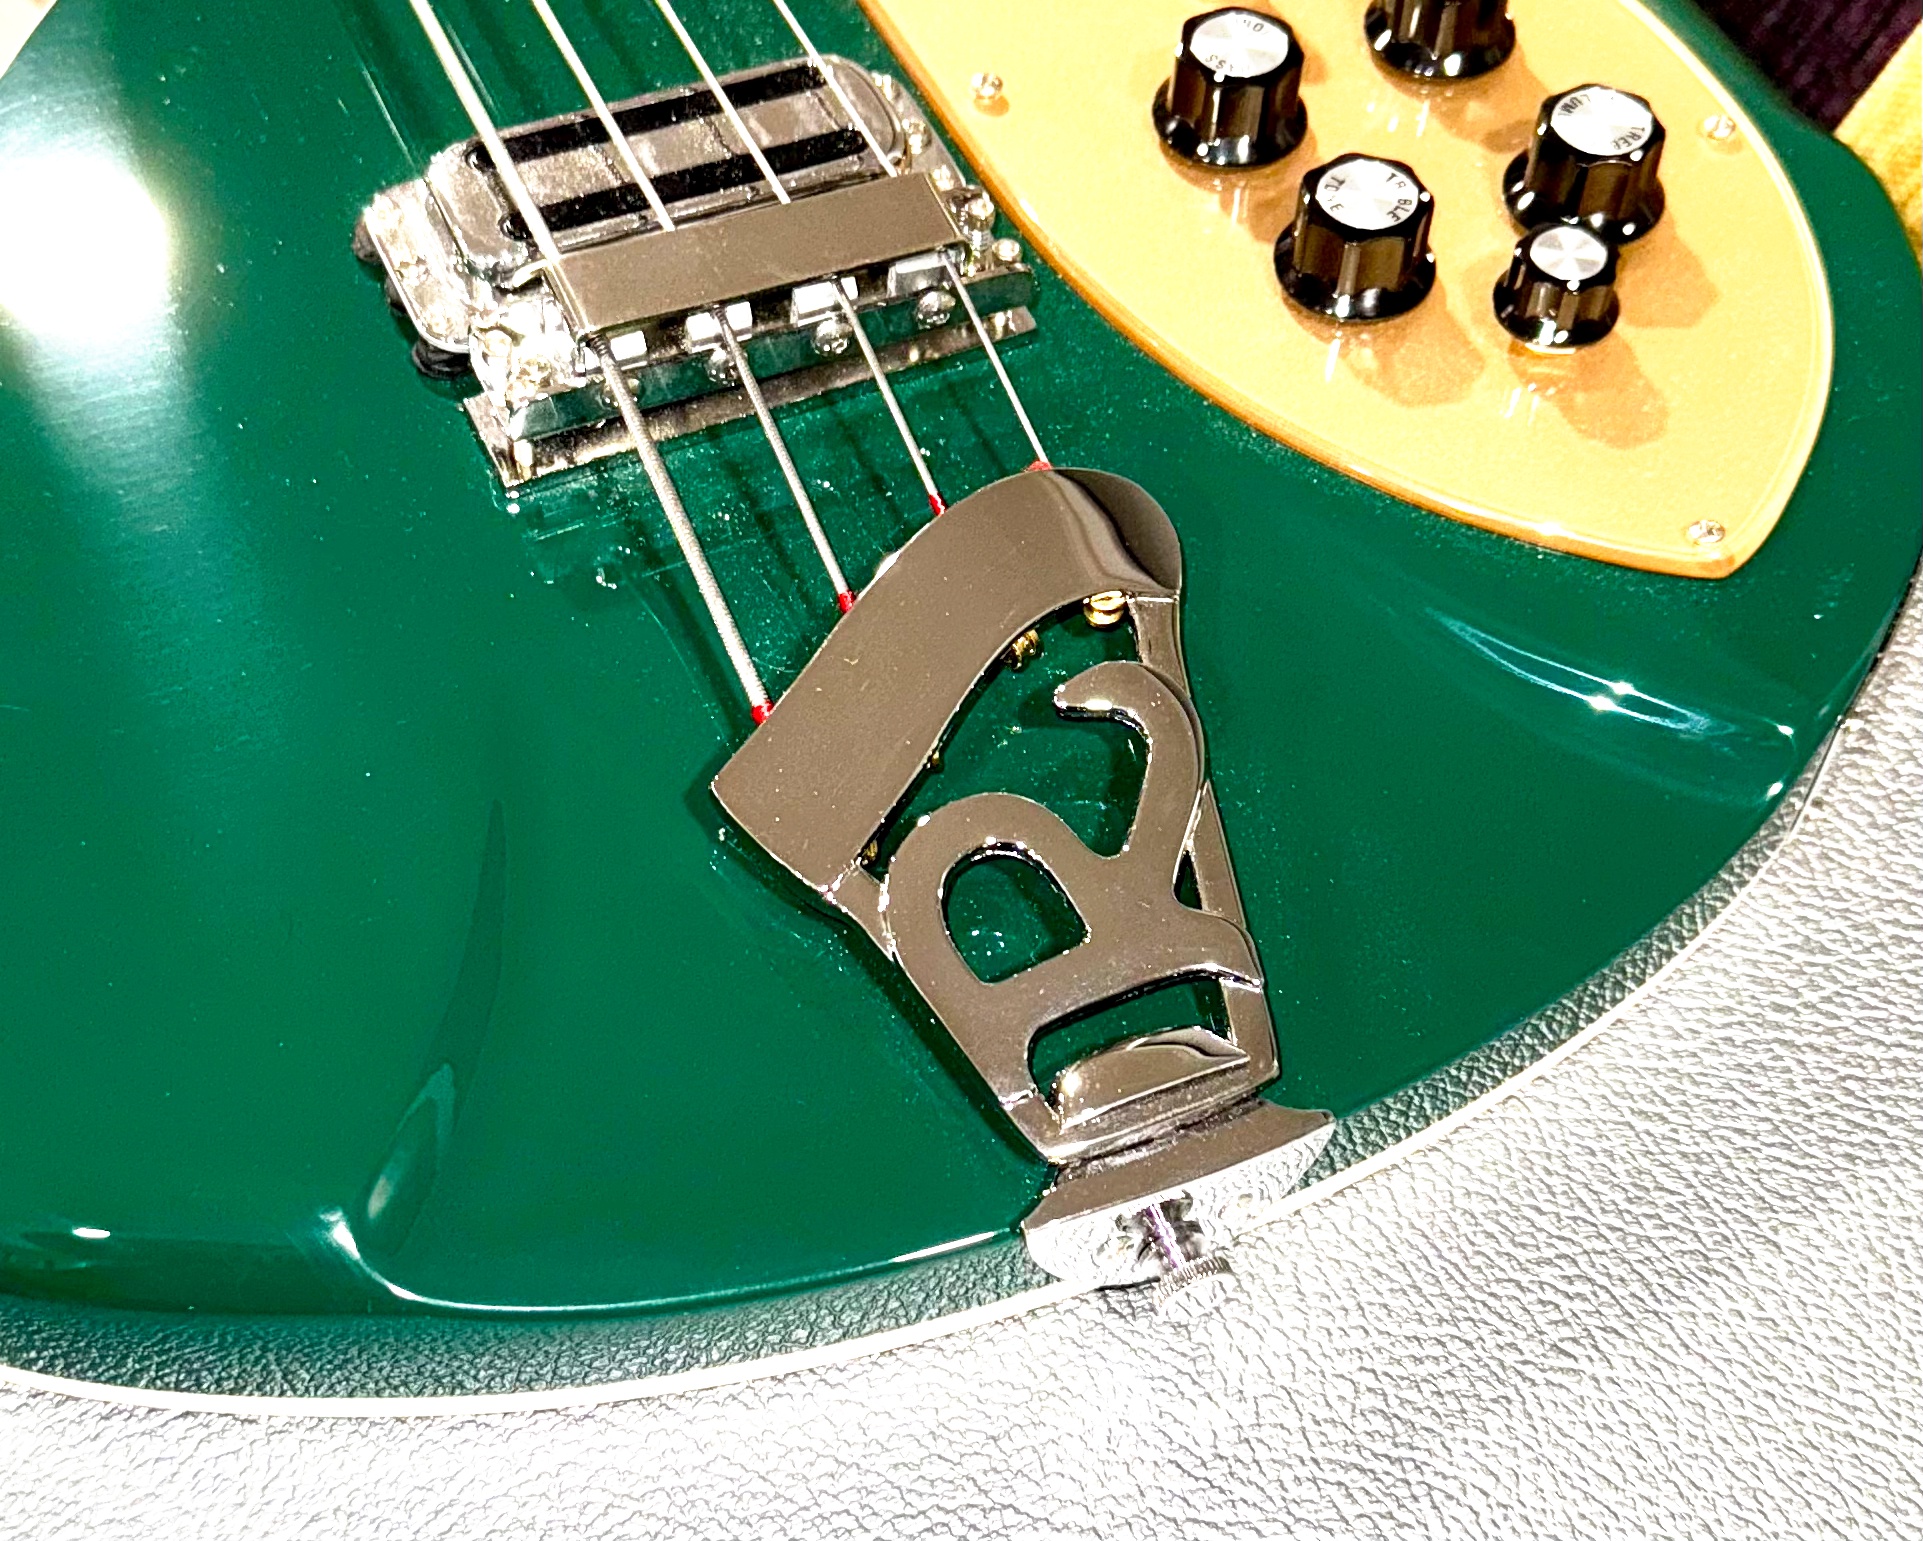
Next up I have to build a jig to cut the flared cutout behind the bridge, shooting for something like this (thanks for the photo @nixdad):
glG8uyV.jpg
 
Last edited:
  • Like
Reactions: nixdad
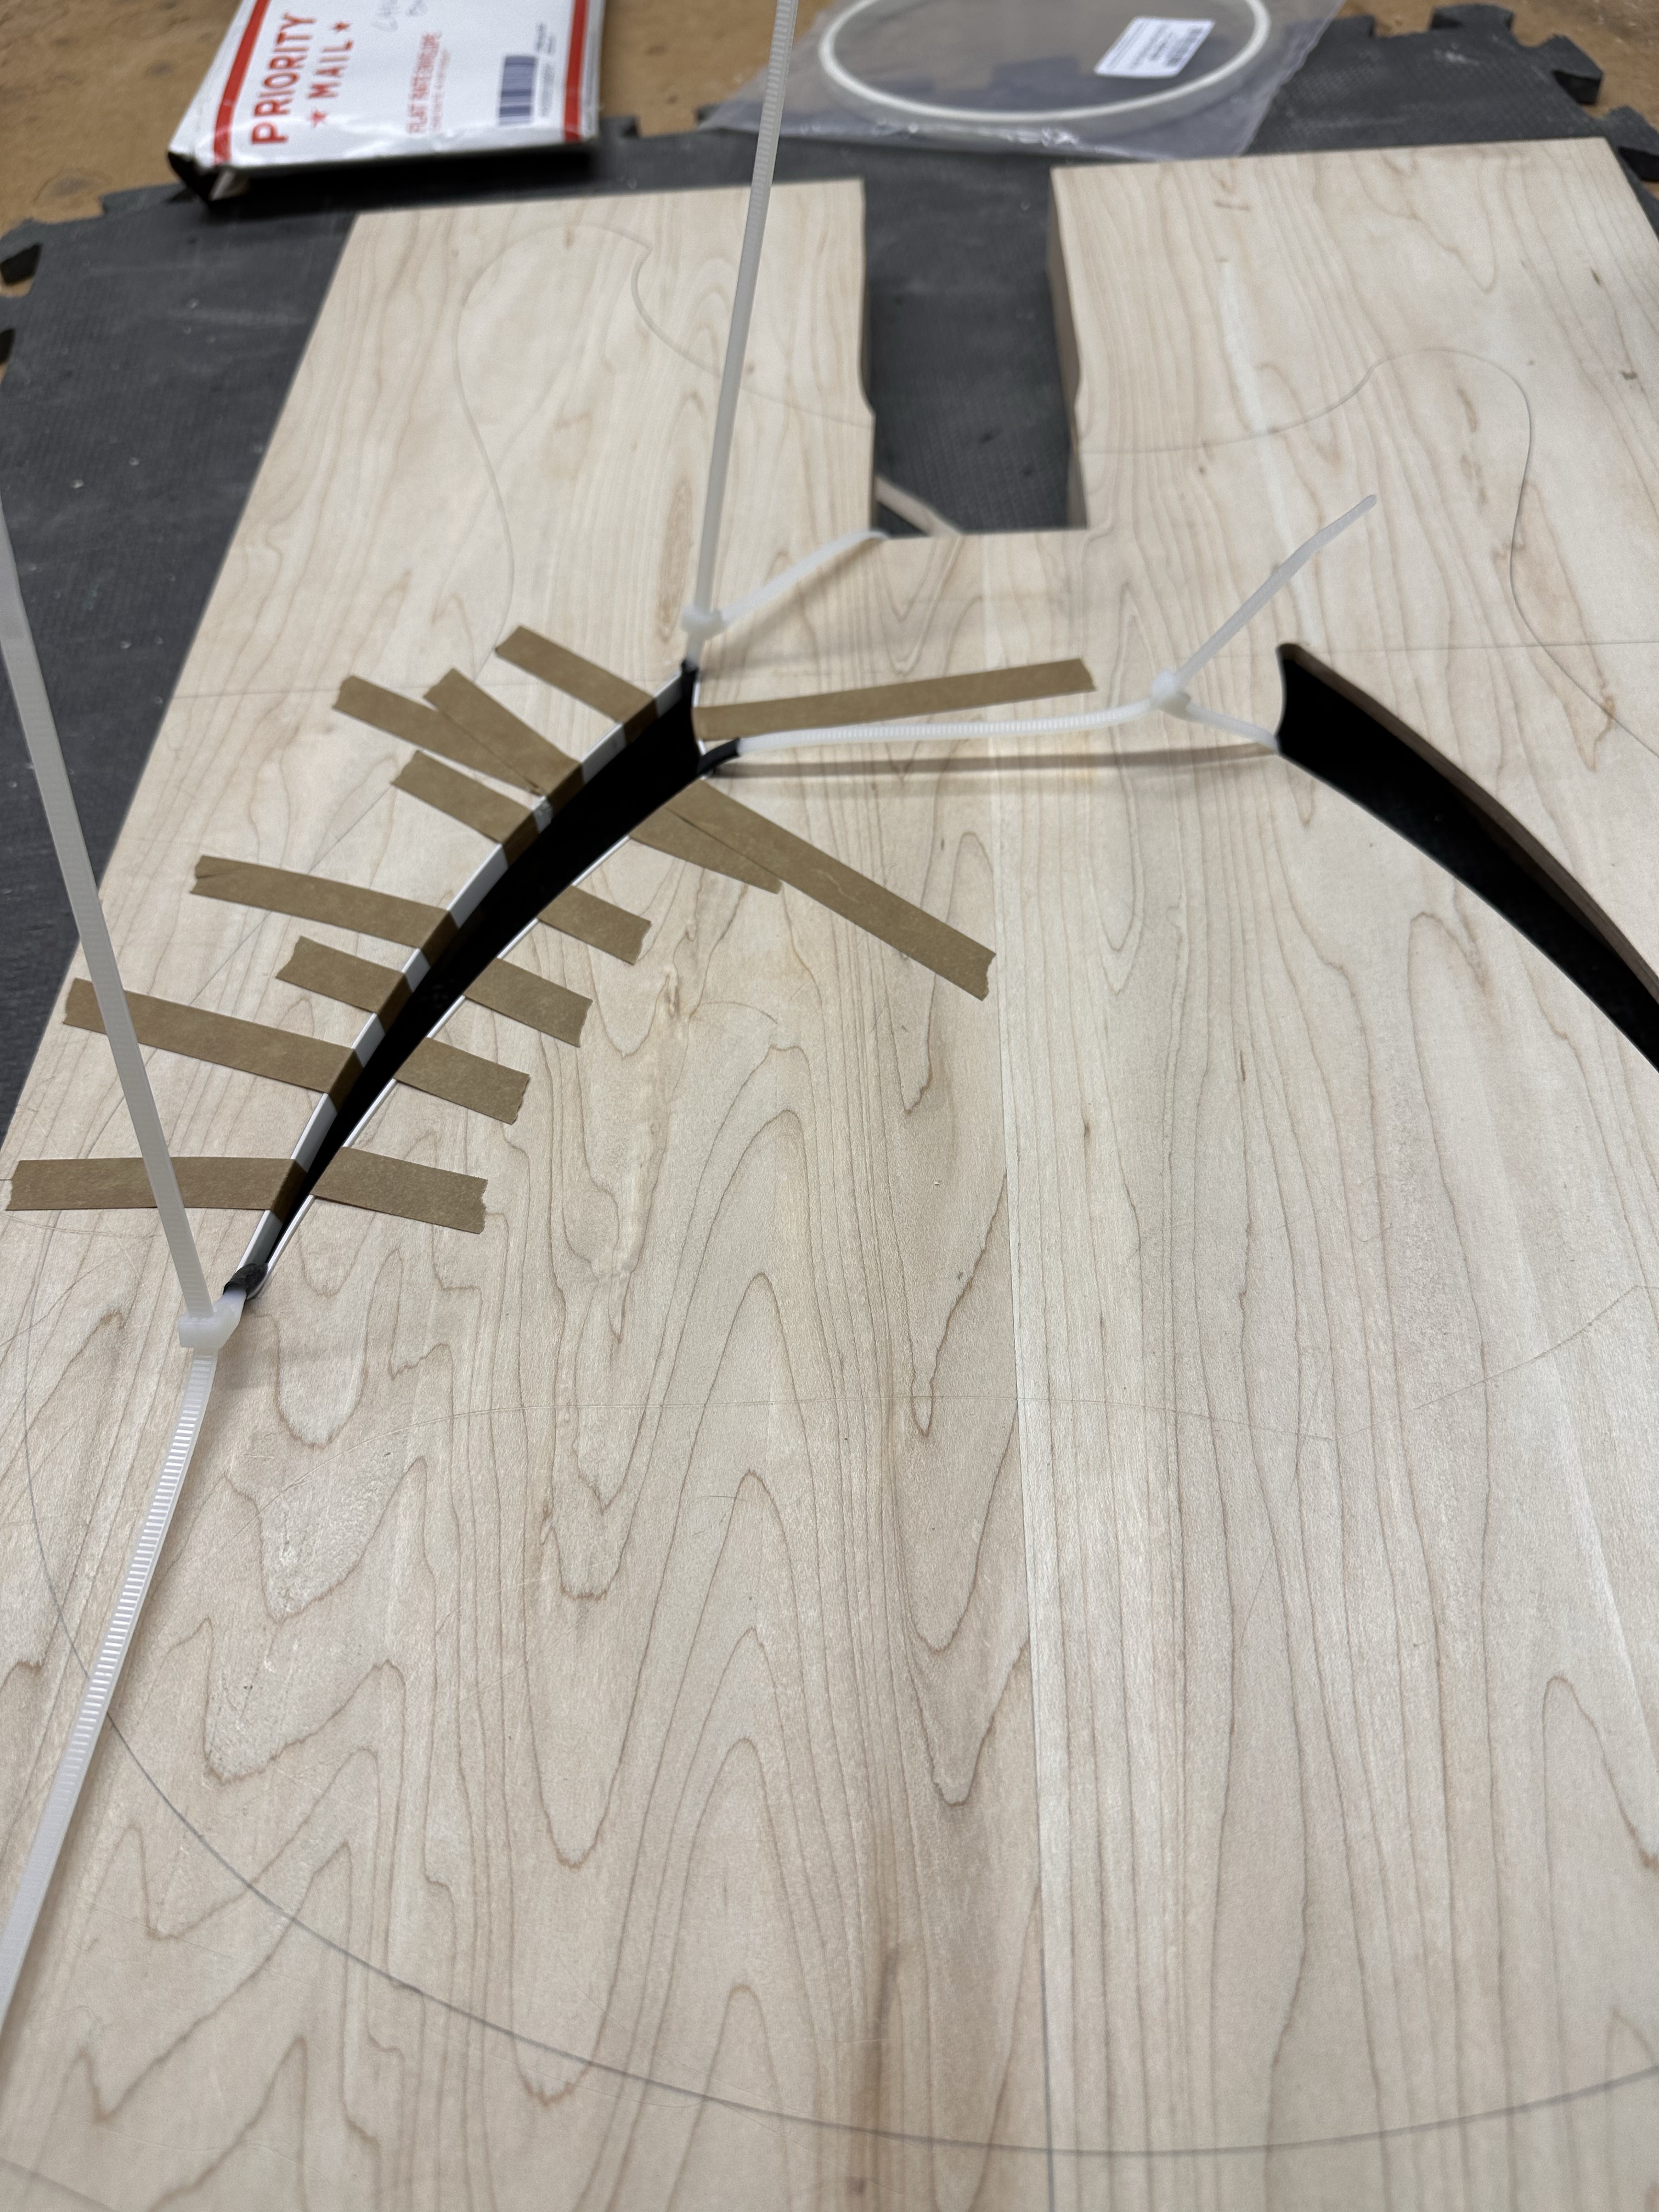
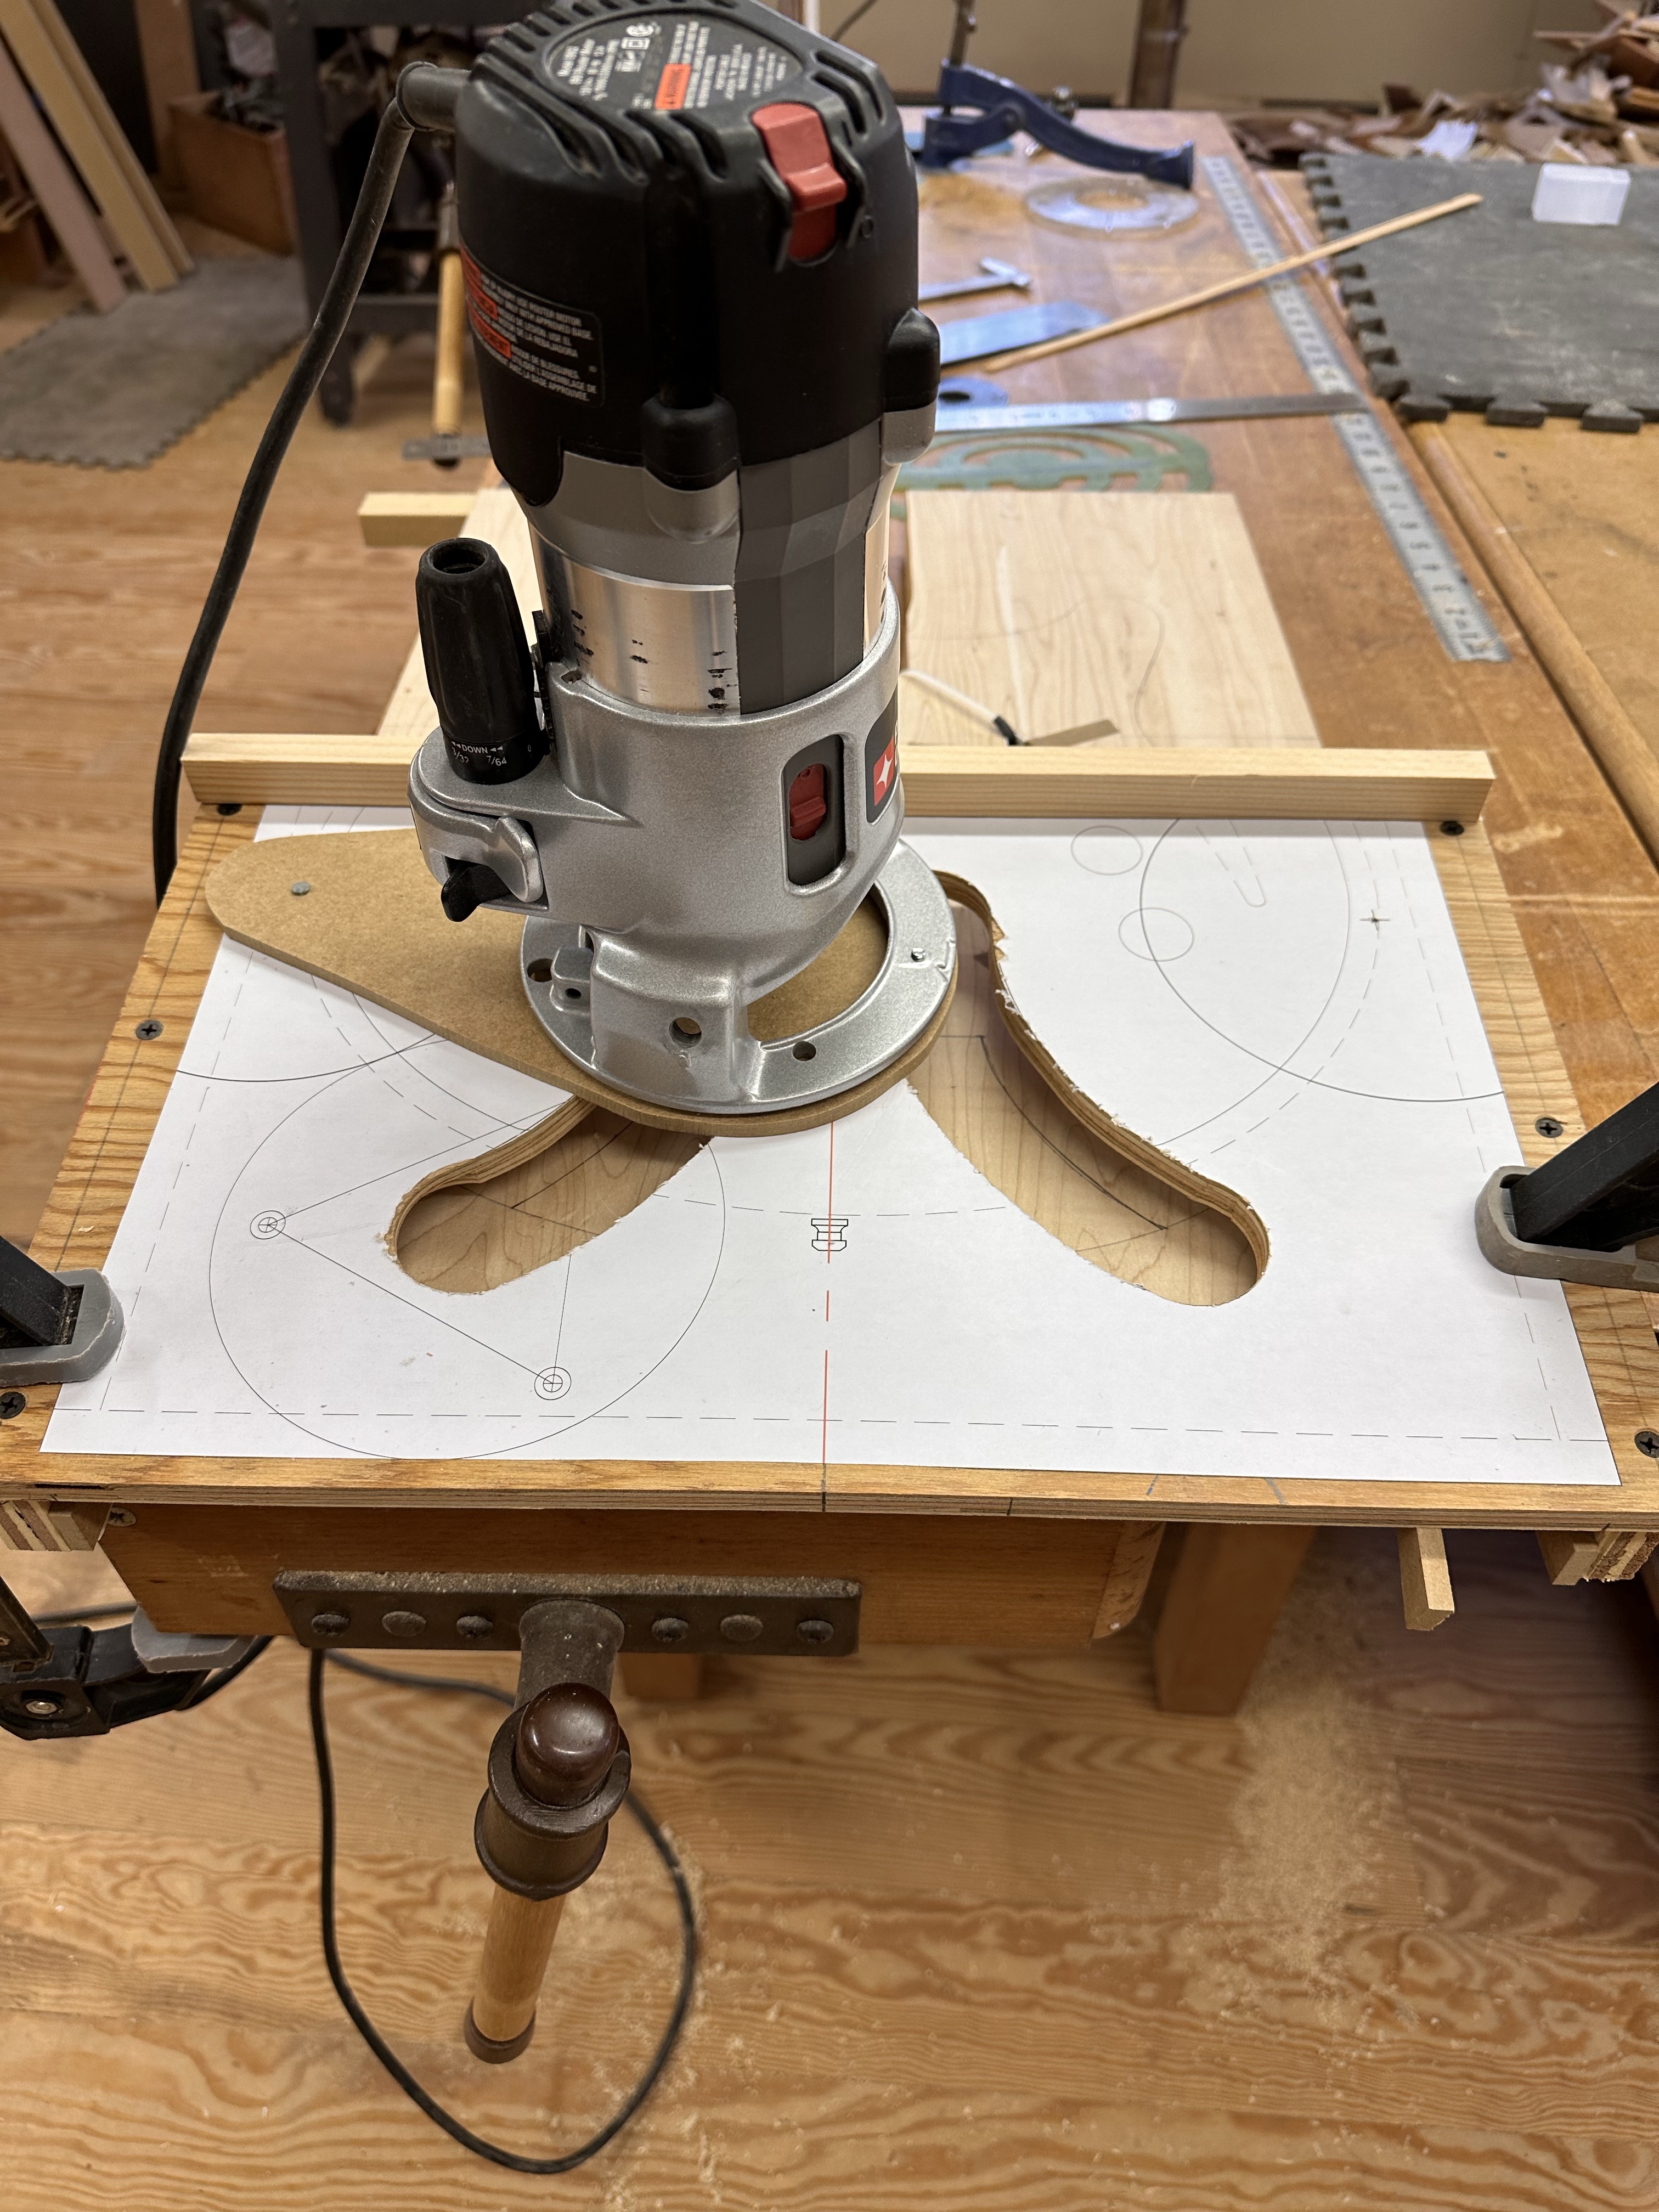
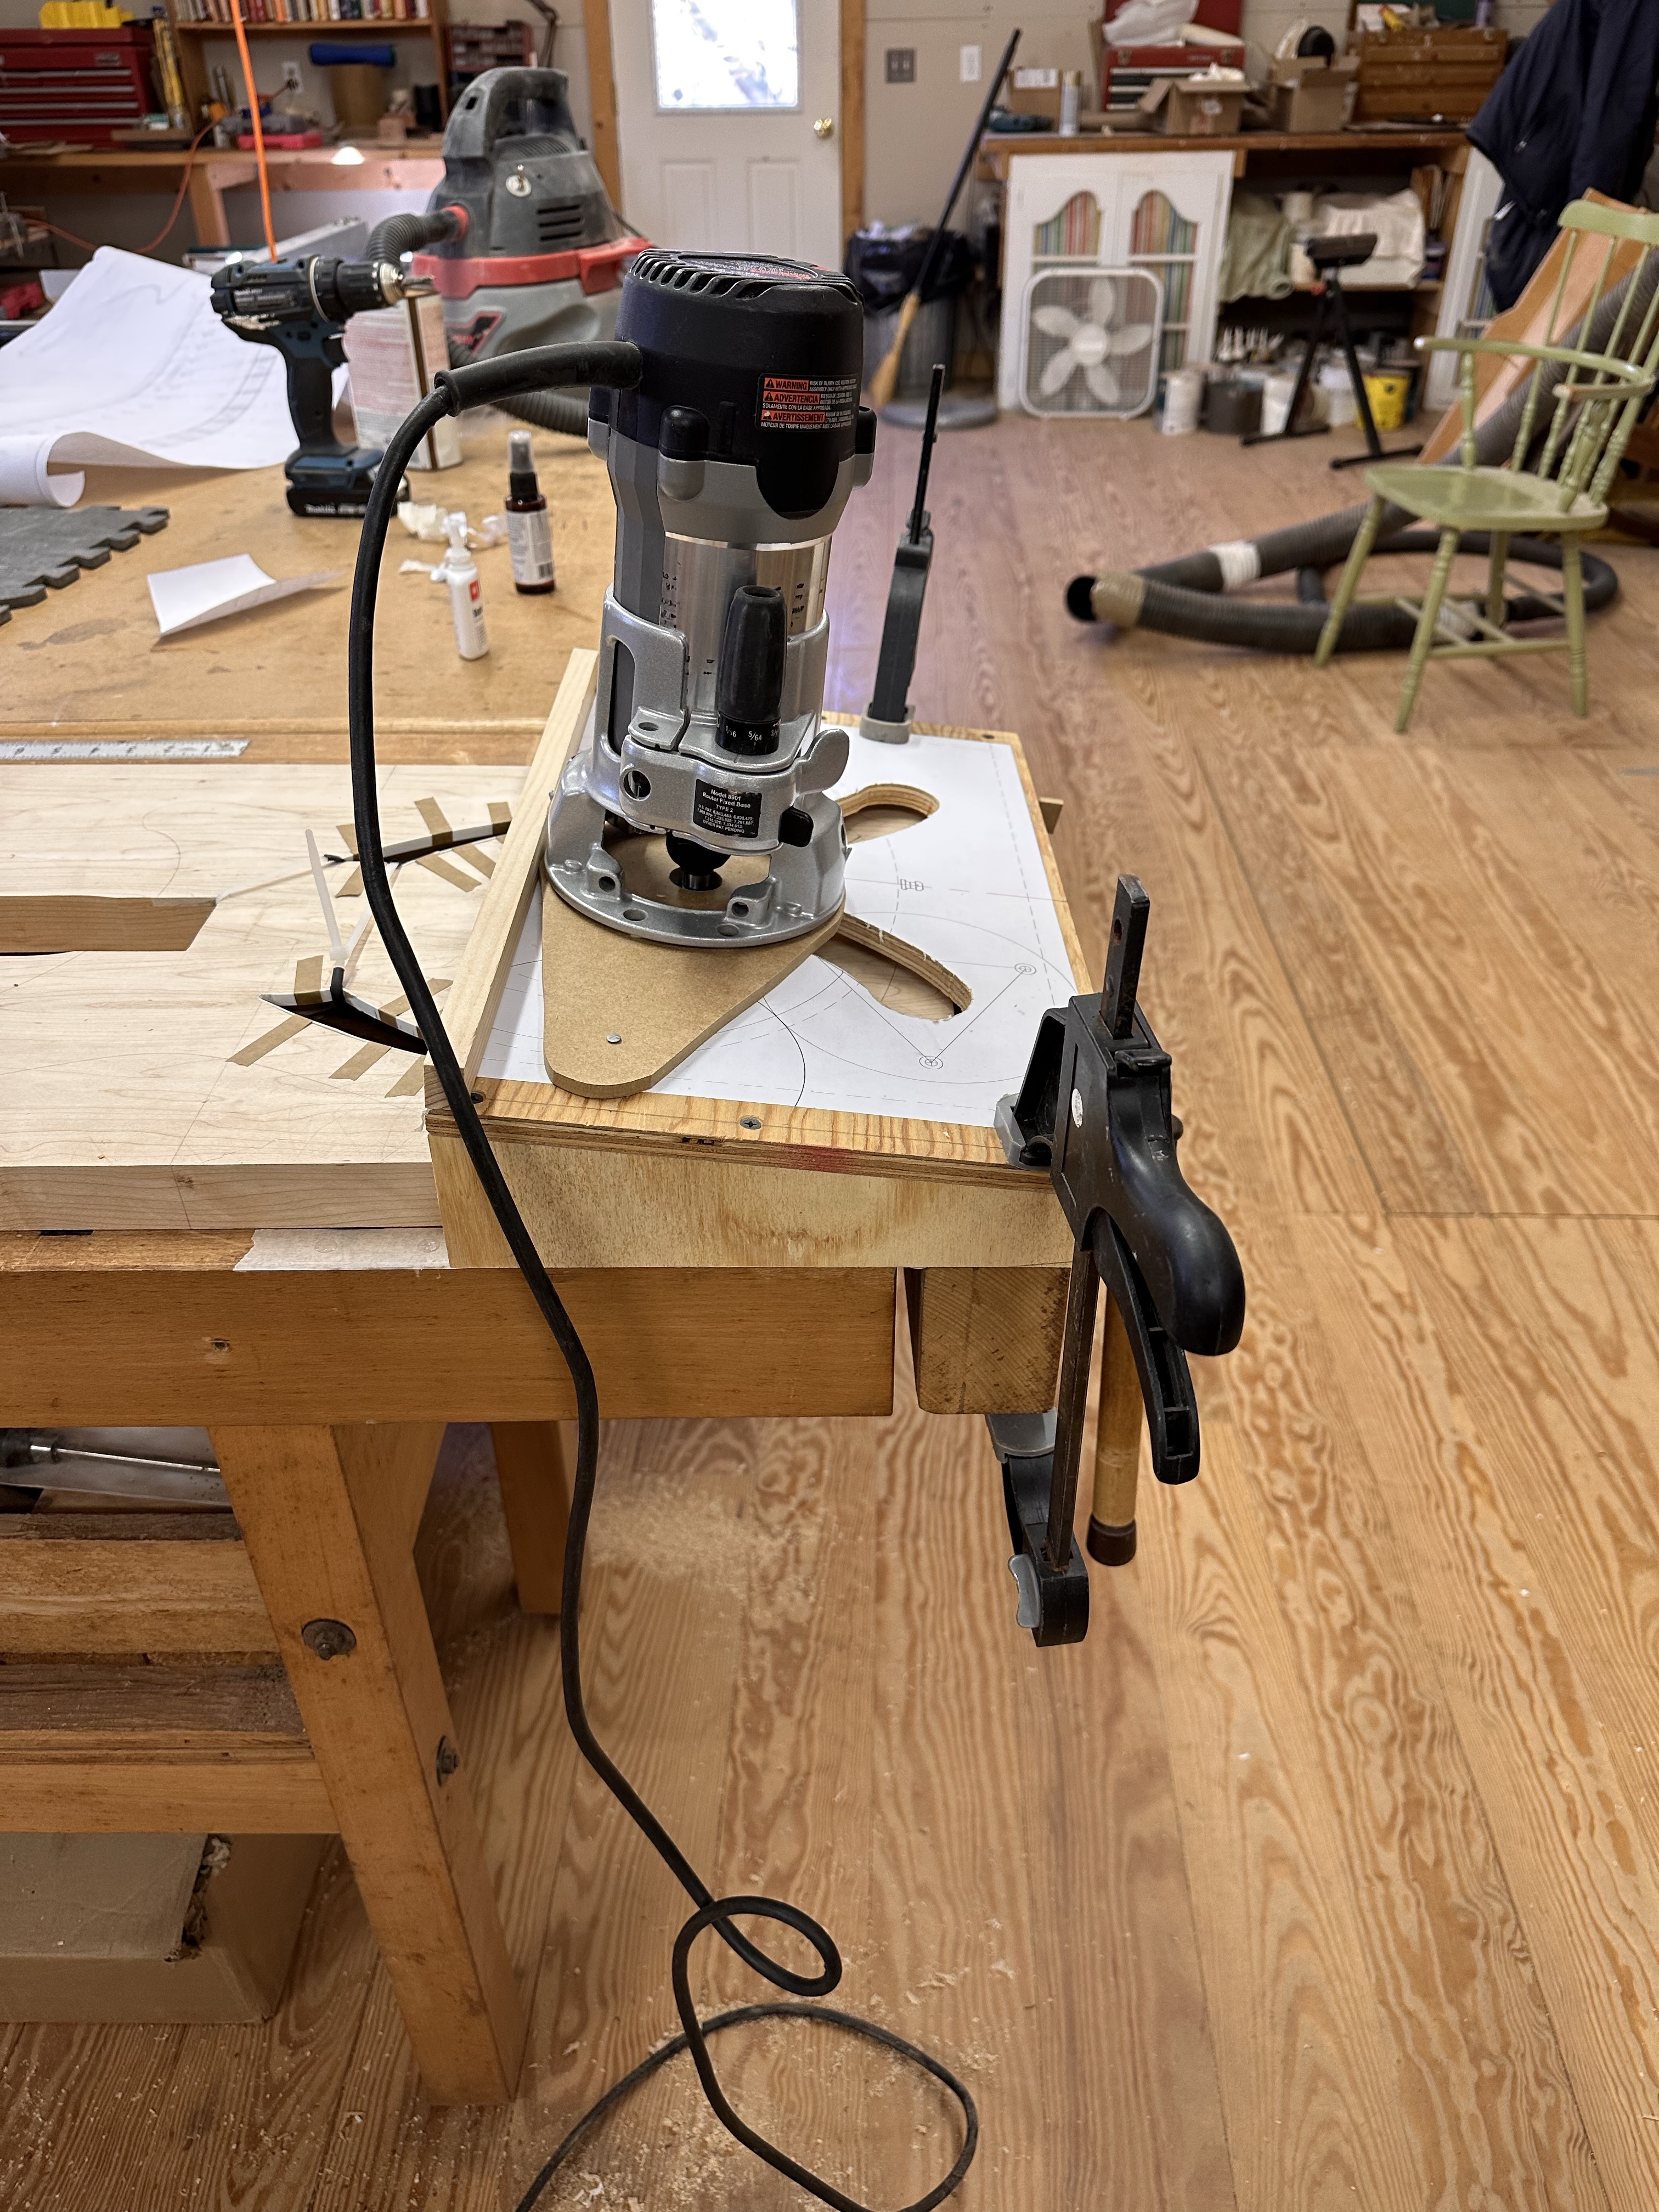
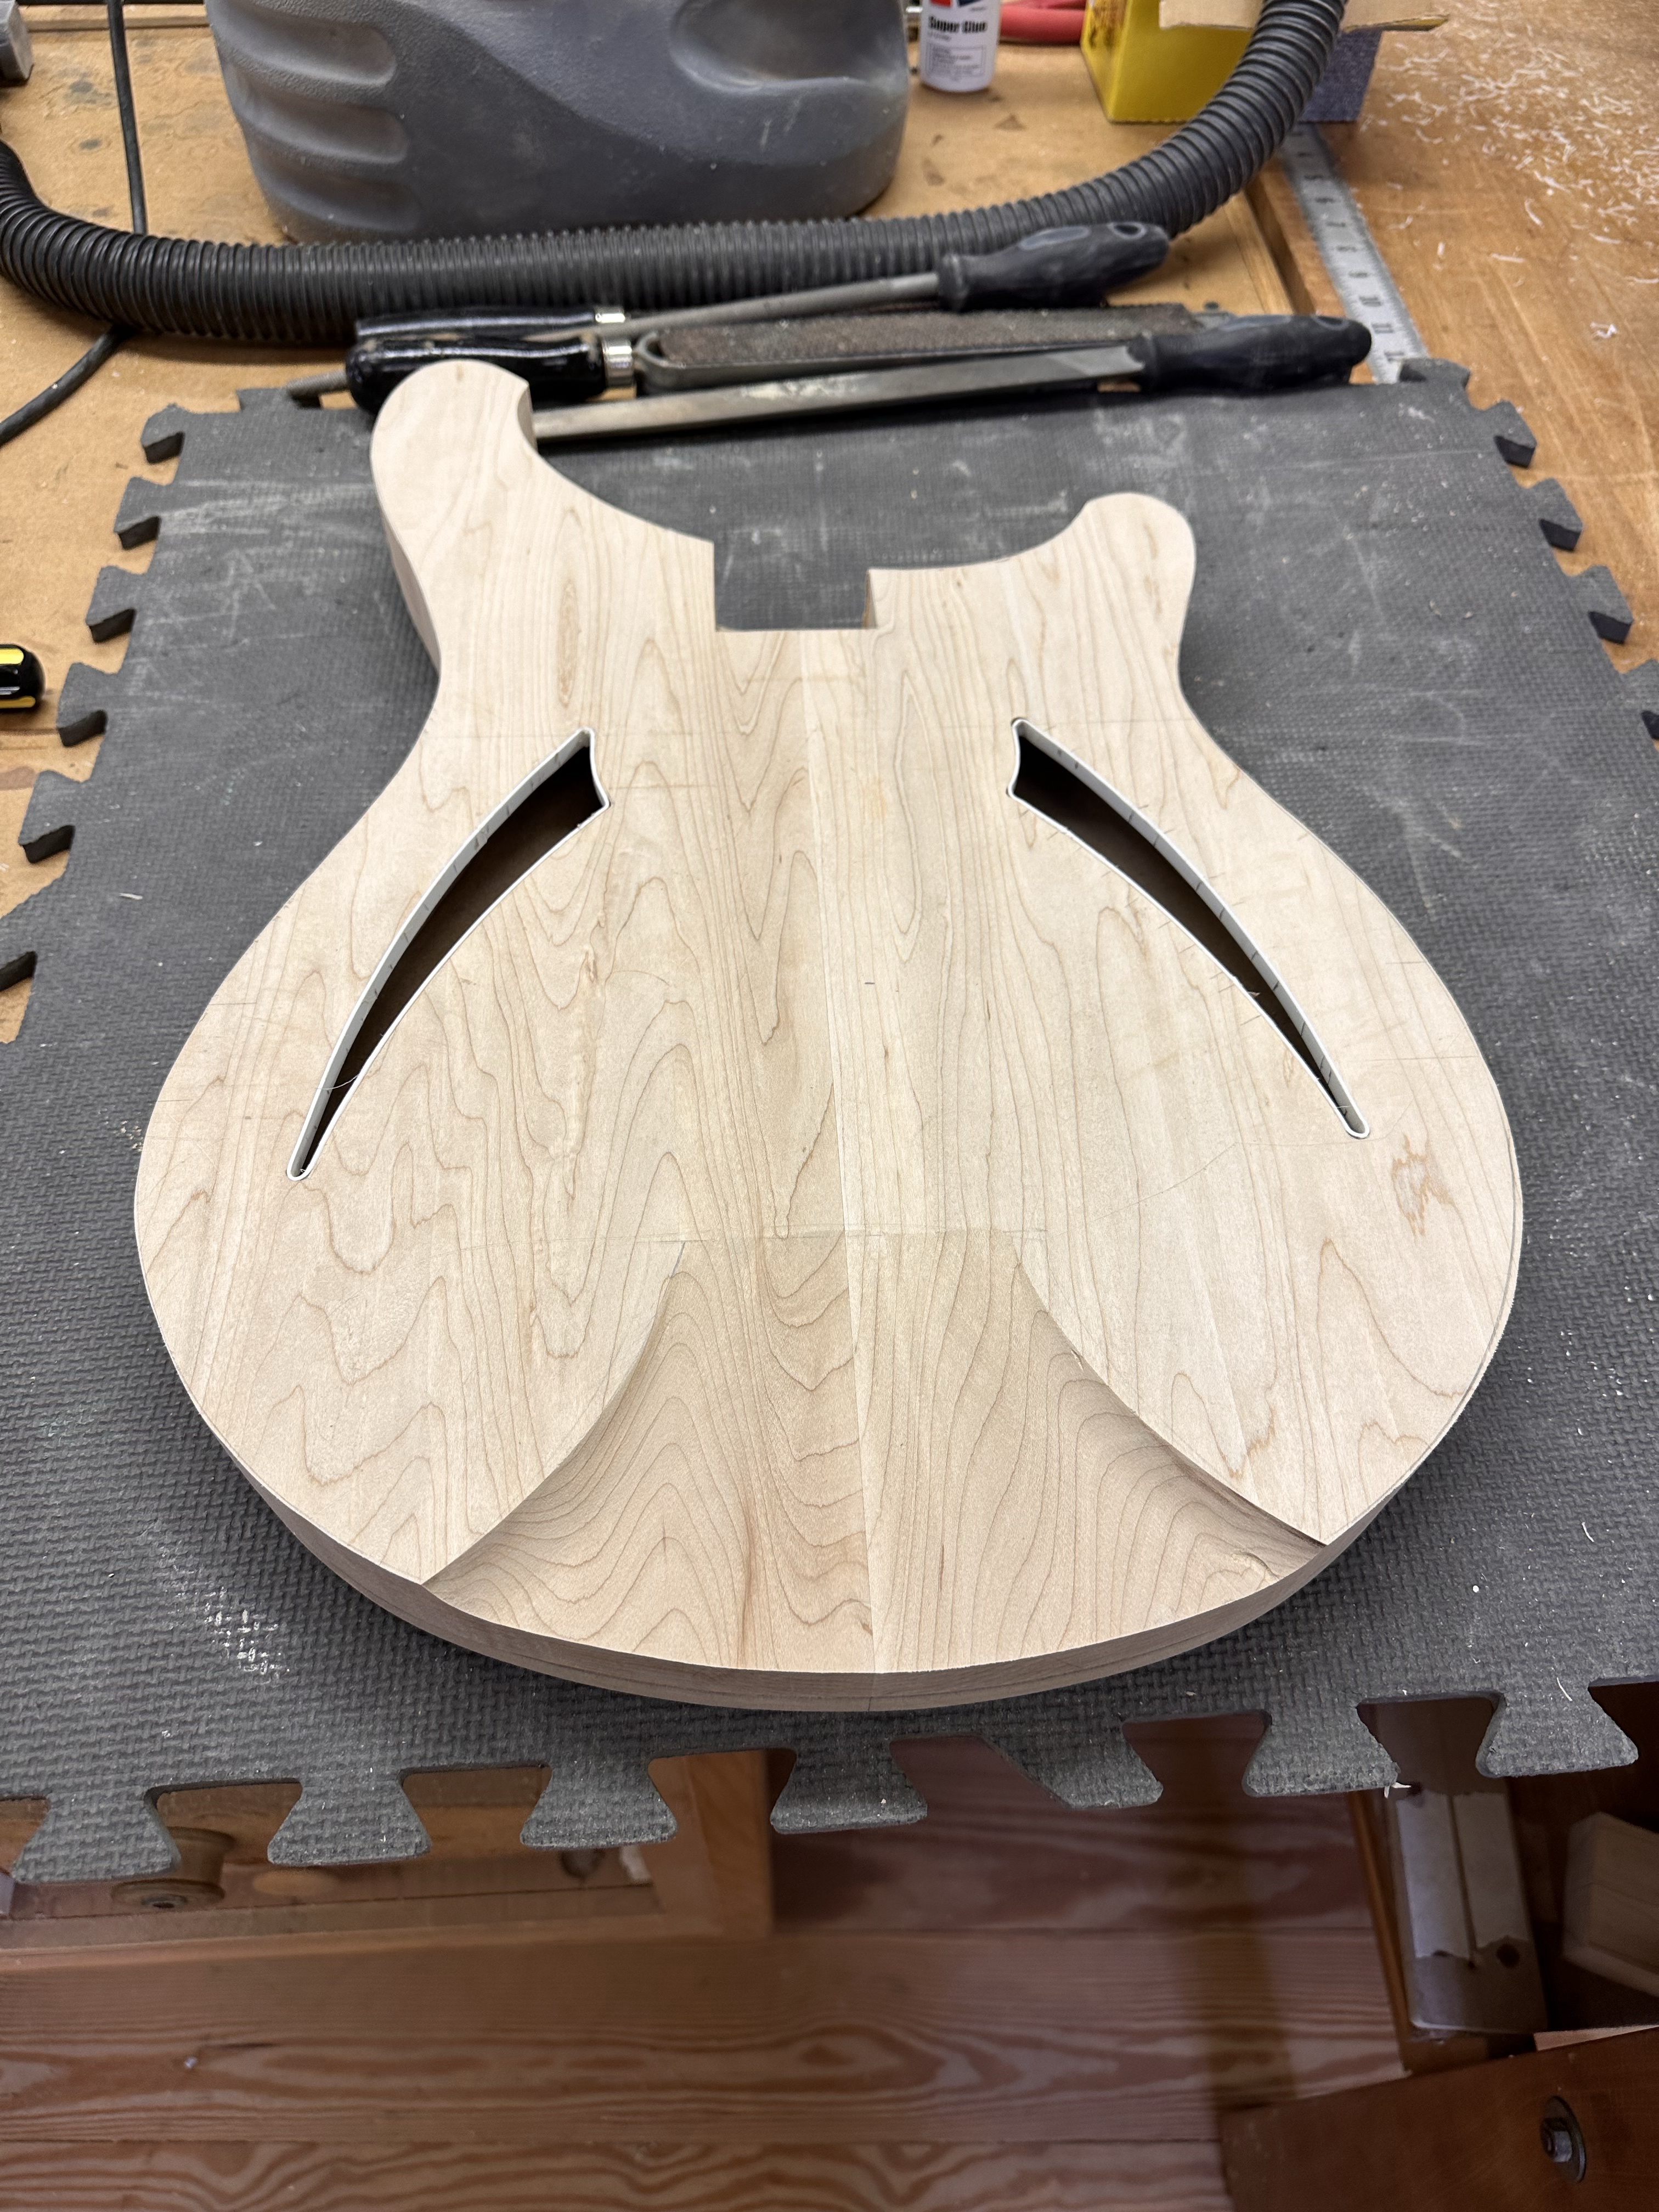
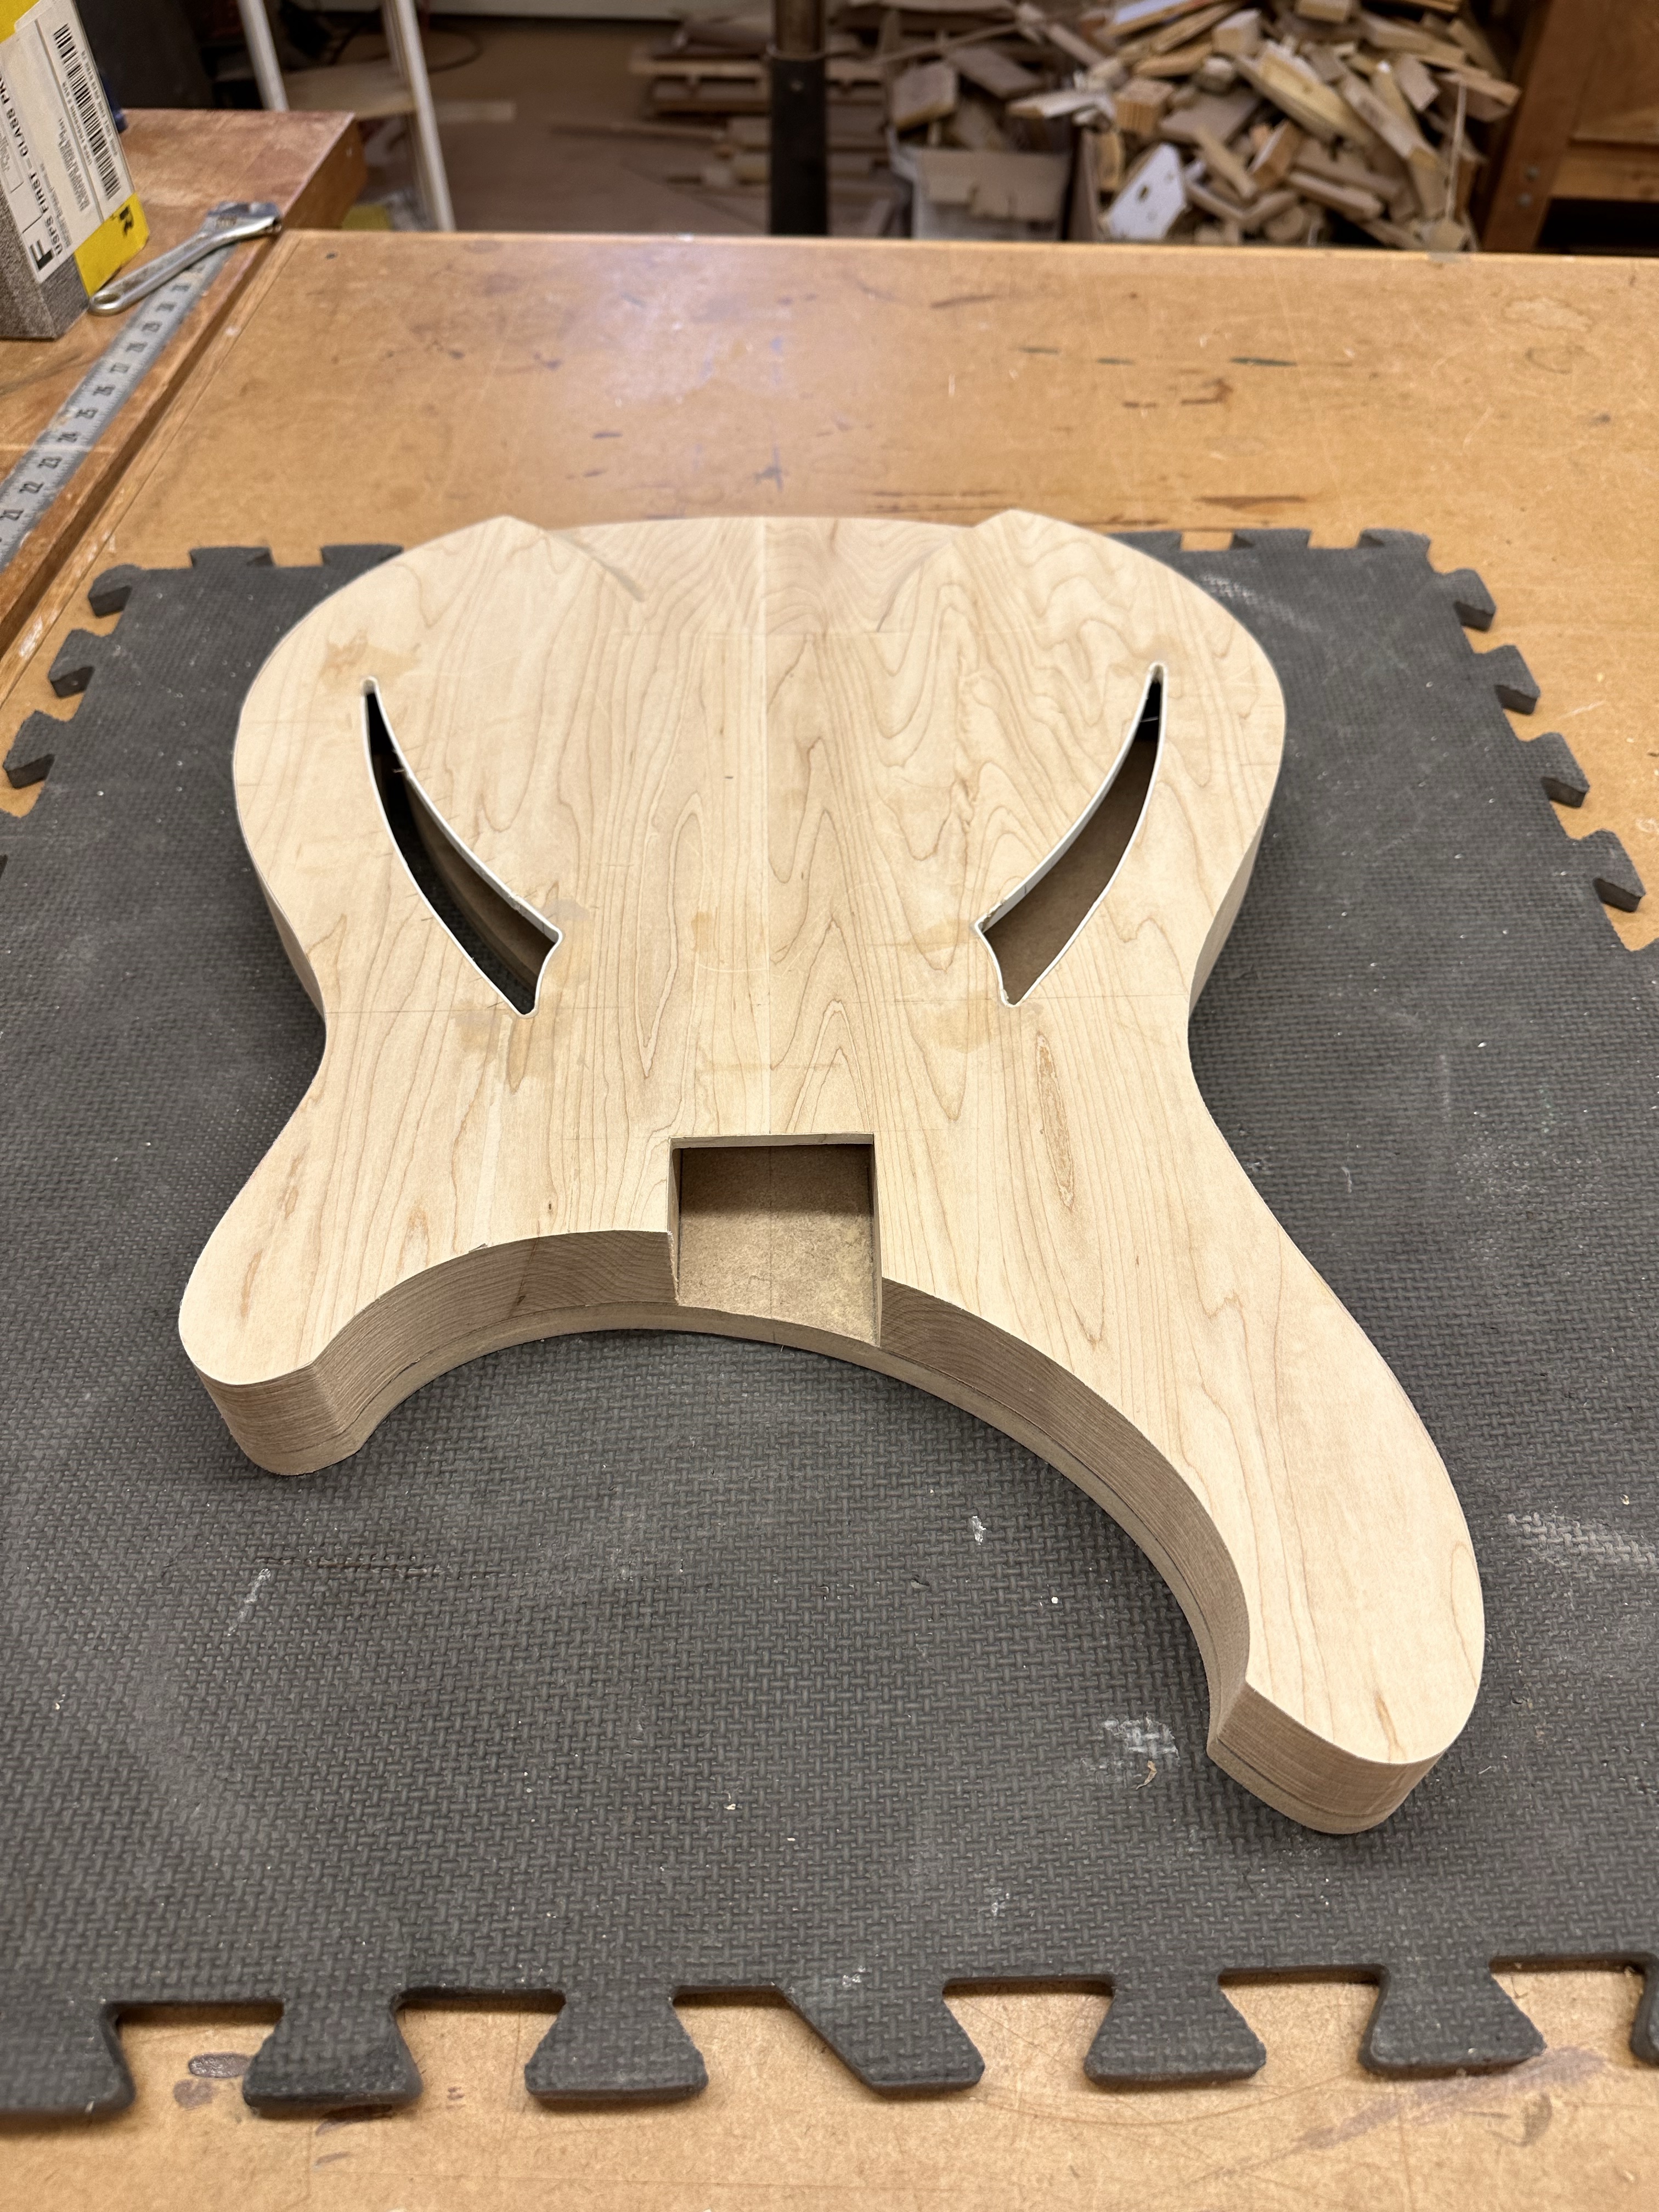
Cutting the "swoops" into the body under the bridge saddle. This turned out to be a brain teaser, and way harder that it looks. I figured out the radius needed for a 1-1/2" diameter ball-end cutter at it's maximum depth in CAD, but failed to consider that as the depth of cut decreases, the radius INCREASES from center point of the trammel in some kind of arc, so the final cut diverged a little from my intended lines. You Math Majors could probably have figured it out but I failed college math. I got a little burning too, I didn't want to spend a lot on a ball-end bit I'll probably never use again, and it shows, the bit just was not very sharp. The second part of this is cutting the flat "ramp" between the two swoops, I can do that with a straight bit, actually already got 1/2 of it done. I'll have to widen the swoops a bit by hand, but at least the worst of it is hogged out. After this, it's time to cut the body shape out of my rectangular blank. I leave it all square as long as I can for router operations, but now it time to bring the whole body and back plate flush to line.
cg9seO2.jpg


rSuXQJe.jpg
 
  • Like
Reactions: nixdad
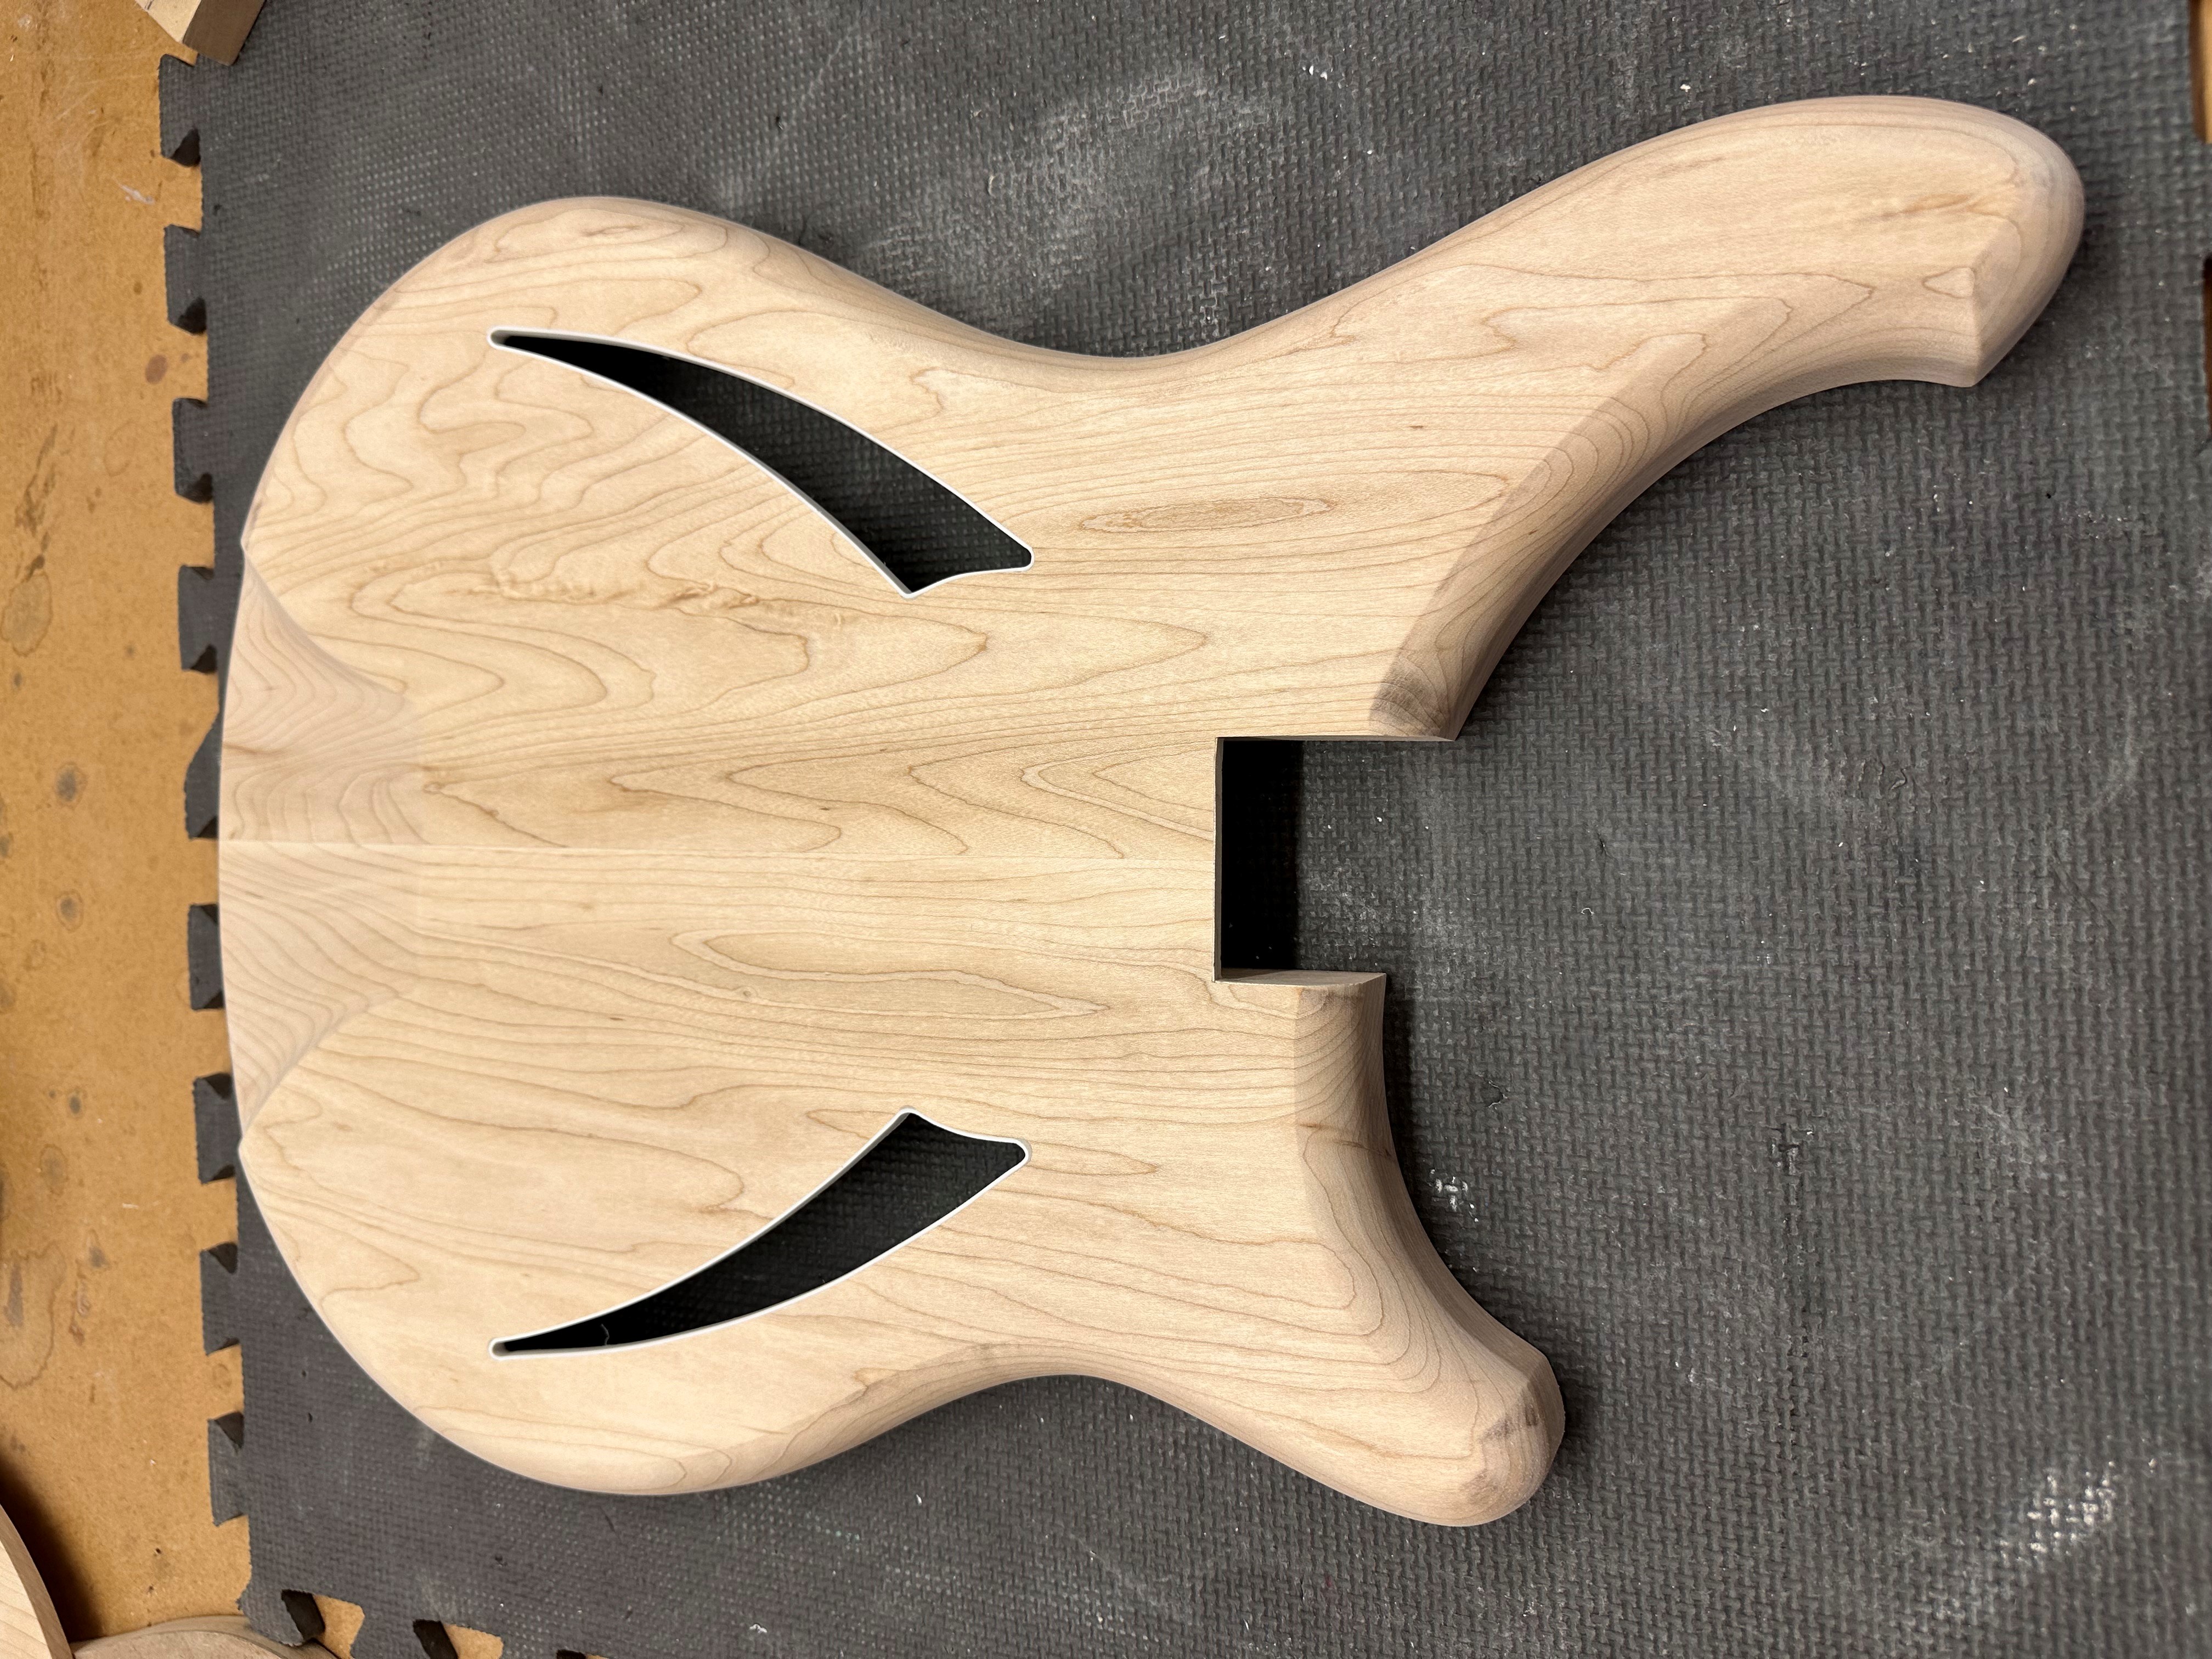
"Swoop" cut at the bridge area, came out pretty good with one minor router slip on the right side. Luckily, this will be a painted bass so.... Thank God for Bondo!
qYKc99d.jpg

4cNESrh.jpg


I'm using my Robosander to get the outline true to my template, which takes hours, but... no tearout. Next up will be cleaning up the cat-eye binding and doing the top body edge roundover. The bottom edge will get Checker binding.
 
"Swoop" cut at the bridge area, came out pretty good with one minor router slip on the right side. Luckily, this will be a painted bass so.... Thank God for Bondo!
qYKc99d.jpg

4cNESrh.jpg


I'm using my Robosander to get the outline true to my template, which takes hours, but... no tearout. Next up will be cleaning up the cat-eye binding and doing the top body edge roundover. The bottom edge will get Checker binding.
Looking good, Alex! :thumbsup:
 
  • Like
Reactions: Gilmourisgod
Hey @nixdad , where the "scoop" meets the body, is it a hard straight-line edge, or does it just sort of "fade" into the body? Looks like a "fade" in the photos. I'm finding it hard to sand that such that it creates a straight line transition.
Alex - it's not a hard edge, as there is a slight radius as you can see in the photo below.

1743482146568.png
 
  • Like
Reactions: Gilmourisgod
Damn, looks like nearly a full YEAR this build has been on "hiatus". Shameful really, but the past year has been somewhat "eventful", I'll leave it at that. At any rate, I'm back on it, finally.

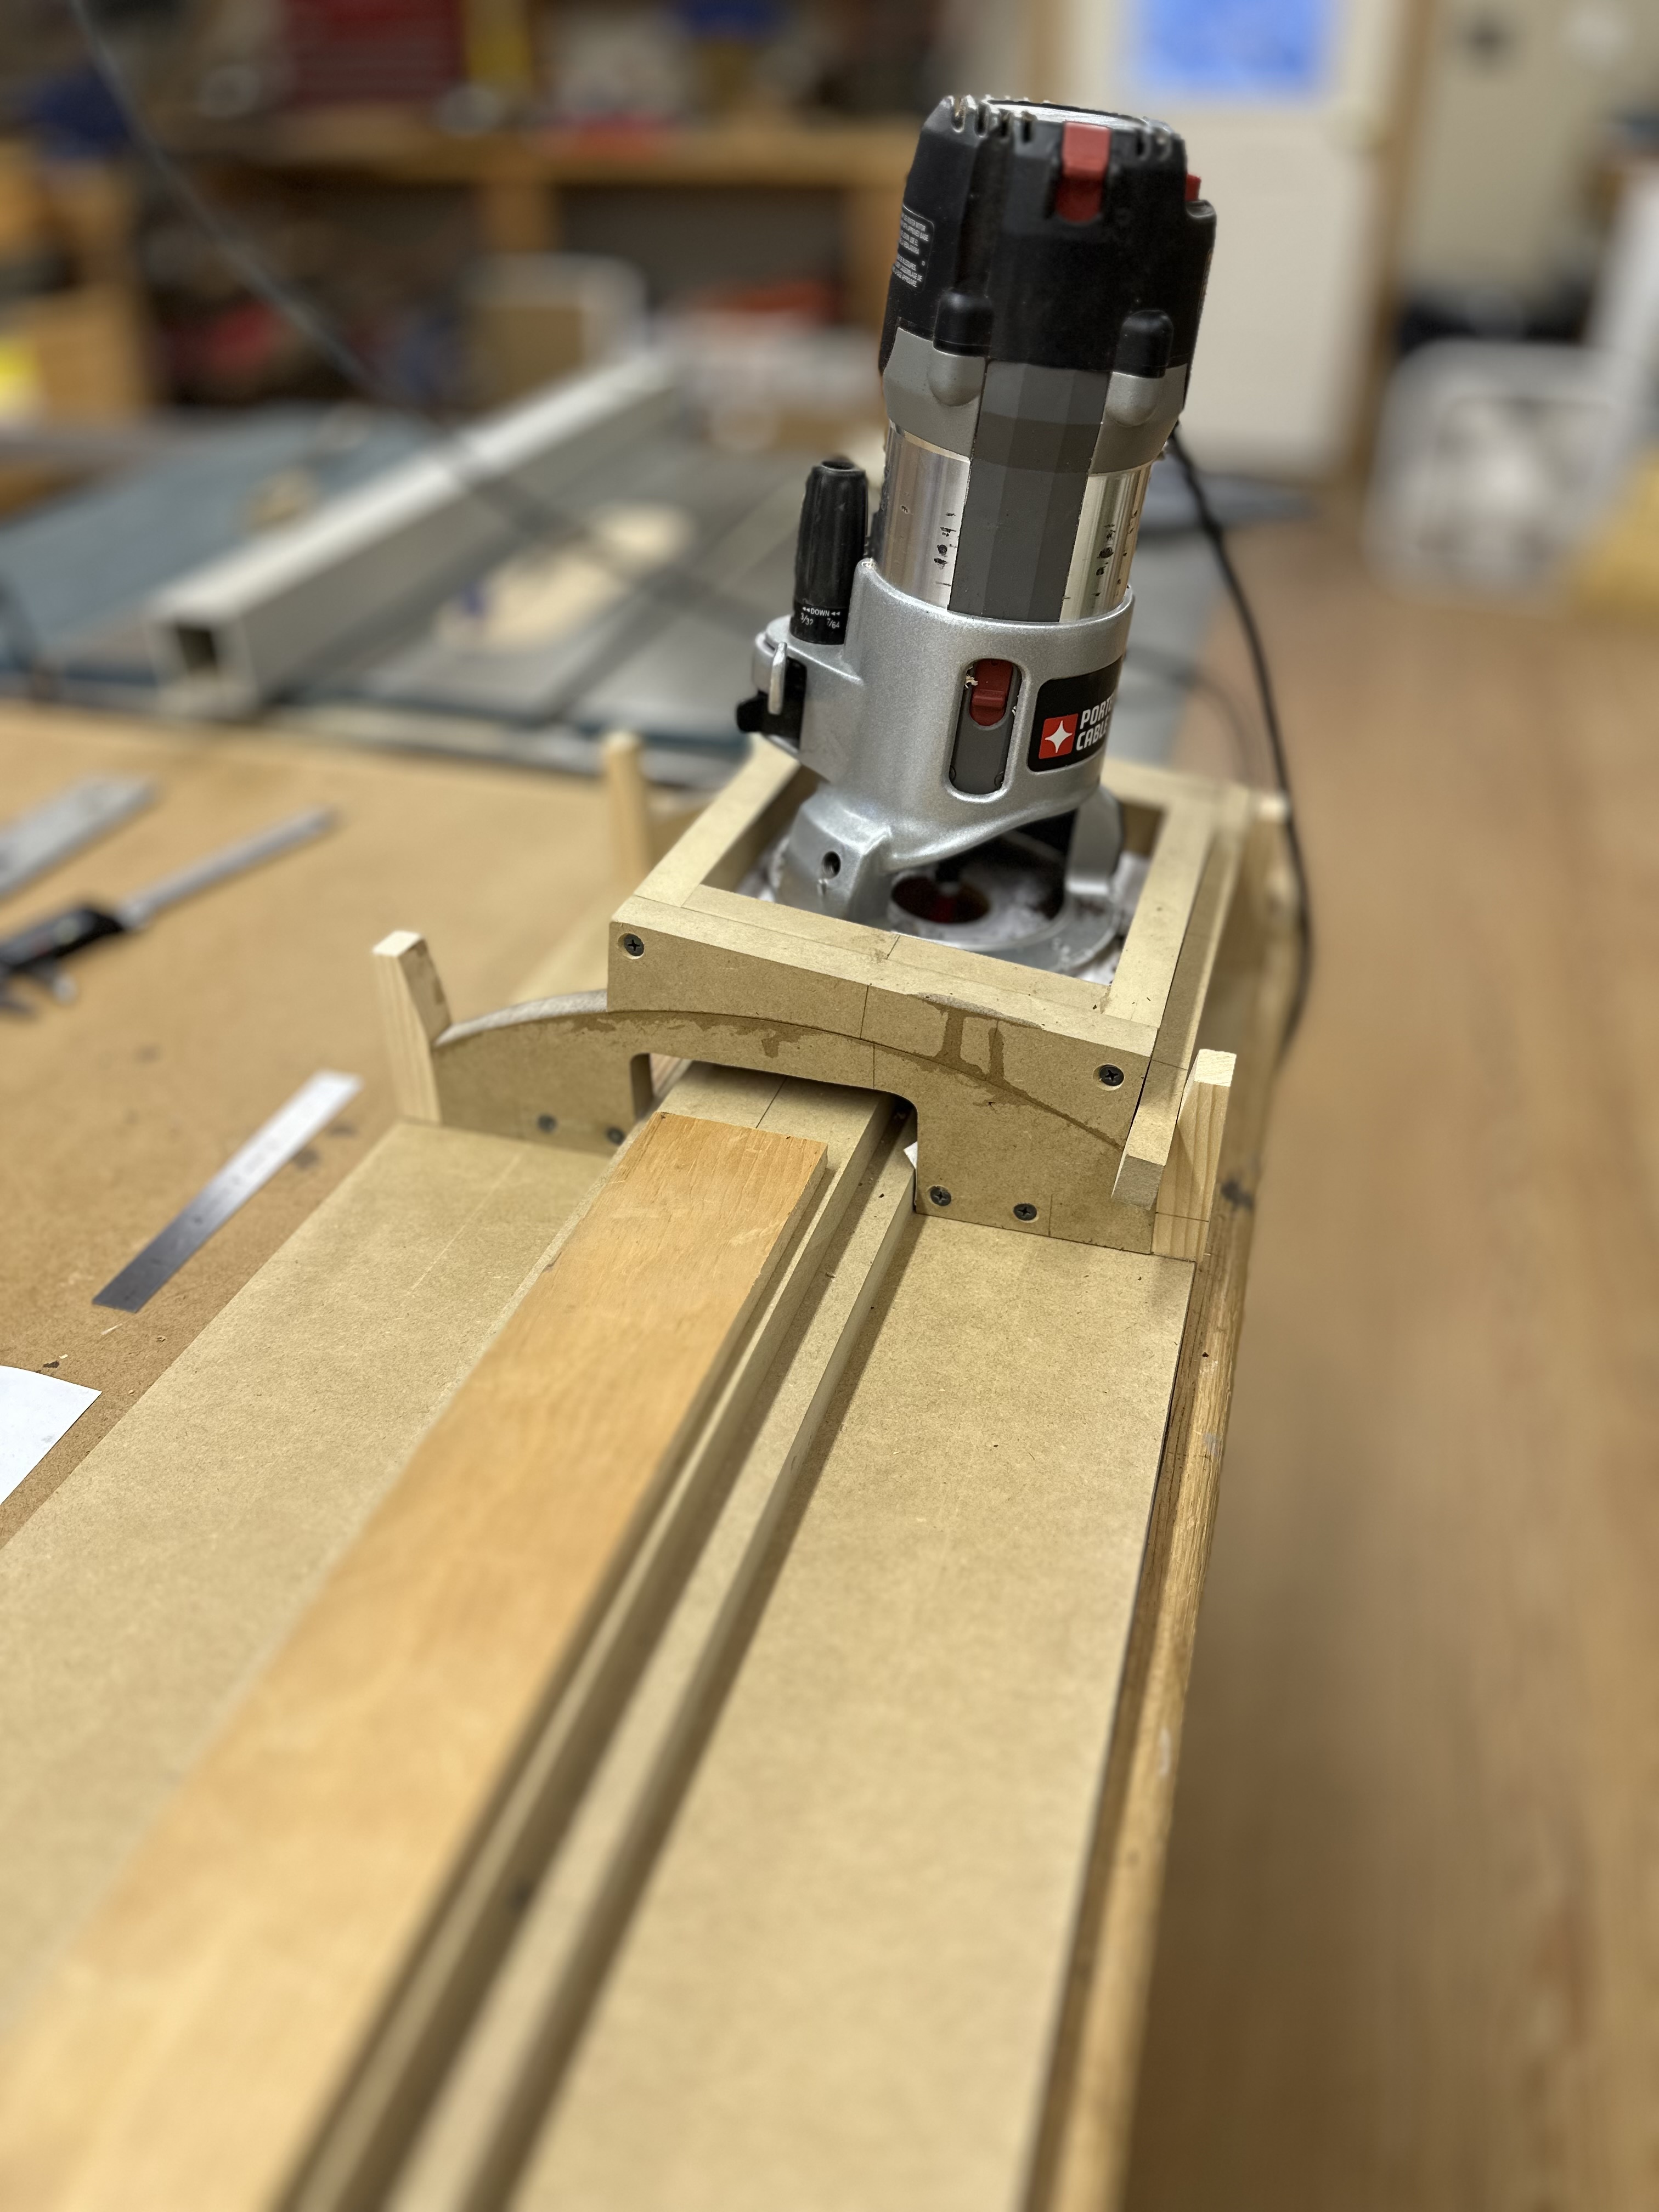
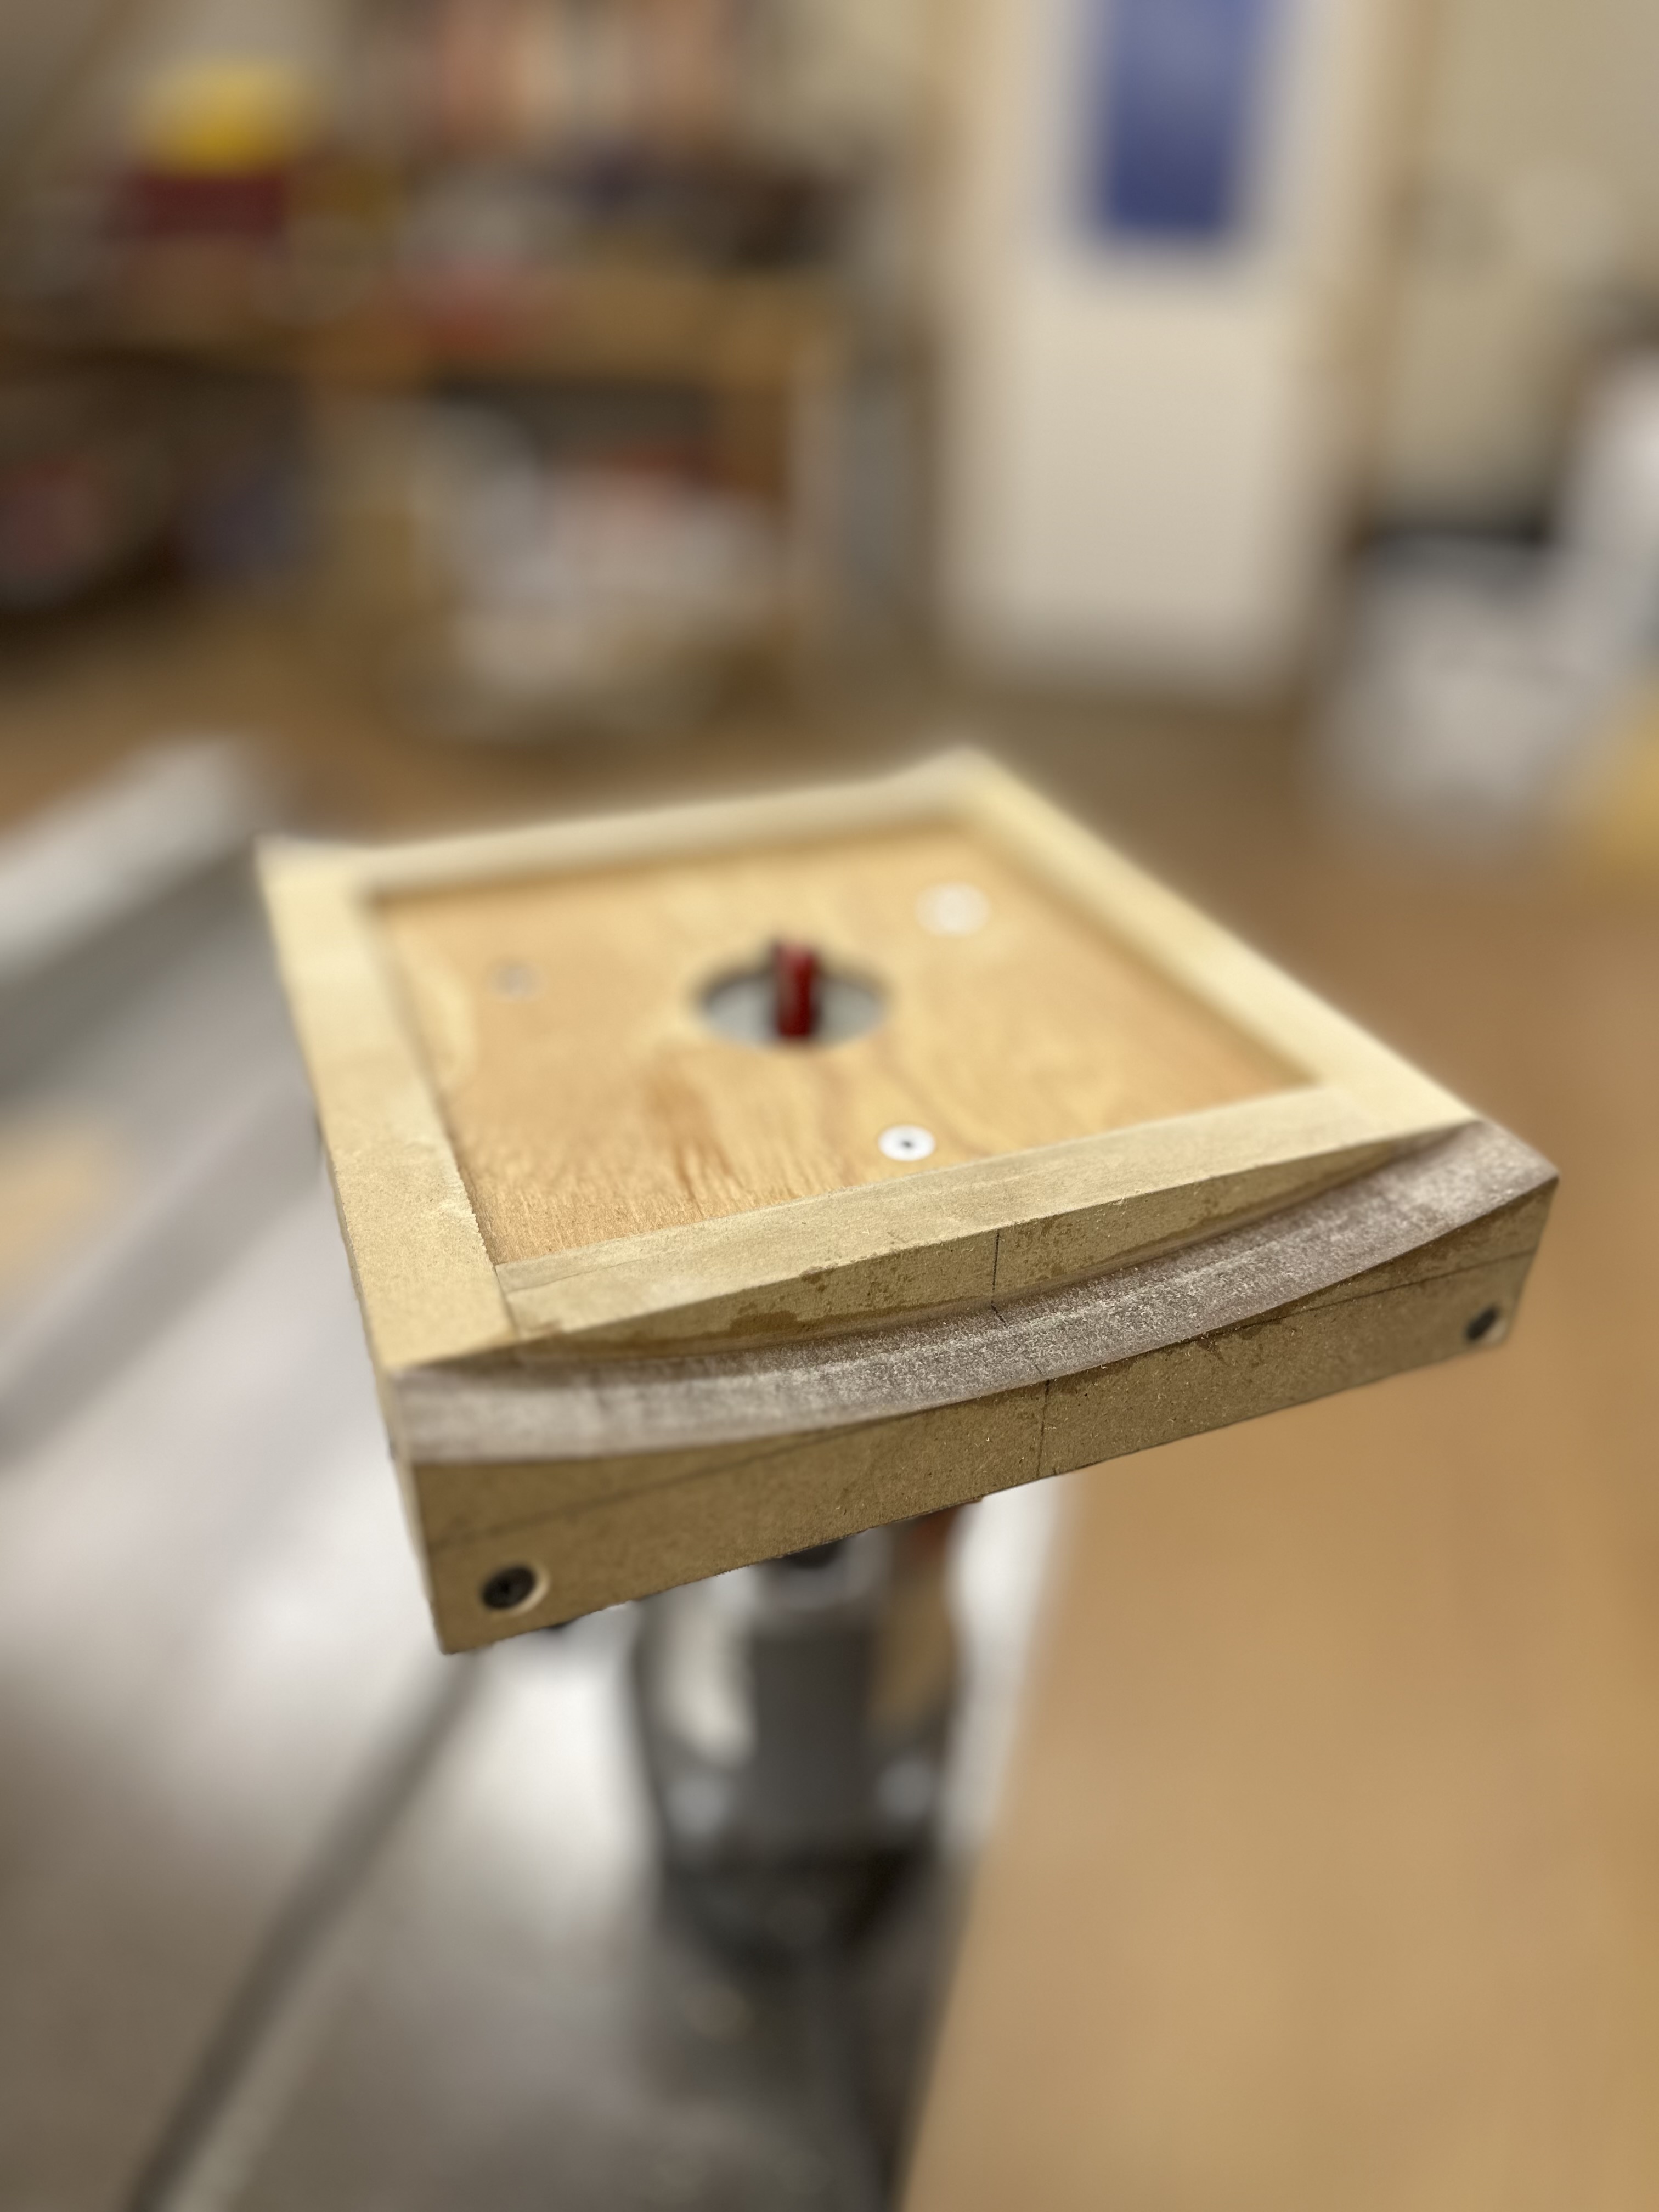
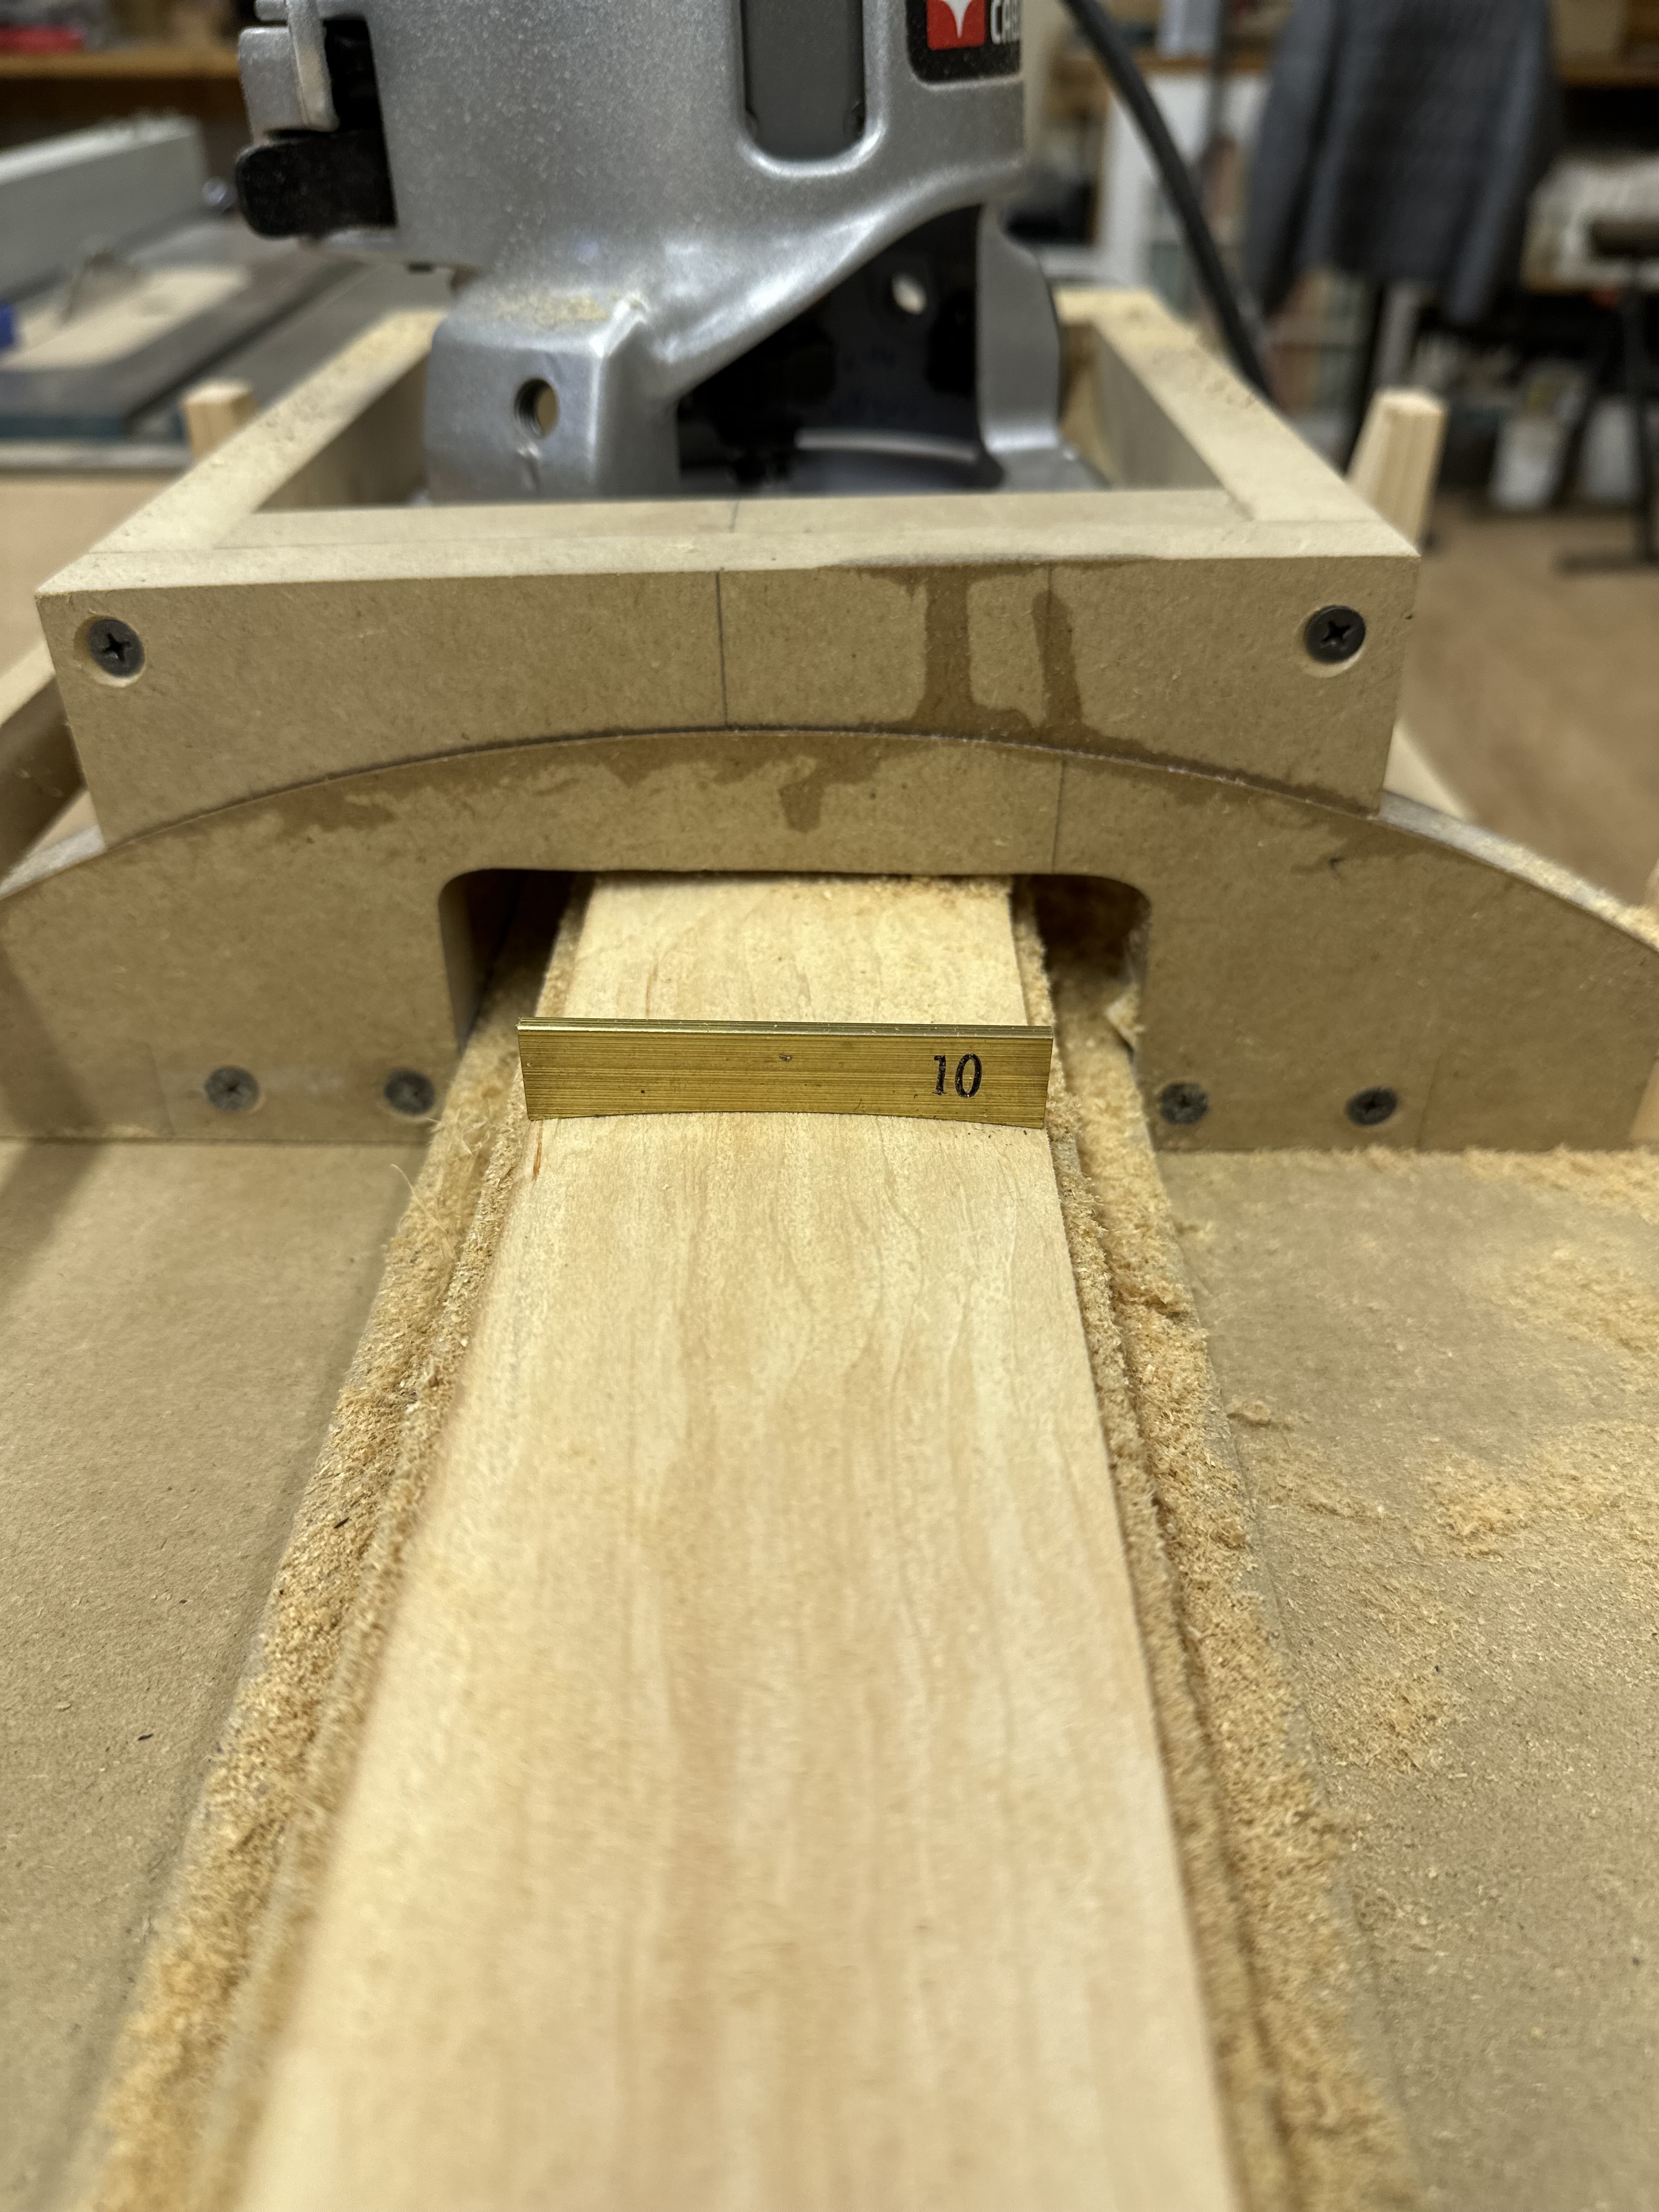
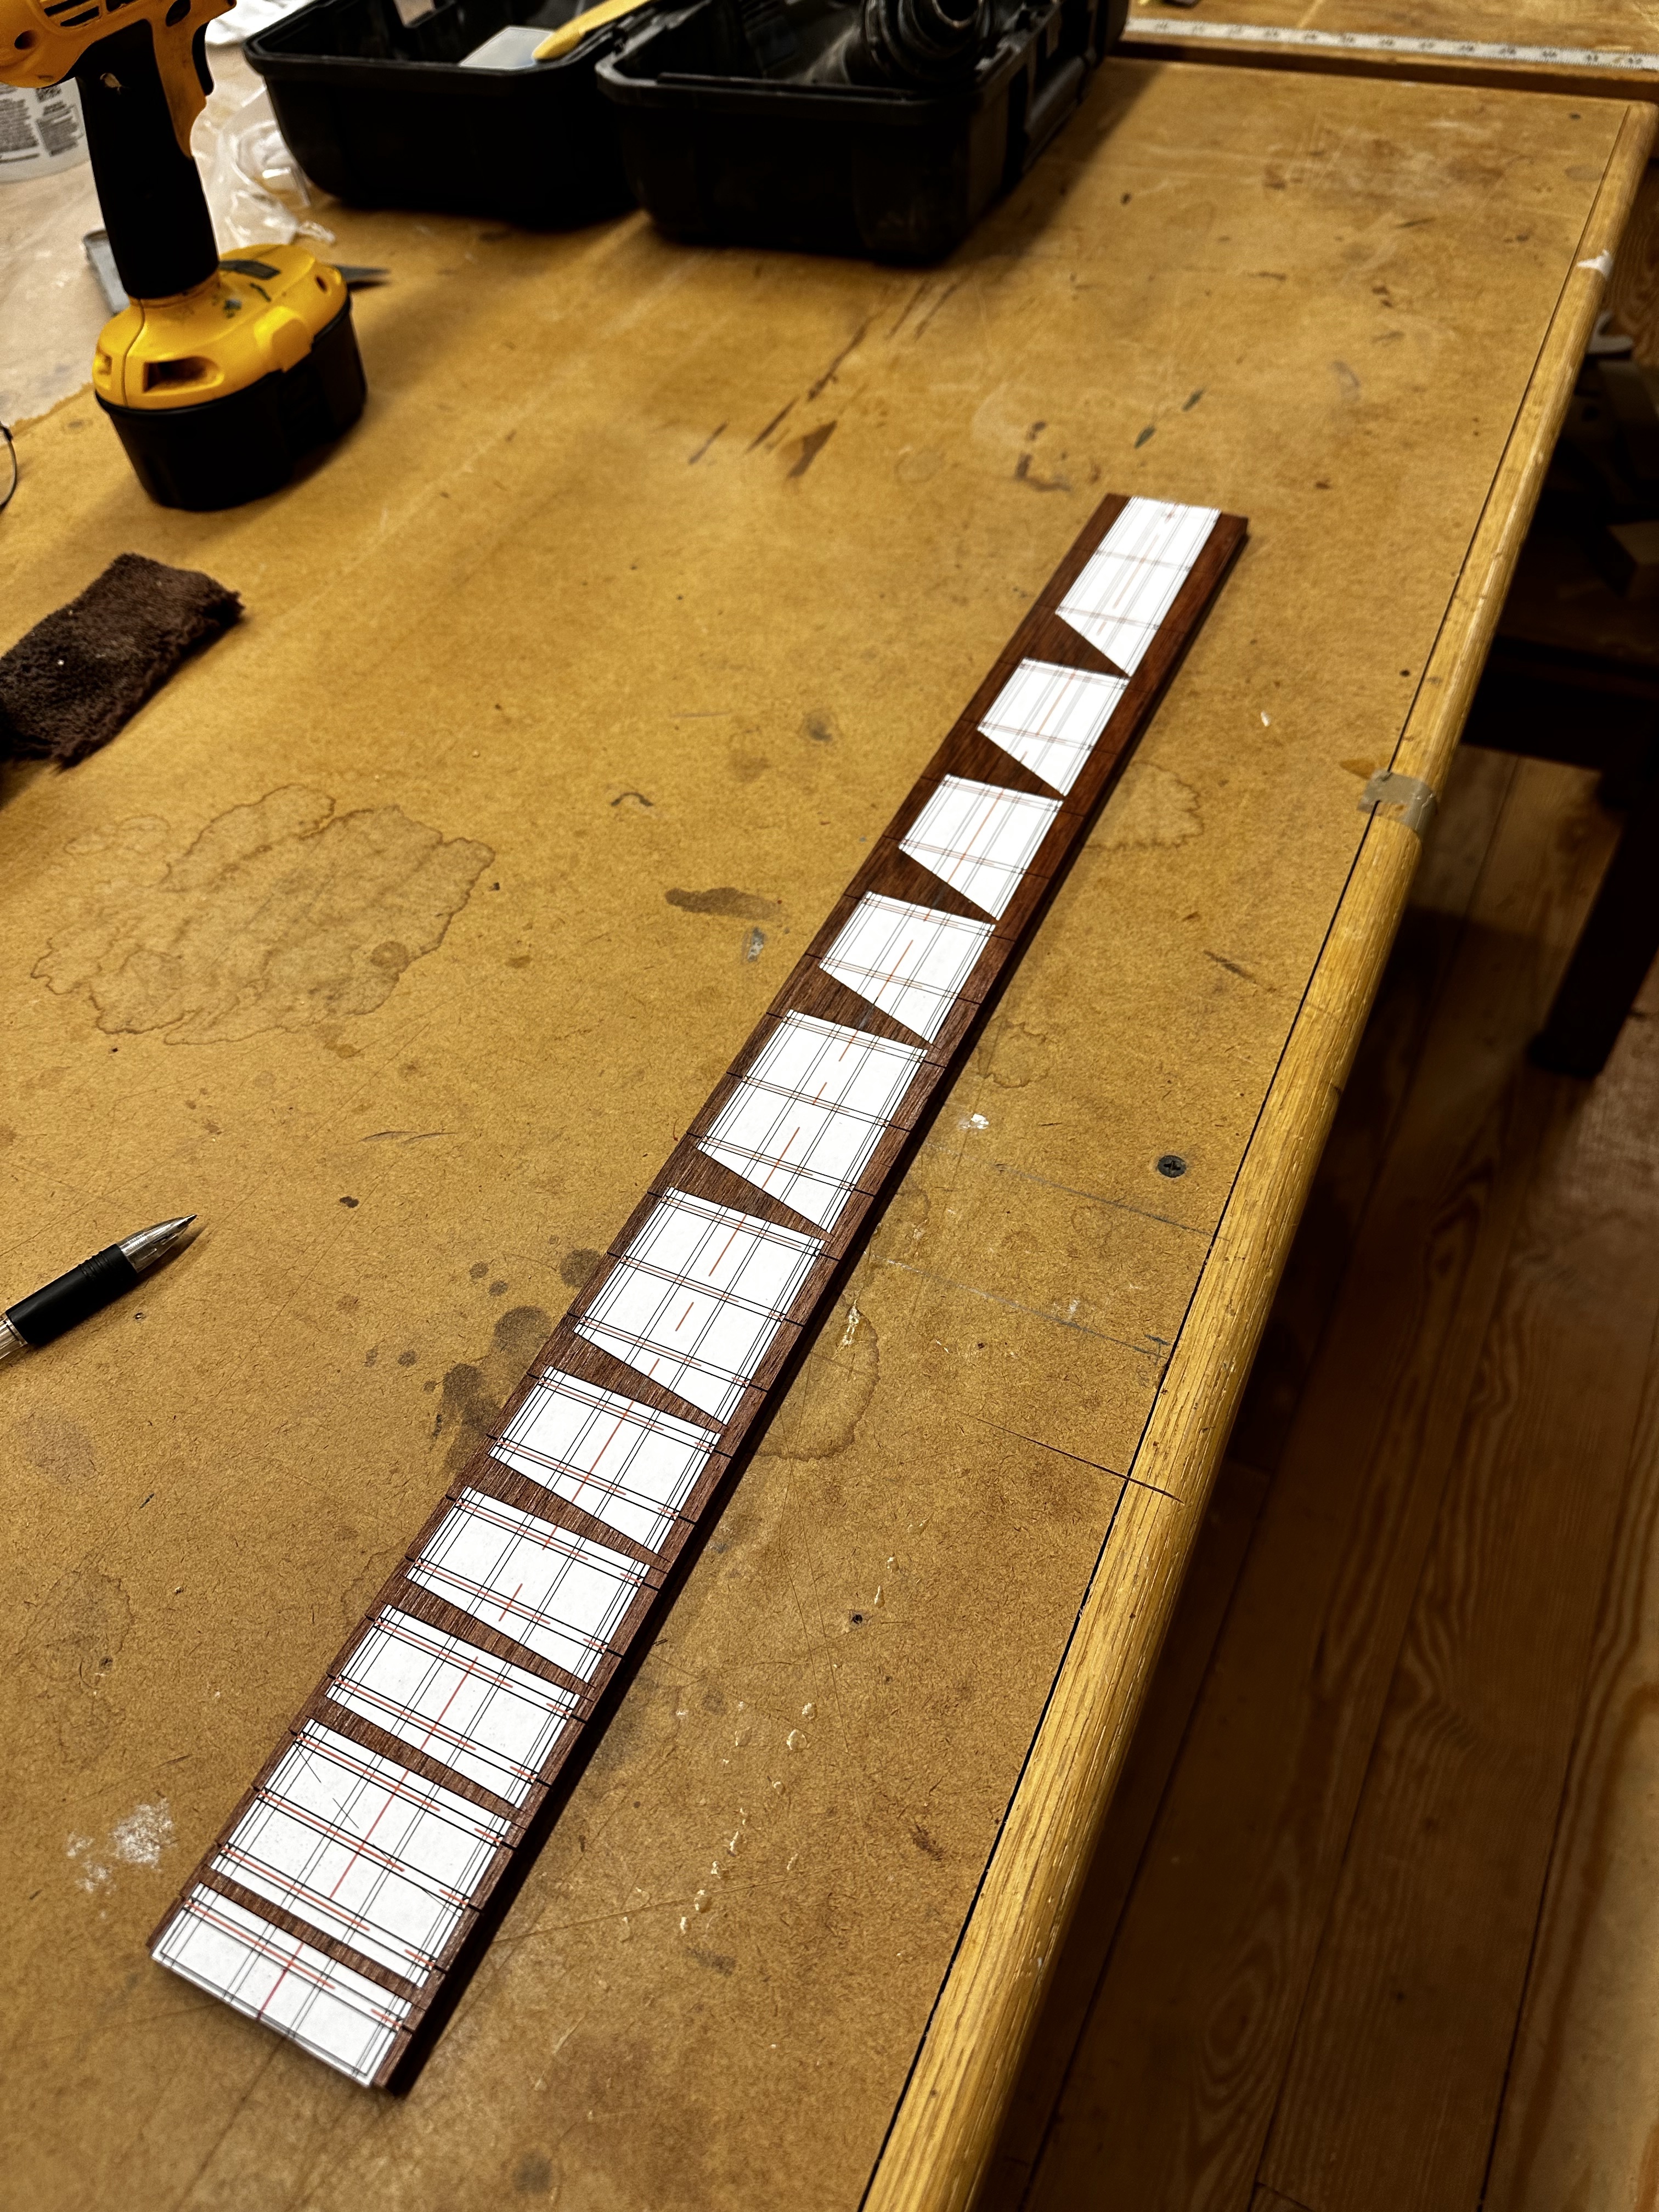
I was getting tired of the expense and hassle of paying to have someone else radius and and fret slot my fretboards, so I built a couple jigs. Here's the Radius Jig, it's permanently set to my radius of choice, the standard Ric 10". It's the "sliding sled" type. I've seen some online that use roller bearings, but I just hardened the MDF edges with CA glue and it slides like it was greased. Have to remember that trick, two CA hardened MDF surfaces in direct contact slide really nicely.
3RPbmnp.jpg

4p4q36E.jpg


An here's a test board cut out of scrap pine, perfect 10" radius.
jyqf0fL.jpg


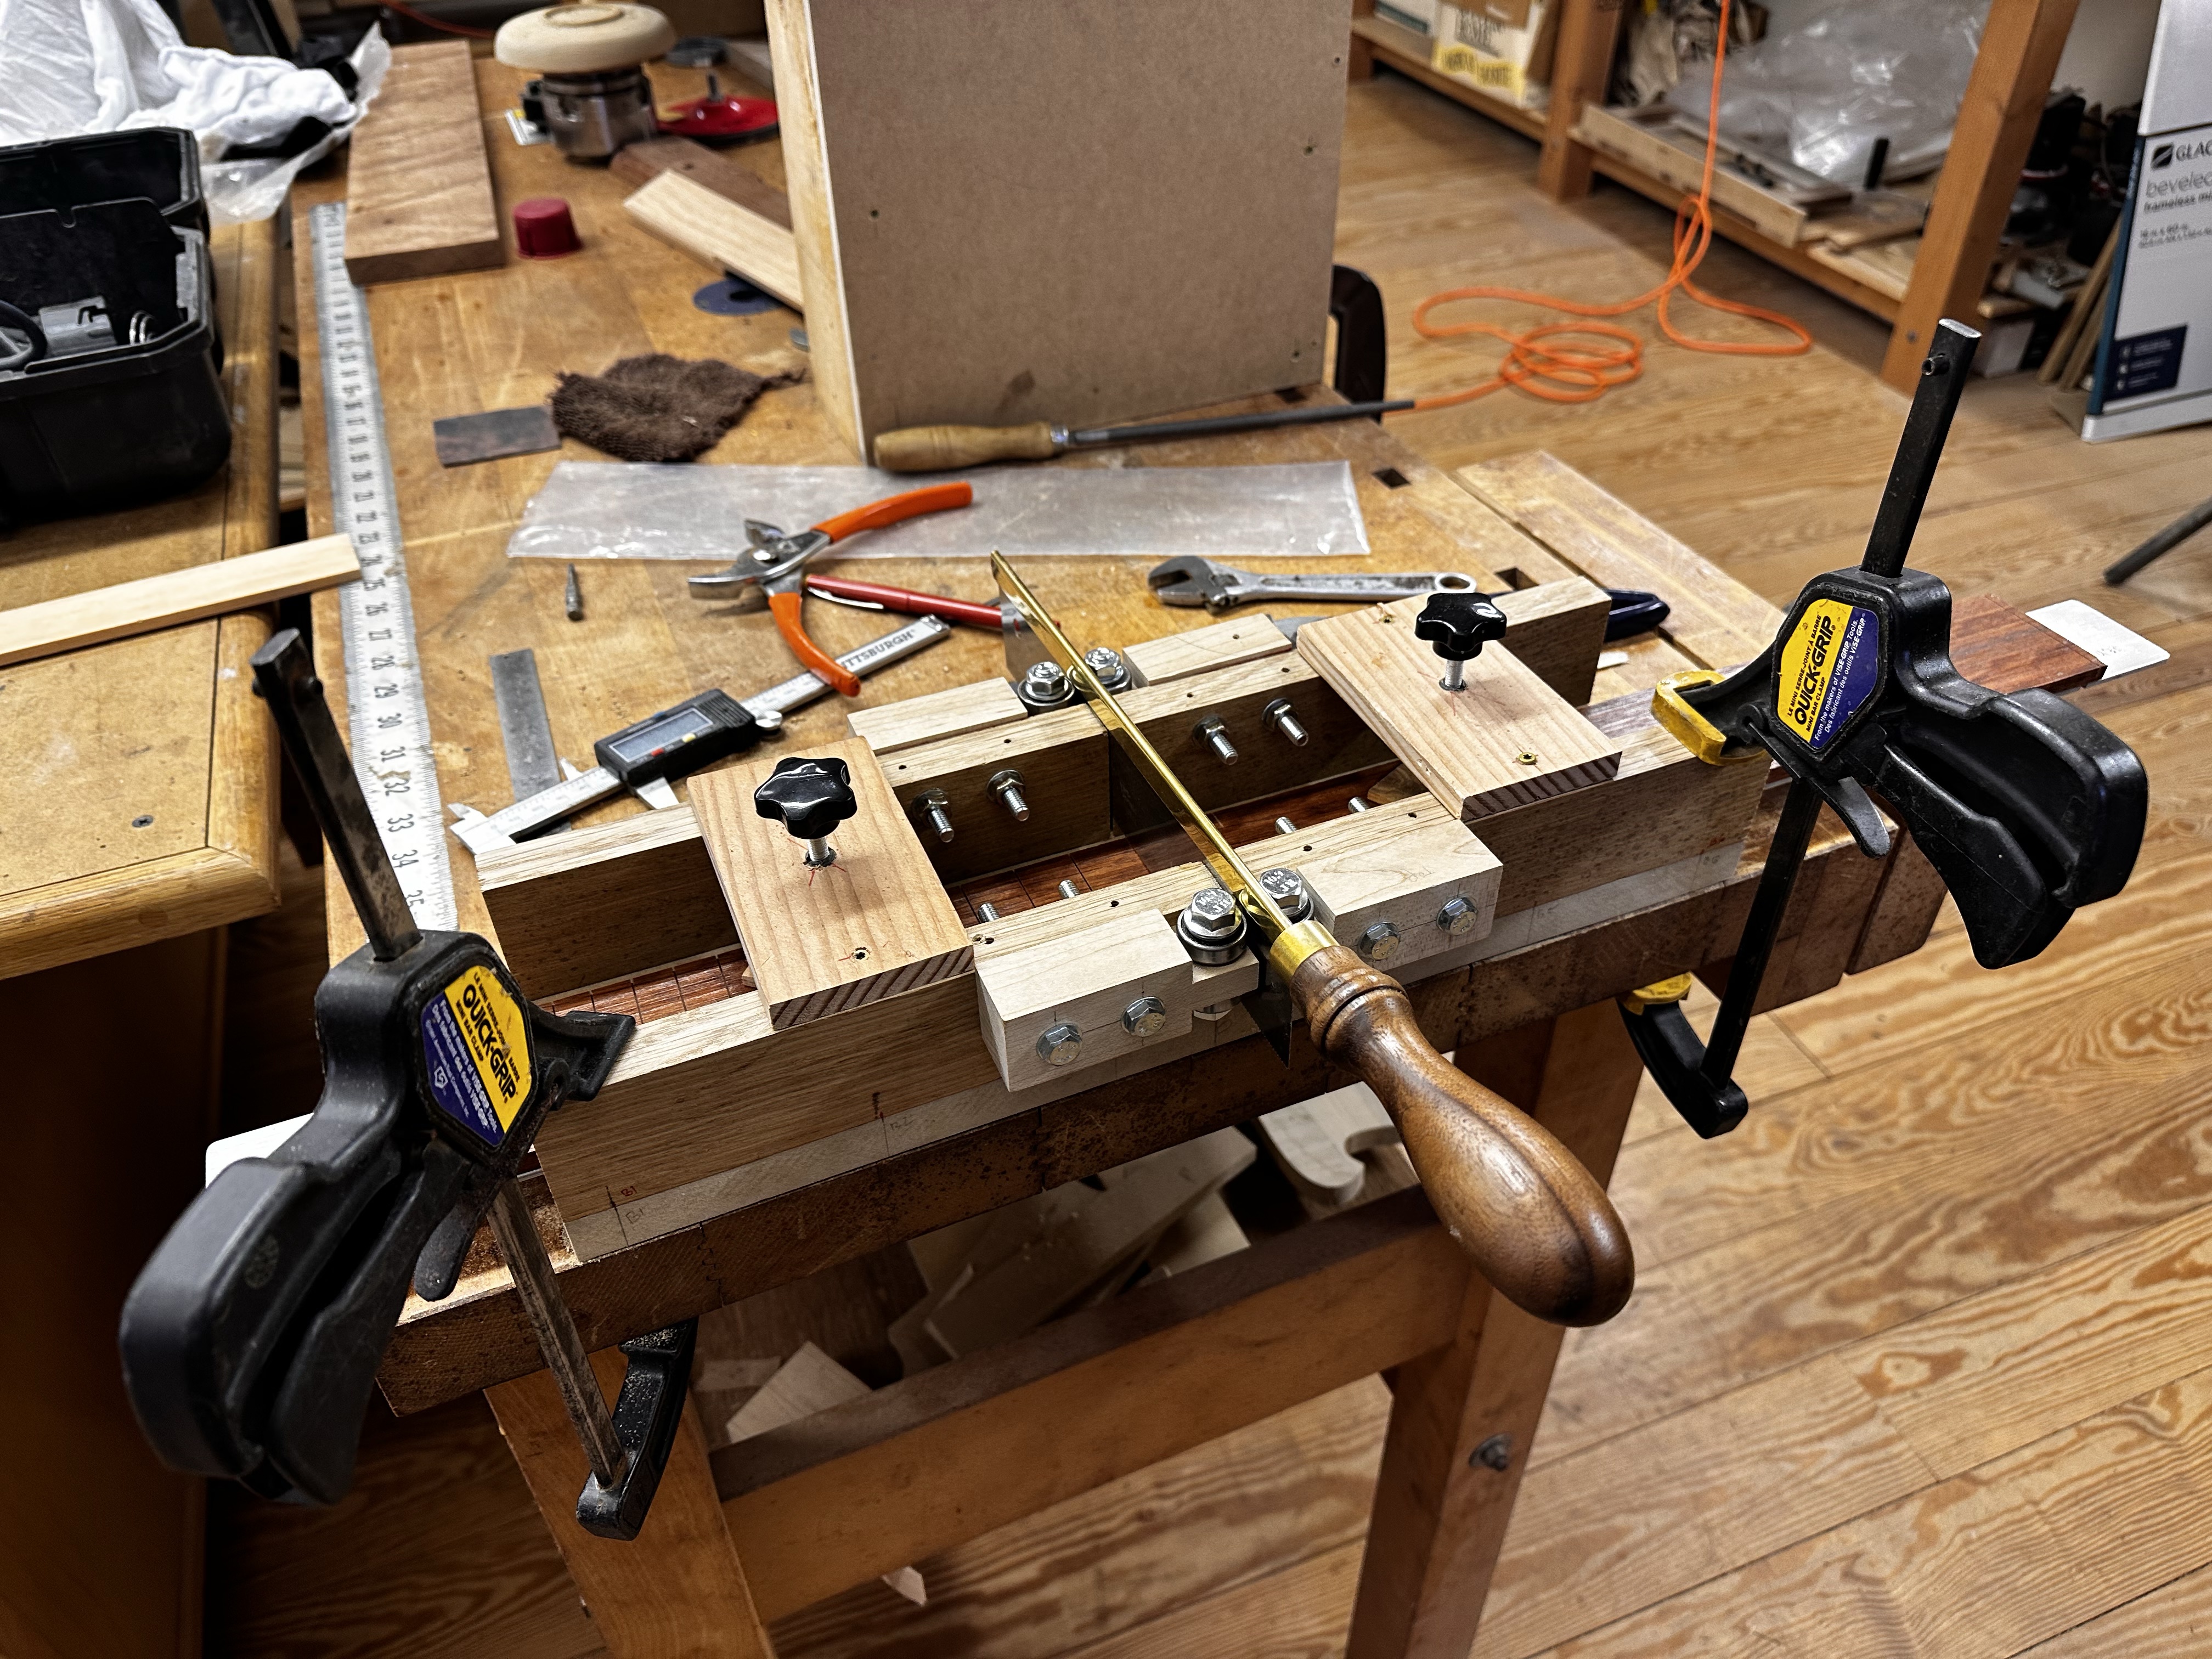
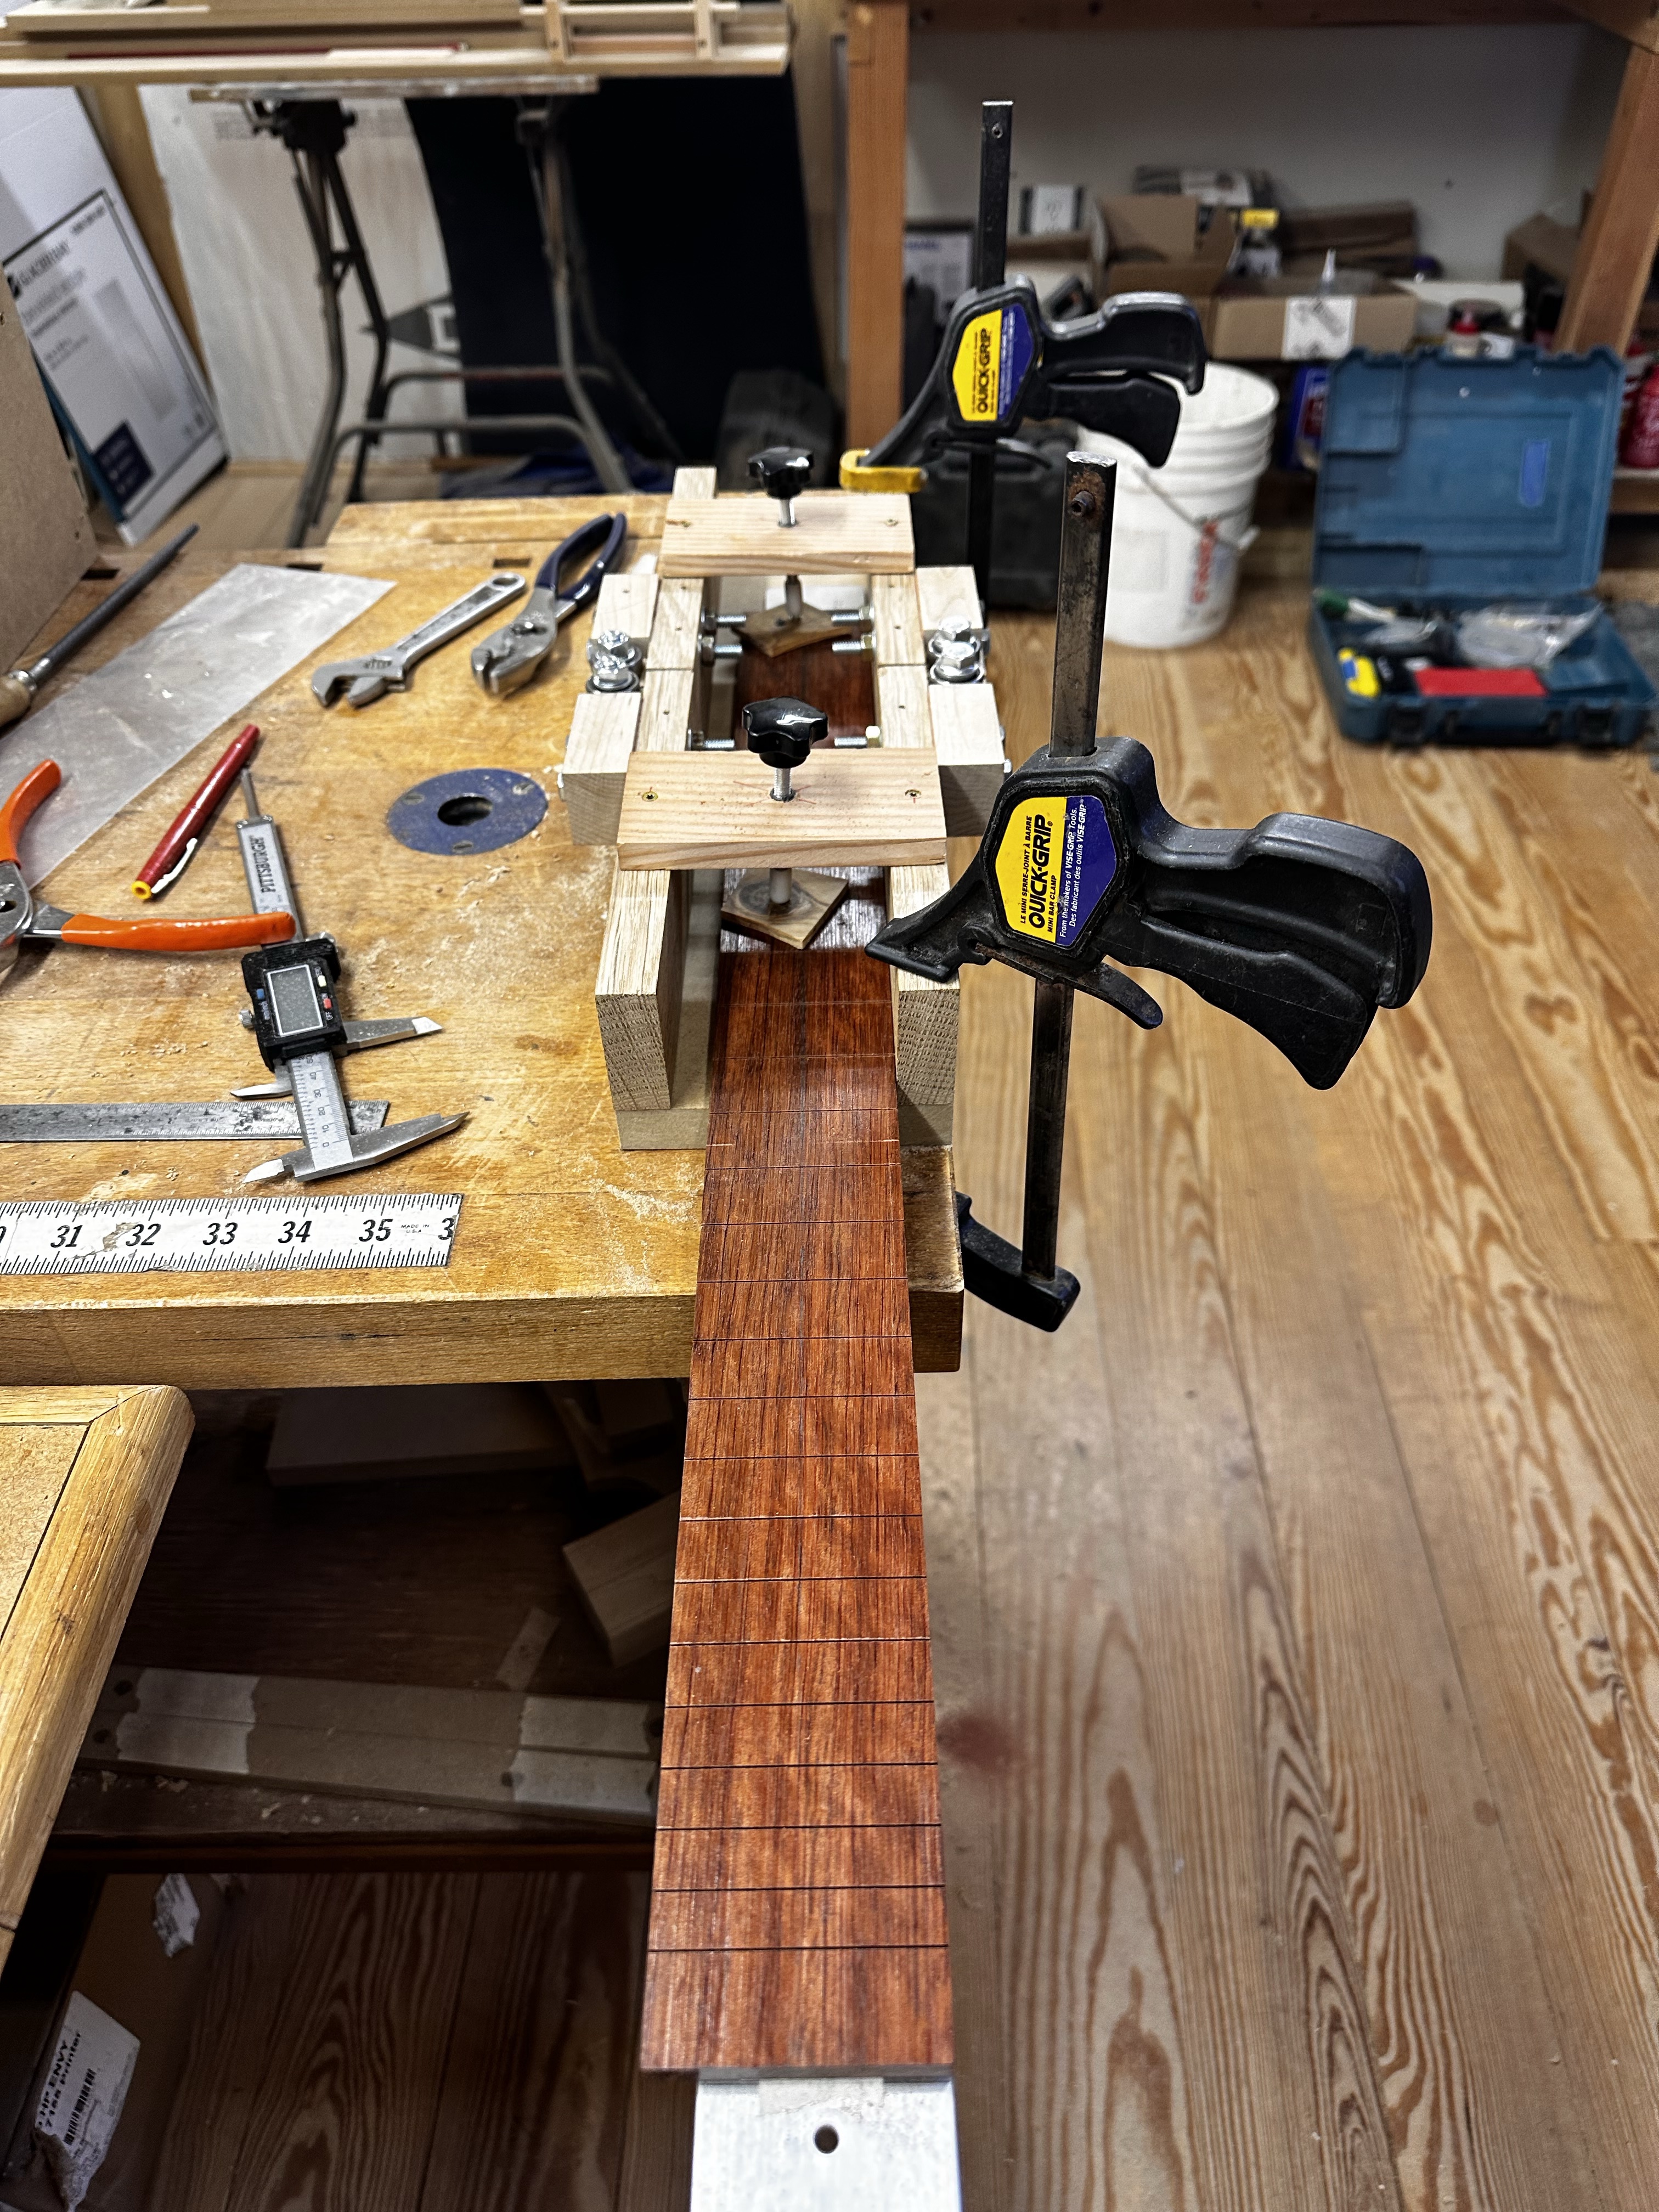
The other jig, for fret slotting, turned out to be a PITA to make and, more importantly, adjust, but it works. Given my Glacial output, I'll call it... Good enough. I couldn't justify one of the expensive aluminum ones by Stewmac, LMI, or Elmer guitars for something I'd use once every year or two. Now that I have it dialed in, it worked pretty well on a 1/4" thick board, but I'd have to re-jigger the roller bearing heights for 3/8".
QLUYtJu.jpg

OWkmOwA.jpg


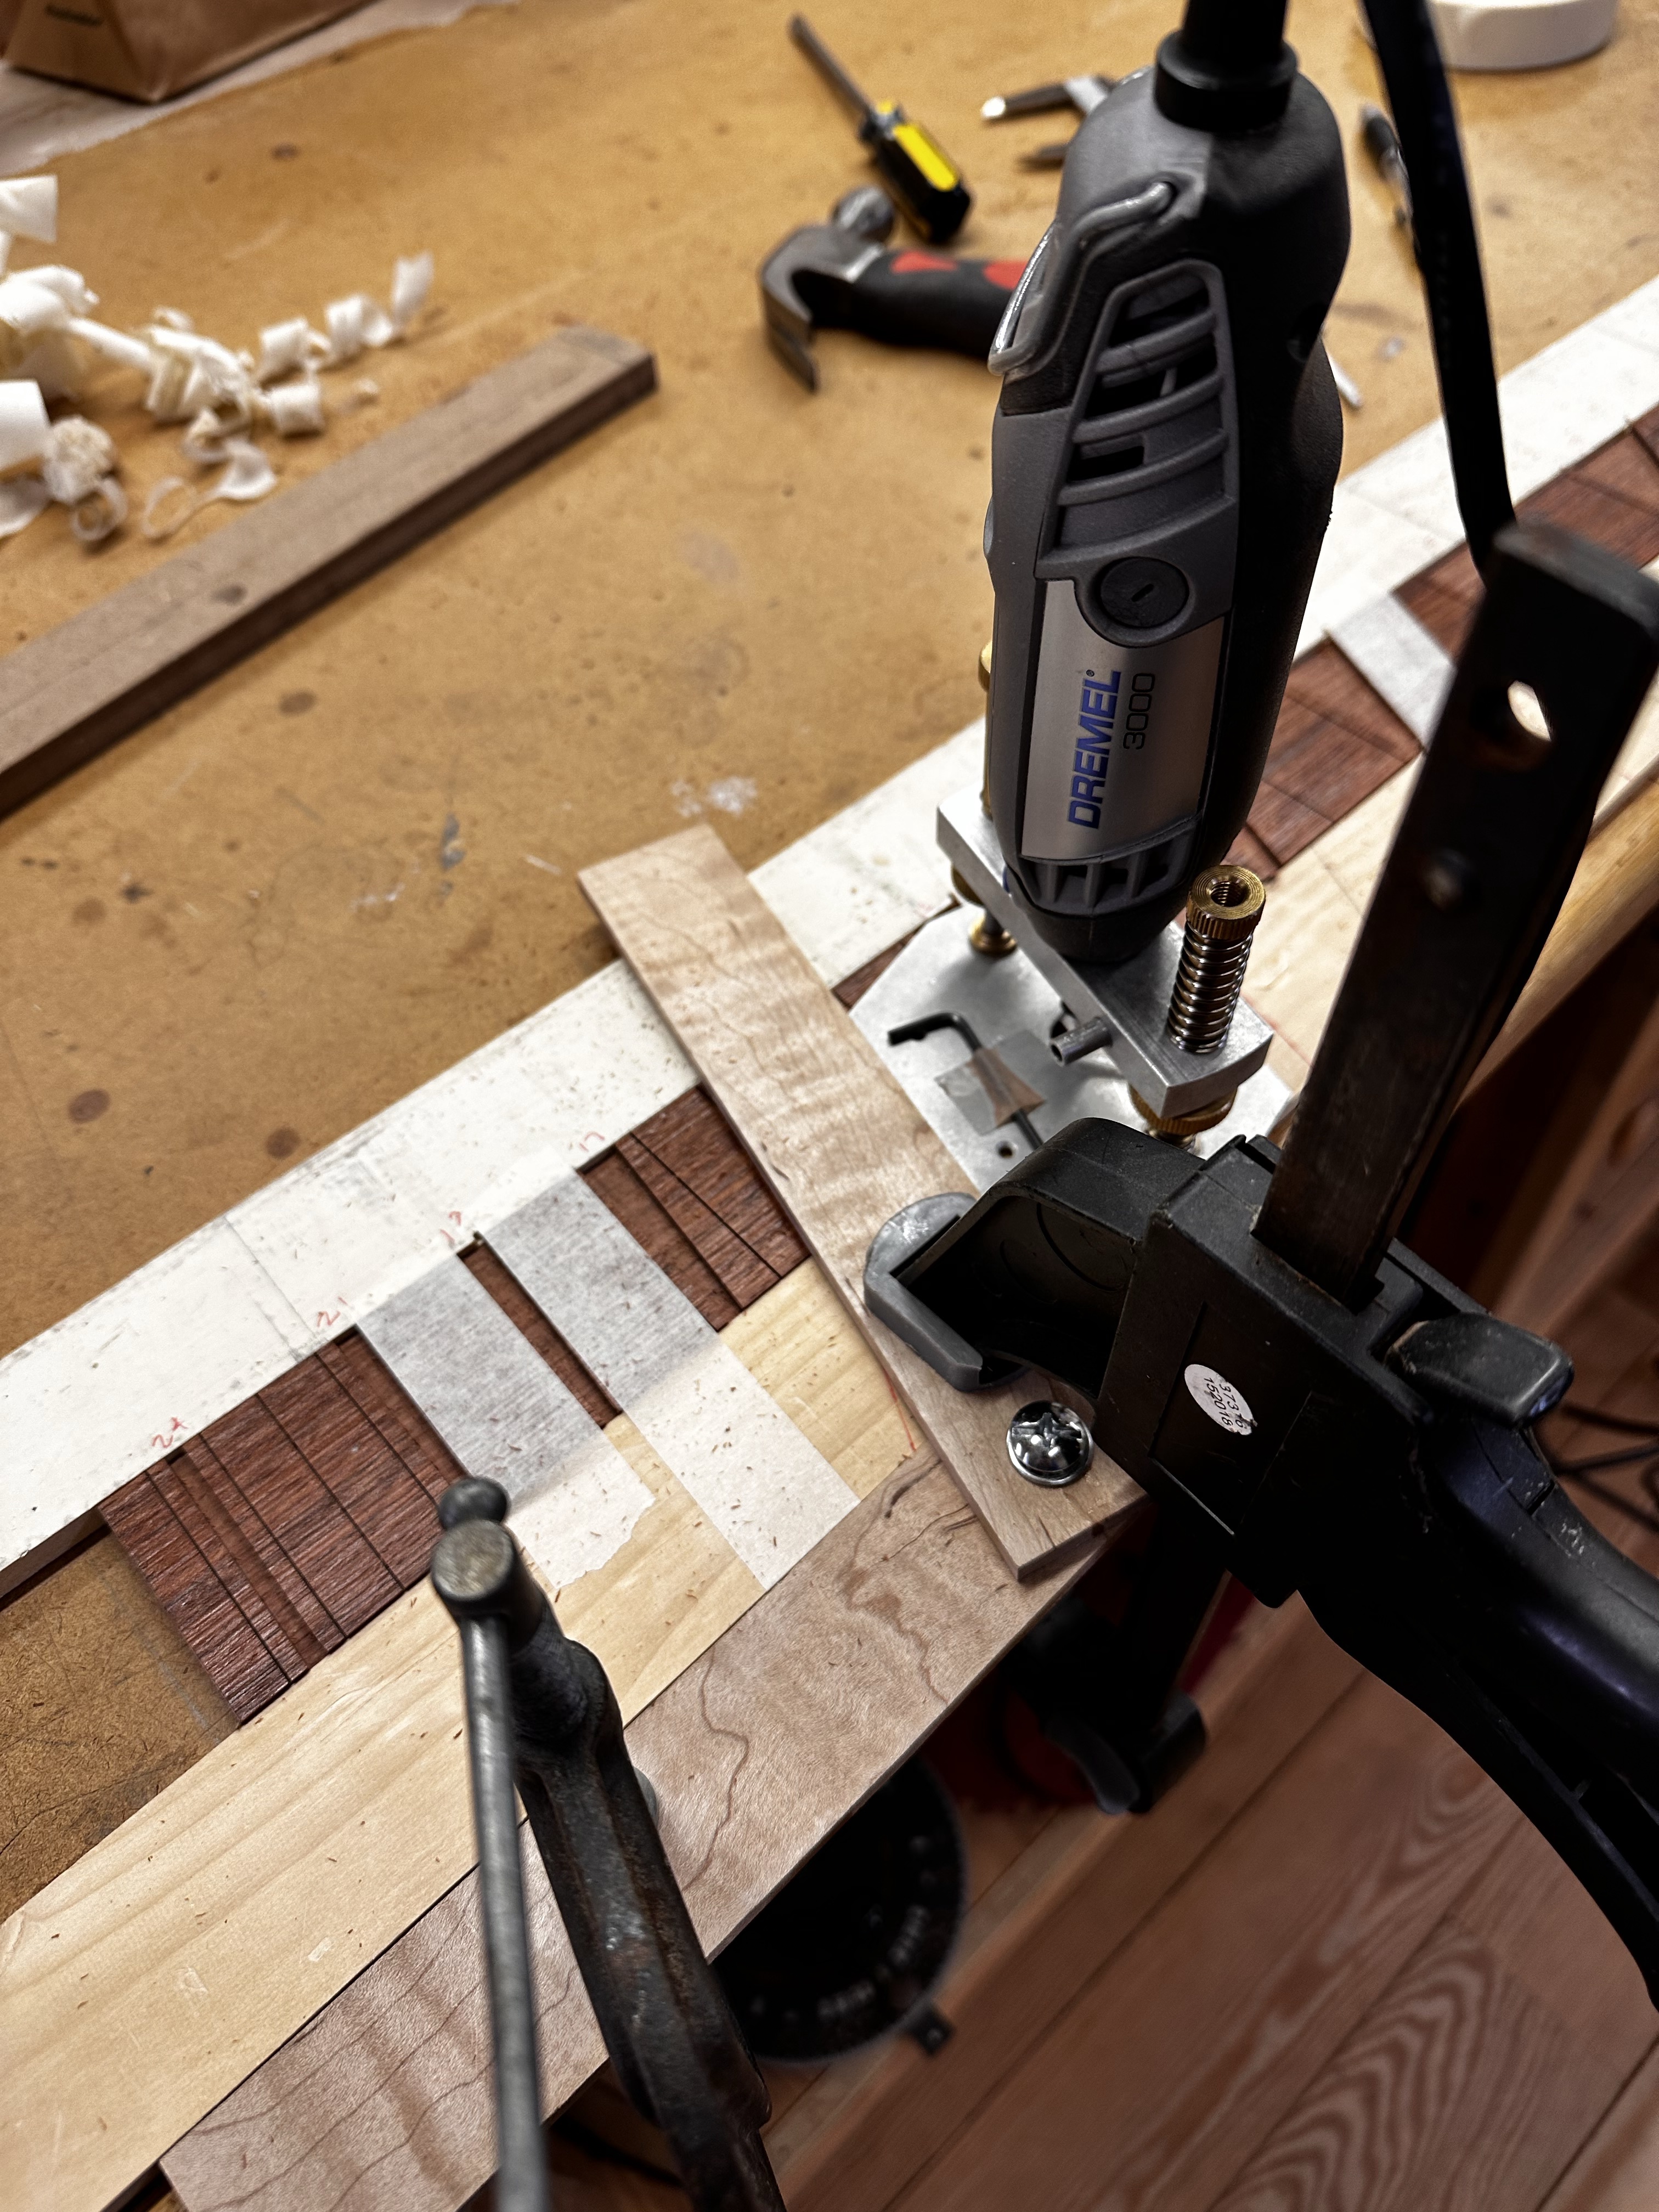
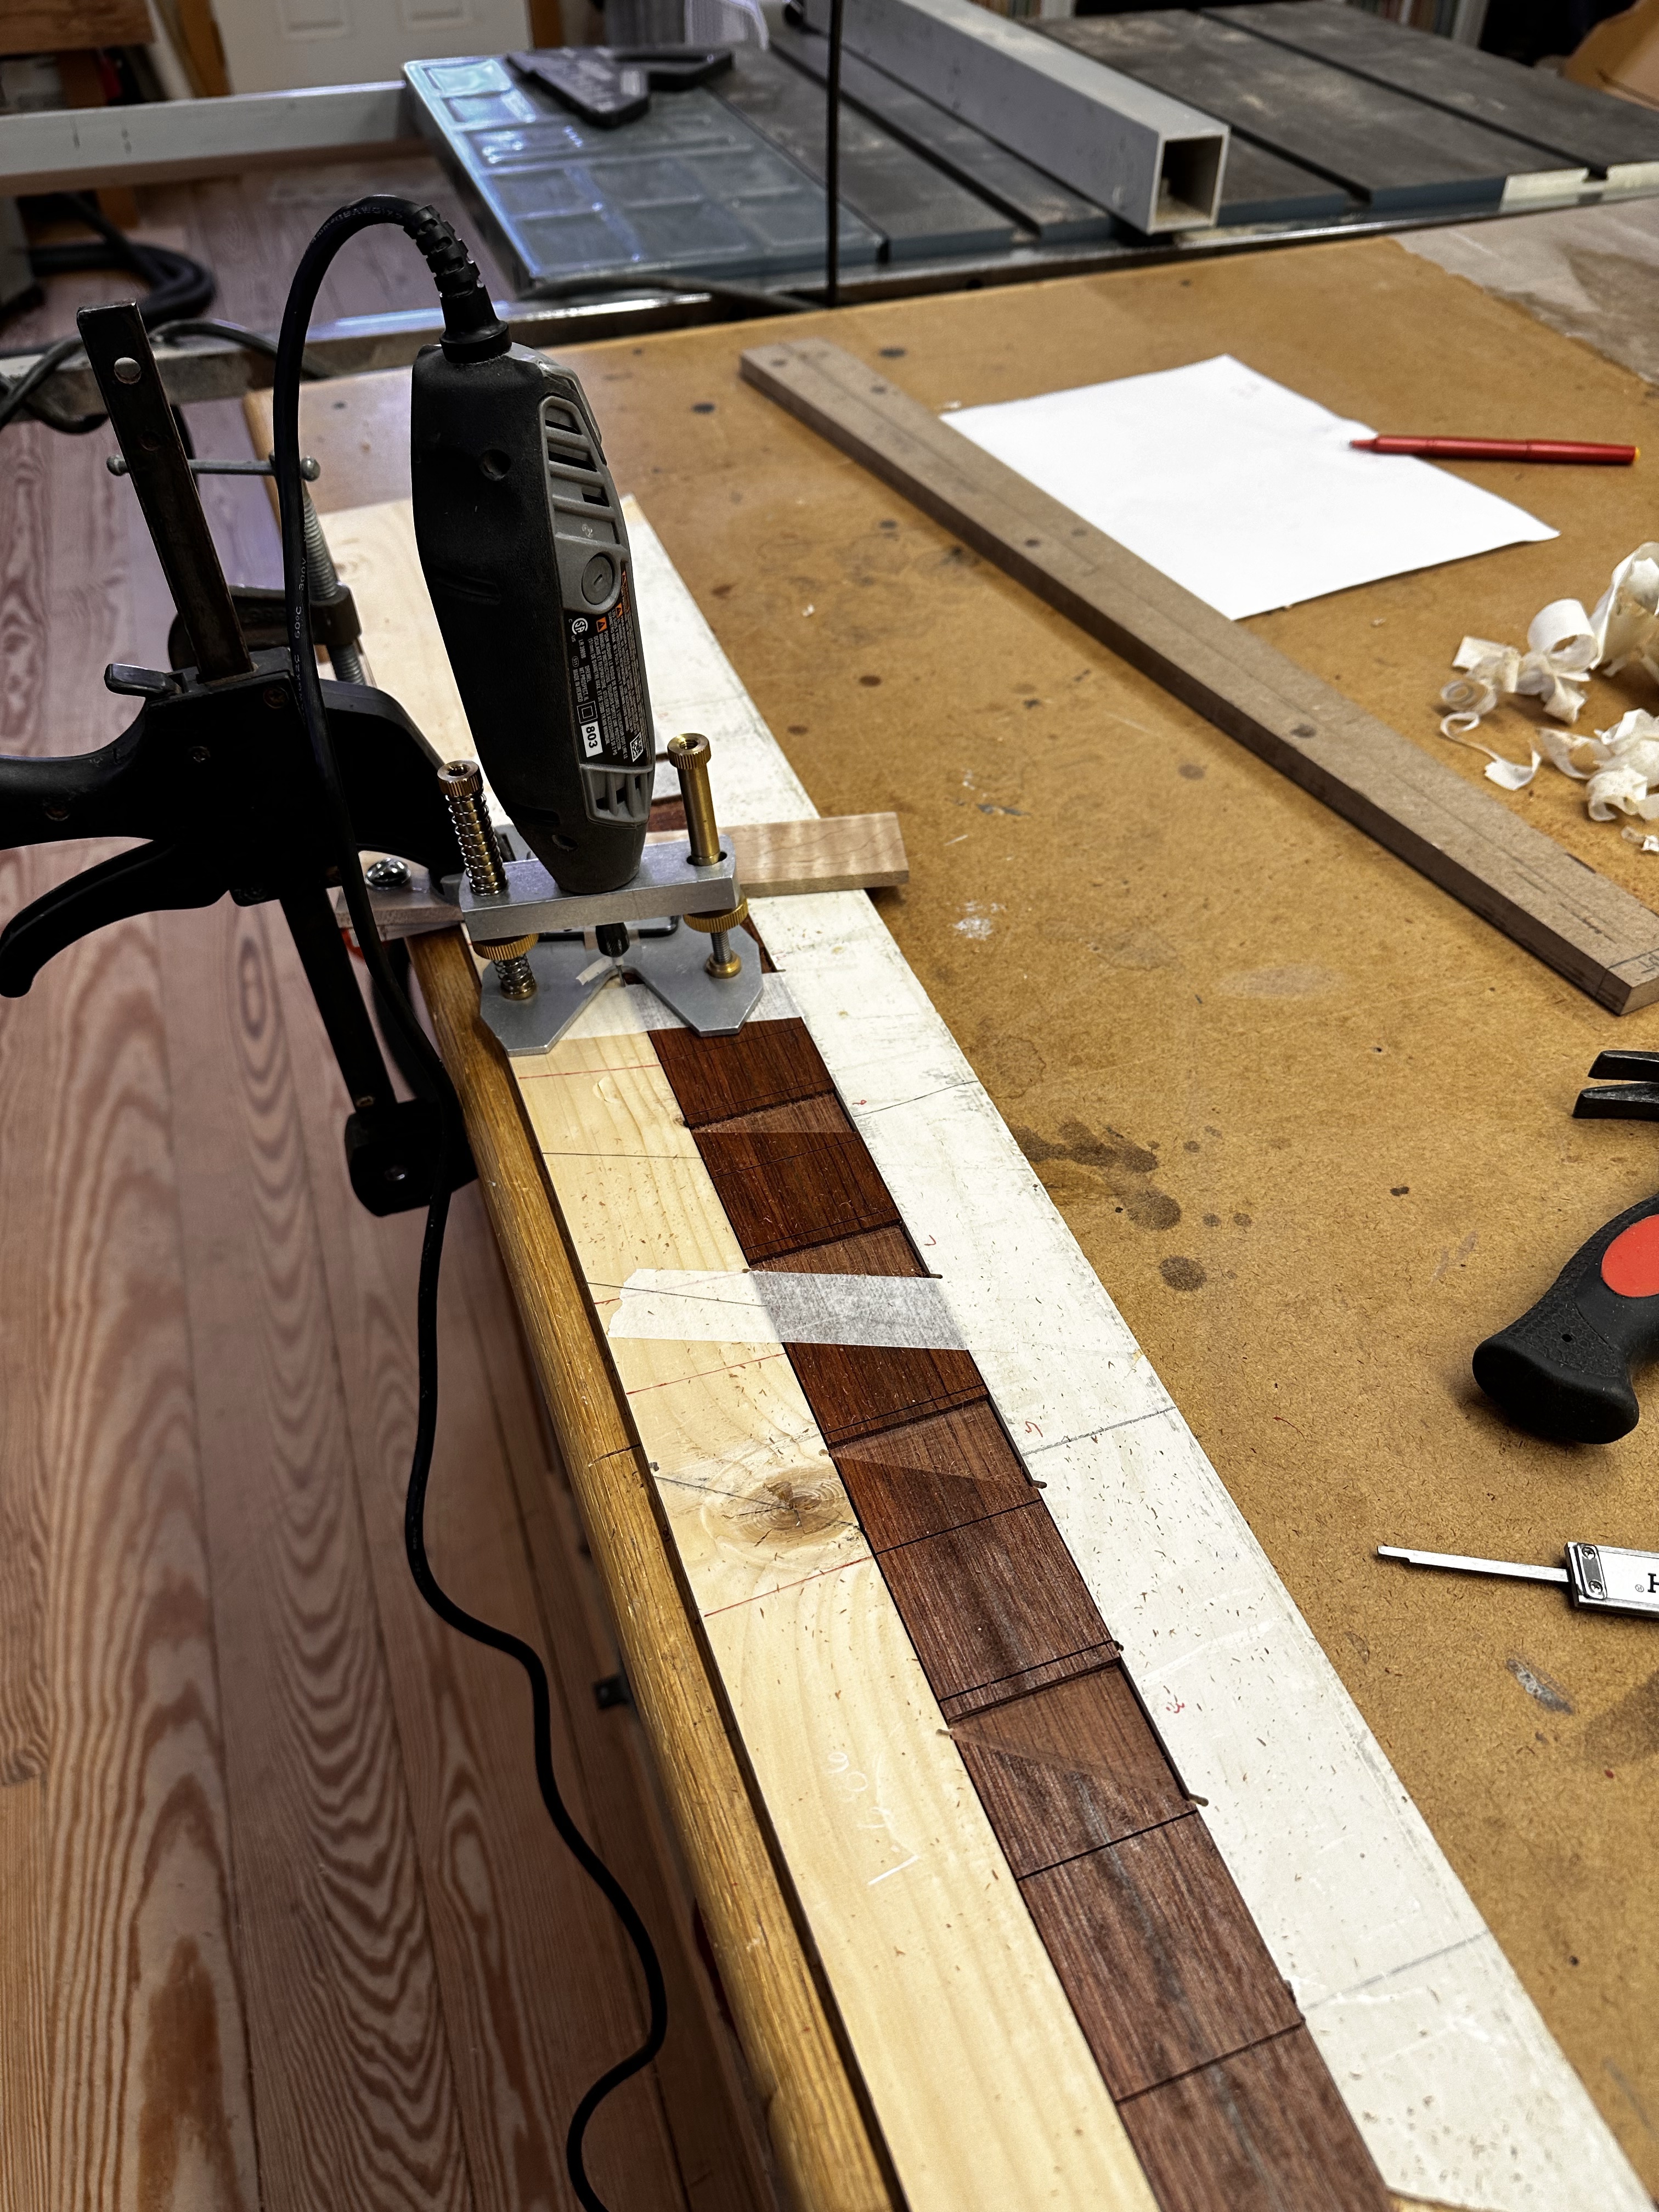
And then this slightly janky but effective setup to cut the recesses for the full-width triangular inlays with my Dremel. I've done this before by hand with chisels, and it sucked, Bubinga is Friggin' HARD. I used a 1/16" downcut spiral to cut the perimeters, so no chipout at all, and hogged out the middle with an 1/8" upcut spiral to 1/8" deep. I'm going to take another crack at the "glitter" inlays used on the deluxe 60's models, this time using the more correct crushed mica flakes instead of crushed MOP, submerged in casting resin. I actually got some Solarez clear gloss resin, the UV activated stuff, as an experiment, I'll cut a couple more recesses in some scrap bubinga and see which one takes a better polish and full transparency. Probably the casting resin, but we'll see.
LvN5m7n.jpg

0FoX6Z1.jpg

nAfqZ78.jpg


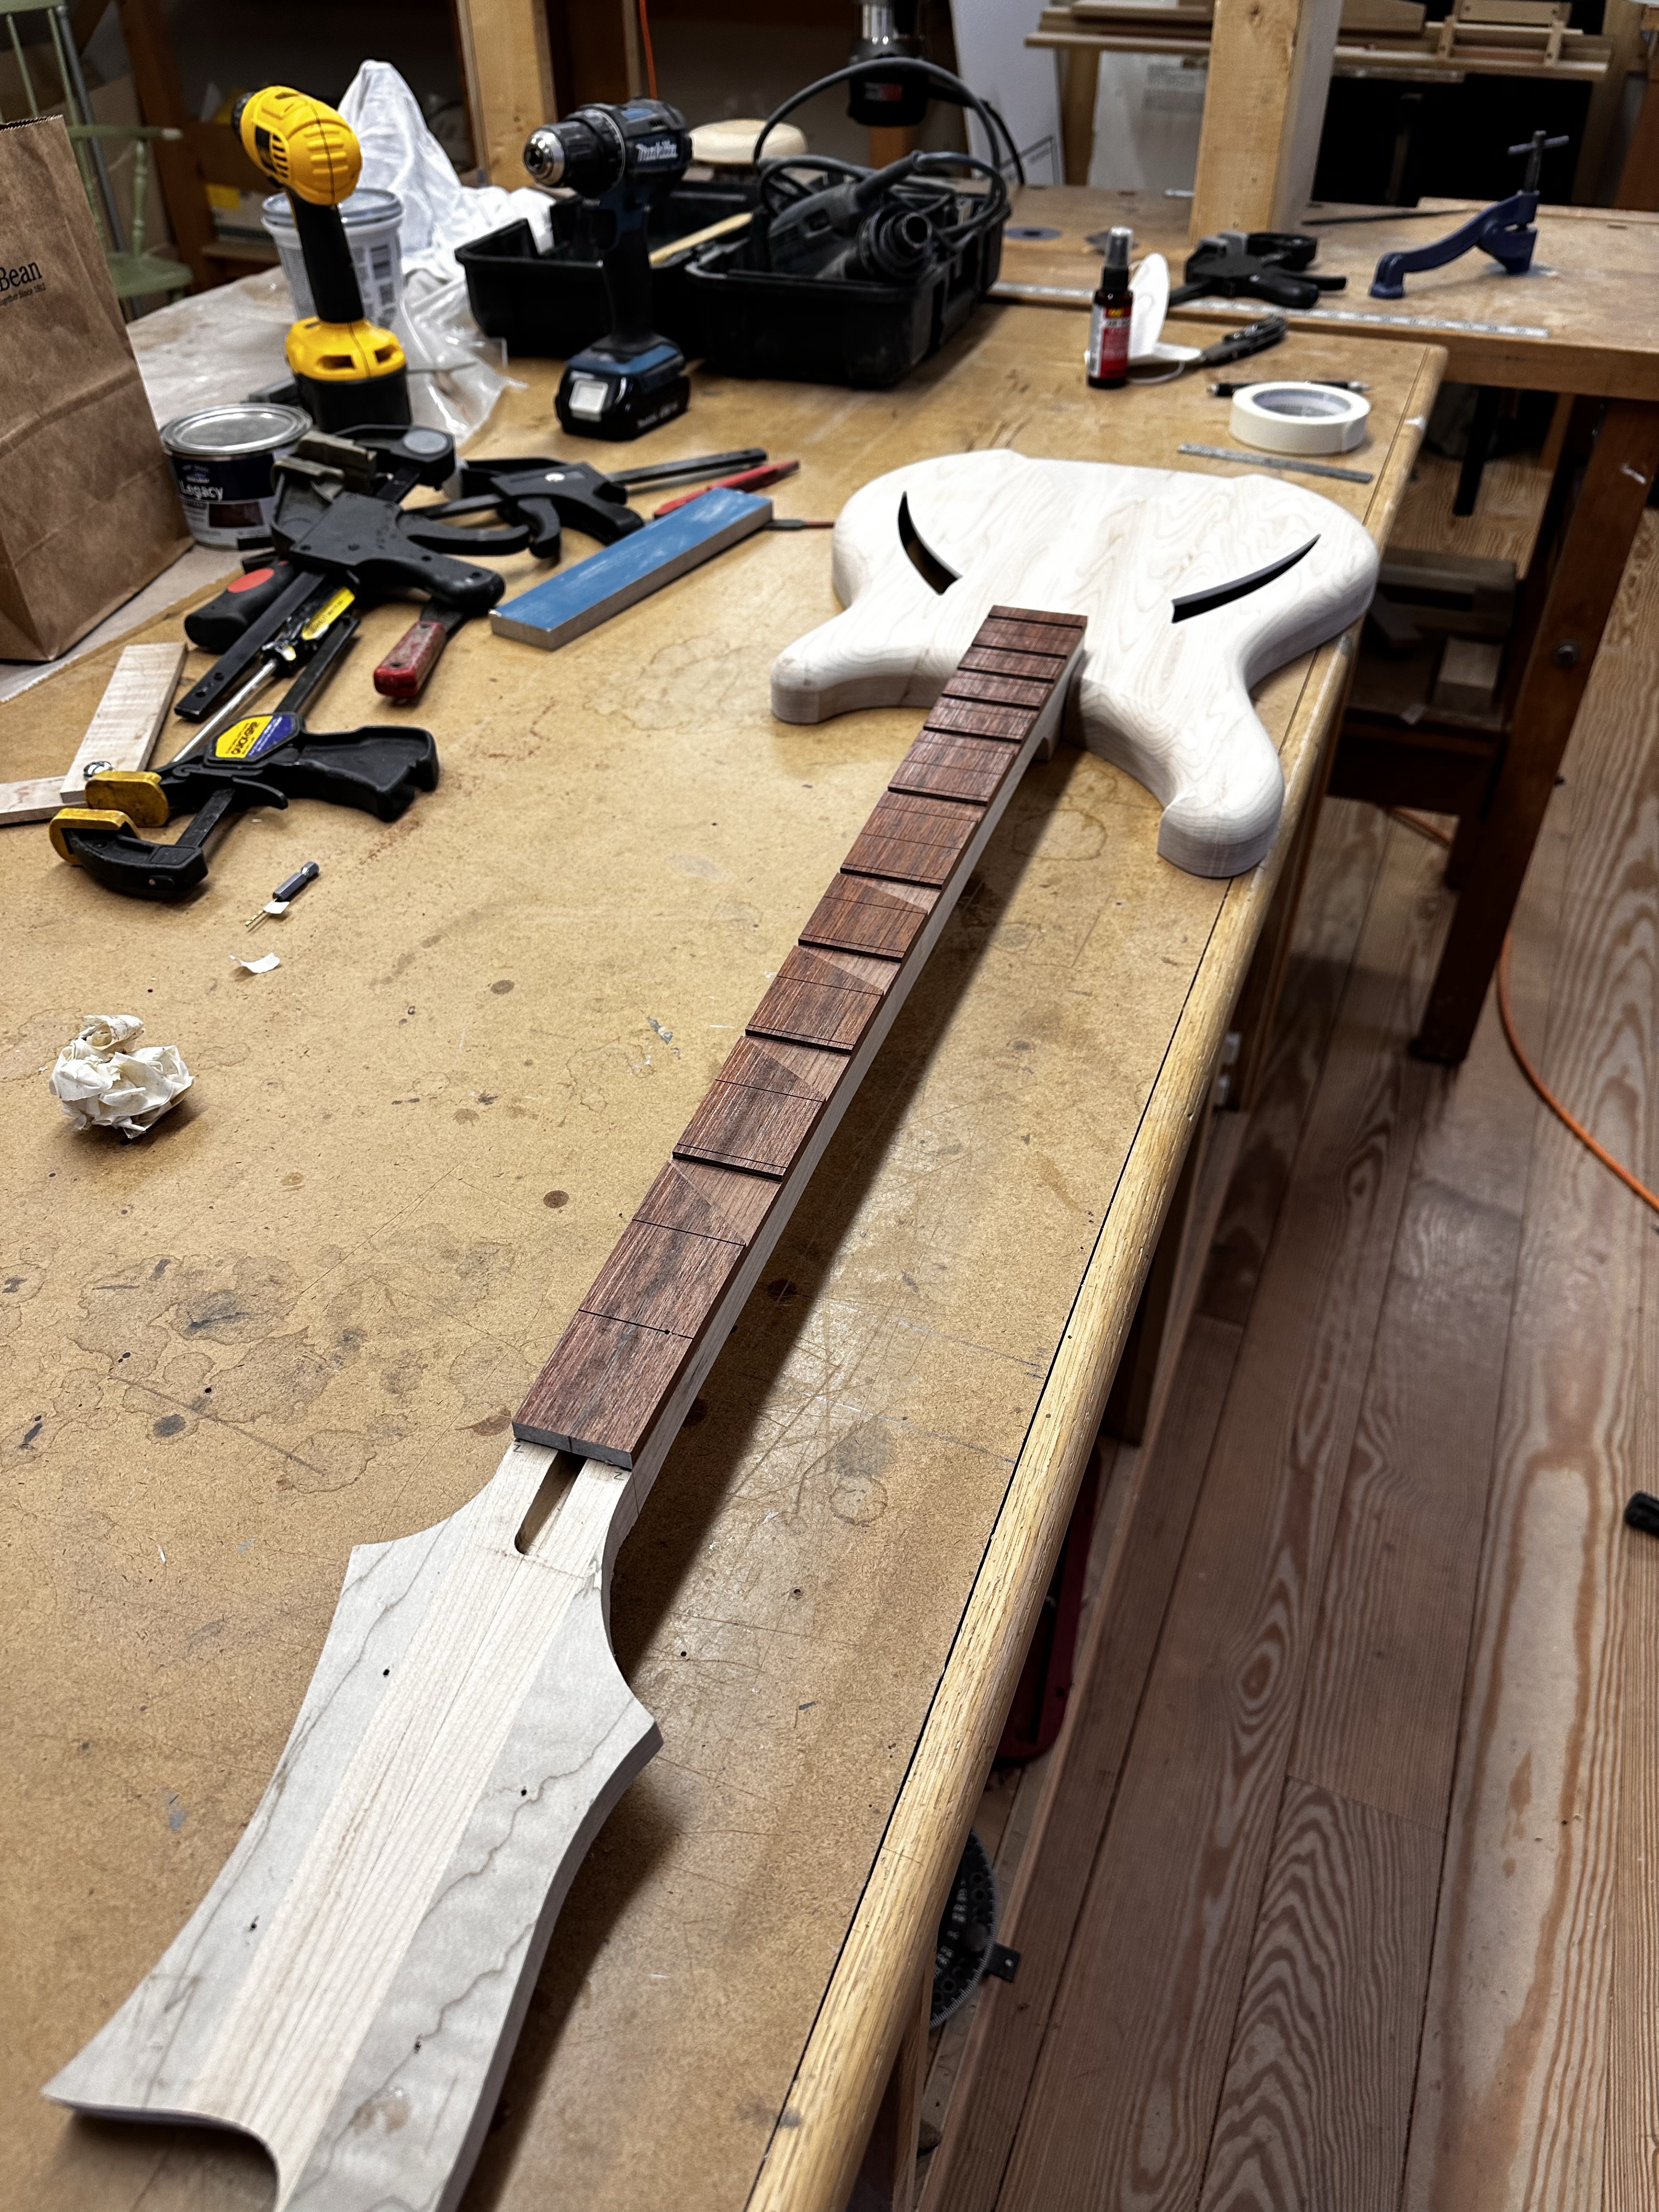
Aaaaaaannnnnd.... that's where she's at. Just showbiz, nothing glued up yet. Now that I'm back into Build Mode, should be able to post some progress. Thanks for looking.
3INnVzl.jpg
 
Last edited:
Can I pay you to make me a radius jig? :roflmao: :D :woot:
Only if I can pay you to make me a fretslotting jig! You would not believe how long it took me to put that together and get it adjusted right. I have this bad pychological problem where I "forget" that the same level of mind-numbing care and concentration has to be applied to the Jig if you want the output to be accurate. Half-Ass In = Half Ass out. If I can figure out a better way to build one, I'll probably scrap this one and cannabalize the hardware.
 
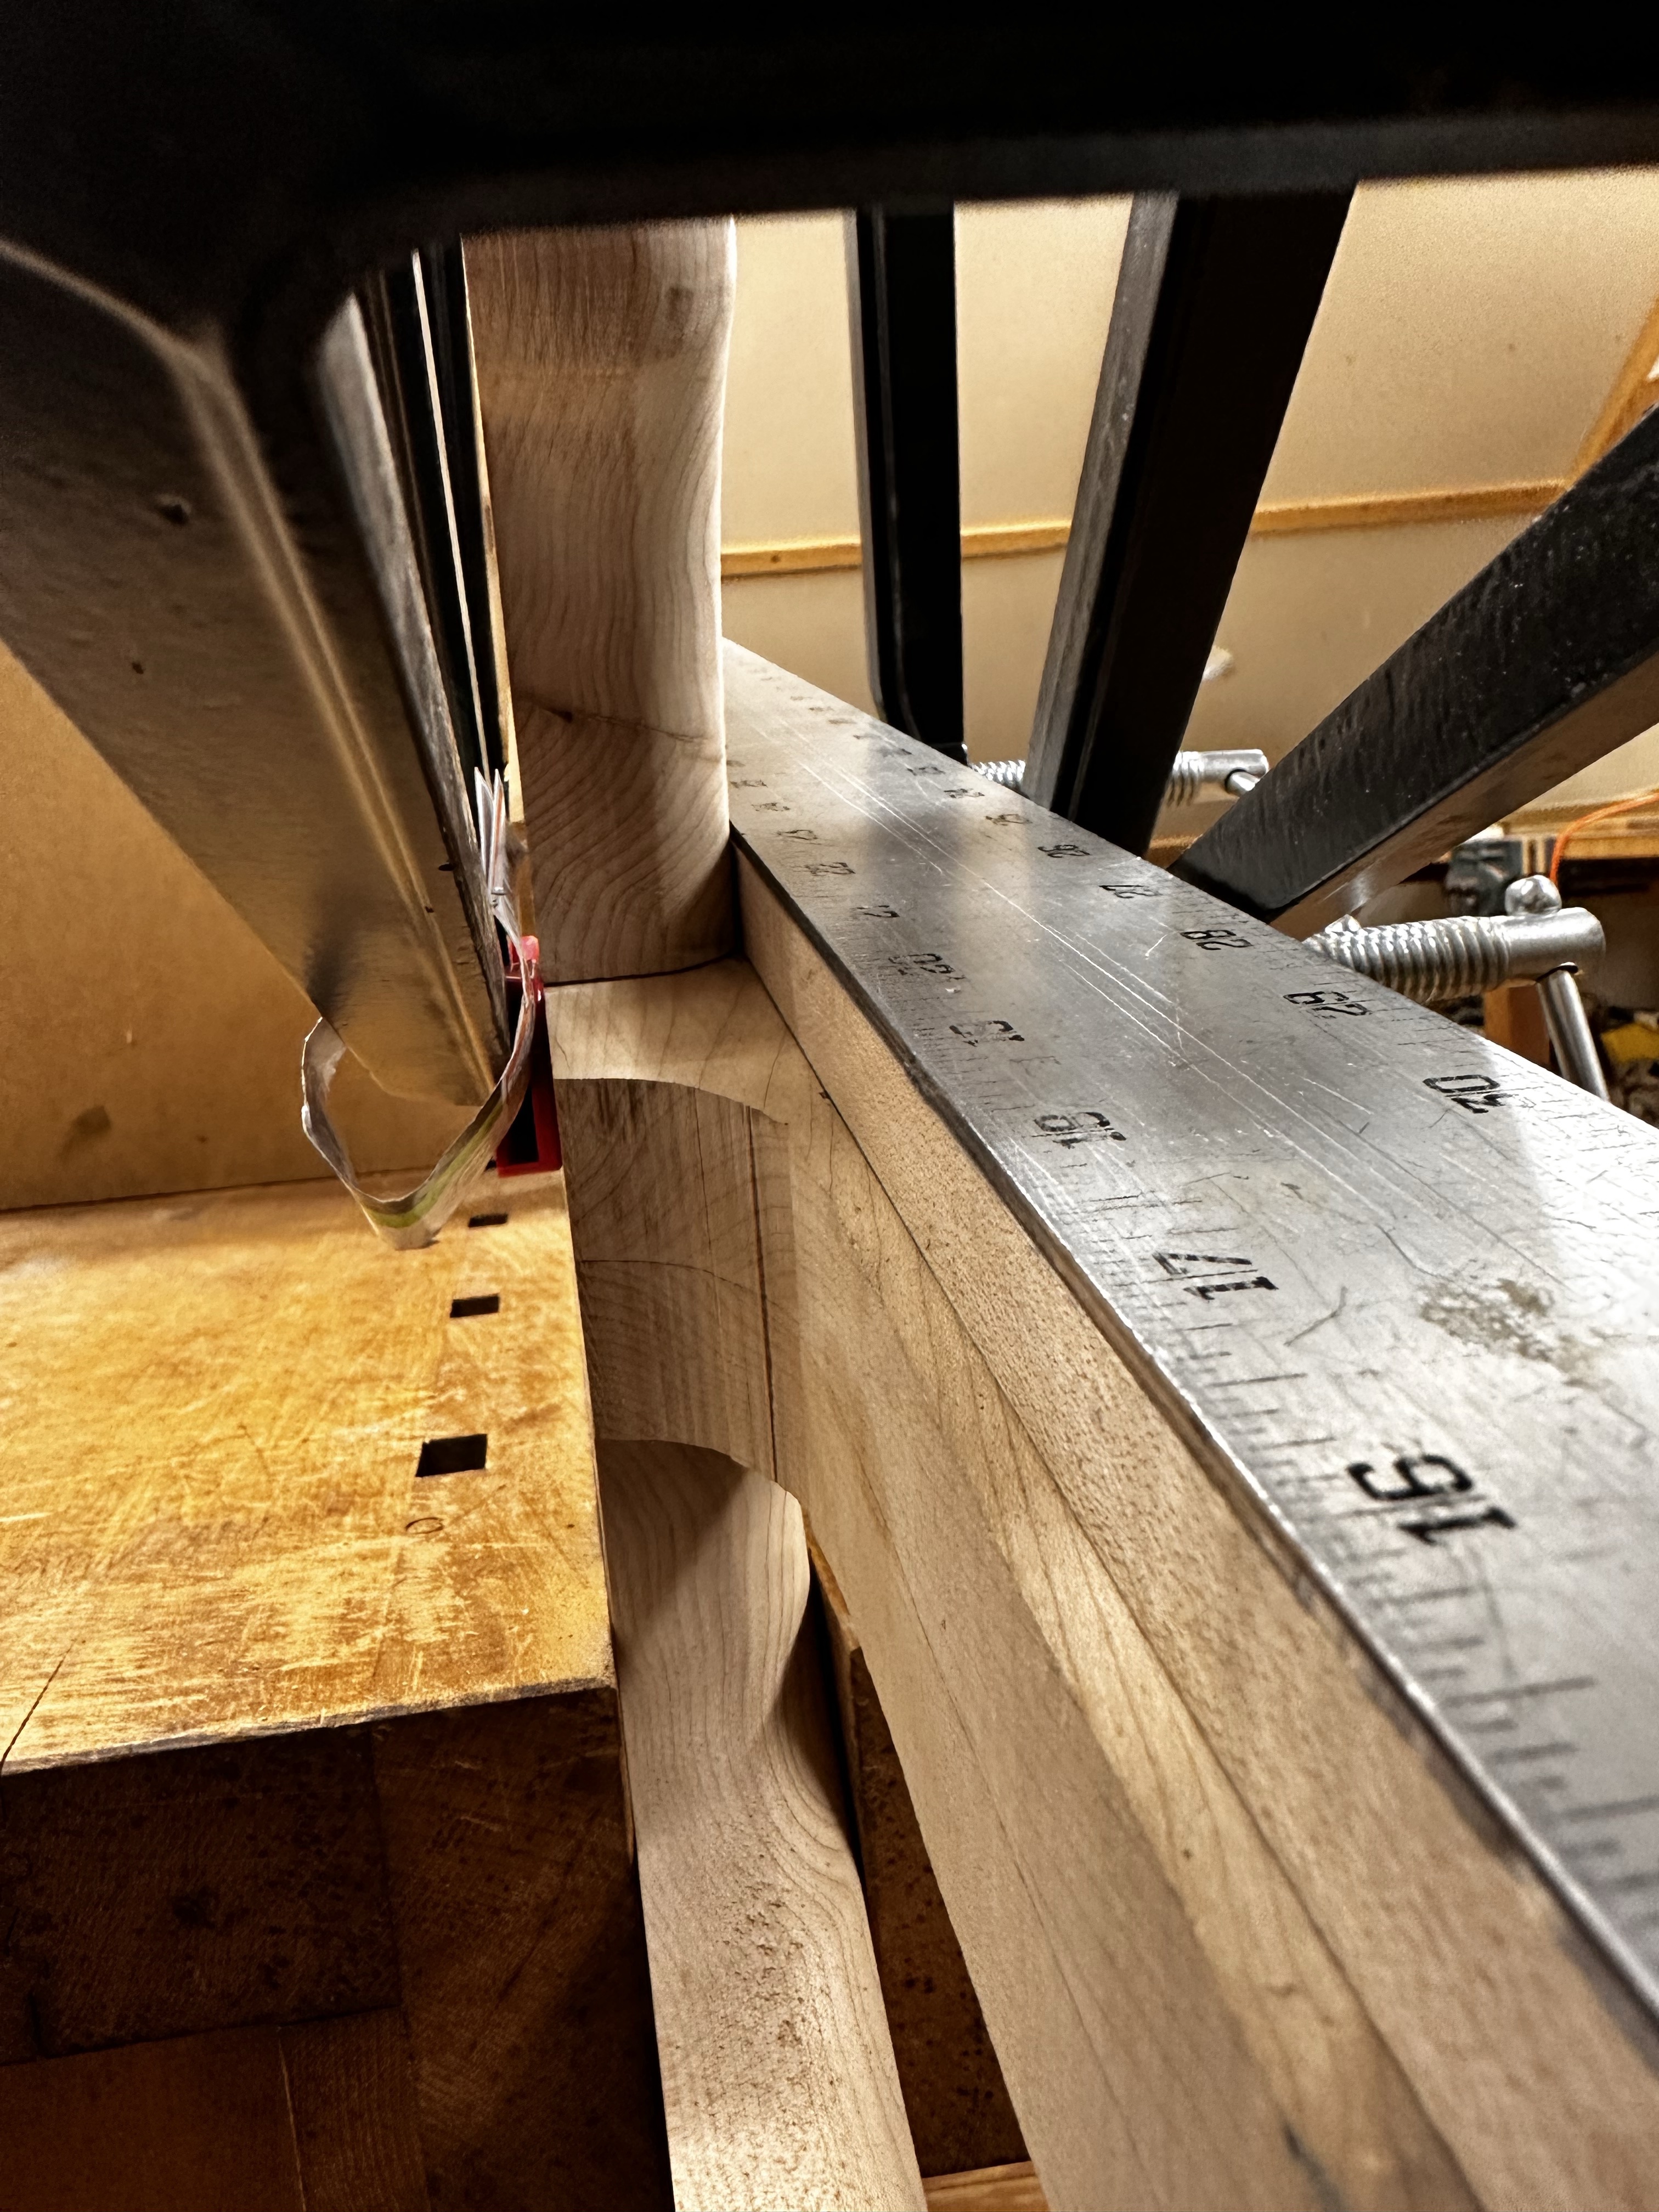
One big downside to long, slow builds..... wood moves. I had a virtually perfect hand-pressure joint between my neck and the body pocket, but either the neck or body has moved in the intervening year, so now it's both too tight, and yet with some tiny hairline gaps, their will need to be some trial and error shimming, sanding, etc. on final glueup, which still won't be for a while. Since the front and back plate overlaps the neck tenon on basses of this design, I'm not sure there would be any practical way to remove neck in future if it ever goes wonky, short of more or less disassembling the whole bass. Maybe I should use hot hide glue, or "fish glue" to be theoretically kind to some future Luthier? or should I just epoxy it together?

I decided I better mock this one up REALLY carefully to see if the neck is still parallel to the body plane, and centered from headstock to heel, and luckily, it is!
OWZ7amh.jpg

hpqgZl4.jpg


But.... some little gaps have crept in, like this one at the back of the tenon. I can shim this one pretty easily:
N6ySuQl.jpg


And about a 1/64" gap at the Bass side of the neck. Gonna have to shim this one:
2IAVeSY.jpg


The bass side looks nice and tight:
ecU9wtk.jpg


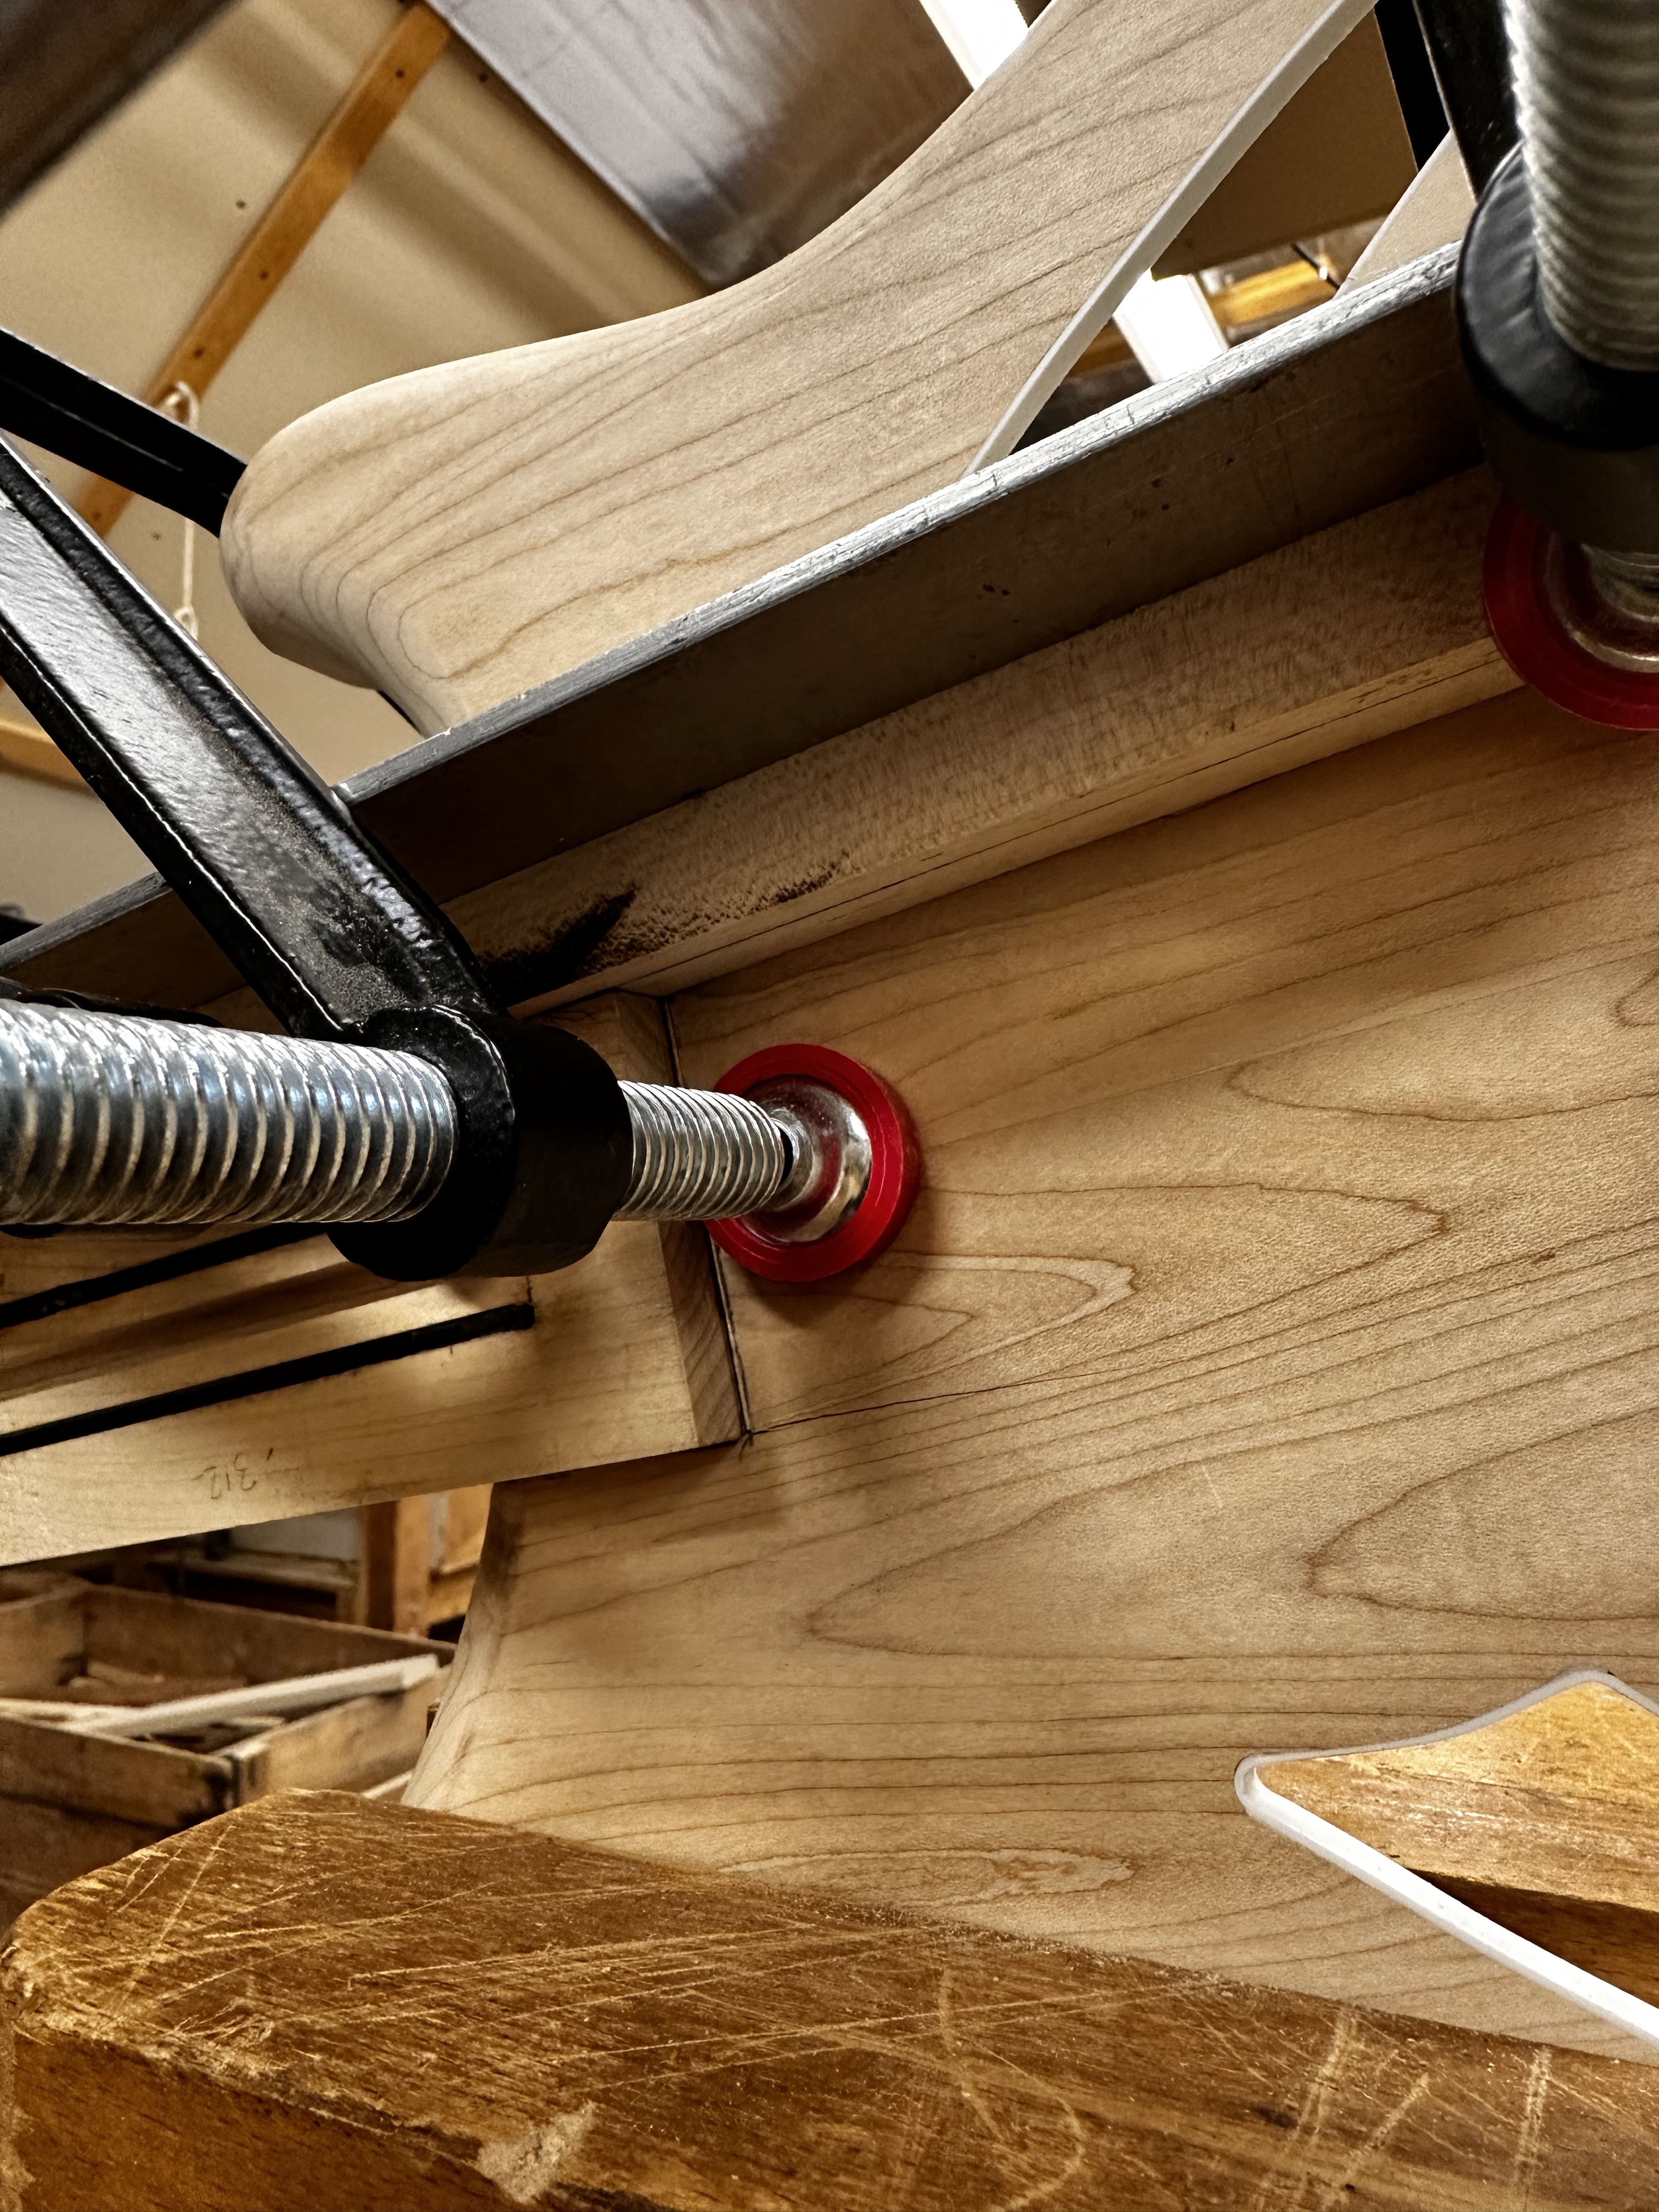
But..... while inserting the neck for mockup, it was a little too tight in the pocket, so I got a hairline crack in the top plate. You can see it coming out of the bass side corner of the neck whare it meets the body D'oh! Before I thought t through, I wicked some water thin CA glue in there, took the neck out, and let it close. Probably should have used Titebond, but that ship has probably sailed. Hopefully it holds! Definitely a mental adjustment required on a semi-hollow, things are just more fragile.
VUrmCcW.jpg


I've started some experiments with the "sparkle" crushed Mica inlays, I have another thread going on it. This time I'm trying UV cure resin to see if I can get more of a glass-clear polish out of it, I'll post some photos here too when I get a few mockups done.
 
Last edited: