• TalkBass has been independent since 1998. Add your voice.
    Create a free account to reply to discussions, view embedded media, and browse with fewer display ads.
    Join freeLog in
    Want zero display ads or expanded classifieds tools? Compare plans.

The Hossenfeffer V Bass Build

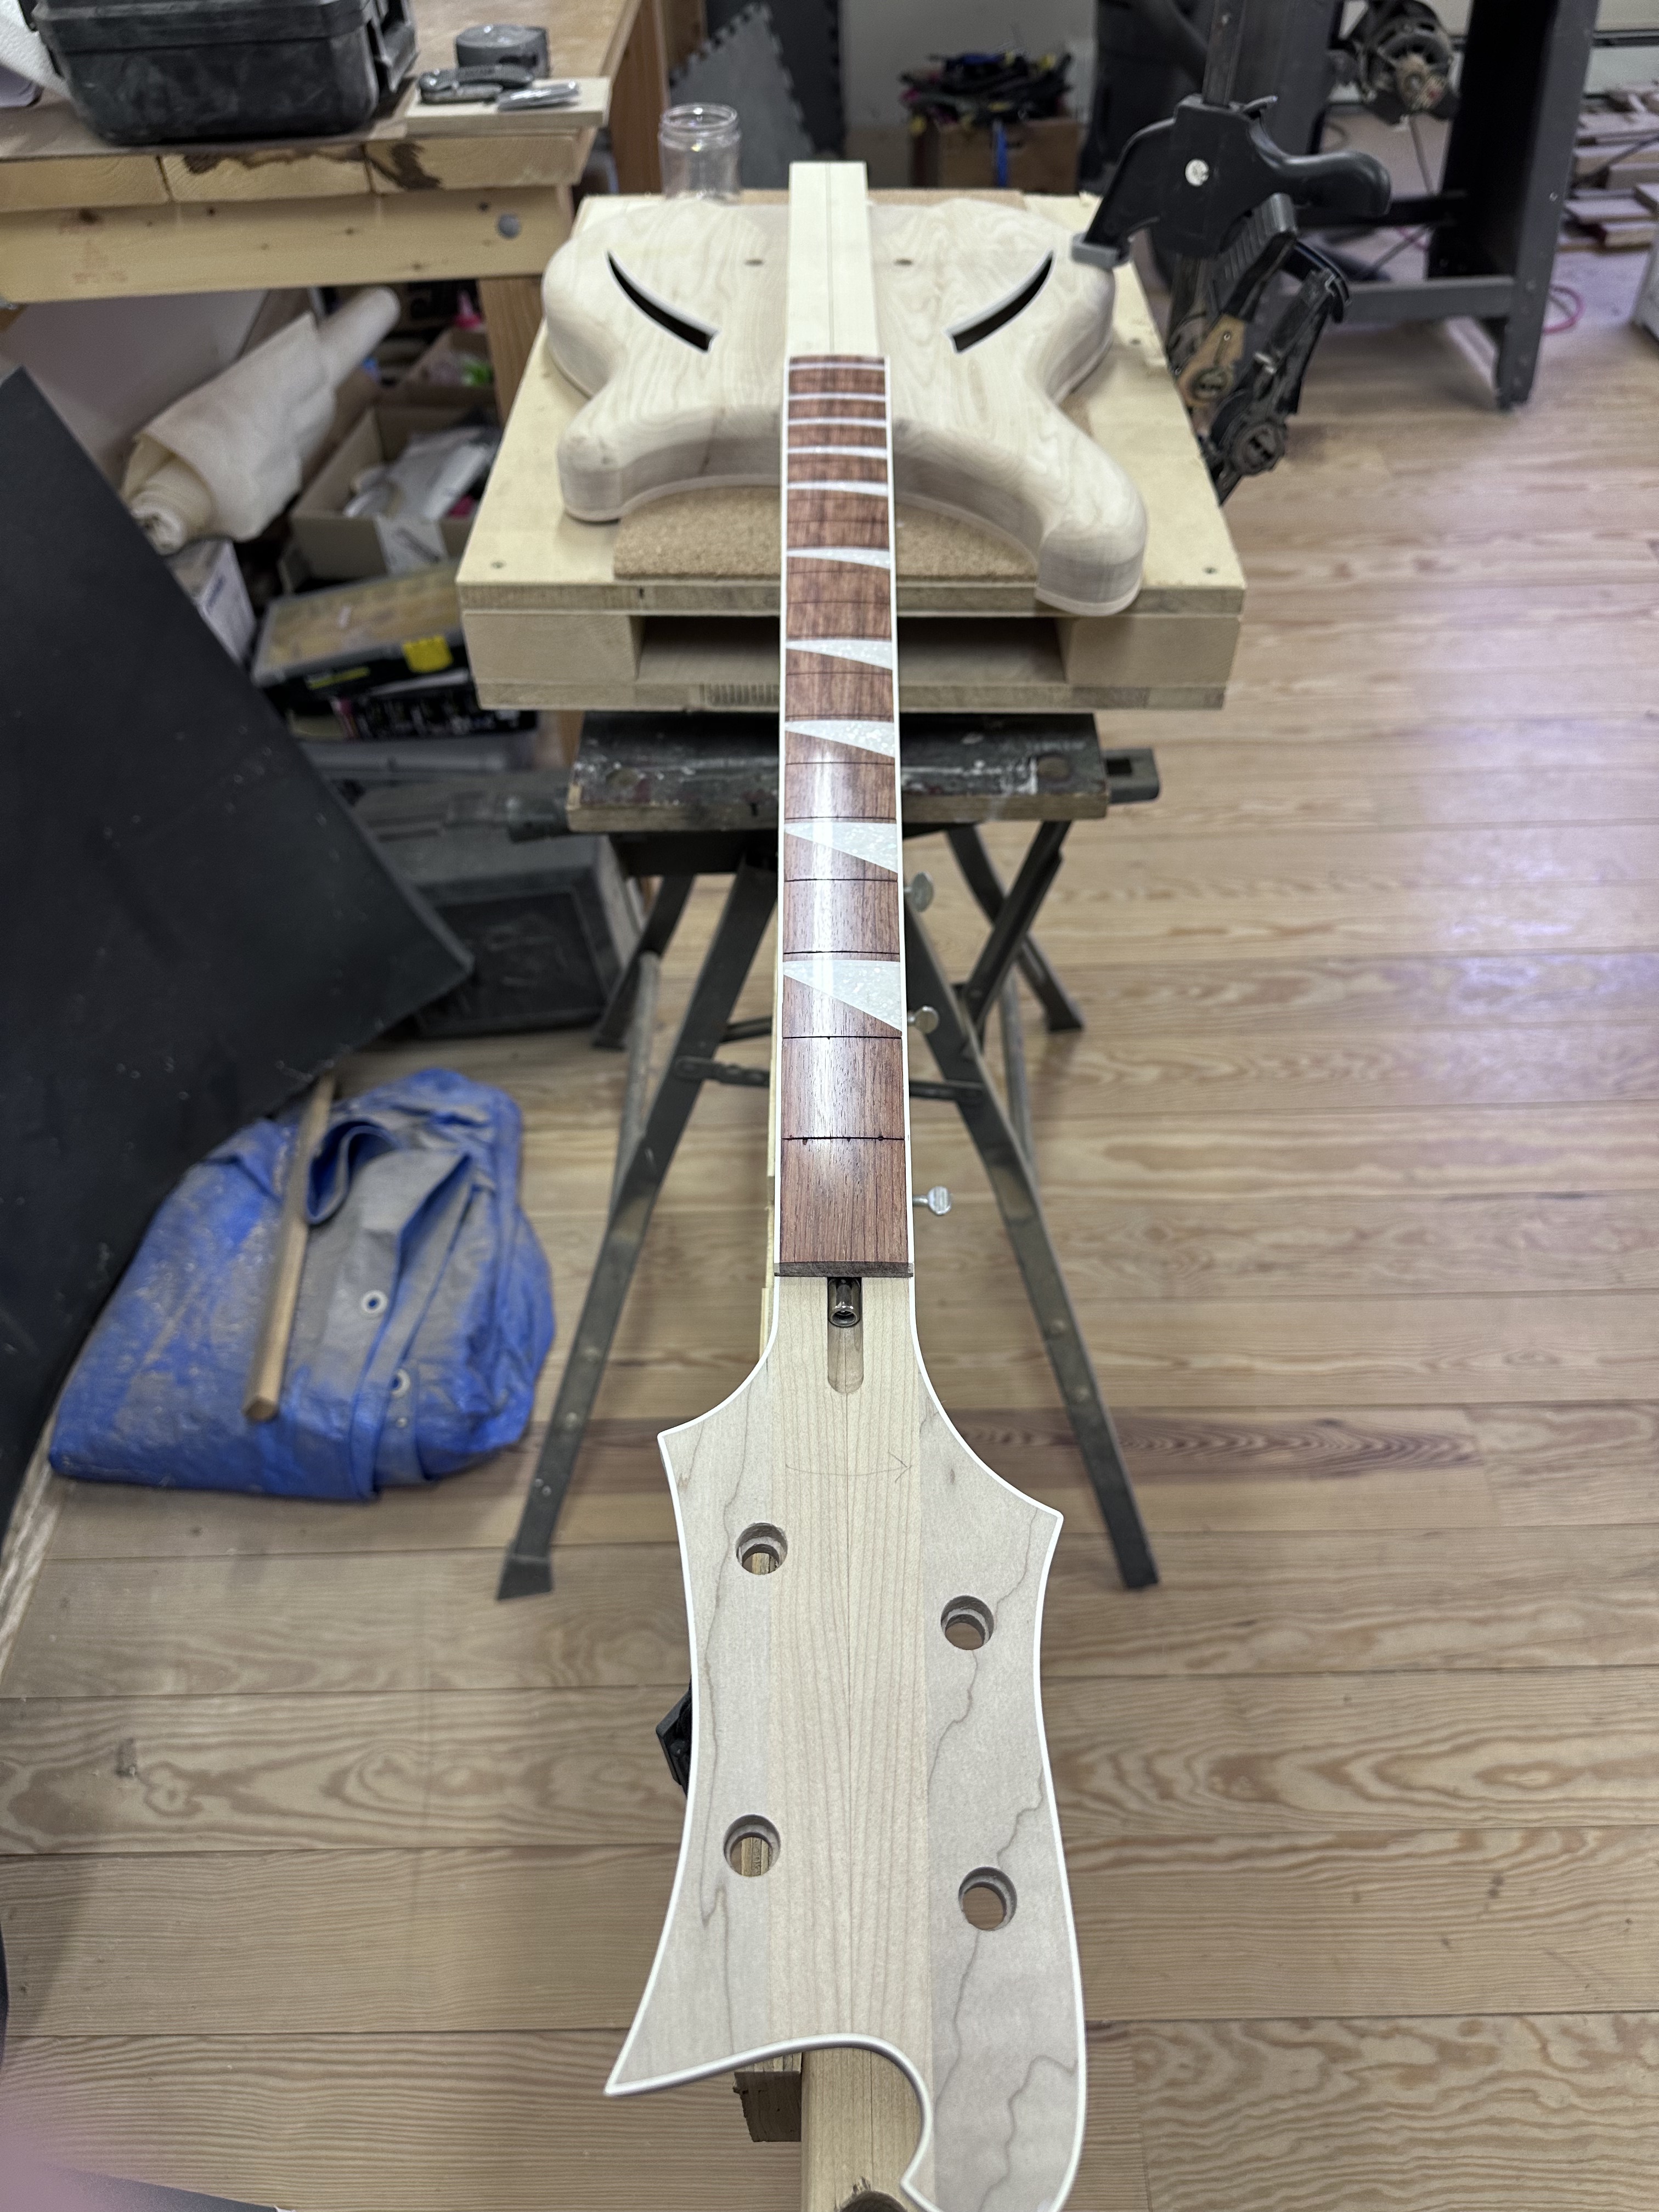
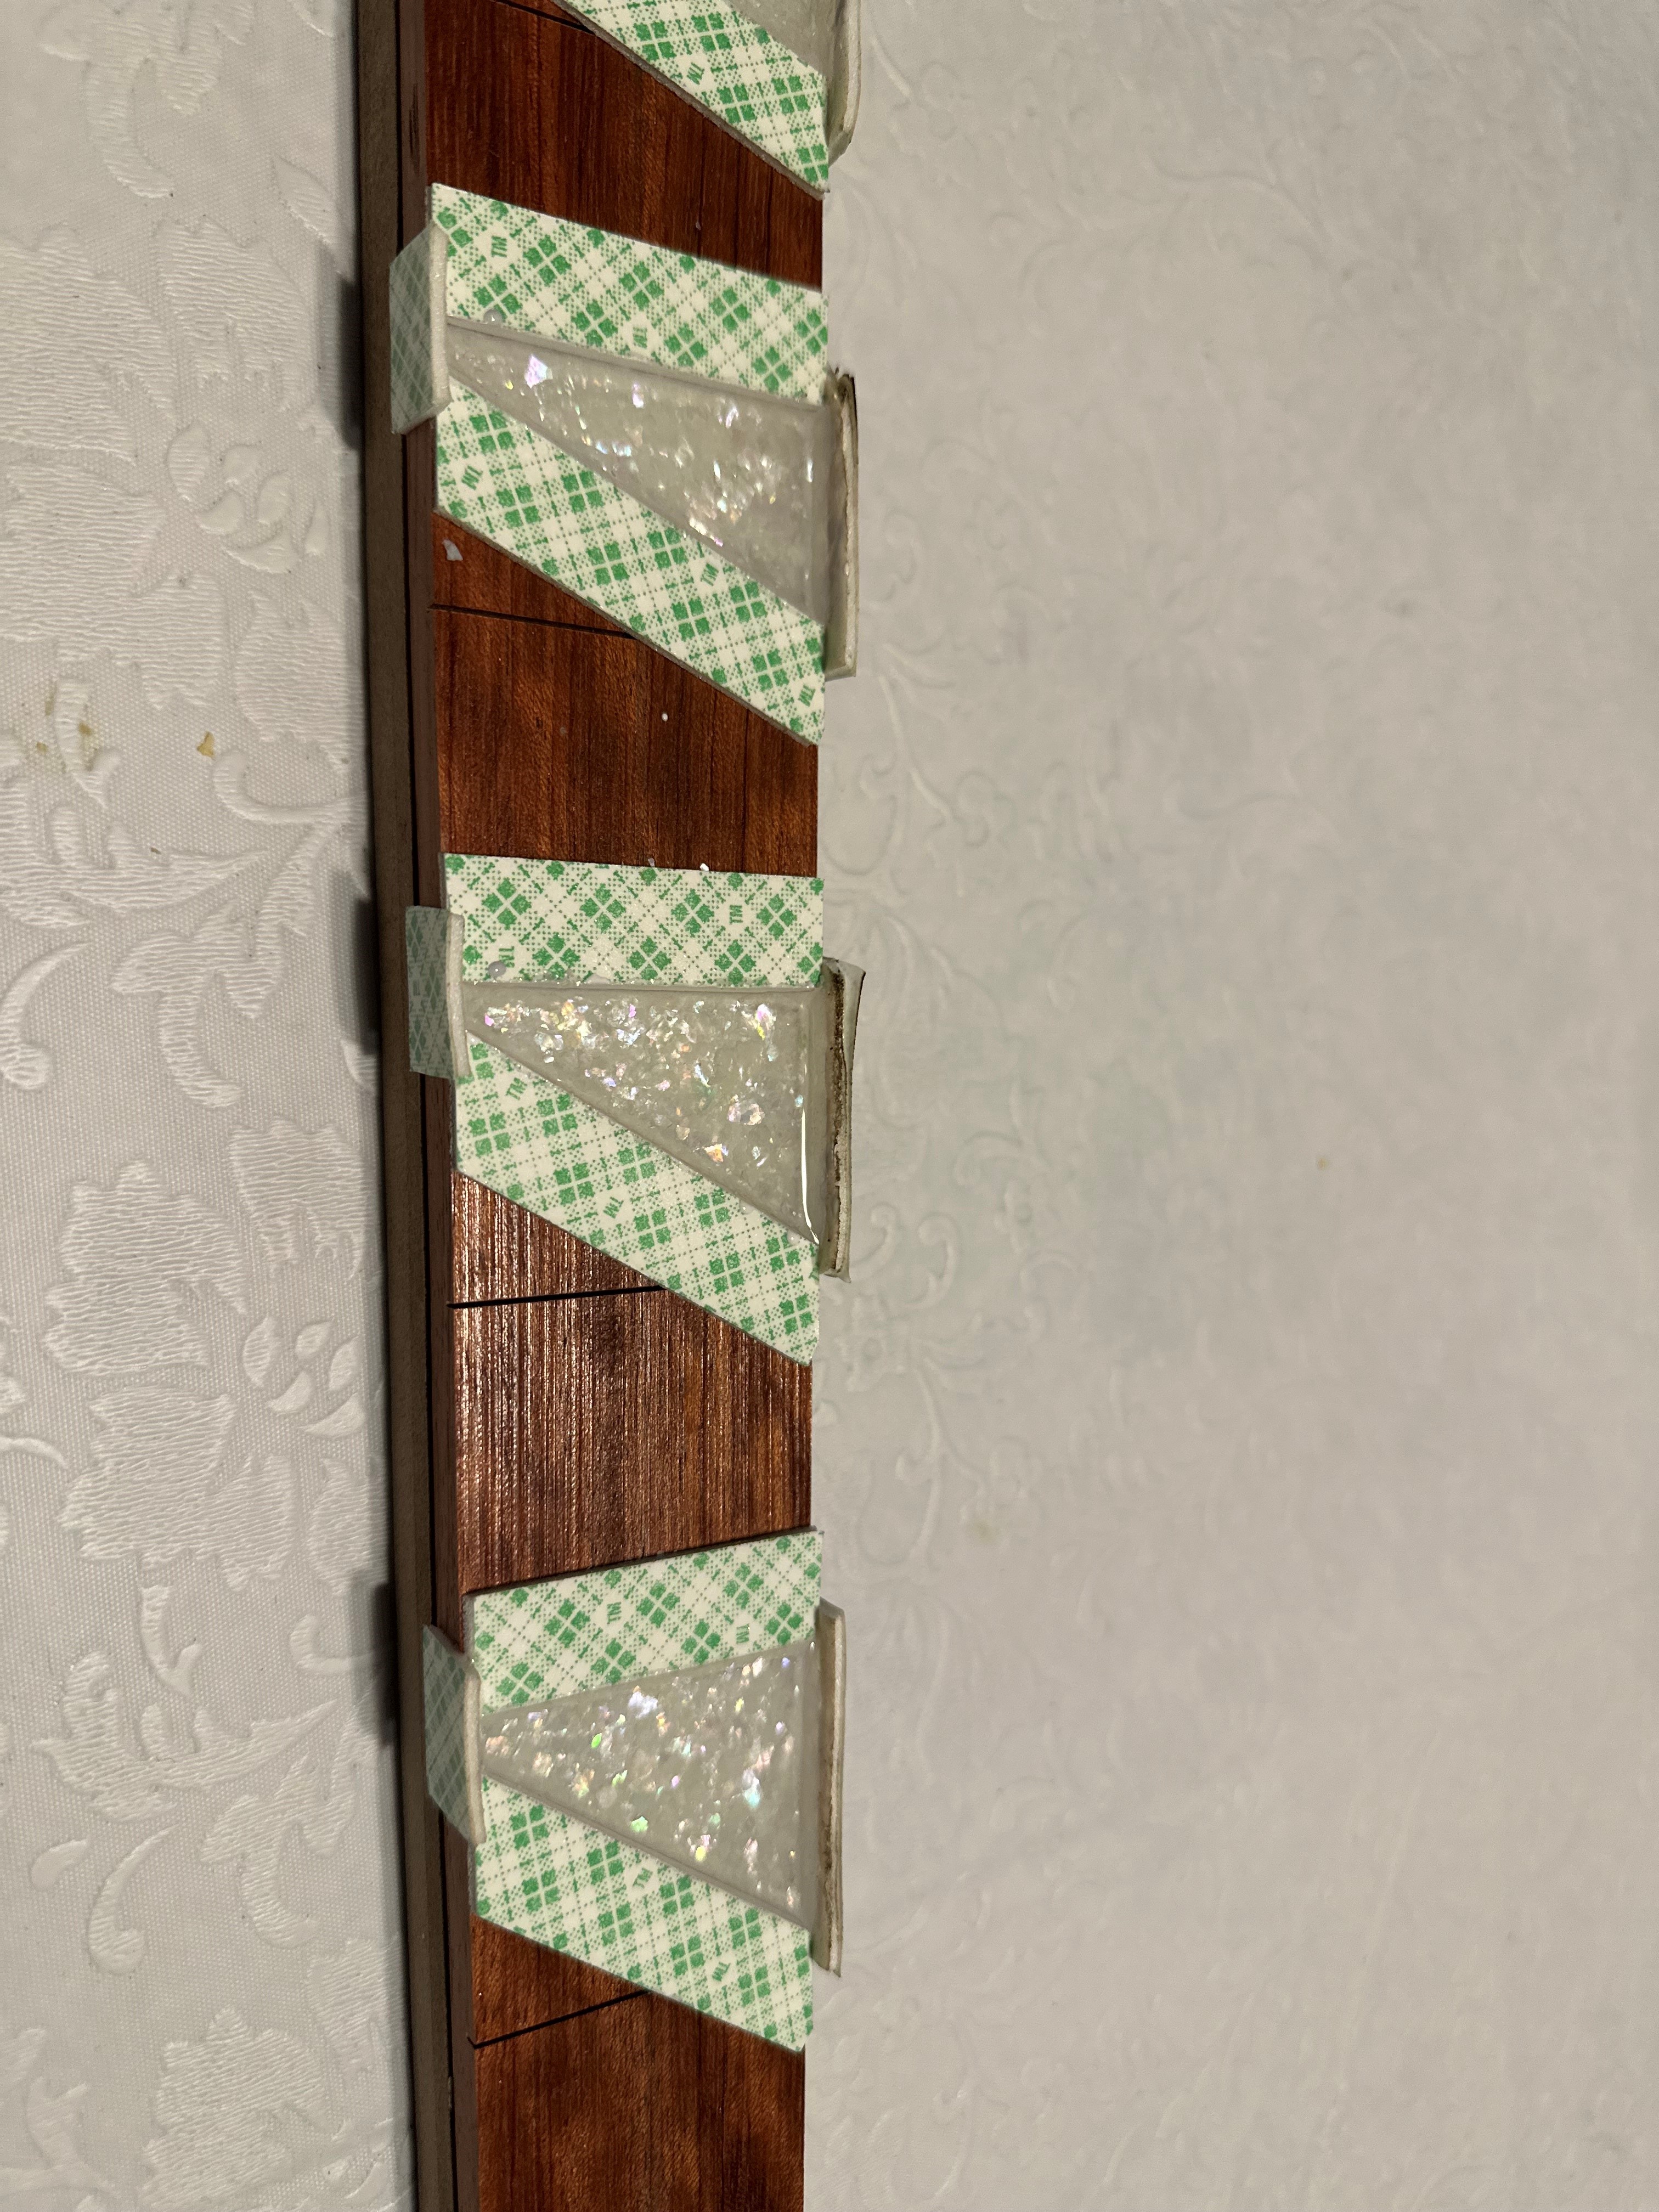
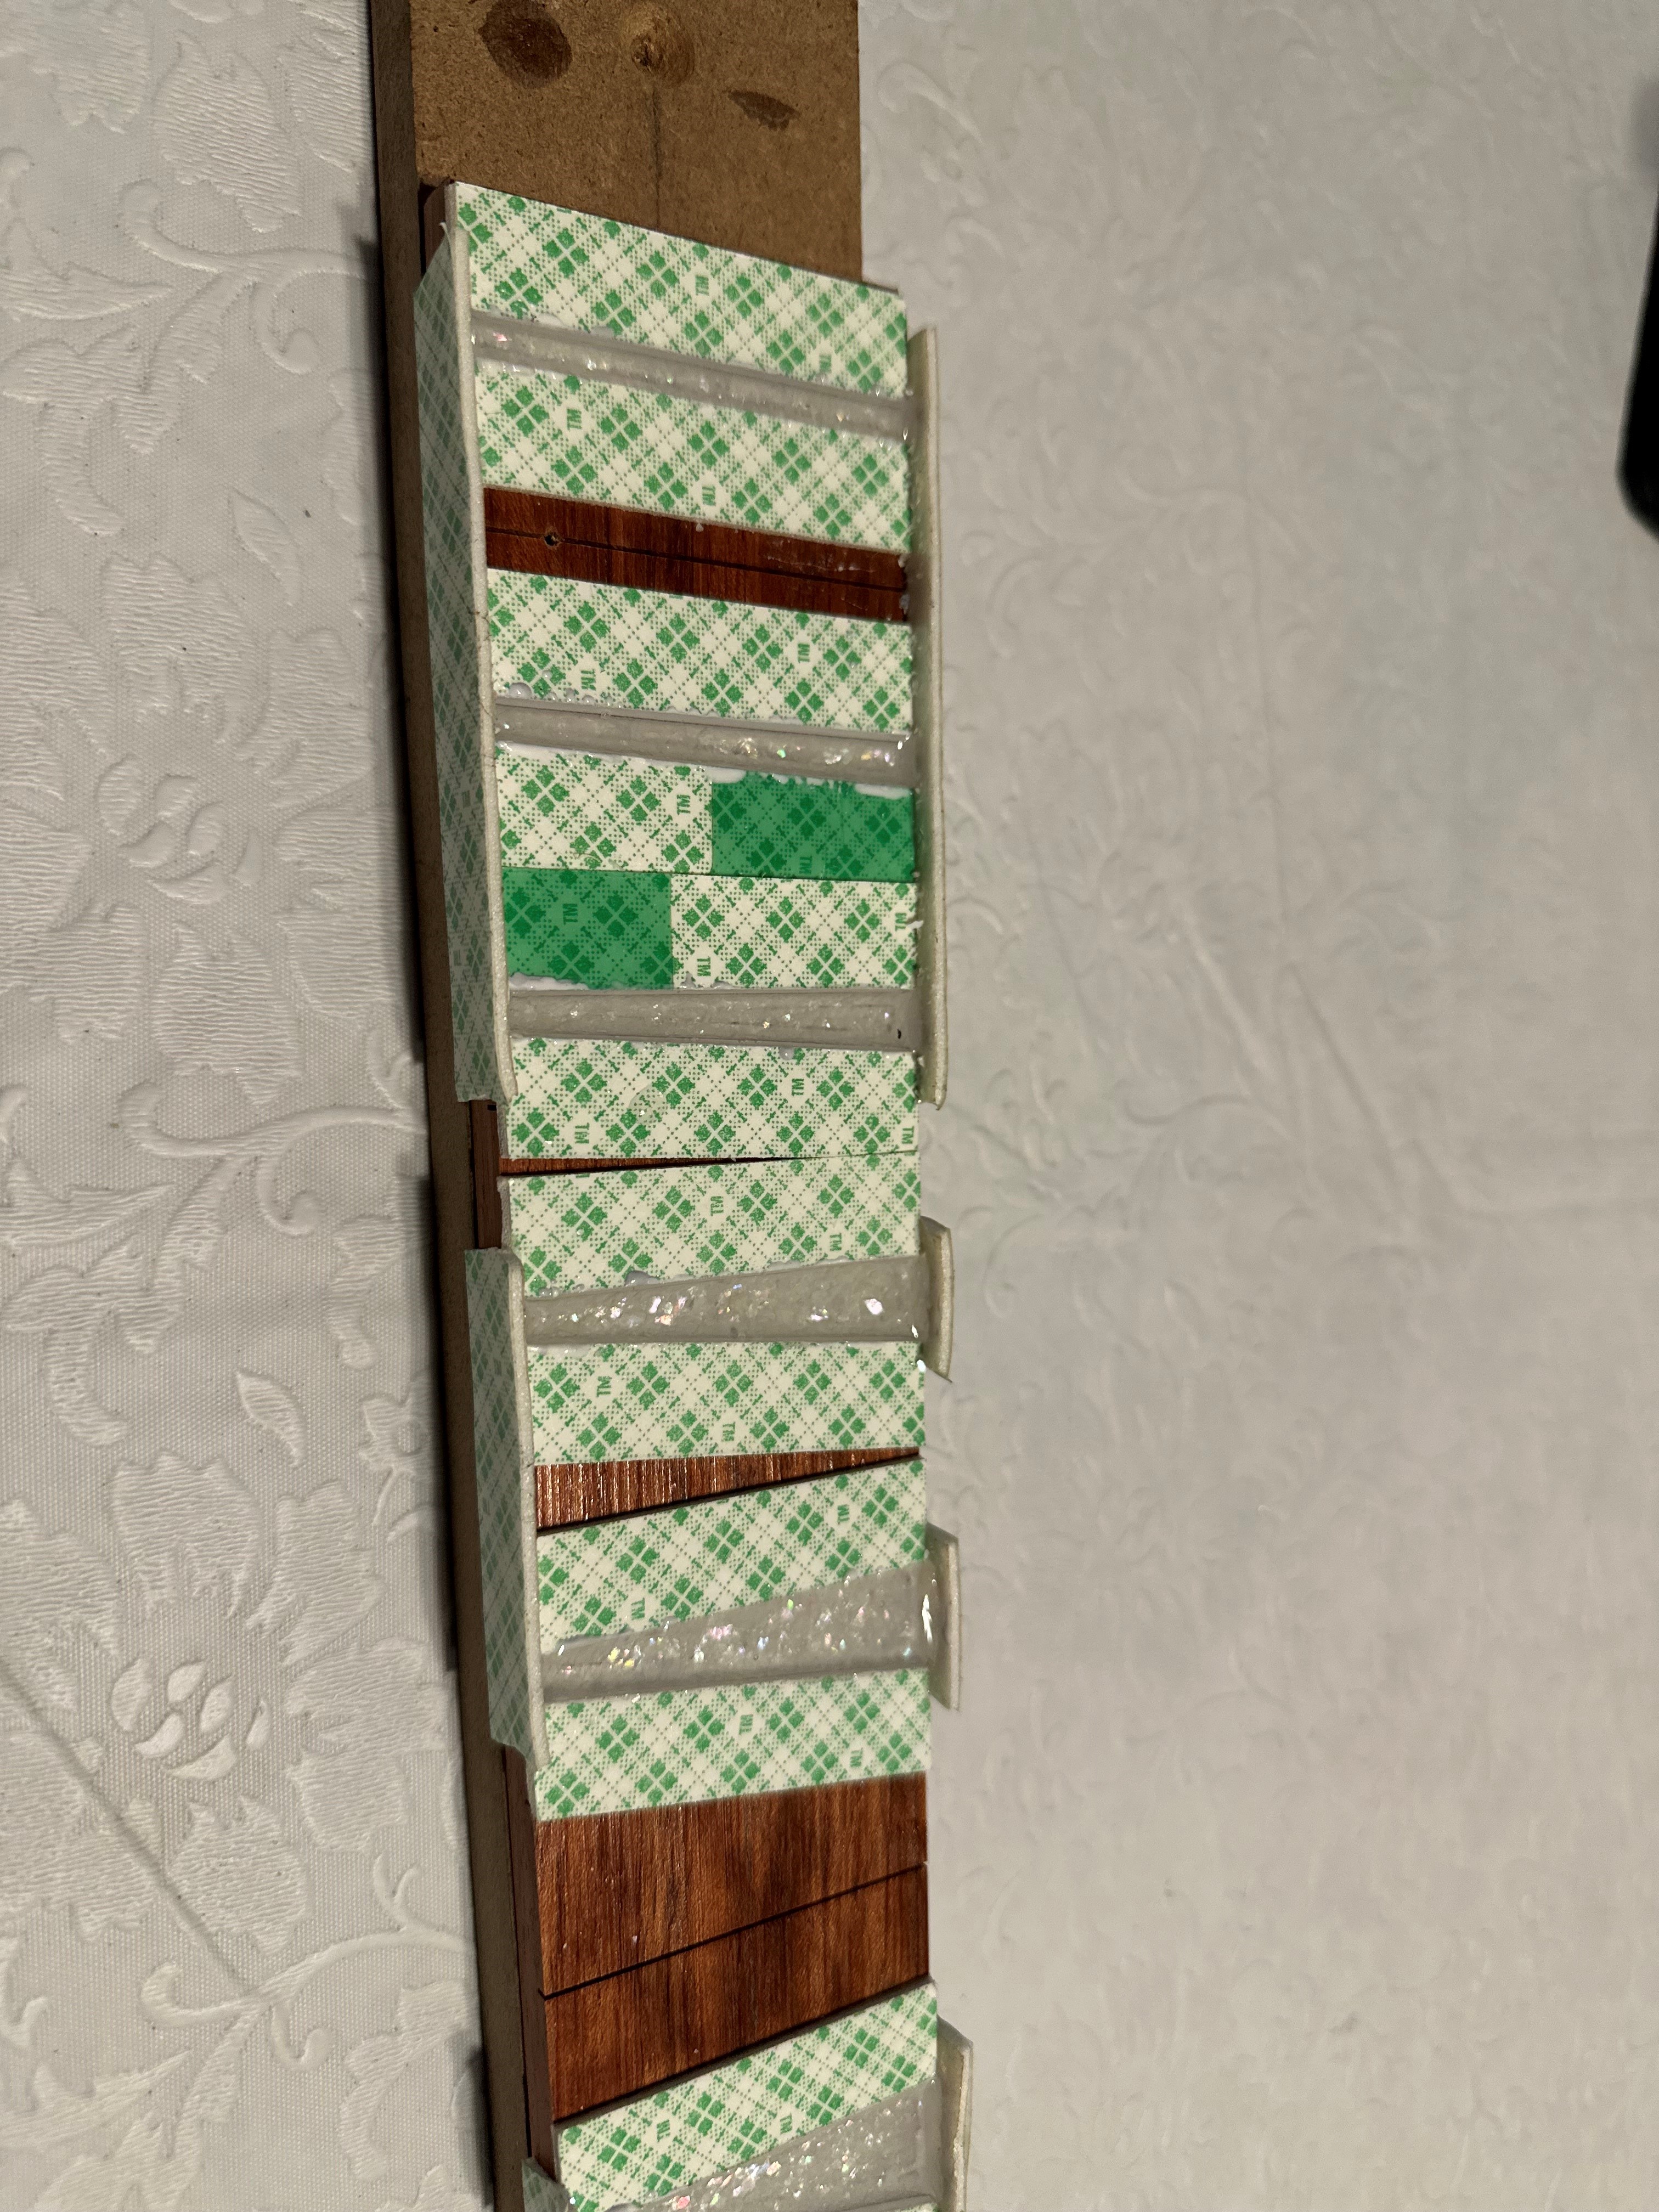
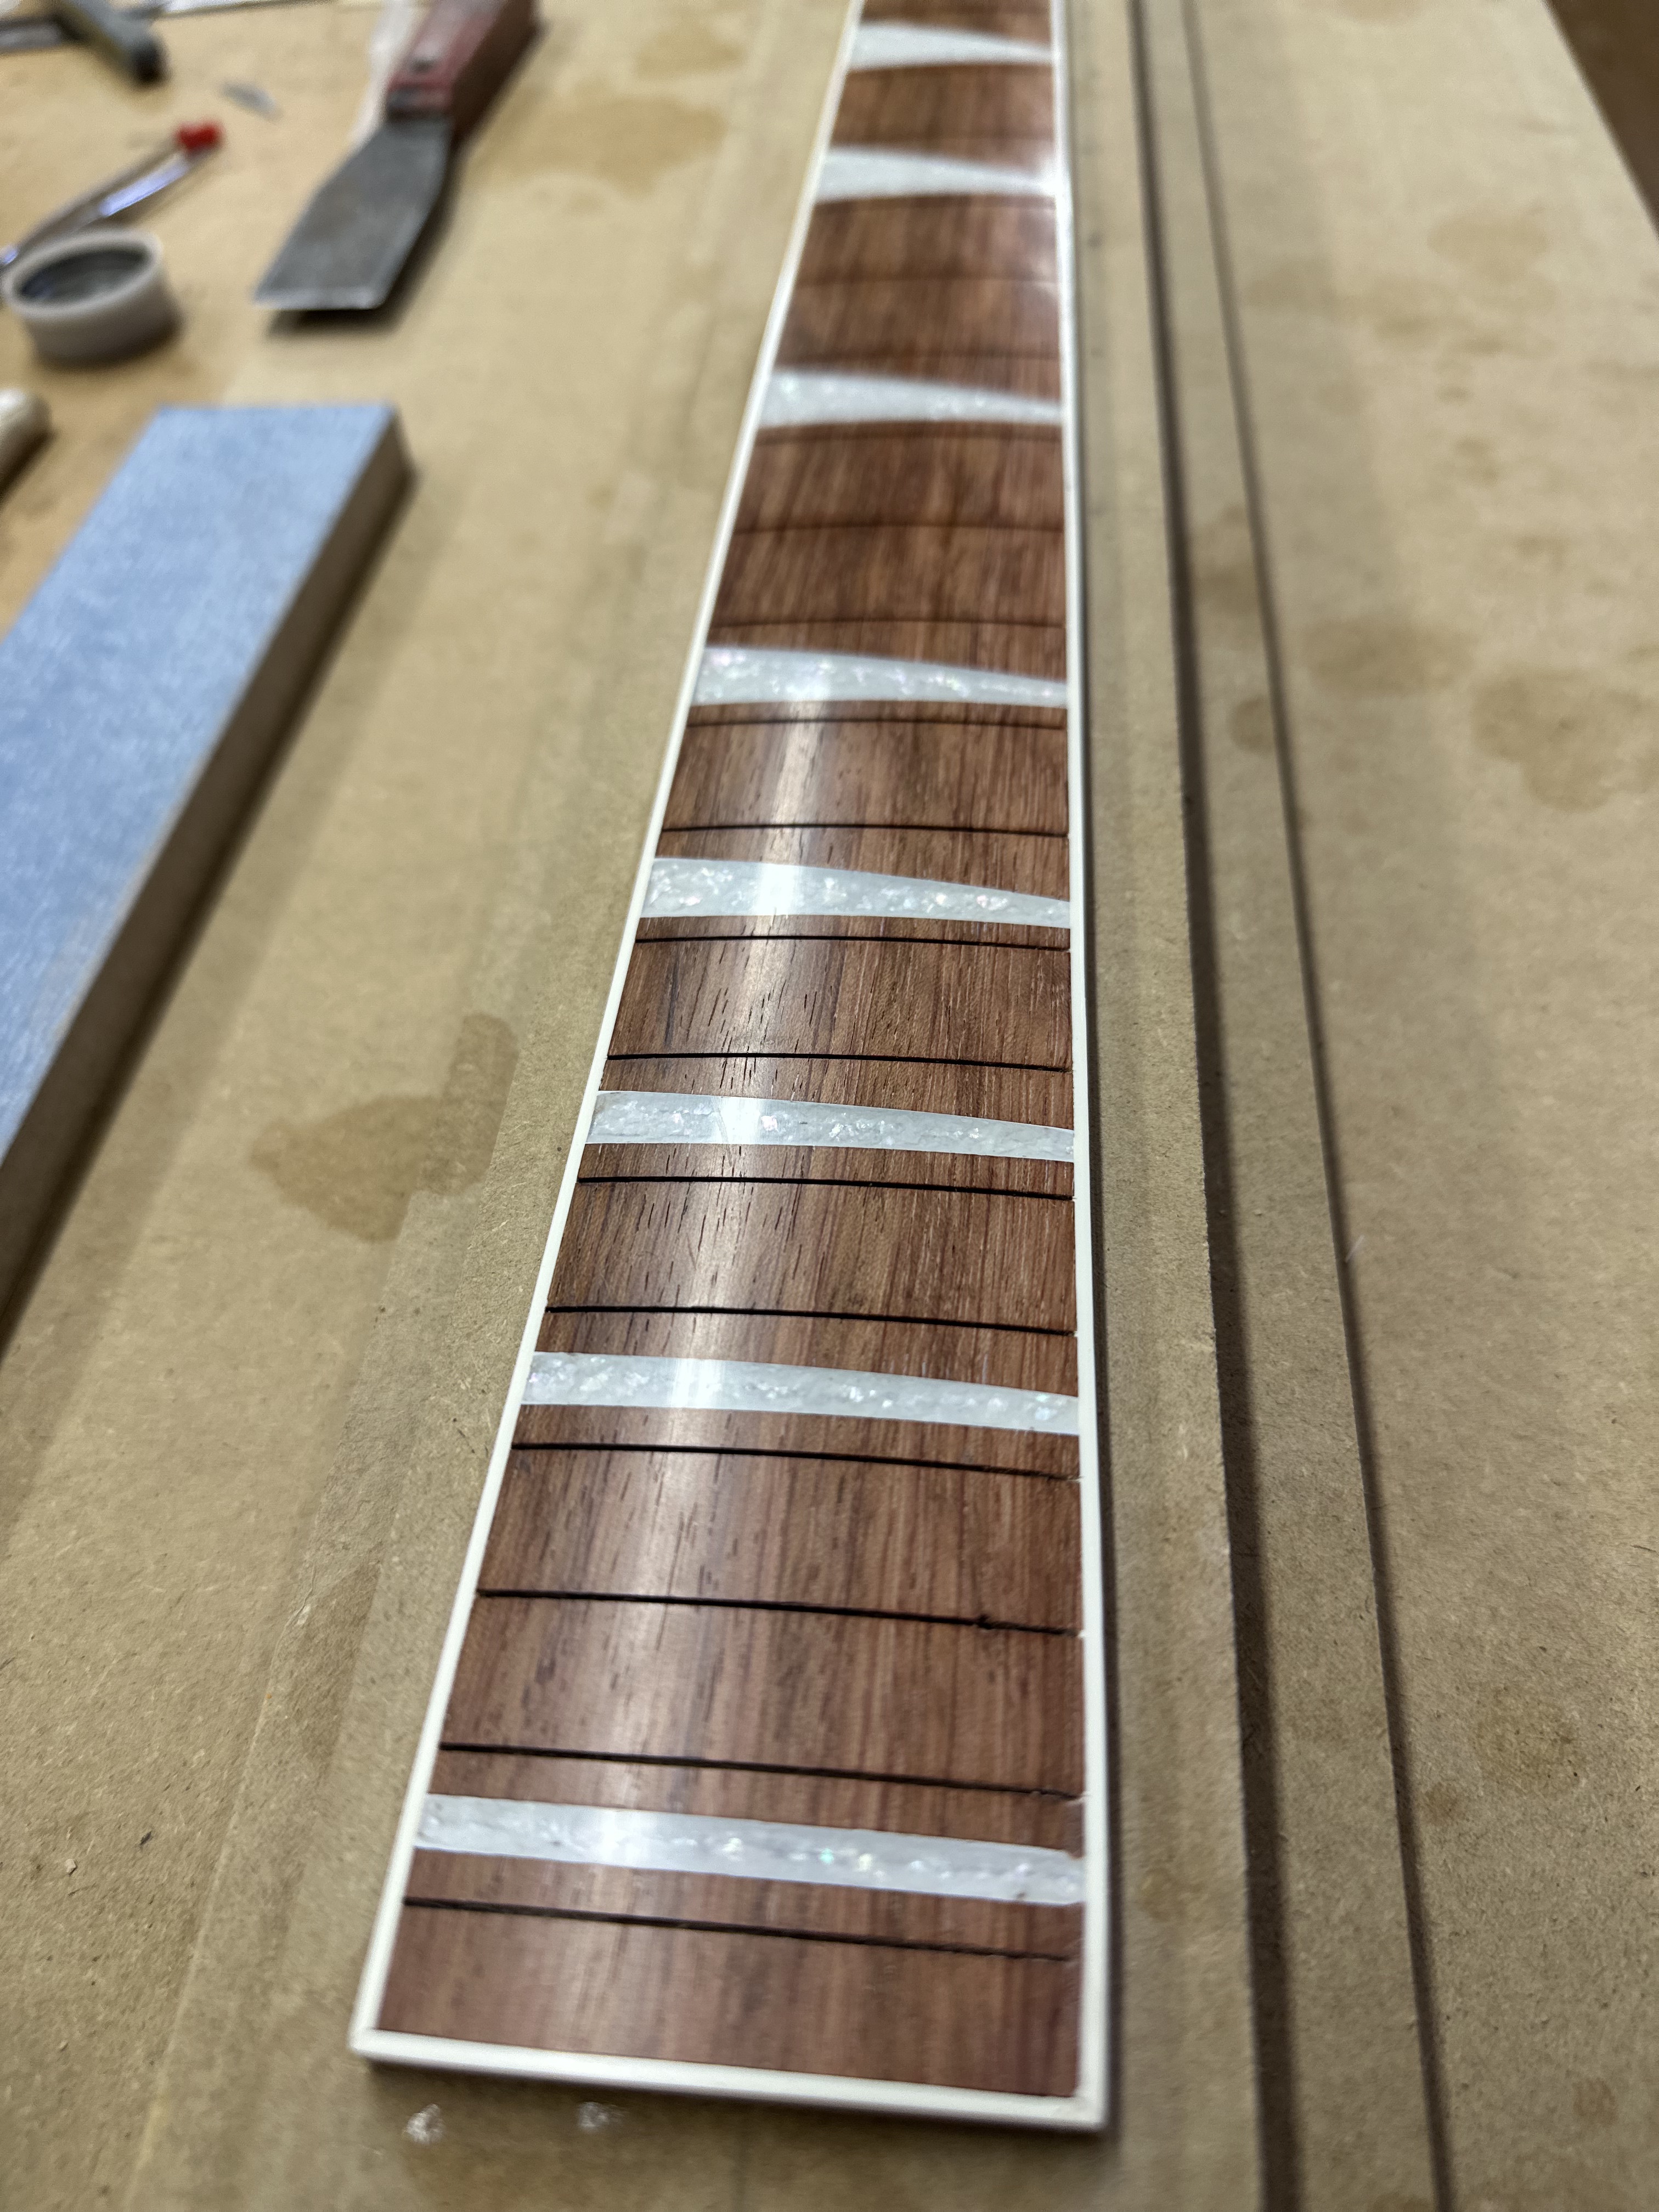
REALLY long time-no post, but I finally got the MOP/Resin inlays sorted, after multiple failed experiments with various materials. The winner ended up being crushed MOP submerged in Ultraclear Tabletop Epoxy. I still have a bit more polishing to do to get it back up to real water clear, but I'm bound to scuff it at some point between here and paint, so I'll leave it as-is for now. Finally ready to glue the fingerboard on so I can start carving the neck.
DZof3dq.jpg

rYkIZs5.jpg

Lkffy9M.jpg

ixTC2hf.jpg
 
REALLY long time-no post, but I finally got the MOP/Resin inlays sorted, after multiple failed experiments with various materials. The winner ended up being crushed MOP submerged in Ultraclear Tabletop Epoxy. I still have a bit more polishing to do to get it back up to real water clear, but I'm bound to scuff it at some point between here and paint, so I'll leave it as-is for now. Finally ready to glue the fingerboard on so I can start carving the neck.
DZof3dq.jpg

rYkIZs5.jpg

Lkffy9M.jpg

ixTC2hf.jpg
Those inlays look GORGEOUS to me, Alex. And man, seeing your bass almost complete makes me :drool::drool::drool:!
 
REALLY long time-no post, but I finally got the MOP/Resin inlays sorted, after multiple failed experiments with various materials. The winner ended up being crushed MOP submerged in Ultraclear Tabletop Epoxy. I still have a bit more polishing to do to get it back up to real water clear, but I'm bound to scuff it at some point between here and paint, so I'll leave it as-is for now. Finally ready to glue the fingerboard on so I can start carving the neck.
DZof3dq.jpg

rYkIZs5.jpg

Lkffy9M.jpg

ixTC2hf.jpg
Surely, the Rickenbacker "cresting wave" haedstock couldn't be made any cooler, could it? 🤔 Well, apparently, yes. Yes it can! 😍 That is absolutely lovely, mate. Top job! 👍🍻
 
  • Like
Reactions: Gilmourisgod
Surely, the Rickenbacker "cresting wave" haedstock couldn't be made any cooler, could it? 🤔 Well, apparently, yes. Yes it can! 😍 That is absolutely lovely, mate. Top job! 👍🍻
Good catch, @Wyrdlow! You're right the (white) bound headstock is stunning! We haven't seen that done since the 4002 - since the headstock binding on the 4002 basses was black, it was much more understated. THIS looks spectacular. :p
 
  • Like
Reactions: Wyrdlow
I understand why Ric doesn't do it, that one took me two attempts, didn't like how it came out the first time, so I had to route it off and try again. Getting binding to bend into that "hook" is a PITA! They hand-scrape the binding after color coat, which I have tried (and failed) to become proficient at, but I've found a vinyl masking tape that produces results nearly as good, with only very minor scraping. The women (it's almost always women, with their superior fine detail eye/hand coordination and patience) who do do it at Ric and Gibson are incredibly skilled. Alas, I am not, so I find workarounds.
 
Last edited:
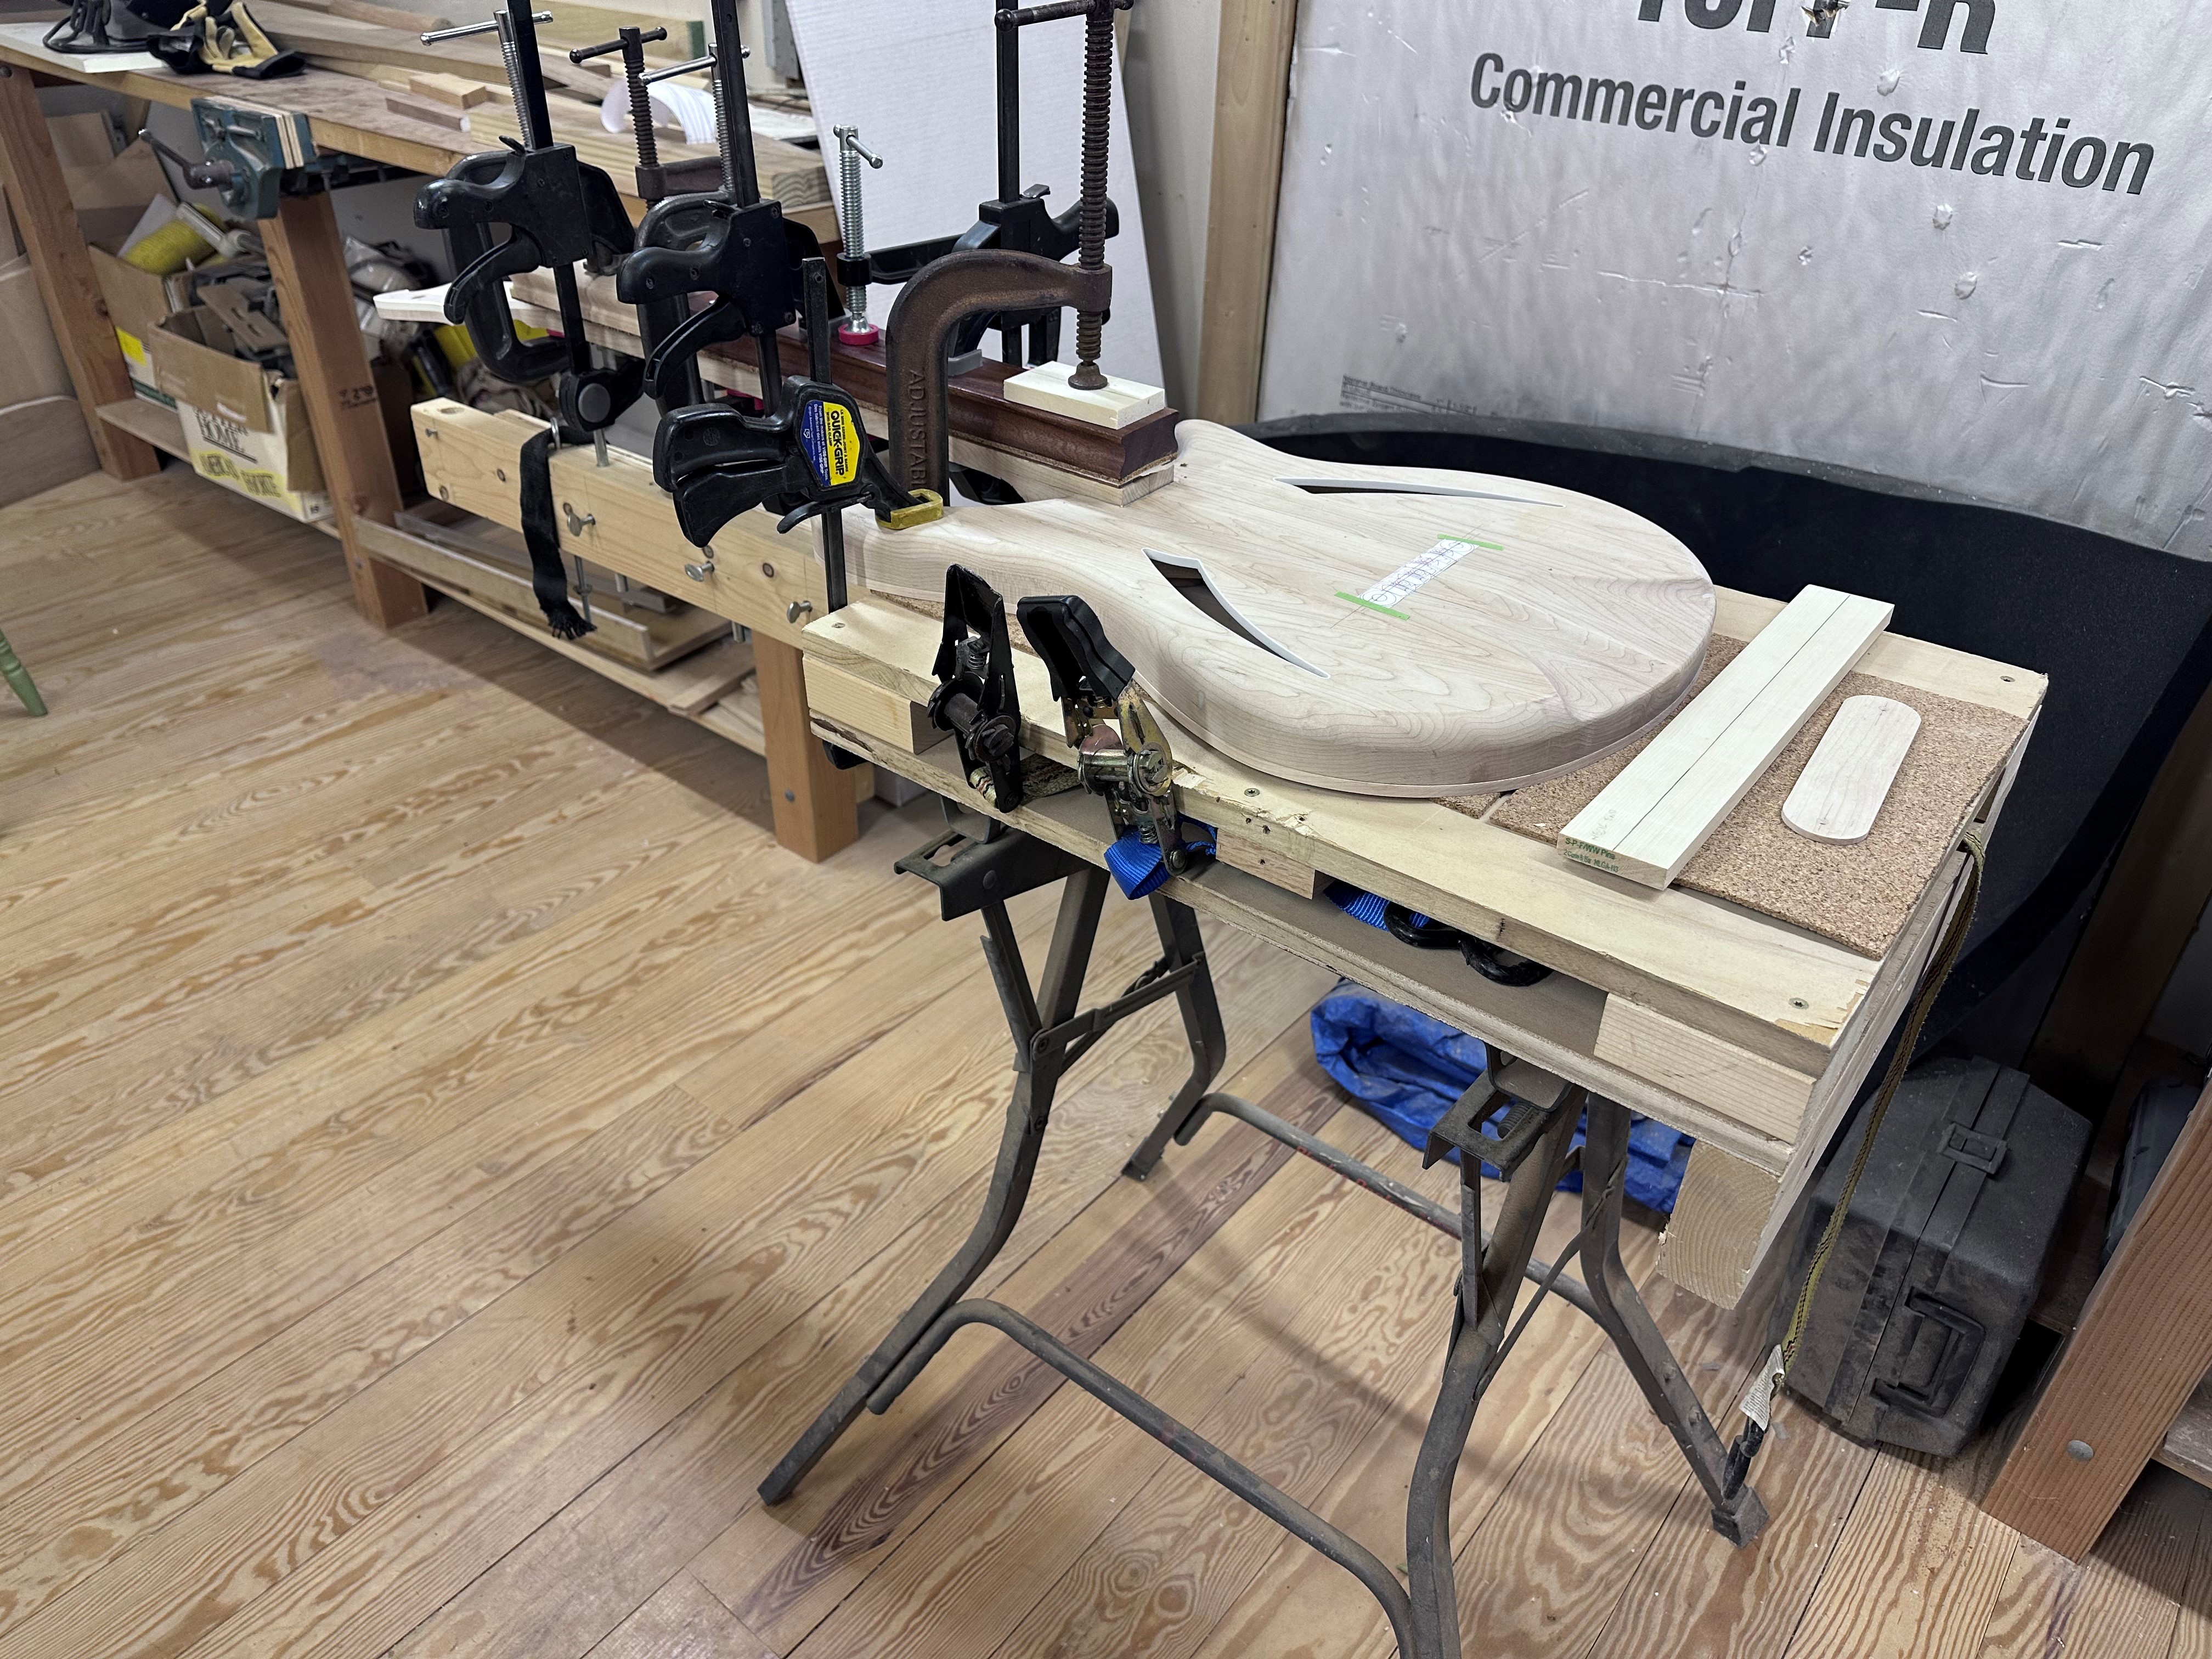
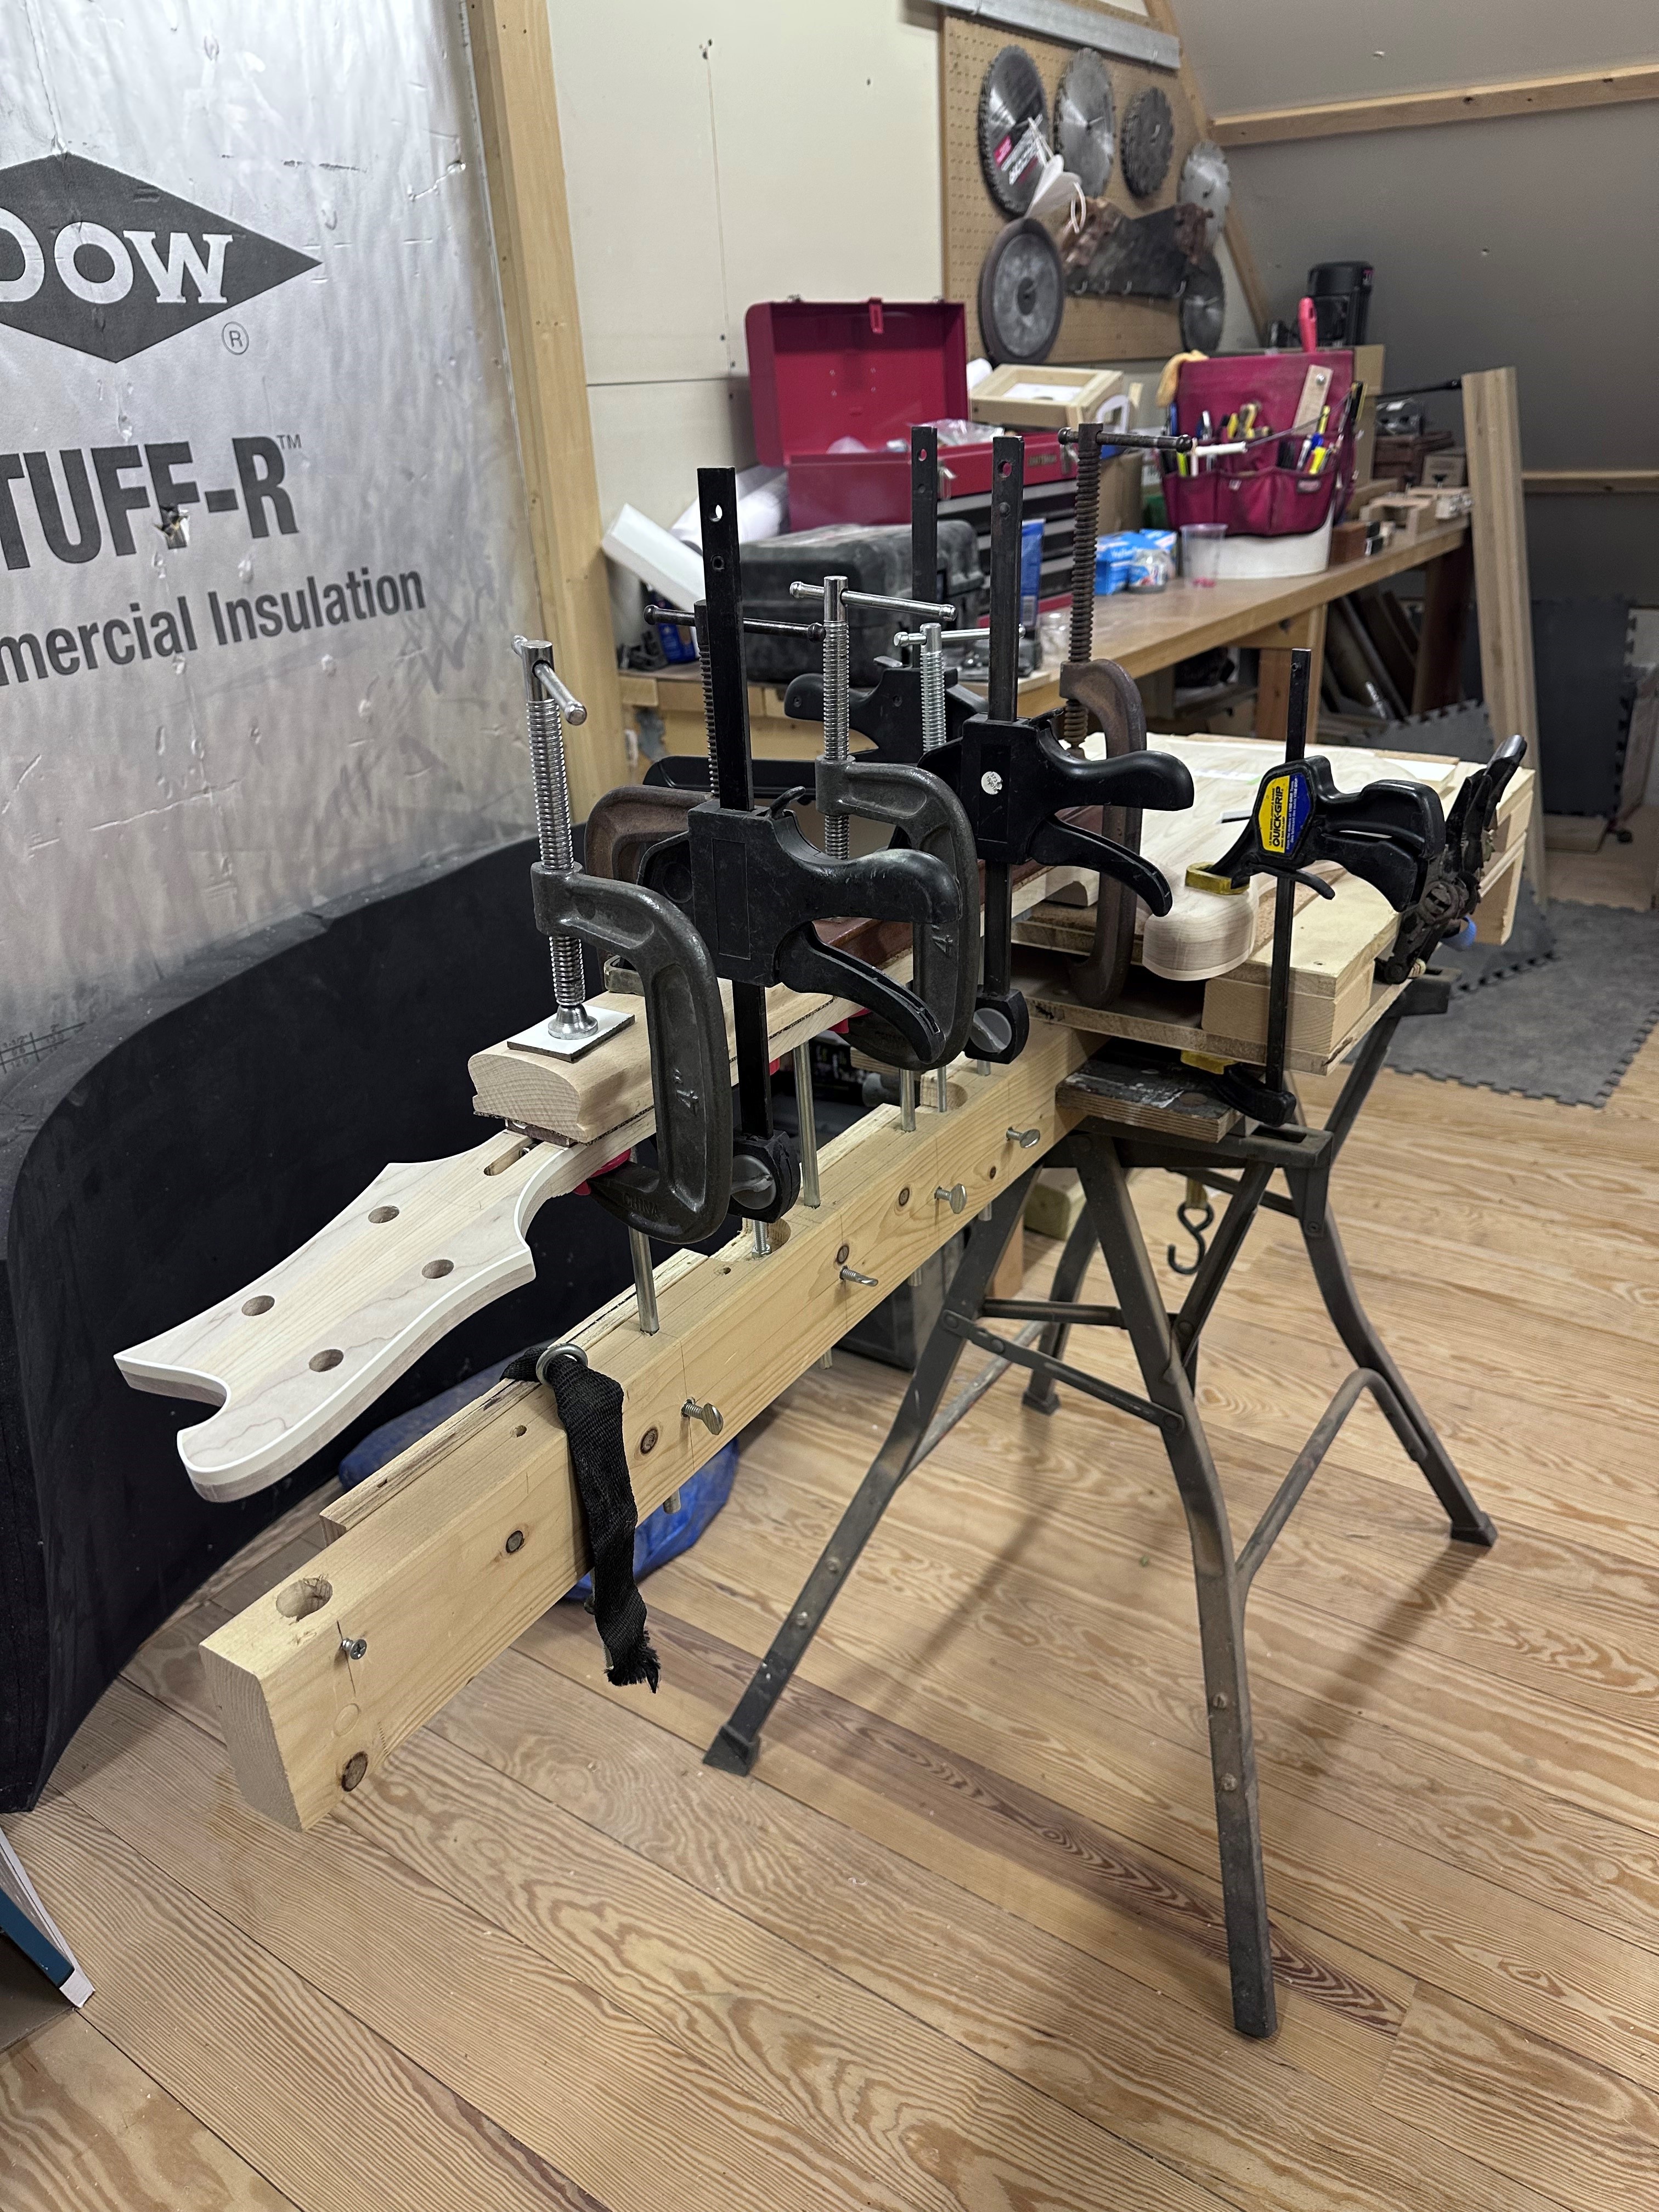
The Obligatory Clamp-Fest fingerboard glue-up. I built this knockoff of the Stewmac neck-jig a while back, complete with dial indicators to simulate string tension for fret leveling, but I've kind of given up on that process, it doesn't seem to result in any better fret leveling than just dialing in a dead flat neck and then leveling it. It is useful for keeping the neck deck flat for glue-ups, and to keep it from flexing at all during fret leveling. next up will be neck carving.
ToWzVcL.jpg

y8YdriX.jpg
 
The Obligatory Clamp-Fest fingerboard glue-up. I built this knockoff of the Stewmac neck-jig a while back, complete with dial indicators to simulate string tension for fret leveling, but I've kind of given up on that process, it doesn't seem to result in any better fret leveling than just dialing in a dead flat neck and then leveling it. It is useful for keeping the neck deck flat for glue-ups, and to keep it from flexing at all during fret leveling. next up will be neck carving.
ToWzVcL.jpg

y8YdriX.jpg
:D
 
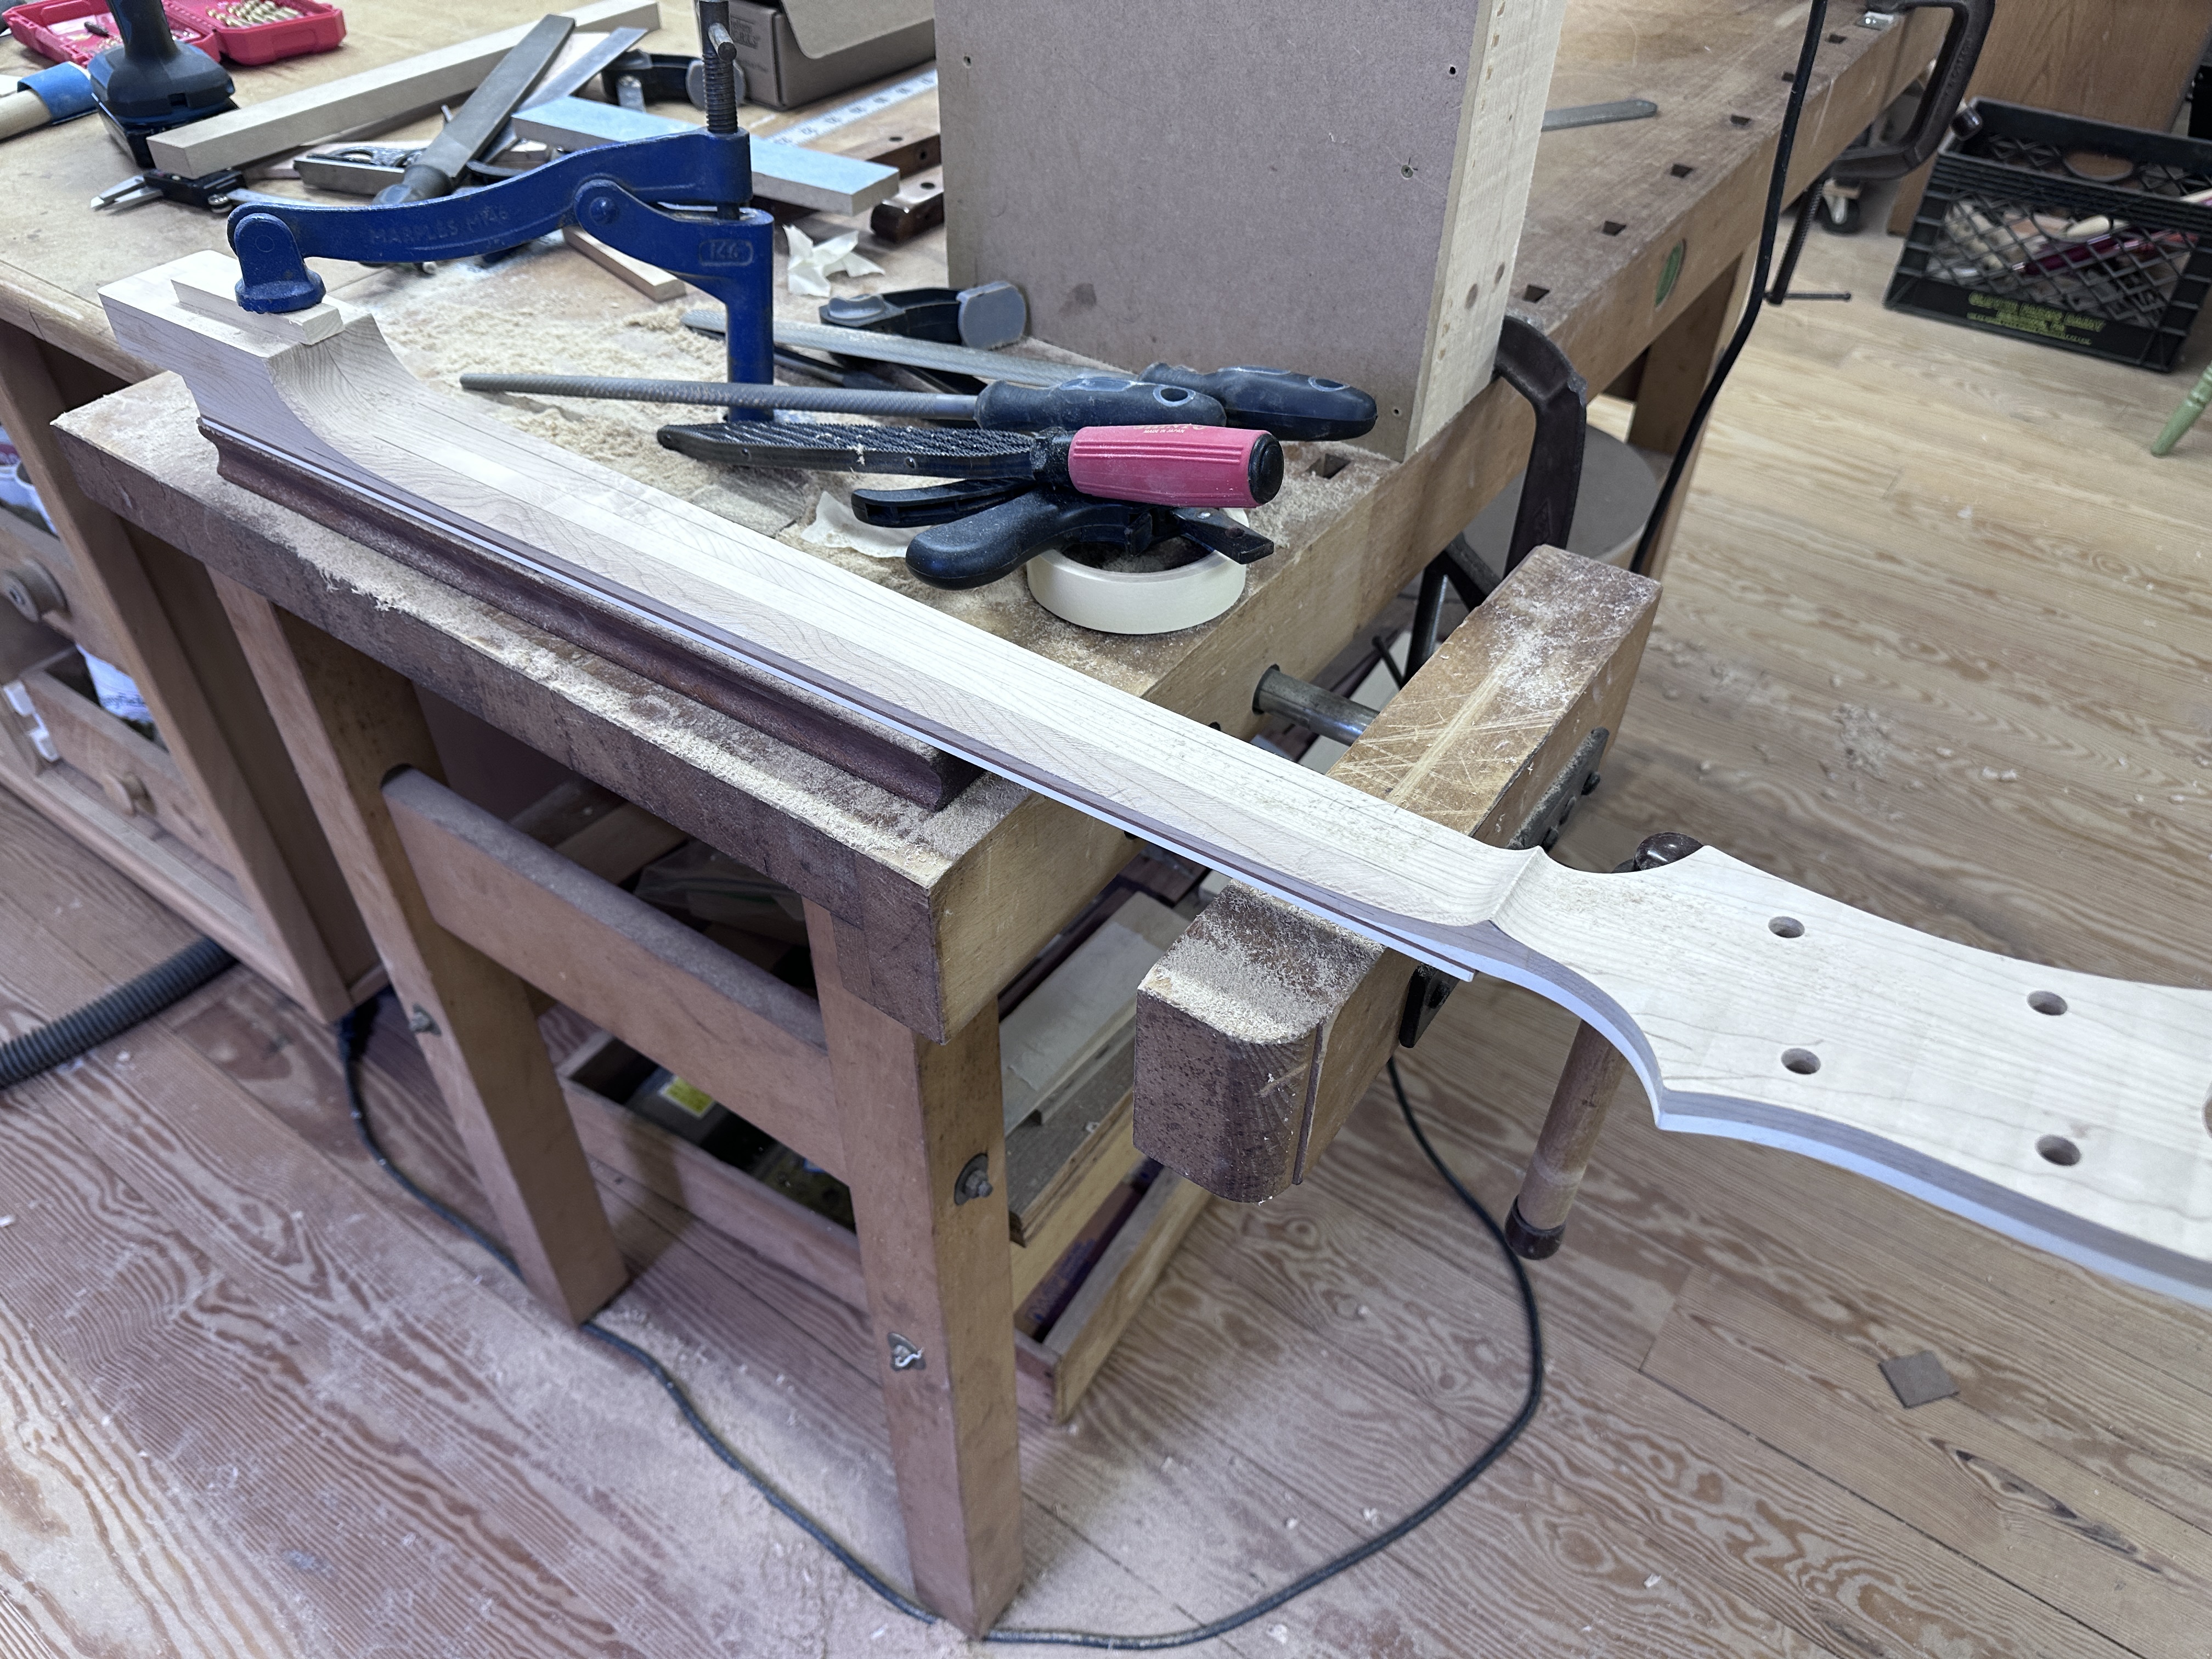
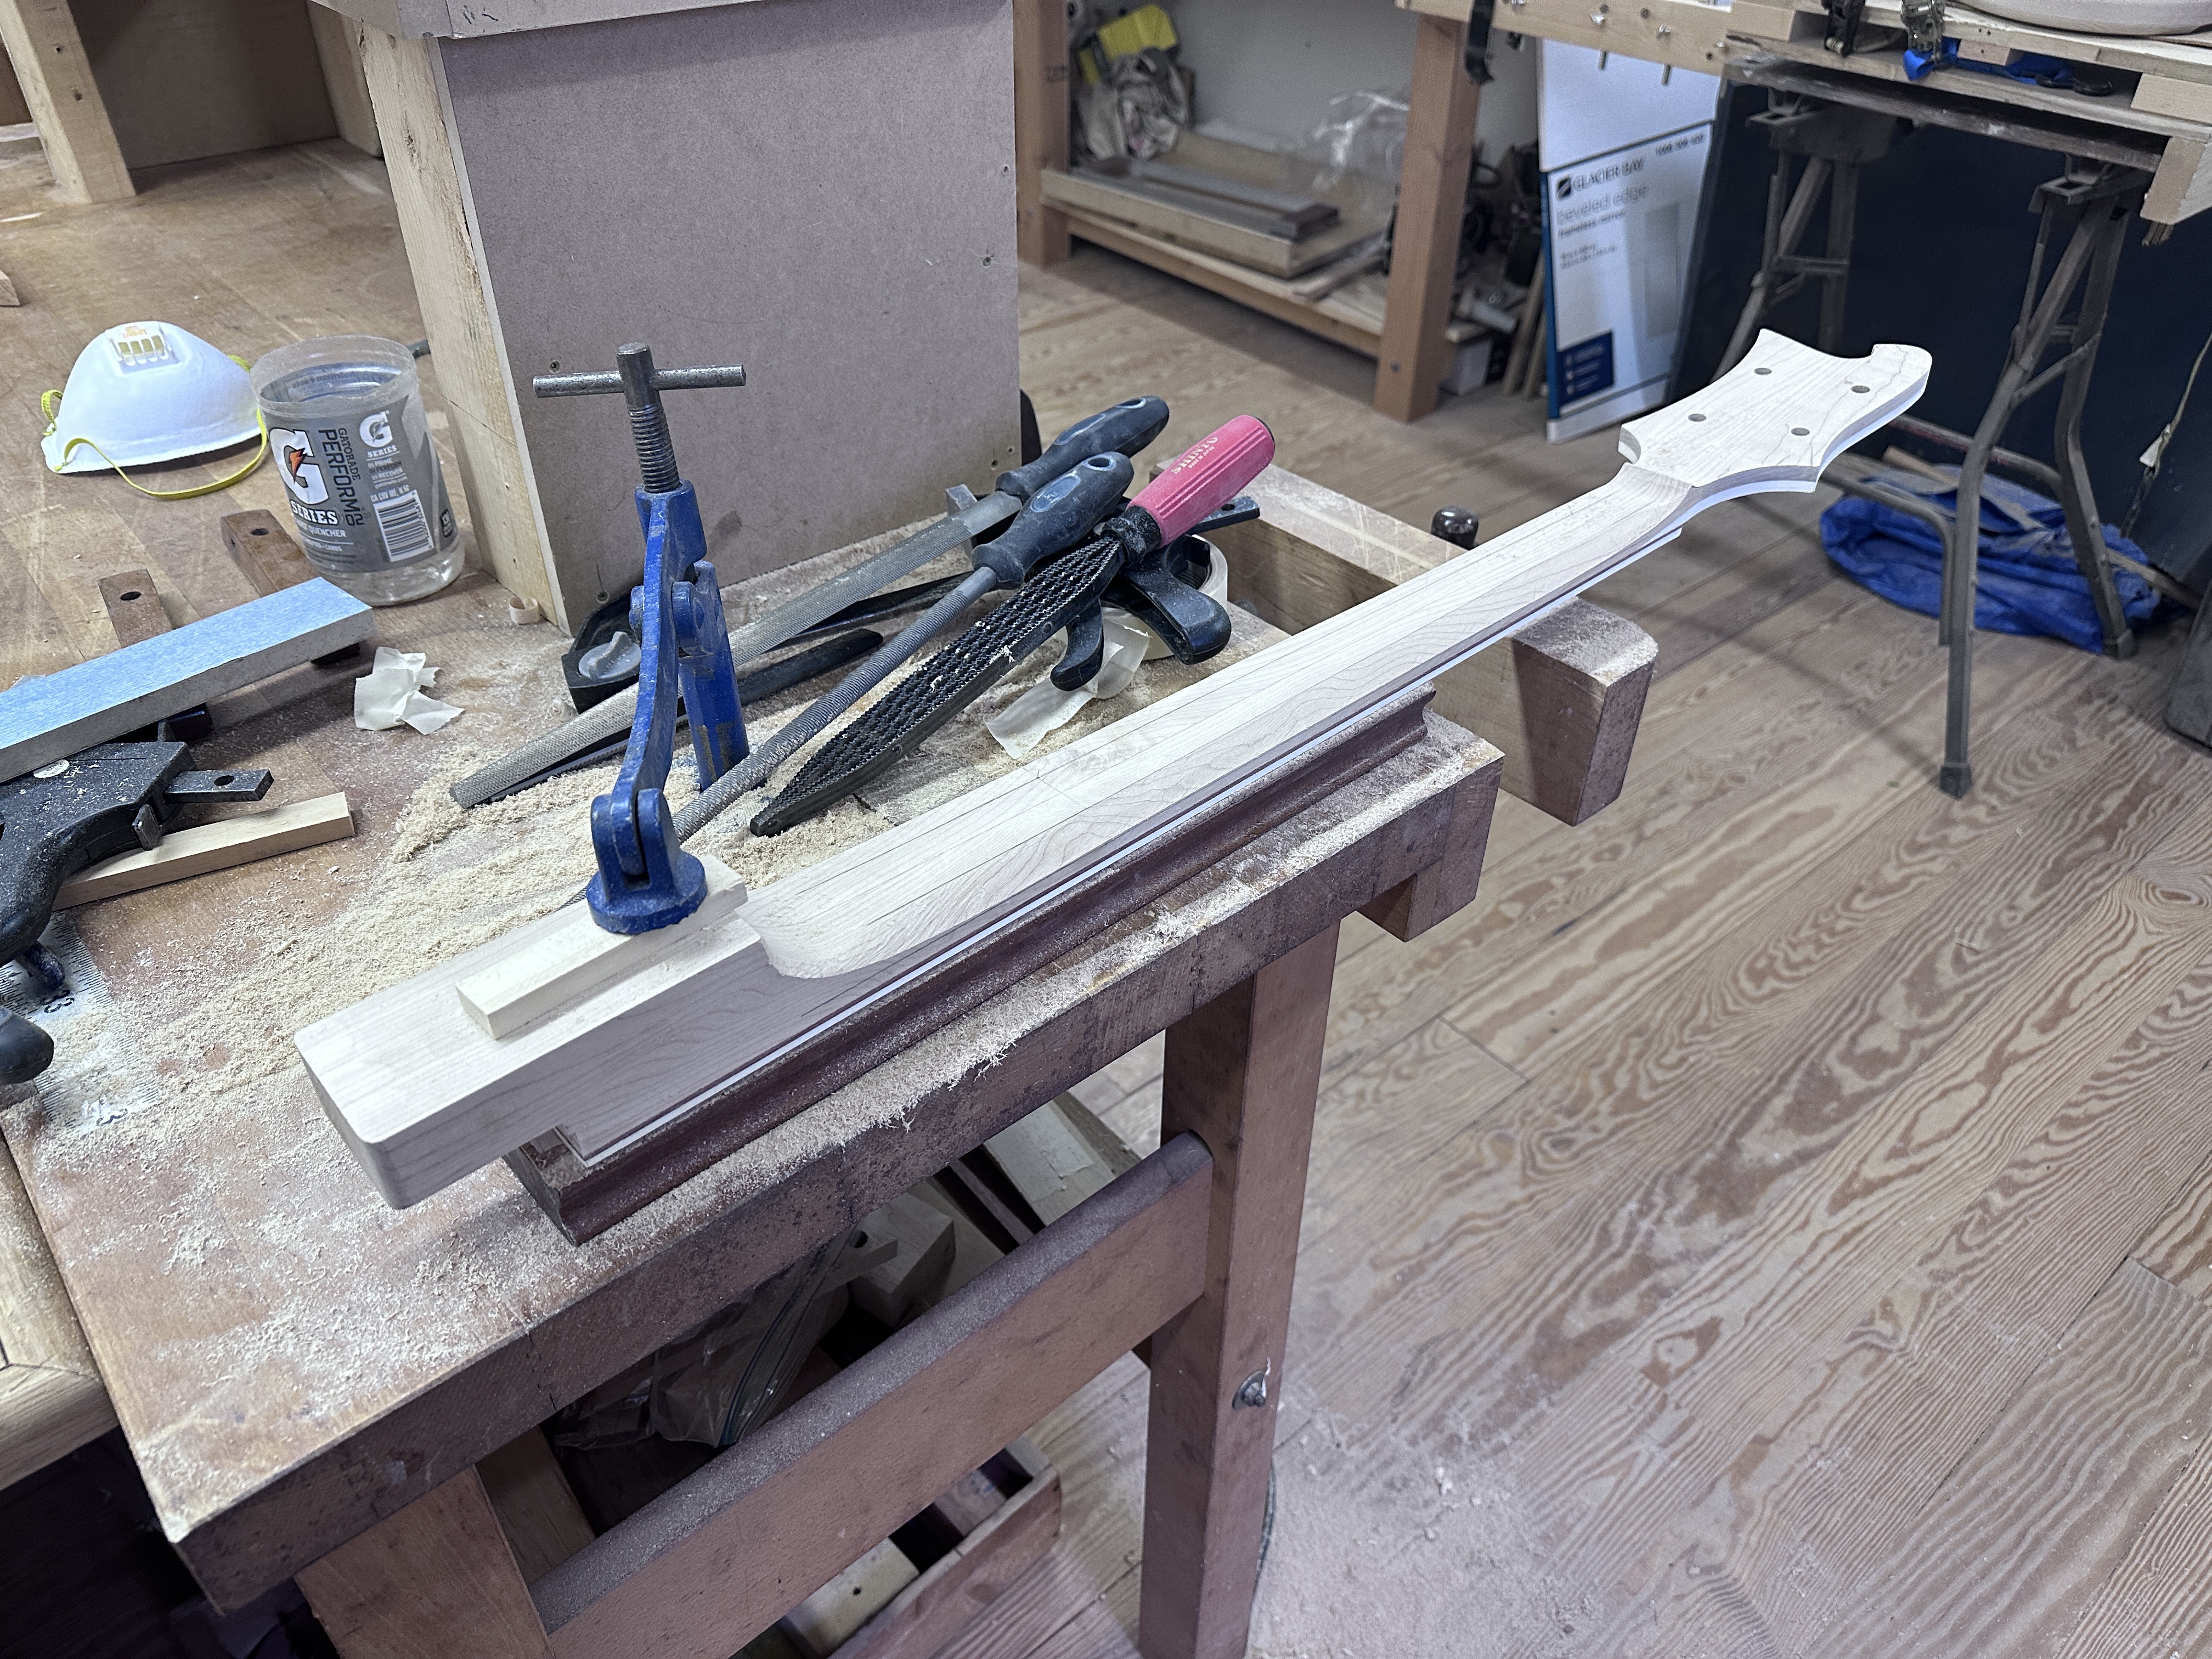
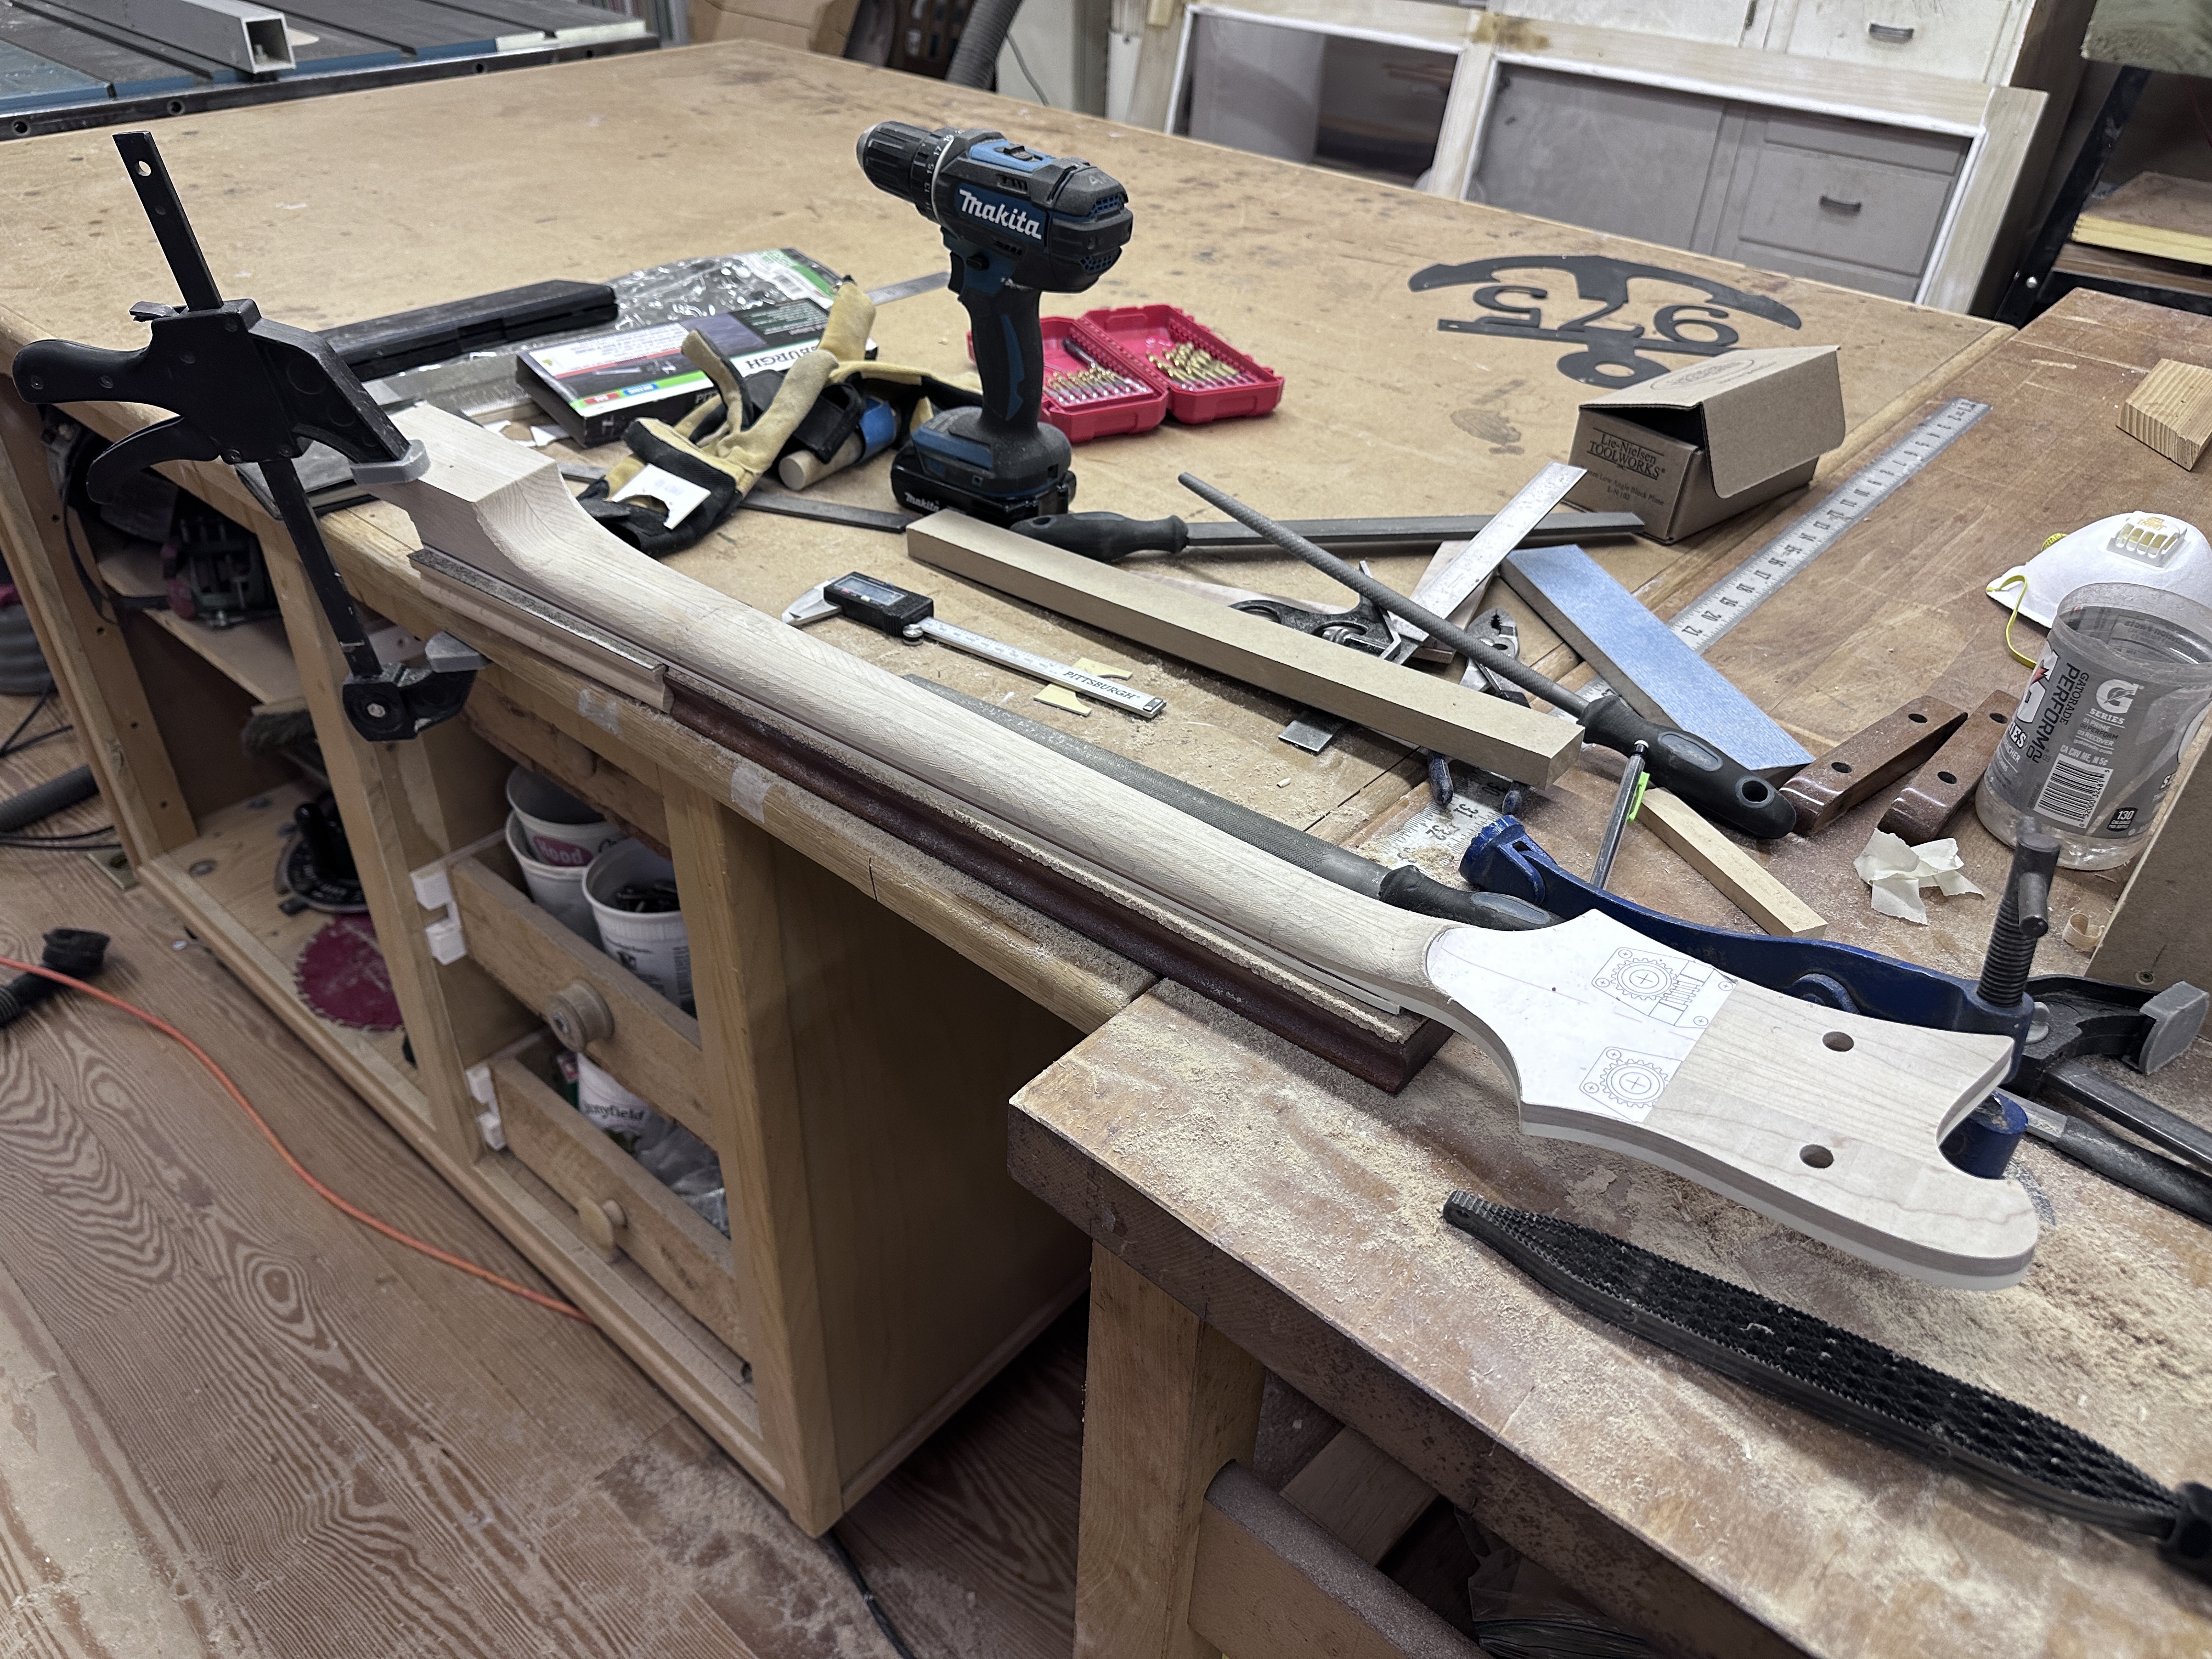
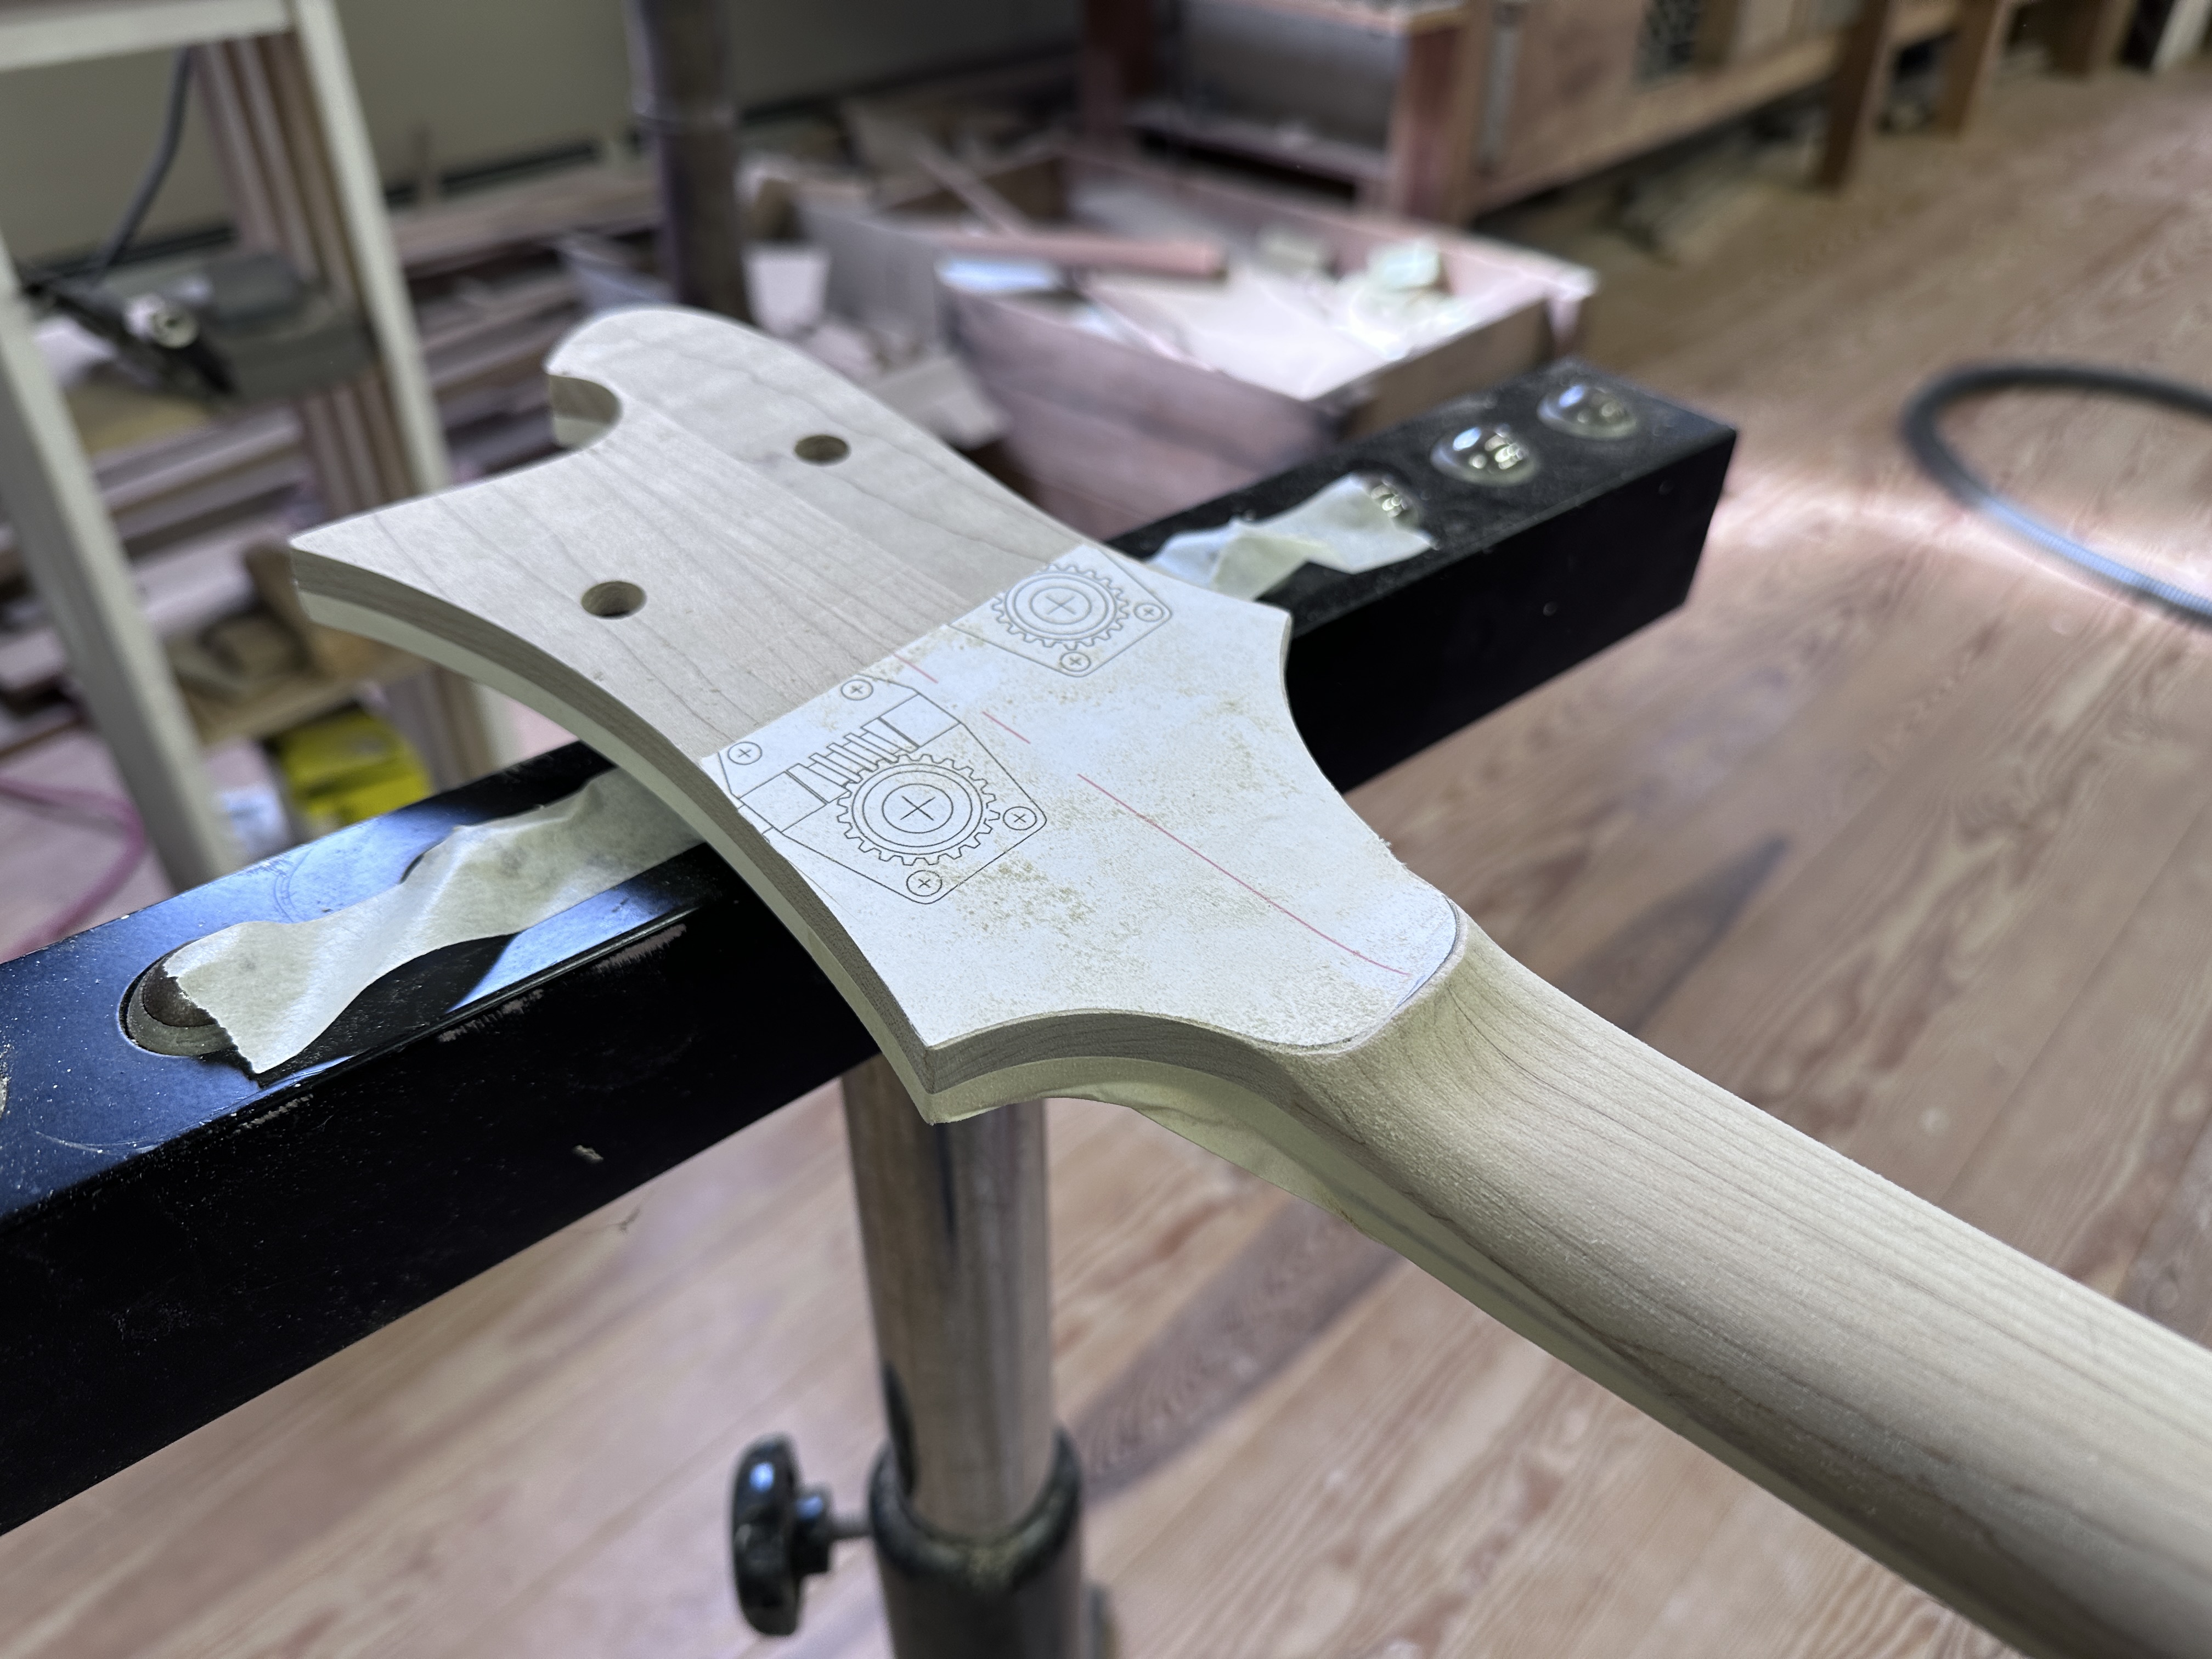
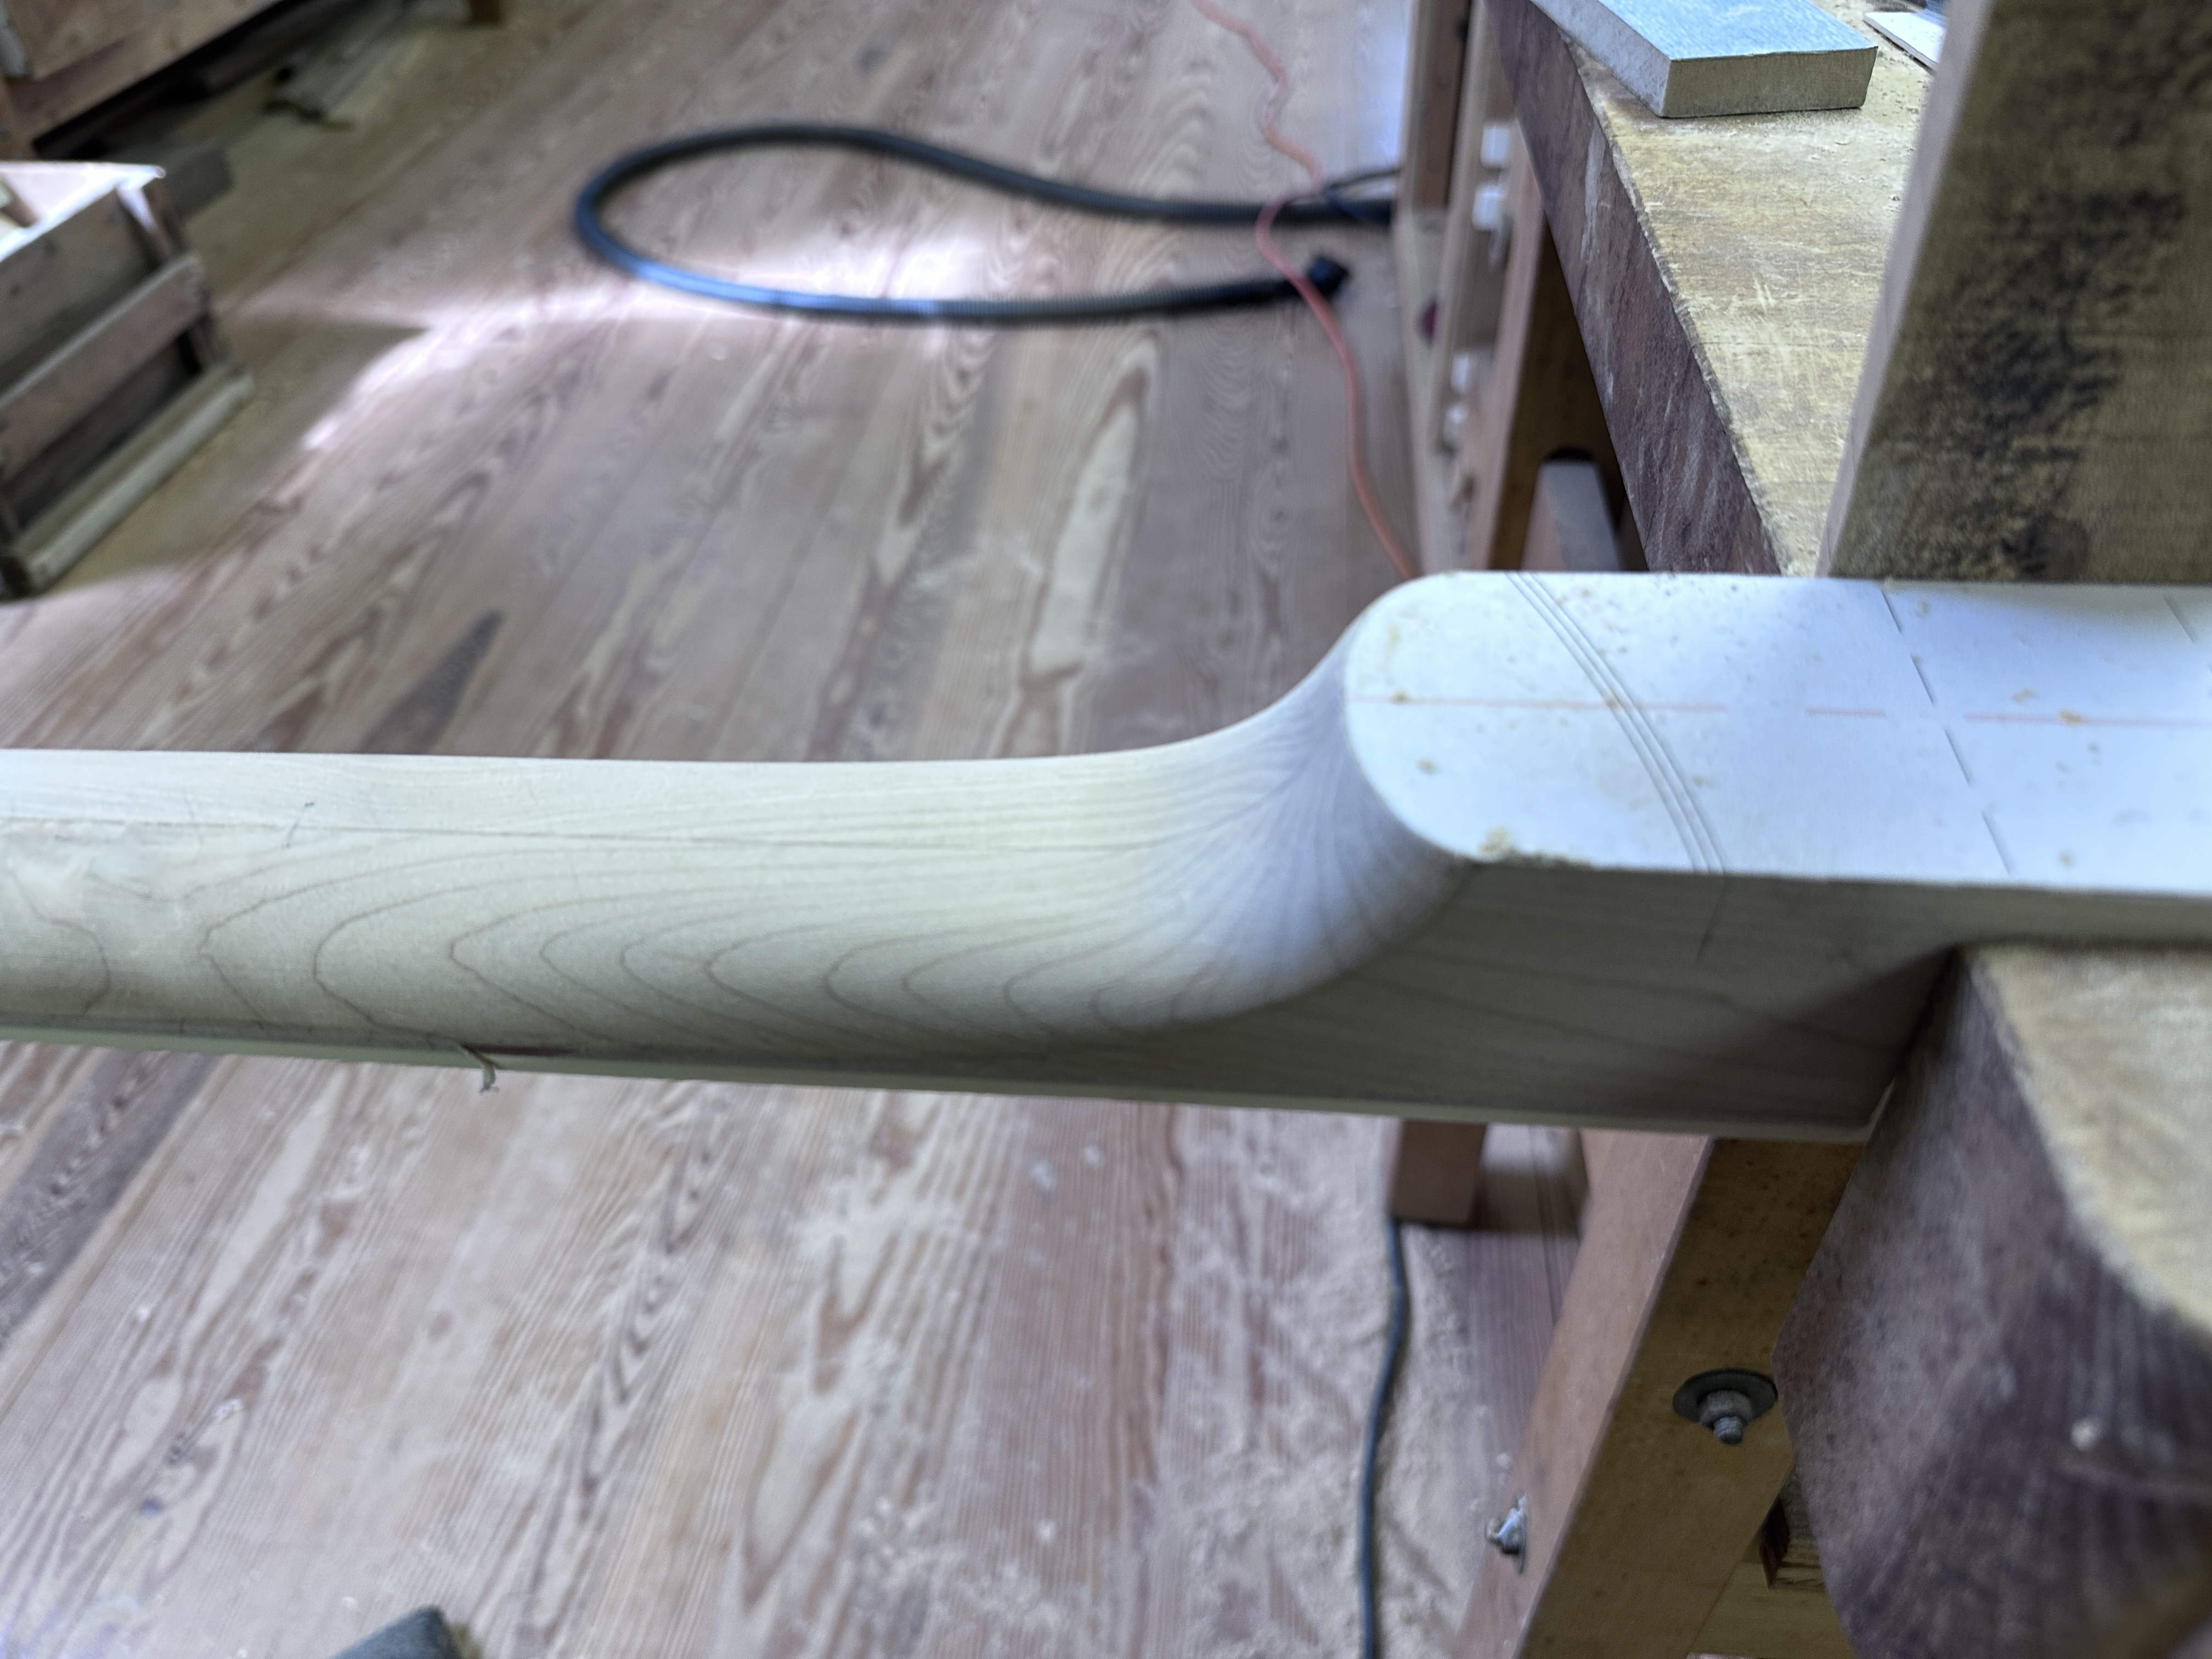
At last.... neck carving. I use the Facet Method, which just works for me. Still some refinement work to do on the volute and heel, and then the endless sanding, but the worst is done. I always forget what a physical workout this is! I need to take my time with this, I've rushed it in the past and regretted it. I just need to sit with it once it's strung up the first time, close my eyes, and let my hand tell me what needs further work. There's ALWAYS soemthing....
iR5Iyie.jpg

uAOZLCt.jpg

yn3tfRy.jpg

0ZmvTUB.jpg

1QN8NB2.jpg

QdrpJcf.jpg


And the final sad little pile of sawdust after hours of work.... half of it up my nose, seemingly.
z1KxYuc.jpg
 
Last edited:
At last.... neck carving. I use the Facet Method, which just works for me. Still some refinement work to do on the volute and heel, and then the endless sanding, but the worst is done. I always forget what a physical workout this is! I need to take my time with this, I've rushed it in the past and regretted it. I just need to sit with it once it's strung up the first time, close my eyes, and let my hand tell me what needs further work. There's ALWAYS soemthing....
iR5Iyie.jpg

uAOZLCt.jpg

yn3tfRy.jpg

0ZmvTUB.jpg

1QN8NB2.jpg

QdrpJcf.jpg


And the final sad little pile of sawdust after hours of work.... half of it up my nose, seemingly.
z1KxYuc.jpg
Getting closer, Alex! :D
 
  • Like
Reactions: Gilmourisgod
Nobody does Glacial Progress like me. Now it has to compete with Boar Season. Again!
This is a little funny - I just began neck profile carving on my Glacial Progress guitar. I think it's now a bit over two years since Dad and I began the project. I am using the facet method as well, results remain to be seen but I'm optimistic.

Yours looks really nice!
 
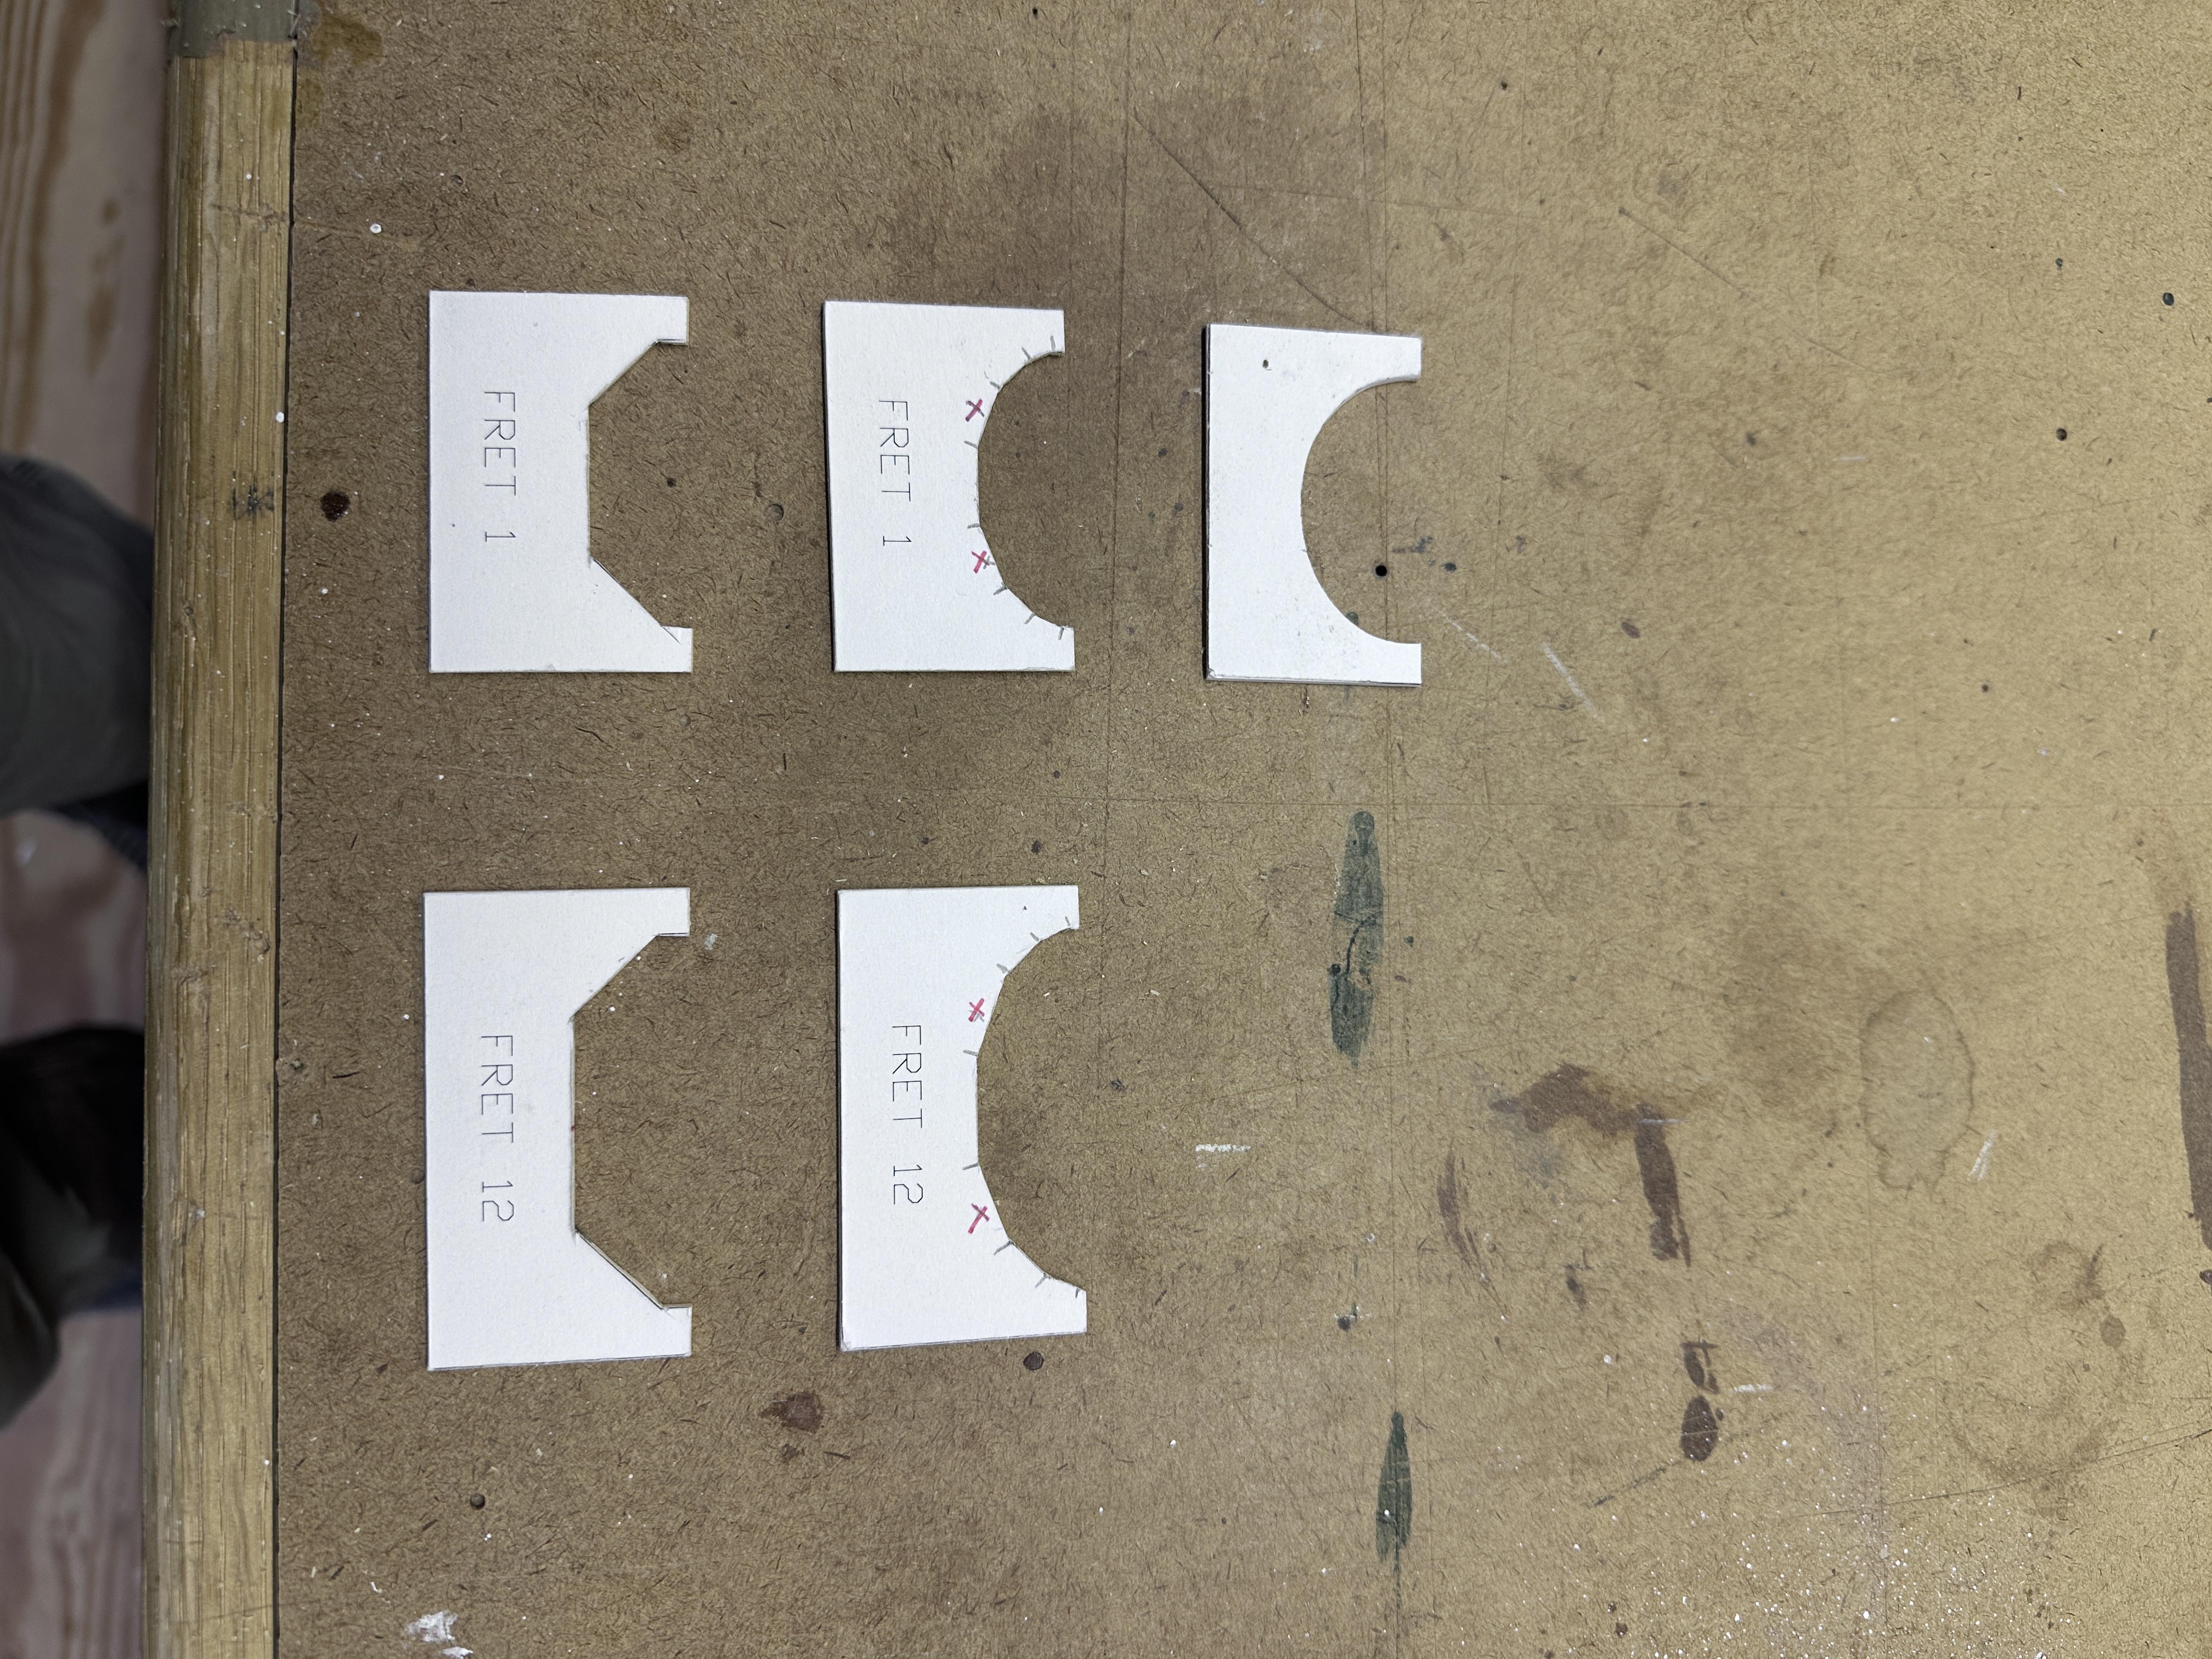
I honestly don't get how people do the "Connect the Dots" method, where you carve a short section of neck at the nut and heel and then connect the two. Seems like a recipe for error. With the Facet method, it's all drawing straight lines and filing increasingly incremental flats, so you can check for neck straightness at every stage of the carve. I also know exactly where I am relative to the trussrod too, I have yet to burn through to one and trash the neck.
 
  • Like
Reactions: Isaac_James
I honestly don't get how people do the "Connect the Dots" method, where you carve a short section of neck at the nut and heel and then connect the two. Seems like a recipe for error. With the Facet method, it's all drawing straight lines and filing increasingly incremental flats, so you can check for neck straightness at every stage of the carve. I also know exactly where I am relative to the trussrod too, I have yet to burn through to one and trash the neck.
I'm still half convinced I'm going to mess something up - I've already got a spot on the top of the neck near the 7th fret where I sanded too deep and put a shallow divot in it, but I'm hoping that it being on the top and most of it being in the area that's going to be cut away with the neck profile anyway means it won't make the whole thing unplayable.
 
  • Like
Reactions: Gilmourisgod
I think this took me about 4 hours of slow, careful work, obsessively checking with a straight edge to make sure I wasn't making any low spots. Still at least another couple hours of final tweaking and sanding up to 320 grit. I put a lot of pencil "witness" lines on it at each facet so I can see if I'm angling the file, or get outside my lines. The fine tooth side of the Shinto is great for most of this, the coarse side really chews it up, I really don't use it. I have a set of cheap Harbor Freight cross-hatch pattern rasps that seem to work just as well as my more expensive files, as long as you file card them every few strokes. It's all pretty nerve wracking after all the hours building the neck and fingerboard, and so easy to eff it all up with one second of inattention. I got away with it this time!