T-Bird for blues? BLASPHEMY!!
you can borrow my pink Rick&Barker next time

TalkBass has been independent since 1998. Add your voice.
Create a free account to reply to discussions, view embedded media, and browse with fewer display ads.
Join free Log in
Want zero display ads or expanded classifieds tools? Compare plans.
T-Bird for blues? BLASPHEMY!!

T-Bird for blues? BLASPHEMY!!
I prefered speed but hey whatever floats your boatPunk is just blues on meth

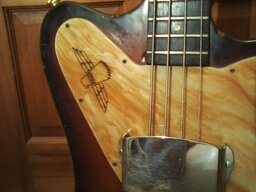
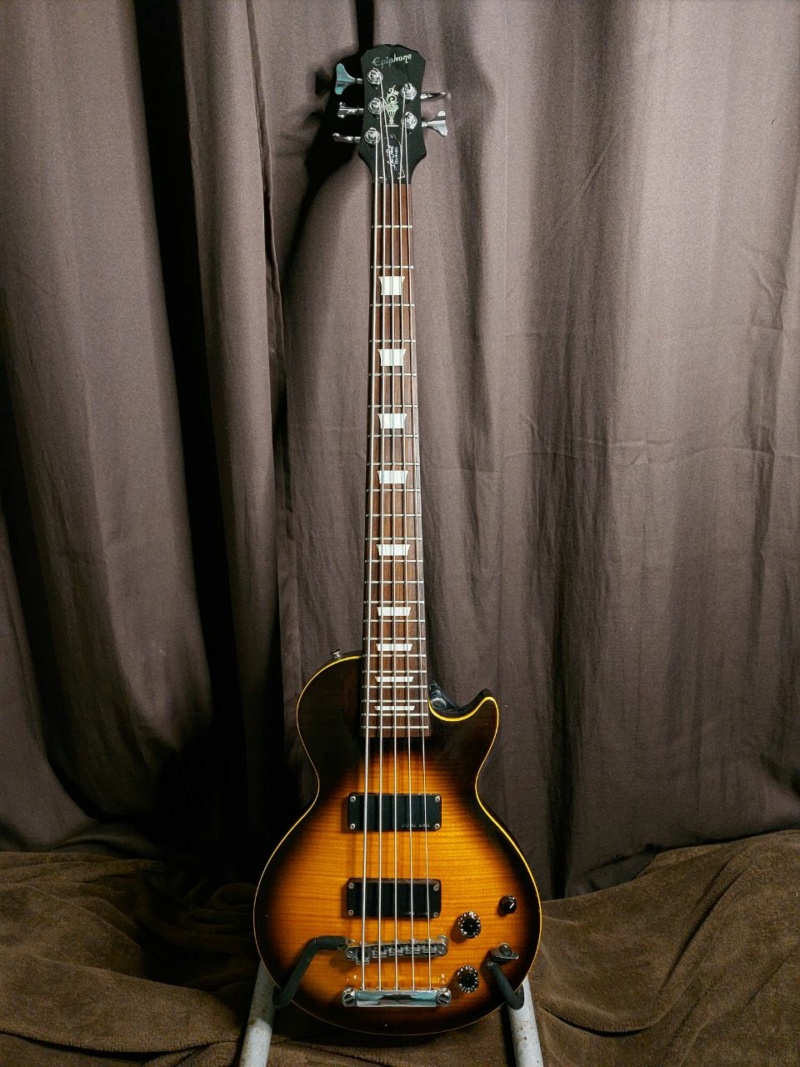
I bought mine 'cos it's a 5er.Once, had chance to buy one Epiphone LP bass model (same fella who sold EB3 to me); I just didn't buy because it was 5er

T-Bird for blues? BLASPHEMY!!

Not his ear that is pierced...For an instant, I thought old you had an ear piercing!
Dean going with the "I dare you to Cease & Desist me" strategy...and of course….TT!..
View attachment 4716034
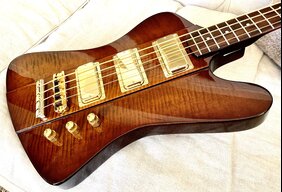
You and your hobbies!You didn't see his collection of tools in the garage.......
Of course then there's the model trains.

T-Bird for blues? BLASPHEMY!!
Fragile - must be an Italian major award...
Chances are you don’t have a dog. There’s a specific method for setting up a three point bridge that usually ends well. Try this, it’s something I clipped from TB some time ago and modified heavily that has proven to be spot on for all my Gibby needsIm having a real tough time getting a good set up on my Epiphone Vintage Pro. I can't identify any raised frets, yet still getting fret buzz.
I play with a pick and have strung with EB Regular (105-50) Slinkies.
Im having to put too much neck relief or too high action for comfort. I can manage a low fast set up with P and J styles but new to T-Birds and its just not happening. Are they all like this or have I got a dog?
Warning: no TBd related.
I could have chosen to receive the bass at home, but as I love aviation, I ask to pick it up at the carrier's warehouse (freight is cheaper too); here we go:

T-Bird for blues? BLASPHEMY!!

T-Bird for blues? BLASPHEMY!!
I don't think that those B727s would inspire a lot of confidence in passengers...
Ahem.If they can't hear you, make sure they can feel you.

Chances are you don’t have a dog. There’s a specific method for setting up a three point bridge that usually ends well. Try this, it’s something I clipped from TB some time ago and modified heavily that has proven to be spot on for all my Gibby needs
Do this...
1. Loosen the strings to a slack setting then adjust your truss rod to create a slight back bow. From a dead straight neck position it might take two or three 1/3 clockwise turns. BTW, it's clockwise as seen from the headstock end of the bass looking down the neck towards the bridge.
2. Next, lower your bridge until the rear of the bridge is just off the body and the front of the bridge is about 1/8" higher than the rear.
3. Bring your strings up to tension and tune each string (don't worry about intonation yet).
4. Now check your action around the 15th and higher frets to see if it's comfortable for you without any or too much buzz (some players don't mind a little buzz). Don't worry about buzzing in the lower registers at this point. Raise your bridge as necessary to eliminate unwanted fret buzz in the 15th to end of fretboard area but always make sure the front stud is keeping the front of the bridge at least 1/8" higher than the rear of the bridge.
Note: the saddles on the 3 point bridge are specific in height to each string to ensure the strings match the FB radius, they are sequentially numbered so check to make sure each one is in the proper position. Also note that it is much easier on you, the studs and your stud inserts to slightly loosen the strings before raising the bridge height. Yes that means you'll need to retune after each adjustment. As an alternate, you can start step 4 with the bridge in a higher position and keep lowering and tuning until you get the level of buzz in the 15th and higher frets that suits you. Just be sure to always keep the front stud higher than the rears.
5. Now you've got your bass retuned with a lower action at the high frets. Your lower frets will now either buzz (see 6a for the subsequent steps) or the action will still be too high even in the low registers (see 6b for the subsequent steps).
6a: Low Register buzzes: You need to loosen the truss rod. Take off the truss rod cover and insert an allen wrench in the allen nut (the cheaper Epis generally have allen nuts). Don't detune the bass for that, rather lift the A and the D string to the side to the slots of the G and E string to have room for turning the allen wrench. With the bass' butt resting on your toes and the strings/fretboard facing away from you, you - while standing up and looking down - will now turn the allen wrench counterclockwise maybe 1/3 of a turn and immediately look to find out how the action of the bass has altered and buzzing has become less or disappeared. Don't be scared of overdoing it - it is impossible to break a truss rod by loosening it as you are releasing tension. That said, one or two "one third turns" counterclockwise should do it. sometimes you will need a few more of those to actually adjust the bass if the neck is too straight or even curved away from the fretboard (called back bow).
6b: Low Register has too much action: Same as 6a, except that you have too tighten the truss rod now which is done by turning the allen wrench clockwise. You will also have to be more careful as you can break a trussrod by overtightening it. When tightening a truss rod its best to slacken the strings a bit first, then make your truss adjustment followed by retuning and checking to see if your adjustment eliminated unwanted fret buzz.
7. After a combination of either steps 5 and 6a or steps 5 and 6b you should have a relatively or even totally buzz free bass with good to reasonable action. If there is still some persistent buzzing at some places then raise the bridge a little. Raising the front stud will raise all strings (remember to slacken the strings first then after raising the front stud retune the bass). Raising the treble side rear stud just a very tiny bit more may help the D and G string, or raising the bass side rear stud just a tiny bit more may help the E and A strings. The bridge does not have to be dead level but it should be very very close.
8. You should be done... but if you're still getting buzzing just on one string (while the other strings are buzz-free) and you have to raise the bridge considerably to make it go away even though you could stay much lower if it were just for the other strings, then double check you're saddles to ensure they're in the proper sequence. In a pinch you might be able to swap the D and A saddles but only as a last resort. If you still have unwanted buzzing then your low action expectations may be too much or you might have a string or fret level or neck hump problem. See step 9 for string checking. For fret level or twisted neck or neck hump or ski jump problems find a good luthier and see if they can fix the problem.
9. Occasionally it's possible to twist a string when installing a them on a bass. A twisted string can potentially have an odd oscillation that may make it vibrate in more of an elliptical pattern vs a flatter pattern. In some cases the effect is great enough to cause fret buzz on that specific string. To fix this, detune the string and starting at the nut pinch the string between your fingers and slowly slide down the string towards the bridge allowing the ball end of the string to spin as needed to eliminate any accidental twist you may have put in the string when installing. Once untwisted, hold the ball end in position and retune the string without letting the ball flip or spin. This should eliminate any twist related issues.
Edit: follow all the above steps in order. Don't skip steps or start in the middle.

.I bought mine 'cos it's a 5er.
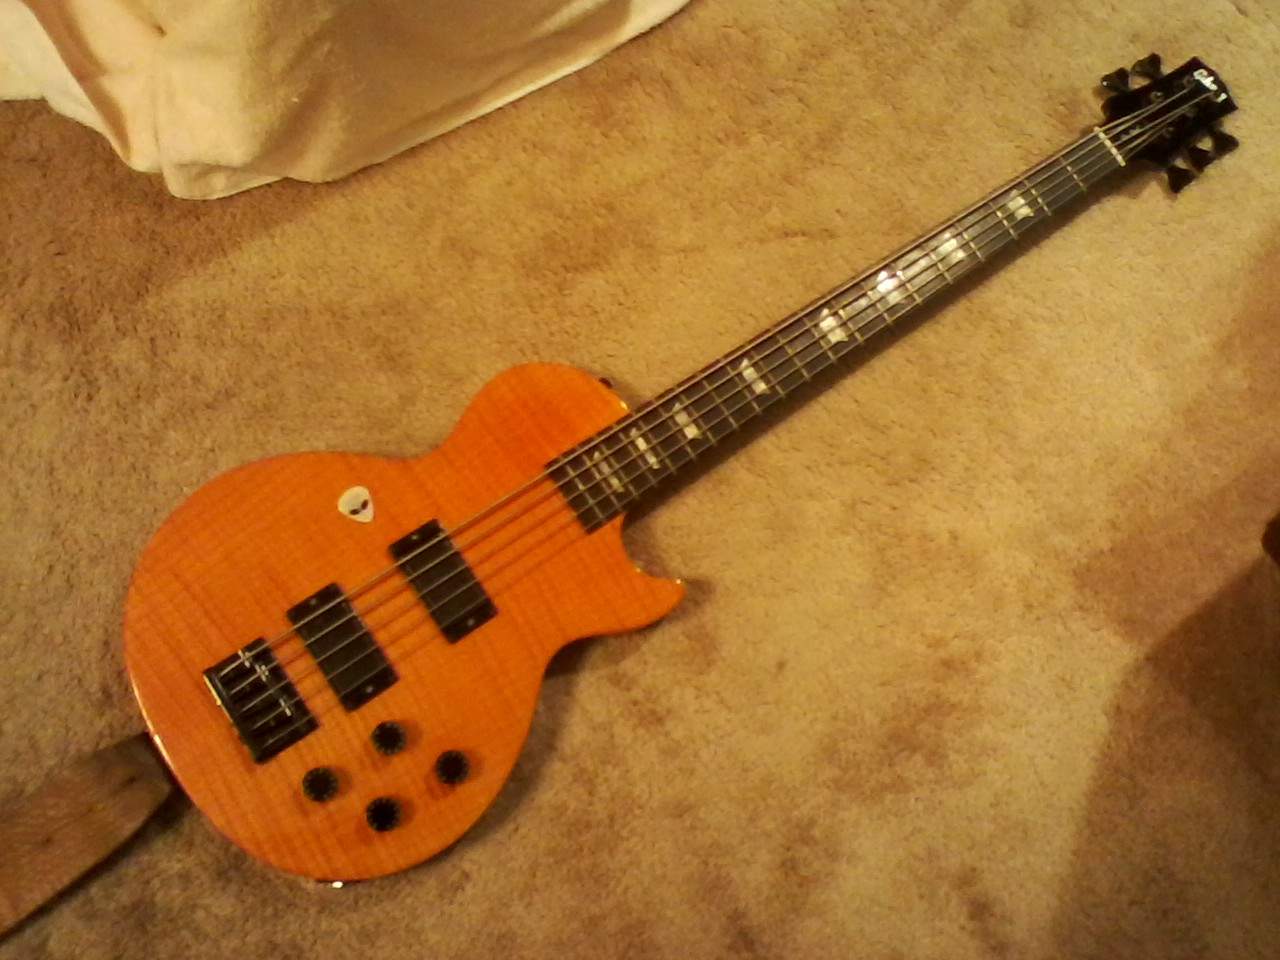
Good grief, you’re right. I really need to stop multi tasking. The good news is its still basically all the same steps, he just doesn’t have that third screw in the front of the bridge to provide tilt. Of course now he’s probably really concerned that he has a dog, heck it’s missing a screw on the front of the bridge."Like" for good info, but.....didn't he say he's got a Vintage Pro?